Articles
How To Clean Grease From Air Fryer
Modified: October 18, 2024
Discover effective techniques and tips for cleaning grease from your air fryer with our informative articles. Keep your air fryer in pristine condition for delicious, healthy meals every time.
(Many of the links in this article redirect to a specific reviewed product. Your purchase of these products through affiliate links helps to generate commission for Storables.com, at no extra cost. Learn more)
How To Clean Grease From Air Fryer
Keeping your air fryer clean is essential to ensure it continues to cook delicious and healthy meals. Over time, grease and oil can build up inside your air fryer, affecting its performance and even causing unpleasant odors. Cleaning grease from your air fryer may seem like a daunting task, but with the right approach, it can be a straightforward process. Follow these steps to effectively clean grease from your air fryer:
Key Takeaways:
- Regularly cleaning your air fryer is crucial to maintain its performance and extend its lifespan. Follow the step-by-step process to easily remove grease and keep your air fryer in pristine condition for delicious, guilt-free cooking adventures.
- Start with the unplug and cool down step to ensure safety. Removing and soaking removable parts, scrubbing the interior, and cleaning the heating element are essential for a thorough clean. Thoroughly dry and reassemble your air fryer for optimal cooking performance.
Read more: How To Clean Grease From Range Hood
Unplug and Cool Down
Before you begin cleaning your air fryer, make sure it is unplugged and cooled down completely. This step is crucial to prevent any accidents or burns.
Remove Accessories
Take out any removable accessories, such as the tray, basket, and racks, from the air fryer. These can be washed separately to ensure a thorough cleaning.
Wipe Excess Grease
Using a damp cloth or paper towel, gently wipe away any excess grease from the interior of the air fryer. Be careful not to apply too much pressure or scrub aggressively, as this can damage the non-stick coating.
Soak Removable Parts
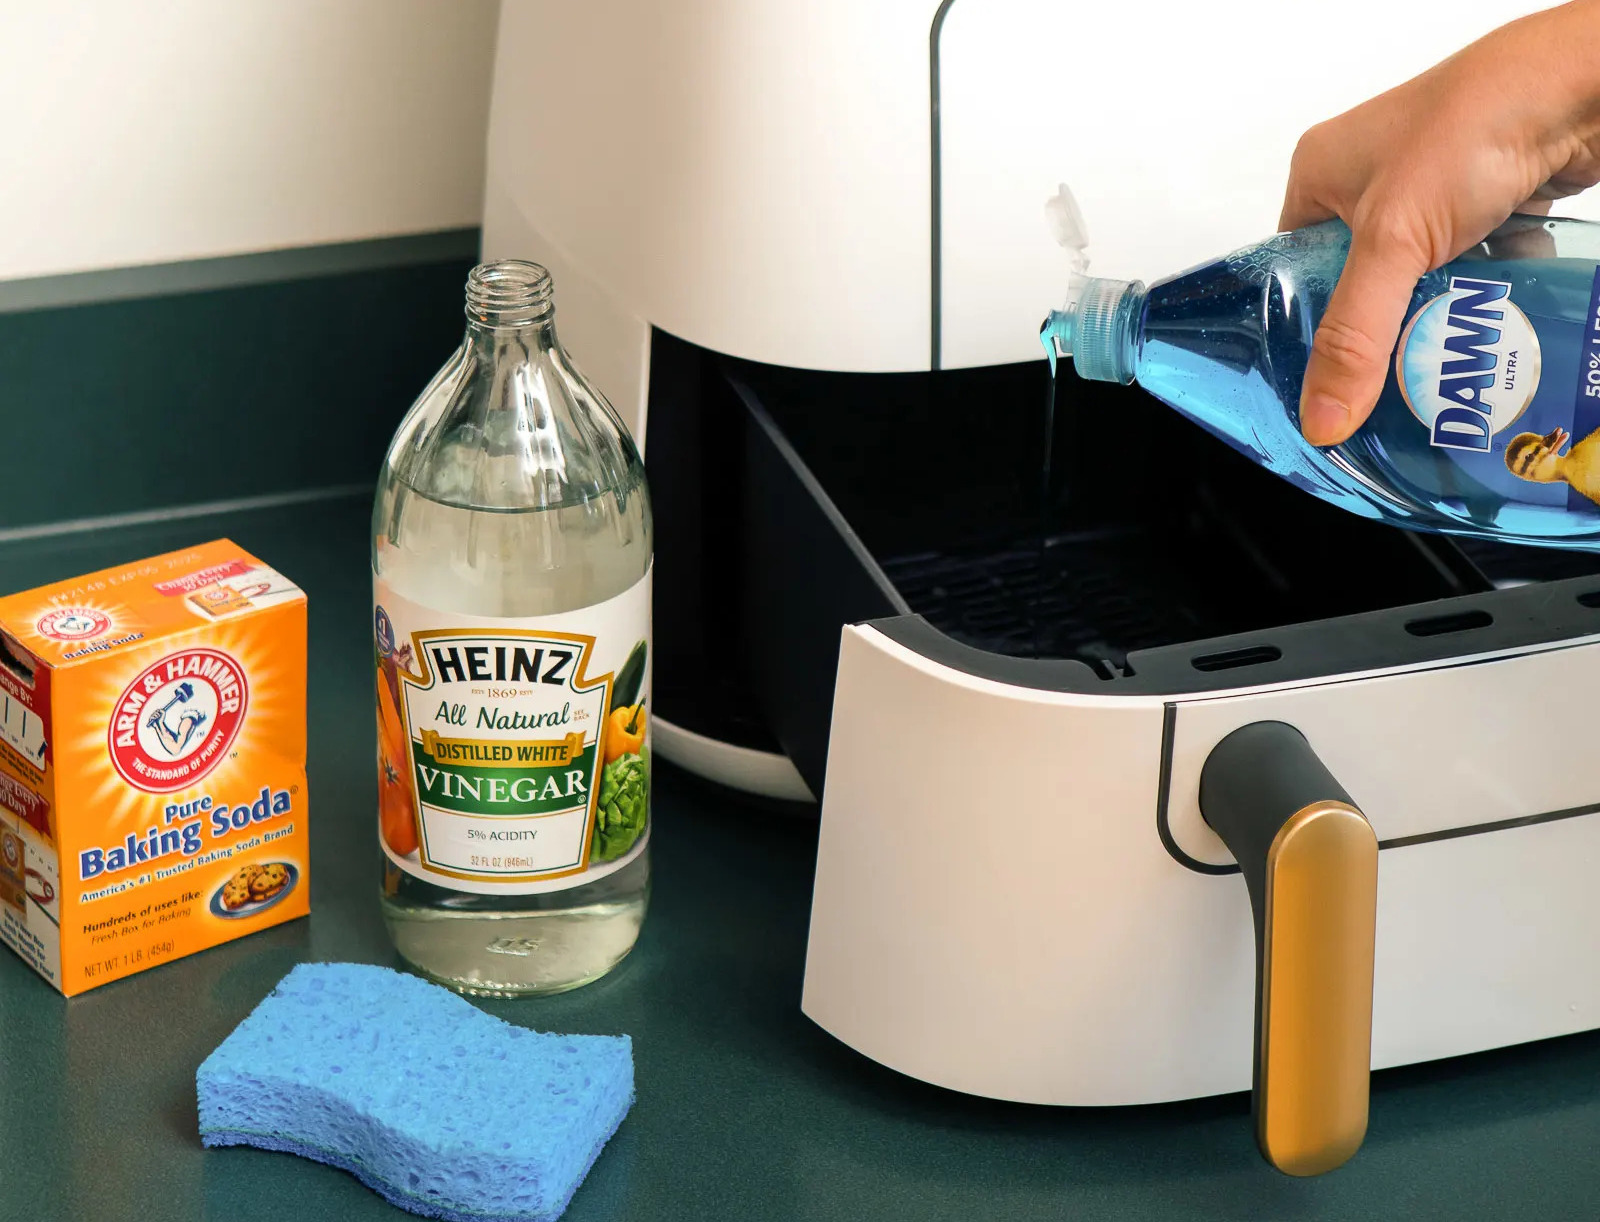
Fill your sink or a bowl with warm water and mild dish soap. Submerge the removable parts of the air fryer, such as the tray and basket, in the soapy water and let them soak for about 15-20 minutes. This will help loosen any stuck-on grease and make them easier to clean.
Read more: How To Clean Grease From Waffle Iron
Scrub the Interior
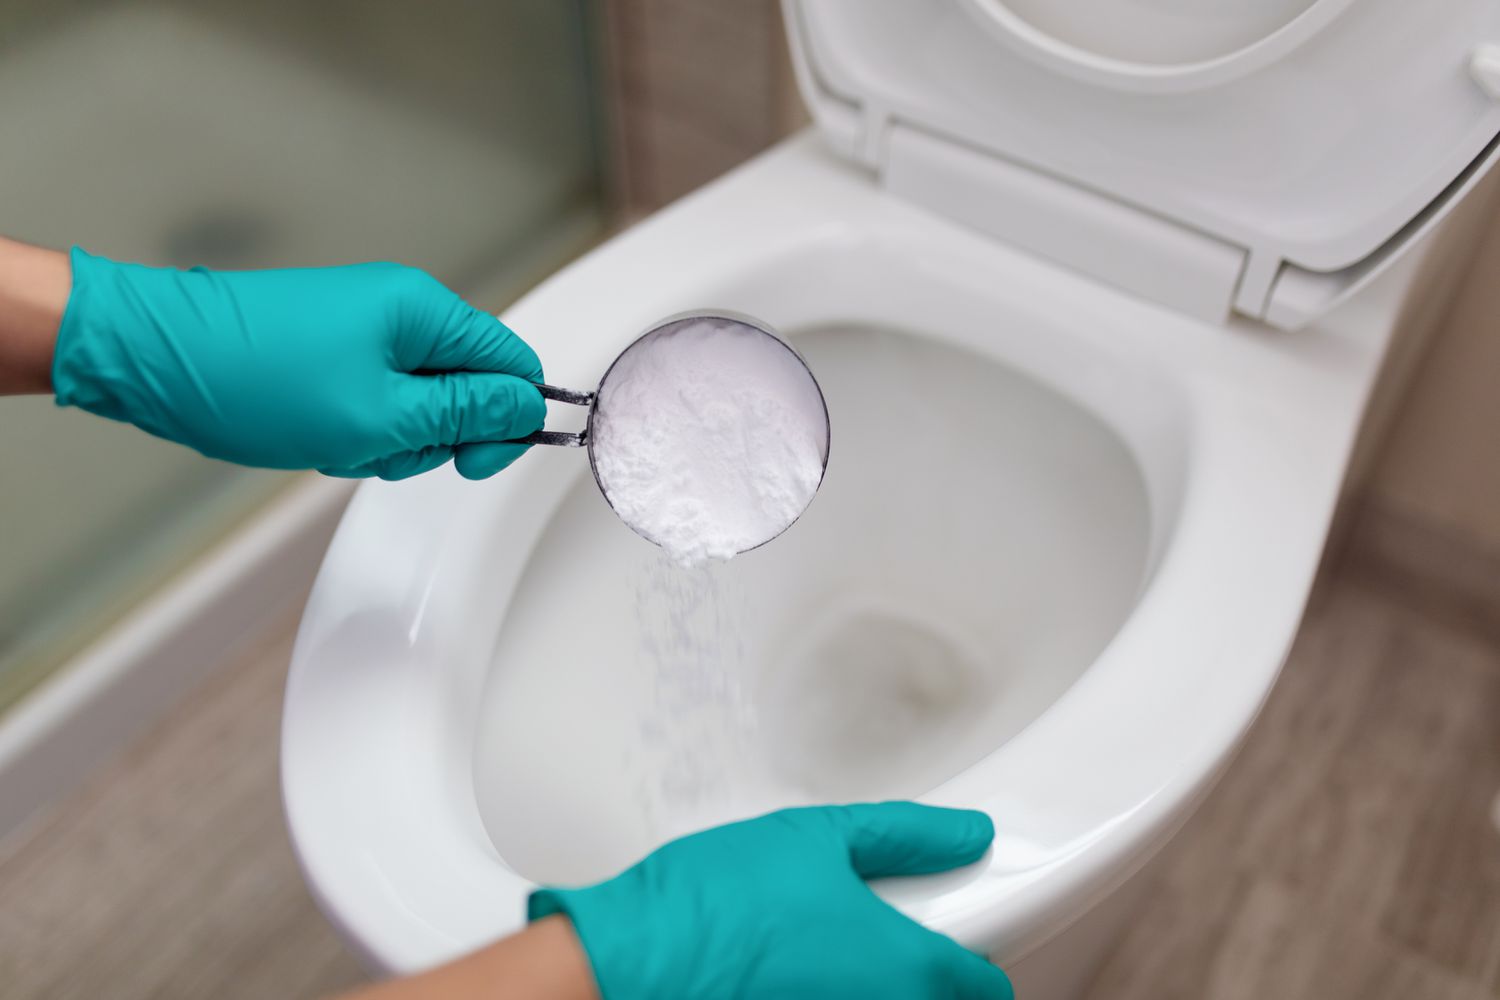
Using a soft sponge or brush, gently scrub the interior walls and heating element of the air fryer. Pay close attention to any areas with stubborn grease buildup. For tough stains, you can create a paste by mixing baking soda and water and apply it to the affected areas. Let it sit for a few minutes before scrubbing.
Clean the Heating Element
The heating element is an essential part of the air fryer and can accumulate grease over time. Use a damp cloth or sponge to carefully wipe down the heating element, ensuring it is free from grease and residue. Take extra caution not to damage the heating element during this process.
Dry and Reassemble
Once you have finished cleaning all the parts of the air fryer, thoroughly dry them with a clean towel or let them air dry. Make sure each component is completely dry before reassembling the air fryer. Once everything is dry, put all the parts back into place.
Cleaning your air fryer regularly will not only keep it functioning optimally but also extend its lifespan. By following these steps, you can easily remove grease and maintain the cleanliness of your air fryer for many delicious meals to come.
Remember to always consult the manufacturer’s instructions for specific cleaning recommendations for your air fryer model.
How To Clean Grease From Air Fryer
Introduction:
Air fryers have become increasingly popular among home cooks due to their ability to create crispy and delicious meals with minimal oil. However, as with any cooking appliance, regular maintenance and cleaning are essential to ensure optimal performance and longevity. One common issue that air fryer owners face is the buildup of grease and oil residue inside the appliance. Not only can this affect the taste and quality of your food, but it can also lead to unpleasant odors and even potential health hazards if left unaddressed.
Cleaning grease from your air fryer might seem like a daunting task, but with the right approach and a few simple steps, you can effectively remove the grease buildup and keep your air fryer in pristine condition. In this article, we will guide you through the process of cleaning grease from your air fryer, providing you with valuable tips and advice to make the task easier and more efficient.
Before diving into the cleaning process, it is important to note that each air fryer model may have specific cleaning instructions provided by the manufacturer. Be sure to consult the user manual or any specific guidelines to ensure you follow the recommended cleaning methods for your particular air fryer. Additionally, always ensure that your air fryer is unplugged and completely cooled down before starting the cleaning process to avoid any accidents or injuries.
Now, let’s explore the step-by-step process of cleaning grease from your air fryer, so you can enjoy cooking without worrying about the residual buildup that can impact both the taste and the performance of your favorite appliance.
How To Clean Grease From Air Fryer
Essential Cleaning Supplies:
Before you begin the process of cleaning grease from your air fryer, it is important to gather the necessary cleaning supplies to make the task easier and more efficient. Here are the essential cleaning supplies you will need:
- Mild Dish Soap: Use a mild dish soap that is gentle on the surfaces of your air fryer. Avoid using harsh chemicals or abrasive cleaners, as they can damage the non-stick coating.
- Soft Sponges or Brushes: Opt for soft sponges or brushes that won’t scratch or damage the interior of your air fryer. Consider using a separate brush for cleaning the heating element, if necessary.
- Warm Water: You’ll need warm water to soak the removable parts and create a cleaning solution with the dish soap.
- Damp Cloth or Paper Towel: Use a damp cloth or paper towel to wipe away excess grease from the interior of the air fryer.
- Baking Soda (optional): Baking soda can be used as a natural cleaner for tough grease stains. It can be mixed with water to form a paste and applied to stubborn areas.
- Towels or Dish Rack: Have clean towels or a dish rack ready to dry the washed and rinsed parts of the air fryer.
By having these essential cleaning supplies on hand, you can ensure a smooth and effective cleaning process. It is important to note that abrasive tools and harsh chemicals should be avoided, as they can damage the surfaces of your air fryer. Stick to gentle cleaning materials and solutions to preserve the integrity of your appliance.
Now that you have gathered the necessary cleaning supplies, it’s time to move on to the step-by-step process of cleaning grease from your air fryer. Follow the upcoming steps carefully to achieve a sparkling clean air fryer and maintain its performance for many delicious meals to come.
How To Clean Grease From Air Fryer
Step 1: Unplug and Cool Down
Before you begin the process of cleaning your air fryer, it is important to ensure that it is unplugged from the power source and completely cooled down. This step is crucial for your safety and to avoid any electrical accidents or burns.
Allow your air fryer to cool down for at least 30 minutes to ensure that all components, including the interior surfaces and heating element, are safe to touch. This will also prevent any potential damage to the non-stick coating due to thermal shock caused by the sudden temperature change.
During this cooling down period, take the time to gather the necessary cleaning supplies and read through the manufacturer’s instructions or user manual for any specific cleaning guidelines or precautions.
Once you are certain that the air fryer has cooled down completely and is safely unplugged, you can proceed to the next step of removing any accessories and preparing the appliance for cleaning.
By starting with the unplug and cool down step, you ensure your safety and protect the integrity of the air fryer. This cautious approach sets the foundation for a successful cleaning process, allowing you to effectively remove grease and maintain the cleanliness of your air fryer.
Now that you have safely unplugged and allowed your air fryer to cool down, it’s time to move on to the next step, which is removing any accessories from the appliance.
How To Clean Grease From Air Fryer
Step 2: Remove Accessories
Now that your air fryer is unplugged and cooled down, it’s time to remove any accessories before cleaning. Air fryers often come with removable components such as the tray, basket, and racks, which can all accumulate grease over time.
Carefully detach these accessories from the air fryer and set them aside for cleaning separately. Removing the accessories allows for easier access to the interior of the air fryer, making the cleaning process more thorough.
It’s important to handle the accessories with care to avoid damaging them. Refer to your air fryer’s user manual for specific instructions on how to remove and reattach the accessories properly.
Once the accessories are removed, take a moment to inspect them for any visible grease or food residue. If there is excessive grease buildup, you can wipe it off using a damp cloth or paper towel before proceeding to the next step.
By removing the accessories, you can effectively clean every nook and cranny of the air fryer, ensuring that all grease and residue are properly eliminated. This step is essential for maintaining the overall cleanliness and functionality of your air fryer.
Now that you have removed the accessories, it’s time to move on to the next step of wiping away excess grease from the interior of the air fryer.
How To Clean Grease From Air Fryer
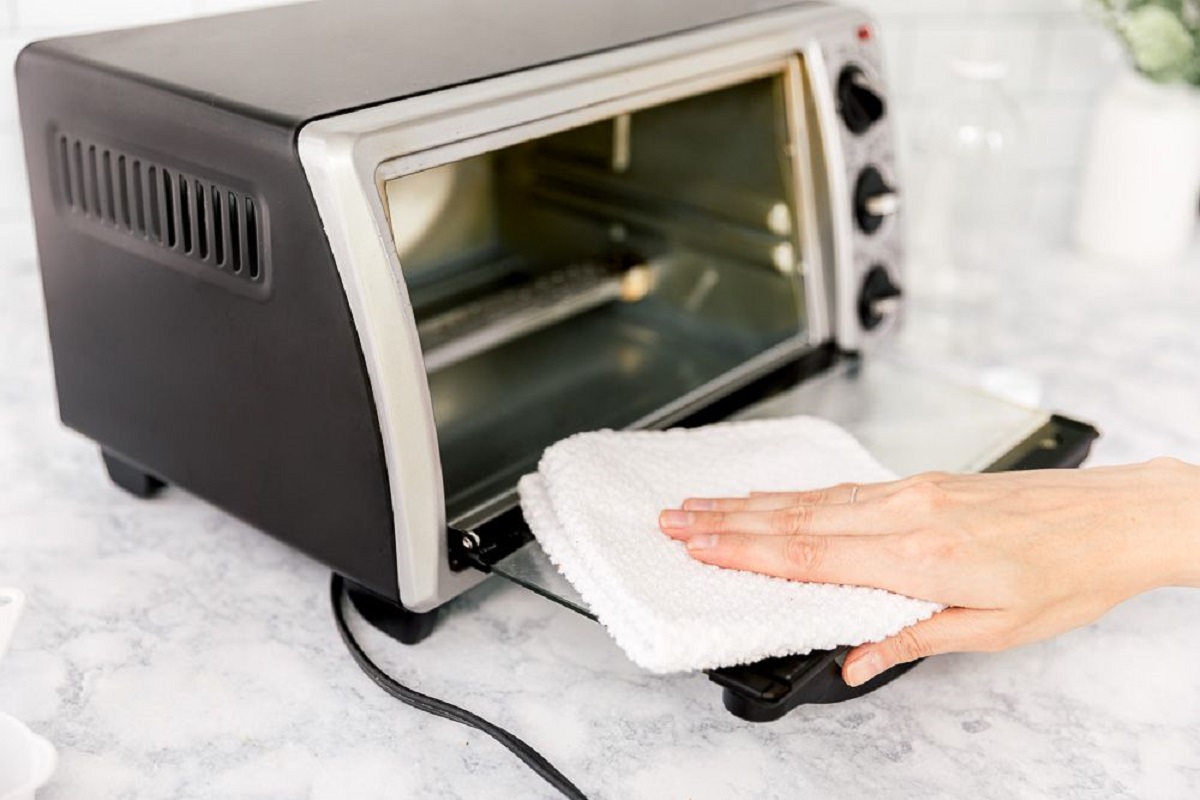
Step 3: Wipe Excess Grease
With the accessories removed, it’s time to focus on wiping away any excess grease from the interior of your air fryer. Even with regular use, some grease can accumulate on the walls and other surfaces of the appliance.
Using a damp cloth or a paper towel, gently wipe the interior surfaces of the air fryer to remove any visible grease. Be sure to cover all areas, including the sides, bottom, and top. Take your time and be thorough to ensure that you remove as much grease as possible.
While wiping, be careful not to apply too much force or scrub aggressively, as this can damage the non-stick coating. Instead, use gentle motions and allow the damp cloth or paper towel to pick up the grease effectively.
Pay attention to any particularly greasy areas or stubborn stains. If necessary, you can dampen the cloth with a bit of mild dish soap diluted in water to help break down the grease. However, it’s important to avoid using harsh chemicals or abrasive cleaners, as they can damage the surfaces of your air fryer.
After wiping away the excess grease, inspect the interior of the air fryer to ensure that it appears clean and grease-free. If you notice any remaining grease spots, you can repeat the wiping process or move on to the next step, which involves soaking the removable parts to remove stubborn grease buildup.
By effectively wiping away excess grease from the interior of your air fryer, you ensure that the appliance stays clean and performs optimally. This step sets the stage for a more thorough cleaning process, allowing you to tackle any stubborn grease and maintain the overall cleanliness of your air fryer.
Now that you have wiped away the excess grease, it’s time to move on to step 4, where we will soak the removable parts in preparation for cleaning.
How To Clean Grease From Air Fryer
Step 4: Soak Removable Parts
Now that you have wiped away the excess grease from the interior of your air fryer, it’s time to focus on the removable parts. These include the tray, basket, racks, and any other accessories that can be detached from the appliance.
Fill your sink or a bowl with warm water and add a few drops of mild dish soap. Make sure that the water is warm but not too hot to handle. This warm soapy water will be used to soak the removable parts, helping to loosen any stubborn grease or residue for easier cleaning.
Submerge the removable parts in the soapy water and let them soak for about 15-20 minutes. During this time, the warm water and dish soap will work together to break down the grease and loosen any stuck-on residue.
While the parts are soaking, you can use this time to gently scrub any remaining greasy spots on the interior of the air fryer itself. Use a soft sponge or cloth dampened with warm soapy water to gently scrub away any stubborn grease. Be careful not to use excessive force or abrasive materials that could damage the non-stick coating.
After the soaking time is up, remove the parts from the soapy water and rinse them thoroughly under running water. Use your hands or a gentle brush to remove any loosened grease or residue. Inspect the removable parts to ensure that they are clean and free from any remaining grease or debris.
Set the soaked parts aside to air dry completely before reassembling your air fryer.
Soaking the removable parts is an effective way to tackle stubborn grease buildup that may be difficult to remove with just wiping. The warm, soapy water works to break down the grease, making it easier to clean and leaving your removable parts looking and smelling fresh.
Now that you have soaked the removable parts, it’s time to move on to step 5, where we will scrub the interior of the air fryer to eliminate any remaining grease and residue.
How To Clean Grease From Air Fryer
Step 5: Scrub the Interior
Now that you have soaked and cleaned the removable parts, it’s time to focus on scrubbing the interior of your air fryer to eliminate any remaining grease and residue. This step will help ensure a thorough and deep clean.
Start by dampening a soft sponge or brush with warm soapy water. Gently scrub the interior walls, bottom, and any other surfaces of the air fryer, paying close attention to areas with visible grease buildup or stubborn stains.
Use gentle circular or back-and-forth motions to scrub away the grease. Avoid using excessive force or abrasive materials that could damage the non-stick coating of the air fryer. If necessary, you can apply a bit of baking soda mixed with water to create a paste and apply it to stubborn areas for extra cleaning power.
Take your time and be thorough when scrubbing the interior of the air fryer. Ensure that you reach all corners and crevices to remove any remaining grease or residue. If you notice any particularly stubborn or hard-to-reach spots, you can use a toothbrush or a small brush to get into those areas.
After scrubbing, rinse the interior of the air fryer with warm water to remove any loosened grease and residue. Make sure to rinse thoroughly to ensure that no soap or baking soda residue remains.
Once you’ve finished scrubbing and rinsing, use a clean towel or let the air fryer air dry completely before proceeding to the next step. It’s important to ensure that the interior surfaces are completely dry before reassembling and using your air fryer again.
By scrubbing the interior of your air fryer, you remove any traces of grease and residue, leaving it clean and ready for the next cooking session. This step is crucial to maintain optimal performance and ensure that your air fryer continues to produce delicious and healthy meals.
Now that you’ve effectively scrubbed the interior, it’s time to move on to step 6, where we will focus on cleaning the heating element of your air fryer.
How To Clean Grease From Air Fryer
Step 6: Clean the Heating Element
As you clean your air fryer, it’s important not to overlook the heating element, as it can also accumulate grease and residue over time. Cleaning the heating element will ensure that it functions properly and efficiently, allowing for even cooking and maintaining the quality of your meals.
Before starting the cleaning process, make sure the air fryer is unplugged and completely cooled down to avoid any accidents or injuries.
First, take a damp cloth or sponge and gently wipe the heating element. Remove any visible grease or residue, taking care not to apply excessive force or use abrasive materials that may damage the element.
If the heating element has stubborn grease or residue buildup, you can use a small brush, such as a toothbrush, to gently scrub the surface. Be cautious not to damage the element or dislodge any parts while cleaning.
Afterwards, use a clean, damp cloth or sponge to wipe away any remaining residue from the heating element. Make sure to remove all cleaning agents or soap to prevent any unpleasant odors or residue from affecting the taste of your food.
Once the heating element is clean and dry, you can proceed to the next step of drying and reassembling your air fryer.
By cleaning the heating element, you ensure that it operates properly and efficiently. A clean heating element will contribute to the overall performance and longevity of your air fryer.
Now that the heating element is clean, it’s time to move on to the final step of drying and reassembling your air fryer.
How To Clean Grease From Air Fryer
Step 7: Dry and Reassemble
After completing the cleaning process, it’s important to thoroughly dry and reassemble your air fryer before using it again. This final step ensures that your air fryer is ready to cook delicious and healthy meals.
Start by using a clean towel or paper towel to wipe down the interior and exterior of the air fryer, as well as the removable parts that you cleaned separately. Pay attention to any remaining moisture and ensure that all surfaces are completely dry.
If you’re in a hurry, you can lightly pat the parts with a towel to remove excess moisture. However, it’s generally recommended to allow the parts to air dry completely to prevent any potential water buildup that could affect the performance of your air fryer.
Once everything is dry, carefully reassemble the air fryer by placing the cleaned and dried accessories back into their respective slots. Make sure they fit securely and properly to ensure the proper functioning of your air fryer.
Double-check that all the components are correctly positioned and securely attached before plugging in your air fryer. This will help prevent any accidents or damage during cooking.
Now that your air fryer is clean, dry, and reassembled, it is ready to be used for your next culinary adventure. Enjoy cooking delicious, crispy, and healthy meals with confidence knowing that your air fryer is in optimal condition.
Remember, regular maintenance and cleaning are essential to keep your air fryer performing at its best. Depending on your usage, it’s recommended to clean your air fryer after every few uses or as needed to prevent excessive grease buildup.
With these simple steps, you can effectively clean grease from your air fryer and maintain its cleanliness for years to come. Happy cooking!
Read more: How To Remove Grease From A Patio
Conclusion
Cleaning grease from your air fryer is an important part of maintaining its performance and ensuring that it continues to deliver delicious and healthy meals. By following the step-by-step process outlined in this guide, you can easily remove grease buildup and keep your air fryer in pristine condition.
Starting with the unplug and cool down step ensures your safety and prevents any accidents. Removing the accessories allows for easier access to all areas of the air fryer, making the cleaning process more thorough. Wiping away excess grease from the interior removes visible residue and prepares the appliance for a deeper clean.
Soaking the removable parts helps to loosen stubborn grease, making them easier to clean. Scrubbing the interior walls and surfaces removes any remaining grease and residue, ensuring a thorough cleaning. Cleaning the heating element maintains its efficiency and effectiveness.
Finally, drying and reassembling the air fryer completes the cleaning process, allowing you to get back to enjoying delicious meals without any lingering grease or residue.
Regular cleaning of your air fryer is vital to prevent the buildup of grease and to maintain optimal performance. It is important to consult the specific cleaning instructions provided by the manufacturer for your air fryer model. By following those guidelines and the steps outlined in this article, you can ensure that your air fryer continues to deliver flavorful, crispy, and healthy results every time.
Remember, a clean air fryer not only enhances the taste of your food but also prolongs the lifespan of the appliance. Keep your air fryer in top shape by incorporating regular cleaning into your routine. With a little care and attention, your air fryer will continue to be your go-to appliance for delicious, guilt-free cooking adventures.
So, don’t let grease build up and compromise the performance of your air fryer. Take action and clean away the grease to maintain a clean and efficient cooking experience for years to come!
Frequently Asked Questions about How To Clean Grease From Air Fryer
Was this page helpful?
At Storables.com, we guarantee accurate and reliable information. Our content, validated by Expert Board Contributors, is crafted following stringent Editorial Policies. We're committed to providing you with well-researched, expert-backed insights for all your informational needs.

0 thoughts on “How To Clean Grease From Air Fryer”