Articles
How To Clean Toilet Jets
Modified: August 30, 2024
Learn effective techniques for cleaning toilet jets in this comprehensive article. Find step-by-step instructions and tips to maintain a hygienic bathroom.
(Many of the links in this article redirect to a specific reviewed product. Your purchase of these products through affiliate links helps to generate commission for Storables.com, at no extra cost. Learn more)
Introduction
Welcome to our comprehensive guide on how to clean toilet jets. Maintaining a clean and hygienic bathroom is essential for any household, and one often overlooked component is the toilet jets. Toilet jets, also known as rim holes or rim jets, are small openings located along the rim of the toilet bowl that release water during flushing. Over time, these jets can become clogged with mineral deposits, grime, and bacteria, leading to poor flushing performance and unpleasant odors.
In this article, we will provide you with step-by-step instructions on how to effectively clean your toilet jets, ensuring a fresh and efficient flushing experience. We will also discuss the importance of regular cleaning, the tools and materials needed, as well as helpful tips to maintain optimal toilet hygiene.
So, let’s dive in and learn how to clean toilet jets like a pro!
Key Takeaways:
- Say goodbye to clogged and odorous toilets by following our step-by-step guide to effectively clean toilet jets. Enjoy a fresh and hygienic bathroom with optimal flushing performance.
- Prioritize safety, prepare the area, and maintain regular cleaning to prevent blockages, eliminate odors, and promote a cleaner and more pleasant bathroom experience. Consistency is key to a fresh and efficient toilet.
Read more: How To Clean Out Hot Tub Jets
Understanding Toilet Jets
Before we delve into the cleaning process, it’s important to understand the role of toilet jets in the flushing mechanism. Toilet jets are designed to provide a powerful and efficient flush by releasing water into the bowl. When you flush the toilet, water flows through these jets, creating a swirling motion that helps to remove waste and thoroughly clean the bowl.
Over time, various deposits can accumulate in the toilet jets, including mineral deposits from hard water, limescale, and even mold and bacteria. These build-ups can restrict the flow of water and compromise the effectiveness of the flushing mechanism.
By regularly cleaning your toilet jets, you can prevent blockages, maintain optimal flushing power, and ensure a cleaner and more hygienic toilet bowl. Cleaning the toilet jets not only improves the flushing performance but also eliminates any unpleasant odors that may be caused by bacterial growth.
Now that we have a better understanding of the importance of clean toilet jets, let’s move on to the tools and materials you will need for the cleaning process.
Tools and Materials Needed
Before you begin cleaning your toilet jets, gather the following tools and materials to ensure a smooth and effective cleaning process:
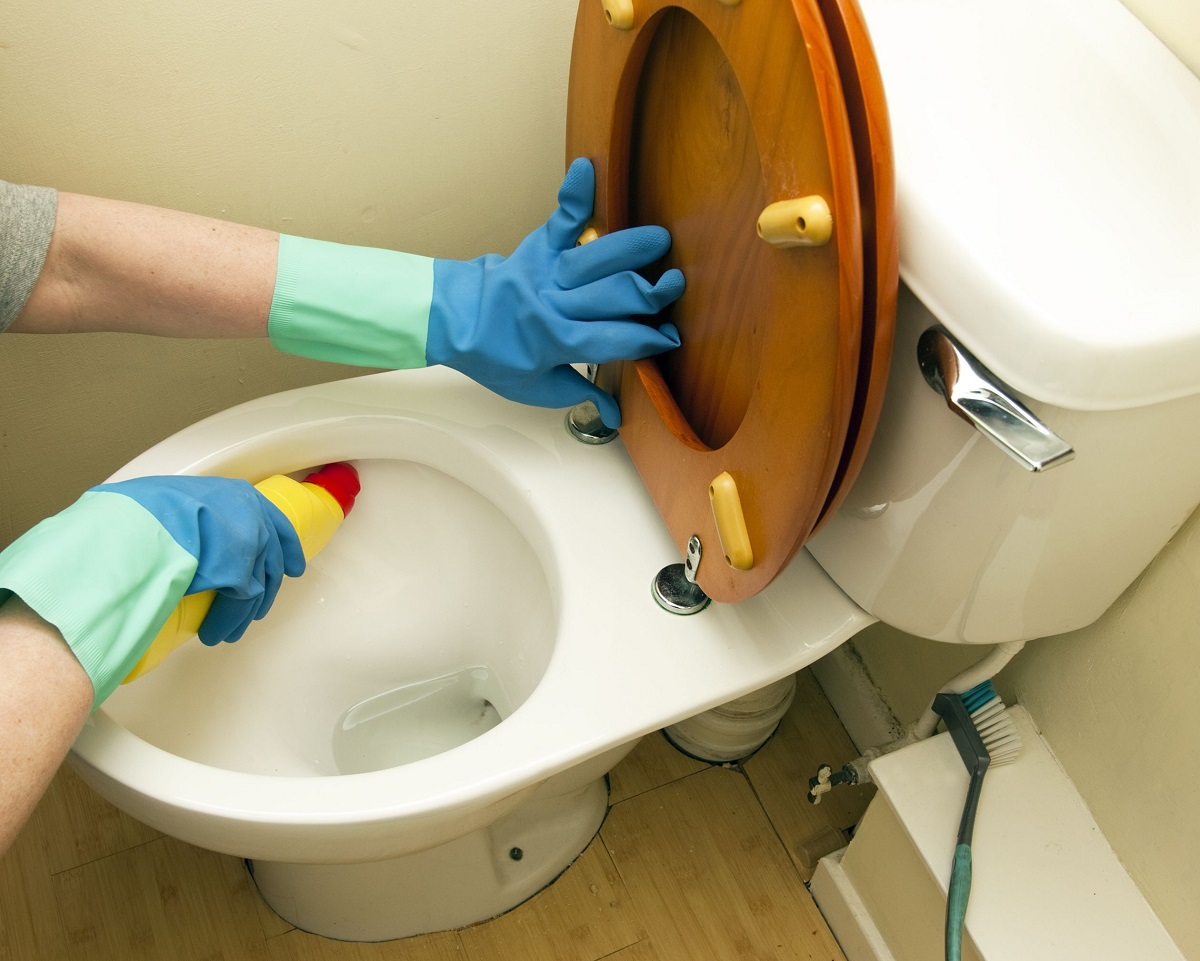
- Toilet brush: A sturdy toilet brush will help in removing any loose debris and scrubbing the toilet bowl.
- Gloves: It’s important to protect your hands from bacteria and cleaning chemicals. Disposable gloves are ideal for this task.
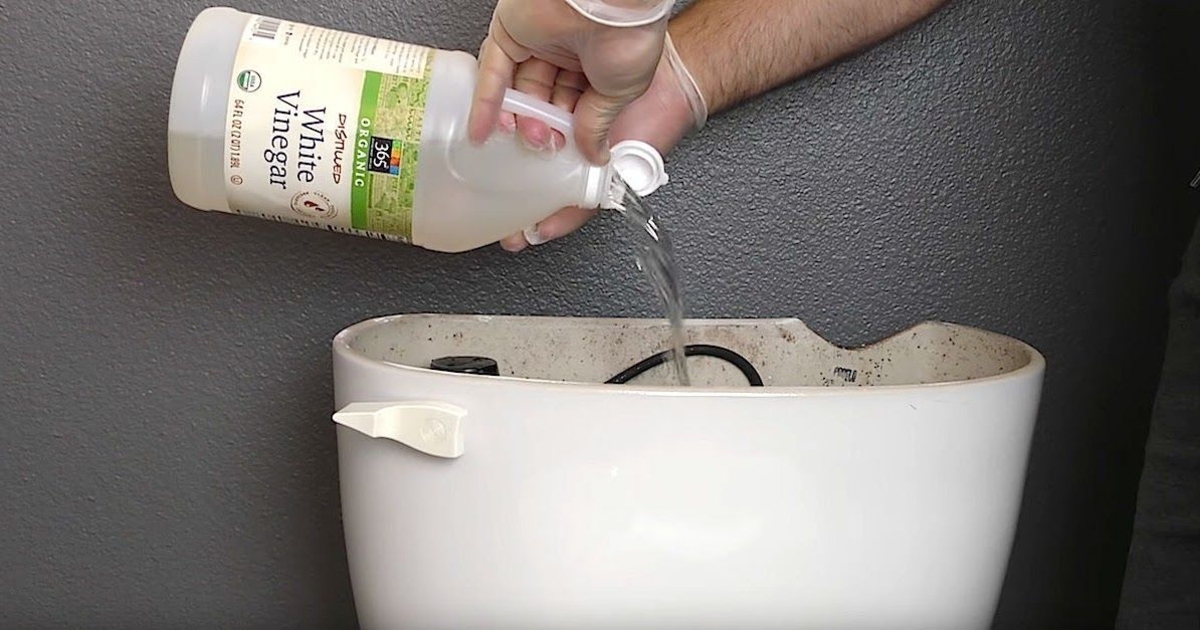
- Vinegar: White vinegar is a natural cleaning agent that helps dissolve mineral deposits and eliminate odors. It’s an excellent choice for cleaning toilet jets.
- Baking soda: Baking soda is another versatile and natural cleaning agent that can help remove stains and odor-causing bacteria.
- Small brush or toothbrush: A small brush or toothbrush will come in handy for scrubbing the toilet jets and reaching into tight spots.
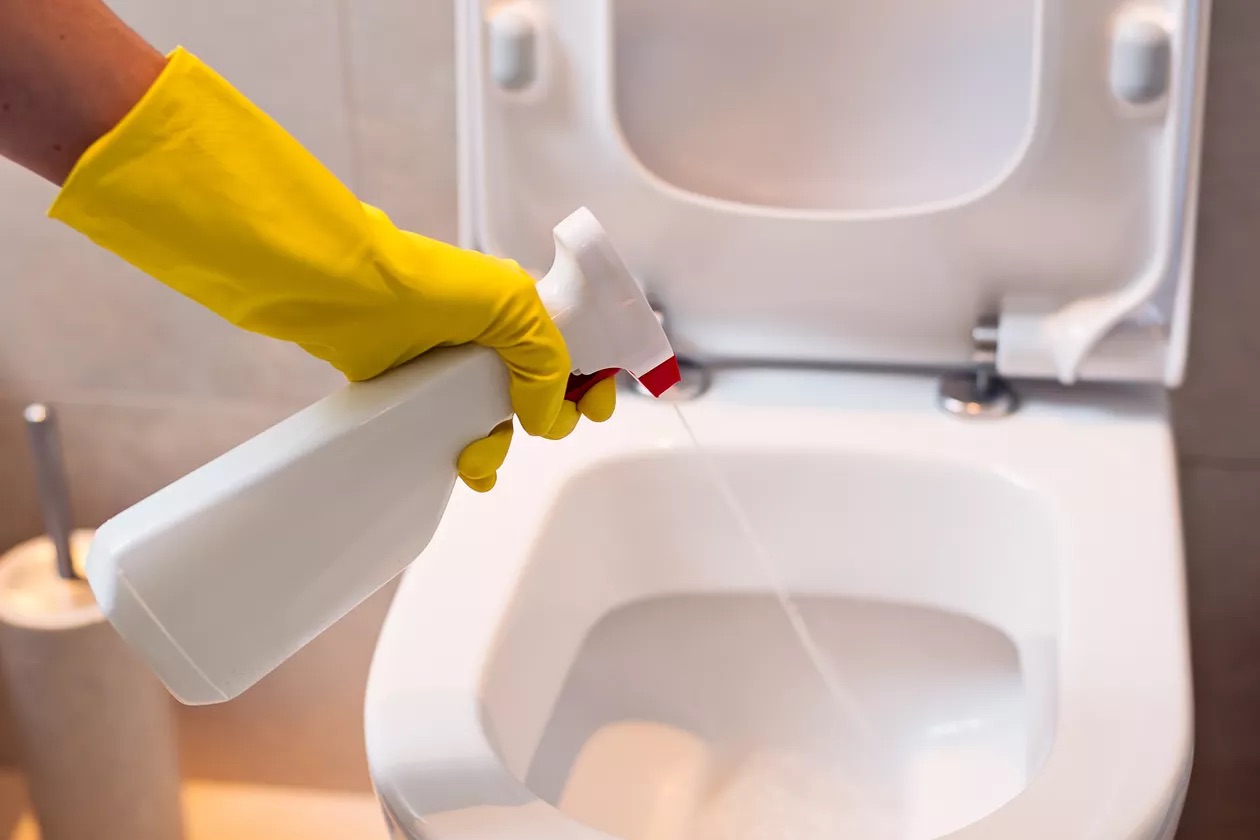
- Bucket or spray bottle: You will need a container to mix the cleaning solution or a spray bottle for easy application.
- Old towels or rags: Keep some old towels or rags nearby to clean up any spills or excess water during the cleaning process.
- Step stool: Depending on the height of your toilet, a step stool might be necessary to reach the toilet jets comfortably.
Having these tools and materials ready will make the cleaning process much easier and more efficient. Now that you’re fully equipped, let’s move on to the step-by-step guide on cleaning your toilet jets.
Step 1: Preparation
Before you start cleaning the toilet jets, it’s essential to take a few preparatory steps to ensure a successful cleaning process:
- Put on gloves: Begin by wearing disposable gloves to protect your hands from bacteria and cleaning agents. This will ensure your safety and maintain hygiene throughout the process.
- Turn off the water supply: Locate the water shut-off valve behind or near the toilet and turn it clockwise to shut off the water supply. This will prevent water from flowing into the toilet bowl, making it easier to clean the jets.
- Flush the toilet: To drain any remaining water in the tank and bowl, flush the toilet a few times until they are mostly empty. This will minimize the amount of water you’ll have to deal with during the cleaning process.
- Place old towels or rags: Lay down some old towels or rags around the toilet area to catch any spills or excess water that may occur during the cleaning process. This will protect your bathroom floor from getting wet and make cleanup easier.
- Put on a step stool: If your toilet is elevated or located in an area where reaching the toilet jets is difficult, place a step stool near the toilet. This will give you better access to the jets and make the cleaning process more comfortable.
By taking these preparatory steps, you will ensure a smooth cleaning process without any interruptions. Once you have everything ready, you can proceed to the next step of removing the toilet jets.
Step 2: Removing the Toilet Jets
Now that you have completed the preparation, it’s time to remove the toilet jets. Follow the steps below:
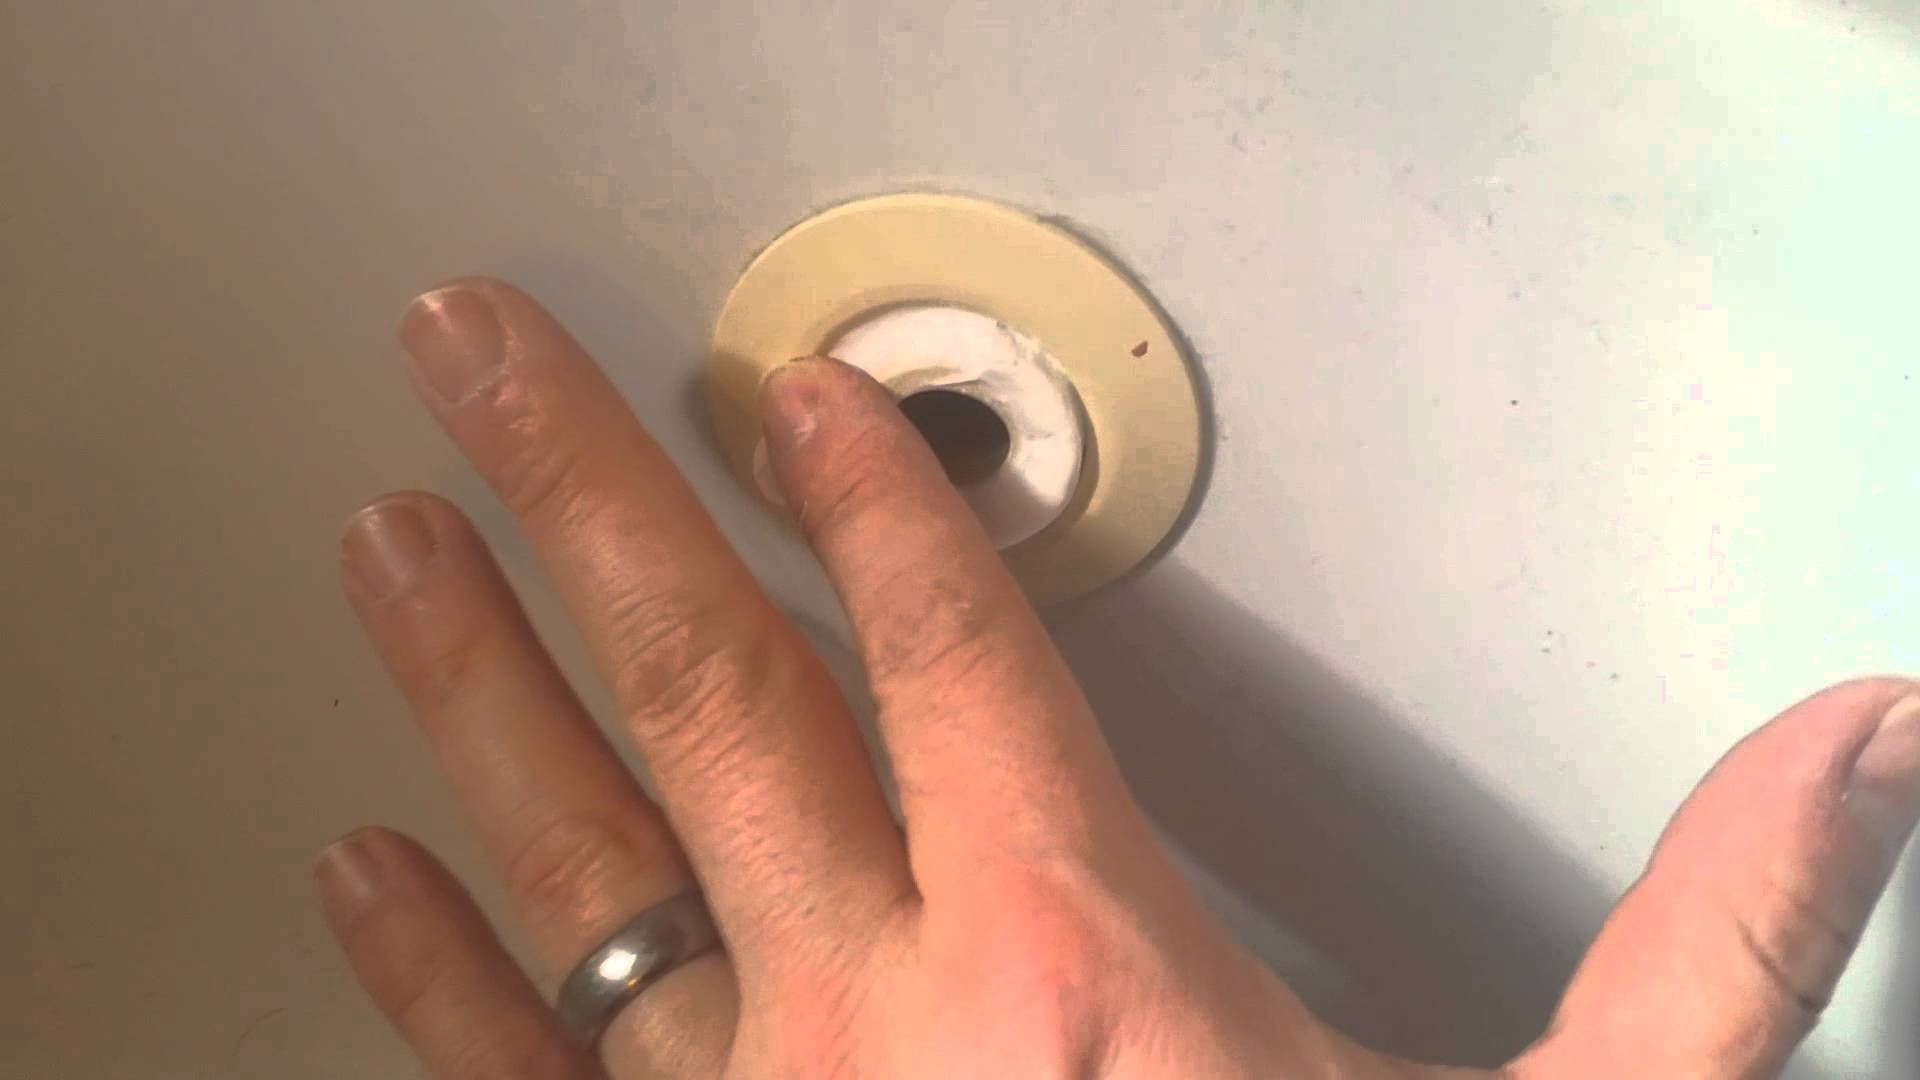
- Inspect the toilet jets: Take a close look at the toilet jets and check if they can be unscrewed or removed easily. Some toilet models may have jets that can be unscrewed directly, while others may require additional steps to remove them.
- Use a wrench or pliers: If the toilet jets can be unscrewed, use a wrench or pliers to loosen and remove them. Be gentle while turning to avoid damaging the toilet or the jets themselves.
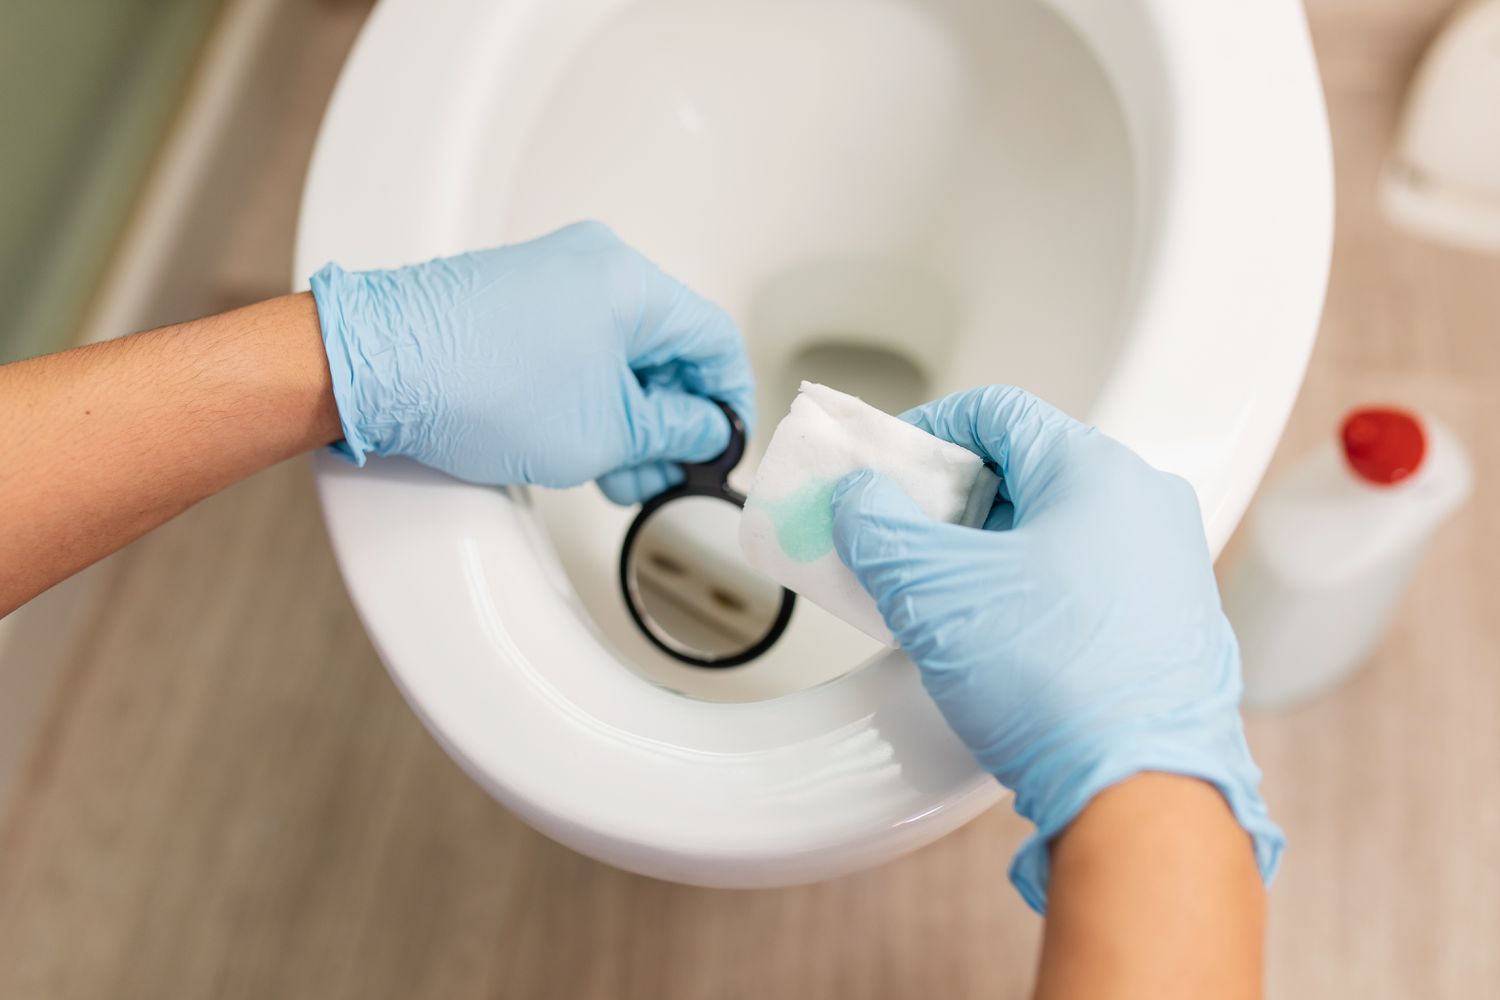
- Clean the jets separately (optional): If the toilet jets cannot be easily removed, you can still clean them by using a small brush or toothbrush. Use the brush to scrub around the jets, applying gentle pressure to remove any debris or mineral build-up.
During the removal process, be cautious and avoid using excessive force, as you don’t want to damage the toilet or the jets. If you encounter any difficulties or are unsure about how to remove the toilet jets, consult the manufacturer’s instructions or seek professional assistance.
Once you have successfully removed the toilet jets, proceed to the next step to learn how to clean them effectively.
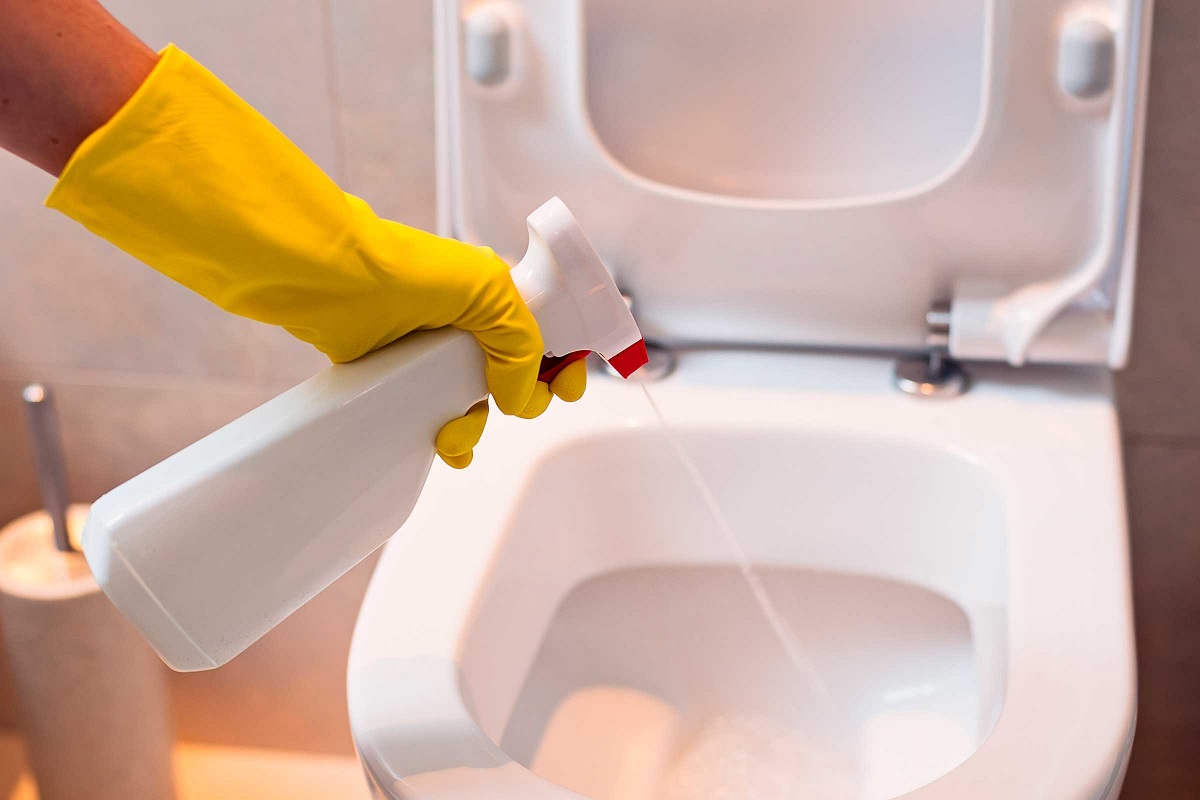
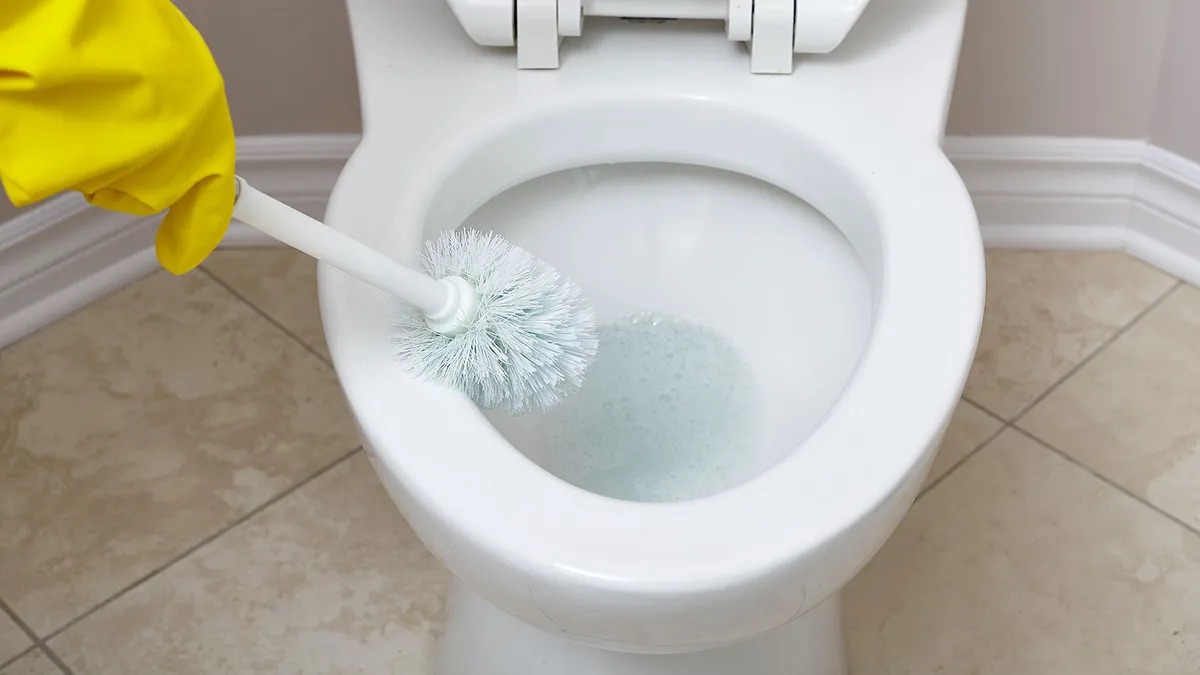
Use a mixture of white vinegar and water to clean toilet jets. Fill a spray bottle with the solution and spray it directly onto the jets, then scrub with a toilet brush. This will help remove any mineral deposits and keep the jets clean and functioning properly.
Read more: How To Clean An Rv Toilet
Step 3: Cleaning the Toilet Jets
Now that you have removed the toilet jets, it’s time to clean them thoroughly. Follow these steps:
- Prepare a cleaning solution: In a bucket or spray bottle, mix equal parts white vinegar and water. This solution will help dissolve mineral deposits and eliminate bacteria.
- Soak the toilet jets: Submerge the toilet jets in the cleaning solution, ensuring they are fully covered. Let them soak for at least 30 minutes to allow the vinegar solution to work its magic.
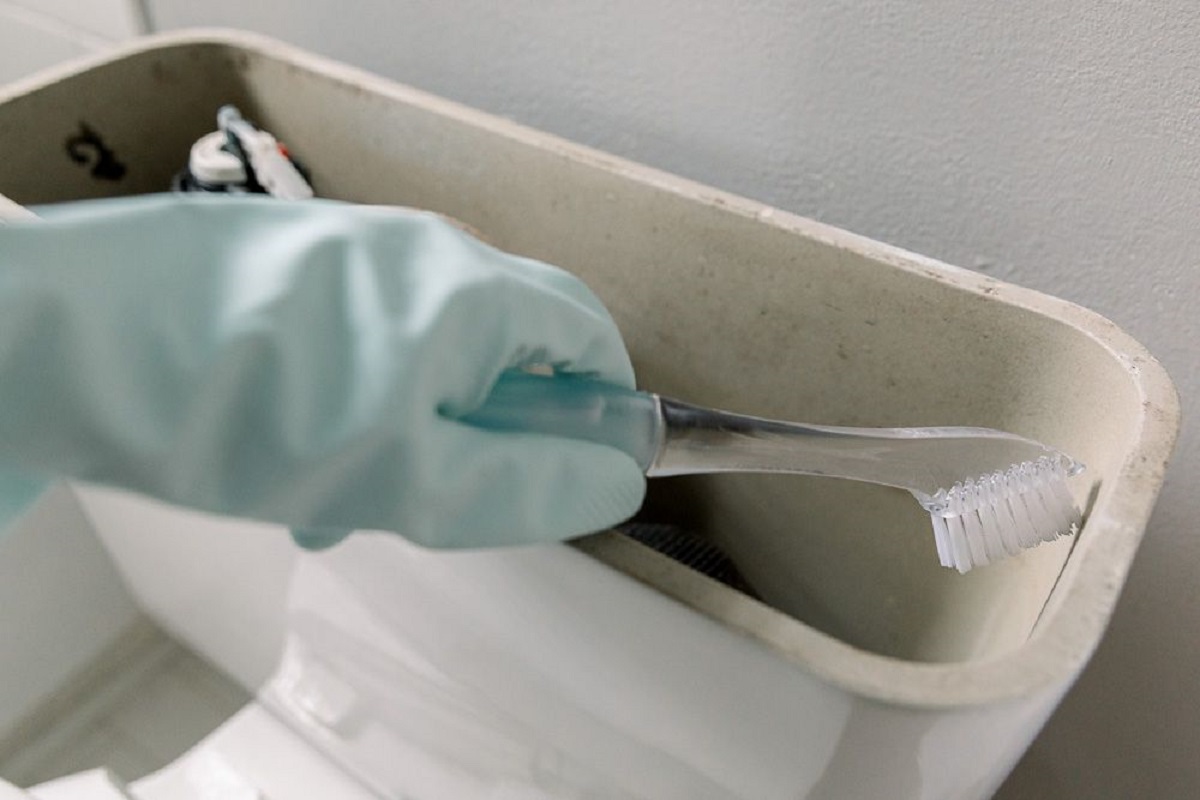
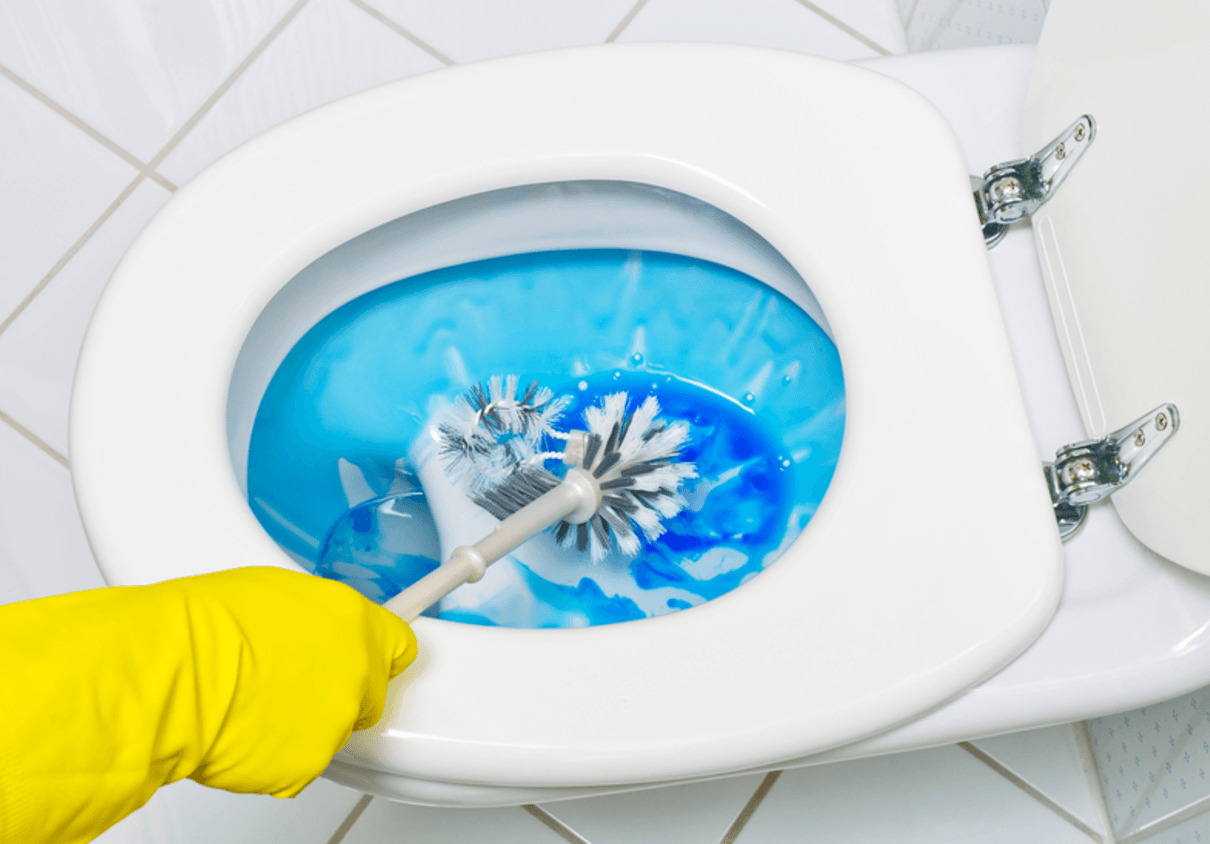
- Scrub the jets: After the jets have soaked, use a small brush or toothbrush to scrub them gently. Pay close attention to the openings and surface areas, removing any remaining debris or mineral deposits. For stubborn build-up, you can apply a paste of baking soda and water and scrub again.
- Rinse the jets: Once the jets are clean, rinse them thoroughly with water to remove any residue or cleaning solution. Ensure that all debris and build-up are completely removed.
- Inspect for blockages: While rinsing, check for any remaining blockages by running water through the toilet jets. If there are still obstructions, use a small wire or toothpick to gently dislodge them.
By following these steps, you will effectively clean the toilet jets and remove any build-up that may affect their performance. Once you are satisfied with the cleanliness, it’s time to move on to the next step: reinstalling the toilet jets.
Step 4: Reinstalling the Toilet Jets
Now that you have successfully cleaned the toilet jets, it’s time to reinstall them. Follow these steps:
- Inspect the jets and the toilet bowl: Before reinstalling the jets, examine them carefully to ensure there are no damages or cracks. Also, check the toilet bowl for any debris or residue that may have accumulated during the cleaning process. If necessary, clean the bowl with a toilet brush and flush out any remaining particles.
- Apply plumber’s tape (optional): To create a tight seal and prevent any potential leaks, you can wrap plumber’s tape around the threads of the toilet jets. This step is optional but recommended for added security.
- Screw the toilet jets back in place: With the plumber’s tape (if used), screw the toilet jets back into their original positions. Use a wrench or pliers to tighten them securely, but be careful not to overtighten as it can lead to cracks or damage.
- Turn on the water supply: Once the toilet jets are firmly in place, turn the water shut-off valve counterclockwise to reopen the water supply. This will allow water to flow into the toilet tank and subsequently the bowl.
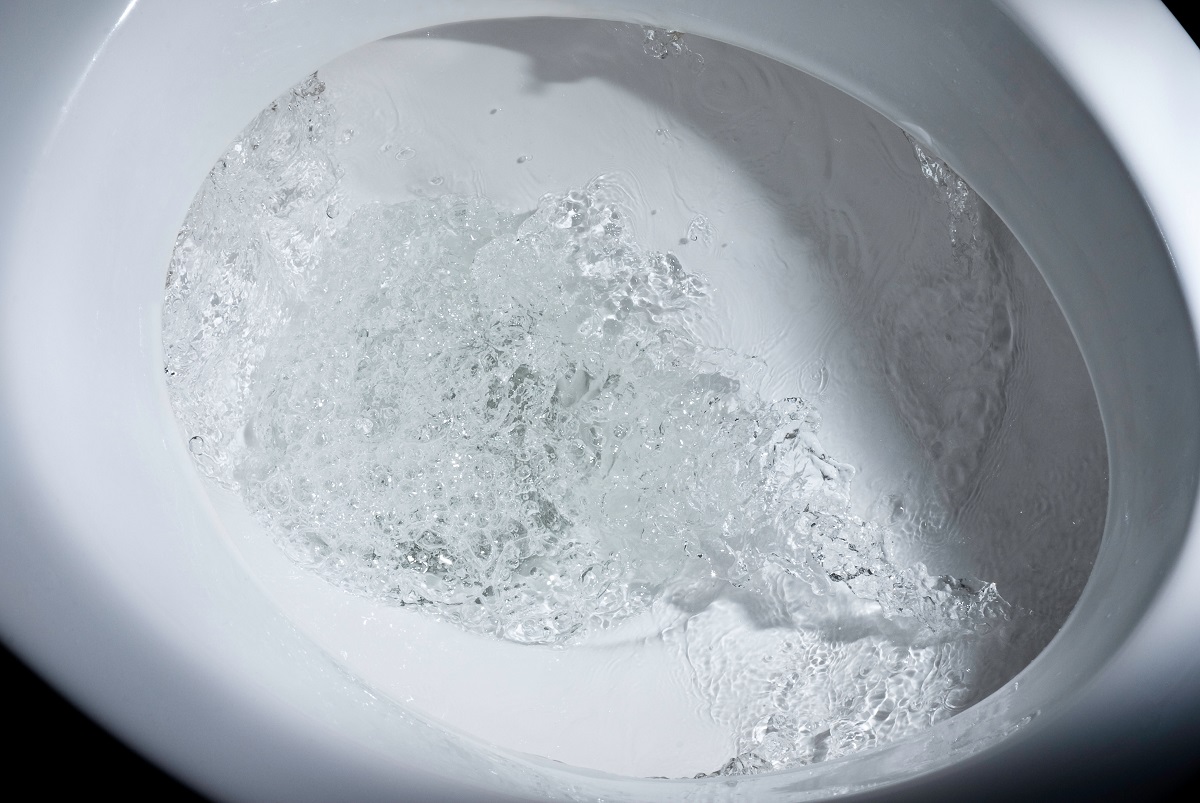
- Test the flushing mechanism: To ensure that the toilet jets are functioning properly, flush the toilet a few times and observe the water flow. It should be strong and evenly distributed, indicating that the jets are working effectively.
By following these steps, you can easily reinstall the toilet jets and restore the flushing mechanism to its optimal performance. Now, let’s move on to the final step: giving your toilet a finishing touch.
Step 5: Final Touches
After cleaning and reinstalling the toilet jets, it’s time to add the final touches to ensure a clean and fresh toilet. Follow these steps:
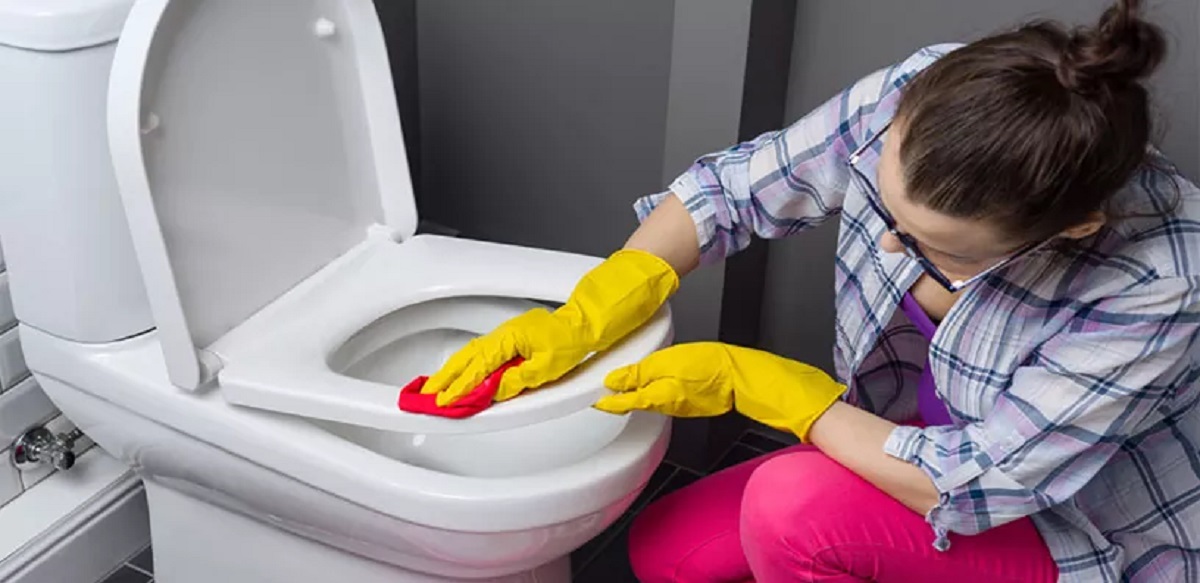
- Clean the toilet bowl: Use a toilet brush and your preferred cleaning solution to thoroughly clean the toilet bowl. Scrub the interior, including under the rim and around the jets, to remove any remaining dirt or stains.
- Wipe down the toilet exterior: Use a damp cloth or disinfectant wipe to clean the exterior surfaces of the toilet, including the tank, seat, and handle. Pay attention to any areas that may have come into contact with cleaning agents during the process.
- Empty the towels or rags: Dispose of the old towels or rags that you placed around the toilet during the cleaning process. If they are reusable, wash them separately to remove any bacteria or residue.
- Dispose of gloves and wash your hands: Carefully remove the disposable gloves and dispose of them properly. Wash your hands thoroughly with soap and warm water to rid them of any bacteria or cleaning agents.
- Maintain regular cleaning: To keep your toilet jets clean and functioning optimally, it’s important to establish a regular cleaning routine. Aim to clean the toilet jets at least once a month to prevent build-up and maintain optimal flushing performance.
By following these final steps, you will complete the cleaning process and ensure a fresh and hygienic toilet. Regular maintenance and cleaning will help prevent future blockages, minimize odors, and maintain the efficiency of your toilet.
Congratulations! You’ve successfully learned how to clean toilet jets and maintain a clean and efficient toilet. By following these steps and incorporating them into your regular cleaning routine, you can enjoy a fresh and hygienic bathroom for years to come.
Remember to always prioritize safety and follow manufacturer instructions when performing any maintenance or cleaning tasks in your bathroom. Happy cleaning!
Conclusion
Cleaning toilet jets is an essential part of maintaining a clean and hygienic bathroom. By following the steps outlined in this comprehensive guide, you can effectively clean your toilet jets and ensure optimal flushing performance. Regular cleaning of toilet jets helps prevent blockages, eliminate odors, and promote a cleaner and more pleasant bathroom experience.
Throughout the cleaning process, it is important to prioritize safety by wearing gloves and using the appropriate cleaning materials. Take the time to properly prepare the area, remove the toilet jets, and clean them thoroughly. Reinstalling the toilet jets correctly and performing final touches will ensure that your toilet is fresh, clean, and functioning at its best.
Remember, consistency is key. Make it a part of your regular cleaning routine to clean toilet jets at least once a month to maintain their optimal performance. This will help prevent the build-up of mineral deposits, grime, and bacteria, keeping your toilet clean and efficient.
We hope that this guide has provided you with valuable insights and step-by-step instructions on how to clean toilet jets effectively. By following these guidelines, you can have a cleaner, fresher, and more hygienic bathroom for you and your family to enjoy.
So go ahead, implement the knowledge you’ve gained, and say goodbye to clogged and odorous toilets. Cheers to a cleaner and more pleasant bathroom experience!
Now that you've mastered cleaning toilet jets, why not tackle other tricky spots around your home? Discover our cleaning hacks for ovens to achieve a spotless finish with ease. Ready for a bigger challenge? Dive into our comprehensive bathroom cleaning guide and turn your bathroom into a sparkling oasis. Each guide offers practical steps and useful tips to make your cleaning routine more effective.
Frequently Asked Questions about How To Clean Toilet Jets
Was this page helpful?
At Storables.com, we guarantee accurate and reliable information. Our content, validated by Expert Board Contributors, is crafted following stringent Editorial Policies. We're committed to providing you with well-researched, expert-backed insights for all your informational needs.


0 thoughts on “How To Clean Toilet Jets”