Articles
How To Clean Mouse Droppings Off The Carpet
Modified: February 25, 2024
Learn effective methods to clean mouse droppings off your carpet with these informative articles. Ensure a clean and hygienic living environment.
(Many of the links in this article redirect to a specific reviewed product. Your purchase of these products through affiliate links helps to generate commission for Storables.com, at no extra cost. Learn more)
Introduction
Coming across mouse droppings on your carpet can be an unpleasant and concerning situation. Not only are these droppings unsightly, but they can also pose health risks due to the potential presence of harmful pathogens. Therefore, it is crucial to address this issue promptly and effectively. In this article, we will guide you on how to clean mouse droppings off the carpet, ensuring a clean and safe living environment for you and your family.
When dealing with mouse droppings, it’s important to approach the task with caution. Mice can carry diseases such as hantavirus, salmonella, and leptospirosis, which can be transmitted through contact with their droppings. Taking the necessary safety precautions is crucial to protect yourself from potential health risks.
Before you begin the cleaning process, assess the situation to determine the extent of the infestation. Look for signs of mouse activity such as gnaw marks, urine stains, and nesting materials. If you suspect a significant mouse infestation, it may be wise to contact a professional pest control service to help address the root cause and prevent further damage.
Now that you are aware of the potential hazards and have assessed the situation, it’s time to gather the necessary materials for the cleaning process. Having the right tools and cleaning solutions will simplify the task and ensure a thorough and effective cleaning.
Key Takeaways:
- Safely and effectively cleaning mouse droppings off your carpet involves thorough assessment, proper safety precautions, and meticulous cleaning steps to ensure a clean and healthy living environment for you and your family.
- Preventing future mouse infestations requires proactive measures such as sealing entry points, maintaining cleanliness, and removing potential food sources, creating a less appealing environment for mice and reducing the risk of future incidents.
Read more: How To Clean Paint Off Carpet
Assessing the Situation
Before you embark on cleaning mouse droppings off your carpet, it’s essential to assess the situation to determine the extent of the infestation. This step is crucial because it allows you to identify any underlying issues and take the appropriate measures to address them.
Start by carefully inspecting the affected area for any signs of mouse activity. Look for droppings, gnaw marks on furniture or baseboards, urine stains, or chewed-through wires. These signs can indicate the presence of mice in your home and help you understand the severity of the infestation.
If you notice a significant amount of mouse droppings spread throughout the carpet, it could indicate a more substantial problem. In such cases, it might be best to call a professional pest control service to thoroughly assess and mitigate the situation.
Furthermore, pay attention to the location and frequency of the droppings. If you consistently find droppings in a particular area, it might be a high-traffic zone for the mice. This information can be valuable for locating potential entry points or nesting areas, allowing you to secure your home and prevent future infestations.
It’s also essential to recognize the types of droppings present. Mouse droppings are typically small, dark, and pellet-shaped, resembling grains of rice. If you come across droppings that are larger or have a different shape, it could indicate the presence of rats or other rodents, requiring a different approach to control and removal.
By assessing the situation and understanding the extent of the infestation, you can take the necessary steps to address the issue more effectively. It also enables you to implement preventive measures to stop mice from re-entering your home in the future.
Gather Materials
Before you begin the process of cleaning mouse droppings off your carpet, it’s important to gather the necessary materials. Having the right tools and cleaning solutions on hand will ensure a more efficient and effective cleaning process.
Here are the materials you will need:
- Gloves: Make sure to wear disposable gloves to protect yourself from coming into direct contact with the droppings. This will help prevent the transmission of any potential diseases or pathogens.
- Face mask: Wearing a face mask is highly recommended to prevent inhaling any dust or particles while cleaning. This provides an extra layer of protection, especially if you are sensitive to allergens or have respiratory issues.
- Plastic sheets or garbage bags: Lay down plastic sheets or garbage bags around the affected area to contain the mess and make cleanup easier. This will help prevent the spread of droppings and any potential contamination.
- Dustpan and brush: A dustpan and brush will be useful for collecting and removing larger droppings or debris from the carpet surface. Choose a sturdy brush with stiff bristles to effectively sweep up the droppings without damaging the carpet fibers.
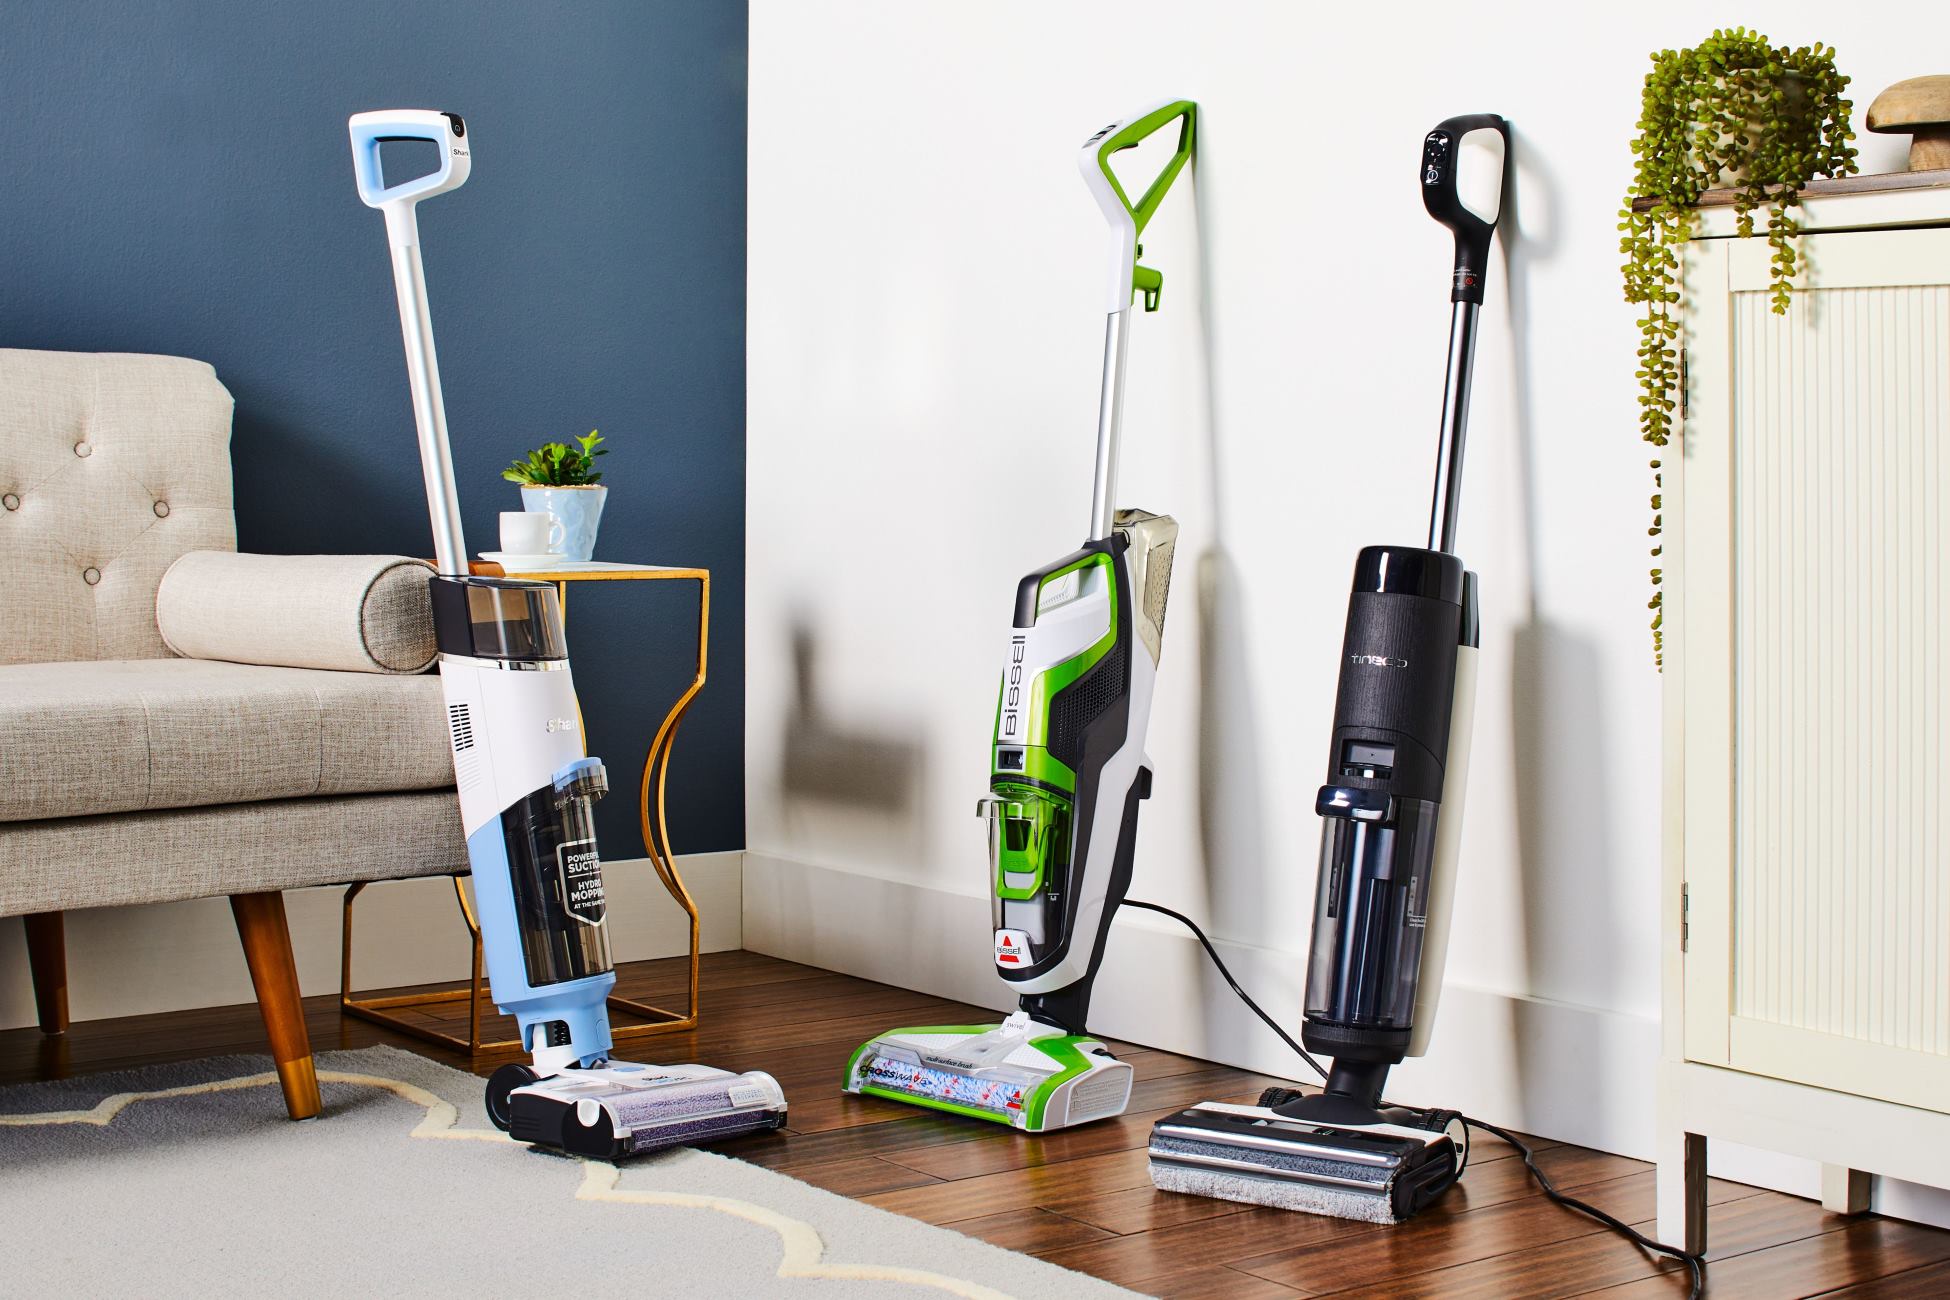
- Vacuum cleaner: Use a vacuum cleaner with a high-efficiency particulate air (HEPA) filter to thoroughly clean the carpet and remove any remaining droppings or particles. The HEPA filter will help capture even the smallest dust particles and allergens, ensuring a more thorough cleaning process.
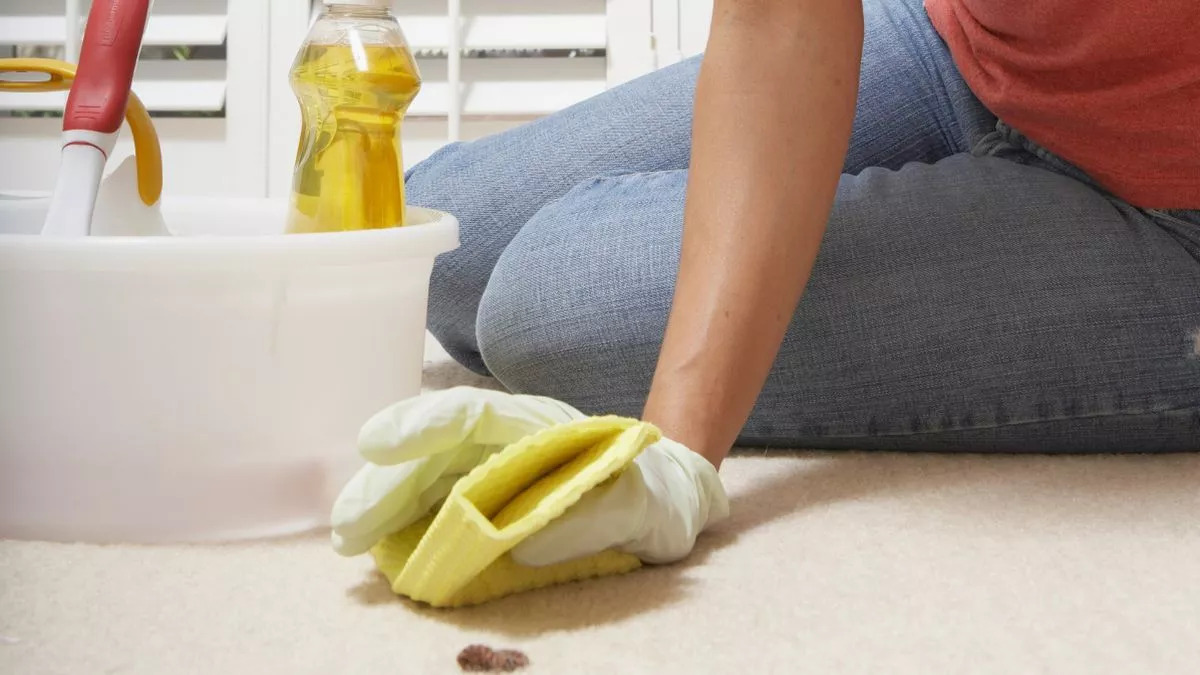
- Cleaning solution: Prepare a cleaning solution by mixing equal parts of water and a mild detergent or disinfectant cleaner. You can also use a vinegar solution by mixing one part vinegar with two parts water. Both solutions are effective in removing stains and disinfecting the carpet.
- Clean cloth or sponge: Choose a clean cloth or sponge to apply the cleaning solution and blot the affected areas. Avoid using excessively abrasive materials that could damage the carpet fibers.
- Bucket: Use a bucket to mix the cleaning solution and hold any excess liquid while cleaning. This will make the process more organized and prevent spillage.
By gathering these materials before you begin, you will have everything you need to effectively clean the mouse droppings from your carpet. This ensures a smooth and hassle-free cleaning process, allowing you to maintain a clean and healthy living environment in your home.
Safety Precautions
When cleaning mouse droppings off your carpet, it is essential to take proper safety precautions to protect yourself from any potential health risks. Mouse droppings can carry harmful bacteria, viruses, and parasites, so it’s important to follow these safety guidelines:
- Wear protective clothing: Before you start the cleaning process, it is crucial to wear appropriate protective clothing. This includes disposable gloves, a face mask, and even protective eyewear if desired. These items will create a barrier between you and the droppings, reducing the risk of direct exposure to any pathogens.
- Ventilate the area: Open windows and doors or use fans to ensure proper ventilation in the area where you will be cleaning. This will help dissipate any potential dust or odors and maintain a fresh and breathable environment.
- Do not touch droppings with bare hands: It is vital to avoid direct contact with mouse droppings. Even if you are wearing gloves, try not to touch the droppings unnecessarily. Use disposable tools, such as a dustpan and brush, to handle the droppings and dispose of them properly.
- Avoid sweeping or vacuuming dry droppings: Sweeping or vacuuming dry droppings can release harmful particles into the air, which can be inhaled. Before cleaning, make sure to dampen the area using a gentle disinfectant solution or water to prevent the droppings from becoming airborne.
- Properly dispose of waste: After the cleaning process, double-bag all the waste, including used gloves, masks, and any materials that came into contact with the droppings. Seal the bags tightly and dispose of them in an outside trash bin to prevent any potential contamination.
- Wash hands thoroughly: Once you have finished cleaning, remove your gloves and immediately wash your hands thoroughly with soap and water. This is crucial for minimizing the potential transfer of any pathogens to other surfaces or yourself.
- Monitor for symptoms: If you develop any unusual symptoms such as fever, coughing, or difficulty breathing after cleaning mouse droppings, seek medical attention promptly, and inform your healthcare professional about the situation.
By following these safety precautions, you can minimize the risk of exposure to any harmful pathogens present in mouse droppings. It is essential to prioritize your health and safety while dealing with such situations to ensure a clean and safe living environment.
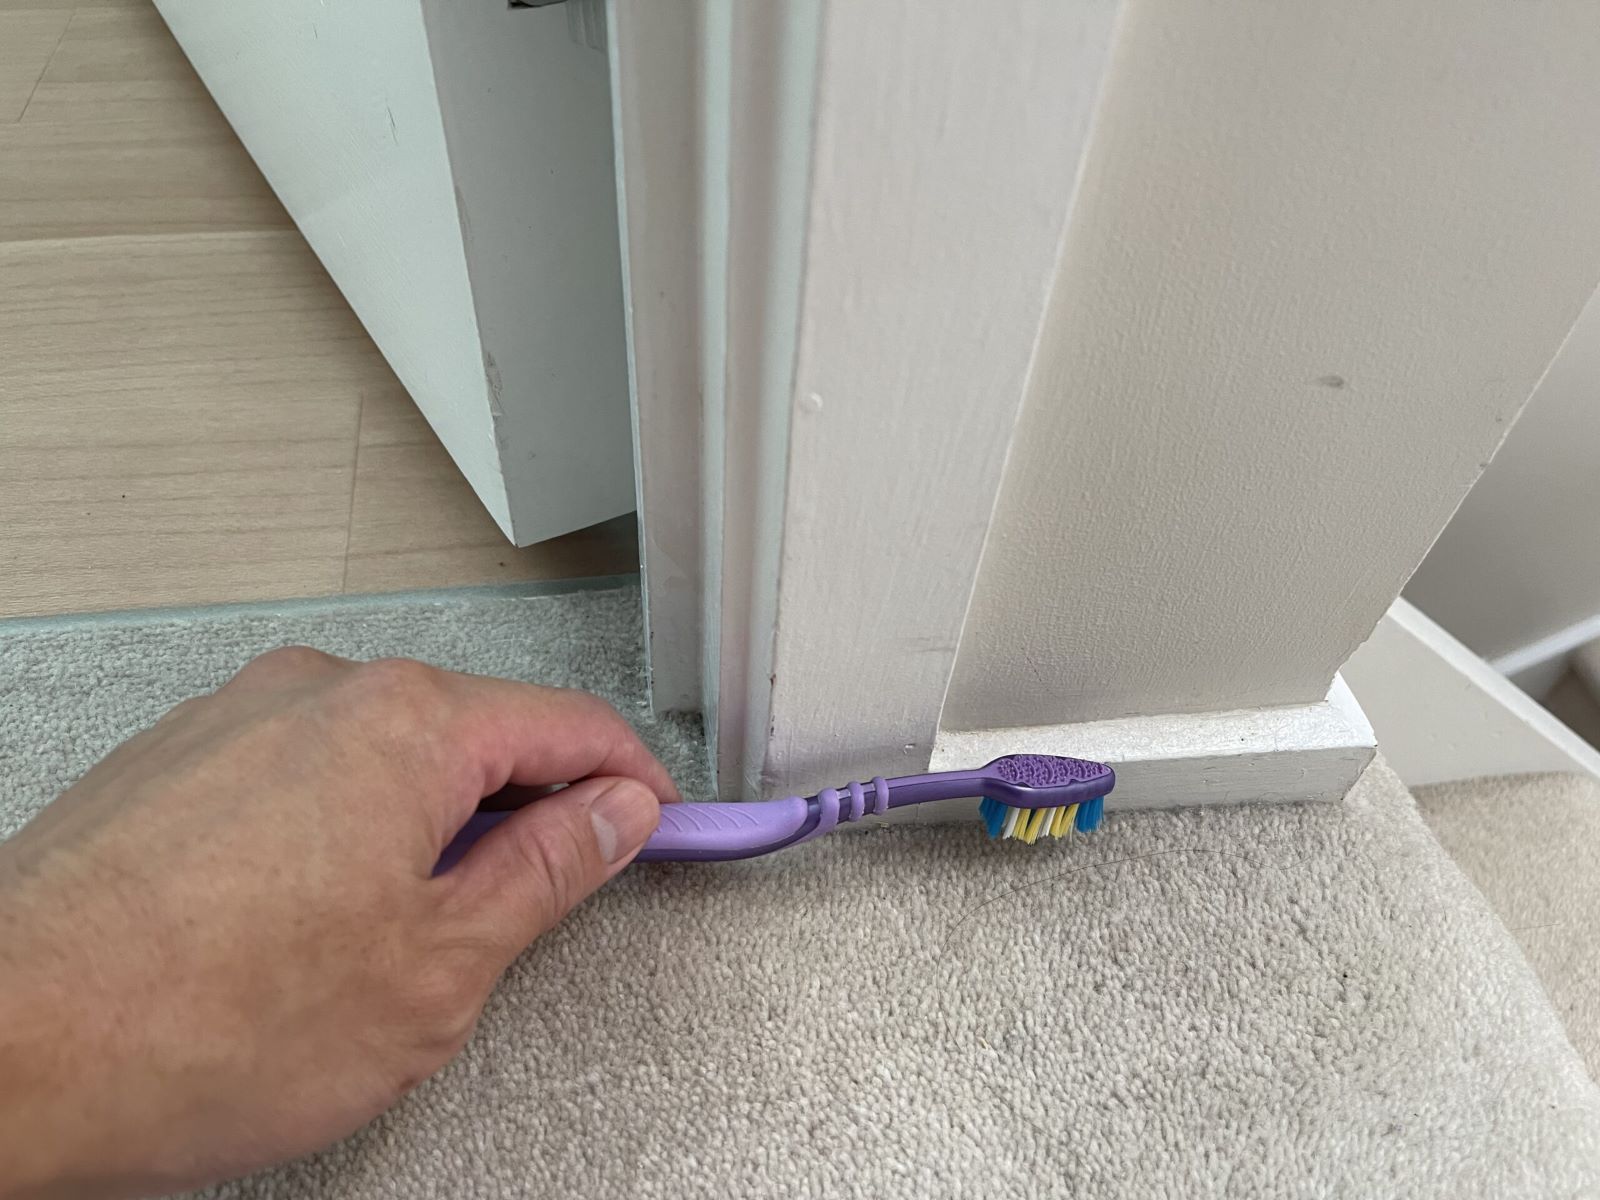
Remove Loose Droppings
Before you proceed with cleaning the affected area, it is important to remove any loose droppings that are visible on the carpet. This initial step will help minimize the spread of contamination and make the cleaning process more effective. Follow these steps to remove loose droppings:
- Put on protective gloves and a face mask: Start by wearing disposable gloves and a face mask to protect yourself from direct contact with the mouse droppings and potential pathogens.
- Prepare a damp cloth or paper towel: Dampen a clean cloth or paper towel with a mild cleaning solution or water. Do not make it too wet, as excess moisture can damage the carpet.
- Gently pick up the droppings: Approach the droppings carefully and use the damp cloth or paper towel to gently pick them up. Be cautious not to press too hard or rub the droppings into the carpet fibers.
- Place the droppings in a sealable plastic bag: After removing the droppings, place them in a sealable plastic bag to prevent any potential contamination or the spread of odor.
- Continue this process until all visible droppings are removed: Thoroughly examine the affected area and adjacent areas for any remaining droppings. Repeat the process of gently picking them up with the damp cloth or paper towel and placing them in the plastic bag.
It is important to note that this step only addresses the visible droppings on the surface. More thorough cleaning and disinfecting are necessary to eliminate any potential pathogens that may still be present in the carpet fibers.
By removing loose droppings first, you minimize the risk of spreading contaminants and make subsequent cleaning steps more effective. Remember to properly dispose of the plastic bag containing the droppings to avoid any further contact or contamination.
Read more: Where To Drop Off Cardboard Boxes
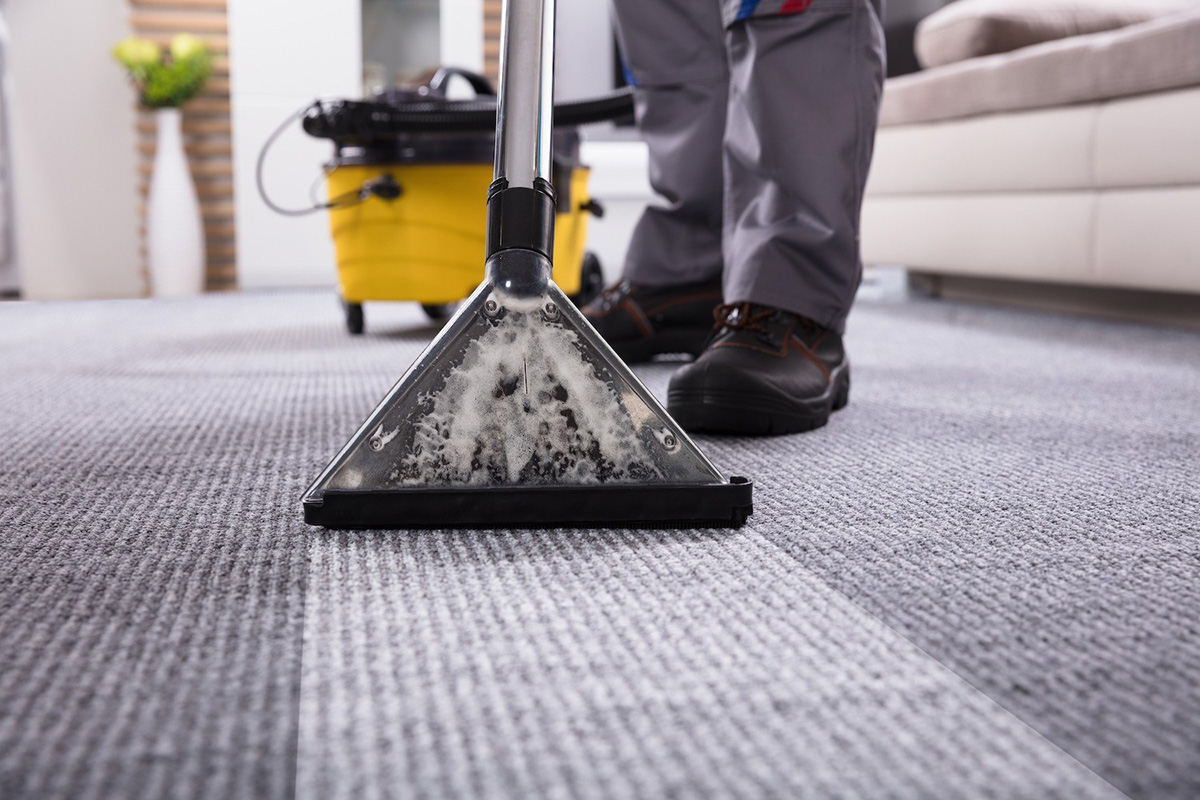
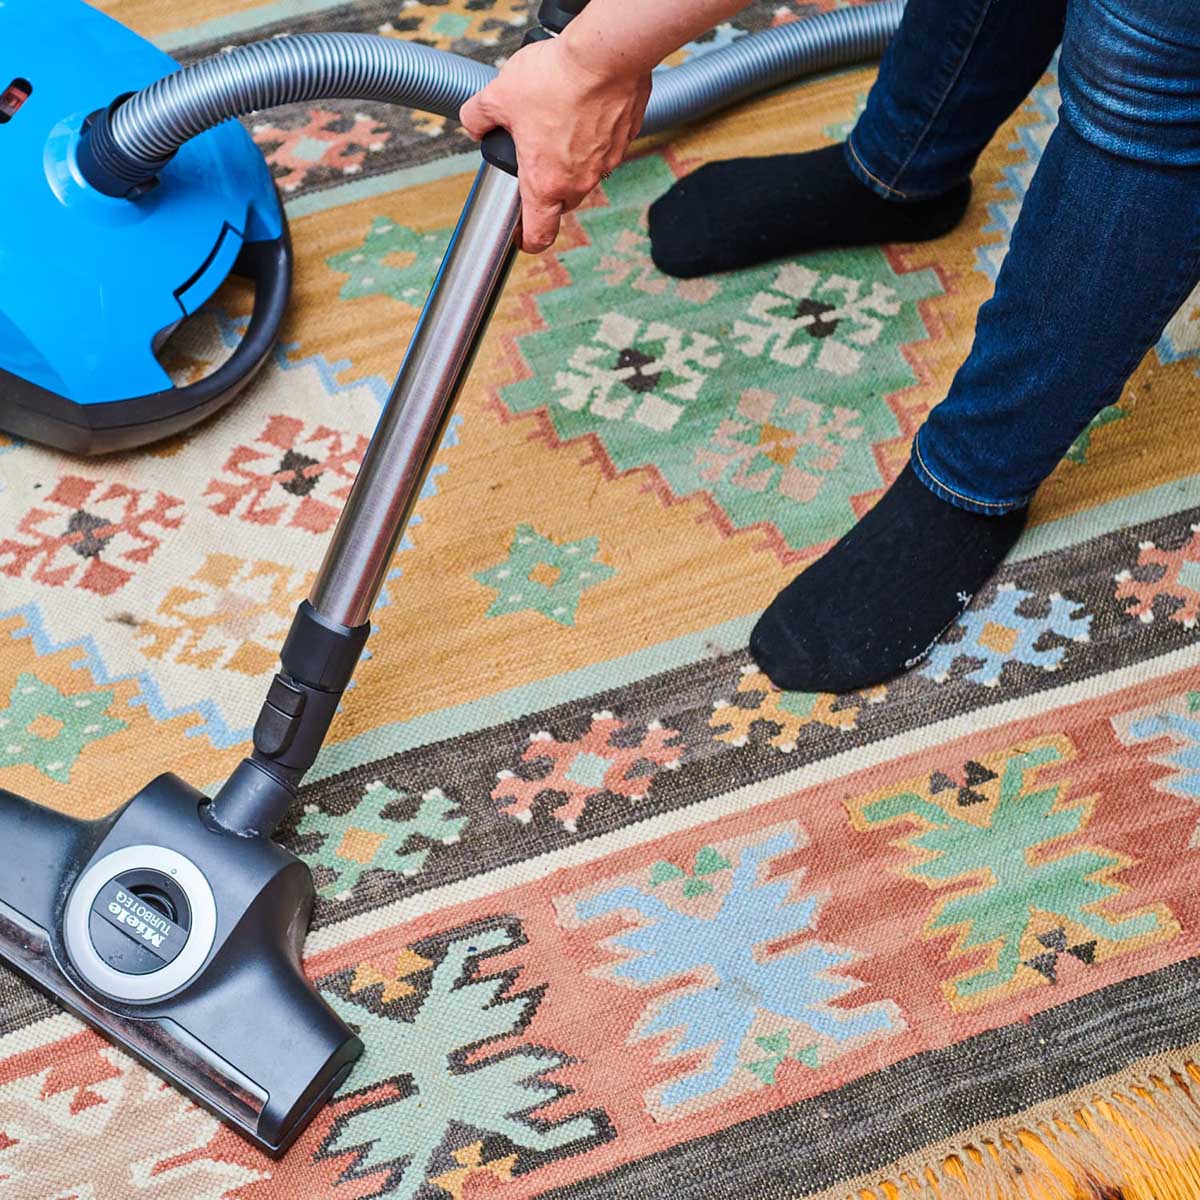
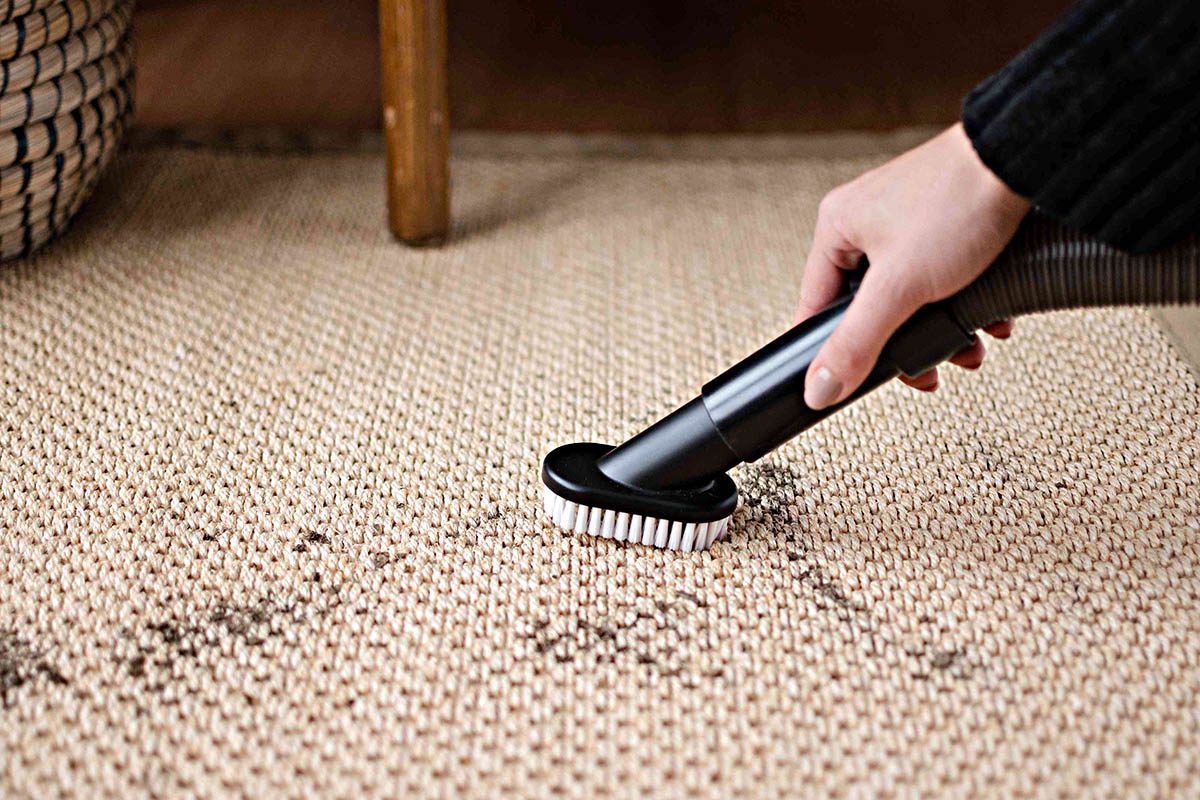
Vacuum the Area
After removing the loose droppings, the next step in cleaning mouse droppings off your carpet is to thoroughly vacuum the affected area. Vacuuming helps remove any remaining droppings, as well as dust, allergens, and debris that may be embedded in the carpet fibers. Follow these steps for effective vacuuming:
- Ensure your vacuum is equipped with a high-efficiency particulate air (HEPA) filter: HEPA filters are designed to trap tiny particles, including allergens and potentially harmful pathogens. Using a vacuum with a HEPA filter will help ensure a more thorough and efficient cleaning process.
- Double-check the carpet for any visible droppings: Before vacuuming, carefully inspect the area to ensure there are no remaining visible droppings. If you come across any, pick them up using a damp cloth or paper towel, as described in the previous step.
- Choose the appropriate vacuum attachment: Depending on the size of the affected area and the type of carpet, select the appropriate attachment for your vacuum. Use a nozzle or brush attachment that can reach into the carpet fibers and effectively remove dirt and debris.
- Vacuum the entire affected area: Starting from one end of the carpet, slowly and systematically vacuum the entire affected area. Move the vacuum in straight lines, overlapping each pass slightly to ensure thorough coverage.
- Pay extra attention to high-traffic areas: Focus on areas where mouse activity or droppings were particularly concentrated, as these spots may require more attention and thorough vacuuming.
- Repeat the vacuuming process: After the initial vacuuming, go over the area again to ensure that any remaining particles or droppings are effectively removed. This extra step helps minimize the risk of potential recontamination.
- Empty and clean the vacuum: Once you have finished vacuuming, empty the contents of the vacuum into a sealable garbage bag. Be sure to wash or wipe down the vacuum canister or bag to prevent any lingering odors or bacteria.
Thorough vacuuming is an essential step in the cleaning process as it removes the majority of the droppings and helps create a clean foundation for the next cleaning steps. Remember to follow the manufacturer’s recommendations for your specific vacuum and dispose of the vacuum bag or empty the canister properly.
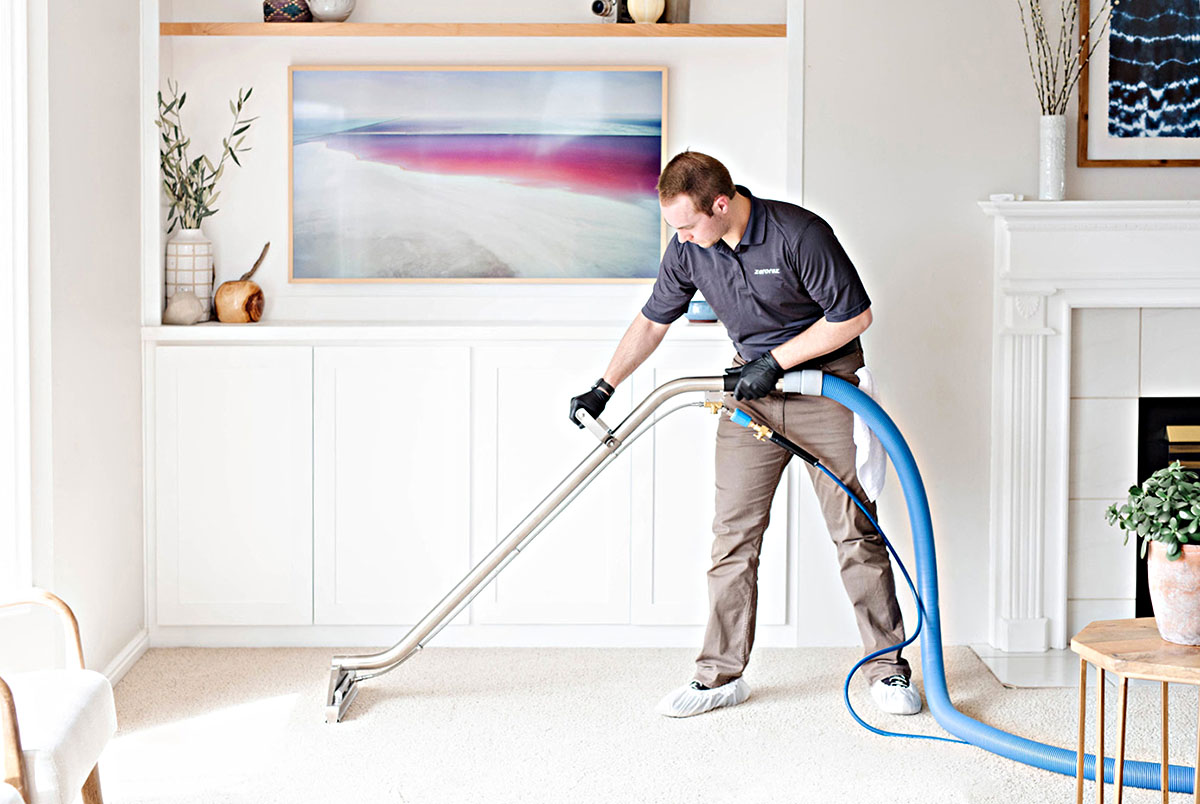
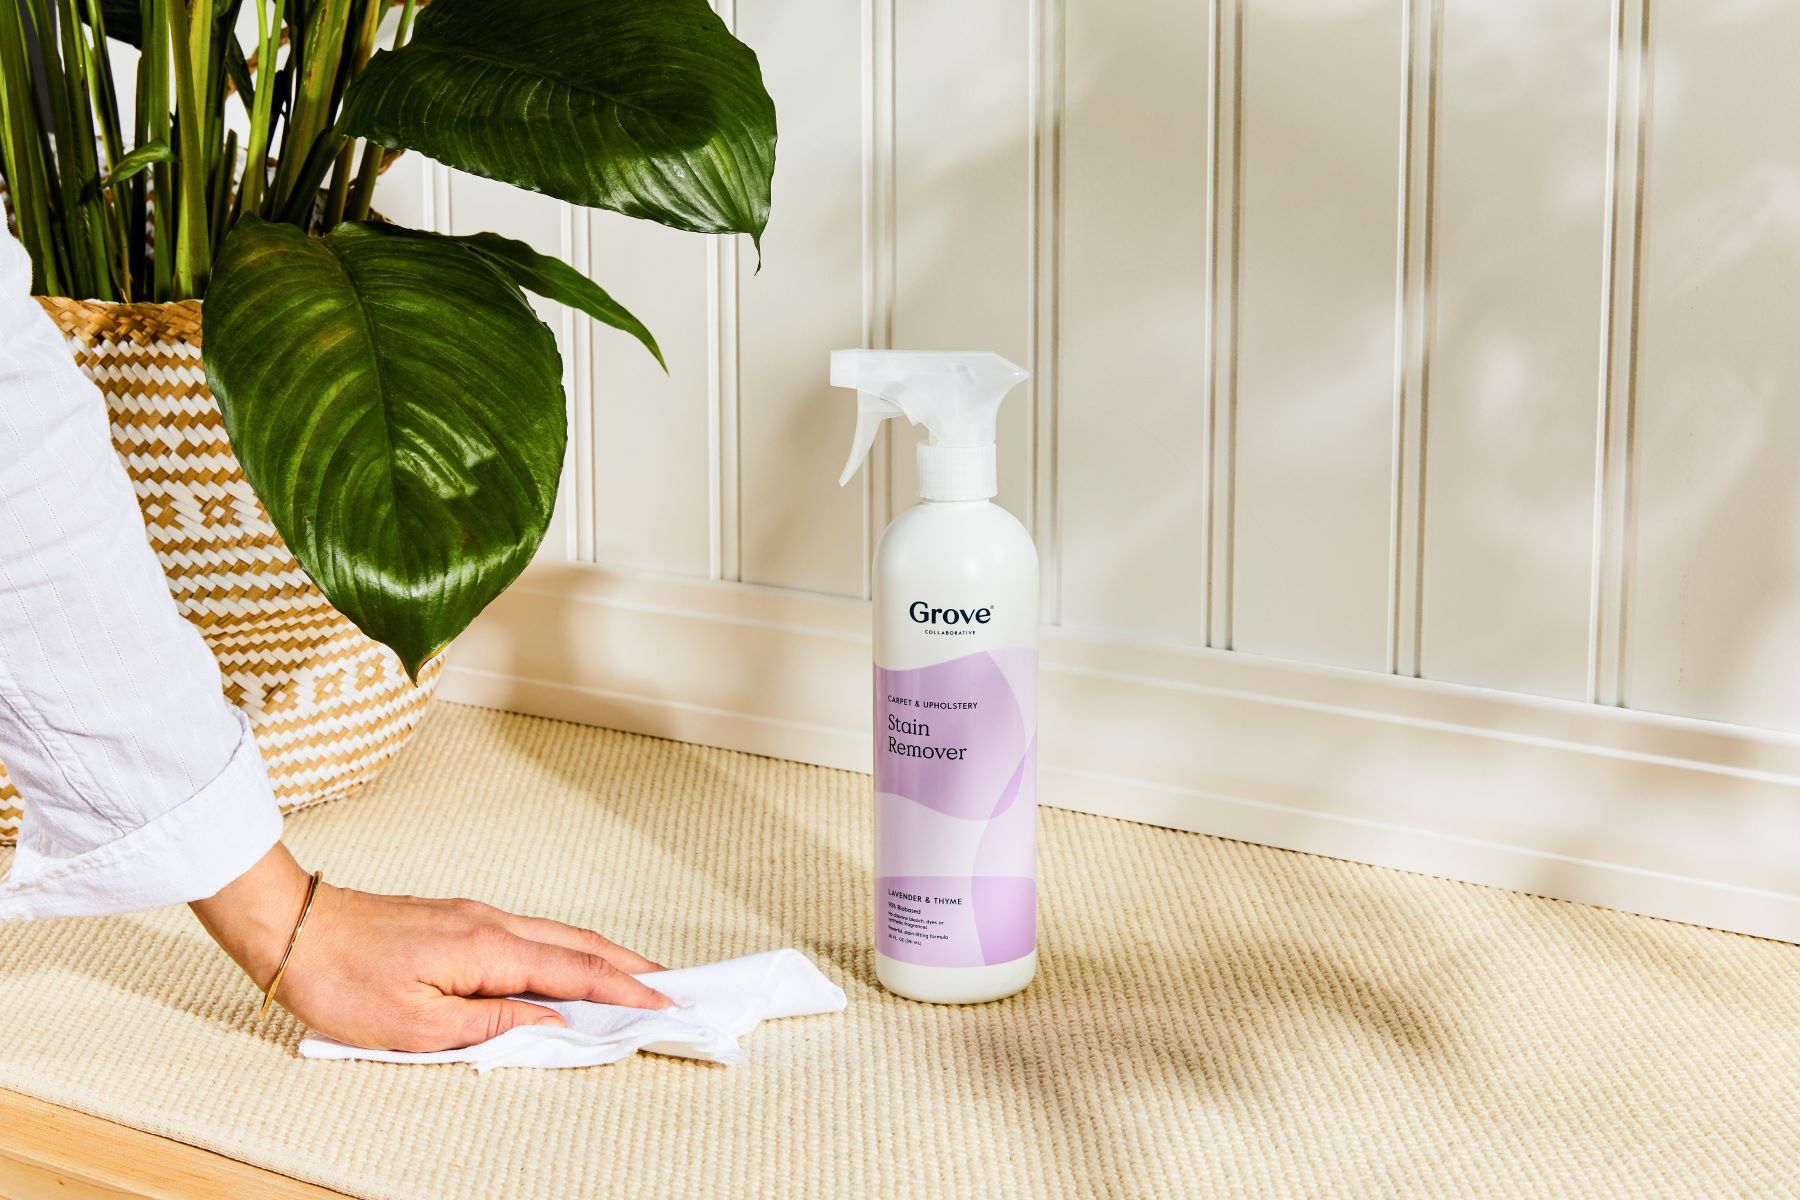
Apply Cleaning Solution
Once you have vacuumed the affected area, the next step is to apply a cleaning solution to effectively eliminate any remaining stains, odors, and bacteria from the mouse droppings. Follow these steps to apply the cleaning solution:
- Mix a cleaning solution: Prepare a cleaning solution by mixing equal parts of water and a mild detergent or disinfectant cleaner. Alternatively, you can use a vinegar solution by mixing one part vinegar with two parts water. Both solutions are effective in removing stains and disinfecting the carpet.
- Test the cleaning solution: Before applying the cleaning solution to a larger area of your carpet, it’s always a good practice to test it on a small, inconspicuous spot to ensure it doesn’t cause any color fading or damage. Wait for a few minutes and check for any adverse reactions.
- Apply the cleaning solution: If the cleaning solution passes the colorfastness test, apply it to the affected area using a clean cloth or sponge. Gently blot the area with the cleaning solution, starting from the edges and working your way towards the center. Avoid rubbing or scrubbing vigorously to prevent pushing the stains further into the carpet fibers.
- Let the solution sit: Allow the cleaning solution to sit on the carpet for a few minutes to penetrate and loosen any remaining stains or particles. This dwell time helps the solution effectively break down the debris and bacteria for better removal.
- Gently blot the stains: After the solution has had time to work, use a clean cloth or sponge to blot the area gently. Continue blotting until the stains are lifted. Avoid excessive scrubbing, as it can damage the carpet fibers or spread the stains further.
- Repeat the process if necessary: For stubborn stains or heavily soiled areas, you may need to repeat the application of the cleaning solution and blotting process. Be patient and persistent until the stains are no longer visible.
By applying a cleaning solution, you effectively break down stains and eliminate any remaining bacteria or odors from the mouse droppings. The gentle blotting technique helps prevent damage to the carpet fibers while ensuring thorough cleaning.
Remember to work in a well-ventilated area and allow the carpet to dry completely before moving on to the next step in the cleaning process.
Use a mixture of water and white vinegar to clean mouse droppings off the carpet. Dab the area with the solution and then blot with a clean cloth. Repeat until the area is clean and then vacuum the carpet.
Blot the Stains
After applying the cleaning solution to the affected area, the next step in cleaning mouse droppings off your carpet is to blot the stains. Blotting helps remove any remaining stains and ensures a more thorough cleaning. Follow these steps to effectively blot the stains:
- Prepare clean absorbent material: Get a clean cloth or a stack of paper towels to use for blotting the stains. Make sure the material is absorbent and won’t transfer color to the carpet.
- Start from the outside of the stain: Begin blotting the stain by gently pressing the cloth or paper towel on the outer edges of the affected area. Gradually work your way towards the center to prevent spreading the stain further.
- Blot, don’t scrub: Avoid rubbing or scrubbing the stain vigorously, as this can damage the carpet fibers and embed the stain deeper. Instead, lightly press and blot the stain to absorb and lift the moisture.
- Change the blotting material: As the cloth or paper towel becomes saturated with moisture, switch to a clean and dry one. This helps prevent transferring the stain back onto the carpet and enables more effective absorption.
- Continue blotting until the stain is gone: Repeat the process of blotting with a clean material until the stain is no longer visible on the cloth or paper towel. Be patient and persistent, as some stains may require multiple rounds of blotting.
- Blot in a gentle, upward motion: When blotting, use an upward motion rather than pressing the material down into the carpet. This helps lift the stain without pushing it further into the fibers.
- Check the carpet’s colorfastness: If the cleaning solution you used caused any discoloration on the carpet, lightly dampen a cloth with clean water and blot the area to remove any residue. Always test any cleaning solution on a small, inconspicuous spot before applying it more extensively.
Blotting the stains aids in the removal of any remaining traces of the mouse droppings and cleaning solution. It allows you to gradually lift the stain without causing damage to the carpet fibers.
Remember to be patient and avoid excessive scrubbing or rubbing, as this can worsen the stain or damage the carpet. Once the stains are no longer visible, you can proceed to the next step in the cleaning process.
Rinse the Carpet
Once you have successfully blotted the stains from the carpet, it’s time to rinse the area to remove any residue from the cleaning solution or remaining debris. Rinsing helps ensure a thorough cleaning and prevents any potential build-up that could attract dirt in the future. Follow these steps to effectively rinse the carpet:
- Prepare clean water: Fill a bucket or container with clean, lukewarm water. Avoid using hot water, as it can damage the carpet fibers.
- Moisten a clean cloth or sponge: Dip a clean cloth or sponge into the water, making sure it is damp but not dripping wet.
- Gently blot the rinsing water onto the carpet: Starting from the outer edges of the previously cleaned area, gently blot the damp cloth or sponge onto the carpet. Work your way towards the center of the area, covering the entire affected spot.
- Avoid over-saturating the carpet: Ensure you do not saturate the carpet with excess water, as this can lead to mold or mildew growth. Use a minimal amount of water necessary to rinse the area effectively.
- Continue rinsing until residue is removed: Repeat the process of blotting with the damp cloth or sponge until you no longer see any remnants of the cleaning solution or debris.
- Use a dry cloth or towel to absorb excess moisture: After rinsing, use a dry cloth or towel to gently blot and absorb any excess moisture from the carpet. This step will aid in the drying process.
- Allow the carpet to air dry: Leave the area to air dry naturally, ensuring good ventilation in the room. Avoid walking on the carpet until it is completely dry to prevent any transfer of dirt or potential damage.
- Monitor the drying process: Keep an eye on the drying progress and avoid prolonged dampness in the carpet, as it can lead to mold or odors. If necessary, use fans or open windows to expedite the drying process.
Rinsing the carpet after the cleaning process removes any residual cleaning solution and ensures a fresh, clean finish. It also helps restore the natural texture and appearance of the carpet fibers.
Remember to take your time during the rinsing process and avoid over-saturating the carpet. Proper drying is crucial to prevent any potential damage and maintain a hygienic environment.
Read more: How To Get Hair Off The Carpet
Dry the Area
Once you have rinsed the carpet, it is important to properly dry the area to prevent the growth of mold, mildew, and unpleasant odors. Proper drying ensures the longevity of your carpet and maintains a clean and fresh environment. Follow these steps to effectively dry the area:
- Absorb excess moisture: Use a clean, dry cloth or towel to gently blot the carpet and absorb any remaining moisture. Press down on the carpet with the cloth to remove as much water as possible.
- Allow for natural air circulation: Open windows or doors, or turn on fans to promote air circulation in the room. Increased air circulation speeds up the drying process and helps evaporate moisture from the carpet.
- Do not walk on the damp carpet: Avoid walking on the damp carpet until it is completely dry to prevent any dirt or debris from being tracked onto the surface. If necessary, place a sign or barrier around the area to remind everyone to avoid it.
- Use a dehumidifier (optional): If the room has high humidity levels, you may consider using a dehumidifier to extract excess moisture from the air. This can help expedite the drying process and prevent any potential moisture-related issues.
- Monitor the drying progress: Keep a close eye on the drying progress. Depending on factors such as humidity levels, carpet thickness, and airflow, the drying time may vary. It is important to allow sufficient time for the carpet to dry completely.
- Check for any residual moisture or odors: After the carpet appears dry, check for any remaining moisture or odors. Press a clean, dry cloth onto the carpet for a few seconds and check for any dampness. If you detect any moisture or lingering odors, continue the drying process until they are completely resolved.
- Replace furniture and accessories: Once the carpet is fully dry, you can return the furniture and accessories to their original positions. Make sure the carpet is completely dry before doing so to avoid any potential damage or staining.
Properly drying the carpet ensures that it is free from excess moisture, preventing the growth of mold, mildew, and odors. It also helps maintain the cleanliness and integrity of your carpet, extending its lifespan.
Remember to be patient during the drying process, as rushing can lead to moisture-related issues. Allow sufficient time for the area to completely dry before resuming normal use.
Disposal of Waste
After cleaning mouse droppings off your carpet, it is important to handle and dispose of the waste properly to prevent any potential contamination or further spread of bacteria and pathogens. Follow these guidelines for the safe disposal of waste:
- Double-bag the waste: Carefully transfer any materials that came into contact with the mouse droppings, such as gloves, cleaning cloths, or paper towels, into a sealable plastic bag.
- Seal the bags tightly: Ensure that the plastic bags are tightly sealed to prevent any leakage or odor. This step helps contain the waste and prevent the spread of bacteria.
- Label the bags as biohazard or contaminated waste: Use a permanent marker to clearly label the bags as biohazard or contaminated waste. This is a precautionary measure to alert others and ensure proper handling during waste disposal.
- Follow local disposal regulations: Check with your local waste management or sanitation department to understand the specific guidelines for disposing of biohazardous waste, including mouse droppings. Different regions may have different regulations regarding the proper handling and disposal of potentially hazardous materials.
- Arrange for proper waste collection: Contact your local waste management authority or a professional waste disposal service to arrange for the proper collection and disposal of the sealed bags. They will guide you on the designated collection points or provide information on scheduled pick-ups for biohazardous waste.
- Disinfect the area: Once the waste is properly sealed and removed, disinfect the area where the mouse droppings were found. Use a disinfectant cleaner or a mixture of bleach and water to thoroughly clean and disinfect the affected surfaces. This helps eliminate any lingering bacteria and ensures a hygienic environment.
- Wash hands thoroughly: After handling the waste, remove your gloves and wash your hands thoroughly with soap and water. Proper hand hygiene is essential to minimize the risk of potential contamination.
By following these guidelines for the disposal of waste, you can ensure the safe and responsible handling of materials contaminated with mouse droppings. Proper disposal helps protect both you and the environment from potential health risks.
Preventing Future Incidents
Once you have dealt with mouse droppings on your carpet, it is important to take preventive measures to minimize the likelihood of future incidents. By implementing effective prevention strategies, you can create an environment that discourages mice from entering your home. Here are some steps to help prevent future mouse infestations:
- Seal entry points: Inspect your home carefully for any gaps, cracks, or openings that mice can use to enter. Seal these entry points using caulk, steel wool, or other appropriate sealants to prevent mice from finding their way in.
- Maintain cleanliness: Keep your home clean and tidy, especially in areas where food is stored or prepared. Regularly clean up spills, remove food crumbs, and store food in sealed containers to discourage mice from being attracted to your living space.
- Store food properly: Store food items, including pet food, in sturdy, airtight containers that mice cannot access. This helps eliminate potential food sources and reduces the chances of attracting mice into your home.
- Remove outdoor food sources: Keep garbage cans tightly sealed and away from the house. Clear any debris or fallen fruits or seeds from your yard to discourage mice from finding food sources near your home.
- Keep the home clutter-free: Minimize clutter in your home, as it provides hiding places and nesting sites for mice. Regularly declutter and organize storage areas to make it more difficult for mice to establish a presence.
- Maintain proper landscaping: Trim shrubs and branches away from the exterior of your home. Mice can use overhanging branches or dense vegetation as pathways to enter your house.
- Use deterrents: Consider using mouse repellents or deterrents, such as sonic devices or scent-based repellents, in areas where mice are likely to enter. These can help deter mice from choosing your home as their nesting site.
- Regularly inspect your home: Conduct regular inspections of your home, paying attention to areas where mice tend to hide or nest. Look for signs of droppings, gnaw marks, or other indications of mouse activity, and address any issues promptly.
- Consider professional pest control: If you notice repeated mouse infestations or are unable to control the problem on your own, consider hiring a professional pest control service. They have the expertise to assess and address the root cause of the infestation, providing effective and long-term solutions.
By implementing these preventive measures, you create a less appealing environment for mice and reduce the chances of future infestations. Regular maintenance and vigilance are key to keeping your home mouse-free and ensuring a safe and clean living space for you and your family.
Conclusion
Cleaning mouse droppings off your carpet can be an unpleasant task, but it is crucial for maintaining a clean and healthy living environment. By following the proper steps and taking appropriate safety precautions, you can effectively remove the droppings and minimize the risk of potential health hazards.
Assessing the situation, gathering the necessary materials, and wearing protective gear are essential first steps to ensure a successful cleaning process. Removing loose droppings and vacuuming the area help eliminate visible debris, while applying a cleaning solution and blotting the stains aid in disinfection and stain removal.
Rinsing the carpet and thoroughly drying the area are important to prevent mold and odors from developing. Additionally, responsibly disposing of waste associated with mouse droppings helps maintain a clean and safe environment.
Preventing future incidents is crucial in keeping your home free from mouse infestations. Implementing measures such as sealing entry points, practicing cleanliness, and removing potential food sources discourage mice from entering your home in the first place.
By following these steps and remaining vigilant, you can create a mouse-free environment, ensuring the health and well-being of your family. Remember, if you encounter multiple or persistent mouse infestations, it may be wise to seek professional assistance to effectively address the issue and prevent further damage to your home.
Frequently Asked Questions about How To Clean Mouse Droppings Off The Carpet
Was this page helpful?
At Storables.com, we guarantee accurate and reliable information. Our content, validated by Expert Board Contributors, is crafted following stringent Editorial Policies. We're committed to providing you with well-researched, expert-backed insights for all your informational needs.