Articles
How To Professionally Clean A Carpet
Modified: October 20, 2024
Learn professional carpet cleaning techniques with our articles. Discover effective methods and tips for maintaining a clean and fresh carpet.
(Many of the links in this article redirect to a specific reviewed product. Your purchase of these products through affiliate links helps to generate commission for Storables.com, at no extra cost. Learn more)
Introduction
Welcome to the ultimate guide on how to professionally clean a carpet. Whether you want to freshen up the carpets in your home or you’re a professional cleaner looking to enhance your skills, this article is here to help.
A clean carpet not only improves the overall appearance of a room, but it also contributes to a healthier indoor environment by removing dust, dirt, allergens, and bacteria. While regular vacuuming is essential for maintaining a clean carpet, deep cleaning is necessary to eliminate embedded stains and deep-seated dirt.
In this guide, we will take you step by step through the process of professionally cleaning a carpet. We will cover everything from gathering materials and equipment to drying the carpet properly. You don’t need to be an expert to achieve professional-grade results – with the right knowledge and techniques, you can transform your carpets into spotless, fresh, and luxurious assets for your home or business.
Before we dive into the cleaning process, let’s go over some essential tips:
- Read the manufacturer’s instructions: Always refer to the carpet manufacturer’s guidelines, as different carpet materials may require specific cleaning methods and products.
- Test in an inconspicuous area: Before applying any cleaning solutions or techniques to the entire carpet, test them in a small, hidden area to ensure they won’t cause any damage or discoloration.
- Protect your furniture: Move any furniture off the carpeted area or use protective sheets or sliders to prevent any damage or staining during the cleaning process.
- Work in sections: To ensure thorough cleaning, divide the carpeted area into manageable sections, focusing on one area at a time.
- Be patient: Deep cleaning a carpet can take time, especially when dealing with stubborn stains. Take your time, follow the steps carefully, and don’t rush the process.
By keeping these tips in mind, you can ensure a successful carpet cleaning experience. So let’s gather the necessary materials and equipment and get ready to restore your carpet to its pristine condition.
Key Takeaways:
- Properly preparing the carpet, using the right cleaning solution, and ensuring thorough drying are crucial for achieving professional-grade results when cleaning a carpet. Following these steps will lead to a cleaner, fresher, and more inviting space.
- Implementing preventive measures, such as using doormats, establishing a no-shoe policy, and scheduling regular professional carpet cleaning, can significantly reduce the risk of future stains, dirt, and wear on your carpet. Consistency in maintenance and cleanliness will help keep your carpet looking fresh and extend its lifespan.
Read more: What Carpet Cleaner Do Professionals Use
Gathering Materials and Equipment
Before you begin the carpet cleaning process, you’ll need to gather the necessary materials and equipment. Having everything ready and within reach will help streamline the cleaning process and ensure you have everything you need to achieve professional results.
Here’s a list of items you’ll need:
- Protective gloves: It’s important to protect your hands from any harsh chemicals or cleaning solutions you may be using. Invest in a good pair of rubber gloves to ensure your safety.
- Vacuum cleaner: Start by giving the carpet a thorough vacuuming to remove loose dirt and debris. If you don’t already have one, consider investing in a high-quality vacuum cleaner with powerful suction.
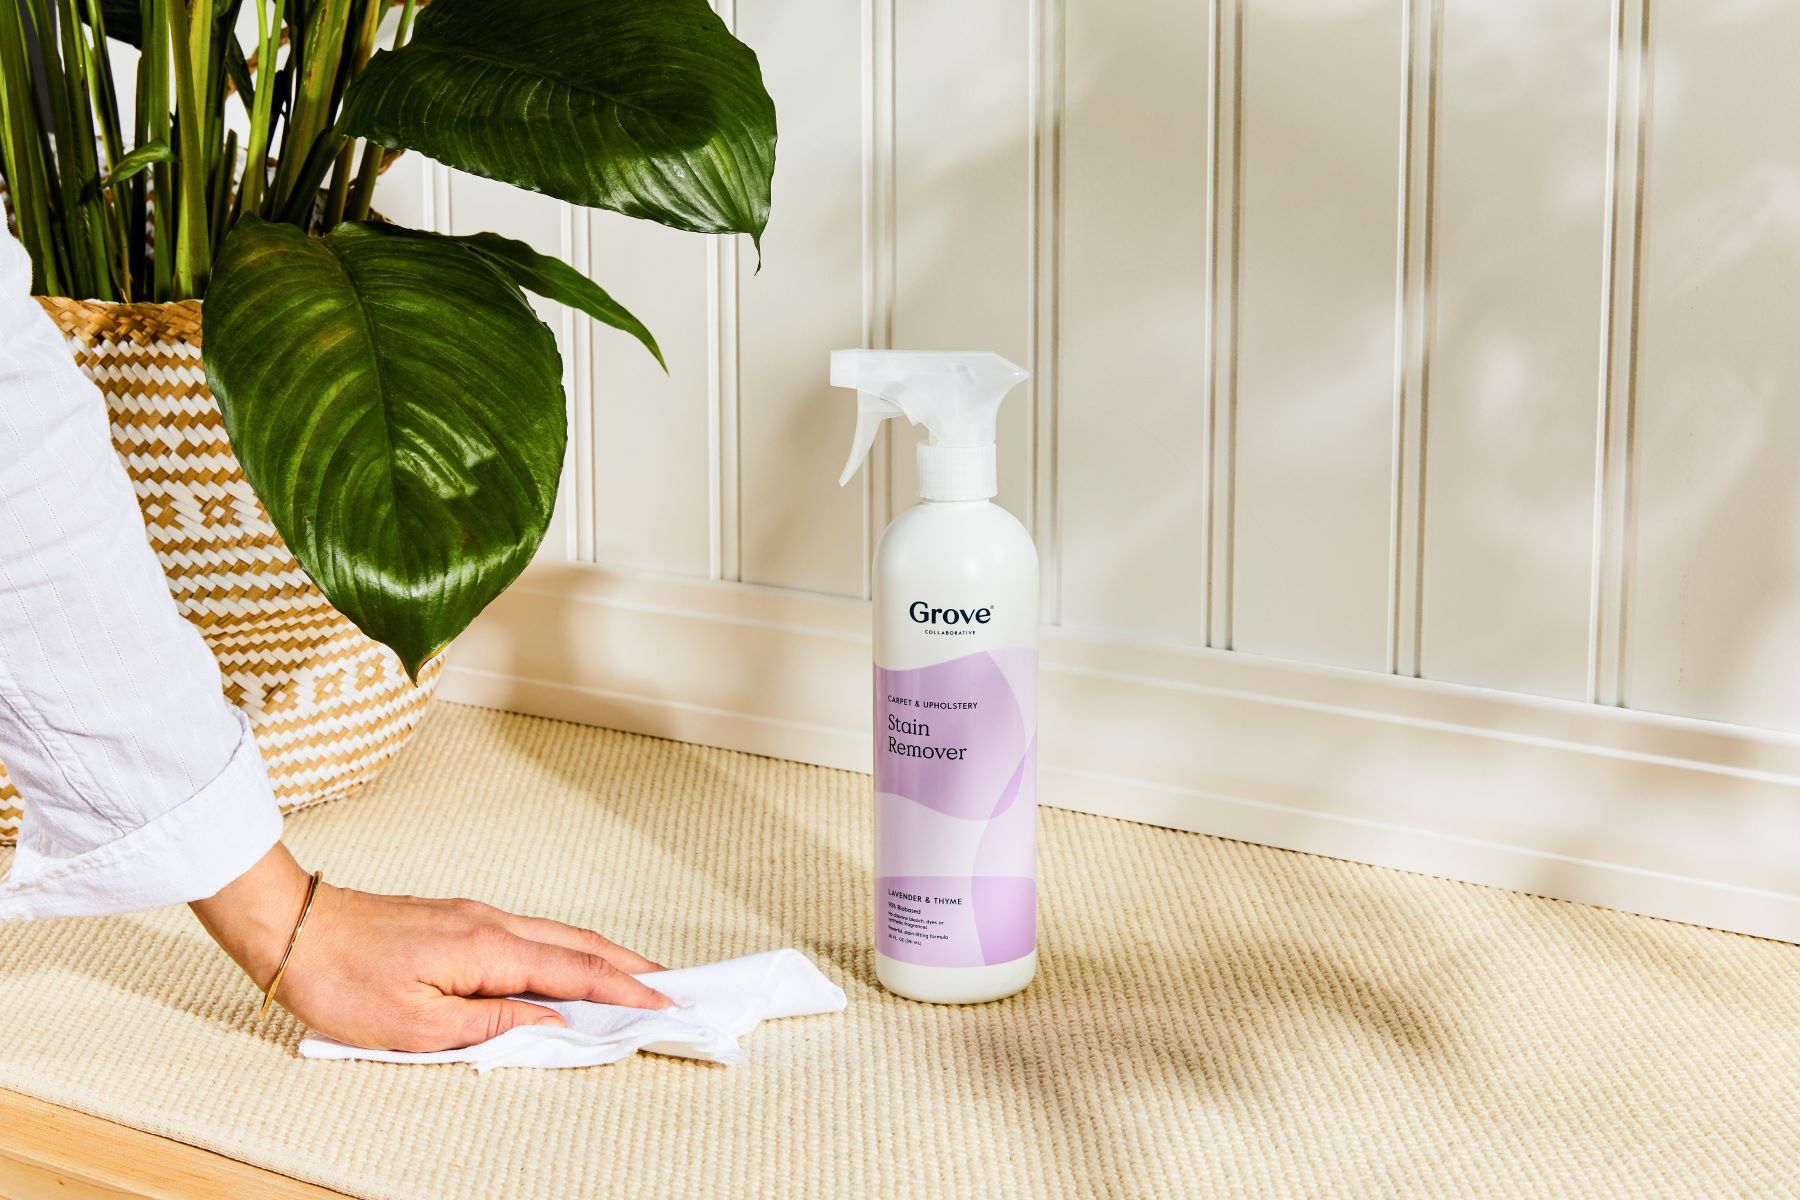
- Stain remover: Depending on the type of stains you’re dealing with, you’ll need a reliable stain remover to tackle them effectively. Look for a stain remover that is suitable for your carpet’s material and is designed to combat specific stains like pet stains, coffee spills, or grease marks.
- Carpet cleaning solution: To deep clean the carpet and remove embedded dirt and odors, you’ll need a carpet cleaning solution. You can find a variety of options in the market, including both commercial and homemade solutions.
- Scrub brush or sponge: A scrub brush or sponge will be useful for agitating the carpet fibers and working in the cleaning solution. Choose a brush or sponge with soft bristles to avoid damaging the carpet.
- Bucket: A bucket will be needed to mix the cleaning solution and carry it around as you work on different sections of the carpet.
- Clean white towels or microfiber cloths: These will come in handy for blotting and drying the carpet.
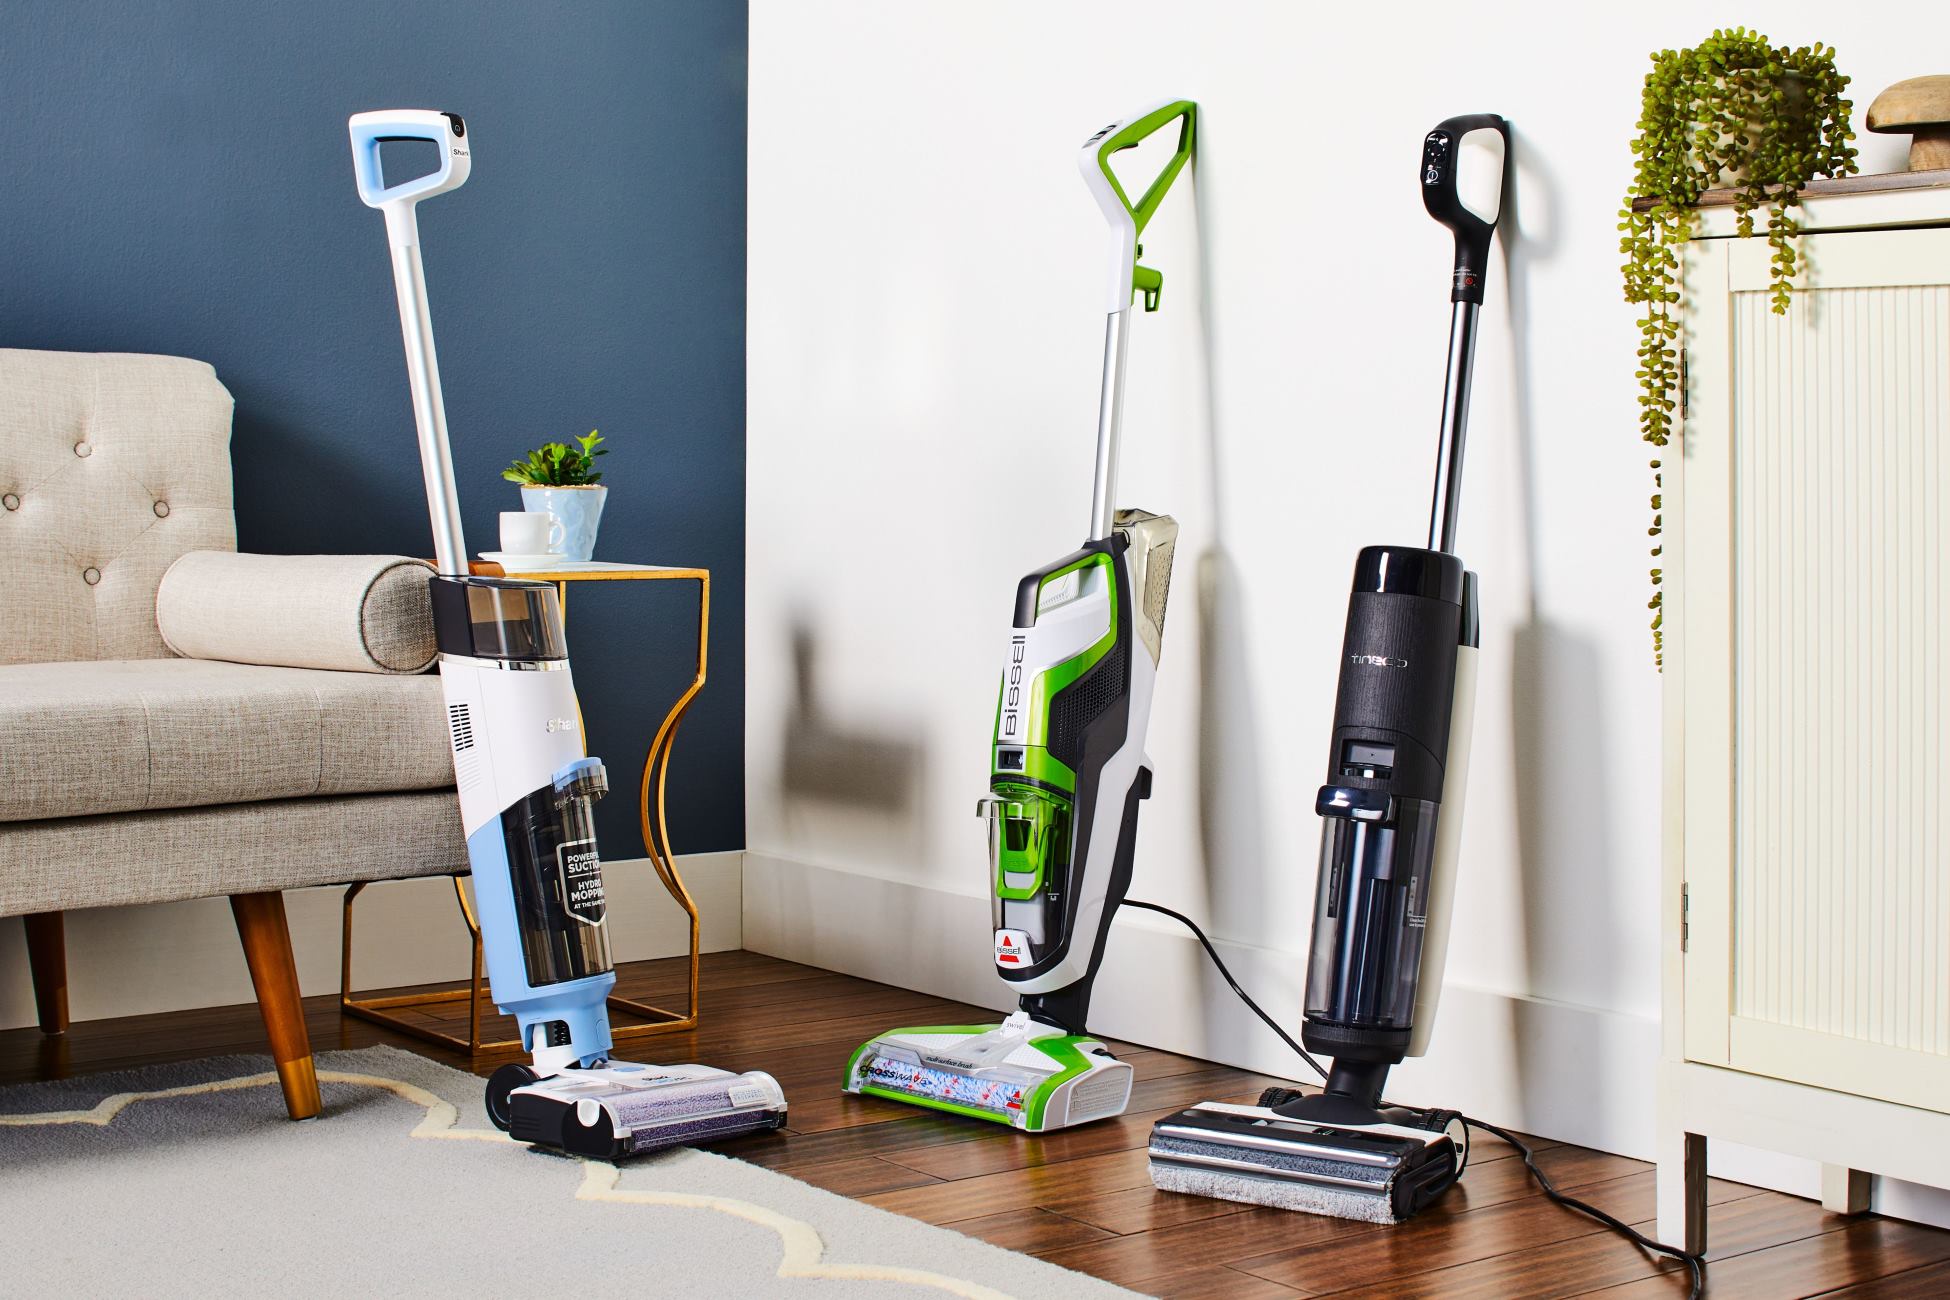
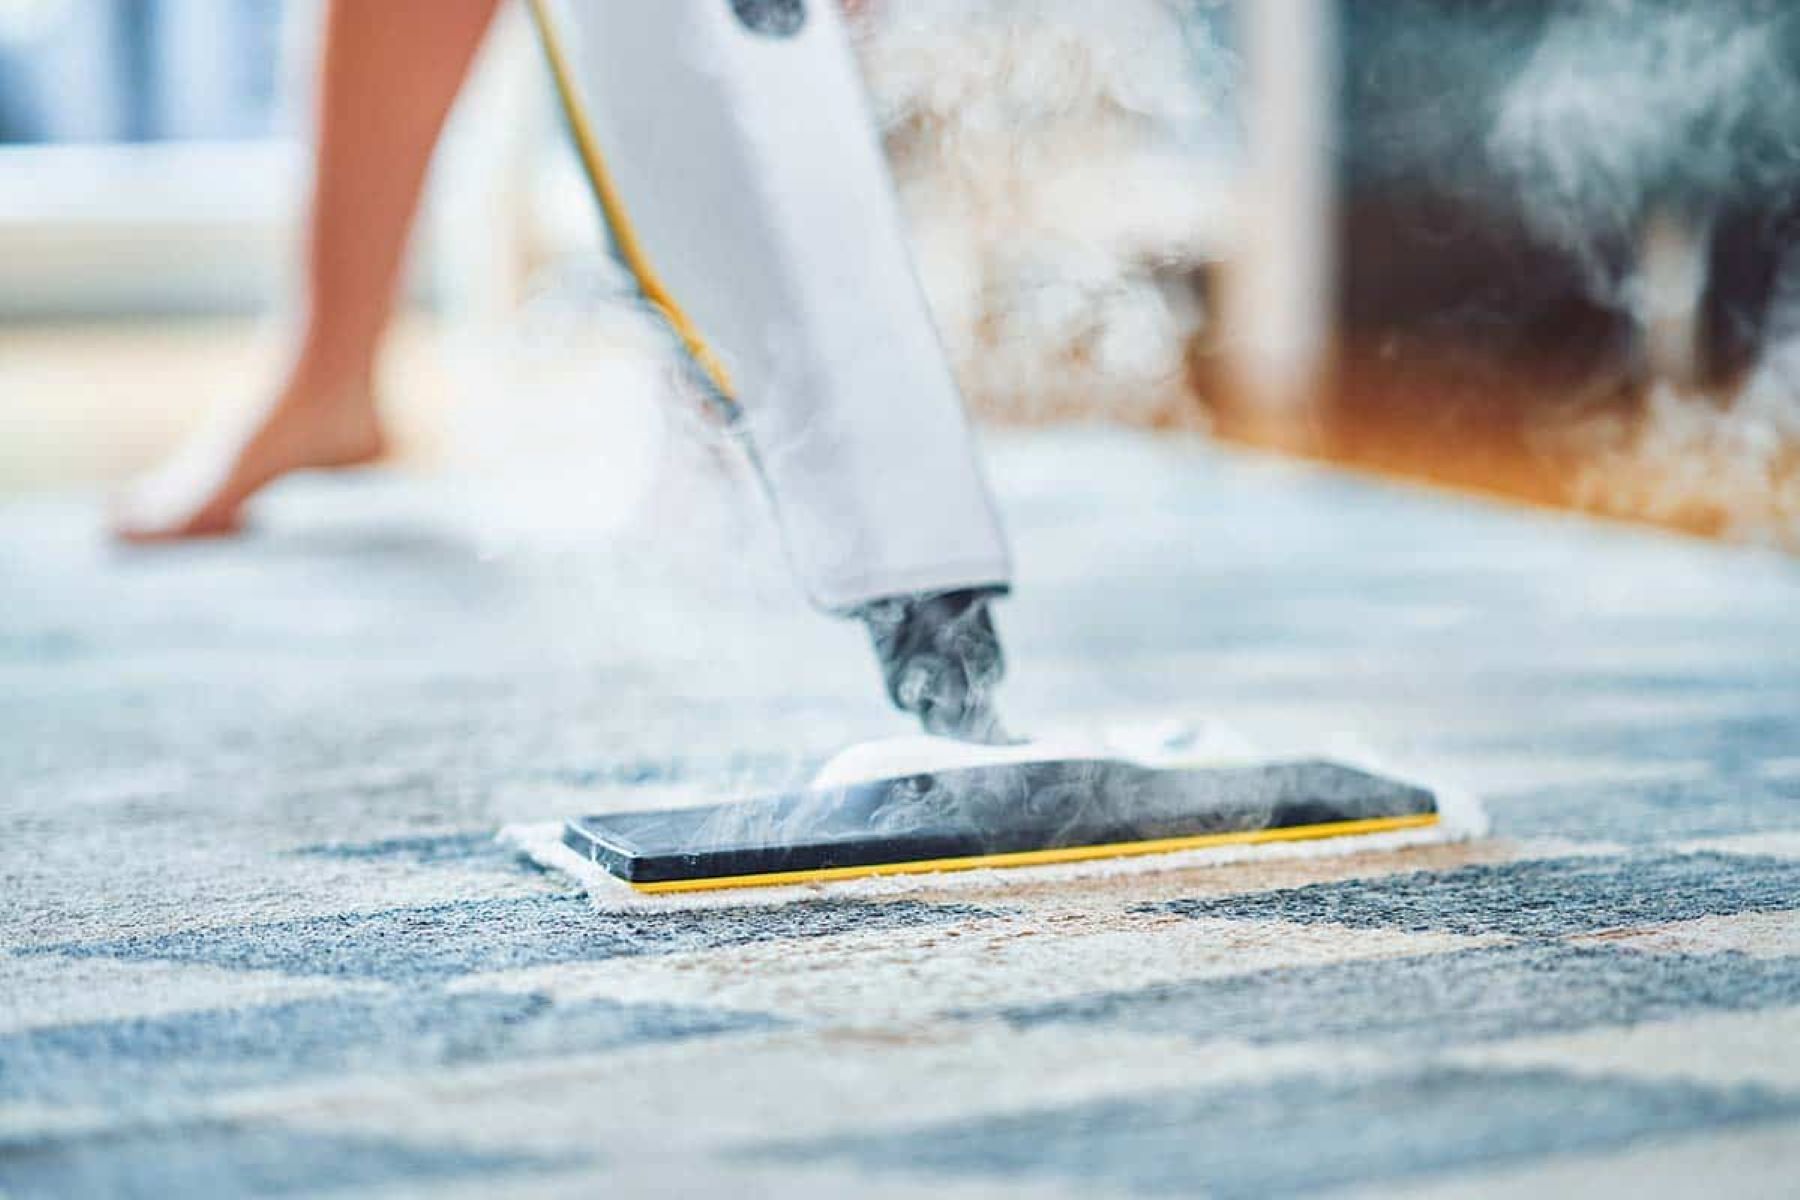
- Carpet cleaning machine (optional): For a more advanced and efficient cleaning experience, you may opt to use a carpet cleaning machine. These machines utilize hot water extraction to deep clean the carpets thoroughly.
Once you have gathered all the necessary materials and equipment, you’re ready to move on to the next step: preparing the carpet for cleaning. With everything in place, you can proceed with confidence, knowing that you’re well-equipped to tackle even the toughest carpet stains and dirt.
Preparing the Carpet
Before diving into the cleaning process, it is important to properly prepare the carpet. This step will ensure that the cleaning process is more effective and efficient.
Here are some steps to follow when preparing the carpet for cleaning:
- Clear the area: Remove any furniture or objects from the carpeted area. This will make it easier to access all areas of the carpet and prevent any obstruction during the cleaning process.
- Vacuum the carpet: Before you begin any deep cleaning, thoroughly vacuum the carpet to remove loose dirt, dust, and debris. This will prevent larger particles from getting trapped in the carpet fibers and potentially causing damage during the cleaning process.
- Pre-treat stubborn stains: If you have any obvious or particularly stubborn stains on the carpet, it is best to pre-treat them before moving forward with the cleaning process. Follow the instructions on the stain remover product and gently blot or scrub the affected area to help break up the stain.
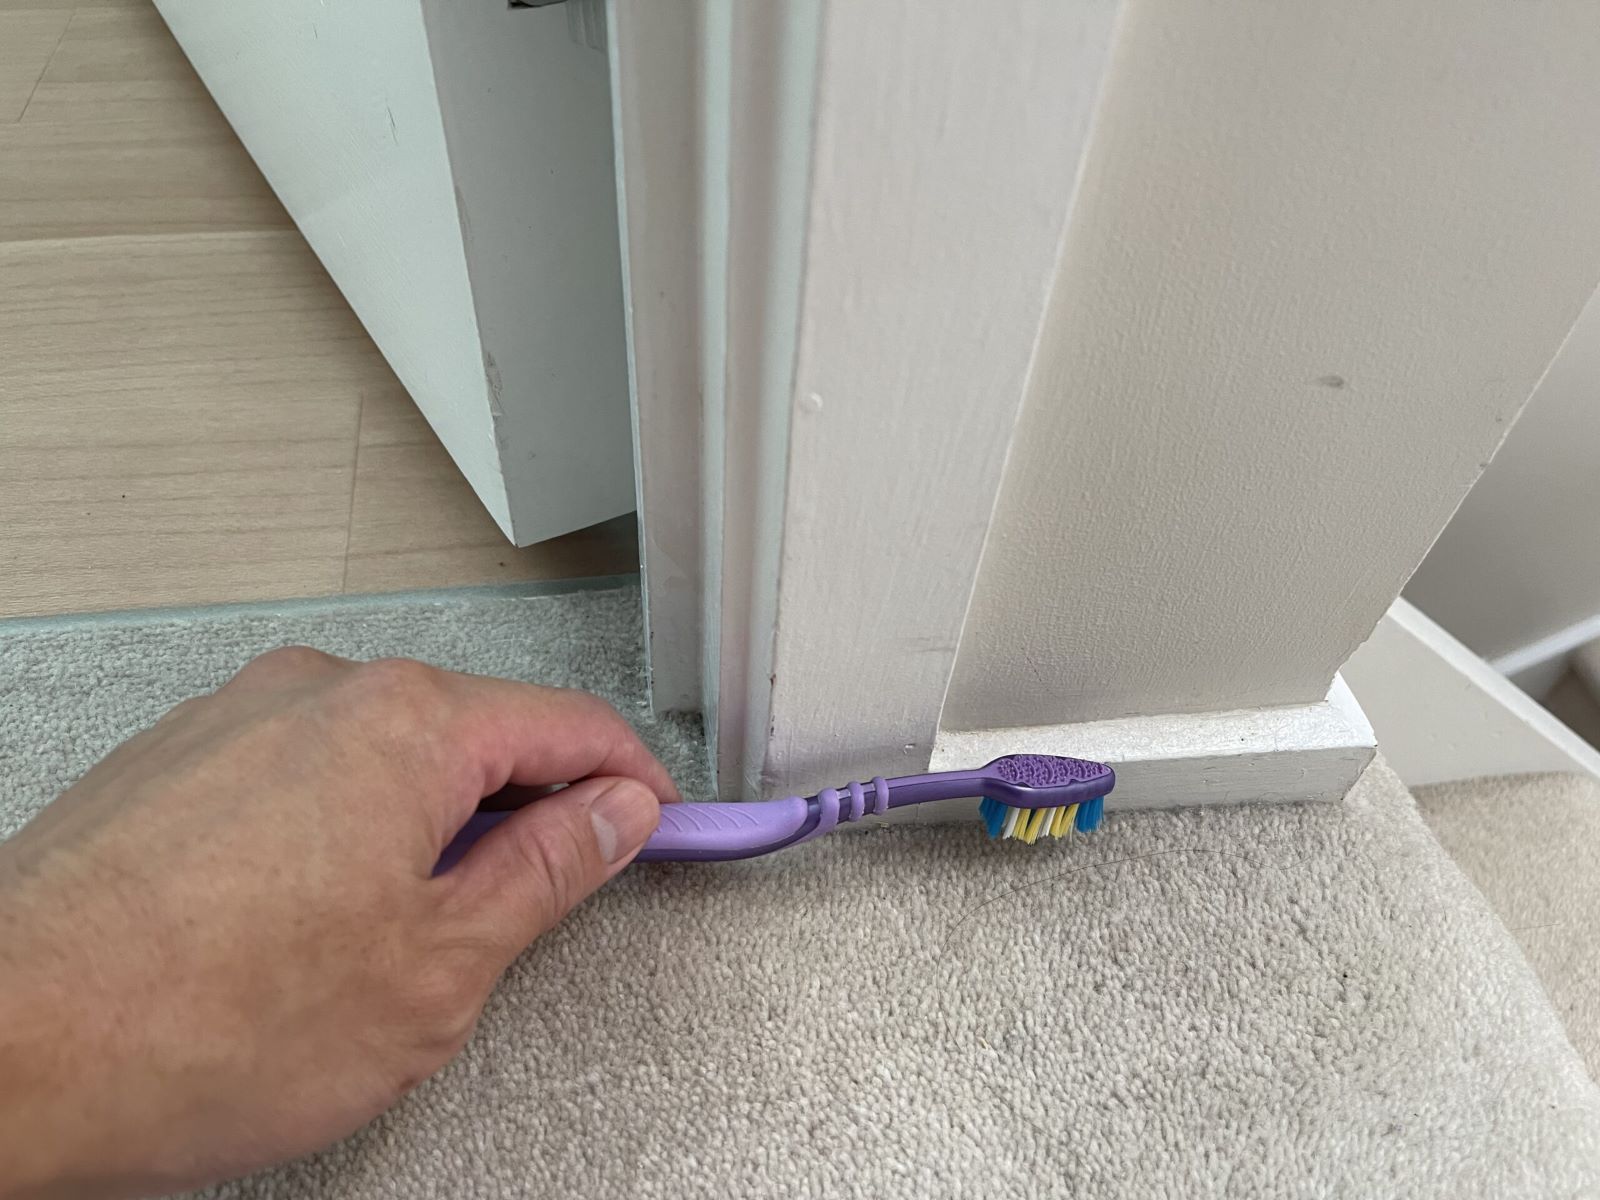
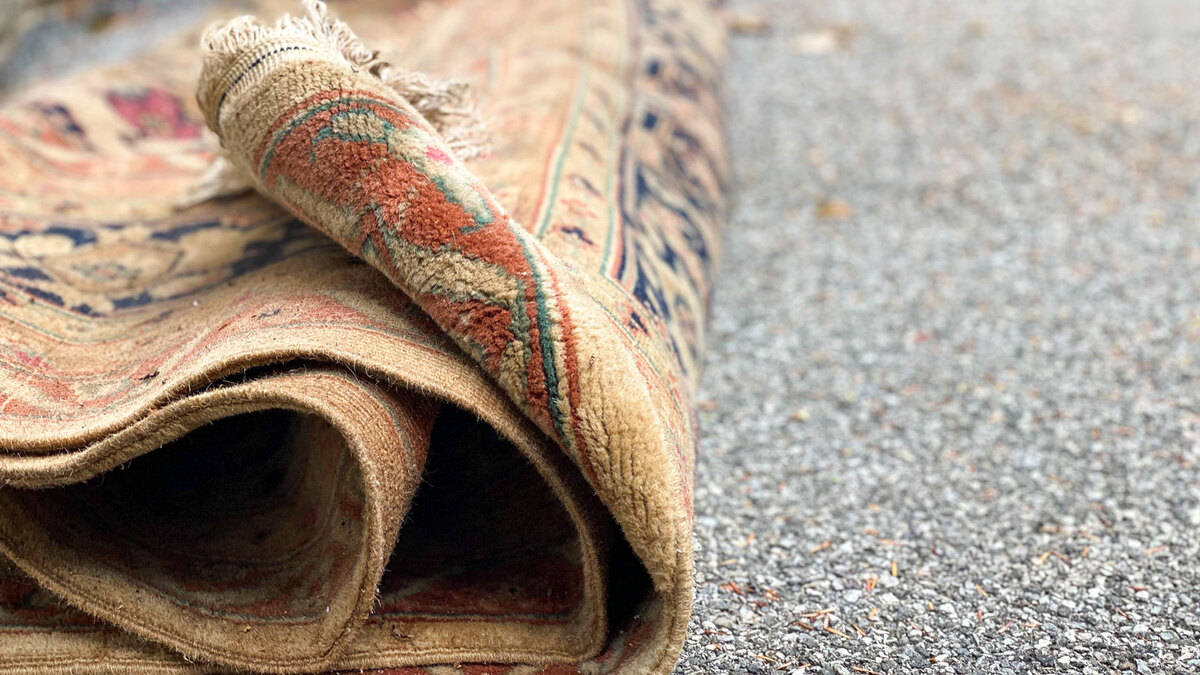
- Check for delicate areas: Take a closer look at the carpet and identify any delicate or vulnerable areas. These could include areas with loose fibers, fraying edges, or delicate trims. Take extra care when cleaning these areas to avoid causing further damage.
- Test cleaning solution: Before applying the cleaning solution to the entire carpet, it is essential to test it in an inconspicuous area. Apply a small amount of the solution to an area, such as a corner or a hidden spot, and blot gently with a clean white towel or cloth. Check for any discoloration or adverse reactions before proceeding with the cleaning process.
By properly preparing the carpet, you ensure that the cleaning process will be more effective and efficient. Clearing the area, vacuuming, pre-treating stains, and checking for delicate areas are all important steps that contribute to achieving professional results. With the carpet properly prepared, it’s time to move on to the next step: vacuuming the carpet.
Vacuuming the Carpet
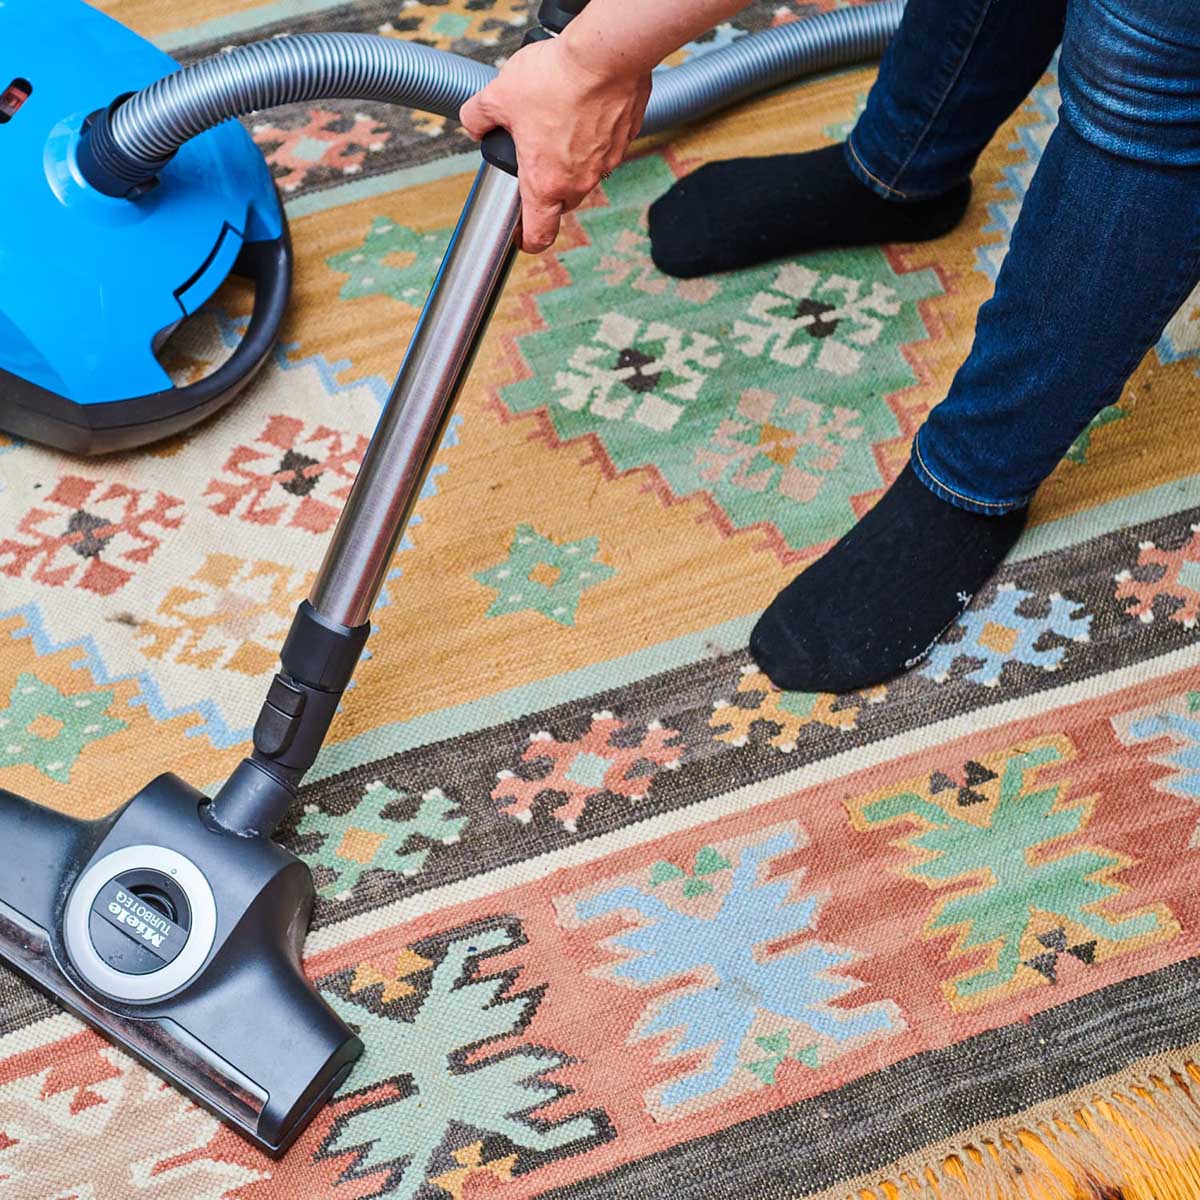
Vacuuming is an essential step in the carpet cleaning process as it helps remove loose dirt, dust, and debris from the carpet fibers. This step prepares the carpet for deeper cleaning and ensures that the cleaning solution can penetrate more effectively. Follow these guidelines to maximize the effectiveness of your vacuuming:
- Choose the right vacuum cleaner: Invest in a high-quality vacuum cleaner with strong suction power. Look for features like adjustable height settings, rotating brushes, and HEPA filters, which help capture fine particles and allergens.
- Prepare the vacuum cleaner: Ensure that the vacuum cleaner is plugged in and the power cord is long enough to reach all areas of the carpeted space. Check if the vacuum bag or canister is empty or has enough space to collect dirt and debris.
- Remove small objects: Before vacuuming, pick up any small objects, loose change, or debris from the carpeted area. These objects can clog the vacuum cleaner or get caught in the roller brush, potentially causing damage.
- Vacuum in different directions: To thoroughly remove dirt and dust from the carpet fibers, vacuum in different directions. Start by vacuuming in one direction (e.g., horizontally) and then repeat the process perpendicularly (e.g., vertically). This crosshatch pattern ensures that you cover all areas and dislodge any embedded debris.
- Pay extra attention to high-traffic areas: Areas that receive more foot traffic tend to accumulate more dirt and dust. Spend additional time vacuuming these high-traffic areas to ensure a thorough clean.
- Use attachments for hard-to-reach areas: Utilize the various attachments that came with your vacuum cleaner to clean corners, edges, and hard-to-reach spots. Attachments such as crevice tools, upholstery brushes, and stair tools can make your cleaning process more efficient and effective.
- Empty or clean the vacuum cleaner as needed: Regularly check the vacuum bag or canister and empty it when it reaches its capacity. If your vacuum has a washable filter, rinse it under water and let it dry completely before reattaching. Maintaining a clean vacuum cleaner ensures optimal performance.
Vacuuming the carpet sets the foundation for a successful deep clean. Removing loose dirt and debris allows the subsequent steps to fully penetrate the carpet fibers and tackle stains and embedded dirt. With the carpet thoroughly vacuumed, you are now ready to move on to the next step: spot treating stains.
Spot Treating Stains
Spot treating stains is an important step in the carpet cleaning process, as it allows you to target specific stains and treat them before proceeding with the overall carpet cleaning. Whether you’re dealing with food stains, pet accidents, or spilled beverages, spot treating stains early can prevent them from setting and becoming more difficult to remove. Follow these steps to effectively spot treat stains:
- Identify the stain: Determine the type of stain you’re dealing with. Different stains require different treatment methods and cleaning solutions. Common types of stains include food and drink spills, pet stains, oil-based stains, and ink stains.
- Blot the stain: Using a clean white towel or cloth, gently blot the stain to remove excess liquid or residue. Be careful not to rub the stain, as it can spread or embed the stain further into the carpet fibers.
- Prepare a stain removal solution: Depending on the type of stain, you can use a commercial stain remover or create your own homemade solution. For example, a mixture of mild dish soap and warm water is effective for many stains.
- Test the solution: Before applying the stain removal solution to the stained area, test it in a small, inconspicuous spot on the carpet. This ensures that the solution won’t cause any discoloration or damage to the carpet fibers.
- Apply the solution: Gently apply the stain removal solution to the stained area using a clean cloth or sponge. Blot the stain from the outer edges towards the center to prevent it from spreading. Avoid saturating the carpet with excessive solution.
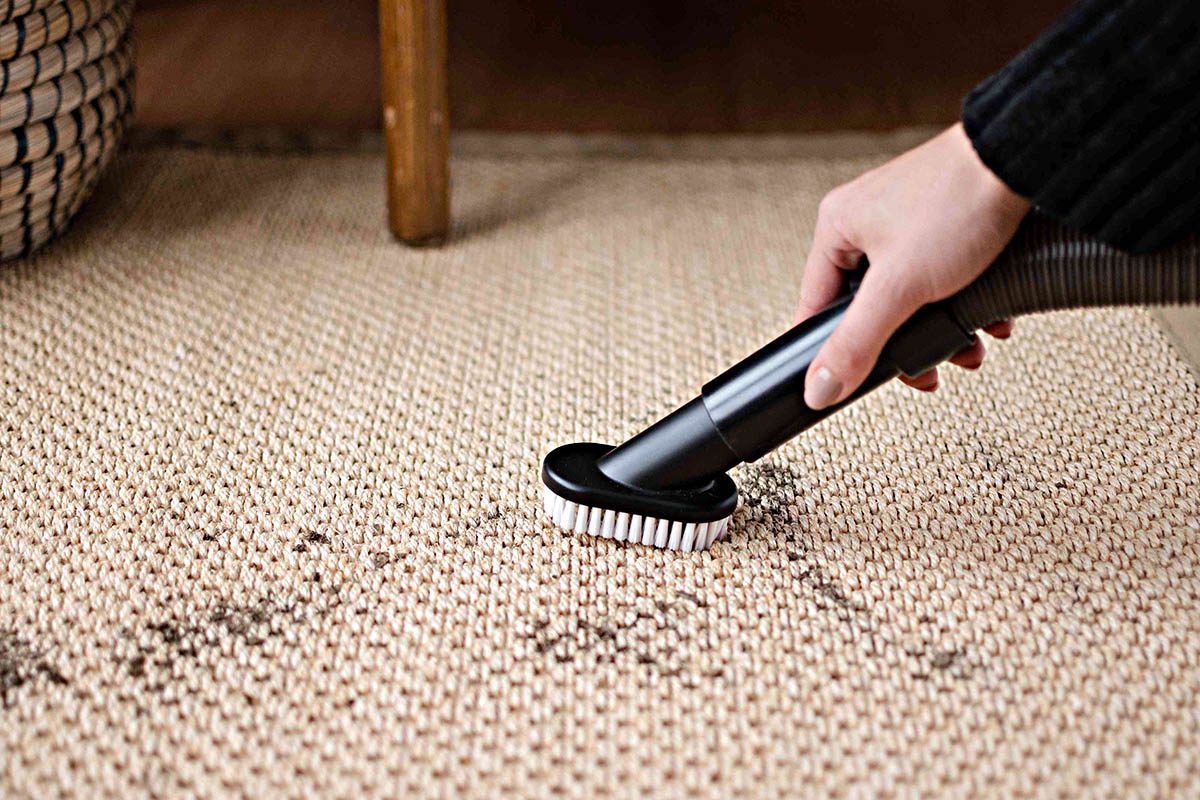
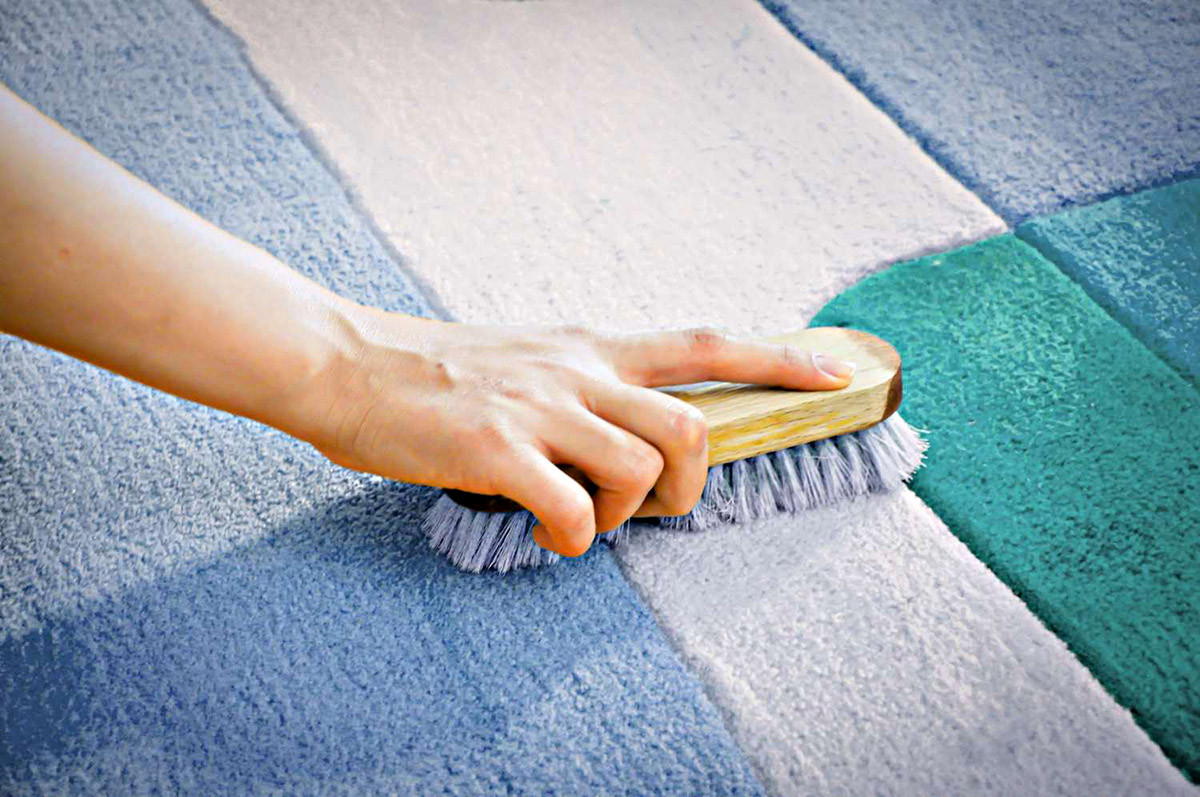
- Gently agitate the stain: Depending on the stain and the type of carpet, you may need to lightly agitate the stain with a soft-bristled brush or sponge. This helps to loosen and break up the stain from the carpet fibers.
- Blot the stain: After treating the stain, blot the area again with a clean cloth or paper towel to absorb as much moisture and residue as possible. Repeat the process until the stain is significantly diminished or removed.
Remember, different stains may require different treatments and cleaning solutions. Some stains may be more stubborn and may require several spot treatments or the use of specialized stain removal products. If you’re unsure about how to treat a particular stain, it’s best to consult a professional carpet cleaner or refer to the manufacturer’s guidelines.
By spot treating stains early and using the correct techniques and solutions, you can effectively remove or minimize the appearance of stains. With the stains treated, you’re now ready to prepare the cleaning solution for the next step in the carpet cleaning process.
Preparing the Cleaning Solution
Preparing the cleaning solution is a crucial step in the carpet cleaning process. The right cleaning solution will help break down dirt, remove stubborn stains, and leave your carpet looking fresh and revitalized. While there are commercial carpet cleaning solutions available, you can also create your own effective cleaning solution using household ingredients. Here’s how to prepare the cleaning solution:
- Read the manufacturer’s instructions (if using a commercial solution): If you’re using a commercial carpet cleaning solution, carefully read and follow the instructions provided by the manufacturer. Different products may have varying guidelines and dilution ratios.
- Test the solution (if using a homemade solution): If you’re opting for a homemade cleaning solution, it’s crucial to test it on a small, inconspicuous area of the carpet first. This will ensure that the solution doesn’t cause any discoloration or damage to the carpet fibers.
- Mix the cleaning solution: If you’re using a commercial solution, follow the instructions on the packaging to properly dilute the solution with water. Most solutions are concentrated, so diluting them is necessary. If you’re using a homemade solution, here are a few effective recipes:
- Mild Dish Soap Solution: Mix 1 tablespoon of mild liquid dish soap with 1 cup of warm water.
- Vinegar Solution: Mix equal parts of white vinegar and water. For a stronger solution, you can increase the vinegar ratio.
- Baking Soda Paste: Mix baking soda with a small amount of water to create a paste-like consistency. This solution is excellent for deodorizing and removing odors.
- Avoid using excessive amounts of the solution: When applying the cleaning solution to the carpet, use a spray bottle or a sponge to apply it evenly. Avoid saturating the carpet with excessive amounts of the solution, as this can lead to over-wetting and extended drying times.
Remember, it’s important to determine the proper cleaning solution based on your carpet’s material and the type of stains or dirt you’re dealing with. Some carpets may require specific cleaning products or methods, so always refer to the manufacturer’s guidelines if needed.
With the cleaning solution prepared, you’re now ready to move on to the actual process of cleaning the carpet. The following steps will guide you through the cleaning process to ensure professional results and a revitalized carpet.
When professionally cleaning a carpet, always start by vacuuming thoroughly to remove loose dirt and debris. This will make the deep cleaning process more effective and efficient.
Cleaning the Carpet
Now that you have prepared the cleaning solution, it’s time to start the actual process of cleaning the carpet. This step will involve applying the cleaning solution, agitating the fibers, and extracting dirt and grime from the carpet. Follow these steps to effectively clean your carpet:
- Work in sections: Divide the carpeted area into smaller sections to ensure thorough cleaning. This will allow you to focus on one area at a time and avoid missing any spots.
- Apply the cleaning solution: Using a spray bottle or a clean sponge, apply the cleaning solution to the carpet. Start from one corner of the section and work your way across, ensuring even coverage. Be cautious not to overly saturate the carpet.
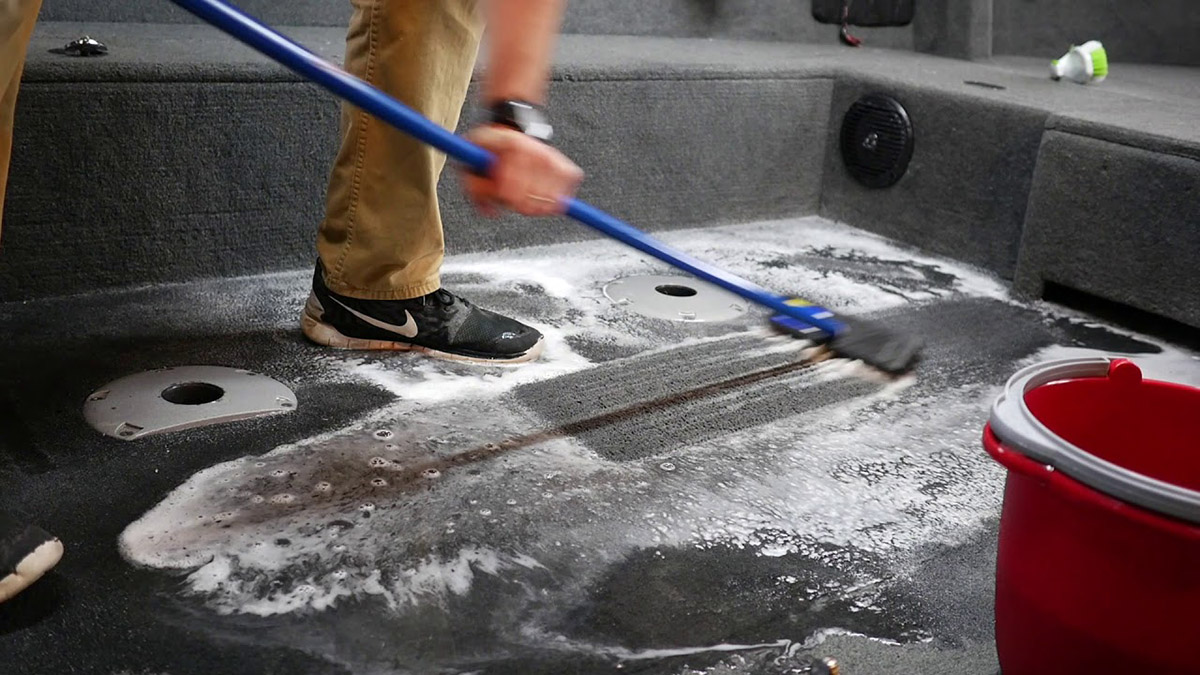
- Agitate the carpet fibers: Use a soft-bristled brush or a clean sponge to gently agitate the carpet fibers. This process helps to loosen dirt, break up stains, and distribute the cleaning solution evenly throughout the carpet.
- Let the solution sit: Allow the cleaning solution to sit on the carpet for a few minutes to penetrate the fibers and break down dirt. The specific time may vary depending on the type and severity of stains, so refer to the instructions provided with the cleaning solution.
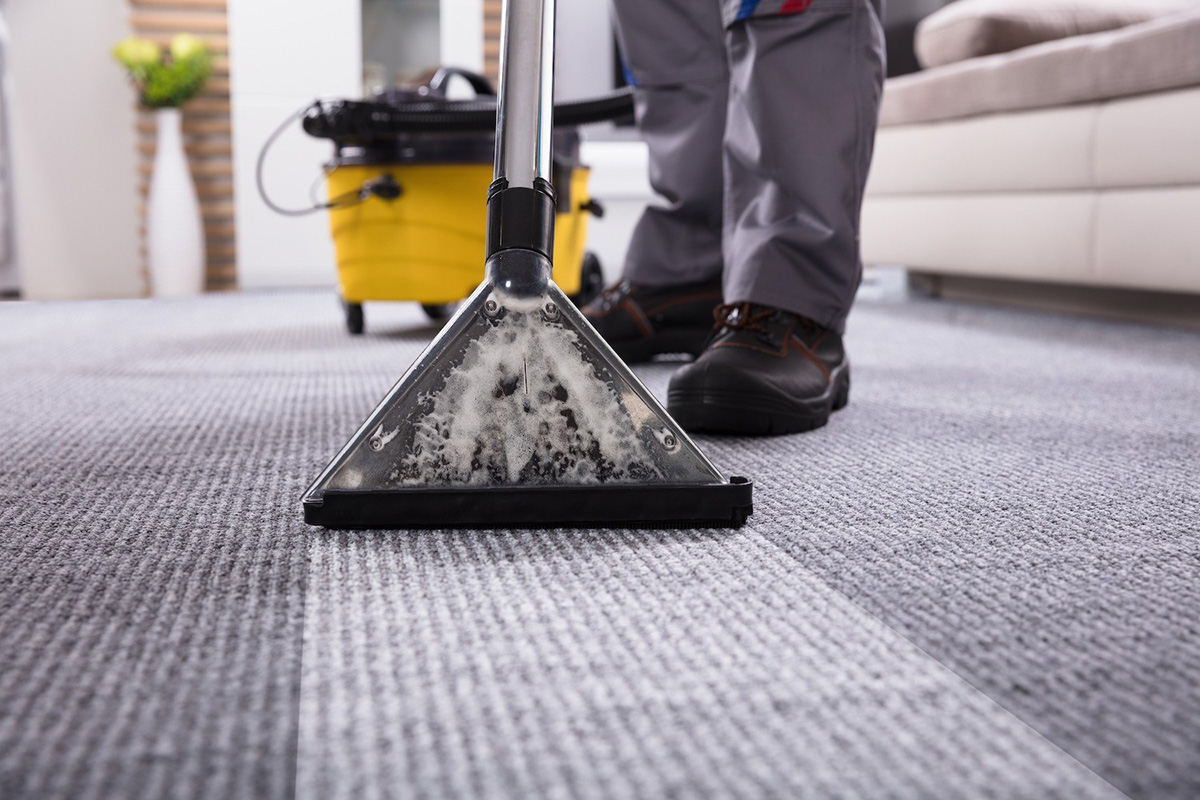
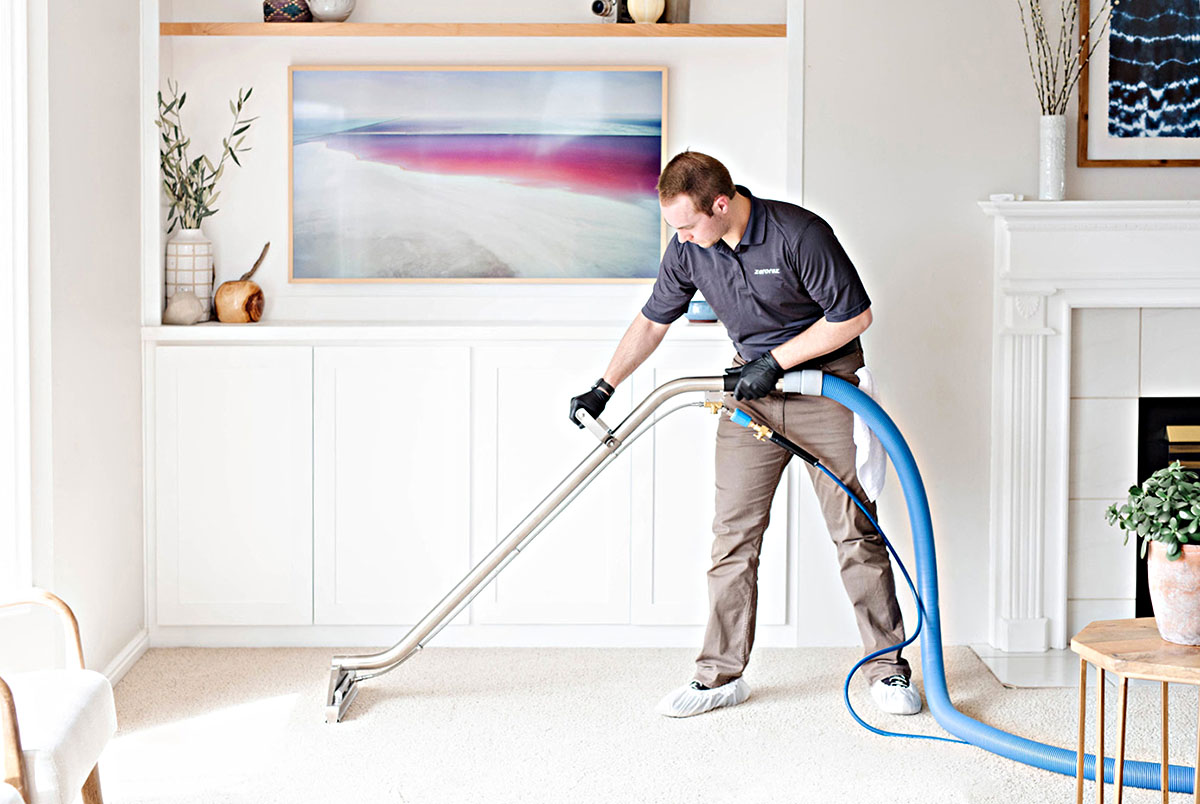
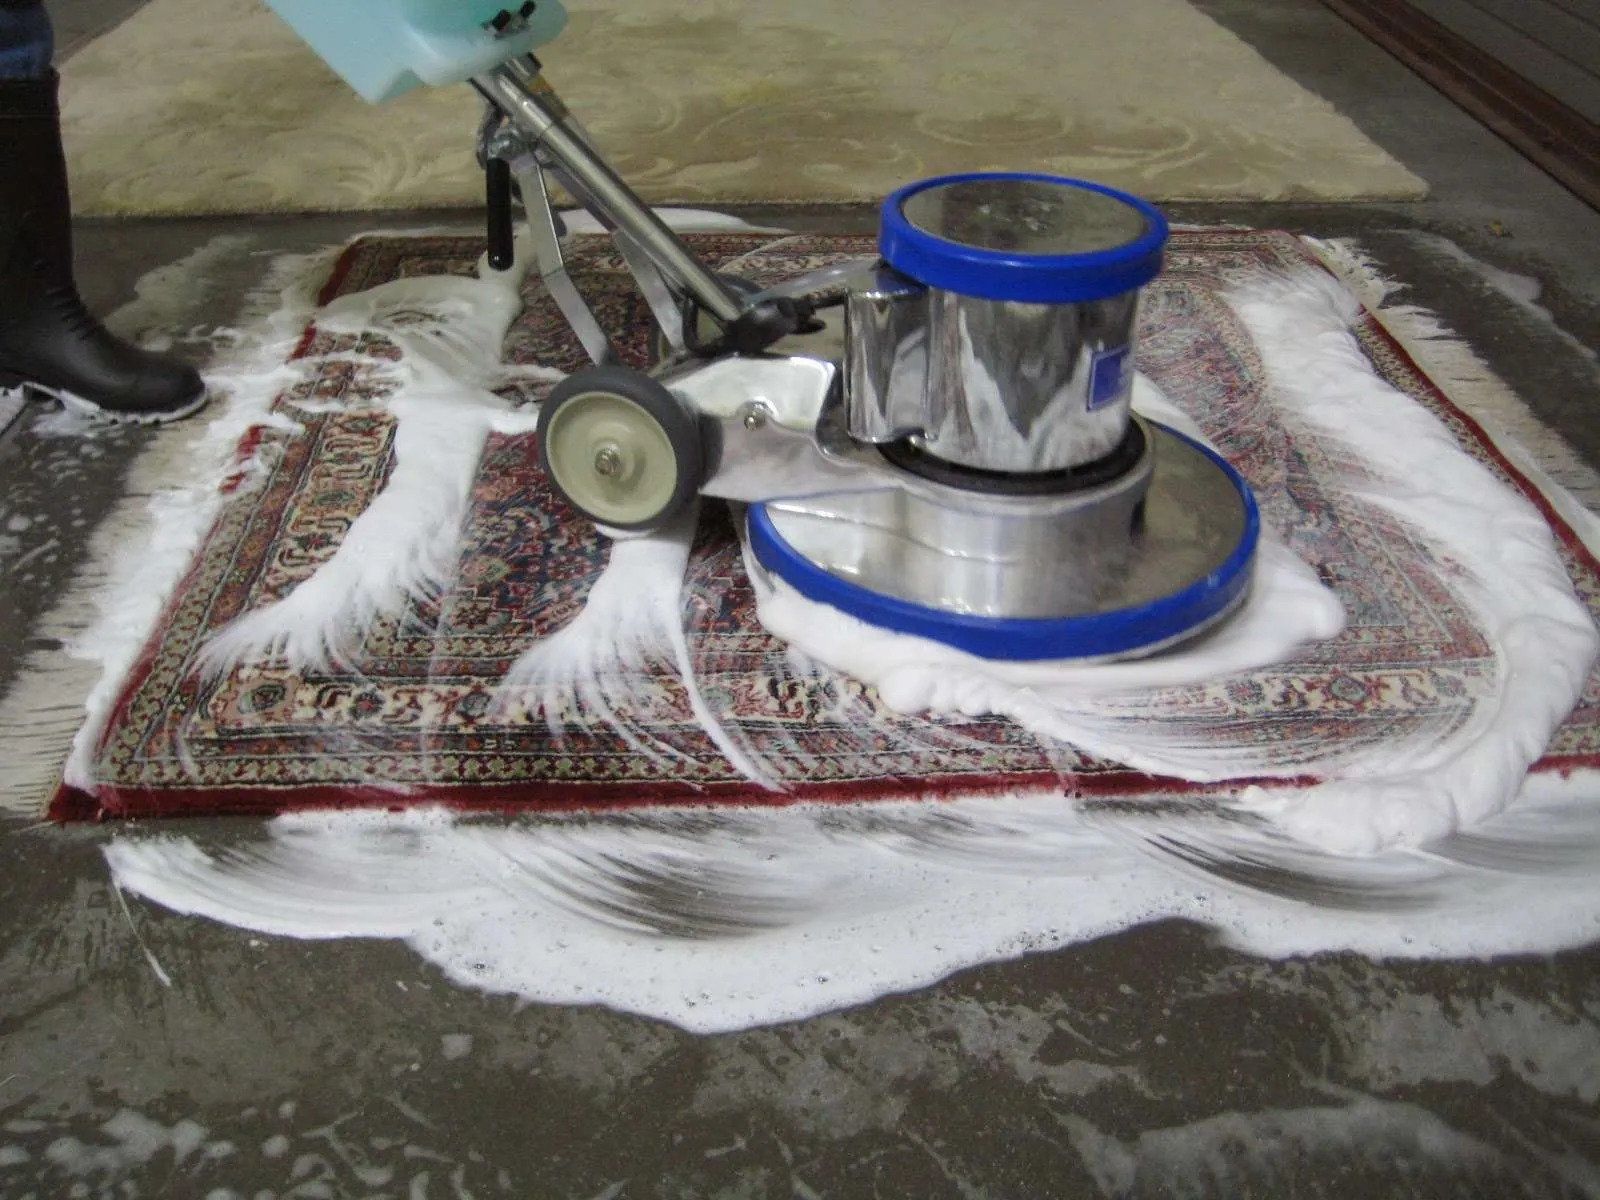
- Use a carpet cleaner (optional): If you have a carpet cleaning machine, this is the perfect time to use it. Follow the instructions provided by the manufacturer, filling the machine with the appropriate amount of water and cleaning solution. Move the machine slowly across the carpet, allowing it to agitate, scrub, and extract dirt from the carpet fibers.
- Extract the cleaning solution: Whether you’re using a carpet cleaner or not, you’ll need to extract the cleaning solution from the carpet. This can be done using a wet vacuum, carpet cleaner, or by blotting the carpet with clean white towels or paper towels. Work in small sections, repeating the process until most of the moisture and cleaning solution have been removed.
- Rinse the carpet (optional): If you have a carpet cleaner or access to a wet vacuum with a rinse function, it’s recommended to rinse the carpet with plain water to remove any residue from the cleaning solution. This step can help prevent any sticky residue from attracting dirt in the future.
Once you have completed the cleaning process for one section, move on to the next until you have cleaned the entire carpeted area. Be patient and take your time to ensure that every part of the carpet receives proper attention and cleaning. If necessary, repeat the cleaning process for areas with stubborn stains or heavily soiled sections.
With the carpet now cleaned, it’s time to move on to the next step: drying the carpet properly to avoid any potential issues.
Drying the Carpet
Properly drying the carpet is essential to prevent the growth of mold, mildew, and musty odors. It’s crucial to allow the carpet to dry completely before placing furniture back on it or walking on it. Follow these steps to ensure effective drying of your carpet:
- Remove excess moisture: After the cleaning process, use a wet vacuum, clean towels, or a carpet cleaner with a suction function to remove as much moisture as possible from the carpet. Gently blot the carpet or use the suction function, working in small sections until most of the moisture is extracted.
- Maximize air circulation: Open windows and doors to allow fresh air to circulate in the room. If weather permits, use fans or air movers to increase air circulation and speed up the drying process. Position the fans strategically to target high-moisture areas.
- Use a dehumidifier: If the humidity levels in the room are high, consider using a dehumidifier. A dehumidifier helps to draw out excess moisture from the air, aiding in the drying process of the carpet.
- Avoid walking on the wet carpet: To prevent any re-soiling or damage to the freshly cleaned carpet, avoid walking on it until it is completely dry. If you need to cross the carpeted area, place clean towels or cardboard on the floor to create a temporary walkway.
- Monitor the drying process: Check the carpet regularly to gauge its dryness. It’s essential to be patient and allow enough time for the carpet to dry thoroughly. The drying time can vary depending on several factors, such as humidity, ventilation, carpet thickness, and the cleaning method used.
- Check for lingering moisture: After the carpet appears dry, check for any areas that may still feel damp to the touch. If you find any damp spots, place clean towels or paper towels over them and apply gentle pressure to absorb the remaining moisture.
Remember, rushing the drying process can lead to a variety of issues, including mold growth and the reappearance of stains. Take the necessary time to ensure the carpet is completely dry before considering the cleaning process complete.
With the carpet now clean and dry, the final step is to address any lingering odors that may be present.
Dealing with Lingering Odors
Lingering odors can be a common issue after cleaning a carpet, especially if there were deep-seated stains or pet-related accidents. Fortunately, there are several methods you can use to eliminate these odors and leave your carpet smelling fresh and clean:
- Baking soda: Baking soda is known for its odor-absorbing properties. Sprinkle a generous amount of baking soda over the entire carpet, focusing on areas with strong odors. Leave it on the carpet for several hours or overnight to allow the baking soda to absorb the odors. Vacuum the baking soda thoroughly to remove it from the carpet.
- Vinegar solution: Vinegar is also effective in neutralizing odors. Mix equal parts of white vinegar and water in a spray bottle. Lightly mist the carpet with the vinegar solution, ensuring not to saturate the carpet. Allow the carpet to air dry, as the vinegar smell will dissipate as it dries. Ventilate the room to help speed up the process.
- Essential oils: Essential oils not only provide a pleasant fragrance but can also help eliminate odors. Add a few drops of your favorite essential oil to a spray bottle filled with water. Lightly spritz the carpet, focusing on areas with odors. Remember to test the essential oil mixture on a small, inconspicuous area of the carpet first to ensure it does not cause any discoloration.
- Activated charcoal: Activated charcoal is highly effective in absorbing odors. Place a few bowls of activated charcoal throughout the room or sprinkle it directly onto the carpet. Leave it overnight or for a few days to allow the charcoal to absorb the odors. Vacuum the carpet to remove the charcoal residue.
- Professional carpet cleaners: If the lingering odor persists or the carpet has a particularly strong smell, it may be worth considering hiring professional carpet cleaners. They have access to specialized equipment and solutions that can effectively eliminate tough odors.
By following these methods, you can successfully eliminate lingering odors and enjoy a fresh-smelling carpet. It’s important to note that some odors may require multiple treatments or additional professional assistance.
With the odors addressed, it’s time to focus on preventing future stains and keeping your carpet looking clean and fresh.
Read more: How To Clean Gama Professional Hair Dryer
Preventing Future Stains and Dirt
After investing time and effort into cleaning and refreshing your carpet, it’s important to take steps to prevent future stains and dirt buildup. By practicing some preventive measures, you can prolong the cleanliness and freshness of your carpet. Here are some tips to help you keep your carpet looking its best:
- Place doormats at entrances: To minimize the amount of dirt and debris tracked onto your carpet, use doormats at all entrances. Encourage family members and guests to wipe their feet thoroughly before entering to prevent dirt from being transferred onto the carpet.
- Implement a no-shoe policy: Consider establishing a no-shoe policy inside your home. Shoes can track in dirt, mud, and other outdoor contaminants that can be difficult to remove from the carpet. Provide slippers or socks for guests to wear indoors to maintain the cleanliness of your carpet.
- Use carpet runners or area rugs: Consider placing carpet runners or area rugs in high-traffic areas to protect the carpet from excessive wear and tear. These additional layers provide an extra barrier against dirt, spills, and stains.
- Clean up spills immediately: Accidents happen, so it’s important to act quickly when spills occur. Promptly blot up any liquid spills with a clean cloth or paper towel. For solid spills, carefully remove them using a spoon or a blunt-edged tool, taking care not to push the spill further into the carpet fibers.
- Regularly vacuum your carpet: Regular vacuuming is one of the best ways to prevent dirt and debris from settling into the carpet fibers. Aim to vacuum high-traffic areas at least twice a week and other areas once a week. This will help prevent dirt buildup and extend the longevity of your carpet.
- Treat stains promptly: Address stains as soon as they occur to prevent them from becoming permanent. Use appropriate stain removal methods and products for different types of stains. Remember to test the cleaning solution on a small, inconspicuous area of the carpet first.
- Schedule professional carpet cleaning: While regular vacuuming and spot cleaning can help maintain the cleanliness of your carpet, it’s still beneficial to schedule professional carpet cleaning at least once a year. Professional cleaners have the equipment and expertise to deep clean your carpet thoroughly and remove embedded dirt and stains.
By implementing these preventive measures, you can significantly reduce the risk of future stains, dirt, and wear on your carpet. Consistency in maintenance and cleanliness will help keep your carpet looking fresh and extend its lifespan.
Congratulations! You are now equipped with the knowledge and techniques to professionally clean your carpet. By following these steps and tips, you can enjoy a cleaner, fresher, and more inviting space in your home or business. Remember to adapt these guidelines to your specific carpet type and always prioritize safety and proper ventilation during the cleaning process.
Happy carpet cleaning!
Conclusion
Congratulations on completing this comprehensive guide on how to professionally clean a carpet. By following the steps and tips outlined in this article, you have gained valuable knowledge and techniques to transform your carpets from dull and dirty to fresh and vibrant.
We started by gathering the necessary materials and equipment, ensuring that everything was in place for a successful cleaning process. From there, we prepared the carpet by removing furniture, vacuuming thoroughly, and spot treating stains to ensure the best possible results.
With the carpet properly prepared, you learned how to mix and apply the cleaning solution, effectively breaking down dirt and tackling stubborn stains. The cleaning process, whether done manually or with the assistance of a carpet cleaner machine, helped remove grime and restore the carpet’s appearance.
After cleaning, we emphasized the importance of allowing the carpet to dry completely to prevent issues such as mold and mildew. We also discussed how to address lingering odors by using various methods, such as baking soda, vinegar, essential oils, and activated charcoal, to leave your carpet smelling fresh and clean.
To maintain the cleanliness and prolong the lifespan of your newly cleaned carpet, we provided tips on preventing future stains and dirt. From using doormats and implementing a no-shoe policy to promptly treating spills and scheduling regular professional carpet cleaning, these preventive measures will help keep your carpet in excellent condition for years to come.
Remember, while this guide offers comprehensive information and techniques, it’s essential to refer to the carpet manufacturer’s guidelines and test cleaning products in inconspicuous areas. Every carpet is unique, and some materials and stains may require specific treatments.
By incorporating these strategies into your carpet cleaning routine, you can have confidence in achieving professional-grade results in the comfort of your own home or business. Your freshly cleaned and well-maintained carpets will not only enhance the appearance of your space but also contribute to a healthier and more inviting environment.
Thank you for joining us on this carpet cleaning journey. Enjoy the results of your hard work and continue to prioritize cleanliness and care for your carpets. Happy cleaning!
Frequently Asked Questions about How To Professionally Clean A Carpet
Was this page helpful?
At Storables.com, we guarantee accurate and reliable information. Our content, validated by Expert Board Contributors, is crafted following stringent Editorial Policies. We're committed to providing you with well-researched, expert-backed insights for all your informational needs.