Articles
How To Cook Pork Ribs In Electric Skillet
Modified: May 6, 2024
Learn how to cook delicious pork ribs in an electric skillet with step-by-step instructions. Discover mouthwatering recipes and expert tips in our articles on cooking ribs.
(Many of the links in this article redirect to a specific reviewed product. Your purchase of these products through affiliate links helps to generate commission for Storables.com, at no extra cost. Learn more)
Introduction
When it comes to cooking pork ribs, there are various methods you can use. One popular and efficient way to cook them is using an electric skillet. An electric skillet is a versatile kitchen appliance that allows for precise temperature control and even heat distribution, ensuring your ribs are cooked to perfection.
In this article, we will guide you through the process of cooking pork ribs in an electric skillet. We will cover everything from choosing the right ribs to seasoning them and achieving mouthwatering results. So, grab your apron and let’s get cooking!
Key Takeaways:
- Master the art of cooking tender and flavorful pork ribs in an electric skillet by choosing, preparing, seasoning, and slow-cooking them to perfection. Impress your guests with mouthwatering results every time!
- Elevate your dining experience with perfectly cooked pork ribs, seasoned to perfection and served alongside your favorite side dishes. Unleash your creativity and enjoy the deliciousness of tender, flavorful ribs!
Choosing and Preparing Pork Ribs
When it comes to choosing pork ribs for your recipe, you have a few options to consider. The most common types of pork ribs are baby back ribs and spare ribs.
Baby back ribs: These ribs are smaller and more tender compared to spare ribs. They are cut from the top of the rib cage between the spine and the spare ribs. Baby back ribs are a popular choice for their tenderness and shorter cooking time. They typically have a higher price point compared to spare ribs.
Spare ribs: Spare ribs come from the belly area of the pig. They are larger and meatier than baby back ribs, but they require slightly longer cooking time to become tender. Spare ribs are often more affordable and have a higher fat content, which can add flavor and juiciness to the final dish.
Once you have chosen the type of ribs you prefer, it’s time to prepare them for cooking:
- Start by removing the thin membrane called the “silverskin” from the back of the ribs. This can be done by gently inserting a butter knife under the membrane and lifting it up. Use a paper towel to get a firm grip and peel off the membrane completely. This step is important as it allows the flavors to penetrate the meat and gives the ribs a better texture.
- Rinse the ribs under cold water and pat them dry with a paper towel. Removing excess moisture from the ribs helps with the browning process during cooking.
- Trim any excess fat from the ribs. While some fat adds flavor, removing excessive fat can prevent flare-ups and make the ribs easier to handle.
- For added flavor, you can marinate the ribs overnight. Create a marinade using your favorite ingredients such as garlic, onion, soy sauce, Worcestershire sauce, and spices. Place the ribs in a resealable bag or a covered container, and refrigerate overnight to allow the flavors to infuse into the meat.
Now that your pork ribs are prepared, it’s time to move on to the next step: preheating the electric skillet.
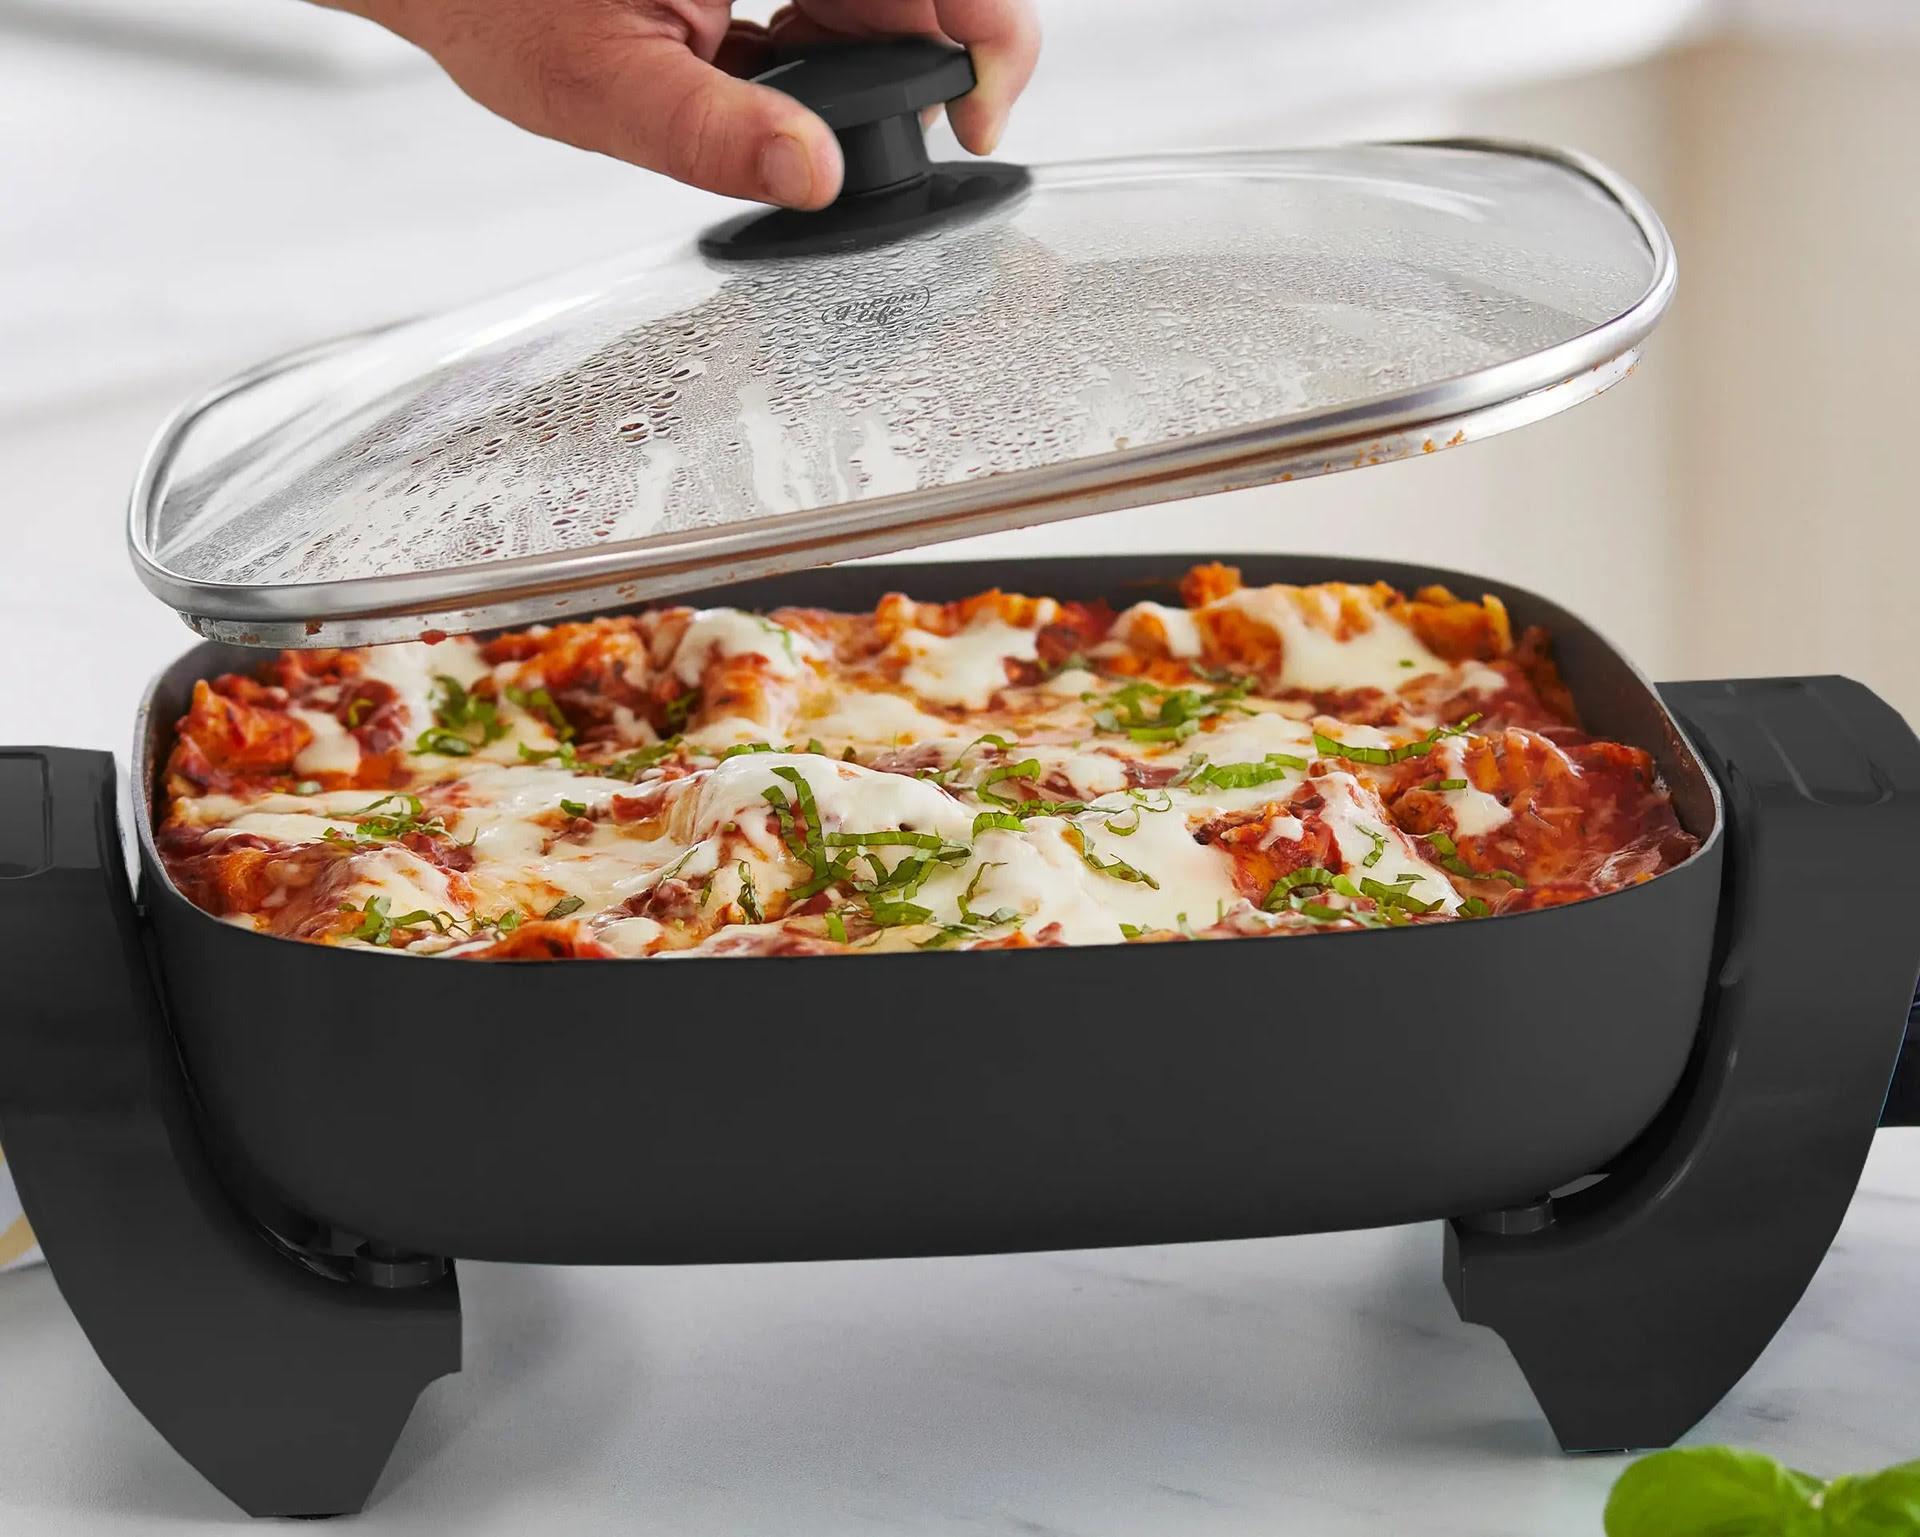
Preheating the Electric Skillet
Before cooking the pork ribs, it’s essential to preheat the electric skillet. Preheating helps ensure even cooking and prevents the ribs from sticking to the surface of the skillet.
Follow these steps to preheat your electric skillet:
- Place the electric skillet on a flat, stable surface and plug it into an electrical outlet.
- Adjust the temperature control dial or digital settings on the electric skillet to the desired cooking temperature. For pork ribs, a temperature of around 325-350°F (163-177°C) is recommended.
- Allow the skillet to preheat for approximately 5-10 minutes, or until the indicator light or heat-up indicator shows that it has reached the desired temperature.
You can test the readiness of the skillet by sprinkling a few drops of water on the surface. If the water sizzles and evaporates immediately, the skillet is ready for cooking.
Now that your electric skillet is preheated and ready to go, it’s time to move on to the next step: seasoning the pork ribs.
Seasoning the Pork Ribs
Seasoning is a crucial step in bringing out the flavors of the pork ribs. It enhances the taste and adds depth to the overall dish. There are endless possibilities when it comes to seasoning, but here is a simple yet flavorful seasoning blend for your pork ribs:
- 1 tablespoon brown sugar
- 1 tablespoon paprika
- 1 teaspoon garlic powder
- 1 teaspoon onion powder
- 1 teaspoon salt
- 1/2 teaspoon black pepper
- 1/2 teaspoon chili powder (optional for additional kick)
Here’s how you can season your pork ribs:
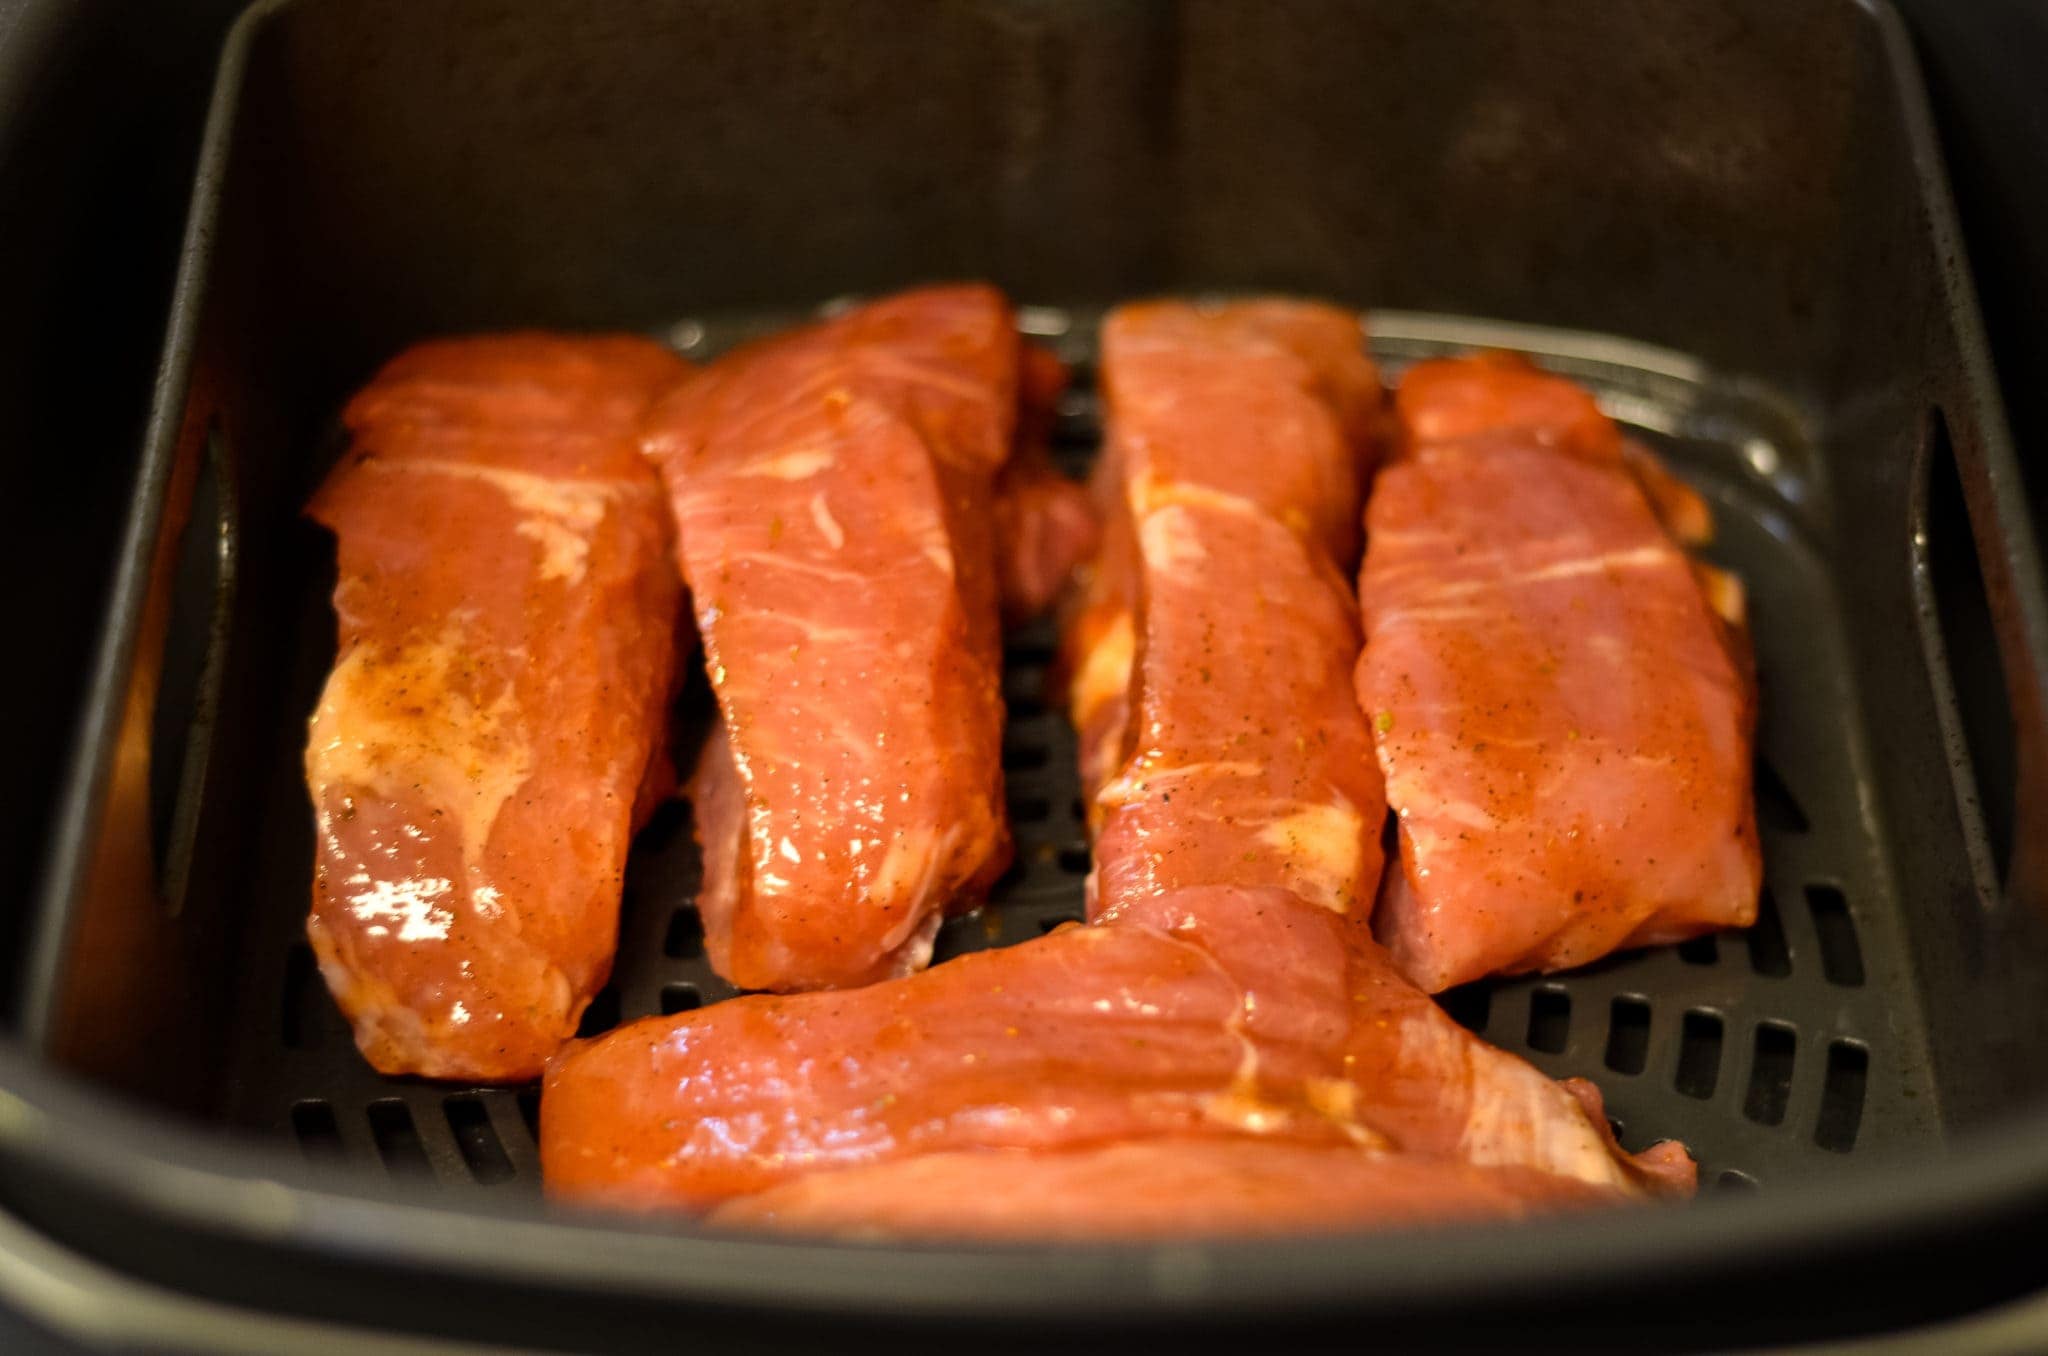
- Generously sprinkle the seasoning blend all over the ribs, ensuring they are evenly coated on both sides. Use your hands to rub the seasoning into the meat, allowing it to adhere properly.
- For additional flavor, you can let the seasoned ribs sit in the refrigerator for at least 30 minutes or up to 24 hours. This allows the flavors to penetrate the meat and gives it a more intense taste.
Remember, don’t be afraid to experiment with different spices and herbs to personalize your seasoning. Once your pork ribs are seasoned to perfection, it’s time to move on to the next step: cooking them in the electric skillet.
When cooking pork ribs in an electric skillet, make sure to sear the ribs on high heat first to lock in the juices, then lower the heat and cover the skillet to allow the ribs to cook through without drying out.
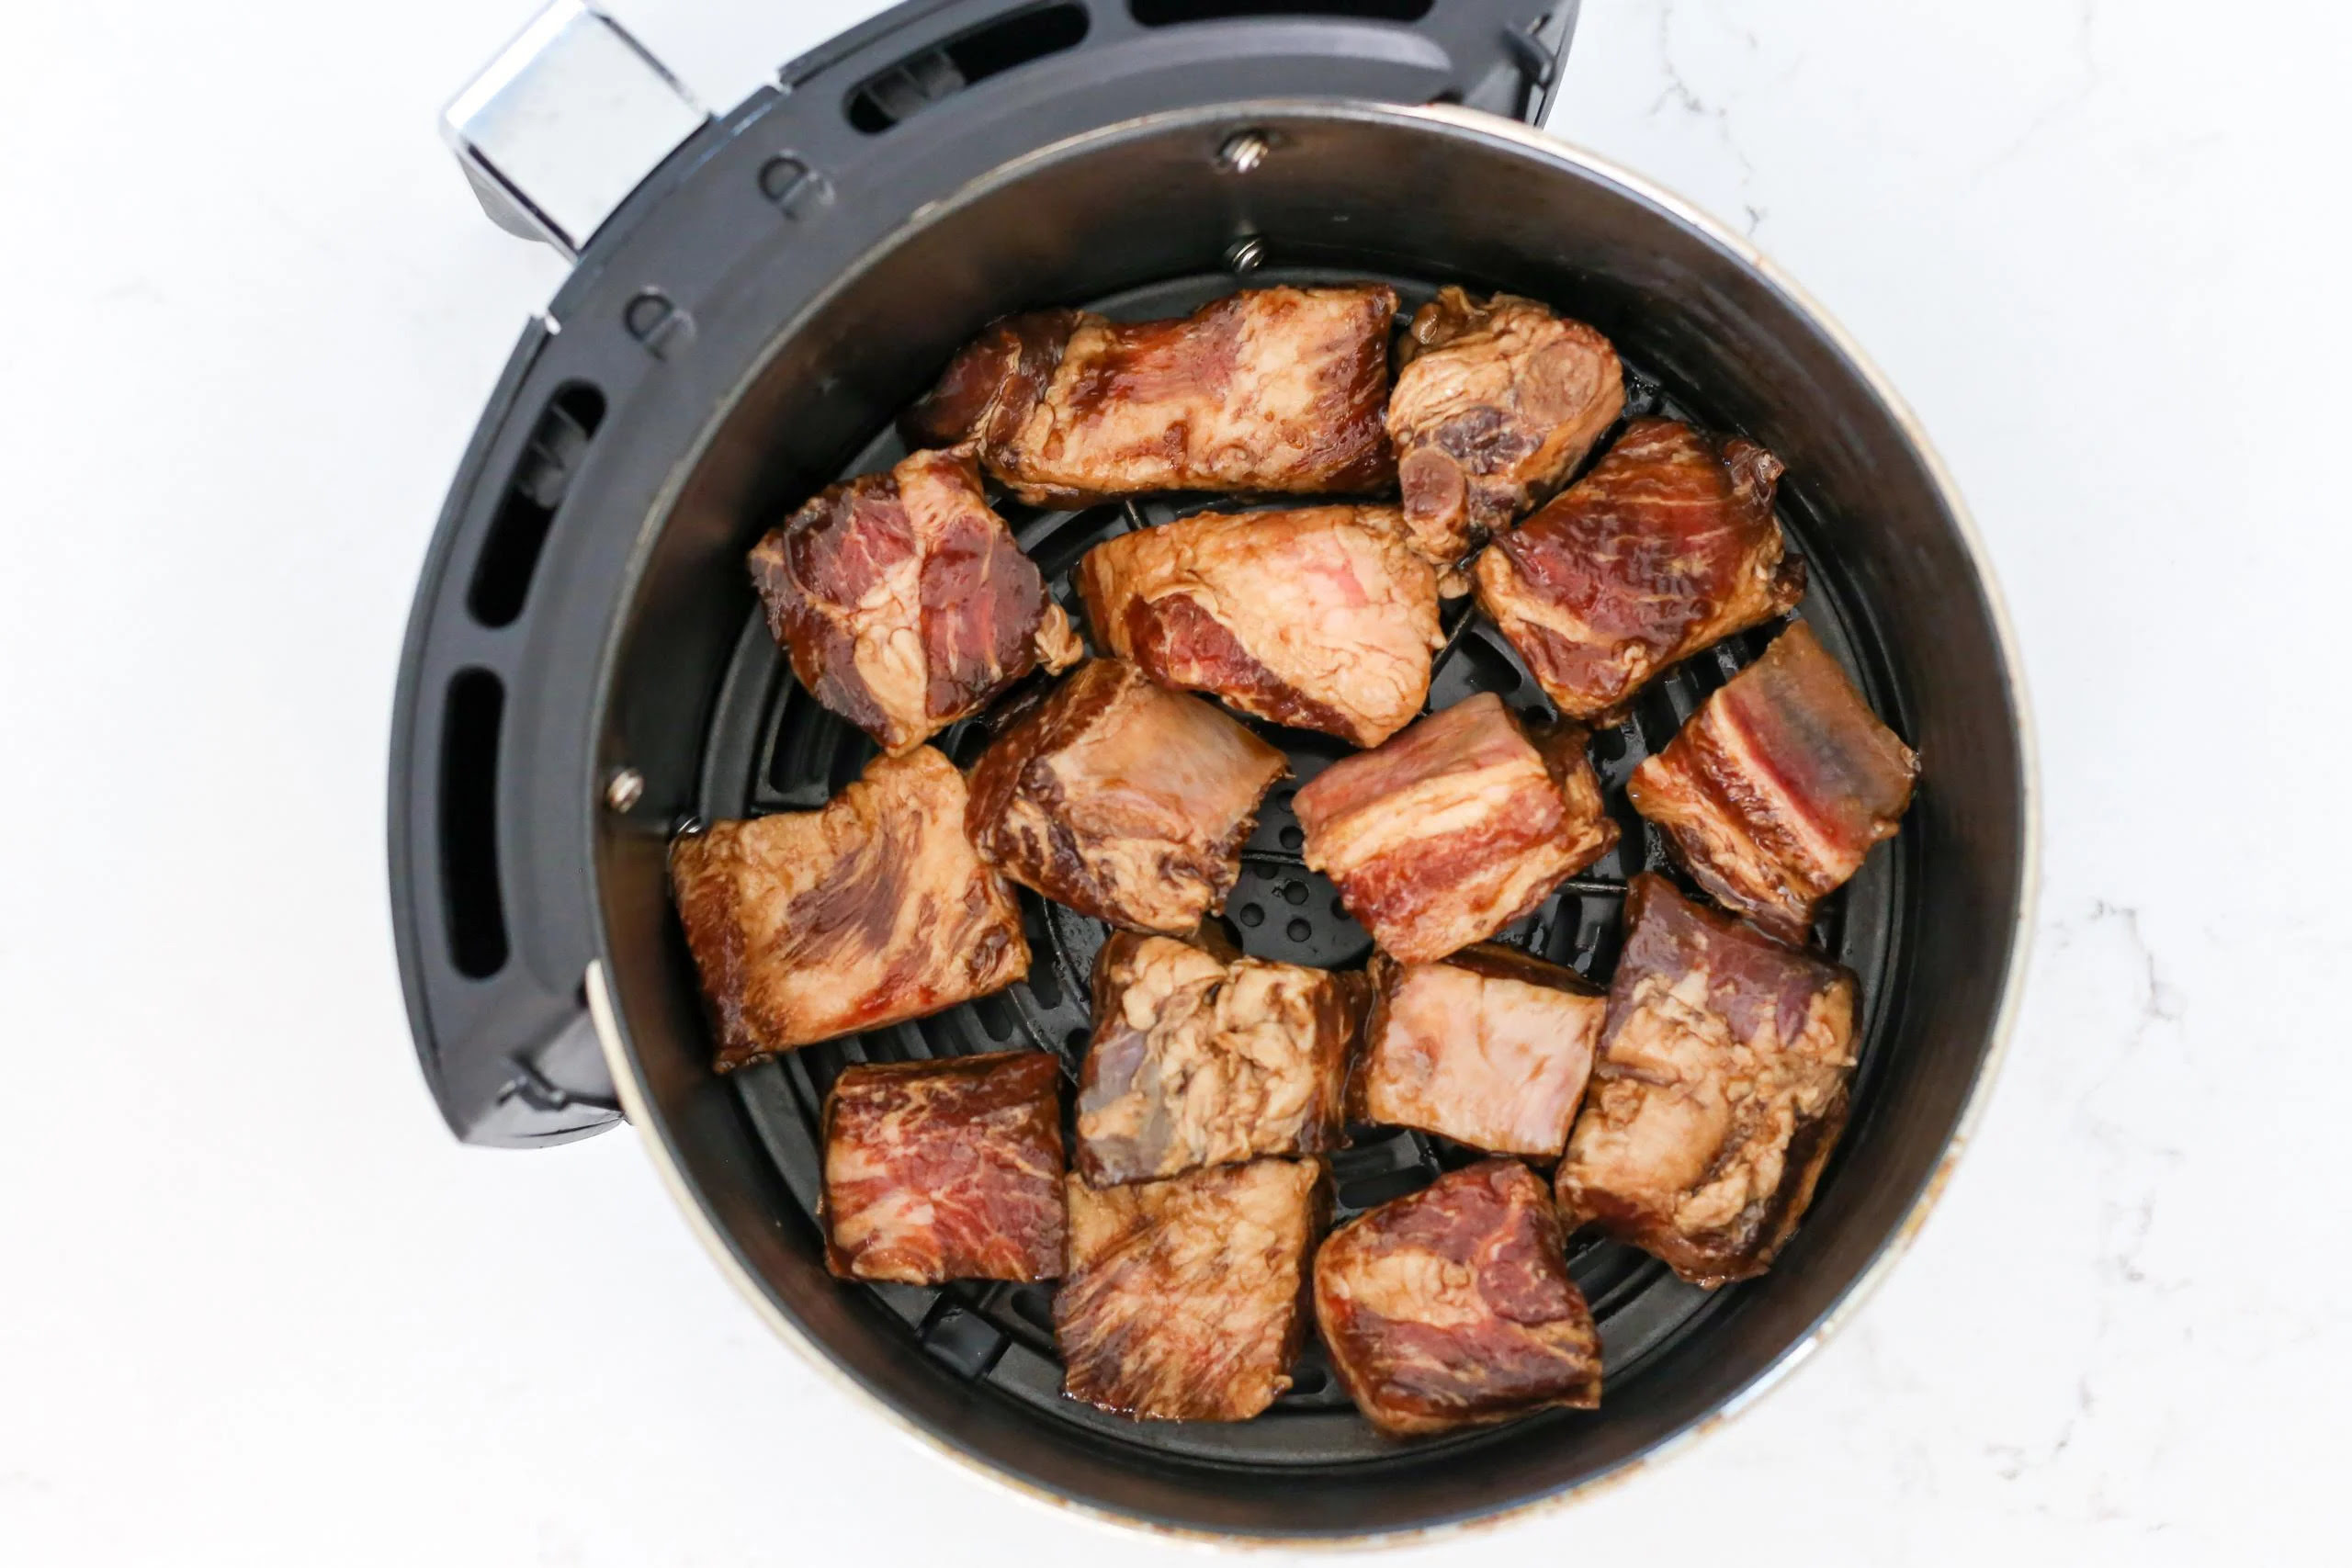
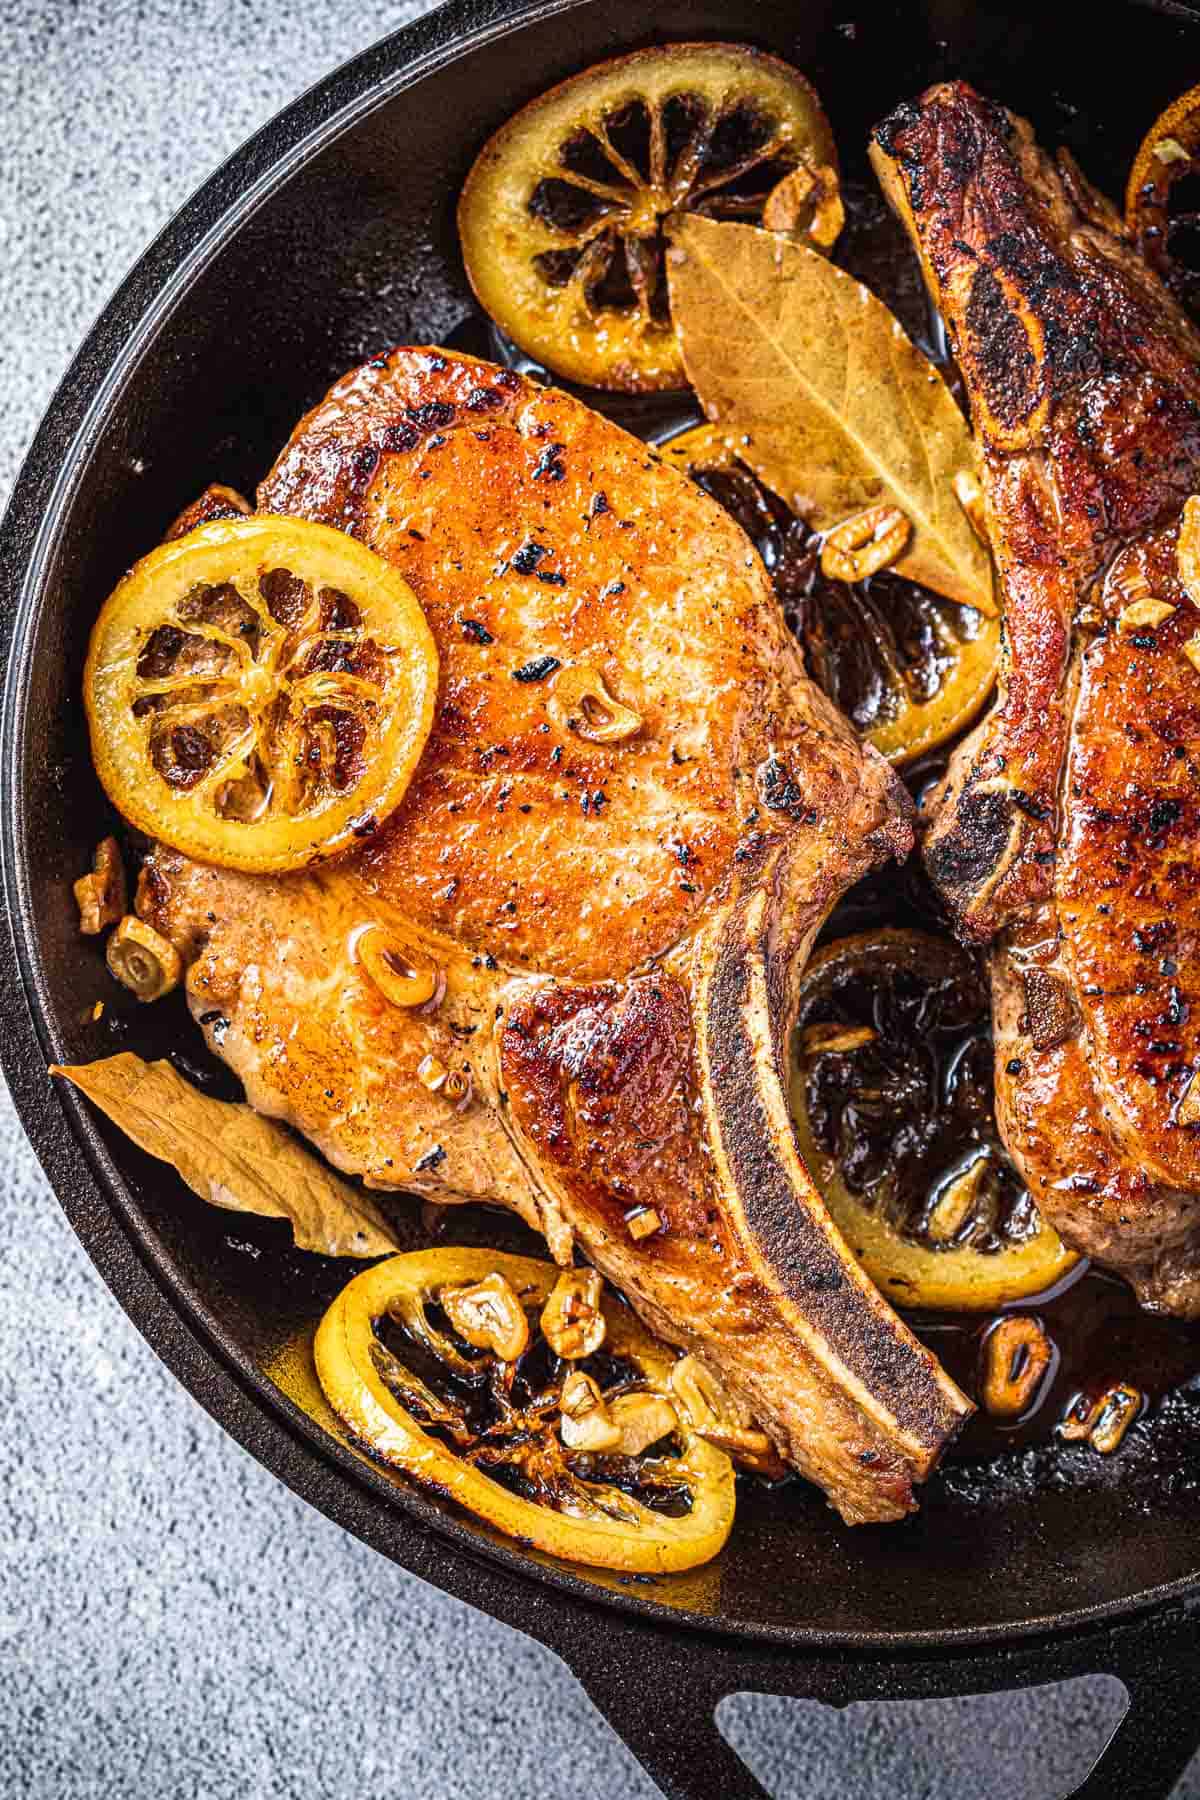
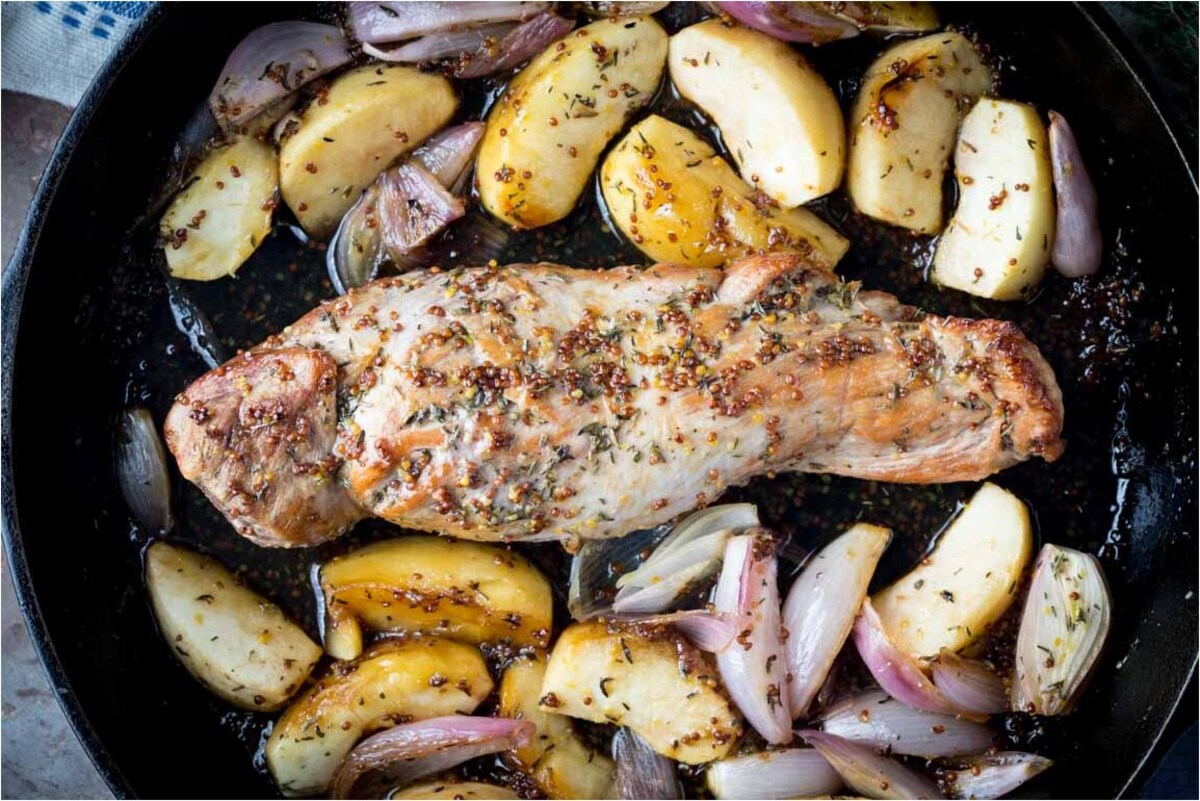
Cooking the Pork Ribs in the Electric Skillet
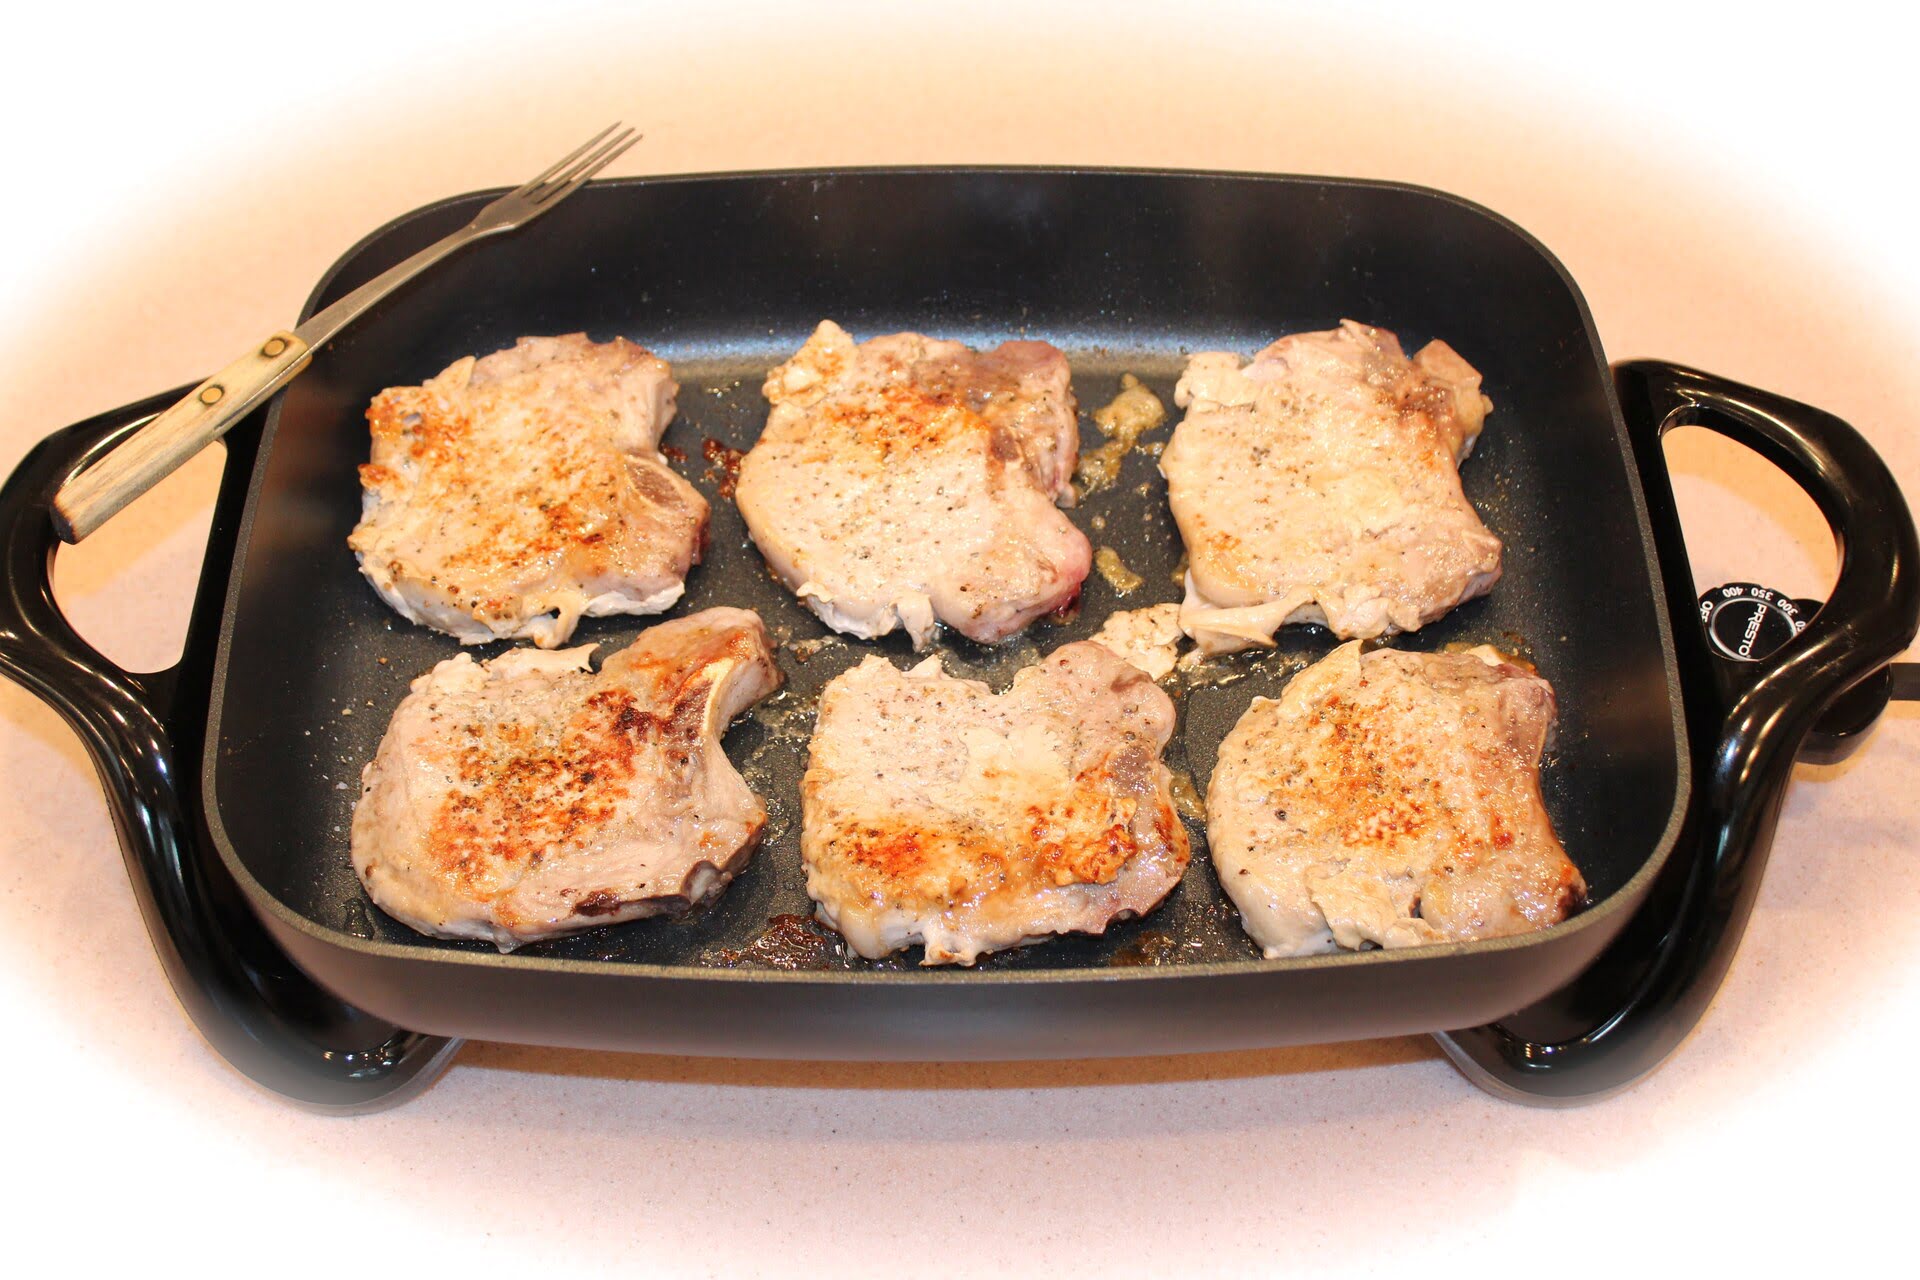
Now that your pork ribs are seasoned and ready, it’s time to cook them in the electric skillet. Follow these steps for delicious and tender pork ribs:
- Add a small amount of oil or cooking spray to the preheated electric skillet to prevent the ribs from sticking.
- Carefully place the seasoned ribs into the skillet with the meaty side facing down. Make sure not to overcrowd the skillet; leave some space between the ribs for even cooking.
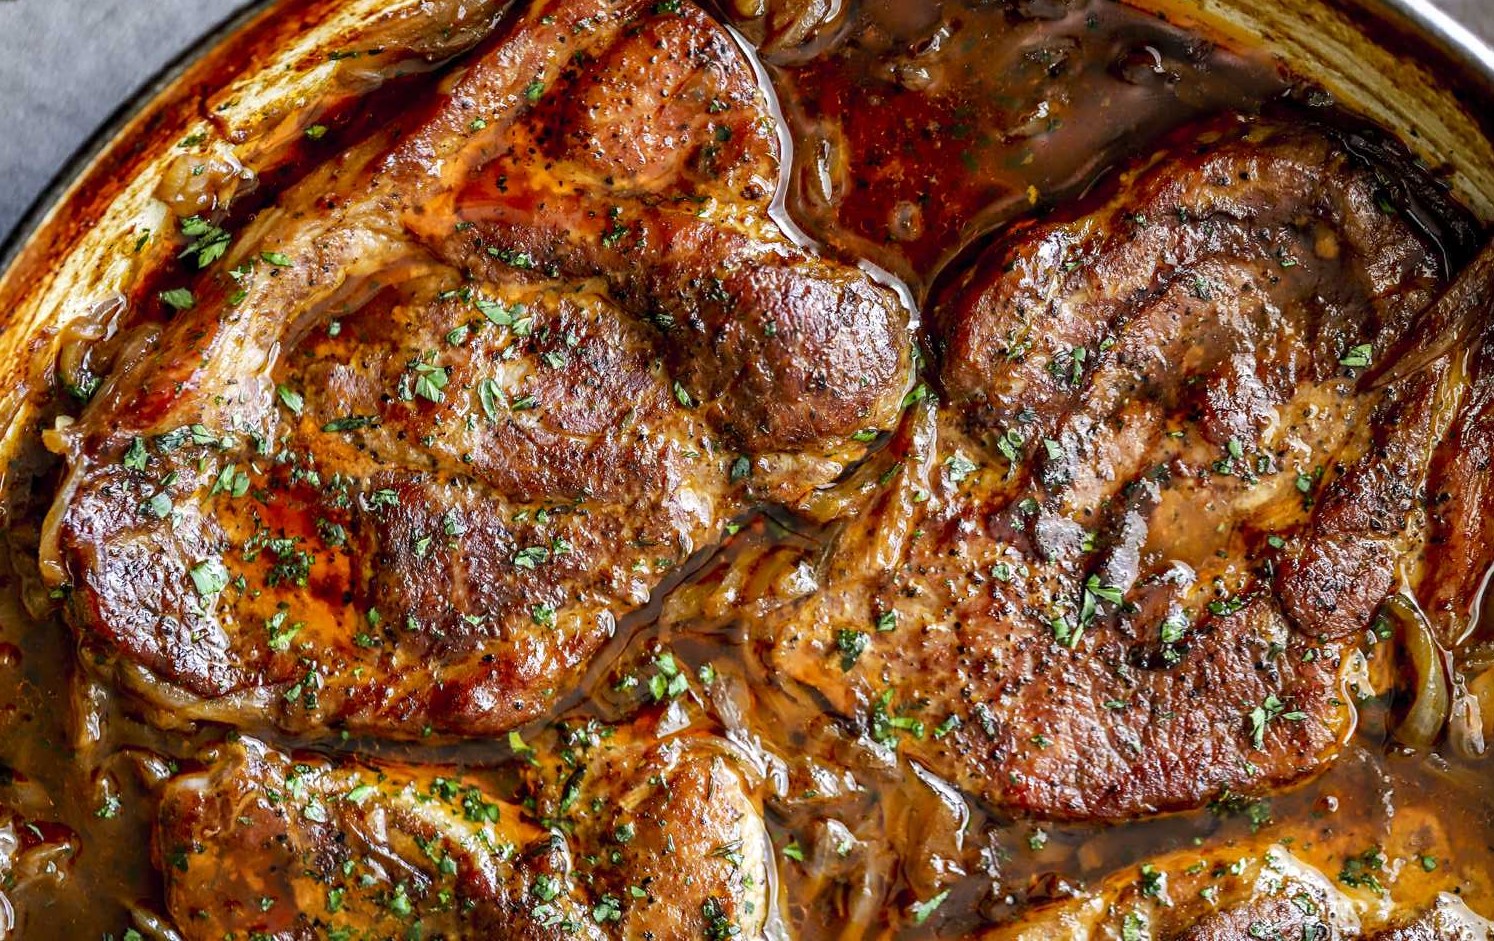
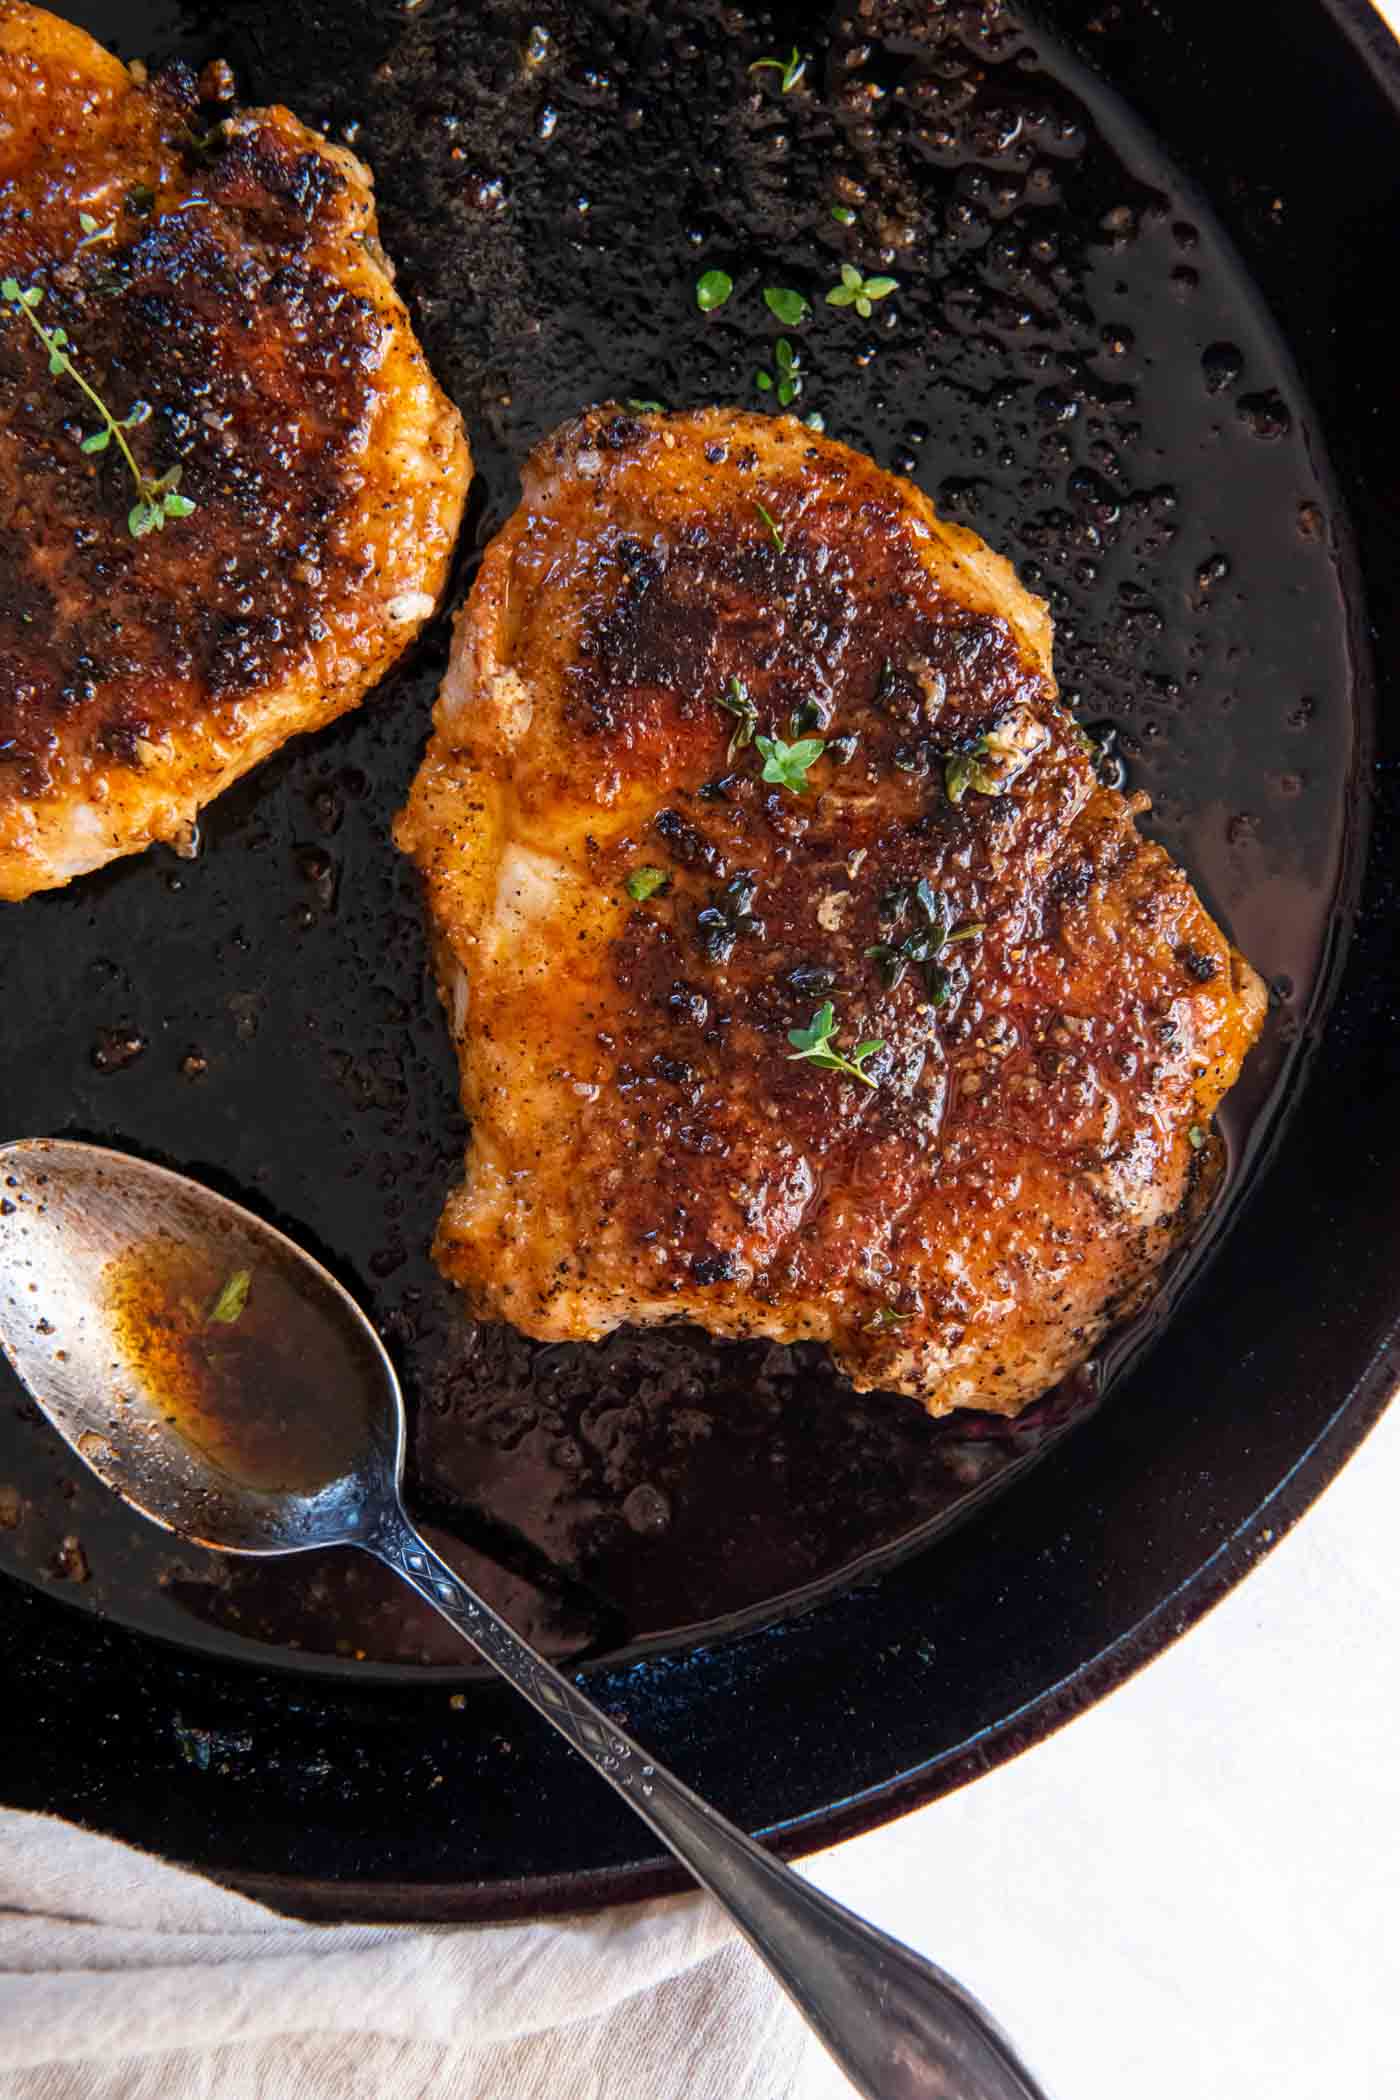
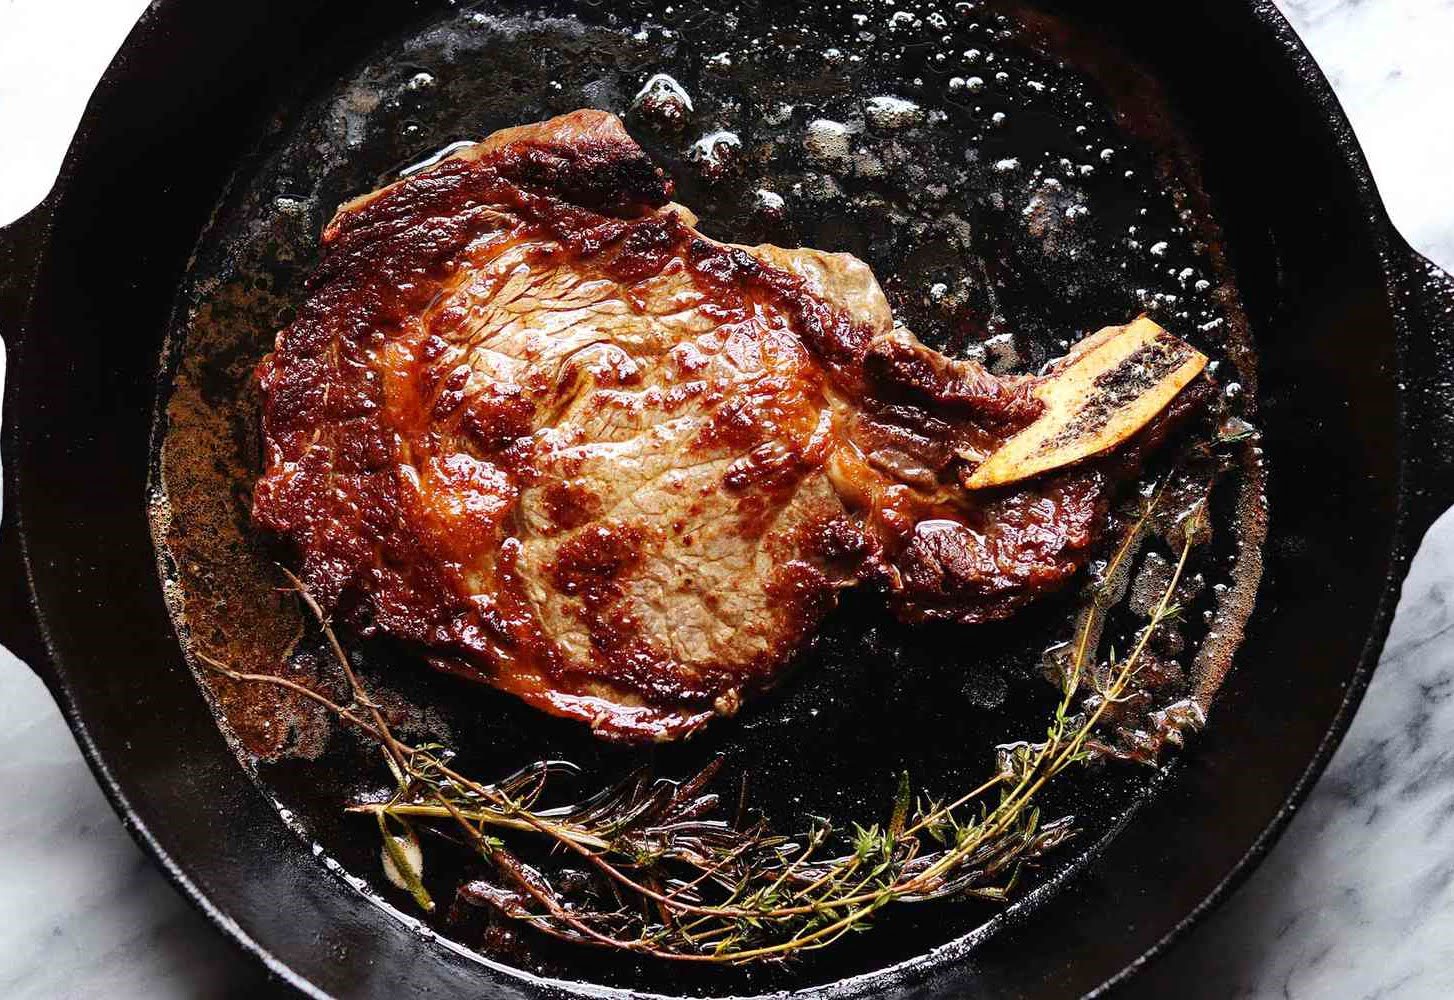
- Cook the ribs on one side for about 4-5 minutes or until they develop a golden-brown crust.
- Using tongs or a spatula, carefully flip the ribs over to cook the other side. Cook for another 4-5 minutes, allowing the ribs to brown on this side as well.
- Adjust the heat as necessary to maintain a steady temperature and prevent the ribs from browning too quickly.
- Once both sides are nicely browned, reduce the heat to low or medium-low, cover the skillet, and let the ribs continue to cook for about 1-2 hours. This slow cooking method helps to tenderize the meat and allows the flavors to develop.
- Occasionally check the ribs and baste them with any juices that accumulate in the skillet. This helps to keep the meat moist and infuse it with more flavor.
The cooking time may vary depending on the thickness of the ribs and your desired level of tenderness. The meat should be tender and easily pull away from the bone when done.
Once the pork ribs are cooked to your liking, it’s time to move on to the next step: checking for doneness.
Checking for Doneness
Checking the doneness of pork ribs is essential to ensure they are cooked safely and to the desired level of tenderness. Here are a few ways to check if your ribs are done cooking:
- Temperature: Using a meat thermometer, insert it into the thickest part of the meat, avoiding the bone. The internal temperature should reach 145°F (63°C) for medium-rare, 160°F (71°C) for medium, or 165°F (74°C) for well-done ribs.
- Bend Test: Using a pair of tongs, lift the ribs from one end. If they easily bend and the meat starts to pull away from the bone, they are likely done or close to being done.
- Tenderness: Use a fork or a knife to gently pierce the meat between the bones. If it goes through with little resistance and the meat is tender, the ribs are cooked to perfection.
- Visual Inspection: The meat should have a nice caramelized crust, be moist, and pull away from the bone easily. If these visual cues are present, the ribs are likely done.
Keep in mind that cooking times may vary depending on the thickness of the ribs and your desired level of tenderness. It’s always better to aim for slightly longer cooking time to ensure the meat is fully cooked and tender.
Once you have determined that your pork ribs are done, it’s important to let them rest before serving. This allows the juices to redistribute and results in a more flavorful and tender bite.
Now that you know how to check for doneness, it’s time to move on to the final step: resting and serving the pork ribs.
Resting and Serving the Pork Ribs
Resting the pork ribs is a crucial step to ensure a juicy and flavorful final result. Resting allows the meat to relax and the juices to redistribute, resulting in a more tender and delicious bite. Here’s how to properly rest and serve your pork ribs:
- Remove the cooked pork ribs from the electric skillet and transfer them to a cutting board or a serving platter.
- Cover the ribs loosely with aluminum foil. This helps to retain the heat and allows the ribs to continue cooking slightly while they rest.
- Let the ribs rest for about 10-15 minutes. This resting period allows the juices to evenly distribute throughout the meat, resulting in a more flavorful and tender bite.
- After the resting period, it’s time to serve the pork ribs. You can serve them as whole slabs or cut them into individual rib portions for easier serving.
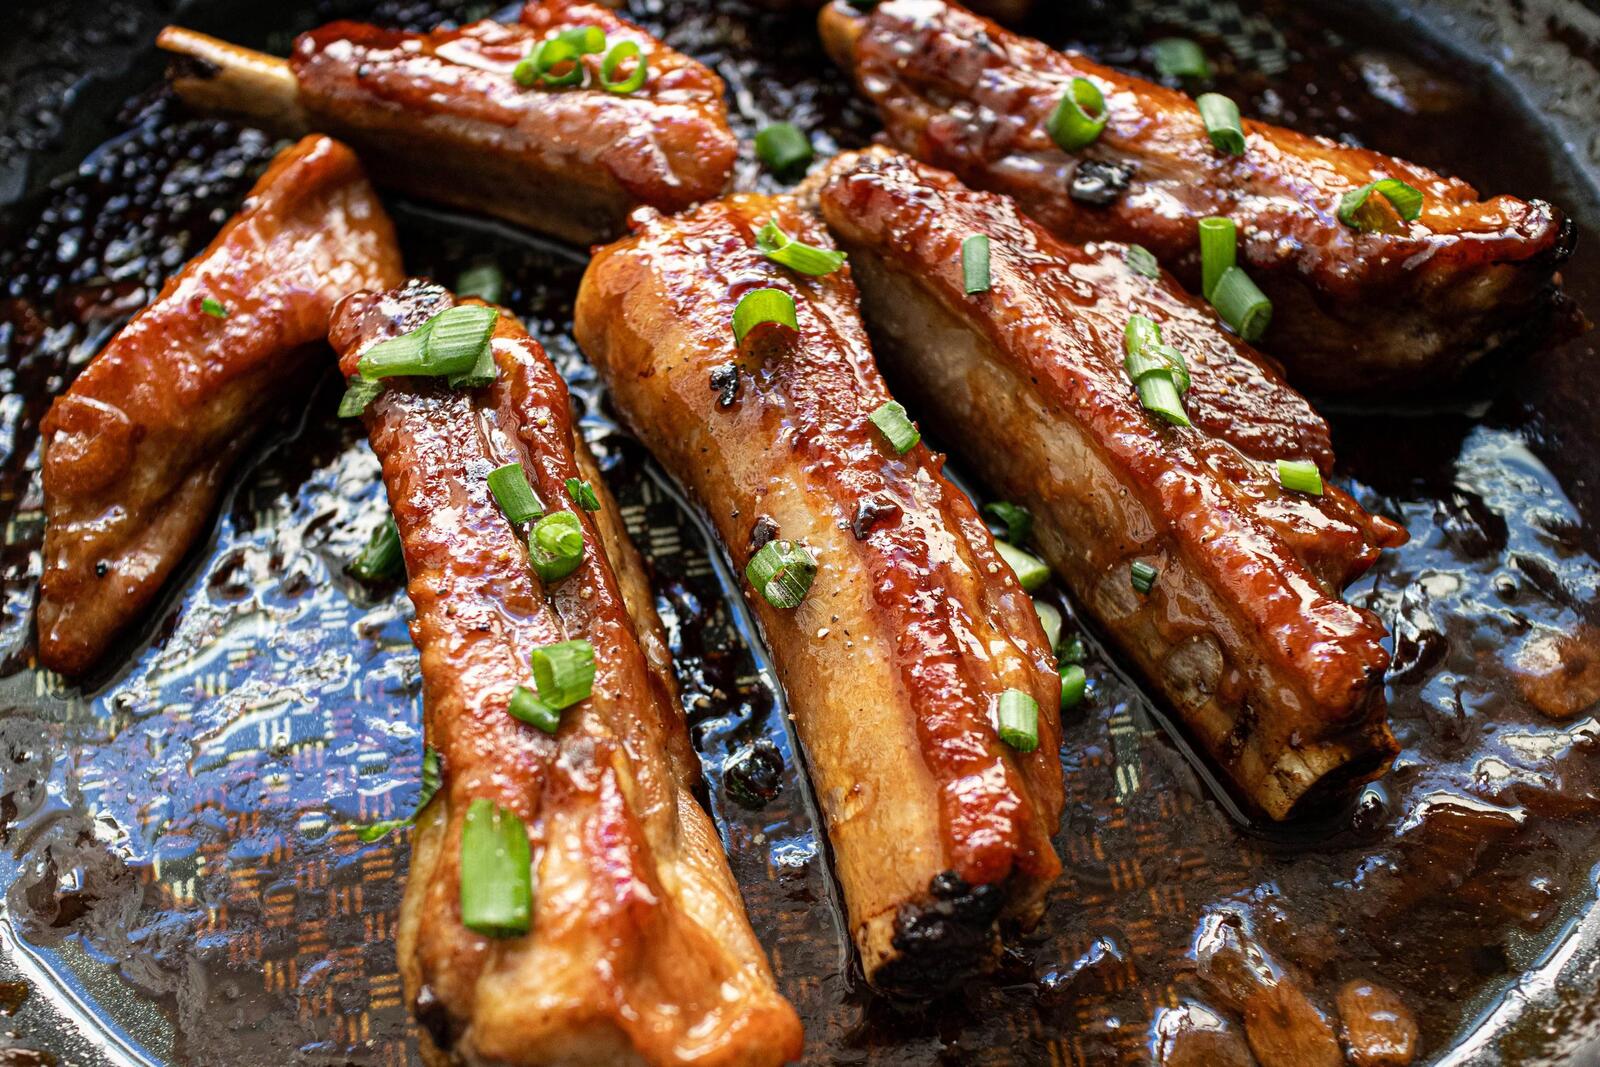
- Garnish the ribs with your favorite BBQ sauce, glaze, or a sprinkle of fresh herbs. This adds an extra layer of flavor and enhances the presentation.
- Serve the pork ribs alongside your favorite side dishes, such as coleslaw, cornbread, baked beans, or grilled vegetables. Pair them with a refreshing beverage and enjoy!
Remember to inform your guests that the ribs are hot and to exercise caution when handling them. The meat should be tender and juicy, with a savory and smoky flavor from the seasoning and cooking process.
By following these steps and allowing the ribs to rest before serving, you will ensure a memorable dining experience with deliciously cooked pork ribs.
Now that you know how to properly rest and serve the pork ribs, let’s conclude our guide on cooking pork ribs in an electric skillet.
Conclusion
Cooking pork ribs in an electric skillet is a convenient and efficient method that yields delicious and tender results. By following the steps outlined in this guide, you can easily create mouthwatering ribs that will impress your family and friends.
Remember to start by choosing the type of ribs that best suit your taste, whether it’s the smaller and tender baby back ribs or the more meaty spare ribs. Properly preparing the ribs by removing the silverskin and marinating them overnight can enhance their flavor and tenderness.
Preheating the electric skillet is crucial for even cooking and preventing the ribs from sticking. Seasoning the ribs with your preferred blend of spices and herbs adds depth and richness to the final dish. Cooking the ribs on both sides until browned and then slow-cooking them in the skillet ensures tender and flavorful meat.
Checking for doneness by using a meat thermometer, performing the bend test, and assessing tenderness will guarantee perfectly cooked ribs. Allowing the ribs to rest after cooking is essential for juicy and succulent results.
Finally, serving the pork ribs alongside your favorite side dishes and condiments will complete the dining experience. Whether enjoying them at a backyard barbecue or a casual weeknight dinner, these electric skillet-cooked pork ribs are sure to be a hit.
Now that you have mastered the art of cooking pork ribs in an electric skillet, unleash your creativity by exploring different seasoning variations and accompanying flavors. Experiment, have fun, and enjoy the deliciousness of these tender and flavorful ribs!
Excited to master your kitchen skills further? Dive into our guide on using an electric pressure cooker to whip up some carrots that will impress guests at any dinner party. With practical tips and easy-to-follow steps, you’ll find yourself speeding through meal prep like never before. Not stopping there, grasp the essentials of indoor grilling as you learn the perfect timing for cooking brats. Both guides promise to make your cooking experience more efficient and enjoyable, ensuring every meal is a hit!
Frequently Asked Questions about How To Cook Pork Ribs In Electric Skillet
Was this page helpful?
At Storables.com, we guarantee accurate and reliable information. Our content, validated by Expert Board Contributors, is crafted following stringent Editorial Policies. We're committed to providing you with well-researched, expert-backed insights for all your informational needs.


0 thoughts on “How To Cook Pork Ribs In Electric Skillet”