Articles
How To Fry Chicken In Electric Skillet
Modified: October 27, 2024
Learn the best technique to fry chicken in an electric skillet with this informative article. Discover expert tips and tricks for perfect, crispy results every time.
(Many of the links in this article redirect to a specific reviewed product. Your purchase of these products through affiliate links helps to generate commission for Storables.com, at no extra cost. Learn more)
Introduction
Fried chicken is a beloved dish that offers a delicious combination of juicy meat and crispy, flavorful coating. While traditional methods of frying chicken involve a stovetop and a large pot of oil, using an electric skillet can make the process quicker, easier, and safer. In this article, we will guide you through the steps of frying chicken in an electric skillet, ensuring that you achieve perfectly cooked, crispy chicken every time.
Before we dive into the details, let’s take a moment to discuss the benefits of using an electric skillet for frying chicken. Electric skillets are versatile kitchen appliances that offer precise temperature control, even heat distribution, and a non-stick surface, making them an ideal choice for frying. They also eliminate the need for a stovetop and a large amount of oil, reducing both the mess and the risk of accidents.
Now that we understand the advantages of using an electric skillet, let’s move on to the steps involved in frying chicken.
Key Takeaways:
- Master the art of frying chicken in an electric skillet by choosing the right size, temperature control, and depth. Properly preparing, seasoning, and coating the chicken, along with maintaining the right temperature and cooking time, will result in crispy, flavorful chicken every time.
- Elevate your fried chicken game by following tips for achieving crispy perfection, such as proper oil temperature, draining on a rack, and avoiding overcrowding the skillet. Explore creative serving options, from classic Southern style to unique combinations, to complement your crispy fried chicken and impress your family and friends.
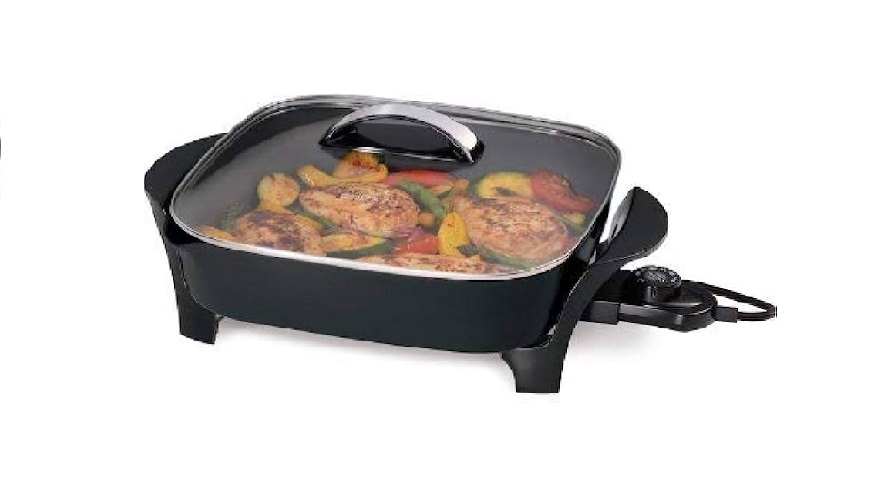
Choosing the Right Electric Skillet
When it comes to frying chicken in an electric skillet, selecting the right skillet is crucial for achieving optimal results. Here are some factors to consider when choosing the right electric skillet:
- Size: The size of the electric skillet will depend on the quantity of chicken you plan to fry. If you’re cooking for a small family, a skillet with a capacity of 10-12 inches should be sufficient. However, if you plan to cook for larger gatherings, opt for a skillet with a larger capacity.
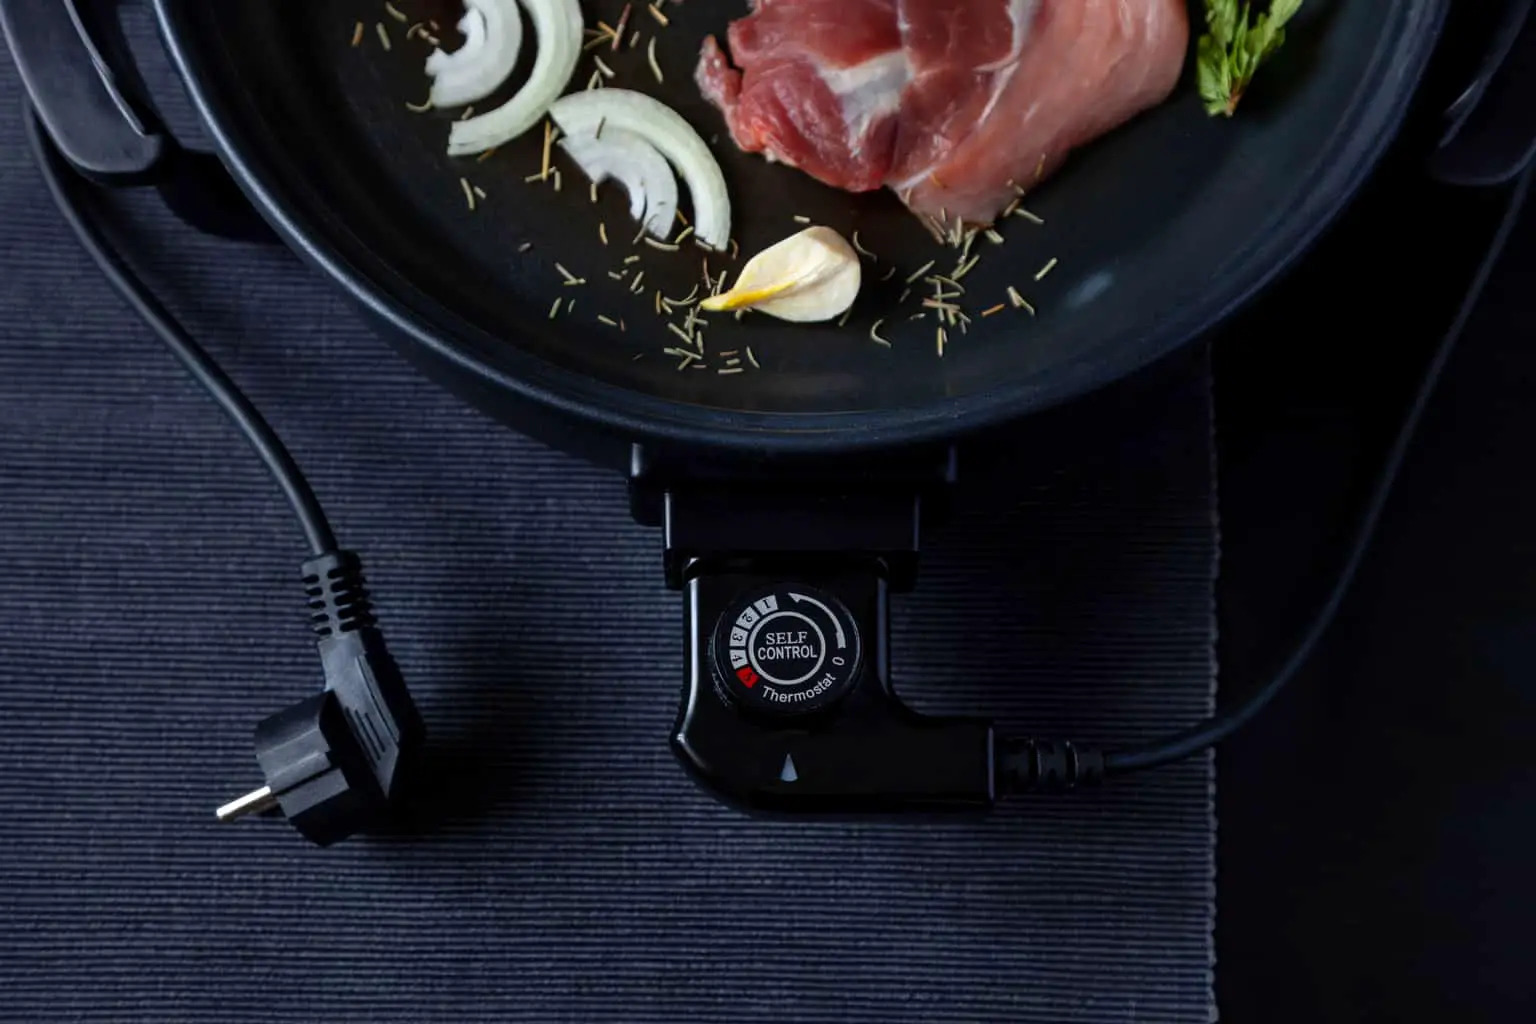
- Temperature Control: Look for an electric skillet with precise temperature control settings. This will allow you to adjust the temperature according to the specific requirements of your recipe, ensuring that the chicken cooks evenly and to perfection.
- Non-Stick Surface: It is essential to choose an electric skillet with a non-stick cooking surface. This will prevent the chicken from sticking to the bottom, making it easier to flip and remove from the skillet without damaging the coating.
- Depth: Consider the depth of the skillet. A deeper skillet will prevent oil splatters and spills while frying, keeping your kitchen clean and reducing the risk of accidents. Aim for a depth of at least 2-3 inches.
- Power: Check the wattage of the electric skillet to ensure that it has enough power to reach and maintain the desired frying temperature. Higher wattage skillets tend to heat up faster and hold the temperature more consistently.
By considering these factors, you can choose an electric skillet that best suits your frying needs and ensures that your chicken turns out crispy and delicious.
Preparing the Chicken
Before you start frying the chicken in the electric skillet, it is important to properly prepare the chicken to ensure optimal flavor and texture. Here are some steps to follow when preparing the chicken:
- Cleaning: Begin by cleaning the chicken thoroughly under cold running water. Remove any excess fat, feathers, or impurities from the chicken.
- Patting dry: Once the chicken is clean, use paper towels to pat it dry. Removing excess moisture will help the coating adhere to the chicken and promote a crispy texture.
- Trimming: If desired, you can trim any excess skin or fat from the chicken. This step is optional and will depend on your personal preference.
- Cutting: If you prefer smaller pieces of chicken, you can cut it into your desired size. Common choices include drumsticks, wings, thighs, and breast pieces.
Once the chicken is properly prepared, it is time to move on to the next step, which involves seasoning the chicken.
Seasoning the Chicken
Seasoning the chicken is a crucial step in adding flavor and enhancing the overall taste of the fried chicken. Here are some tips for seasoning the chicken:
- Salt and Pepper: Start by seasoning the chicken generously with salt and pepper. This will help bring out the natural flavors of the meat.
- Herbs and Spices: Experiment with different herbs and spices to add a unique and flavorful twist to your fried chicken. Common choices include paprika, garlic powder, onion powder, dried thyme, and dried oregano.
- Marinating: For an extra burst of flavor, consider marinating the chicken in a mixture of buttermilk and your choice of seasonings. This not only adds flavor but also helps tenderize the meat, resulting in juicier chicken.
- Allowing Time to Absorb: After seasoning the chicken, let it sit in the refrigerator for at least 30 minutes to allow the flavors to penetrate the meat. This step is optional but highly recommended for maximum flavor.
Once the chicken is seasoned to your liking, it’s time to move on to the next step, which involves coating the chicken in a crispy and delicious batter or breading.
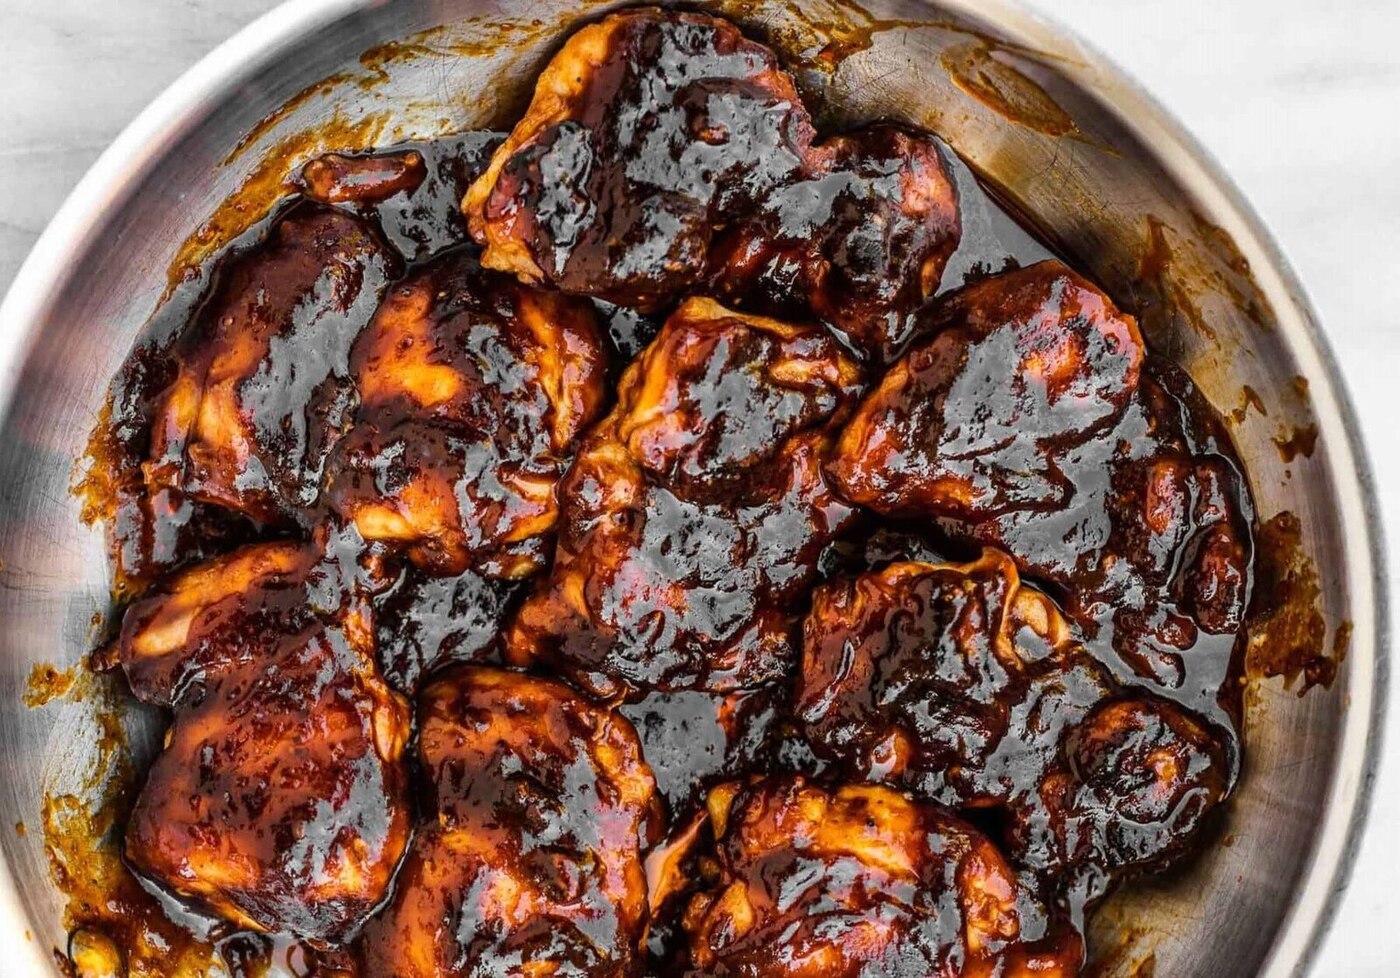
Coating the Chicken
Coating the chicken is a crucial step in creating that irresistible crispy exterior. Here are a few options for coating the chicken:
- Batter: A batter coating is made by combining flour, liquid (such as buttermilk or milk), and seasonings. Dip the seasoned chicken into the batter, ensuring that it is evenly coated. This method results in a slightly thicker and fluffier coating.
- Breading: Breading the chicken involves coating it with a combination of flour or cornmeal and breadcrumbs. The chicken is first dipped in an egg or buttermilk wash, then coated in the breadcrumb mixture. This method creates a more textured and crunchy coating.
- Seasoned Flour: Another option is to coat the chicken simply with seasoned flour. This involves mixing flour with your desired seasonings, such as salt, pepper, paprika, garlic powder, and onion powder. Dip the seasoned chicken in the flour mixture, ensuring that it is evenly coated.
Regardless of the coating method you choose, ensure that the chicken is coated evenly and that no bare spots are left. This will help achieve a uniform and crispy coating.
After coating the chicken, it’s time to preheat the electric skillet to the right temperature and start frying the chicken.
When frying chicken in an electric skillet, make sure the oil is hot enough before adding the chicken to ensure a crispy exterior. Use a meat thermometer to check that the internal temperature of the chicken reaches 165°F to ensure it is fully cooked.
Temperature and Cooking Time
Proper temperature control is key to frying chicken to perfection. Here are some guidelines for achieving the right temperature and cooking time:
- Preheating: Preheat the electric skillet to a temperature of 350°F to 375°F (175°C to 190°C). This temperature range ensures that the chicken cooks evenly and achieves a crispy exterior.
- Temperature Check: Use a cooking thermometer to check the temperature of the oil before adding the chicken. It should reach the desired range mentioned above. Maintaining the right temperature throughout the cooking process is crucial for achieving the desired texture and avoiding undercooked or overcooked chicken.
- Cooking Time: The cooking time will vary depending on the size and thickness of the chicken pieces. As a general guideline, bone-in chicken pieces like drumsticks and thighs will take approximately 12-15 minutes per side. Boneless chicken breast pieces will cook faster, typically requiring around 6-8 minutes per side.
- Internal Temperature: To ensure that the chicken is cooked thoroughly, use a meat thermometer to check the internal temperature. It should reach a minimum of 165°F (75°C) for safe consumption. Insert the thermometer into the thickest part of the chicken to get an accurate reading.
Remember, these are just guidelines, and actual cooking times may vary. It is essential to closely monitor the chicken and adjust the cooking time as needed to ensure that it is cooked through and achieves that perfect golden brown color.
Now that you have an understanding of the temperature and cooking time, let’s move on to the next step, which involves frying the chicken in the electric skillet.
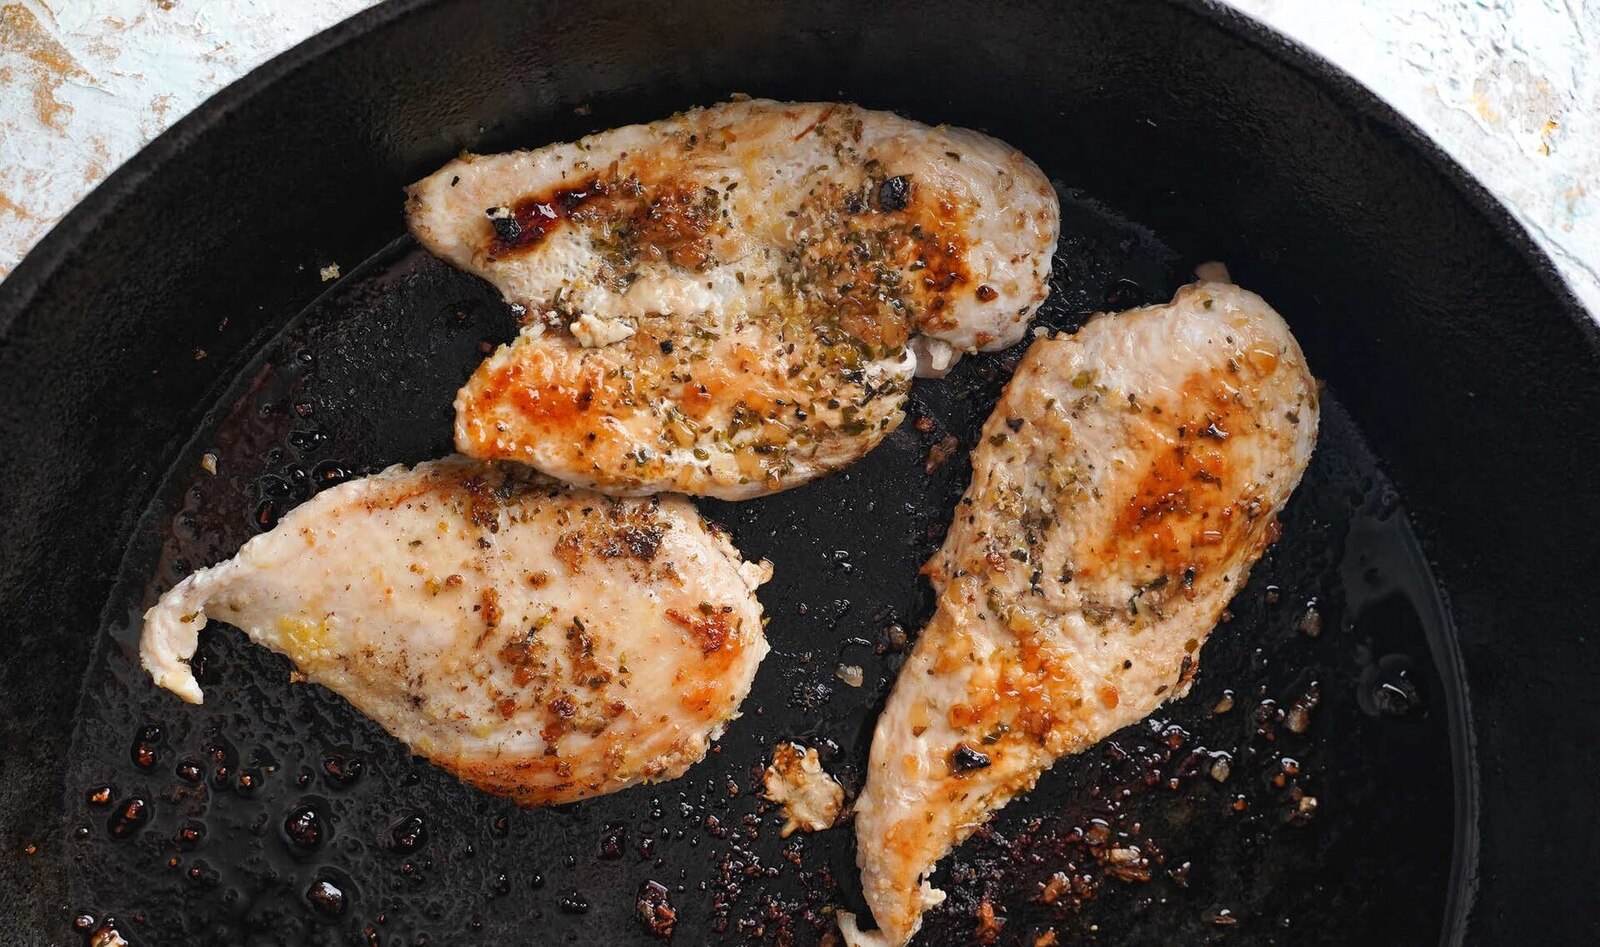
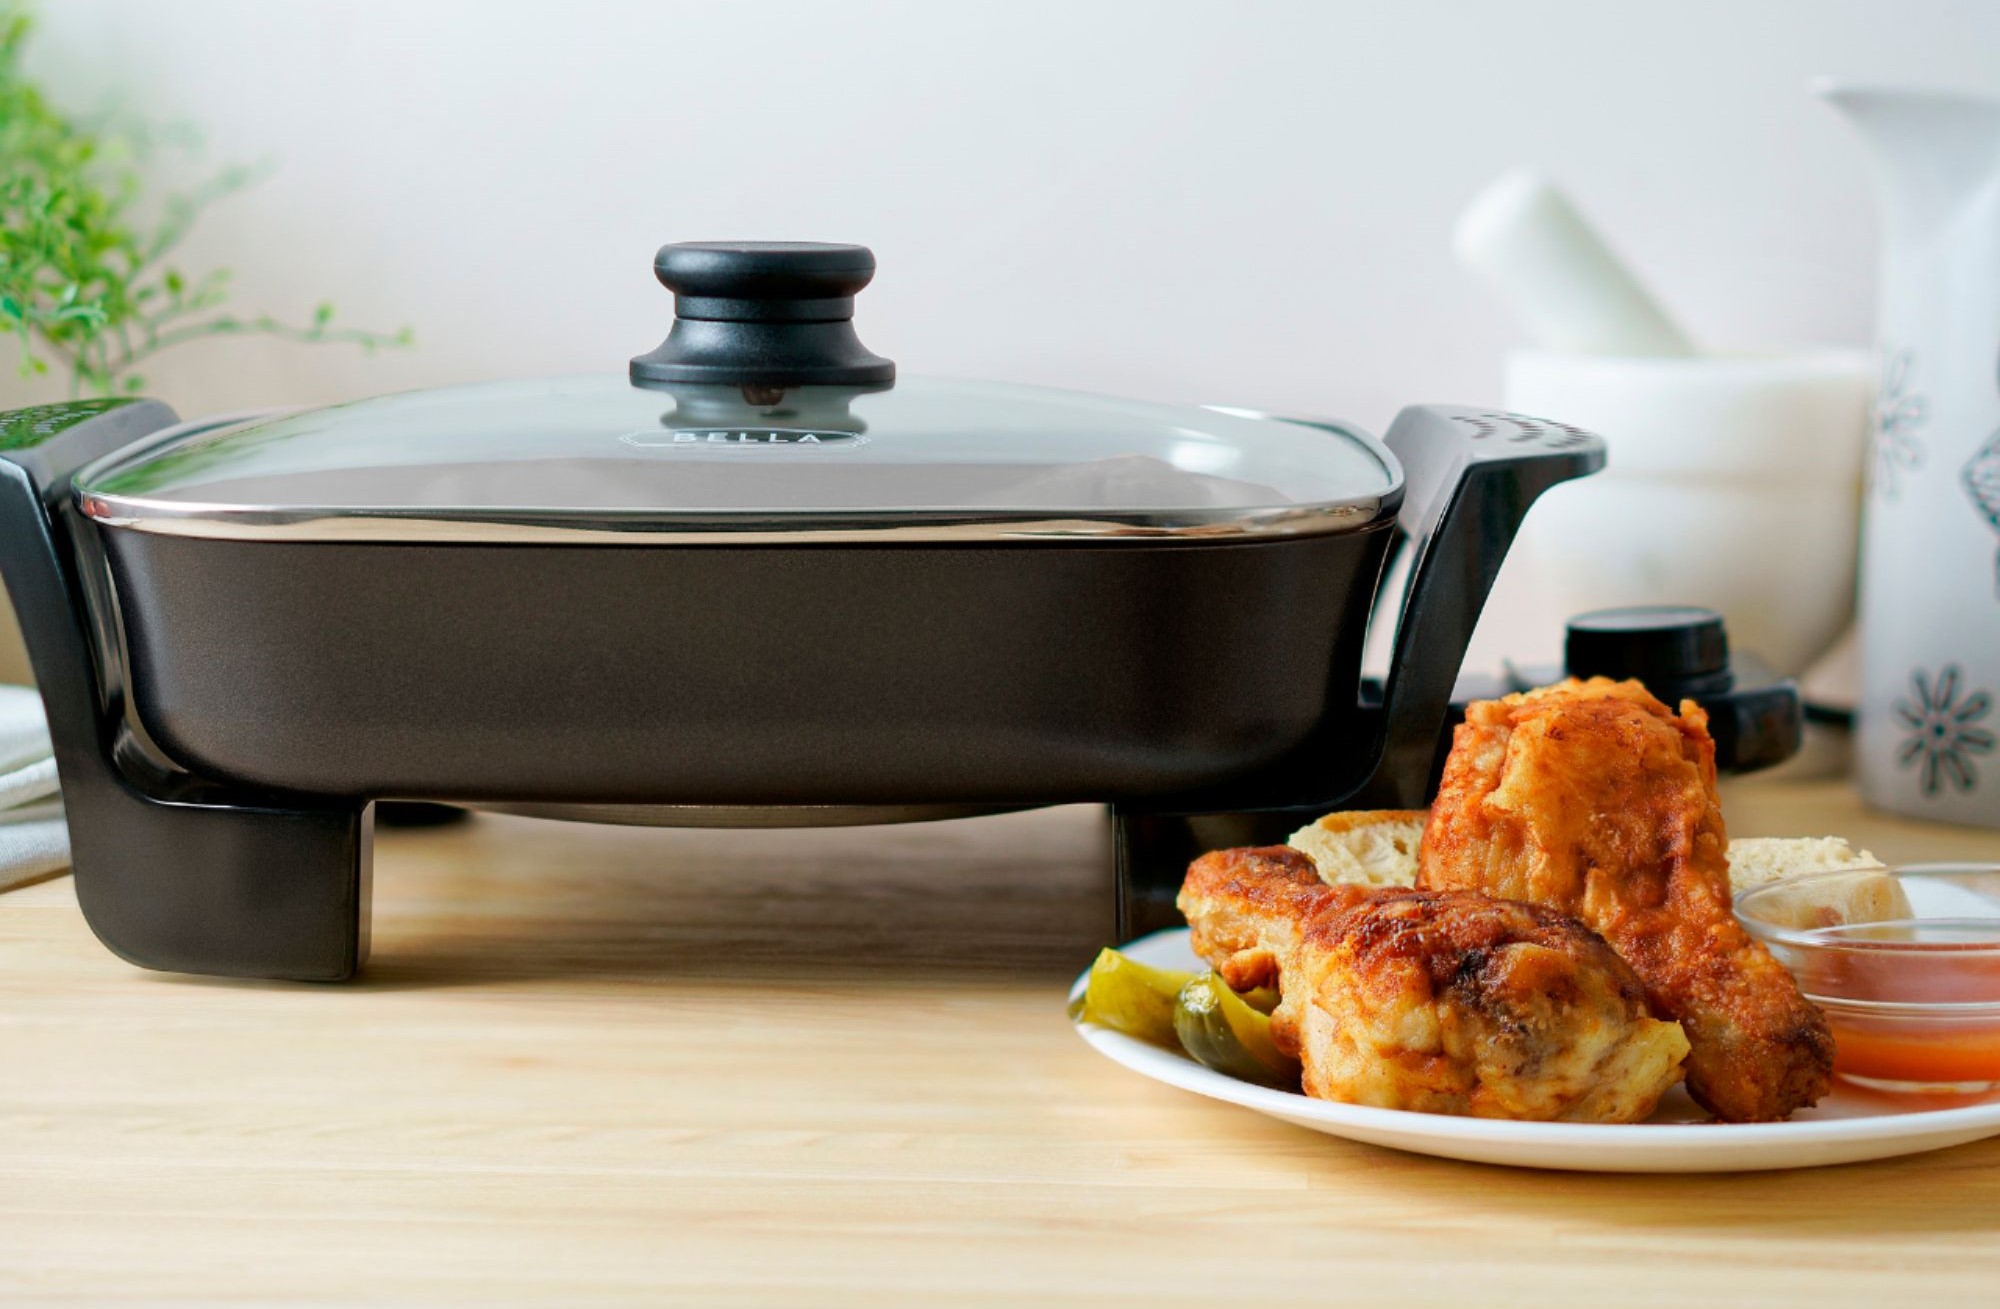
Frying the Chicken
Now that you have prepared the chicken, seasoned it, coated it, and determined the proper temperature and cooking time, it’s time to fry the chicken in the electric skillet. Here are the steps to follow:
- Heat the Electric Skillet: Preheat the electric skillet to the desired temperature range (350°F to 375°F/ 175°C to 190°C). Ensure that the oil fully covers the bottom of the skillet, creating a shallow pool for frying.
- Add the Chicken: Carefully place the coated chicken pieces into the hot oil. Be cautious to avoid overcrowding the skillet, as this can affect the temperature and result in uneven cooking.
- Fry the Chicken: Allow the chicken to cook undisturbed for the first few minutes, allowing a golden crust to form. Use tongs or a spatula to flip the chicken pieces over, ensuring that they cook evenly on both sides. Fry the chicken until it reaches a golden brown color and an internal temperature of at least 165°F (75°C).
- Drain Excess Oil: Once the chicken is cooked, transfer it to a wire rack or a plate lined with paper towels to drain any excess oil. This will help maintain the crispiness of the coating while removing any residual oil.
Remember to monitor the chicken closely as it cooks, adjusting the heat as needed to maintain the desired temperature. Once the chicken is fried to perfection, it’s time to serve and enjoy!
Next, we will share some tips for achieving crispy chicken that will leave you wanting more.
Tips for Crispy Chicken
Achieving perfectly crispy fried chicken can be a culinary delight. Here are some tips to ensure your chicken comes out crispy and delicious:
- Proper Oil Temperature: It is essential to maintain the right oil temperature throughout the frying process. If the temperature is too low, the chicken will absorb more oil and become greasy. If the temperature is too high, the coating may burn while the chicken remains undercooked. Use a cooking thermometer to monitor the oil temperature and adjust the heat as needed.
- Drain on a Rack: After frying the chicken, place it on a wire rack rather than a plate lined with paper towels. Allowing the excess oil to drip off and air circulate around the chicken will help maintain crispiness.
- Avoid Crowding the Skillet: Overcrowding the skillet with chicken pieces can lower the oil temperature and result in uneven cooking. Give each piece space to ensure that they fry properly and achieve a consistent golden brown color.
- Don’t Flip Too Soon: When frying the chicken, let it cook undisturbed for a few minutes on one side before flipping. This allows a crispy crust to form, ensuring that the coating stays intact while flipping.
- Rest Before Serving: Allow the fried chicken to rest for a few minutes after removing it from the skillet. This helps the juices redistribute within the meat, resulting in tender and flavorful chicken.
- Double Dipping: For an extra crispy coating, consider double dipping the chicken. Dip the seasoned chicken into the batter, then into the dry coating mixture, and repeat the process. This creates a thicker and more textured crust.
By following these tips, you can achieve that coveted crispy exterior while preserving the juicy and tender meat inside, resulting in fried chicken that will leave your taste buds delighted.
Now that you have all the tools and techniques at your disposal, it’s time to serve the crispy fried chicken in a variety of delicious ways.
Serving Suggestions
Once you have perfected the art of frying crispy chicken in an electric skillet, it’s time to get creative with your serving options. Here are some delightful serving suggestions that will complement the crispy chicken:
- Classic Southern Style: Serve the fried chicken with classic Southern sides such as mashed potatoes, coleslaw, and biscuits. This comforting combination is sure to satisfy both the taste buds and the soul.
- Chicken and Waffles: Create a unique and mouthwatering combination by pairing the crispy fried chicken with waffles. The contrast of sweet and savory flavors adds a delightful twist to the meal.
- Buffalo Chicken Sandwich: Toss the fried chicken in buffalo sauce and serve it on a soft bun with lettuce, tomato, and blue cheese dressing. This spicy and flavorful sandwich is perfect for those who enjoy a bit of heat.
- Fried Chicken Salad: Slice the fried chicken and place it on a bed of fresh greens, cherry tomatoes, cucumbers, and your favorite dressing. This salad offers a lighter option while still satisfying your craving for fried chicken.
- Chicken and Biscuits: Serve the fried chicken alongside warm and flaky buttermilk biscuits. This classic combination is ideal for a hearty and comforting meal.
- Picnic Style: Pack the crispy fried chicken for a picnic and enjoy it with sides like potato salad, cornbread, and watermelon. This casual and summery meal is perfect for outdoor gatherings.
Feel free to mix and match these ideas or create your own unique combinations. The versatility of crispy fried chicken allows for endless possibilities when it comes to serving it with complementary dishes.
Now that you have explored various serving options, it’s time to wrap up our guide to frying chicken in an electric skillet.
Conclusion
Frying chicken in an electric skillet can be a convenient and delicious way to achieve crispy and flavorful results. By following the steps outlined in this guide, you can create mouthwatering fried chicken that will impress your family and friends.
We started by discussing the importance of choosing the right electric skillet, considering factors such as size, temperature control, non-stick surface, depth, and power. A well-selected skillet will contribute to consistent and evenly cooked chicken.
We then moved on to the preparation phase, where we highlighted the significance of cleaning, drying, trimming, and cutting the chicken. Properly preparing the chicken ensures that it is ready to absorb the flavors of the seasonings and the coating.
Seasoning the chicken is a crucial step in adding flavor to the fried chicken. We discussed the importance of salt, pepper, herbs, and spices, as well as the option to marinate the chicken for enhanced taste and tenderness.
Coating the chicken is what gives it its signature crispy exterior. Whether using batter, breading, or seasoned flour, we provided options for achieving that irresistible crunch.
Temperature control and cooking times are essential elements in frying chicken to perfection. We emphasized the importance of preheating the electric skillet, monitoring the oil temperature, and ensuring the chicken reaches the appropriate internal temperature for safe consumption.
Throughout the process, we shared tips for achieving crispy chicken, such as maintaining proper oil temperature, draining on a rack, avoiding overcrowding, and allowing the chicken to rest before serving.
Lastly, we explored various serving suggestions, from classic Southern style to creative combinations like chicken and waffles or buffalo chicken sandwiches. The versatility of crispy fried chicken allows for endless possibilities when it comes to serving it alongside complimentary dishes.
Now armed with the knowledge and techniques to fry chicken in an electric skillet, you can confidently embark on your culinary journey. Get ready to create crispy, juicy, and delectable fried chicken that will have everyone asking for seconds.
So what are you waiting for? Fire up your electric skillet, grab some chicken, and let the frying begin!
Frequently Asked Questions about How To Fry Chicken In Electric Skillet
Was this page helpful?
At Storables.com, we guarantee accurate and reliable information. Our content, validated by Expert Board Contributors, is crafted following stringent Editorial Policies. We're committed to providing you with well-researched, expert-backed insights for all your informational needs.


0 thoughts on “How To Fry Chicken In Electric Skillet”