Articles
How To Cook Sushi Rice Without Rice Cooker
Modified: February 29, 2024
Learn how to cook sushi rice without a rice cooker in this informative article. Discover expert tips and techniques for perfecting your sushi rice at home.
(Many of the links in this article redirect to a specific reviewed product. Your purchase of these products through affiliate links helps to generate commission for Storables.com, at no extra cost. Learn more)
Introduction
Sushi rice is a key component of many beloved Japanese dishes. It is the foundation for rolls, sashimi, and bowls, providing a delicate and slightly tangy flavor that complements the fresh ingredients. While a rice cooker is a convenient tool for cooking sushi rice, it is not a necessity. In fact, you can achieve perfectly cooked sushi rice using a stovetop and a few simple steps. In this article, we will guide you through the process of cooking sushi rice without a rice cooker, allowing you to enjoy homemade sushi anytime.
Cooking sushi rice on the stovetop may seem daunting at first, but with the right technique, it can be an enjoyable and rewarding experience. Not only will you have control over the cooking process, but you will also develop a deeper understanding of the nuances of sushi rice. So let’s dive in and discover how to make delicious sushi rice without a rice cooker.
Key Takeaways:
- Enjoy homemade sushi anytime by mastering the art of cooking sushi rice without a rice cooker. Follow the simple steps of rinsing, soaking, cooking, resting, and seasoning to create delicious and flavorful sushi rice right on your stovetop.
- Embrace the process of cooking sushi rice without a rice cooker to develop a deeper understanding of this essential ingredient. From rinsing to seasoning, each step contributes to creating sushi rice that rivals your favorite Japanese restaurants.
Read more: How To Make Sushi Rice In A Rice Cooker
Step 1: Rinse the rice
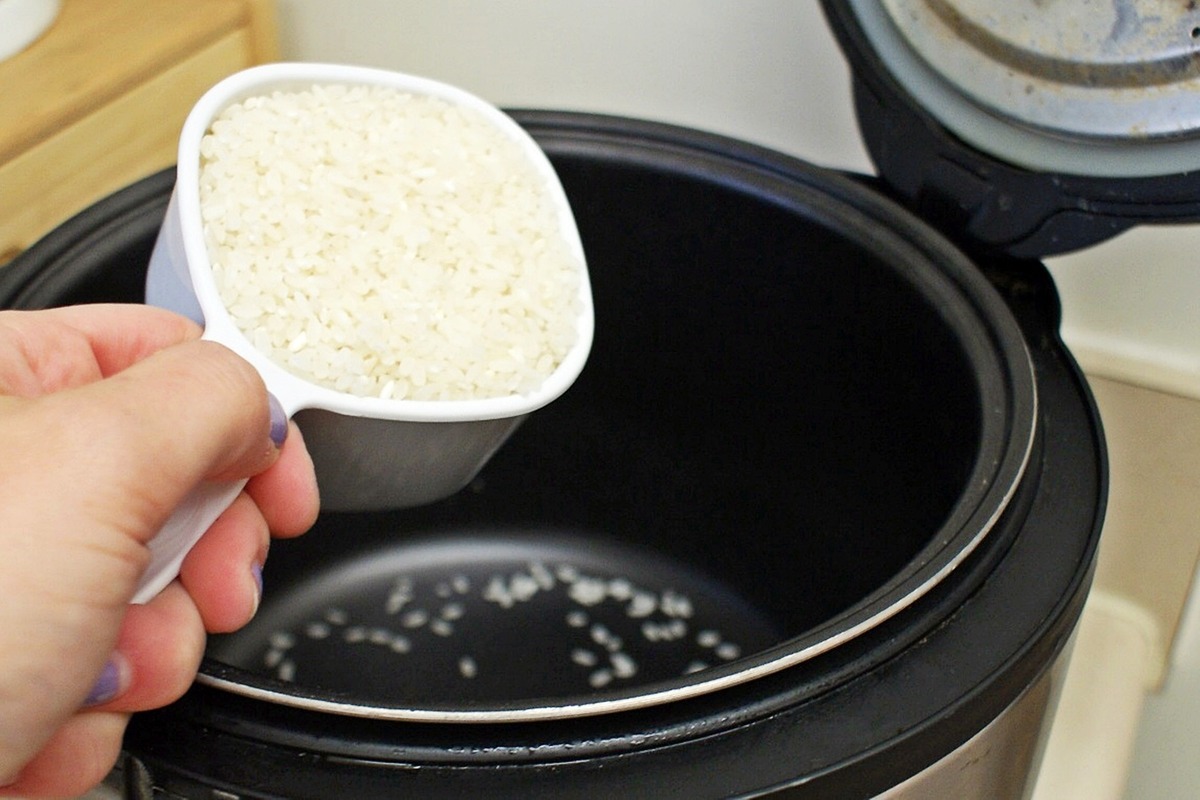
The first step in cooking sushi rice without a rice cooker is to rinse the rice thoroughly. Rinsing helps remove excess starch and impurities, resulting in fluffy and perfectly cooked grains.
To rinse the rice, start by measuring the desired amount of sushi rice and place it in a fine-mesh strainer or colander. Rinse the rice under cold running water, gently agitating it with your hands. As you rinse, you will notice the water becoming cloudy. Continue rinsing and agitating the rice until the water runs clear, indicating that most of the starch has been removed.
Rinsing the rice is a crucial step as it helps prevent the rice grains from becoming too sticky. It also helps ensure that the cooked sushi rice has the right texture and taste. So be sure not to skip this important step.
Step 2: Soak the rice
Once you have rinsed the sushi rice, the next step is to soak it. Soaking allows the rice to absorb water evenly and helps it cook more evenly on the stovetop.
To soak the rice, transfer it to a bowl and add enough cold water to cover the rice by about an inch. Gently swirl the rice with your fingers to ensure it is fully submerged. Let the rice soak for about 30 minutes. During this time, the rice will absorb the water and become plump.
Soaking the rice not only helps improve the texture of the cooked grains but it also reduces the cooking time. It is an essential step in achieving perfectly cooked sushi rice without a rice cooker.
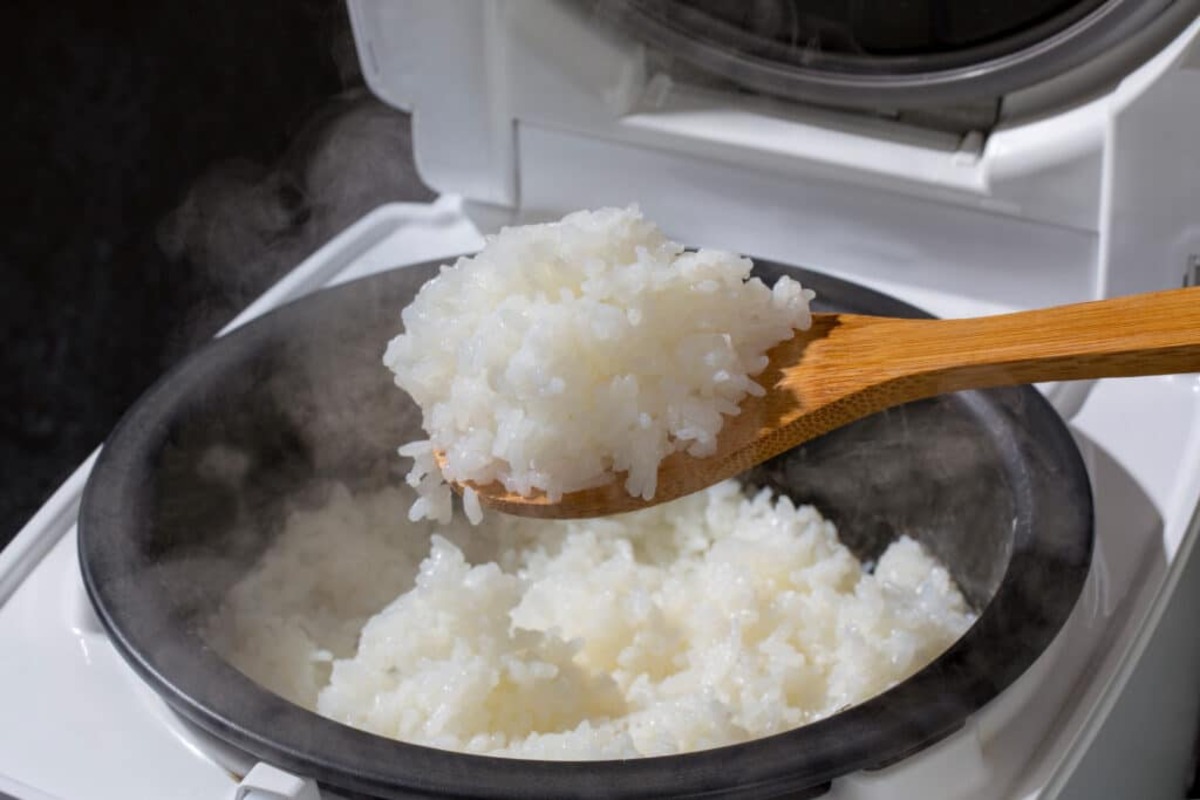
Step 3: Cook the rice on the stovetop
Now that you have rinsed and soaked the sushi rice, it’s time to cook it on the stovetop. Cooking sushi rice on the stovetop requires careful attention to ensure that it cooks evenly and doesn’t stick to the bottom of the pot.
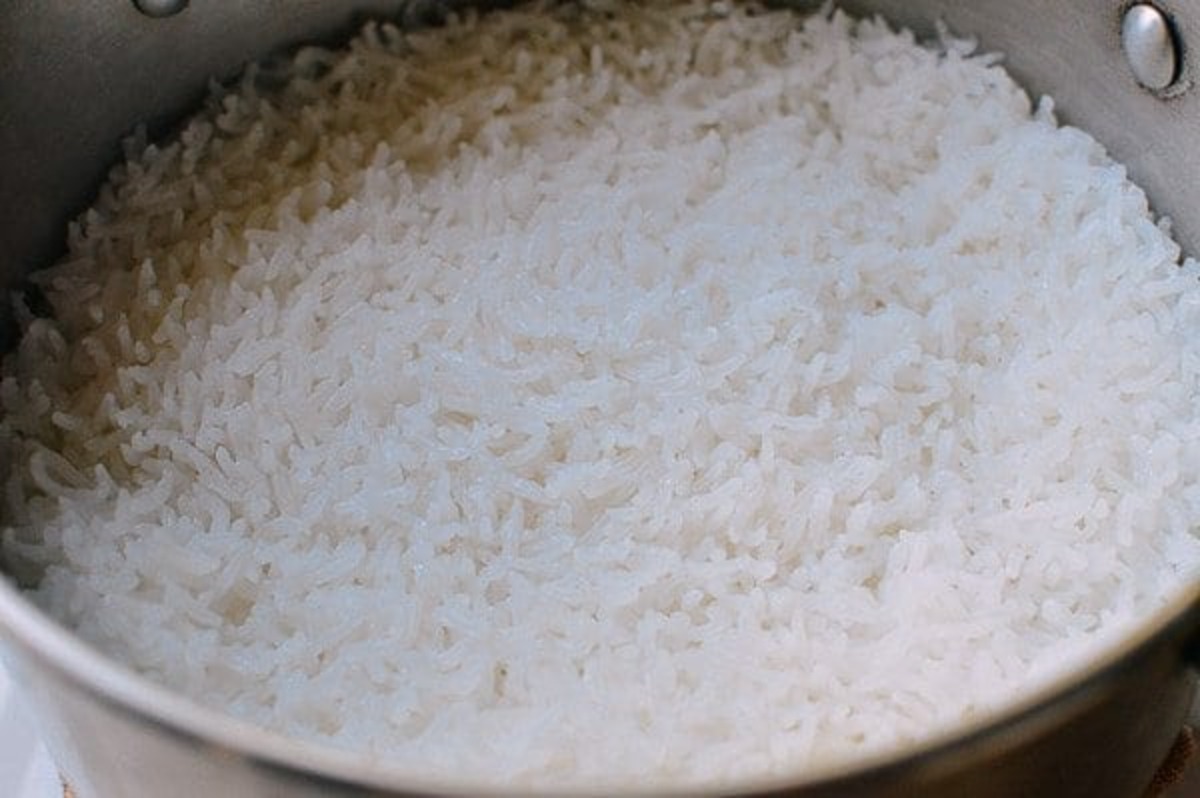
Start by transferring the soaked rice to a heavy-bottomed pot or saucepan. Add clean water to the pot, using a ratio of 1.25 cups of water for every 1 cup of rice. This ratio may vary slightly depending on the brand of rice, so be sure to check the package instructions for specific measurements.
Place the pot over medium heat and bring it to a boil. Once the water starts boiling, immediately reduce the heat to low and cover the pot with a tight-fitting lid. Allow the rice to simmer gently for about 15-20 minutes.
It’s important to resist the temptation to lift the lid and check on the rice during the cooking process. The steam trapped inside the pot helps cook the rice evenly, and constantly uncovering the pot can disrupt the cooking process. Trust that the rice is cooking perfectly inside.
Make sure to set a timer so that you can closely monitor the cooking time. Undercooked rice will be too firm, while overcooked rice can become mushy and lose its texture. The ideal cooking time may vary depending on the specific type of sushi rice you are using, so it’s best to refer to the package instructions or adjust the cooking time based on your desired level of tenderness.
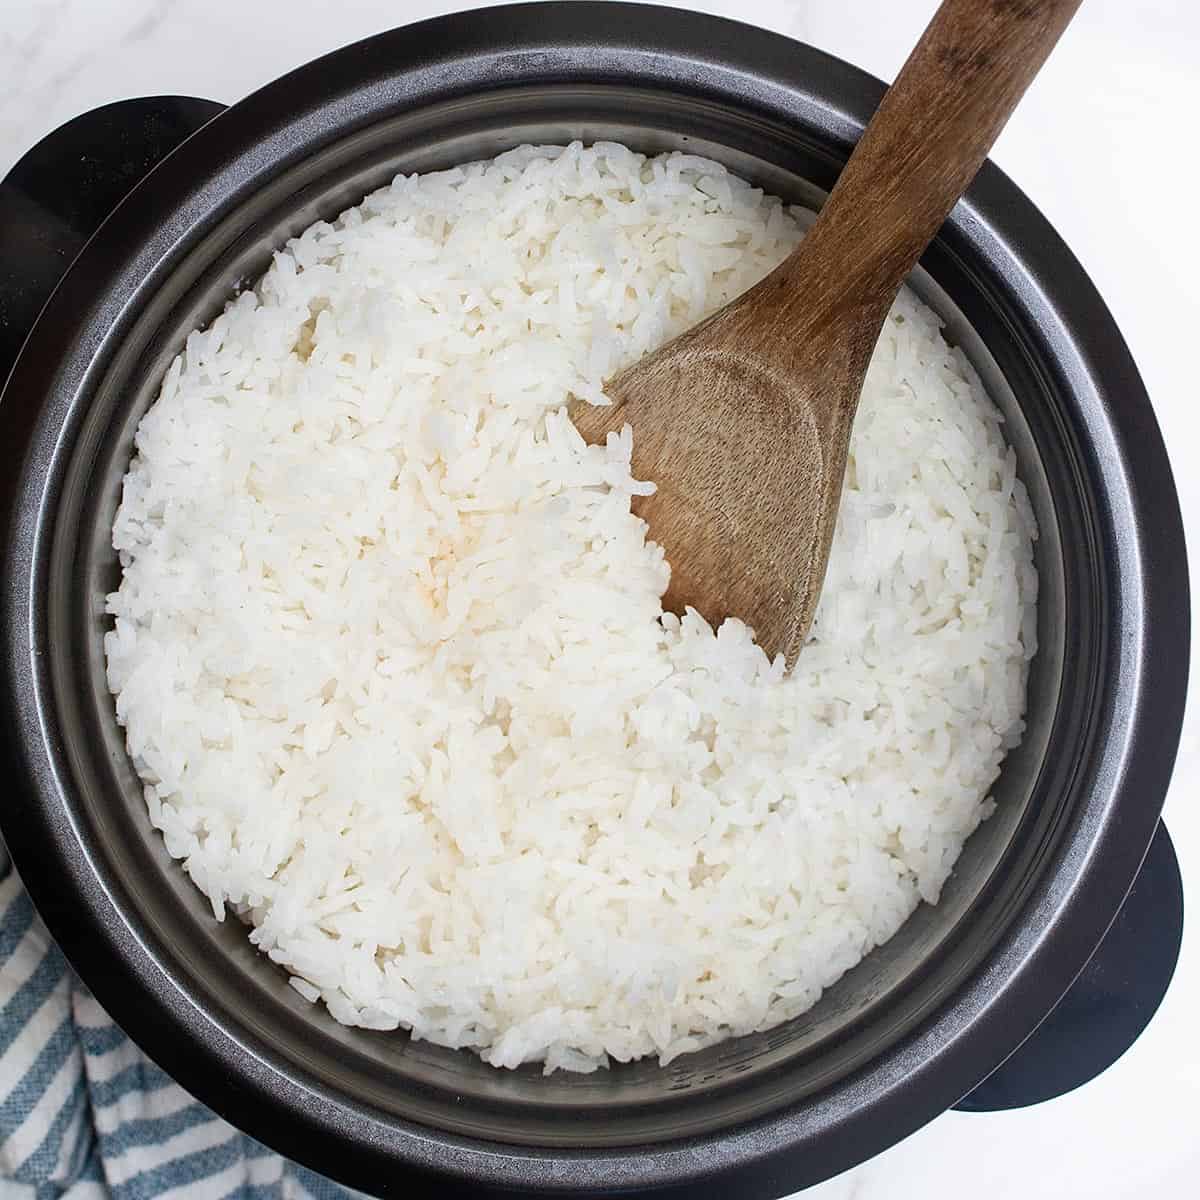
Rinse the sushi rice in a fine-mesh strainer until the water runs clear. Then, combine the rice with water in a pot and let it soak for 30 minutes. Bring to a boil, then reduce heat to low, cover, and simmer for 20 minutes. Let it sit, covered, for 10 minutes before fluffing with a fork.
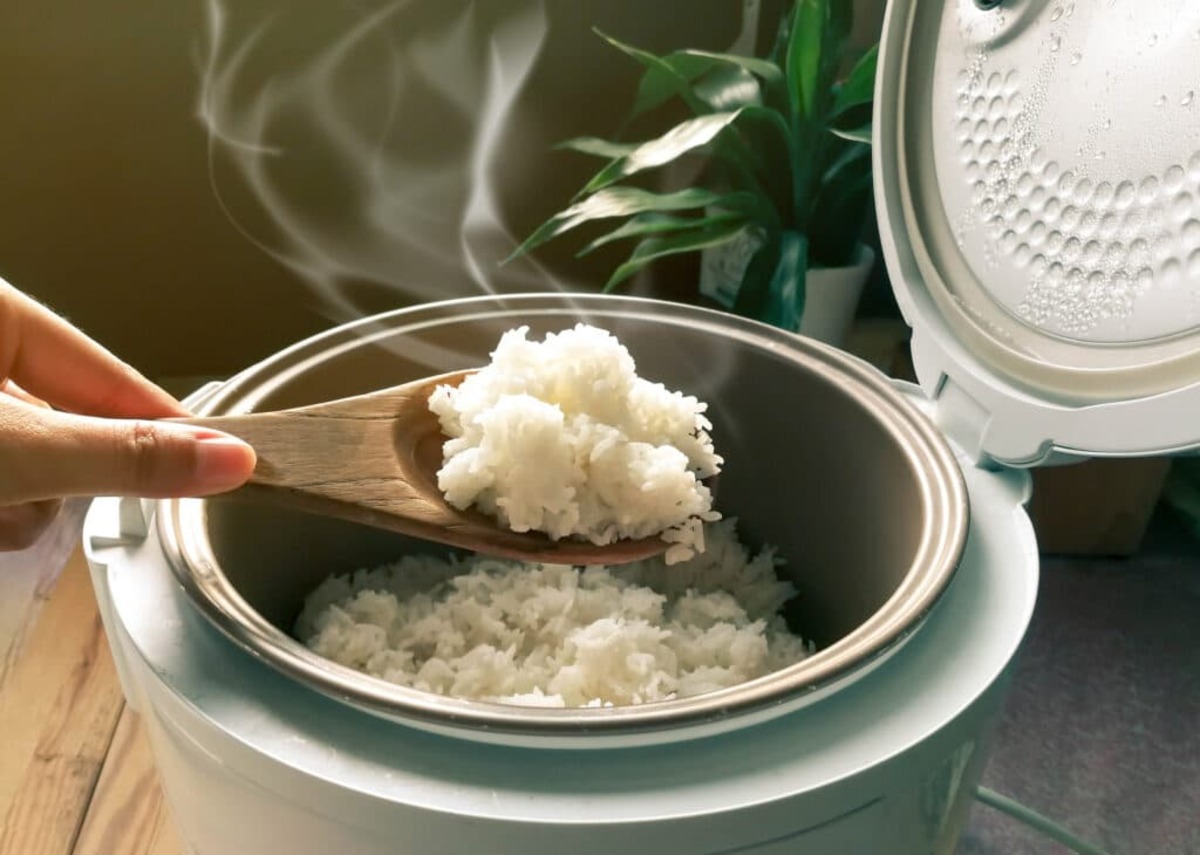
Step 4: Let the rice rest
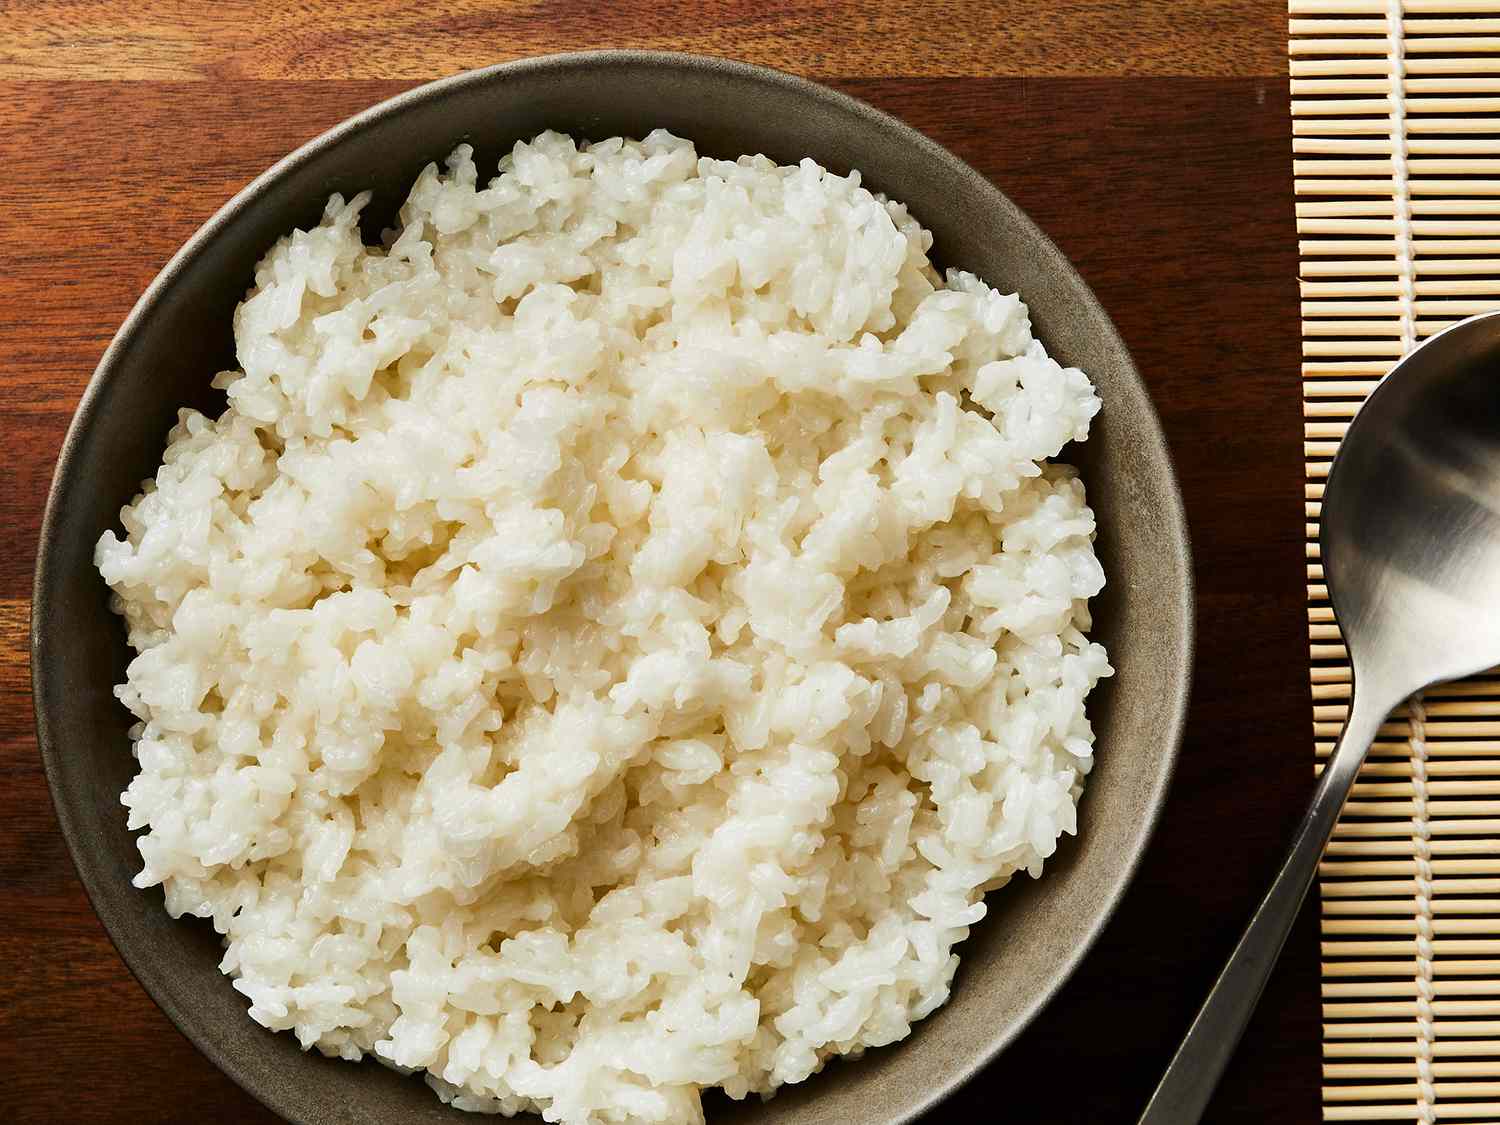
After cooking the sushi rice on the stovetop, it’s important to allow it to rest before fluffing and seasoning. Resting the rice allows the moisture to distribute evenly throughout the grains and helps achieve a light and fluffy texture.
Once the cooking time is completed, remove the pot from the heat and let it sit, covered, for about 10-15 minutes. During this resting period, the residual heat will continue to steam the rice, allowing it to fully absorb the remaining moisture and achieve the desirable texture.
Resist the urge to uncover the pot or stir the rice during the resting period. By leaving the rice undisturbed, you’re allowing the grains to settle and cool slightly, making it easier to handle and season.
Resting the rice also enhances the flavors, as it allows the cooked grains to mellow and develop their characteristic taste. So be patient and let the rice rest before moving on to the next step.
Step 5: Season the rice
The final step in making delicious sushi rice without a rice cooker is to season it. Seasoning the rice is what gives it its signature tangy and flavorful taste, which pairs perfectly with the other ingredients in sushi rolls and bowls.
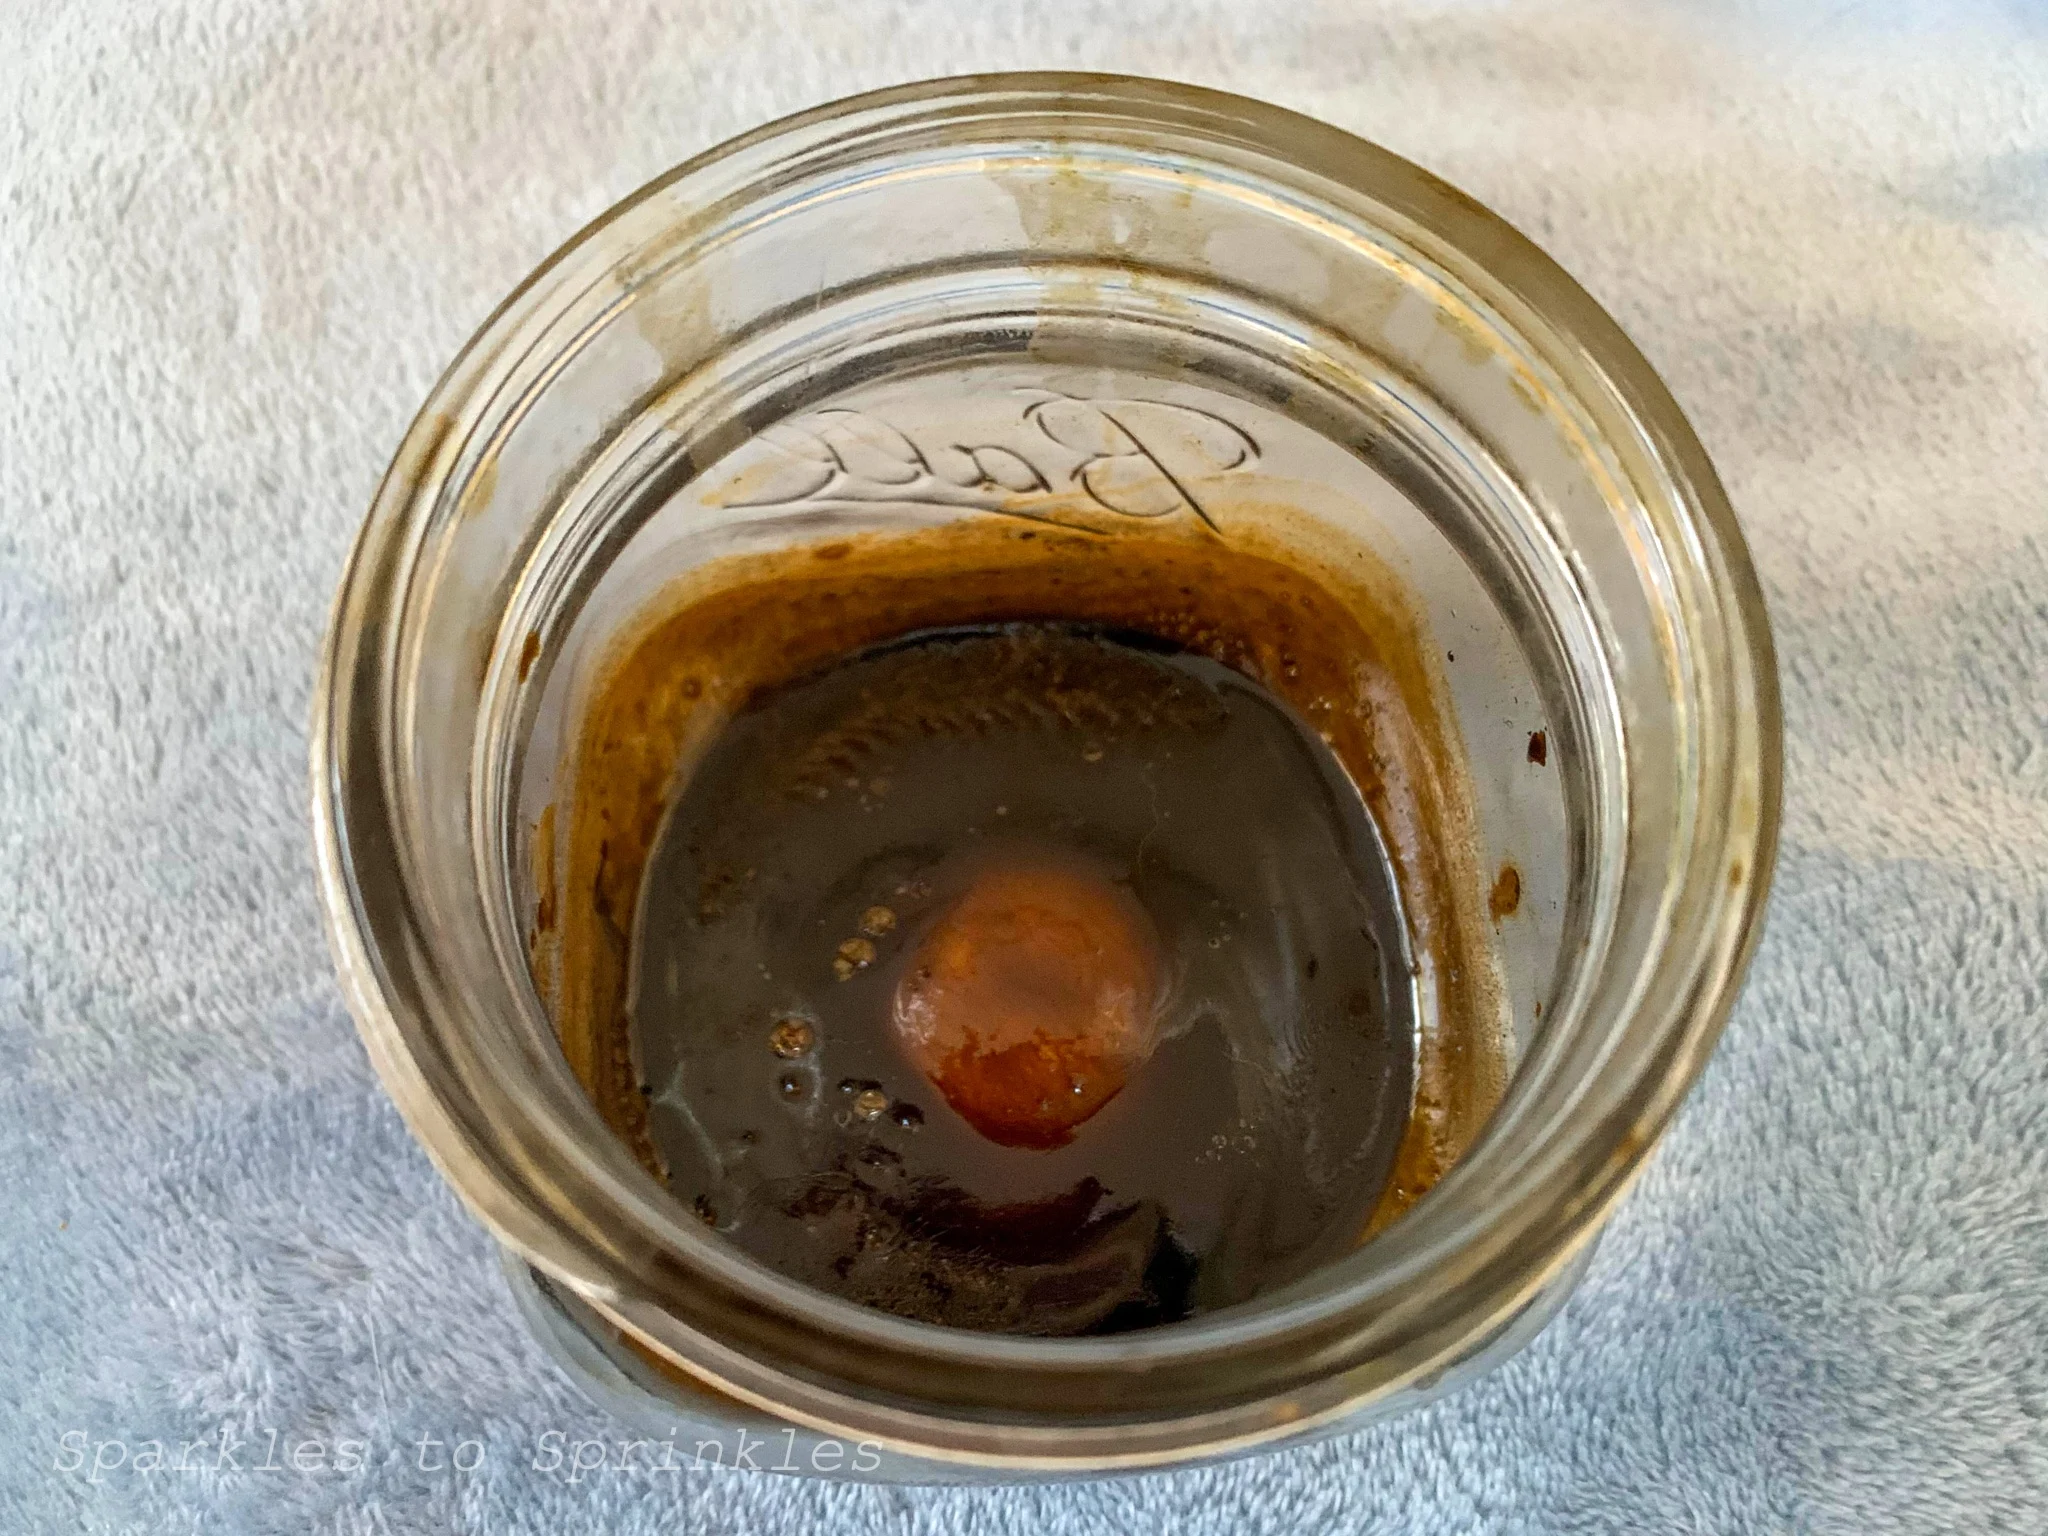
In a small saucepan, combine rice vinegar, sugar, and salt. The common ratio for seasoning sushi rice is 1 tablespoon of rice vinegar, 1 teaspoon of sugar, and 1/2 teaspoon of salt for every 1 cup of cooked rice. Adjust the seasoning quantities according to your taste preference.
Place the saucepan over low heat and stir the mixture until the sugar and salt dissolve completely. Be careful not to let the mixture come to a boil, as it may affect the consistency of the vinegar solution.
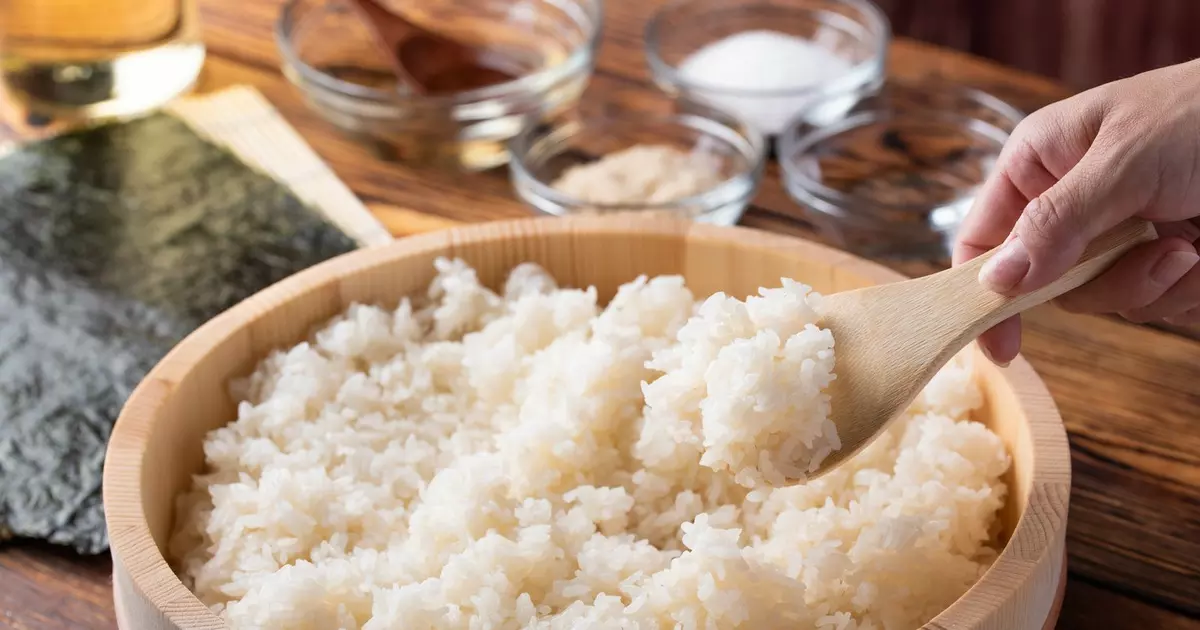
Once the seasoning mixture is ready, transfer the cooked and rested sushi rice to a large mixing bowl. Drizzle the seasoning mixture over the rice, using a wooden spatula or rice paddle to gently fold and mix the rice. Be sure to coat each grain of rice with the seasoning for even flavor distribution.
As you mix the rice and seasoning, be gentle to avoid mashing the grains. The goal is to evenly distribute the tangy flavor while maintaining the fluffy texture of the rice.
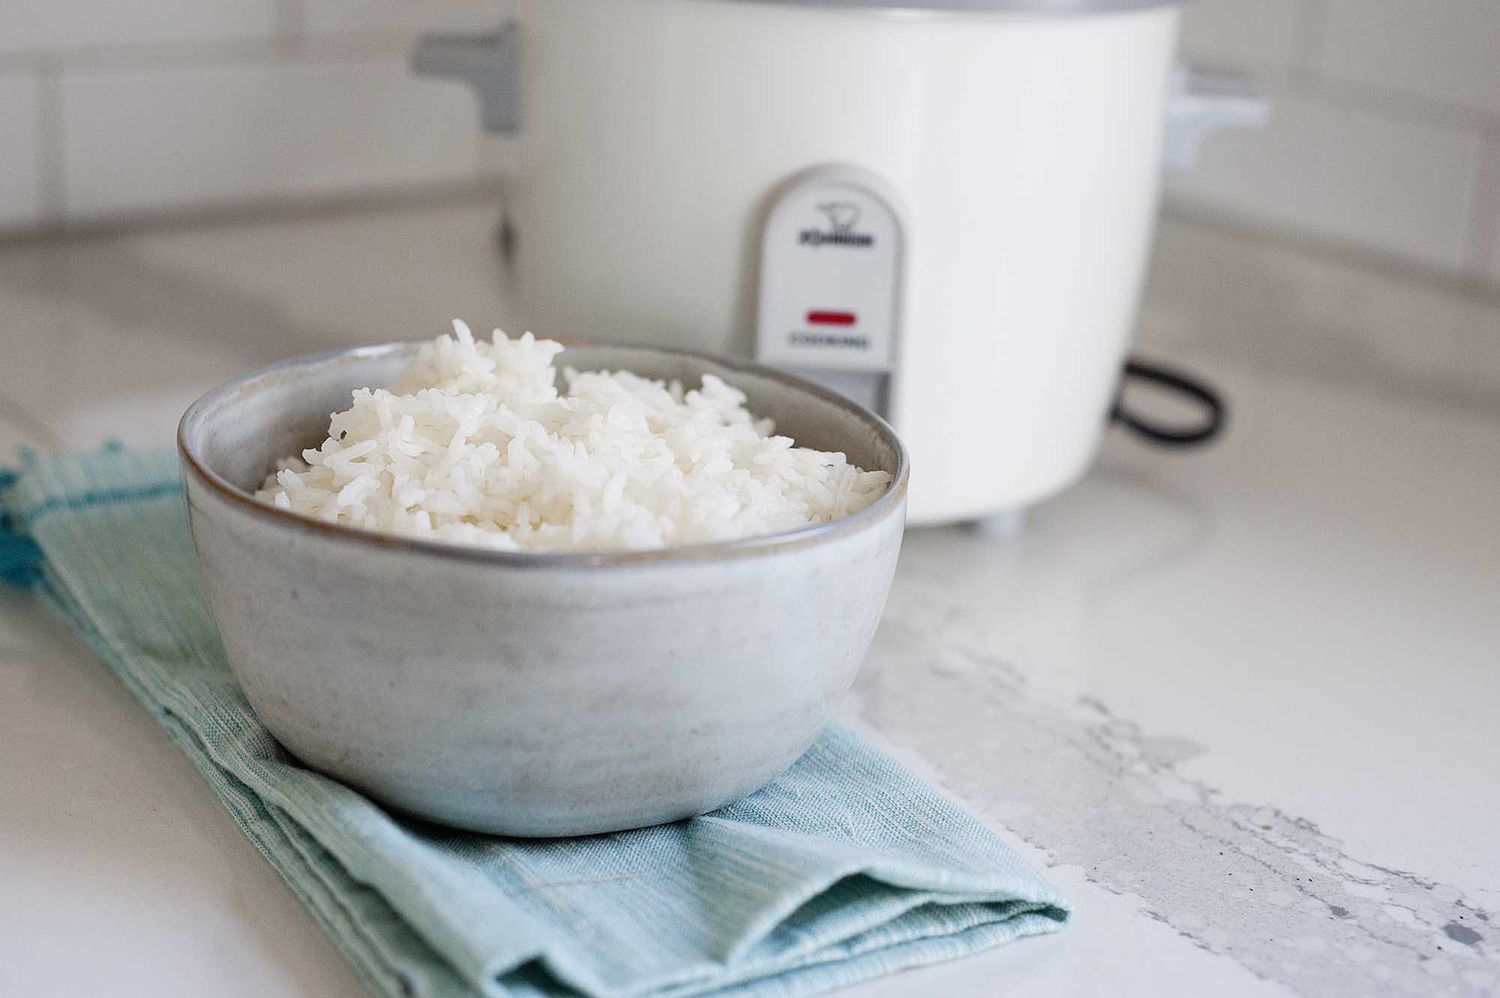
Once the rice is properly seasoned, let it cool to room temperature before using it in your favorite sushi recipes. This allows the flavors to meld and brings out the best taste in the rice. Avoid refrigerating the rice immediately, as it can affect the texture and taste.
Now that you’ve seasoned the rice, you’re ready to use it in your favorite sushi creations. Whether you’re making rolls, nigiri, or sushi bowls, the homemade sushi rice will be the perfect base for your culinary masterpiece.
Conclusion
Cooking sushi rice without a rice cooker may seem intimidating, but with the right technique, you can achieve excellent results right on your stovetop. By following these simple steps of rinsing, soaking, cooking, resting, and seasoning, you can create delicious and flavorful sushi rice from the comfort of your own kitchen.
Remember to rinse the rice thoroughly to remove excess starch, soak it to ensure even cooking, and cook it on low heat to achieve the perfect texture. Allowing the rice to rest after cooking allows the flavors to develop and ensures a light and fluffy consistency.
Finally, seasoning the rice with rice vinegar, sugar, and salt adds the signature tangy taste that makes sushi rice so delicious. The combination of these simple steps will create sushi rice that rivals that of your favorite Japanese restaurants.
So next time you’re craving sushi, don’t let the absence of a rice cooker hold you back. With this guide, you have all the knowledge required to cook sushi rice like a pro. Experiment with different fillings and toppings to create your own sushi masterpieces right in your own kitchen.
Enjoy the process and savor the flavors as you embark on your homemade sushi adventure. Happy cooking!
Frequently Asked Questions about How To Cook Sushi Rice Without Rice Cooker
Was this page helpful?
At Storables.com, we guarantee accurate and reliable information. Our content, validated by Expert Board Contributors, is crafted following stringent Editorial Policies. We're committed to providing you with well-researched, expert-backed insights for all your informational needs.


0 thoughts on “How To Cook Sushi Rice Without Rice Cooker”