Articles
How To Make White Rice Without Rice Cooker
Modified: February 27, 2024
Learn how to make delicious, fluffy white rice without a rice cooker in this informative article. Discover new techniques and tips to perfect your rice cooking skills.
(Many of the links in this article redirect to a specific reviewed product. Your purchase of these products through affiliate links helps to generate commission for Storables.com, at no extra cost. Learn more)
Introduction
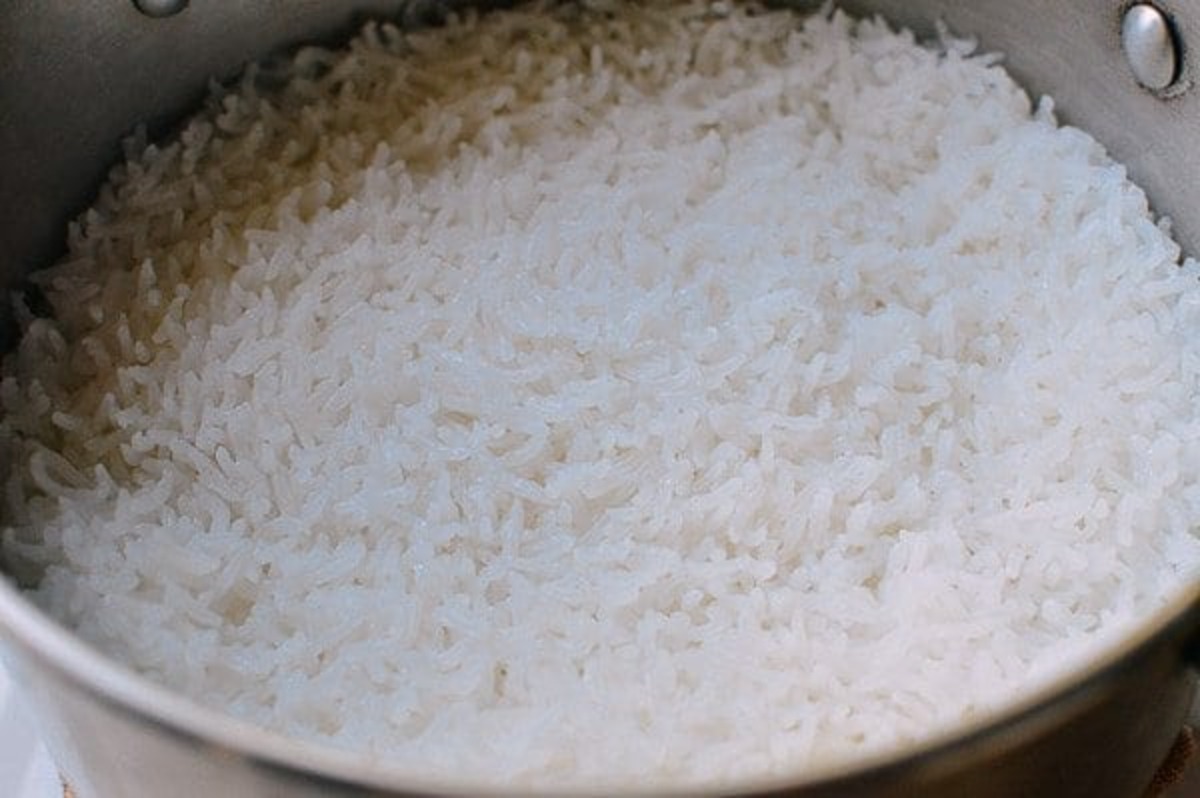
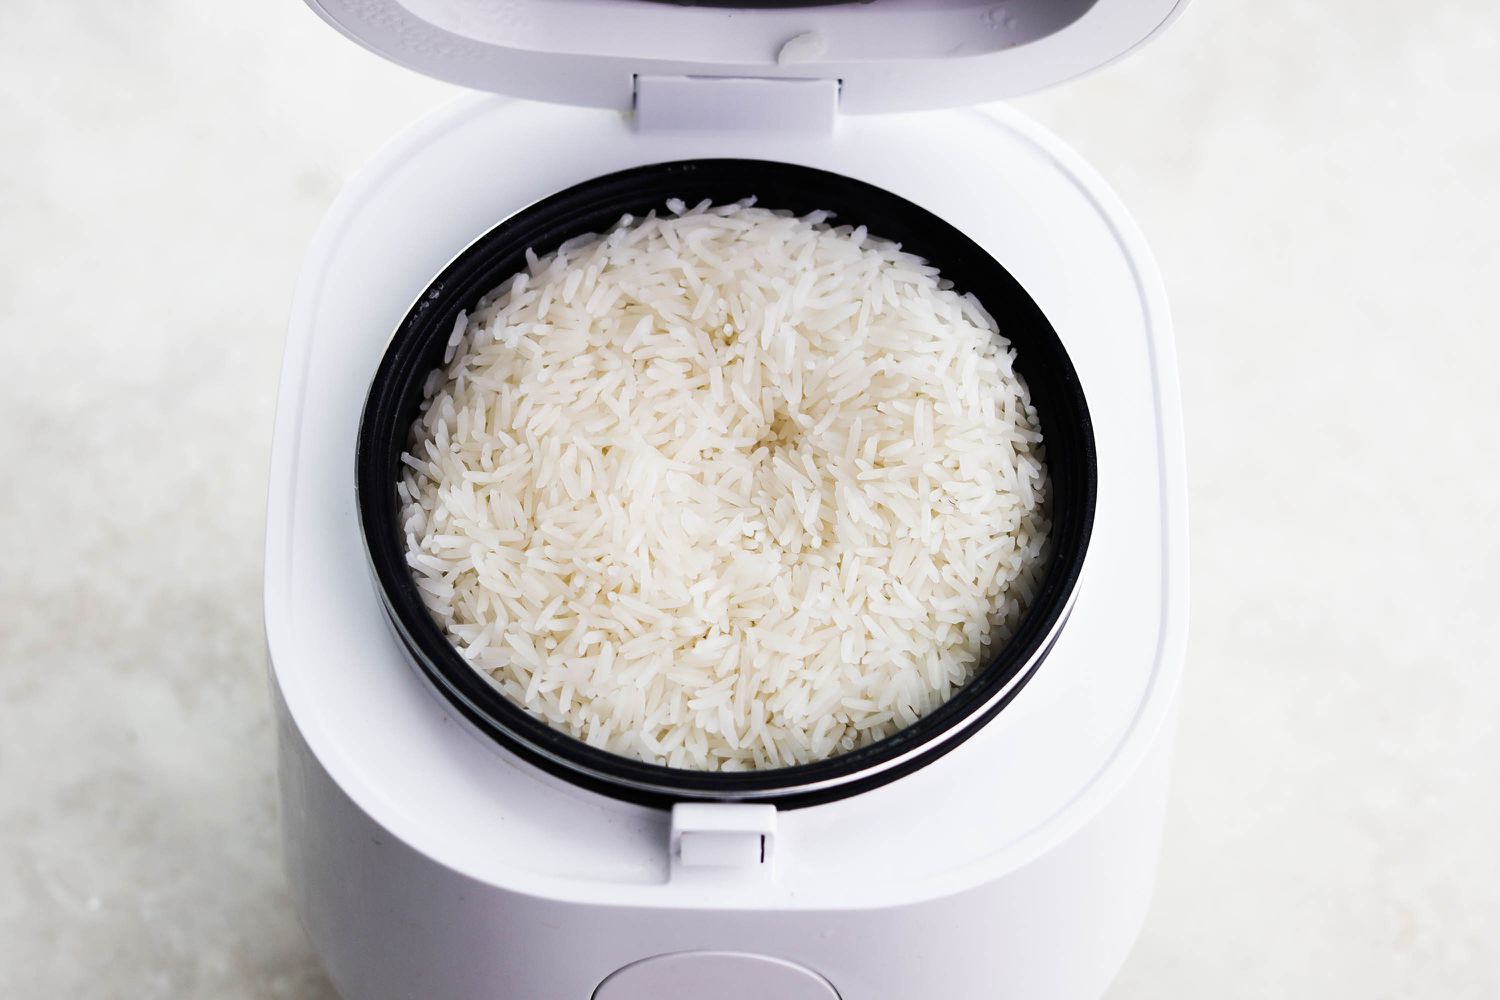
White rice is a versatile and delicious staple food that can be enjoyed on its own or used as a base for a variety of dishes. While many people rely on rice cookers to make perfect fluffy rice, it is also possible to make delicious white rice on the stove without the need for a rice cooker. Whether you don’t own a rice cooker or simply prefer the traditional stovetop method, this article will guide you through the step-by-step process of making white rice without a rice cooker.
Making white rice on the stove is a straightforward and foolproof process that requires minimal ingredients and equipment. All you need is a pot with a tight-fitting lid, rice, water, and a stove. By following a few simple steps, you can achieve perfectly cooked, fluffy white rice that is ready to be enjoyed with your favorite dishes.
This article will provide a detailed guide on how to make white rice on the stove, ensuring that each grain comes out light, fluffy, and full of flavor. From measuring the rice to fluffing it with a fork, you’ll learn the essential techniques to make your white rice turn out perfectly every time.
So, if you’re ready to elevate your culinary skills and master the art of making white rice without a rice cooker, let’s dive into the step-by-step process together.
Key Takeaways:
- Making white rice on the stove is a simple and rewarding process that requires minimal ingredients and equipment. With the right ratio of water and gentle heat, you can achieve perfectly cooked, fluffy white rice without a rice cooker.
- From rinsing the rice to fluffing it with a fork, each step in the stovetop method plays a crucial role in ensuring the best results. Master the art of making white rice on the stove and enjoy the simplicity and versatility it brings to your meals.
Read more: How To Make RSO Without A Rice Cooker
Step 1: Ingredients
Before you start making white rice on the stove, gather all the necessary ingredients. Luckily, making white rice doesn’t require many ingredients, and you probably already have them in your pantry.
Here are the ingredients you’ll need:
- White rice: Choose a variety of white rice that suits your taste preferences. Whether you prefer long-grain, short-grain, or basmati rice, any type of white rice will work for this recipe.
- Water: The ratio of water to rice is an important factor in achieving perfectly cooked rice. As a general rule, use 1.5 cups of water for every cup of rice. Adjust the amount of water based on your desired rice texture.
- Salt (optional): Adding a pinch of salt enhances the flavor of the rice. However, this step is optional, and you can skip it if you prefer unsalted rice.
Once you have gathered all the ingredients, you’re ready to move on to the next step: measuring the rice.
Step 2: Measure the Rice
In this step, you’ll need to measure the amount of rice you want to cook. The ratio of rice to water will determine the final texture and consistency of your cooked rice.
Here’s how to measure the rice:
- Use a measuring cup to measure the desired amount of rice. One cup of uncooked rice typically serves 2-3 people, so adjust the quantity according to your needs.
- Transfer the measured rice into a fine-mesh sieve or colander to rinse off any excess starch or impurities. Rinsing the rice also helps prevent it from clumping together during cooking.
- Gently rinse the rice under cold water, stirring it with your fingers to ensure all the grains are rinsed evenly. Continue rinsing until the water runs clear.
- Once the rice is rinsed, let it sit in the colander or sieve to drain off any excess water.
Now that you have measured and rinsed the rice, it’s time to move on to the next step: rinsing the rice.
Step 3: Rinse the Rice
Rinsing the rice is an important step to remove any excess starch or impurities. This will help prevent the rice from clumping together and ensure that each grain cooks evenly.
Here’s how to rinse the rice:
- Place the drained rice back into the pot or a separate bowl.
- Add enough cold water to cover the rice by a couple of inches.
- Use your hand or a spatula to gently agitate the rice in a circular motion. This will help loosen any remaining starch and impurities.
- Drain the water from the pot or bowl, using a fine-mesh sieve or by carefully pouring out the water while keeping the rice in place.
- Repeat this rinsing process 2-3 times until the water runs clear.
By rinsing the rice thoroughly, you’ll ensure that it cooks up fluffy and separate, with no stickiness. Now that the rice is rinsed, it’s time to move on to the next step: adding water.
Step 4: Add Water
Adding the right amount of water is crucial to achieving perfectly cooked white rice. The amount of water you’ll need depends on your preferred rice texture and the type of rice you’re using.
Here’s how to add water:
- After rinsing the rice, transfer it back to the pot.
- Add the appropriate amount of water to the pot. As a general guideline, use 1.5 cups of water for every cup of rice. Adjust the amount of water based on your desired rice texture. For softer, stickier rice, add a bit more water. For firmer, fluffier rice, use slightly less water.
- If desired, add a pinch of salt to the water for added flavor. This step is optional and can be skipped if you prefer unsalted rice.
Now that the water is added, you’re ready to move on to the next step: cooking the rice on the stove.
To make white rice without a rice cooker, use a 1:2 ratio of rice to water. Bring the water to a boil, add the rice, cover, and simmer for 18-20 minutes. Let it sit for 5 minutes before fluffing with a fork.
Read more: How To Make Asian White Rice In Rice Cooker
Step 5: Cook on Stove
Now that you have added the water to the rice, it’s time to cook it on the stove. This step requires gentle heat and patience to ensure the rice cooks evenly without sticking to the bottom of the pot.
Here’s how to cook rice on the stove:
- Place the pot with the rice and water on the stove over medium heat.
- Bring the water to a gentle boil, uncovered.
- Once the water starts boiling, reduce the heat to low to maintain a gentle simmer. This will prevent the rice from cooking too quickly or becoming mushy.
- Resist the urge to stir the rice while it’s cooking, as this can cause the grains to break and become sticky.
- Let the rice simmer for about 10-15 minutes, or until all the water is absorbed. The exact cooking time may vary depending on the type of rice you’re using.
By cooking the rice on low heat, you’ll ensure that it cooks evenly and absorbs the water gradually, resulting in perfectly cooked grains. Now that the rice is simmering, it’s time to move on to the next step: simmer and cover.
Step 6: Simmer and Cover
After cooking the rice for a few minutes, it’s time to simmer and cover the pot. This step will help trap the steam inside and allow the rice to cook through evenly, resulting in fluffy and tender grains.
Here’s how to simmer and cover the rice:
- Once the water is absorbed and the rice has been simmering for about 10-15 minutes, cover the pot with a tight-fitting lid. This will trap the steam and help cook the rice evenly.
- Reduce the heat to the lowest setting to maintain a gentle simmer. This will prevent the rice from burning or sticking to the bottom of the pot.
- Let the rice continue to cook for an additional 10-15 minutes, allowing the steam to fully penetrate the grains.
During this simmering and covering process, the rice will absorb the remaining moisture and become tender and fluffy. It’s important to resist the temptation to lift the lid and check on the rice too often, as this can disrupt the cooking process. Now that the rice is simmering and covered, it’s time to move on to the next step: fluffing the rice.
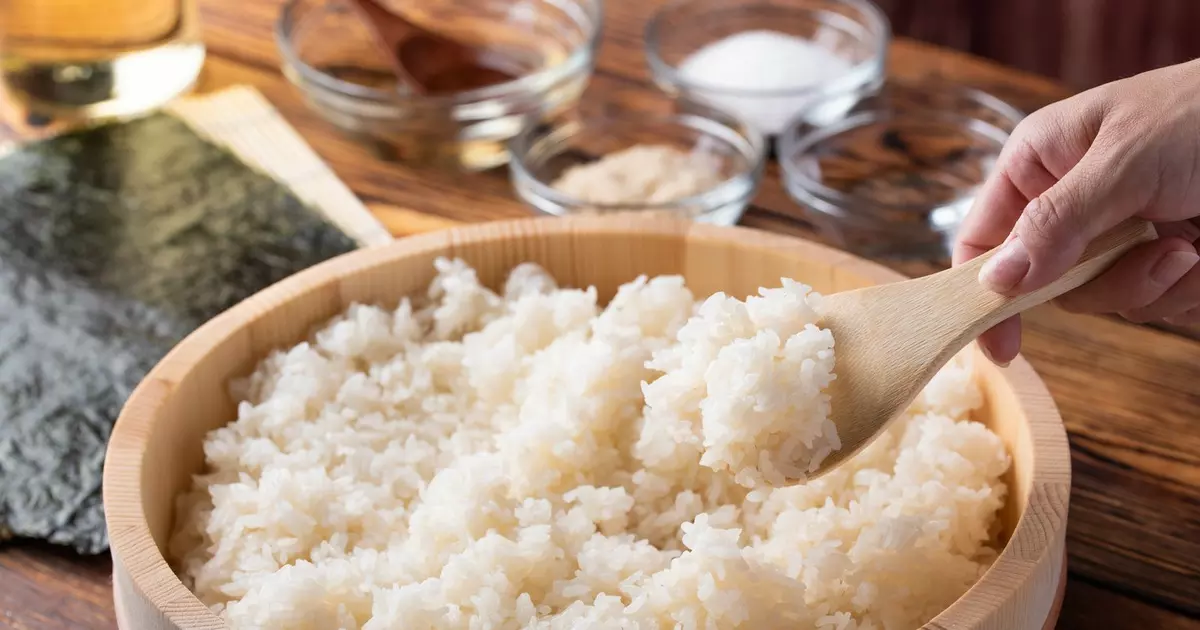
Step 7: Fluff the Rice
Once the rice has finished cooking and has been allowed to simmer with the lid on, it’s time to fluff the rice. This step is essential to loosen and separate the grains, giving the rice a light and fluffy texture.
Here’s how to fluff the rice:
- Remove the pot from the heat and let it sit, covered, for a few minutes to allow the steam to redistribute.
- Using a fork or a rice paddle, gently fluff the rice by running the utensil through the grains. Be careful not to press too hard or squash the rice.
- Continue to gently fluff the rice until all the grains are separated and the texture is light and airy.
Fluffing the rice will help enhance its texture and prevent it from clumping together. It’s important to be gentle when fluffing to avoid breaking the grains. Now that the rice is fluffed, it’s time to move on to the final step: serve and enjoy!
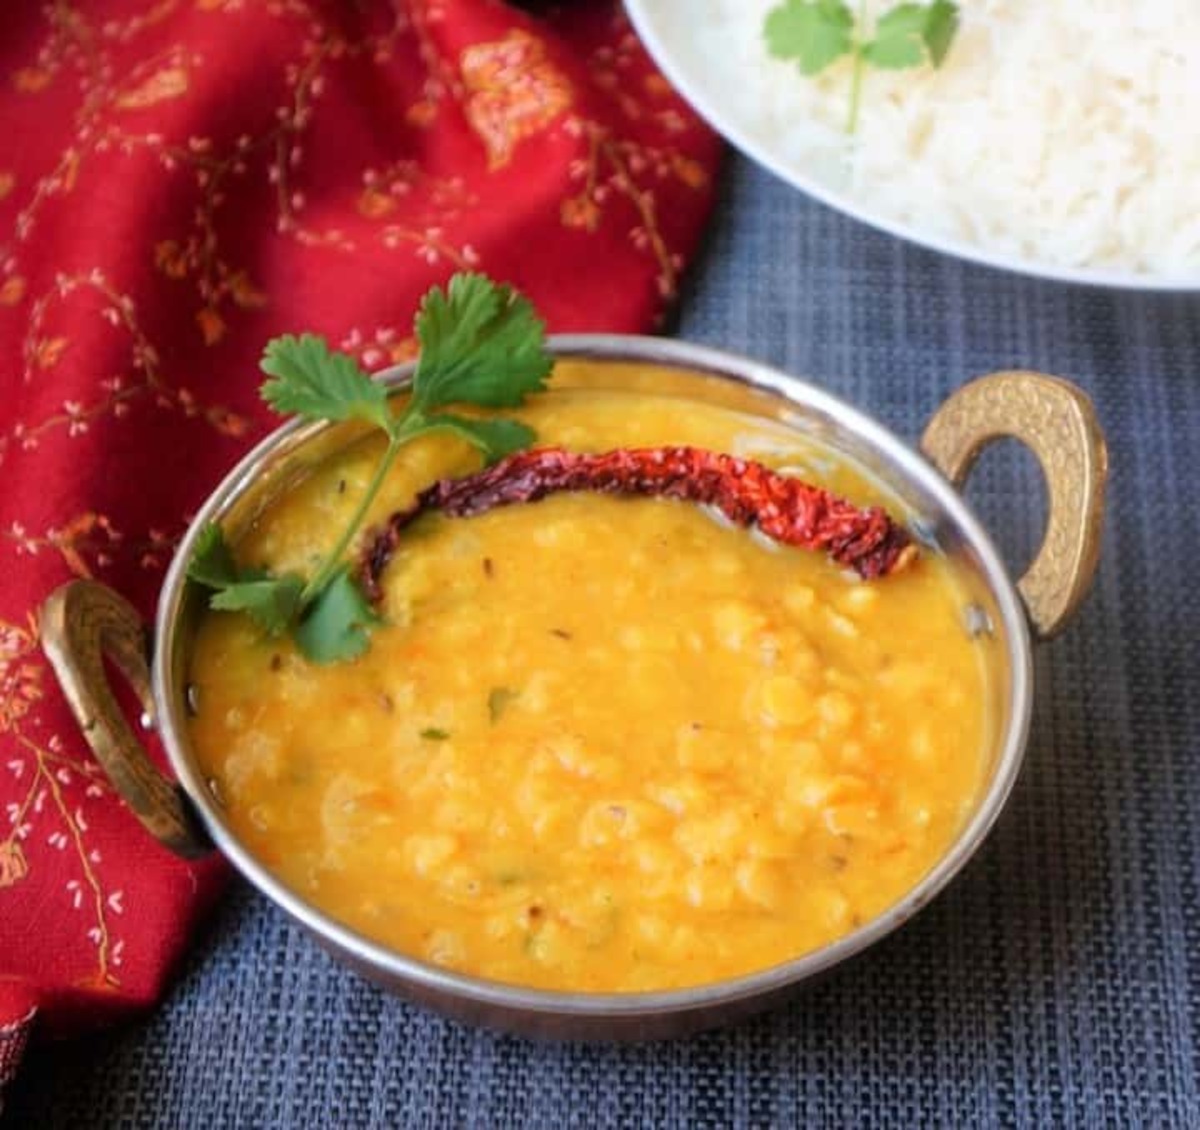
Step 8: Serve and Enjoy
Now that your white rice is perfectly cooked and fluffed, it’s time to serve and enjoy it with your favorite dishes or as a standalone side dish.
Here’s how to serve and enjoy the rice:
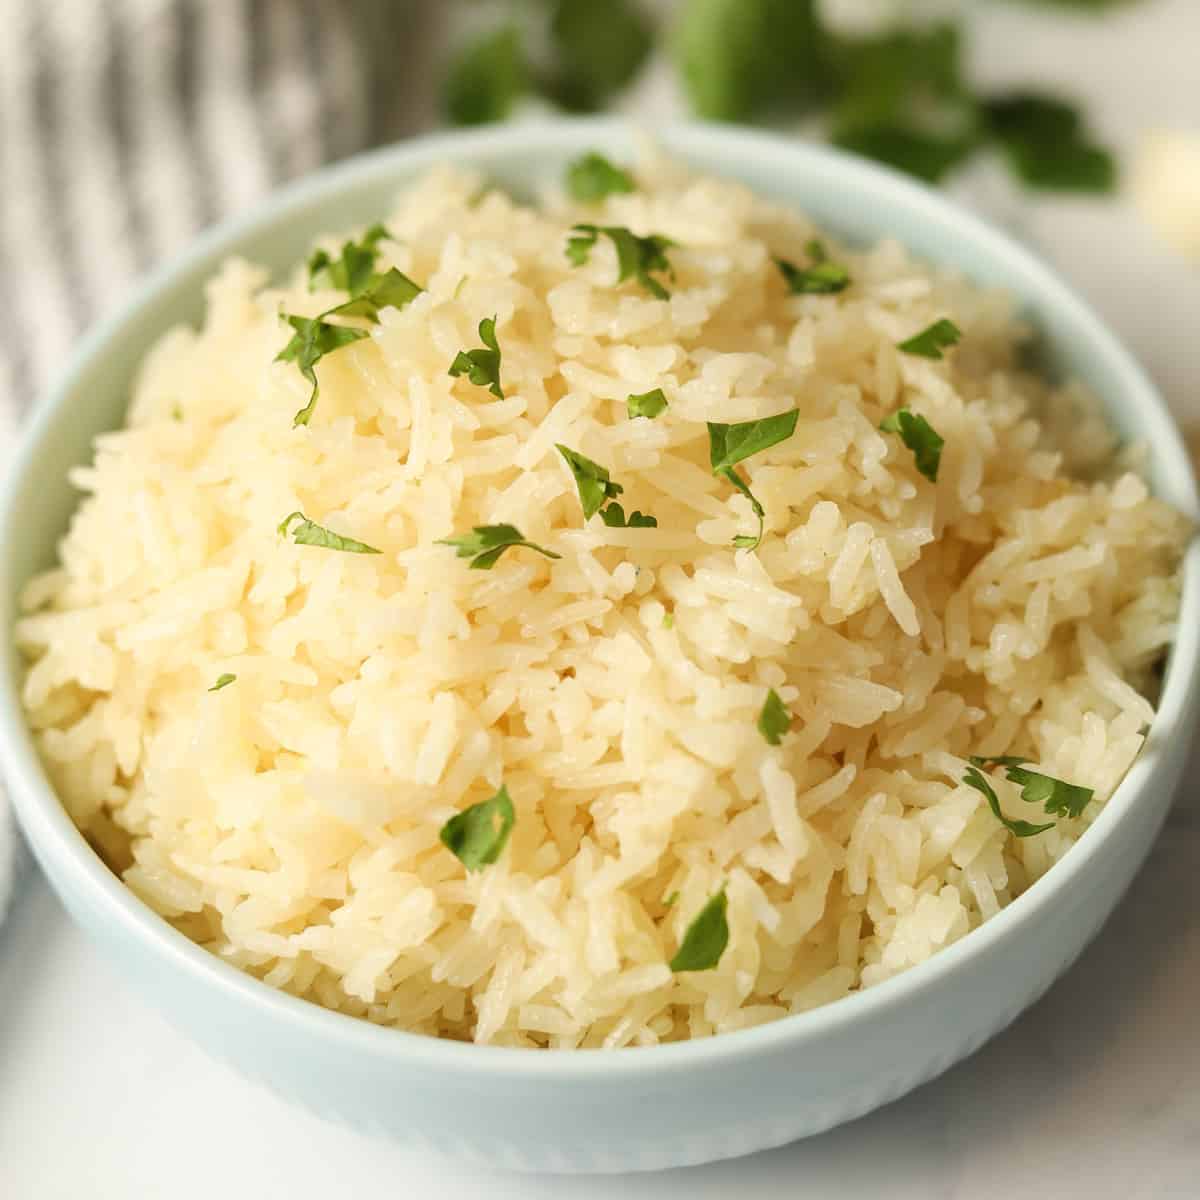
- Using a spoon or a rice paddle, transfer the cooked rice to a serving dish.
- Garnish the rice with fresh herbs, such as cilantro or parsley, if desired, for added flavor and aesthetic appeal.
- Pair the rice with your choice of main dishes, such as grilled chicken, stir-fried vegetables, or curry. White rice makes a versatile accompaniment to a wide range of cuisines.
- Serve the rice warm and enjoy its fluffy texture and delicate flavor.
Remember that leftovers can be refrigerated and reheated for future meals. To retain the texture and flavor of the rice during reheating, add a splash of water to the rice before microwaving or steaming it.
Now that you know the step-by-step process of making white rice on the stove without a rice cooker, you can confidently add this skill to your culinary repertoire. Enjoy the satisfaction of creating a delicious and versatile staple food from scratch, and experiment with different types of rice and flavor combinations to suit your taste preferences.
So go ahead, whip up a batch of homemade white rice and savor the simplicity and comfort it brings to your meals. Bon appétit!
Read also: 9 Superior Rice Cooker White For 2025
Conclusion
Making white rice without a rice cooker is not only possible but also a rewarding and straightforward process. By following the step-by-step guide outlined in this article, you can achieve perfectly cooked, fluffy white rice that pairs well with a variety of dishes.
From measuring and rinsing the rice to cooking it on the stove and fluffing it up, each step plays a crucial role in ensuring the best results. With the right ratio of water, gentle heat, and a few extra tips and tricks, you can master the art of making white rice on the stove.
Remember to select your preferred variety of white rice, rinse it thoroughly to remove excess starch, and use the appropriate amount of water depending on your desired texture. The simmering and covering process allows the rice to absorb the moisture and steam, resulting in tender and fluffy grains.
Once the rice is cooked to perfection, gently fluff it with a fork to loosen the grains and enhance its light and airy texture. Then, serve the rice alongside your favorite dishes or as a standalone side dish, and enjoy the simplicity and versatility that white rice brings to your meals.
Whether you don’t own a rice cooker or simply enjoy the traditional stovetop method, mastering the art of making white rice on the stove opens up endless culinary possibilities. So, get creative, experiment with different rice varieties and flavor combinations, and elevate your meals with a batch of homemade white rice.
With a little practice, you’ll become an expert in making perfectly cooked white rice without the need for a rice cooker, impressing your family and friends with your culinary skills. So, roll up your sleeves, gather your ingredients, and embark on the journey of making delicious white rice on the stove.
Frequently Asked Questions about How To Make White Rice Without Rice Cooker
Was this page helpful?
At Storables.com, we guarantee accurate and reliable information. Our content, validated by Expert Board Contributors, is crafted following stringent Editorial Policies. We're committed to providing you with well-researched, expert-backed insights for all your informational needs.

0 thoughts on “How To Make White Rice Without Rice Cooker”