
Articles
How To Make Sushi Rice In A Rice Cooker
Modified: October 20, 2024
Learn how to make perfect sushi rice using a rice cooker with this step-by-step guide. These articles will help you master the art of sushi rice making.
(Many of the links in this article redirect to a specific reviewed product. Your purchase of these products through affiliate links helps to generate commission for Storables.com, at no extra cost. Learn more)
Introduction
Making sushi rice is an essential skill for any sushi enthusiast. The texture and flavor of the rice play a crucial role in the overall taste and success of your sushi rolls. While traditionally sushi rice is cooked on a stovetop, using a rice cooker can be a convenient and foolproof method, especially for beginners. In this article, we will guide you through the step-by-step process of making sushi rice using a rice cooker.
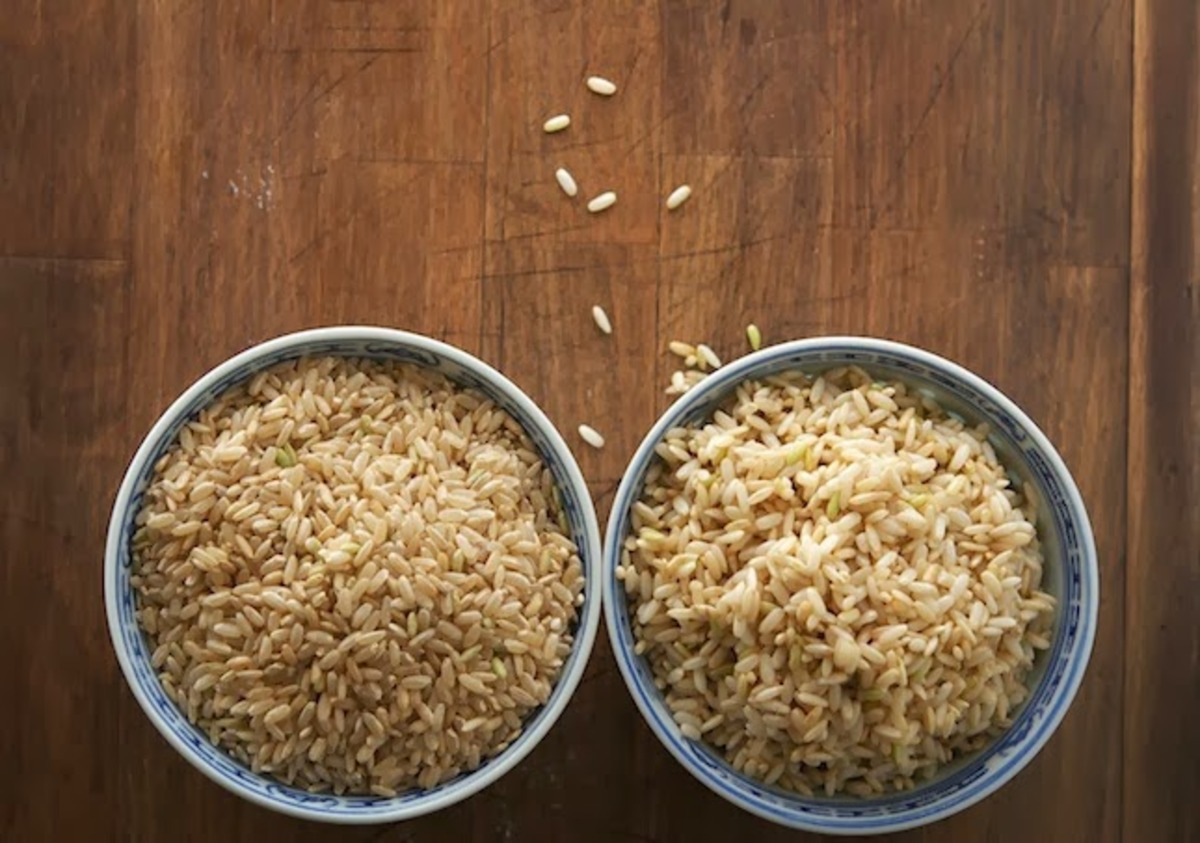
Sushi rice, also known as shari, is a short-grain Japanese rice variety that is sticky and slightly sweet. It is the foundation of sushi, providing a delicate and tender base for the vibrant flavors of fish, vegetables, and other sushi ingredients. The technique of making sushi rice involves washing, cooking, seasoning, and cooling the rice to achieve the perfect balance of stickiness, moisture, and flavor.
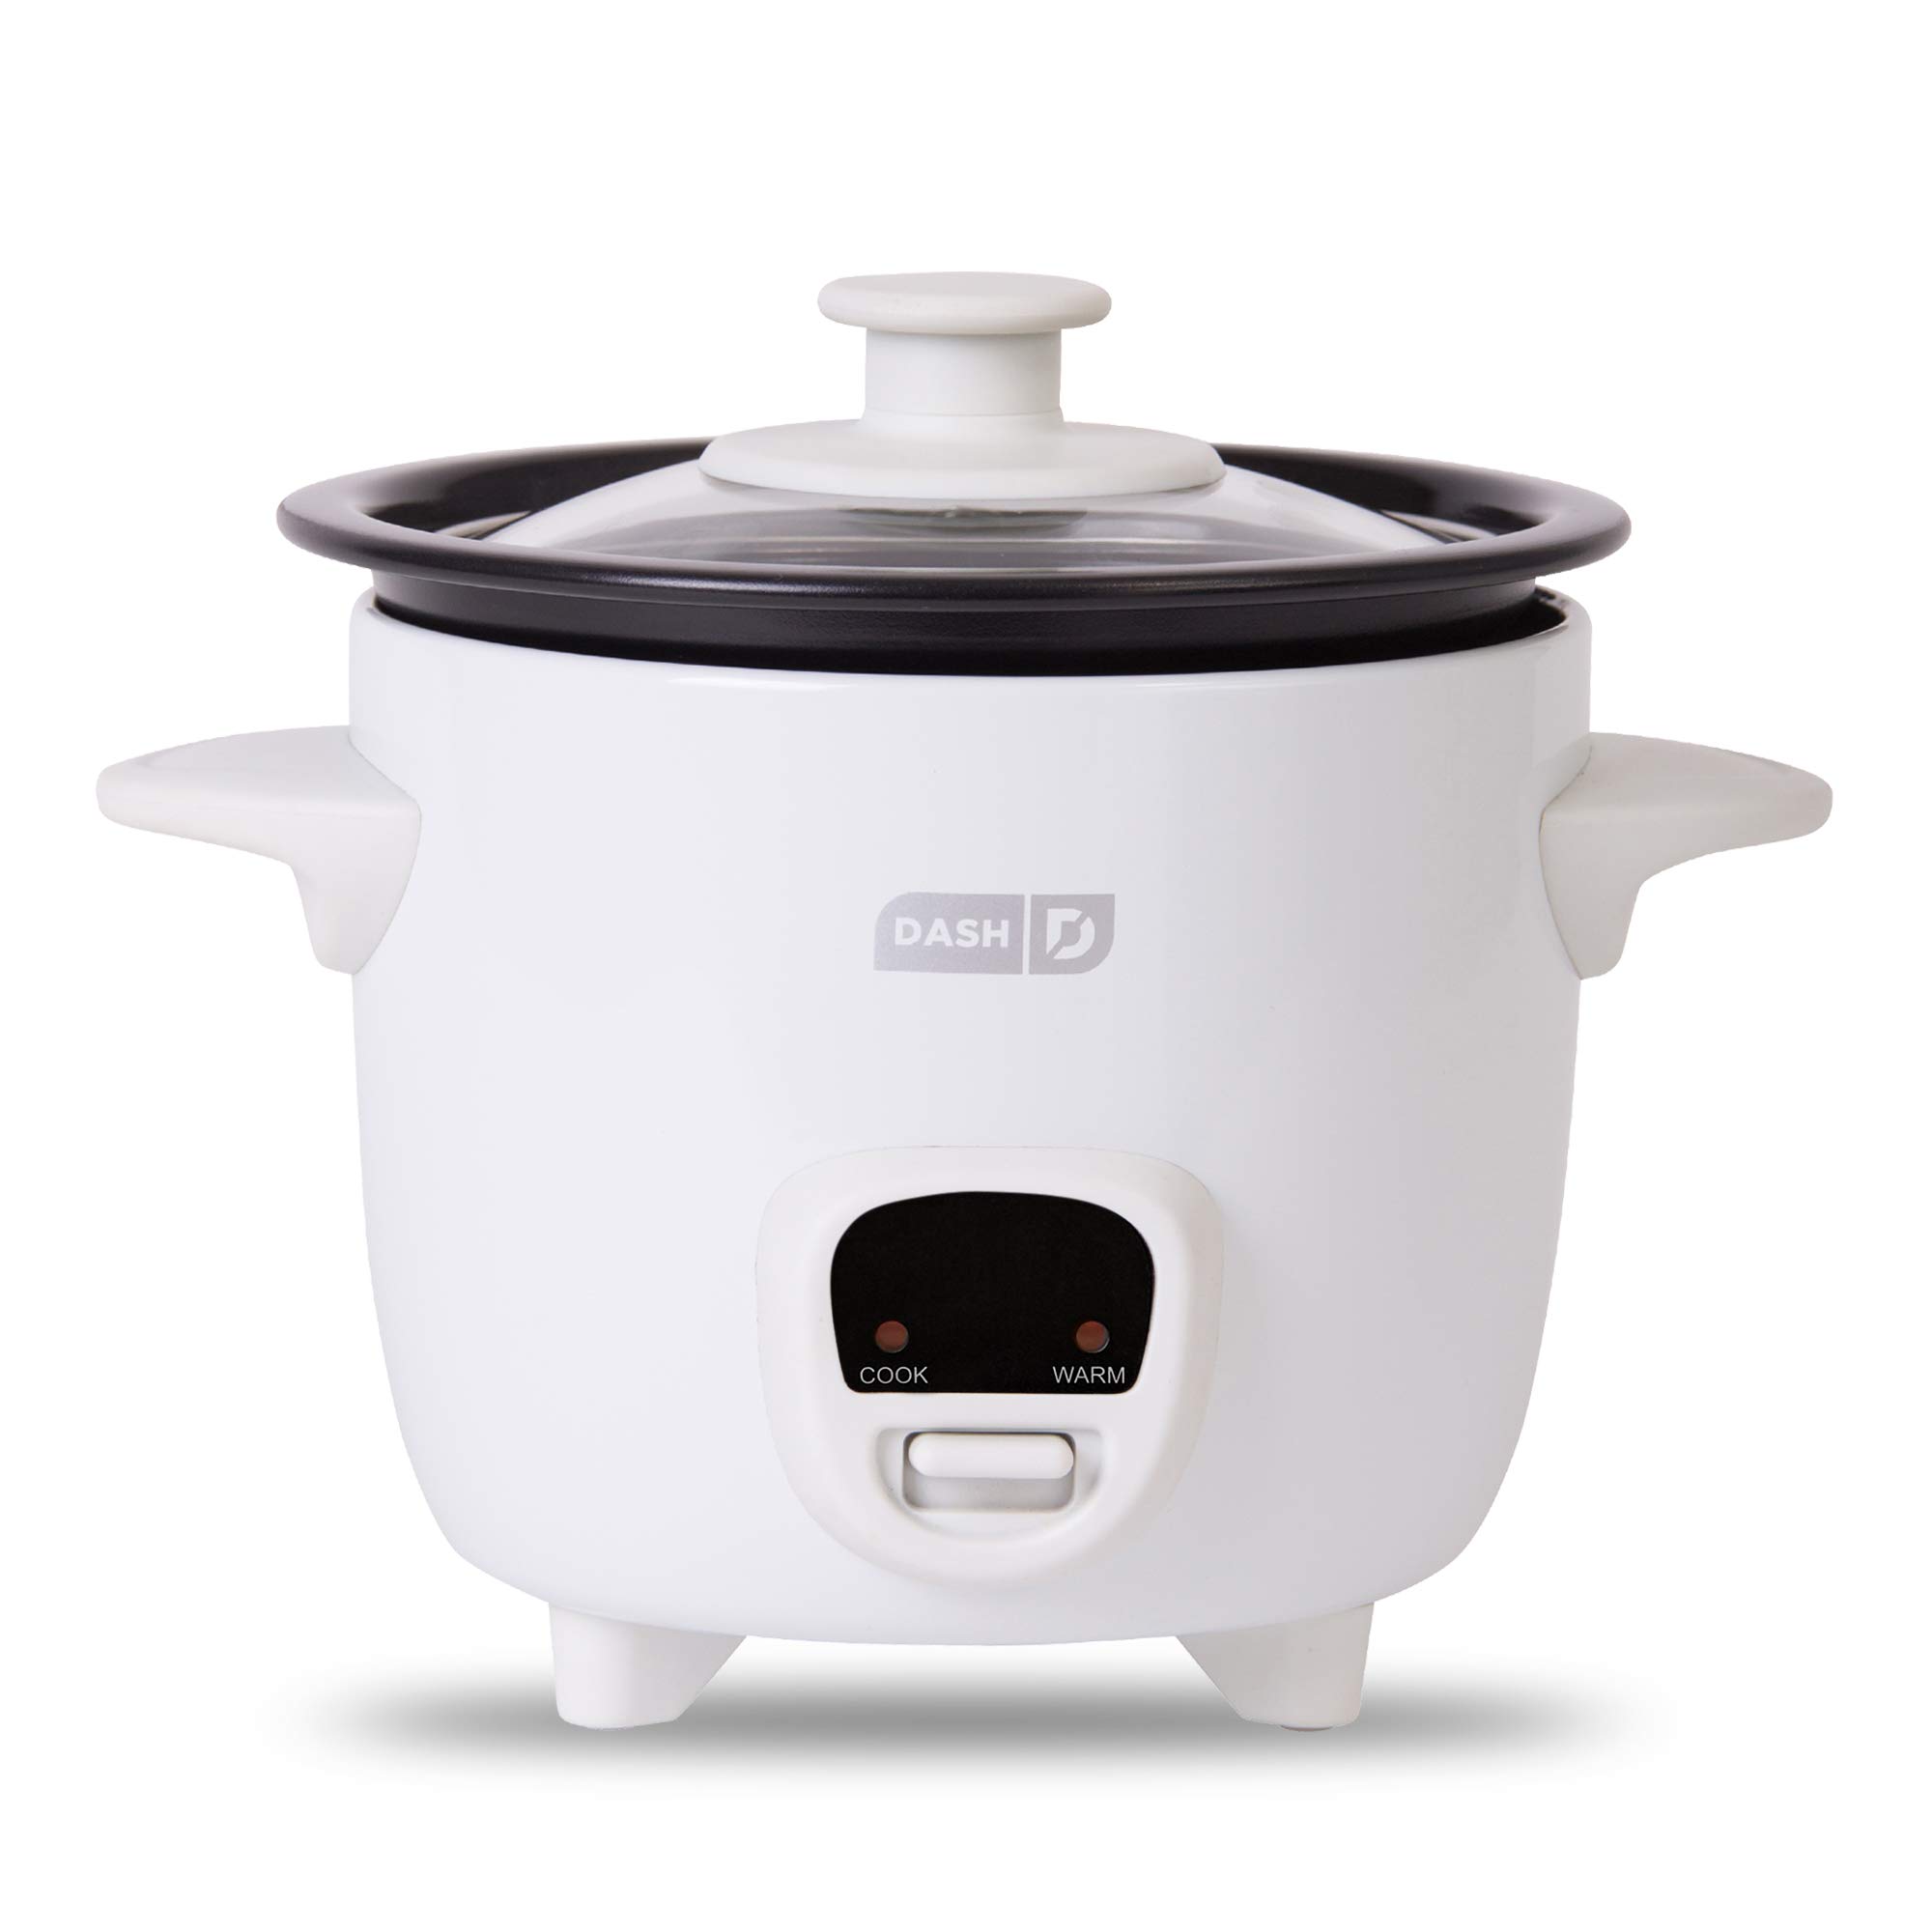
By using a rice cooker, you can eliminate the guesswork and achieve consistent results. Rice cookers are designed to automatically adjust the cooking time and temperature for different types of rice, including sushi rice. This allows you to focus on other aspects of sushi preparation, such as slicing the ingredients and rolling the sushi rolls.
In the following sections, we will outline the ingredients you’ll need and guide you through the step-by-step process of making sushi rice in a rice cooker. By the end of this article, you will be equipped with the knowledge and skills to make perfect sushi rice at home.
Key Takeaways:
- Master the art of making perfect sushi rice at home using a rice cooker. Enjoy the convenience and foolproof results while creating the foundation for delicious and creative homemade sushi rolls.
- Elevate your sushi-making skills by mastering the essential steps of washing, cooking, seasoning, and cooling sushi rice. With practice and creativity, unleash your unique sushi-making style and delight in crafting delectable sushi creations.
Read more: How To Cook Sushi Rice Without Rice Cooker
Ingredients
To make sushi rice in a rice cooker, you will need the following ingredients:
- 2 cups of sushi rice
- 2 1/4 cups of water
- 1/4 cup of rice vinegar
- 2 tablespoons of sugar
- 1 teaspoon of salt
These ingredients are readily available at most grocery stores or Asian markets. Sushi rice, specifically labeled as such, can be found in the rice aisle. Look for a short-grain variety like Calrose or Japanese rice.
The rice vinegar, sugar, and salt are key components for creating the sushi vinegar mixture, which will be used to season the cooked rice. The combination of vinegar, sugar, and salt adds a tangy and slightly sweet flavor to the sushi rice, enhancing its taste and complementing the other ingredients in your sushi rolls.
With these simple ingredients, you can start making your own delicious sushi rice right at home. Let’s move on to the step-by-step process of cooking sushi rice in a rice cooker.
Step 1: Washing the rice
Properly washing the rice is an important first step in making sushi rice. It helps remove any excess starch and impurities, resulting in fluffier and tastier rice.
- Measure 2 cups of sushi rice and place it in a large bowl or colander.
- Rinse the rice under cold water, gently rubbing it between your fingertips. This will help remove the surface starch.
- Continue rinsing and rubbing the rice until the water runs clear.
- Drain the rice well and transfer it to the inner pot of your rice cooker.
It is important to note that you may need to adjust the amount of water used during cooking based on the type of sushi rice you are using. Some varieties may require slightly more or less water. Refer to the package instructions or adjust as you gain more experience with your specific rice cooker.
Now that the rice is washed and ready, let’s move on to the next step of cooking the rice in the rice cooker.
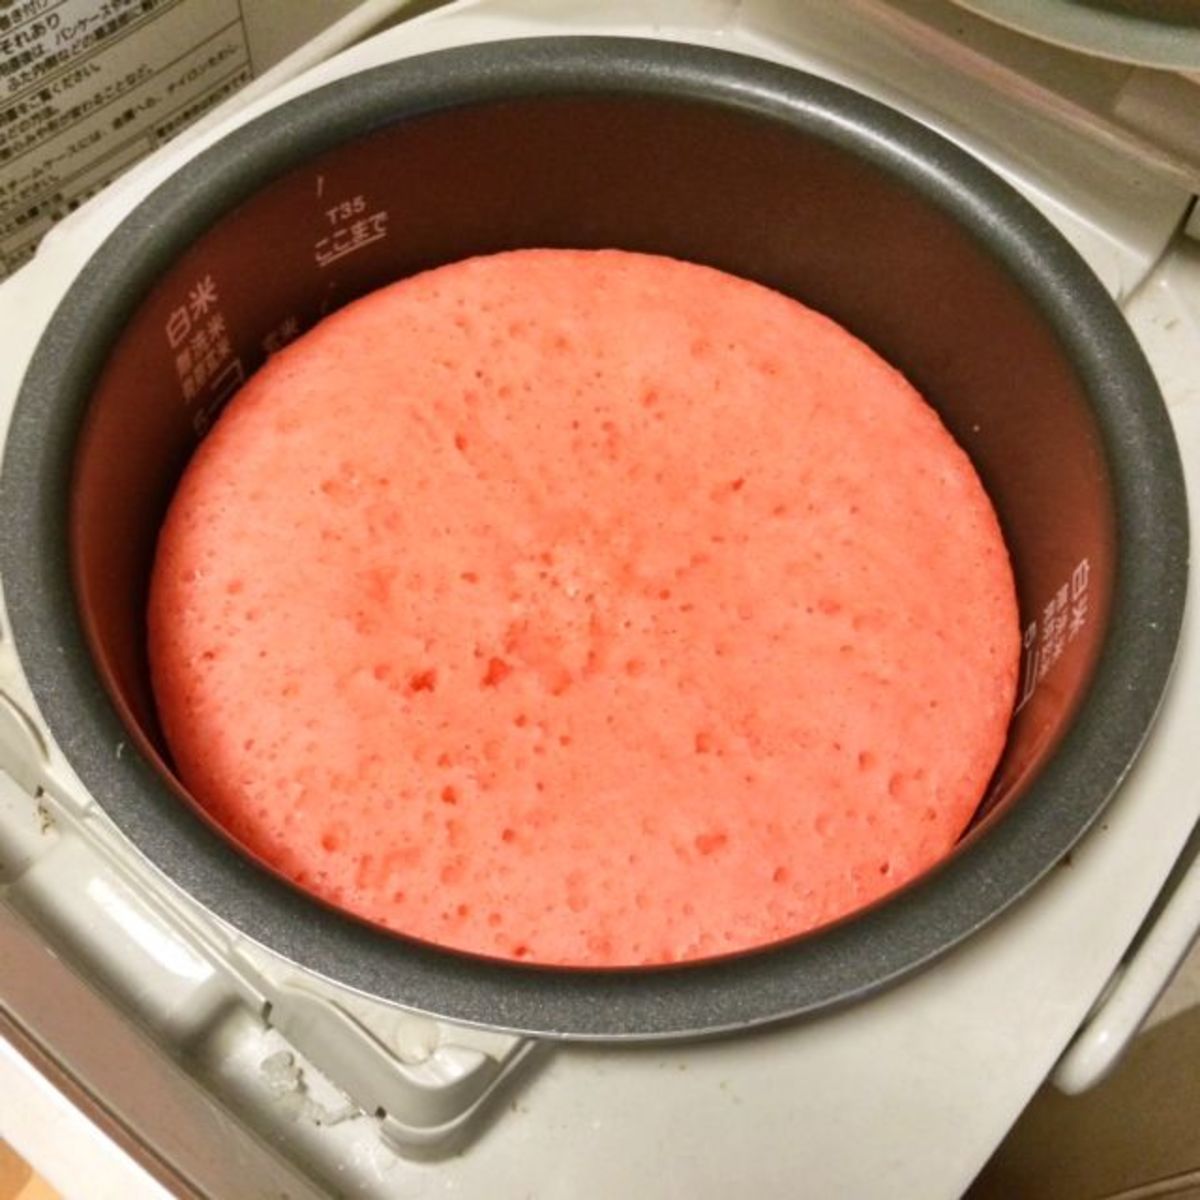
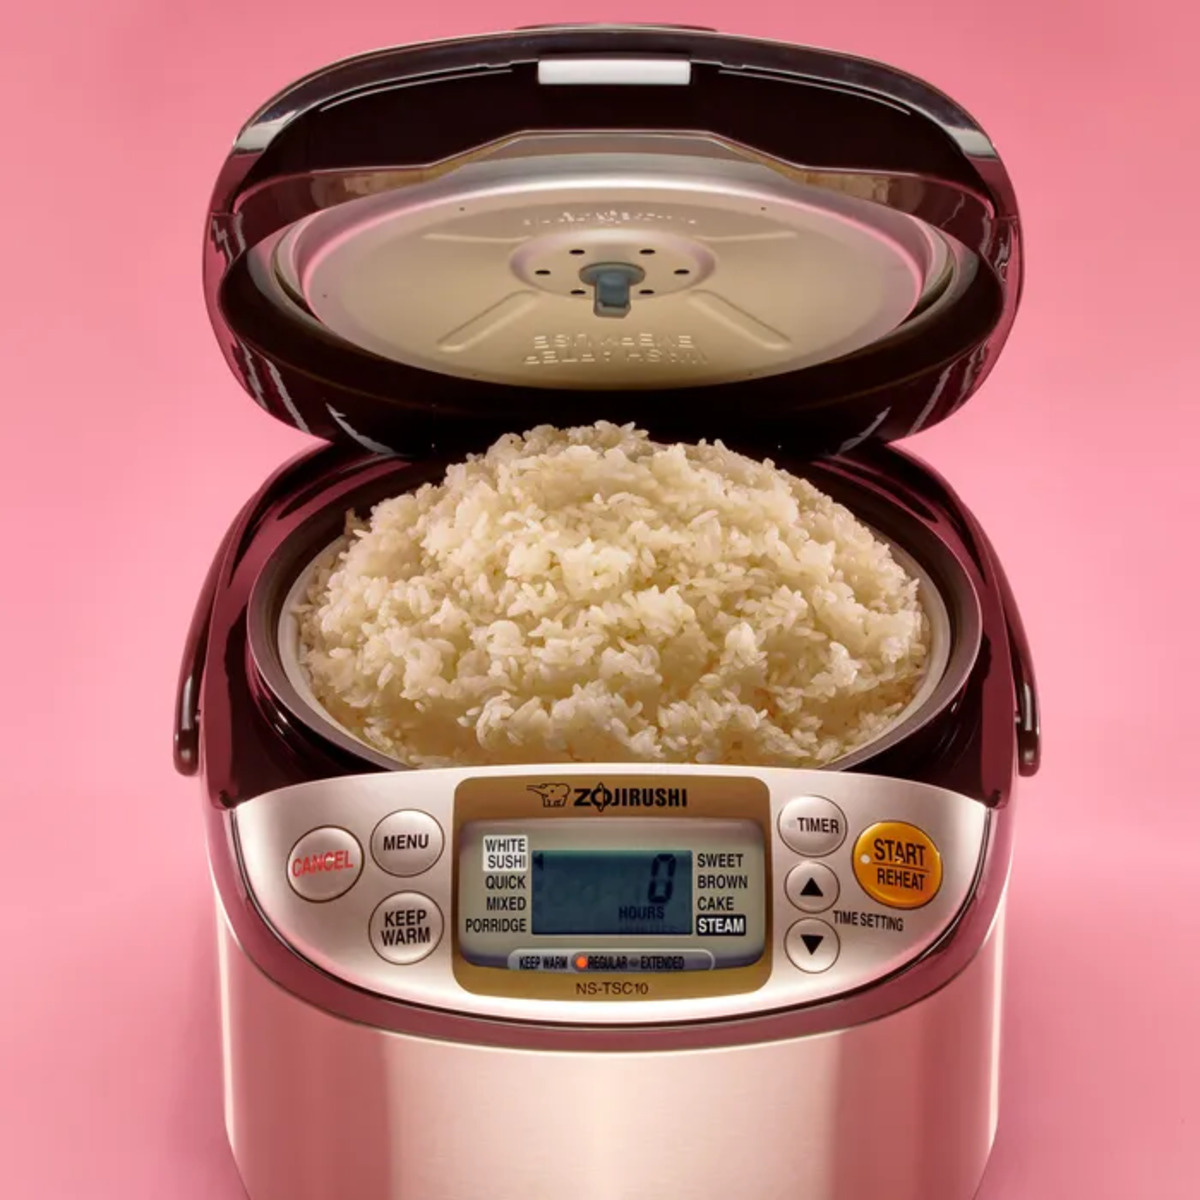
Step 2: Cooking the rice in a rice cooker
Using a rice cooker to cook sushi rice is a convenient and foolproof method. The rice cooker will automatically adjust the cooking time and temperature, ensuring that the rice is cooked to perfection.
- Add 2 1/4 cups of water to the rice cooker’s inner pot, along with the washed sushi rice.
- Give it a gentle stir to ensure the rice is evenly distributed.
- Place the inner pot into the rice cooker and close the lid.
- Select the appropriate setting for sushi rice or white rice on your rice cooker.
- Press the start button and let the rice cooker do its magic.
The cooking time may vary depending on the rice cooker you are using. Generally, it takes around 20-30 minutes for the rice to cook completely. Avoid opening the lid during the cooking process to prevent steam from escaping, which can affect the cooking time and result in unevenly cooked rice.
Once the rice cooker indicates that the rice is done, let it sit for a few minutes to allow the rice to steam and absorb any remaining moisture.
Now that the sushi rice is cooked, it’s time to move on to the next step of preparing the sushi vinegar mixture.
Step 3: Preparing the sushi vinegar mixture
The sushi vinegar mixture is a crucial component in making sushi rice. It adds a tangy and slightly sweet flavor, enhancing the taste of the rice and complementing the other ingredients in your sushi rolls. Here’s how to prepare it:
- In a small saucepan, heat 1/4 cup of rice vinegar over medium heat until it starts to simmer. Do not let it boil.
- Add 2 tablespoons of sugar and 1 teaspoon of salt to the simmering vinegar.
- Stir the mixture until the sugar and salt are completely dissolved.
- Remove the saucepan from heat and let the vinegar mixture cool to room temperature.
It is important to use rice vinegar specifically for sushi rice, as it has a mild and slightly sweet flavor. Regular vinegar, such as white vinegar or apple cider vinegar, may alter the taste of the sushi rice.
Once the sushi vinegar mixture has cooled down, it is ready to be combined with the cooked rice. Let’s move on to the next step of mixing the sushi vinegar with the rice.
After rinsing the rice, use a 1:1 ratio of rice to water in the rice cooker. Let the rice sit for 10 minutes after cooking to allow it to steam and become sticky for sushi.
Step 4: Mixing the sushi vinegar with the cooked rice
Now that the sushi vinegar mixture has cooled, it’s time to incorporate it into the cooked rice. This step imparts flavor and helps to create the characteristic sticky texture of sushi rice.
- Transfer the cooked rice from the rice cooker’s inner pot into a large, shallow wooden or non-metallic bowl. A wooden bowl is traditionally used as it helps to absorb excess moisture.
- Gradually pour the sushi vinegar mixture over the rice, using a wooden spatula or rice paddle to gently mix it in.
- Make slicing motions with the spatula or paddle as you mix to evenly distribute the vinegar and coat each grain of rice.
- Continue mixing and folding the rice until the vinegar has been absorbed and the rice is evenly seasoned.
Take care not to overmix the rice, as it can become too sticky and clumpy. Aim for light and fluffy grains that hold their shape when pressed together.
Once the sushi vinegar is fully incorporated, it’s time to let the rice cool down before using it for sushi rolls.
Let’s move on to the next step to learn how to properly cool down the sushi rice.
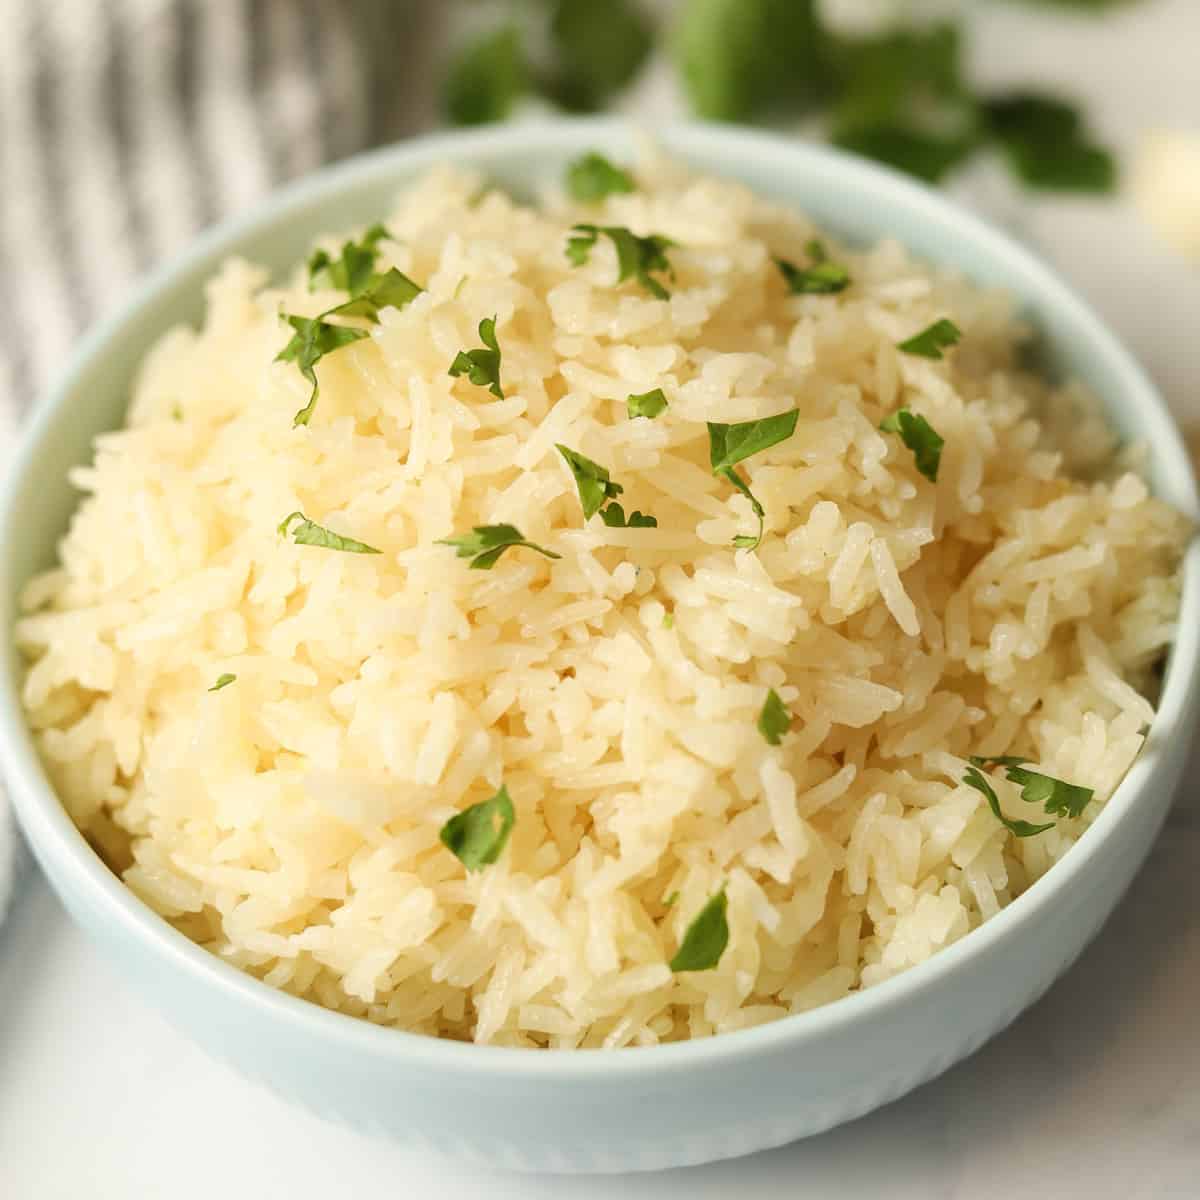
Step 5: Letting the rice cool down
After mixing the sushi vinegar with the cooked rice, it is essential to let the rice cool down to achieve the ideal texture for sushi rolls. Cooling the rice allows it to firm up slightly and become sticky, making it easier to handle and shape.
- Transfer the seasoned sushi rice to a large, flat container or a wooden sushi oke if you have one. This will help spread out the rice and facilitate even cooling.
- Spread the rice out evenly using a wooden spatula or rice paddle. Avoid pressing down on the rice as this can make it too compact.
- Allow the rice to cool down at room temperature or use a fan to speed up the process. Avoid placing the rice in the refrigerator as it can make the rice too cold and affect its texture.
- While the rice is cooling, cover it with a clean, damp cloth or plastic wrap to prevent it from drying out.
The cooling process usually takes around 15-20 minutes. The rice should be slightly warm or at room temperature when used for making sushi rolls. Test a small portion by gently squeezing it between your fingers. It should hold its shape and feel slightly sticky without being overly mushy or dry.
Once the sushi rice has cooled down, it’s ready to be used for making delicious sushi rolls. Let’s move on to the final step of using the sushi rice for sushi rolls.
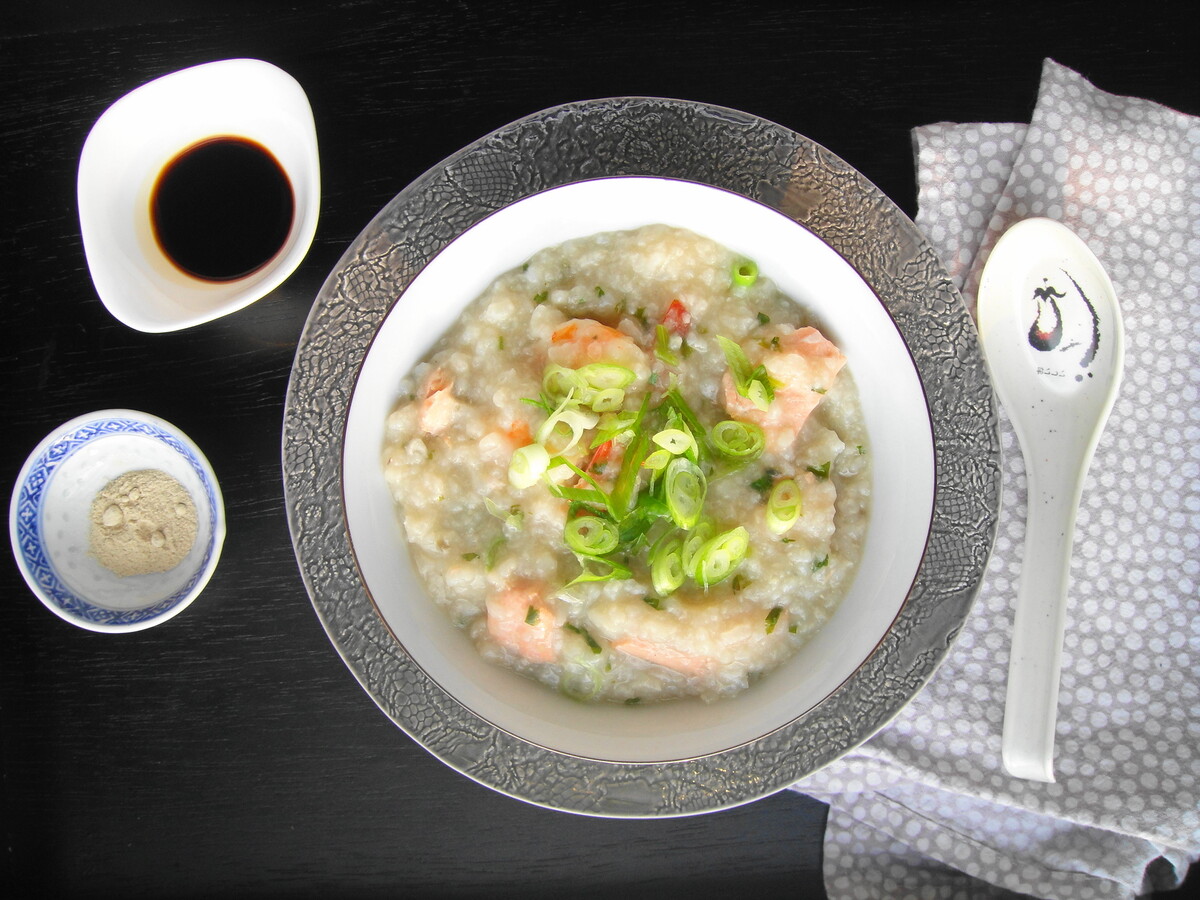
Step 6: Using the sushi rice for sushi rolls
With the perfectly cooked and seasoned sushi rice, you are now ready to create your own homemade sushi rolls. Whether you prefer traditional maki rolls, nigiri sushi, or even inventive sushi creations, the sushi rice will serve as the foundation for your delicious creations.
- Prepare your desired ingredients for the sushi rolls. This can include fresh fish or seafood, vegetables, tofu, or any other fillings of your choice.
- Place a sheet of seaweed (nori) on a bamboo sushi mat or a clean, damp kitchen towel.
- Moisten your hands with water to prevent the rice from sticking to your fingers. Take a handful of sushi rice and gently press it onto the seaweed, leaving a small border at the top.
- Add your chosen fillings onto the rice, arranging them evenly along the bottom edge of the seaweed.
- Roll the sushi mat away from you, using gentle pressure to shape the sushi roll. Make sure to tuck in the filling tightly as you roll.
- Continue rolling until the entire sheet of seaweed is wrapped around the filling.
- Use a sharp knife to slice the sushi roll into bite-sized pieces. Dip the knife in water between slices to prevent the rice from sticking.
Repeat these steps with the remaining sushi rice and fillings to create more rolls. You can get creative with different combinations of ingredients and styles of sushi rolls.
Once the sushi rolls are made, they are ready to be served with soy sauce, wasabi, and pickled ginger. Enjoy the taste and texture of your homemade sushi rolls, made with your freshly cooked sushi rice.
Congratulations! You have successfully made sushi rice in a rice cooker and transformed it into delectable sushi rolls. With practice and experimentation, you can continue to refine your sushi-making skills and create a wide variety of sushi creations to enjoy with family and friends.
Now that you have mastered the art of making sushi rice, it’s time to explore more sushi recipes and techniques to further enhance your sushi-making skills. Happy sushi-making!
Conclusion
Congratulations on learning how to make sushi rice in a rice cooker! By following the step-by-step process outlined in this article, you have acquired the necessary skills to create the perfect sushi rice right at home.
Sushi rice is the foundation of any delicious sushi roll, and by using a rice cooker, you have achieved a convenient and foolproof method for consistently cooking fluffy and flavorful rice.
Remember the key steps involved in making sushi rice: washing the rice to remove excess starch, cooking it in a rice cooker, preparing the sushi vinegar mixture, mixing it into the cooked rice, letting the rice cool down, and finally using it to create your desired sushi rolls.
With your homemade sushi rice, you have the freedom to experiment with various fillings, flavors, and sushi roll styles. Whether you prefer classic maki rolls, delicate nigiri, or even inventive sushi creations, the sushi rice will serve as the perfect canvas for your culinary creations.
Continue to practice and refine your sushi-making skills, allowing your creativity to shine through each roll you make. With time and experience, you will develop your own unique sushi-making style and create sushi rolls that are truly a reflection of your taste and personality.
Remember to always use fresh ingredients, pay attention to detail, and enjoy the process of making sushi. The art of sushi-making is not only about the final result but also about the journey and the joy that comes with creating something delicious from scratch.
So gather your ingredients, turn on your rice cooker, and let your imagination run wild. With your newfound expertise in making sushi rice, you are well on your way to becoming a sushi master in the comfort of your own kitchen.
Happy sushi-making!
Frequently Asked Questions about How To Make Sushi Rice In A Rice Cooker
Was this page helpful?
At Storables.com, we guarantee accurate and reliable information. Our content, validated by Expert Board Contributors, is crafted following stringent Editorial Policies. We're committed to providing you with well-researched, expert-backed insights for all your informational needs.


0 thoughts on “How To Make Sushi Rice In A Rice Cooker”