
Articles
How To Disassemble Jack Lalanne Power Juicer
Modified: August 16, 2024
Learn how to disassemble your Jack Lalanne Power Juicer with our helpful step-by-step articles. Keep your juicer in top shape with our expert advice.
(Many of the links in this article redirect to a specific reviewed product. Your purchase of these products through affiliate links helps to generate commission for Storables.com, at no extra cost. Learn more)
Introduction
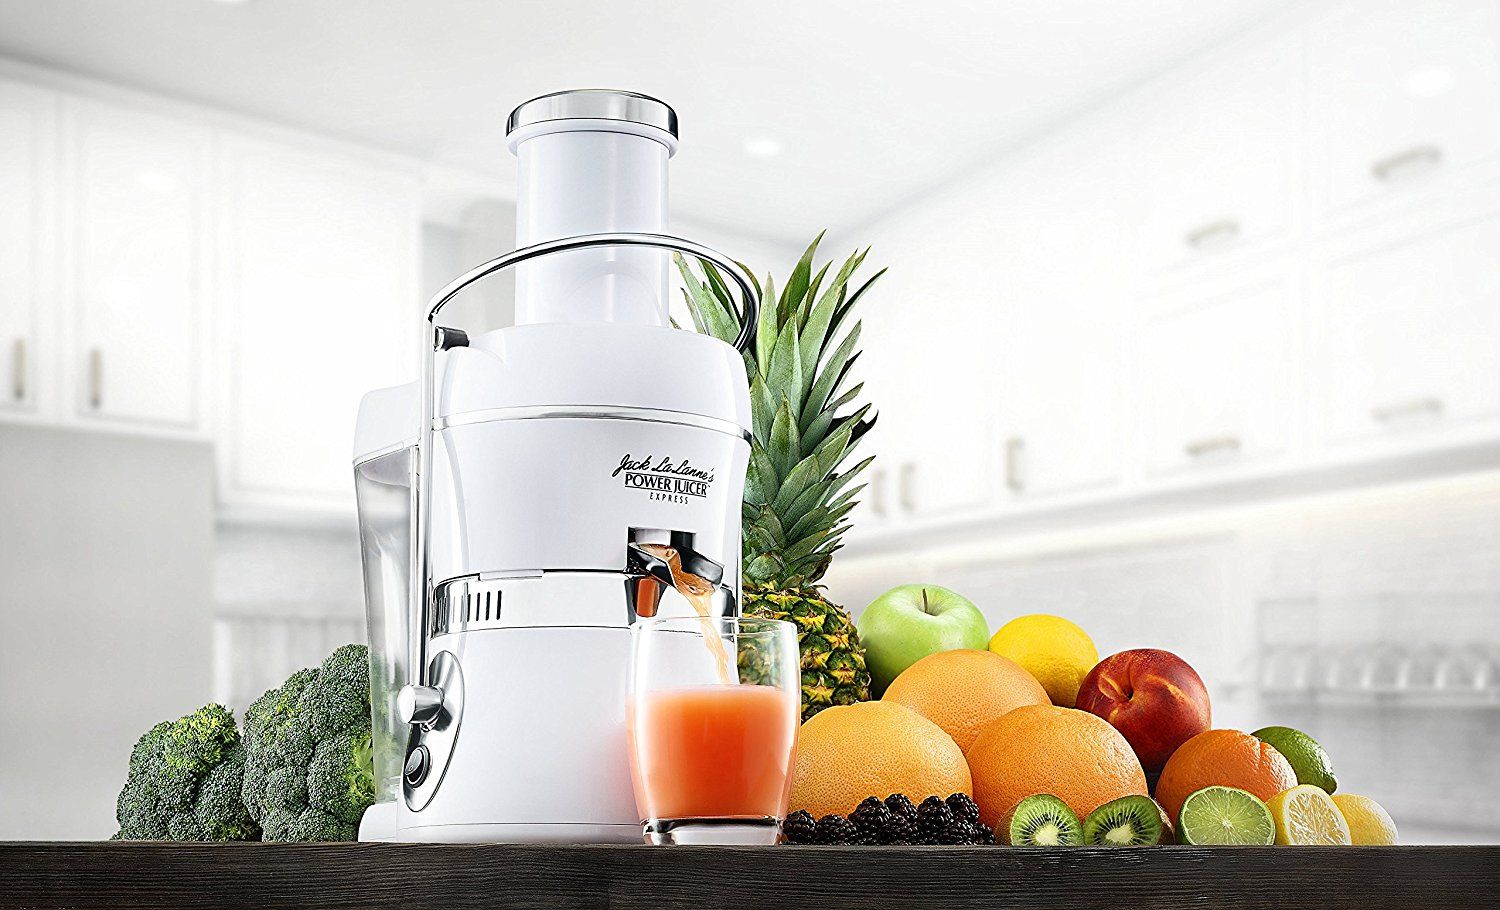
Are you tired of struggling to clean your Jack Lalanne Power Juicer? Do you find yourself avoiding the dismantling process because it seems too complicated? Well, fret no more! In this article, we will guide you through the step-by-step process of disassembling your Jack Lalanne Power Juicer, making it easier than ever to clean and maintain.
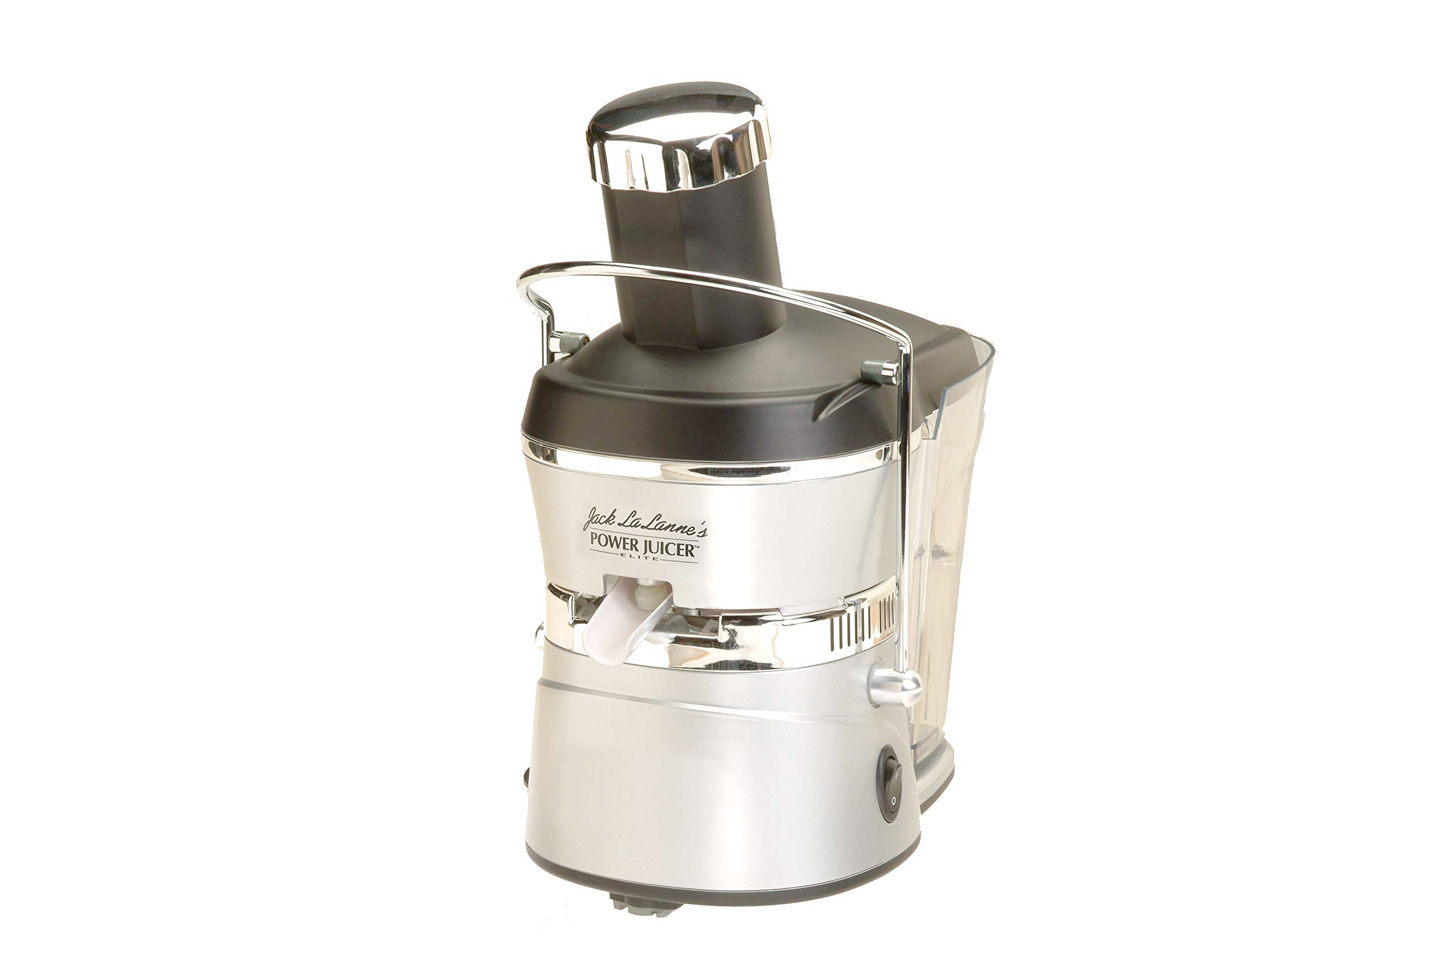
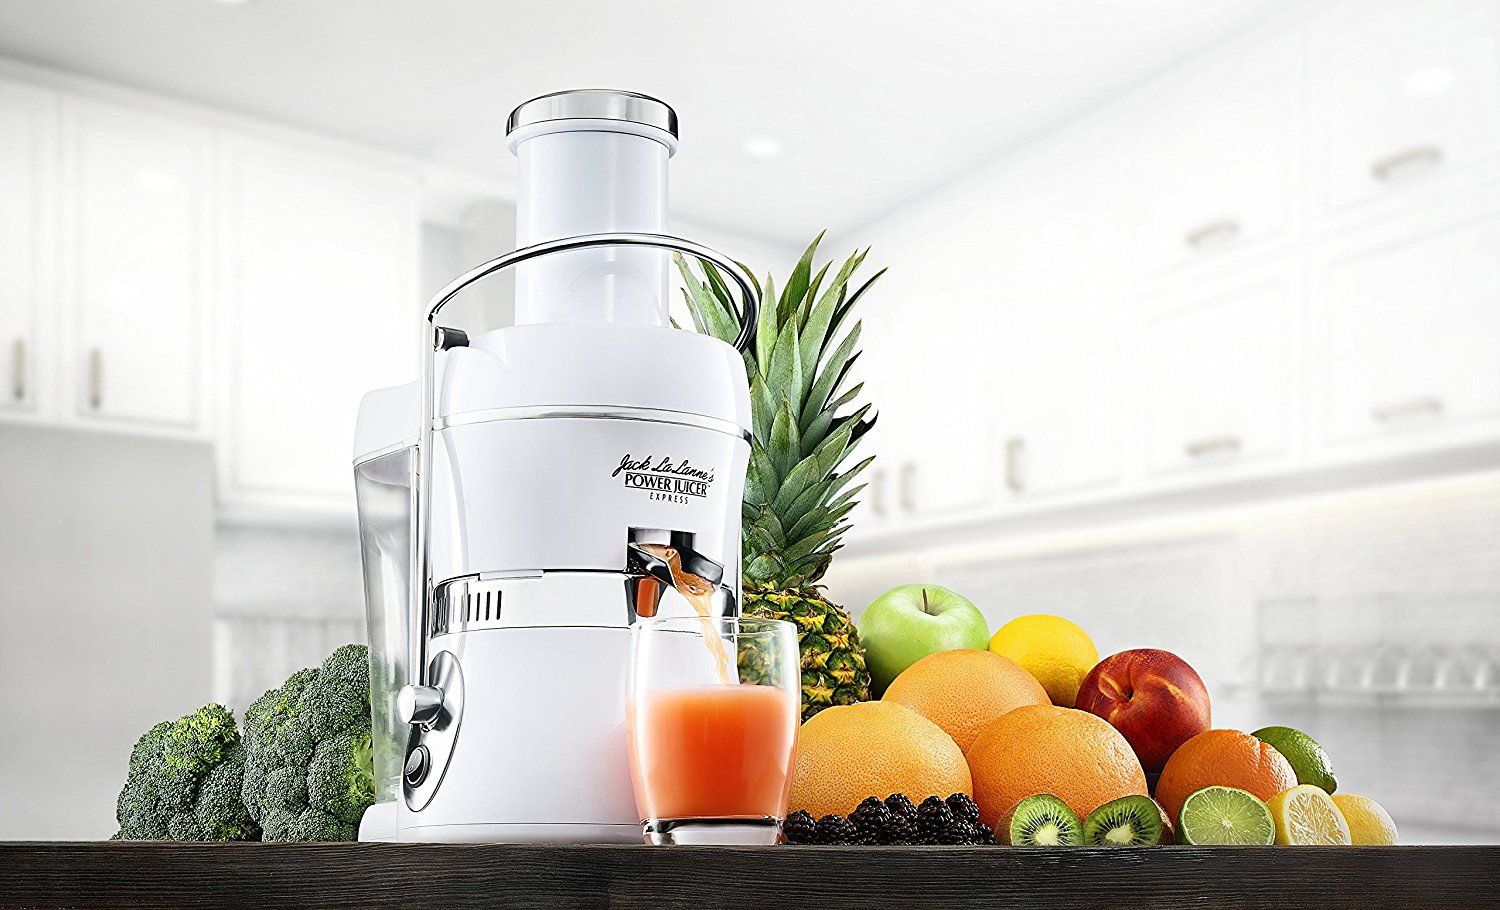
The Jack Lalanne Power Juicer is a popular and efficient appliance for juicing fruits and vegetables. However, over time, residue and pulp can accumulate, making it necessary to disassemble the juicer for a thorough clean. By following these simple instructions, you’ll be able to take apart your juicer with ease, ensuring it remains in optimal working condition for years to come.
Key Takeaways:
- Easily disassemble and clean your Jack Lalanne Power Juicer with simple tools and steps, ensuring optimal performance and longevity for your juicing appliance.
- Regular maintenance and thorough cleaning of your juicer’s components are essential for producing high-quality, pulp-free juice and enjoying fresh, nutritious beverages for years to come.
Read more: How To Use Jack Lalanne Power Juicer
Tools and Materials Needed
Before you begin disassembling your Jack Lalanne Power Juicer, gather the following tools and materials:
1. Screwdriver: You will need a flathead screwdriver to remove the screws holding the juicer together.
2. Cleaning Brush: The juicer comes with a cleaning brush that is specifically designed to clean hard-to-reach areas.
3. Mild Dish Soap: Prepare a mixture of mild dish soap and warm water to clean the removable parts of the juicer.
4. Sink or Basin: You will need a sink or a basin to rinse the parts of the juicer.
5. Towel or Dish Rack: Have a towel or dish rack ready to dry the juicer parts after cleaning.
By having these tools and materials on hand, you will be fully prepared for the disassembly and cleaning process of your Jack Lalanne Power Juicer.
Step 1: Preparation
Before you begin disassembling your Jack Lalanne Power Juicer, there are a few important steps to take to ensure a smooth and hassle-free process:
1. Turn off and unplug the juicer: Before you start any disassembly, make sure that the juicer is turned off and unplugged from the power source. This is a crucial safety measure to prevent any accidents while handling the juicer.
2. Empty the pulp collector: The pulp collector is located at the back of the juicer. Remove it and discard any leftover pulp. Rinse it with water to remove any residue.
3. Gather your tools and materials: Make sure you have all the necessary tools and materials mentioned earlier, such as a screwdriver, cleaning brush, mild dish soap, sink or basin, and a towel or dish rack for drying.
By taking these initial steps, you are setting the stage for a successful disassembly process. Once you have completed these preparations, you can move on to the next step of disassembling the Jack Lalanne Power Juicer.
Step 2: Removing the Top Cover
Now that you have prepared your Jack Lalanne Power Juicer, it’s time to start disassembling it. The first component to remove is the top cover. Follow these steps:
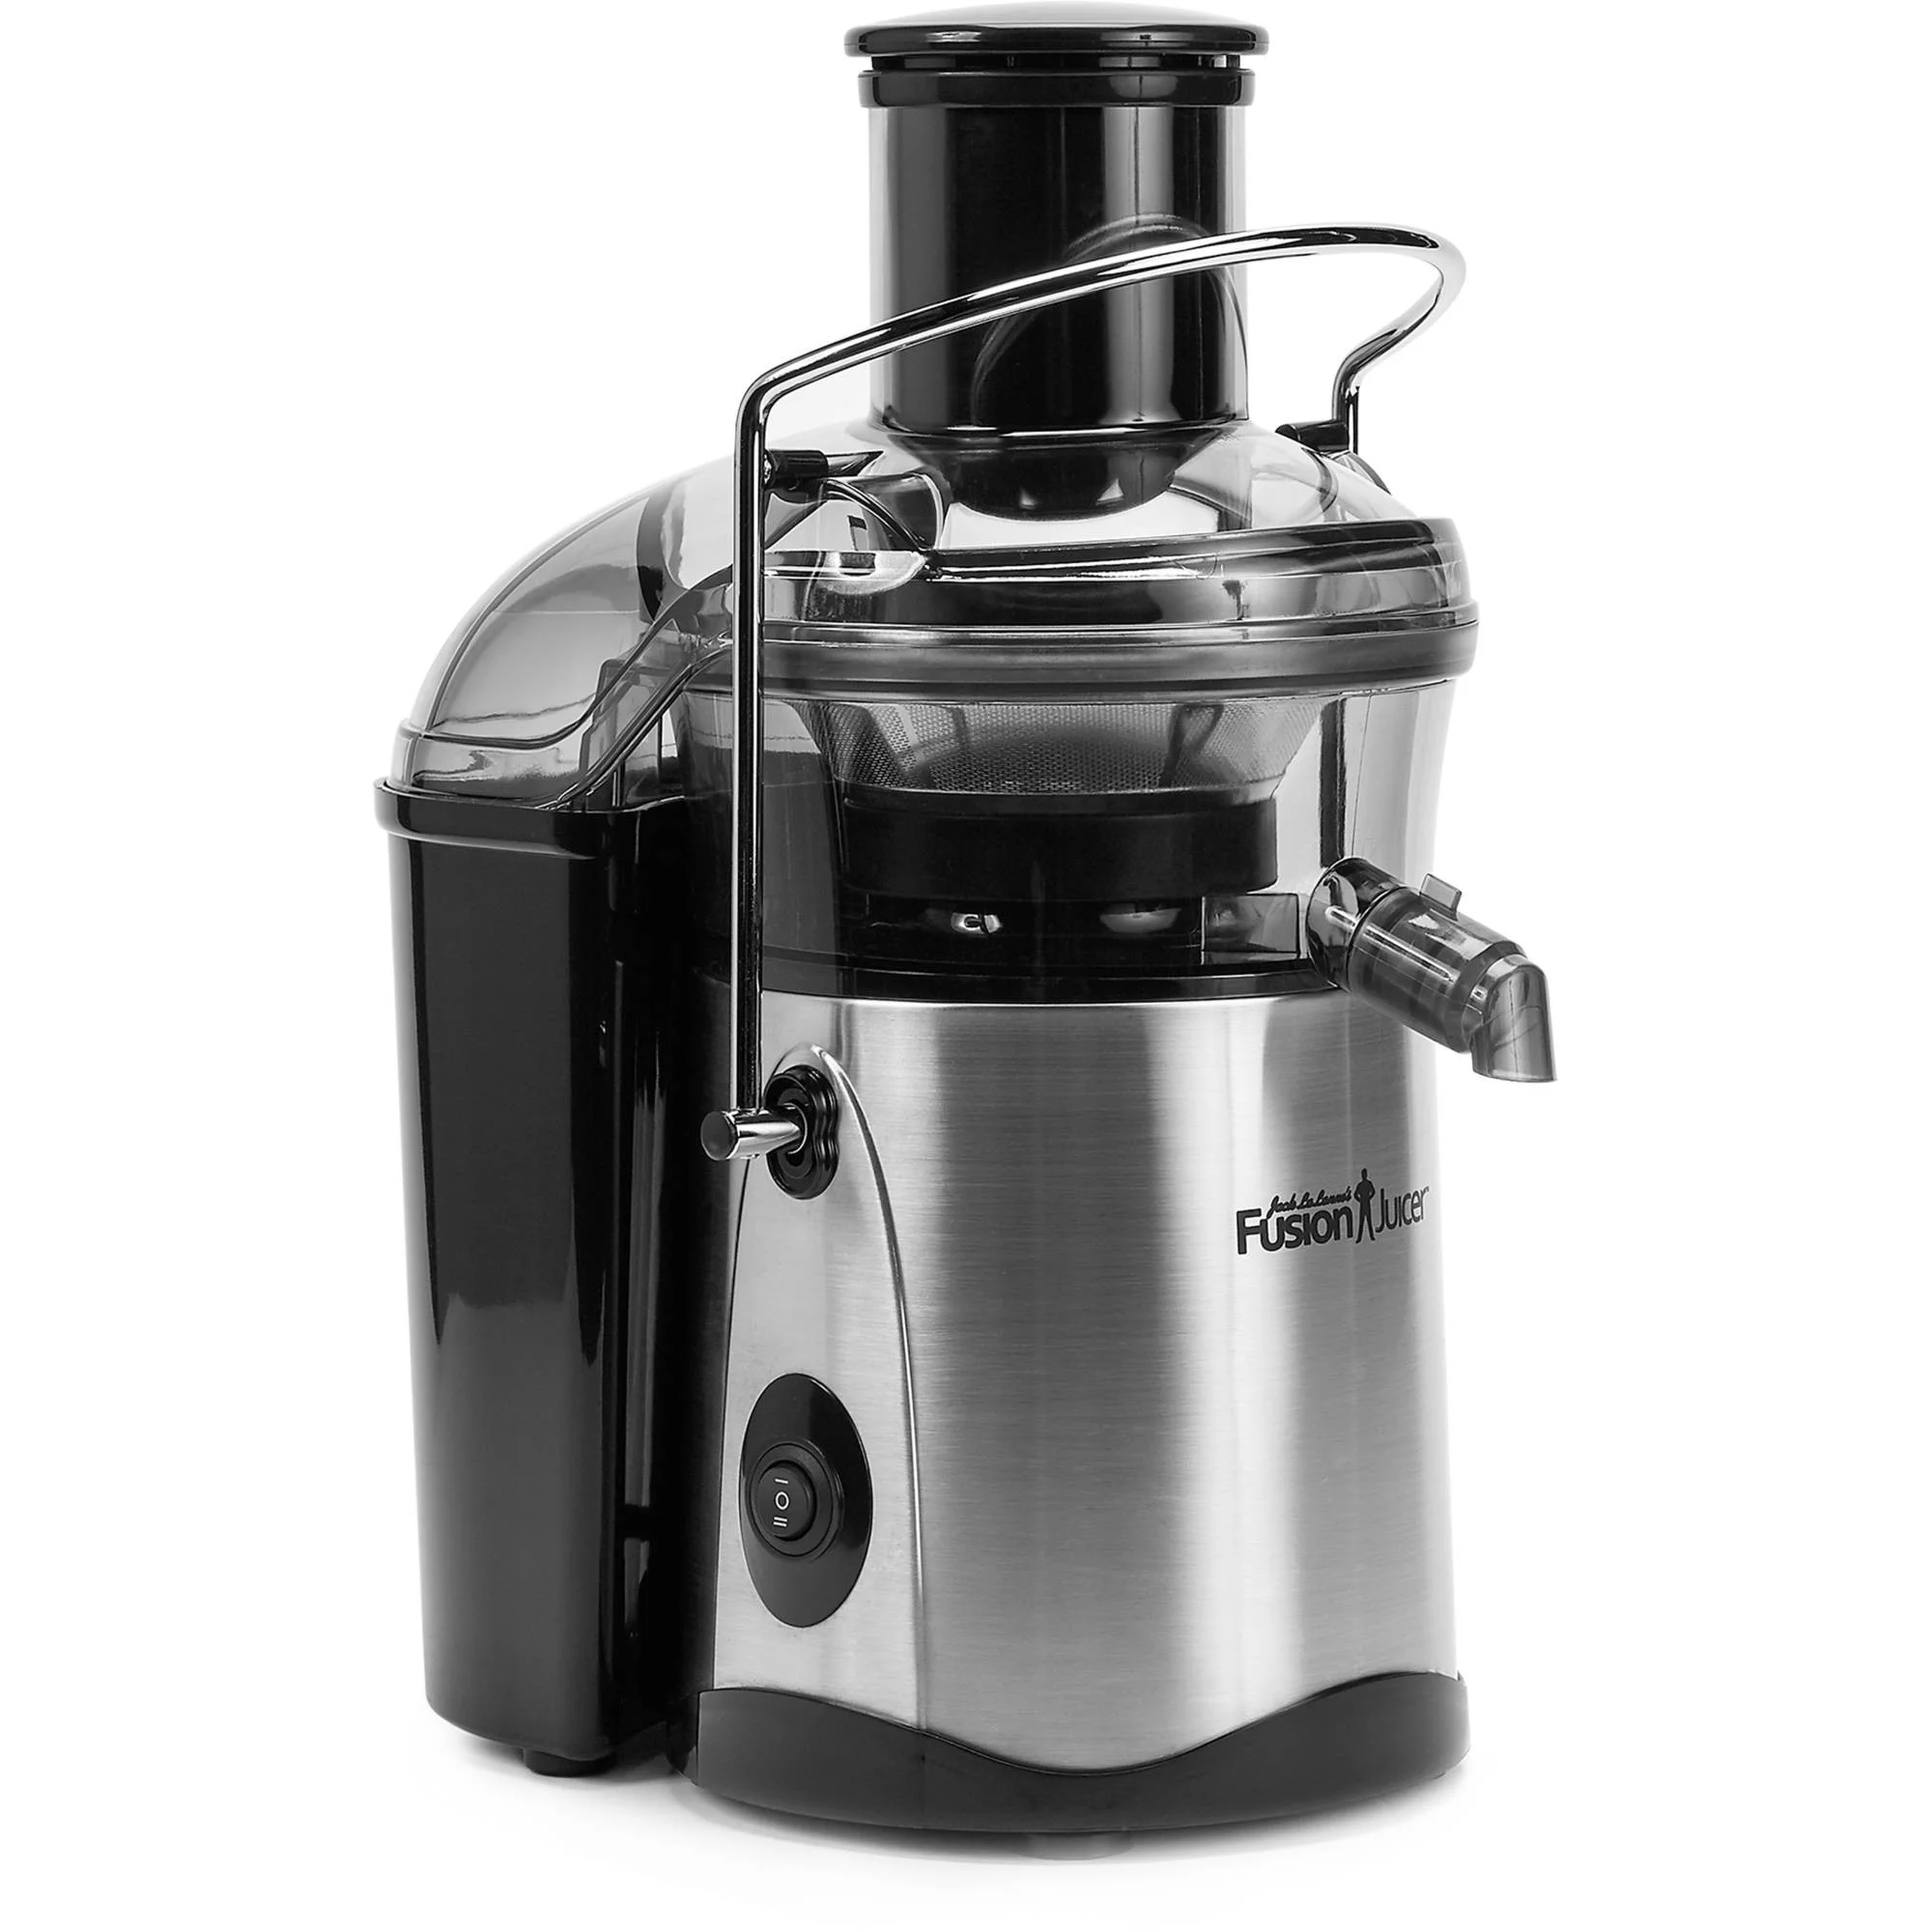
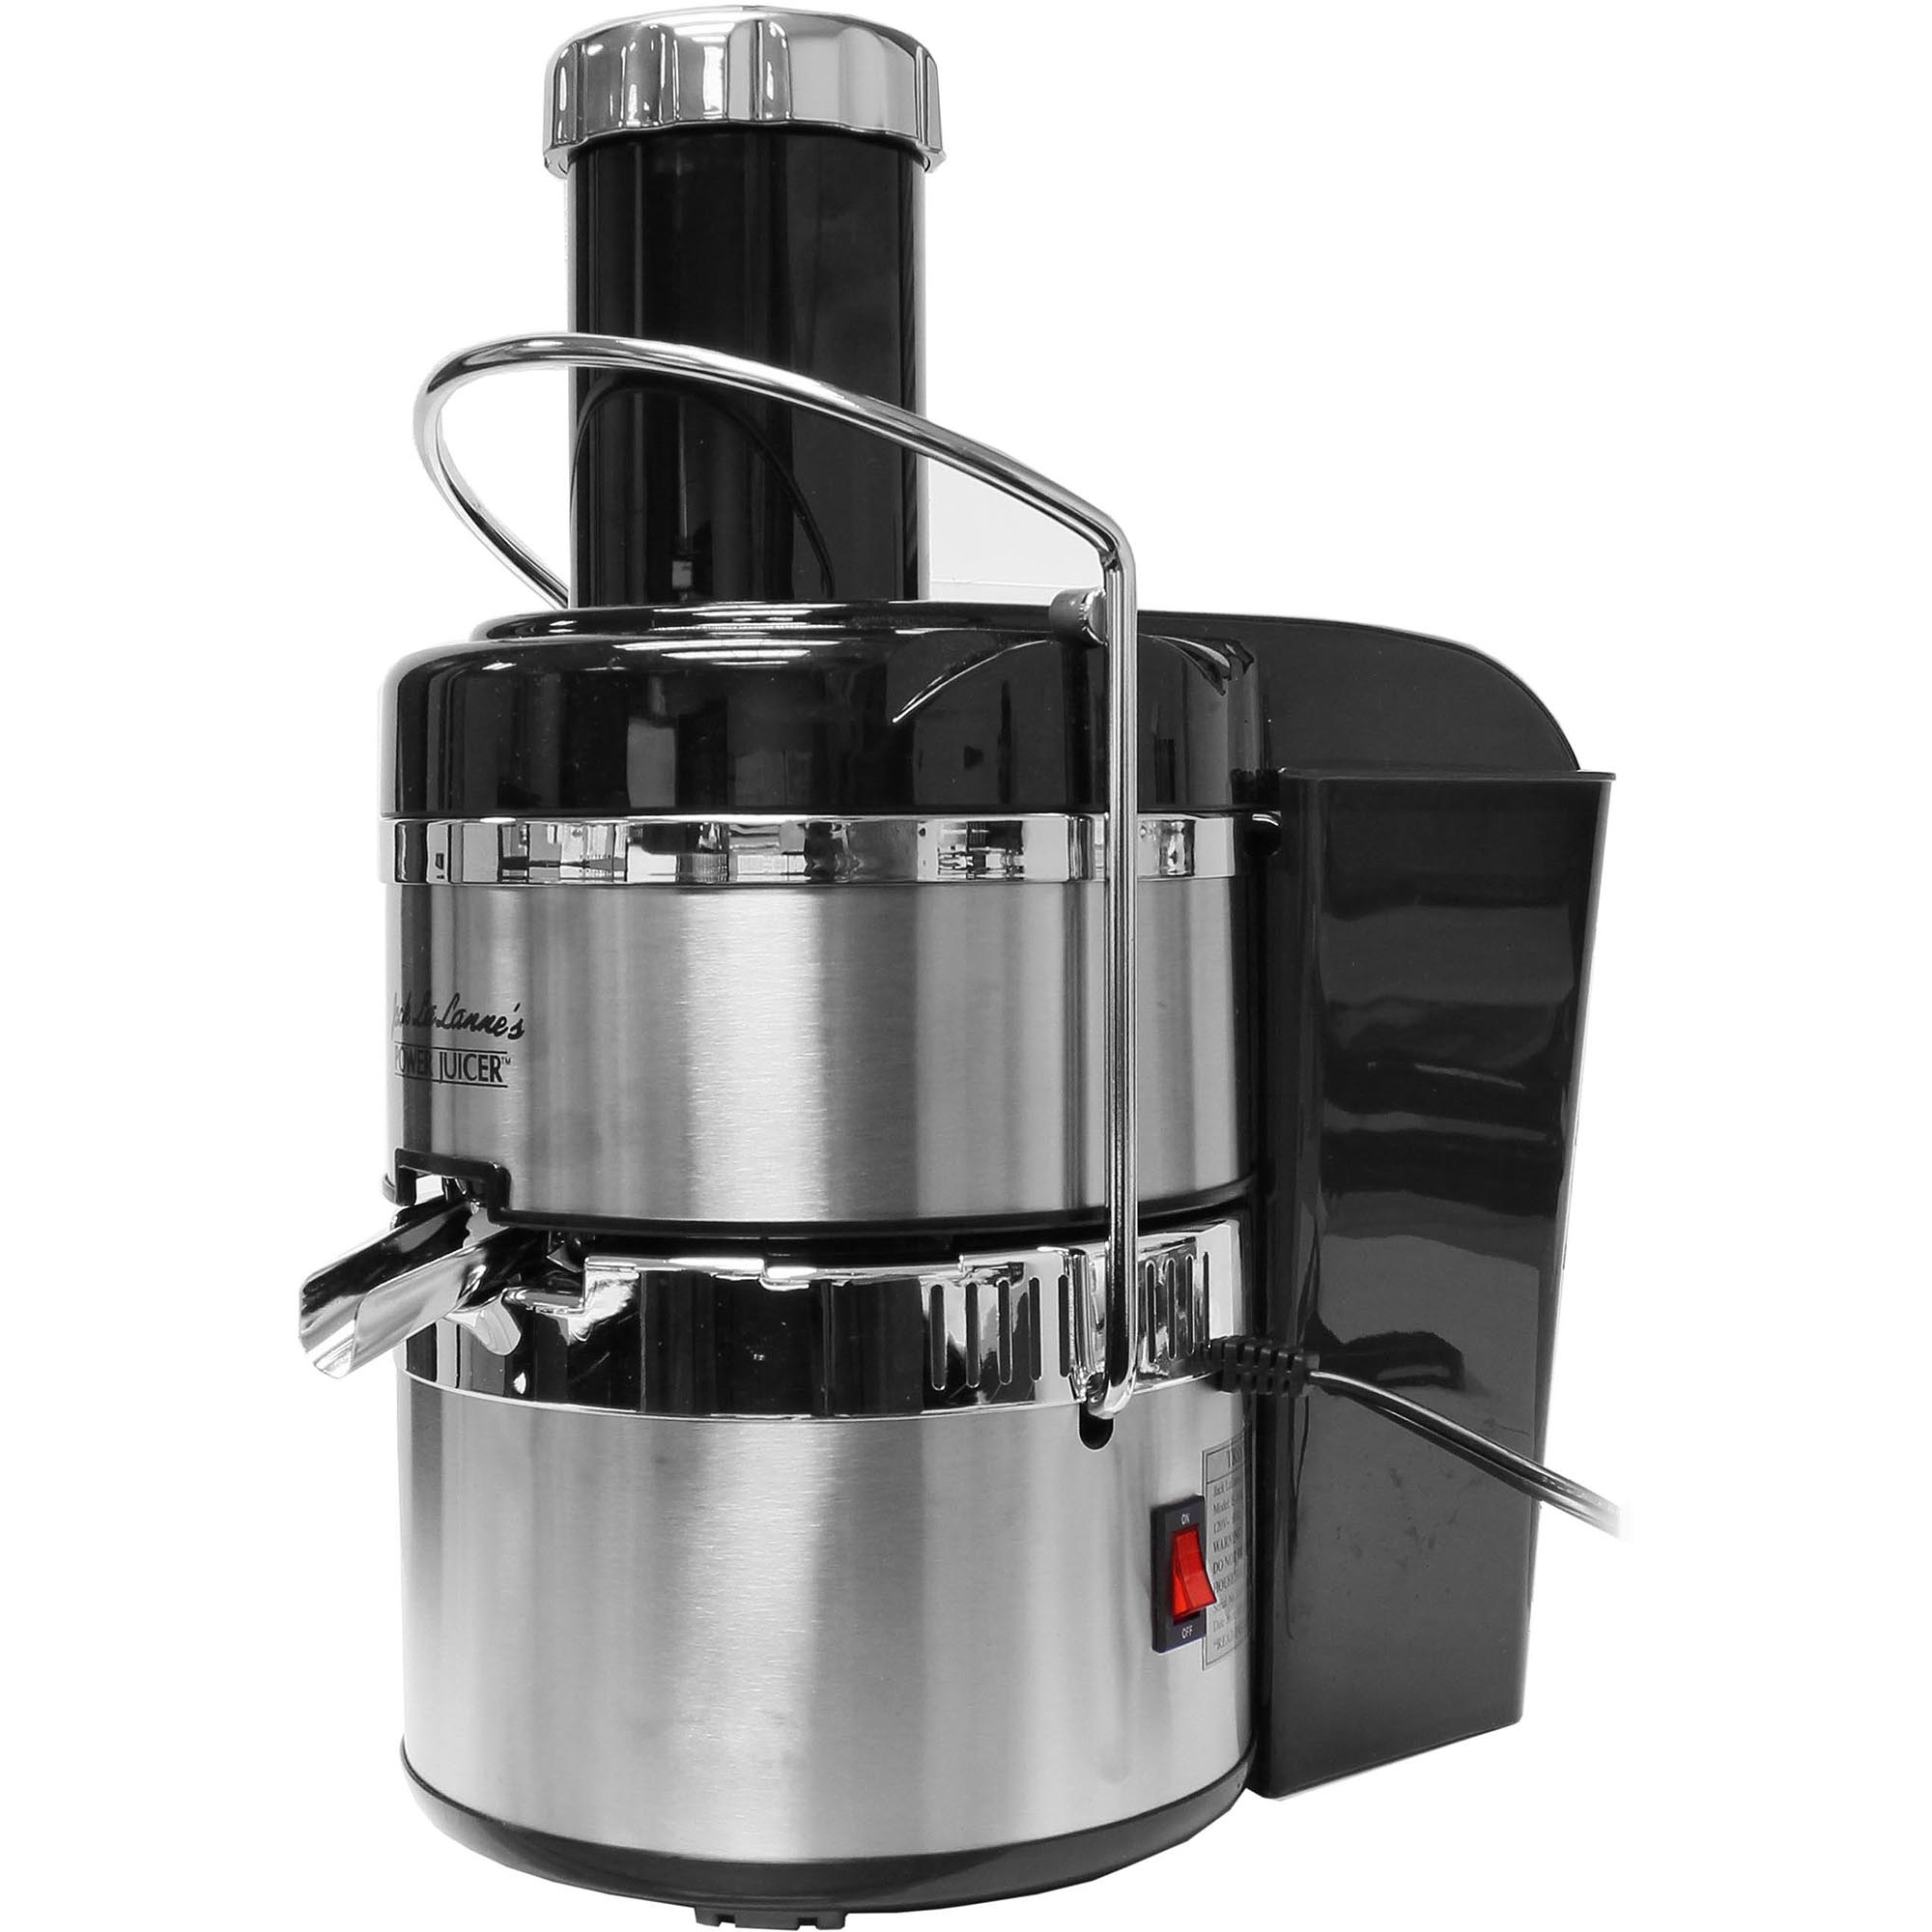
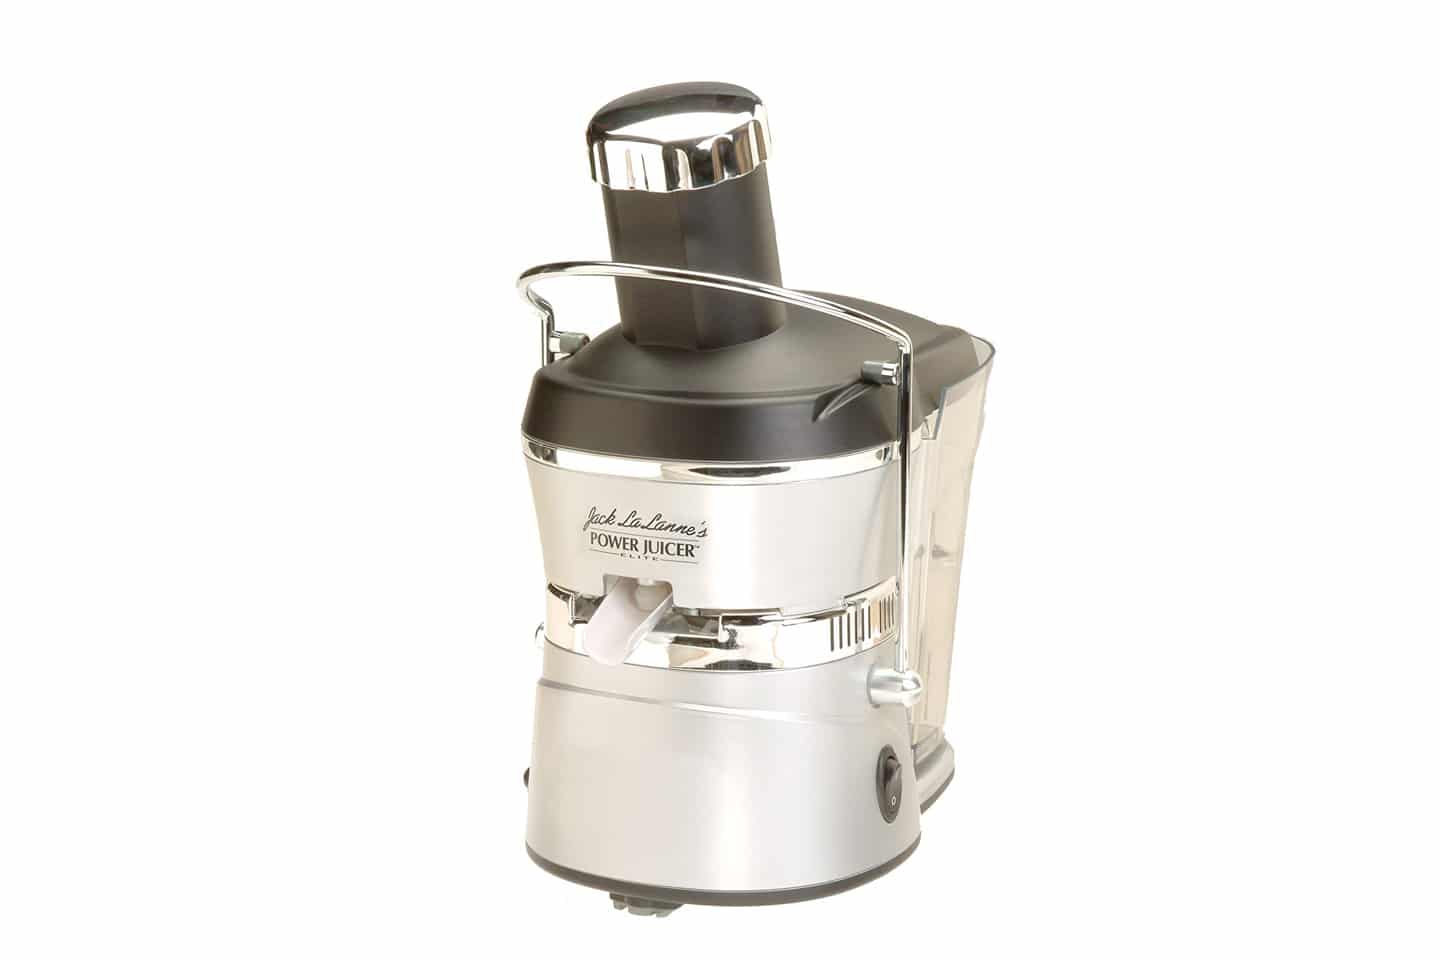
1. Locate the locking mechanism: On the top of the juicer, you will find a locking mechanism that secures the cover in place. It may be a latch or a twist-lock design, depending on the model of your juicer.
2. Unlock the top cover: If your juicer has a latch, simply lift it up to unlock the cover. If it has a twist-lock mechanism, rotate it counterclockwise to release the cover.
3. Lift off the top cover: Once the lock is released, carefully lift off the top cover of the juicer. Set it aside for cleaning later.
4. Inspect for any remaining juice: Take a quick look inside the juicer to make sure there is no leftover juice that could spill during the disassembly process.
By removing the top cover, you have gained access to the internal components of the juicer. This will make it easier to proceed with the next steps of disassembly.
Step 3: Removing the Blade and Filter
With the top cover of your Jack Lalanne Power Juicer removed, it’s time to tackle the next step: removing the blade and filter. Follow these simple steps:
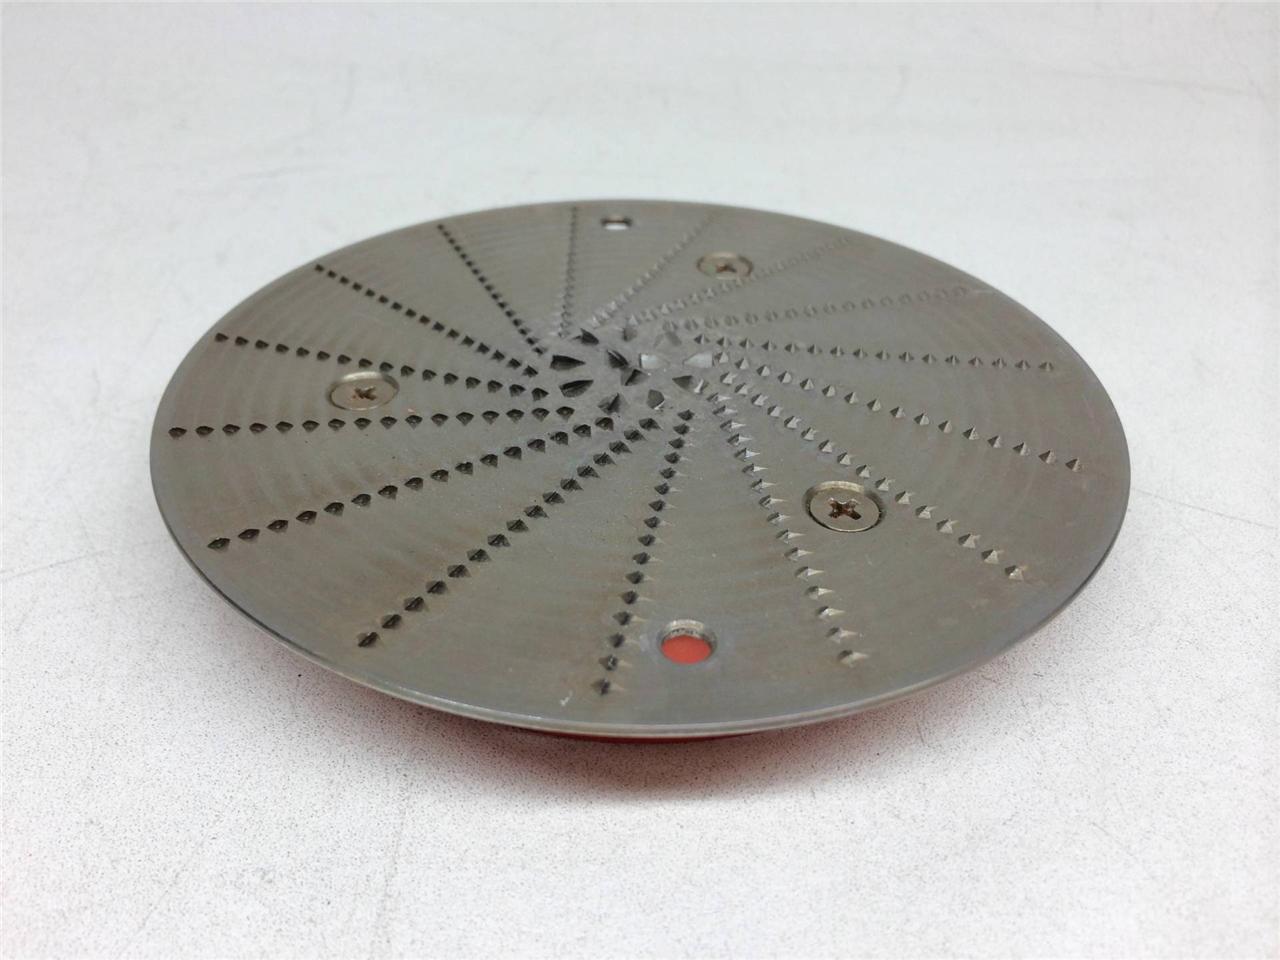
1. Locate the blade and filter assembly: Underneath the top cover, you will see the blade and filter assembly. This component is responsible for extracting juice from the fruits and vegetables.
2. Unscrew the locking nut: Use a screwdriver to unscrew the locking nut that holds the blade and filter in place. Turn it counterclockwise until it is fully loose.
3. Remove the blade and filter: Once the locking nut is loose, carefully lift out the blade and filter assembly from the juicer. Be cautious as the blade can be sharp.
4. Rinse the blade and filter: Take the blade and filter assembly to the sink or basin and rinse it thoroughly with warm water. Use the cleaning brush to remove any residue or pulp that may be stuck.
5. Clean the locking nut: In addition to cleaning the blade and filter, clean the locking nut as well. Use the cleaning brush to scrub away any debris.
By removing the blade and filter, you have removed the vital components that extract the juice from your fruits and vegetables. Cleaning these parts ensures optimal juicing performance and prevents any clogs or blockages in the juicer.
Before disassembling your Jack Lalanne Power Juicer, make sure to unplug it from the power source to avoid any accidents. Then, refer to the user manual for step-by-step instructions on how to properly disassemble the juicer for cleaning or maintenance.
Step 4: Detaching the Pulp Collector
After removing the blade and filter assembly, it’s time to detach the pulp collector from your Jack Lalanne Power Juicer. Follow these steps:
1. Locate the pulp collector: The pulp collector is usually situated at the back of the juicer. It collects the pulp that is separated from the juice during the juicing process.
2. Remove the pulp collector: Depending on the model of your juicer, the pulp collector may have a release button or lever. Press or pull the designated mechanism to detach the pulp collector from the housing unit. If there is no release mechanism, gently lift the collector upwards to separate it from the juicer.
3. Empty the pulp: Once the pulp collector is removed, empty the collected pulp into the compost or discard it. Rinse the pulp collector with warm water to remove any remaining pulp residue.
4. Clean the pulp collector: Use the cleaning brush and mild dish soap to scrub the inside and outside of the pulp collector. Pay attention to any corners or crevices where pulp may have accumulated. Rinse thoroughly to ensure all residue is removed.
5. Dry the pulp collector: After cleaning, dry the pulp collector with a towel or place it on a dish rack to air dry completely before reassembling.
Detaching and cleaning the pulp collector is an essential step in maintaining the cleanliness and efficiency of your Jack Lalanne Power Juicer. By removing any accumulated pulp, you ensure that the juicer operates smoothly and produces high-quality, pulp-free juice.
Step 5: Disassembling the Housing Unit
Now that you have removed the blade and filter assembly as well as the pulp collector, it’s time to disassemble the housing unit of your Jack Lalanne Power Juicer. Follow these steps:
1. Locate the locking mechanism: The housing unit of the juicer is typically held together by a locking mechanism, which may be in the form of clips, latches, or screws.
2. Identify the locking mechanism type: Depending on the model of your juicer, the locking mechanism may vary. If it has clips, press the clips inward to release the housing unit. If it has latches, lift them up or pull them out. If it has screws, use a screwdriver to remove them.
3. Separate the housing unit: Once the locking mechanism is released, carefully separate the housing unit into two or more parts. Take note of the order in which the parts are assembled, as this will be important during reassembly.
4. Clean the housing unit: With the housing unit disassembled, take the parts to the sink or basin and clean them with warm water and mild dish soap. Use the cleaning brush to scrub away any residue or buildup. Rinse thoroughly and dry with a towel or allow them to air dry completely.
By disassembling the housing unit, you gain access to all the nooks and crannies where dirt, pulp, and residue may accumulate. Keeping these parts clean ensures efficient operation and extends the lifespan of your Jack Lalanne Power Juicer.
Step 6: Cleaning and Maintenance Tips
Cleaning and maintaining your Jack Lalanne Power Juicer is essential for optimal performance and longevity. Here are some important tips to keep in mind:
1. Regular Cleaning: After each use, take the time to clean your juicer. Rinse the removable parts immediately to prevent any leftover pulp or juice from drying and sticking.
2. Use Mild Dish Soap: When cleaning the parts, use a mild dish soap to remove any stains, residue, or odors. Avoid using harsh chemicals or abrasive cleaners that could damage the juicer.
3. Thoroughly Rinse: Make sure to rinse all parts with warm water to remove any cleaning agents and ensure they are completely clean.
4. Cleaning the Filter: Pay extra attention to cleaning the filter as it can get clogged with pulp. Use the cleaning brush to remove any debris stuck in the small holes of the filter. If necessary, soak the filter in warm, soapy water to loosen stubborn residue.
5. Drying: After cleaning, dry all parts thoroughly before reassembling the juicer. Use a towel or allow them to air dry completely to prevent moisture buildup that could lead to mold or bacteria growth.
6. Regular Maintenance: Besides regular cleaning, it is important to perform maintenance checks on your juicer. Inspect the seals, blades, and filters for any signs of wear or damage. Replace any damaged parts to maintain optimal performance.
7. Store Properly: When not in use, store your Jack Lalanne Power Juicer in a clean and dry place to prevent dust or debris from accumulating.
By following these cleaning and maintenance tips, you can ensure that your Jack Lalanne Power Juicer remains in excellent condition, producing fresh and nutritious juice for years to come.
Step 7: Reassembling the Juicer
After you have cleaned and dried all the components of your Jack Lalanne Power Juicer, it’s time to reassemble it. Follow these steps:
1. Reassemble the housing unit: Start by aligning the different parts of the housing unit in the correct order. Refer to the disassembled parts and make sure they fit together snugly. Depending on the locking mechanism, clip, latch, or screw the housing unit back together.
2. Attach the pulp collector: Place the cleaned and dried pulp collector back into its designated spot at the back of the juicer. Make sure it locks into place securely.
3. Insert the blade and filter assembly: Position the cleaned blade and filter assembly back into the juicer. Ensure that it is correctly aligned and insert the assembly into its designated slot.
4. Secure the locking nut: Using a screwdriver, tighten the locking nut in a clockwise direction until it holds the blade and filter assembly securely in place.
5. Place the top cover: Gently align the top cover with the juicer and snap it into position. If your juicer has a latch mechanism, press it down until it locks. If it has a twist-lock mechanism, rotate it clockwise until it is securely in place.
With these steps completed, your Jack Lalanne Power Juicer is now reassembled and ready to use. Ensure that all the parts are properly locked and secured before plugging in and turning on the juicer.
Remember to always refer to the user manual for your specific model’s instructions on reassembly, as there may be slight variations depending on the design.
Enjoy fresh and healthy juices with your newly cleaned and reassembled Jack Lalanne Power Juicer!
Read more: How To Clean A Jack Lalanne Juicer
Conclusion
Disassembling and cleaning your Jack Lalanne Power Juicer doesn’t have to be a daunting task anymore. By following the step-by-step instructions provided in this article, you can easily dismantle the juicer, clean each component thoroughly, and reassemble it with confidence.
Regular maintenance and cleaning are crucial to ensure that your juicer operates efficiently and produces high-quality juice. By removing pulp buildup, residue, and debris, you can enjoy better-tasting juices and the longevity of your juicer.
Remember to gather the necessary tools and materials before starting the disassembly process. Take your time to carefully clean each part, paying attention to hard-to-reach areas. Allow all components to dry completely before reassembling the juicer.
Additionally, following the manufacturer’s instructions and referring to the user manual specific to your juicer model is always advisable.
By incorporating these cleaning and maintenance practices into your routine, you can prolong the lifespan of your Jack Lalanne Power Juicer and continue to enjoy fresh, nutritious juices for years to come.
So, don’t let the fear of disassembling and cleaning your juicer hold you back any longer. Take the necessary steps to keep your Jack Lalanne Power Juicer in top-notch condition and relish the benefits of a clean and well-maintained juicing appliance.
Frequently Asked Questions about How To Disassemble Jack Lalanne Power Juicer
Was this page helpful?
At Storables.com, we guarantee accurate and reliable information. Our content, validated by Expert Board Contributors, is crafted following stringent Editorial Policies. We're committed to providing you with well-researched, expert-backed insights for all your informational needs.



0 thoughts on “How To Disassemble Jack Lalanne Power Juicer”