Home>Gardening & Outdoor>Outdoor Recreation & Activities>How To Disassemble Spikeball

Outdoor Recreation & Activities
How To Disassemble Spikeball
Modified: August 20, 2024
Learn how to disassemble Spikeball easily with step-by-step instructions. Perfect for outdoor recreation and activities. Master the process with our helpful guide!
(Many of the links in this article redirect to a specific reviewed product. Your purchase of these products through affiliate links helps to generate commission for Storables.com, at no extra cost. Learn more)
Introduction
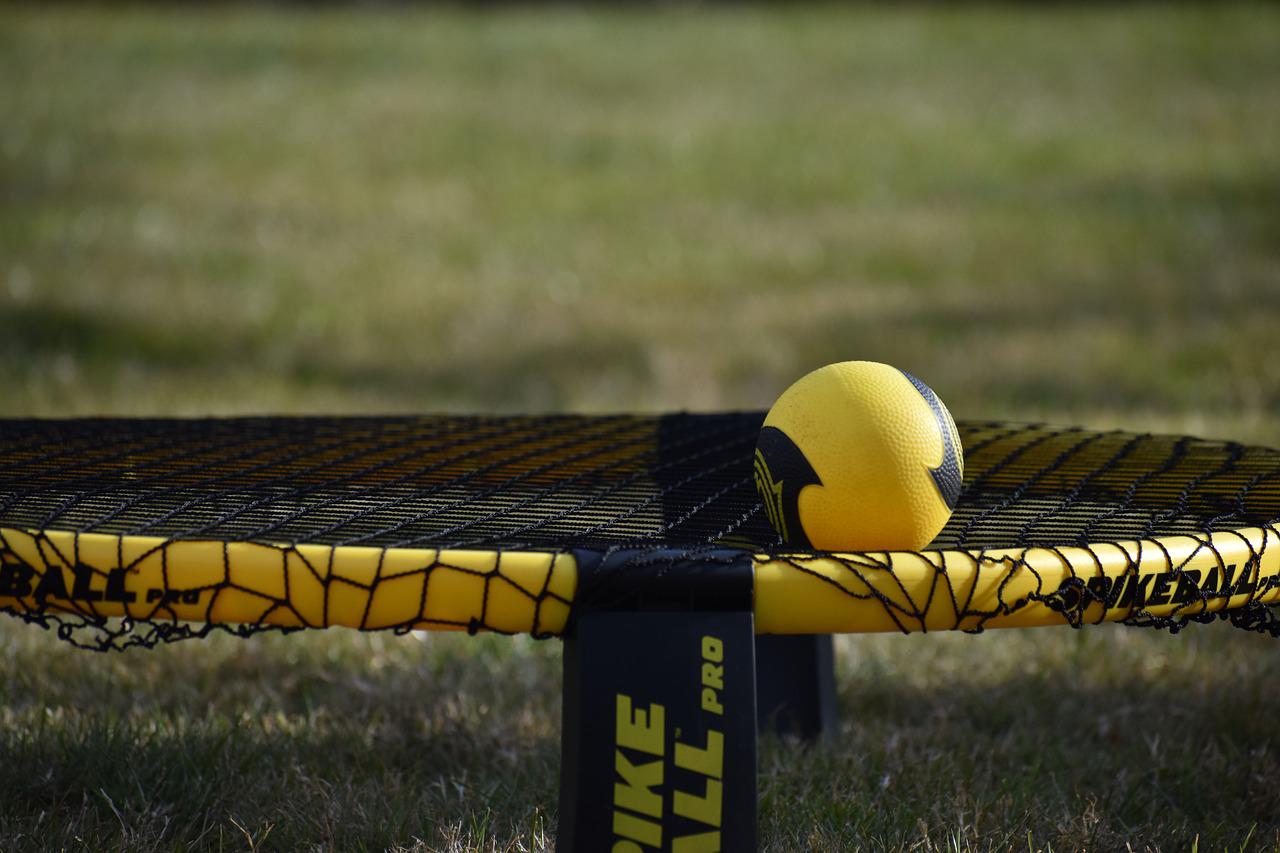
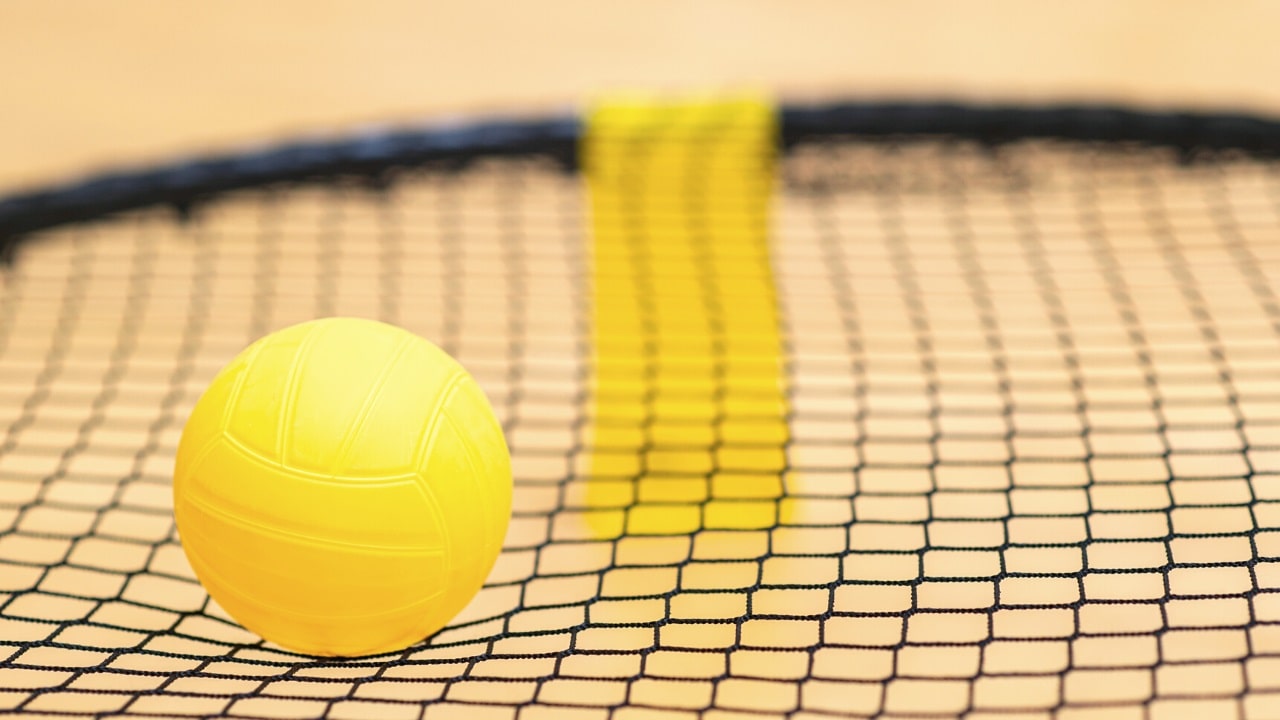
Spikeball, the exhilarating and fast-paced game that has taken the outdoor recreation world by storm, is not only a blast to play but also convenient to transport and store. Whether you're preparing for a long-distance move, seeking to maximize storage space, or simply want to clean or maintain your Spikeball set, knowing how to disassemble it properly is essential.
In this comprehensive guide, we will walk you through the step-by-step process of disassembling a Spikeball set. By following these instructions, you can safely and efficiently break down your set for storage or transportation, ensuring that it remains in top condition for countless future matches.
So, grab your tools and let's dive into the disassembly process to keep your Spikeball set in prime playing shape!
Key Takeaways:
- Disassembling a Spikeball set is easy with the right tools and care. Safely store components to keep the game alive for countless matches.
- Gather tools, handle components delicately, and store them properly to ensure your Spikeball set stays in top condition for future use.
Read more: How To Be Good At Spikeball
Step 1: Gather the Necessary Tools
Before starting the disassembly process, it’s essential to gather the required tools to ensure a smooth and efficient experience. Here’s what you’ll need:
- Flathead screwdriver
- Phillips head screwdriver
- Adjustable wrench
- Storage bag or container
The flathead screwdriver will be used to remove the net from the rim, while the Phillips head screwdriver will come in handy for disassembling the legs and separating the frame. An adjustable wrench is necessary for loosening and tightening bolts, ensuring that the disassembly process is executed with precision.
Additionally, having a designated storage bag or container to keep the disassembled components organized and secure is crucial for preventing any parts from getting misplaced or damaged. Once you have these tools at the ready, you’re all set to proceed with dismantling your Spikeball set.
Step 2: Remove the Net
With the necessary tools gathered, it’s time to begin the disassembly process. Start by removing the net from the rim of the Spikeball frame. Lay the frame on a flat surface to provide stability during this step. Using the flathead screwdriver, carefully pry the net’s tension rings from the rim. Work your way around the frame, gently releasing the tension until the net is completely detached.
As you remove the net, take care to avoid any excessive pulling or tugging, as this could lead to damage or deformation. Once the net is free from the rim, set it aside in a clean and dry area, ensuring that it remains untangled and in good condition for future use. Properly storing the net will help maintain its elasticity and overall integrity, ensuring that it’s ready for action when reassembling the Spikeball set.
By delicately detaching the net from the frame, you can ensure that both the net and the frame remain in optimal condition, ready to be reassembled for your next thrilling Spikeball match.
Step 3: Disassemble the Legs
After removing the net, the next step in disassembling your Spikeball set is to tackle the legs. Lay the frame on its side to provide easy access to the legs. Using the Phillips head screwdriver, carefully remove the screws that secure each leg to the frame. As you loosen the screws, keep a firm grip on the legs to prevent them from falling or causing any accidental damage.
Once the screws are removed, gently detach each leg from the frame, taking care to keep all hardware and components together. Place the screws in a secure location, such as a small container or resealable bag, to prevent them from getting lost. As you disassemble the legs, inspect them for any signs of wear or damage, ensuring that they are in good condition for future use.
After the legs are detached, store them alongside the screws and any associated hardware in the designated storage container. Keeping all components organized and secure will streamline the reassembly process and help maintain the longevity of your Spikeball set.
By carefully disassembling the legs and keeping all hardware accounted for, you can ensure that your Spikeball set remains in prime condition, ready for countless hours of exhilarating gameplay.
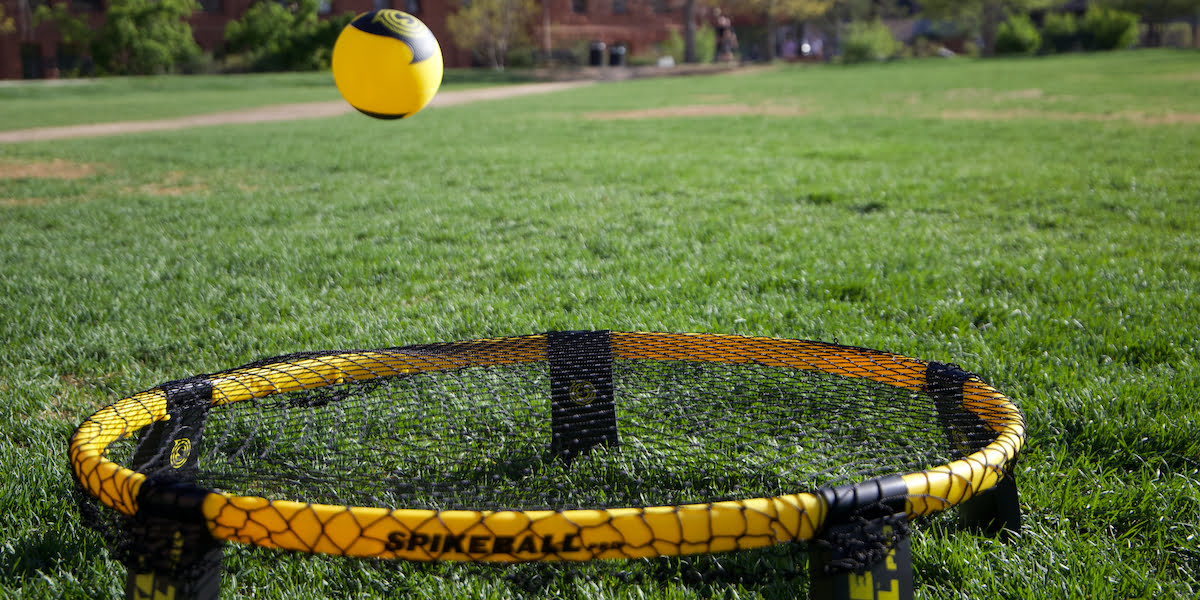
When disassembling Spikeball, start by removing the net from the rim. Then, unscrew the legs from the base and carefully separate the pieces for storage.
Step 4: Separate the Frame
With the net and legs removed, the next phase of disassembling your Spikeball set involves separating the frame into its individual components. Lay the frame on a flat surface, ensuring stability and ample workspace. Using the Phillips head screwdriver, locate and remove the screws that connect the frame segments.
As you carefully unscrew each segment, be mindful of any washers or additional hardware that may be present. Keep these components together to prevent misplacement and facilitate a smooth reassembly process. Once all screws are removed, gently separate the frame segments, taking care to avoid any unnecessary force or strain.
Inspect the frame segments for any debris or signs of wear, and wipe them down if necessary to maintain their condition. Storing the frame segments in a clean and dry area will help preserve their integrity and ensure that they are ready for future use.
After separating the frame, store the segments alongside any associated hardware in the designated storage container. Keeping all components organized and secure will simplify the reassembly process and contribute to the overall longevity of your Spikeball set.
By methodically separating the frame into its individual components and maintaining their condition, you can ensure that your Spikeball set remains in optimal shape for countless rounds of spirited gameplay.
Read more: What Is Spikeball?
Step 5: Store the Components
Once the disassembly process is complete, it’s crucial to store the components of your Spikeball set in a manner that ensures their safety and accessibility for future use. Begin by placing the various components, including the net, legs, frame segments, and associated hardware, into the designated storage bag or container.
When storing the net, take care to fold it neatly to prevent any unnecessary creasing or tangling. Placing it in a manner that minimizes compression will help maintain its elasticity and overall condition. Similarly, organize the legs and frame segments in a way that prevents any undue pressure or strain on the individual components.
As you secure the components in the storage container, consider adding a layer of protective padding or cloth to safeguard them from potential impact or abrasion during transportation or storage. This extra precaution can help prevent any accidental damage and prolong the longevity of your Spikeball set.
Once all components are safely stored, seal the container securely to prevent any moisture or debris from compromising the integrity of the components. Store the container in a dry, temperate environment to maintain the condition of the components and ensure that they are readily accessible for future use.
By storing the disassembled components with care and consideration for their condition, you can preserve the quality and functionality of your Spikeball set, setting the stage for countless future matches filled with excitement and friendly competition.
Conclusion
Disassembling your Spikeball set is a straightforward yet essential process that allows you to maintain the integrity of the components and ensure the set’s longevity. By following the step-by-step guide outlined in this article, you can confidently disassemble your Spikeball set with precision and care, setting the stage for future matches filled with energy and excitement.
From gathering the necessary tools to storing the components, each step plays a crucial role in preserving the quality and functionality of your Spikeball set. By using the appropriate tools and handling the components with care, you can safeguard the net, legs, and frame segments, ensuring that they remain in prime condition for future use.
Proper storage of the disassembled components is key to maintaining their integrity and accessibility. By securing them in a designated storage bag or container and taking precautions to prevent damage, you can ensure that your Spikeball set is ready for action whenever the next game day arrives.
By mastering the art of disassembling your Spikeball set, you can enjoy the convenience of compact storage and transportation without compromising the thrill of the game. Whether you’re preparing for a move, maximizing storage space, or simply maintaining your set, the knowledge and skills gained from this guide will serve you well in preserving the excitement and camaraderie of Spikeball for years to come.
So, armed with the insights and techniques provided here, you’re ready to disassemble your Spikeball set with confidence, knowing that you’re taking the necessary steps to keep the game alive and thriving for endless rounds of spirited play.
Frequently Asked Questions about How To Disassemble Spikeball
Was this page helpful?
At Storables.com, we guarantee accurate and reliable information. Our content, validated by Expert Board Contributors, is crafted following stringent Editorial Policies. We're committed to providing you with well-researched, expert-backed insights for all your informational needs.


0 thoughts on “How To Disassemble Spikeball”