Articles
How To Disassemble Vinyl Fence
Modified: February 23, 2024
Learn how to properly disassemble a vinyl fence with step-by-step instructions and helpful tips in our informative articles.
(Many of the links in this article redirect to a specific reviewed product. Your purchase of these products through affiliate links helps to generate commission for Storables.com, at no extra cost. Learn more)
Introduction
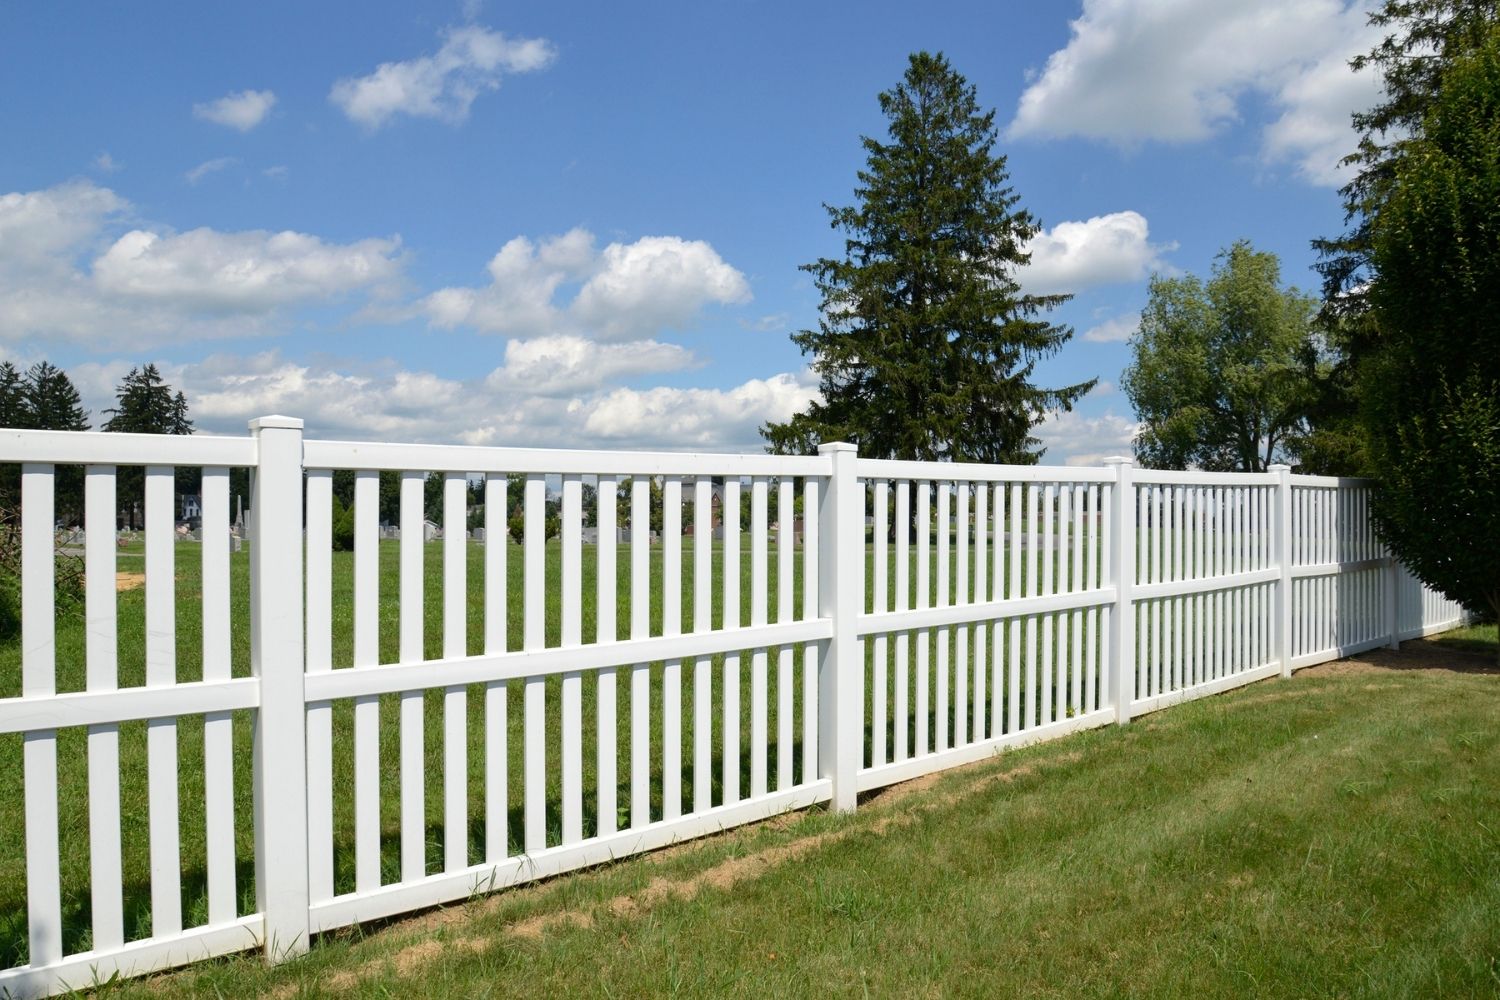
A vinyl fence can provide an attractive and durable barrier for your property. However, there may come a time when you need to disassemble your vinyl fence, whether it’s to make repairs, replace damaged panels, or simply to change the layout of your yard. Taking apart a vinyl fence may seem like a daunting task, but with the right tools and a step-by-step approach, you can successfully dismantle it without causing any damage.
In this article, we will guide you through the process of disassembling a vinyl fence. We’ll provide you with a list of necessary tools and materials, as well as detailed instructions for each step. So, let’s get started!
Key Takeaways:
- Disassembling a vinyl fence requires careful preparation, systematic removal of components, and proper disposal of materials. Following the step-by-step process and using the right tools ensures a smooth and efficient disassembly without causing damage.
- By disassembling a vinyl fence correctly, you create opportunities for repairs, layout changes, and recycling of reusable components. Approach the process with caution, seek professional guidance if needed, and handle the cleanup responsibly for a successful disassembly.
Read more: What Is A Vinyl Fence
Tools and Materials Needed
Before you begin disassembling your vinyl fence, gather the following tools and materials:
- Work gloves: To protect your hands from sharp edges and splinters
- Safety goggles: To shield your eyes from debris or flying particles
- Drill or screwdriver: To remove screws or fasteners
- Pry bar: To loosen and remove panels or rails
- Hammer: For tapping stubborn pieces or removing nails
- Utility knife: To cut through any sealant or adhesive
- Tape measure: To ensure accurate measurements for reinstallation
- Bucket or container: For collecting screws or fasteners
- Disposable bags: For disposing of damaged or unusable parts
- Optional: Power saw or reciprocating saw, in case you need to cut through larger sections of the fence
Additionally, it’s essential to have a clear workspace and a helper if necessary. Disassembling a vinyl fence can sometimes require extra hands to hold or stabilize certain components.
Now that you have your tools and materials ready, let’s move on to the step-by-step process of disassembling your vinyl fence.
Step 1: Preparation
Before you start disassembling your vinyl fence, it’s crucial to make some preparations to ensure a smooth and efficient process.
- Inspect the fence: Take a thorough look at the entire fence to identify any damaged or loose panels, rails, or posts. Make a note of the areas that require special attention or repair.
- Gather necessary tools and materials: As mentioned in the previous section, gather all the tools and materials needed for the disassembling process.
- Protective gear: Put on your work gloves and safety goggles to protect yourself from any potential injuries.
- Clear the work area: Remove any obstacles or objects around the fence to create a clear work area. This will allow you to move freely and safely during the disassembly process.
- Shut off power: If your vinyl fence has any electrical components, such as lights or gate openers, make sure to shut off the power supply to avoid any accidents.
- Notify neighbors: If you share a property line with neighbors, it’s a good idea to inform them about your fence disassembly plans. This will prevent any confusion or concerns.
By taking these preparatory steps, you’ll ensure a safer and more efficient disassembling process. Once you’ve completed these preparations, you’re ready to move on to the next step: removing the caps and accessories from your vinyl fence.
Step 2: Remove Caps and Accessories
Now that you’ve prepared the work area, it’s time to remove the caps and accessories from your vinyl fence. These include any decorative caps, post tops, or other attachments that may be present.
- Start at one end: Begin at one corner or end of the fence and work your way along the entire length. This will ensure a systematic and organized approach to the removal process.
- Inspect and remove caps: Examine each post and locate the caps or decorative elements attached to them. Depending on your vinyl fence design, the caps may simply snap or slide off, or they might be secured with screws or adhesive.
- Use appropriate tools: Depending on the type of attachment, use a screwdriver, utility knife, or pry bar to remove the caps or accessories. Be careful not to damage the posts or surrounding materials.
- Keep track of removed accessories: As you remove each cap or accessory, place them in a safe container or bag. This will prevent them from getting lost or misplaced during the disassembly process.
- Set aside reusable accessories: If the caps or accessories are in good condition and you plan to reuse them, set them aside and label them accordingly. This will make it easier to reinstall them later.
Continue this process along the entire length of the fence until all caps and accessories are removed. Keep in mind that some vinyl fences may have additional components such as gate hinges or latches. Take note of these items and remove them as well, following the manufacturer’s instructions if available.
Once you have successfully removed all the caps and accessories from your vinyl fence, you’re ready to move on to the next step: taking out the vinyl panels.
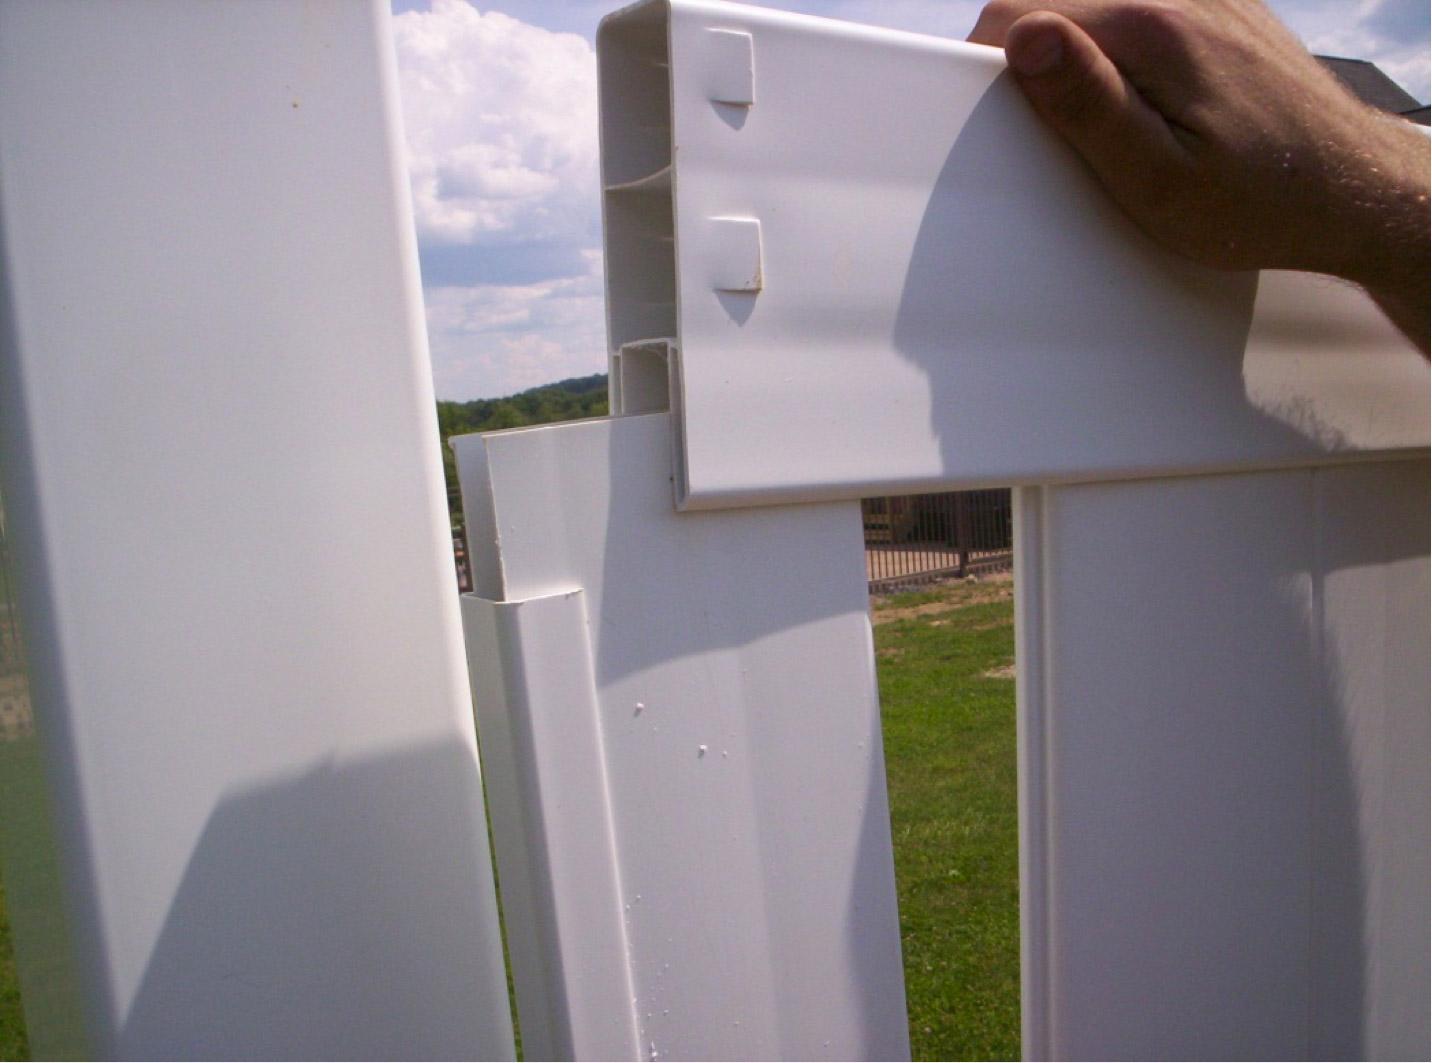
Step 3: Take Out the Vinyl Panels
With the caps and accessories removed, it’s time to focus on taking out the vinyl panels from your fence. This step requires caution and precision to avoid damaging the panels or surrounding structures.
- Identify panel connections: Examine the panels and locate their connections to the fence rails. In most cases, vinyl panels are secured with screws or brackets along the top and bottom rails.
- Remove screws or brackets: Using a screwdriver or drill, carefully remove the screws or brackets that hold the panels in place. Start at one end of the fence and work your way along, ensuring you don’t miss any connections.
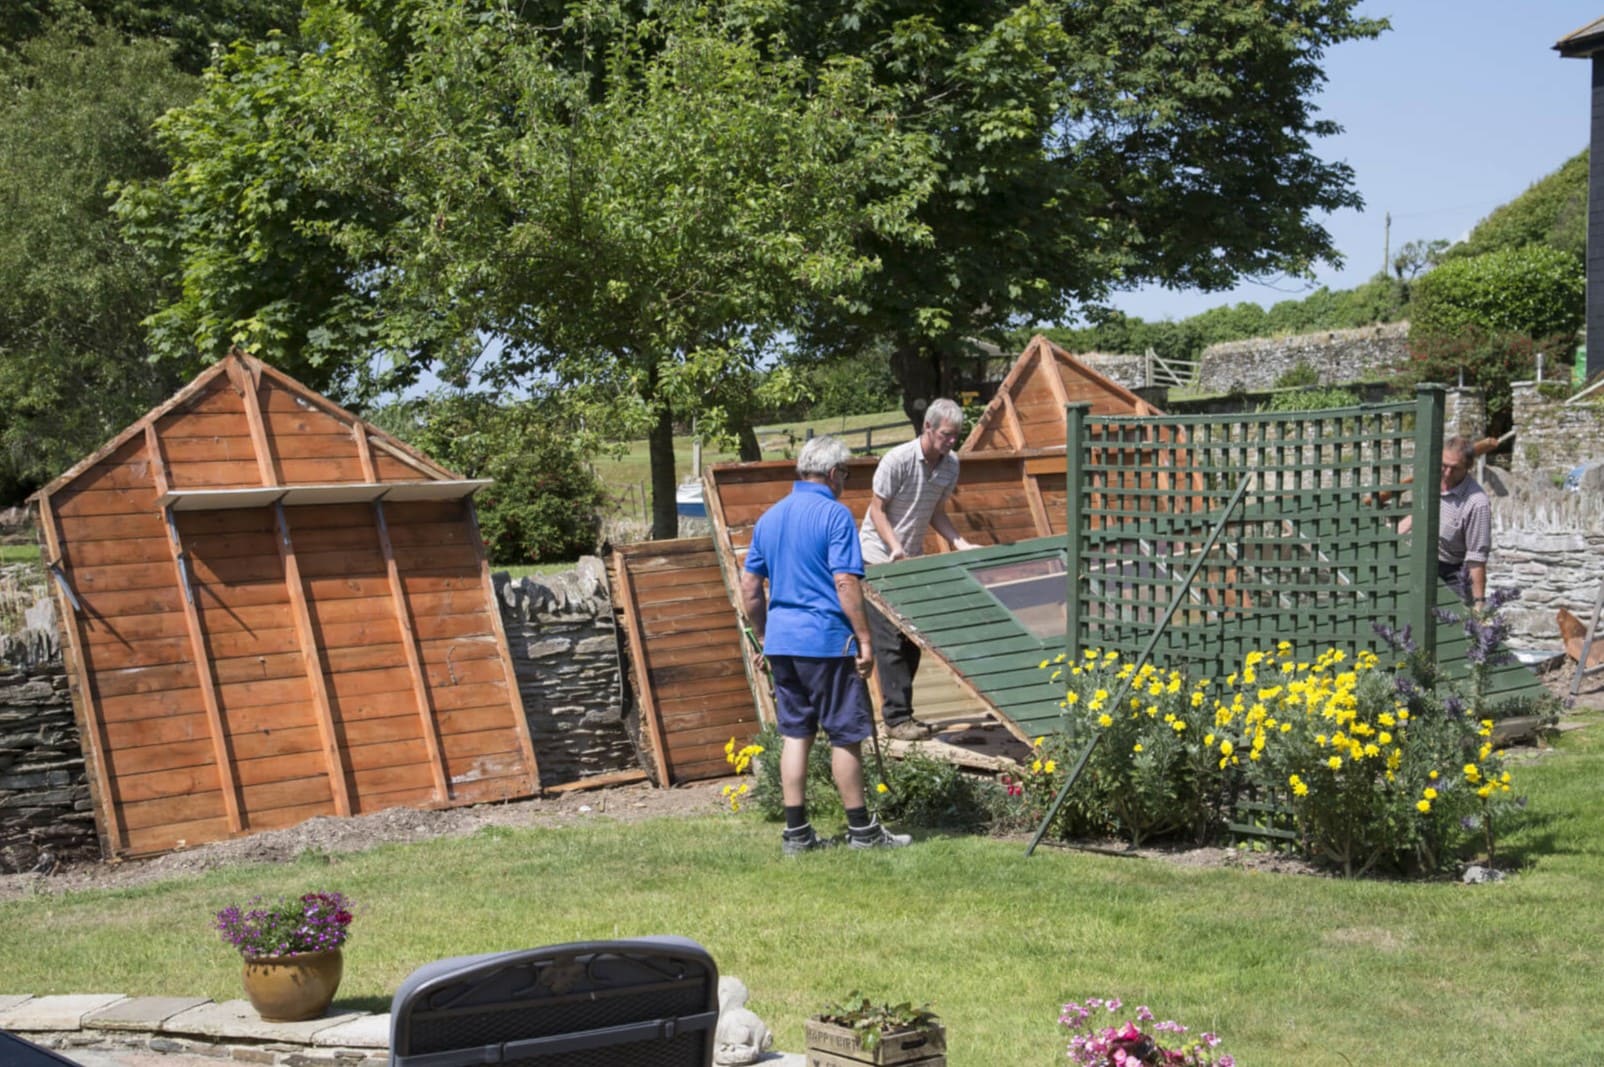
- Work with a helper: Having an extra set of hands can be beneficial during this step. While one person holds the panel, the other can remove the screws or brackets more easily.
- Inspect for any additional attachments: Some vinyl fence panels may have additional attachments, such as snap-in clips or clips hidden under the rails. Make sure to inspect each panel and remove any extra attachments as needed.
- Carefully lift and remove the panels: Once all the screws or brackets are removed, gently lift the panels upward to disengage them from the fence rails. Take care not to bend or crack the panels during this process.
- Place the panels in a safe location: As you remove each panel, set them aside in a safe area away from your work zone to prevent any accidental damage.
Continue this process along the entire length of the fence until all the vinyl panels have been removed. Remember to handle the panels with care to preserve their condition for possible reuse or future disposal.
Once all the panels have been successfully taken out, you’re ready to move on to the next step: detaching the fence rails.
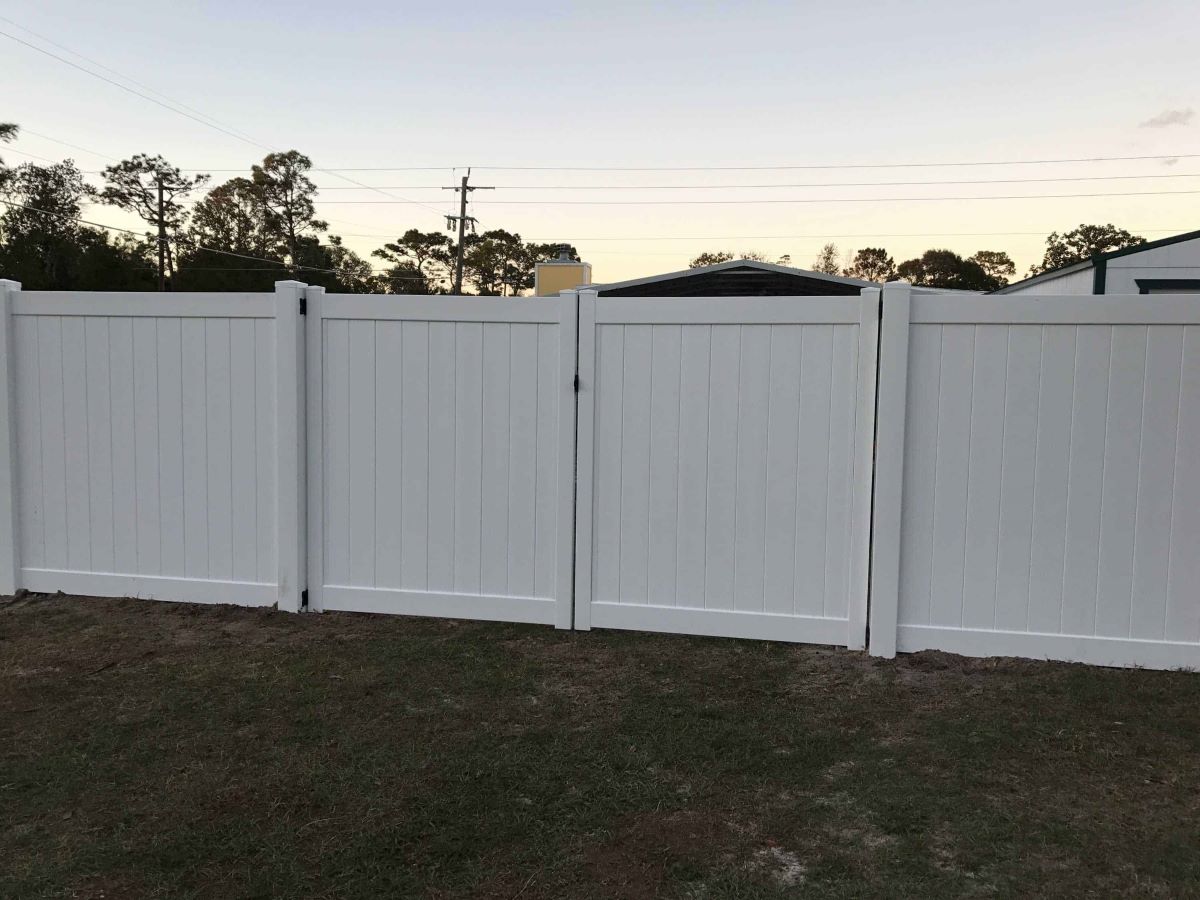
When disassembling a vinyl fence, start by removing the caps and screws from the posts. Then, carefully lift and slide out the fence panels to avoid damaging them.
Read more: How To Paint Vinyl Fence
Step 4: Detach Fence Rails
With the vinyl panels removed, it’s time to detach the fence rails. The fence rails are the horizontal components that connect the fence posts and support the panels. Follow these steps to successfully remove them:
- Identify rail connections: Locate the points where the fence rails connect to the fence posts. The rails are typically secured with screws, brackets, or clips.
- Remove screws, brackets, or clips: Depending on the type of attachment, use a screwdriver or drill to remove the screws, brackets, or clips holding the rails in place. Take note of the specific locations along the fence where the rails are attached.
- Be cautious with hidden attachments: Some vinyl fences may have hidden attachments, such as internal brackets or clips that are not immediately visible. Take your time to inspect each rail and ensure that all attachments are removed.
- Detach the rails: Once all the screws, brackets, or clips are removed, carefully lift the fence rails off the fence posts. Depending on the design of your vinyl fence, the rails may simply slide out of their slots or require additional maneuvering.
- Set aside reusable rails: If the fence rails are still in good condition and you plan to reuse them, set them aside and label them accordingly. This will make the reinstallation process easier and more organized.
Continue this process along the entire length of the fence until all the fence rails have been detached. Take care not to damage the fence posts or surrounding structures during the removal process.
Once all the fence rails are successfully detached, you’re ready to move on to the final step: removing the fence posts.
Step 5: Remove Fence Posts
The final step in disassembling your vinyl fence is to remove the fence posts. The fence posts are the vertical supports that hold the fence sections in place. Here’s how to remove them:
- Inspect the fence posts: Begin by inspecting each fence post to assess how it is secured. Fence posts are typically either cemented into the ground or attached to concrete footings.
- Remove any visible screws or brackets: If your fence posts have screws or brackets visible on the surface, use a screwdriver or drill to remove them. This may help loosen the post from its attachment point.
- Apply force or leverage: If the posts are cemented into the ground, you may need to apply force to loosen them. Use a pry bar or shovel to apply leverage, gently rock the post back and forth to loosen it from the ground.
- Detach concrete footings: If your fence posts are attached to concrete footings, you’ll need to detach them. Use a jackhammer or a long-handled post puller to break up the concrete footing and remove it from the ground.
- Remove any remaining post fragments: After removing the fence post and its attachment, check the hole to ensure that no fragments or remnants are left behind. Clear the hole of any debris or concrete remnants.
- Handle post removal safely: Be cautious when removing fence posts, especially if they are heavy or have concrete footings. Use proper lifting techniques and consider wearing gloves and protective footwear.
Continue this process for each fence post until all of them have been successfully removed. Take care to avoid damaging the surrounding area and ensure safe and proper disposal of any concrete or post remnants.
Once all the fence posts are removed, you have completed the disassembly process for your vinyl fence.
Step 6: Clean Up and Disposal
After disassembling your vinyl fence, it’s important to properly clean up the area and handle the disposal of the removed components. Here are the steps to follow:
- Clean up the work area: Remove any debris, screws, or small parts from the work area to ensure it is safe and tidy. This will prevent any accidents or tripping hazards.
- Inspect and sort reusable parts: Take a final look at the components you’ve removed from the fence. Separate the parts that are still in good condition and can be reused from any damaged or unusable pieces.
- Dispose of damaged or unusable parts: Properly dispose of any damaged or unusable parts according to your local waste management guidelines. This may include taking them to a recycling center or arranging for a bulk waste pickup.
- Organize reusable parts: If you plan to reuse any of the components, organize them and store them in a safe and dry location. Properly label and secure them for future use.
- Restore the area: If necessary, repair any damage to the ground, such as filling in holes left by the fence posts or filling cracks in the concrete footings.
- Consider recycling: Be mindful of recycling options for the removed vinyl fence components. Many recycling centers accept vinyl materials and can properly process them for reuse.
By following these cleanup and disposal steps, you’ll ensure that your disassembled vinyl fence is safely managed and that reusable materials are properly stored or recycled.
Congratulations! You have successfully disassembled your vinyl fence, allowing you to make repairs, change the layout of your yard, or replace damaged components as needed.
Remember, if you’re unsure about any aspect of the disassembling process or encounter difficulties along the way, it’s always recommended to consult a professional or a fence manufacturer for guidance.
Conclusion
Disassembling a vinyl fence may seem like a daunting task, but with the right tools, preparation, and step-by-step approach, it can be done smoothly and efficiently. Whether you’re making repairs, replacing damaged panels, or redesigning your yard, following the proper disassembly process is crucial to avoid any unnecessary damage or accidents.
In this article, we provided a comprehensive guide on how to disassemble your vinyl fence. We covered the necessary tools and materials, as well as detailed instructions for each step, including preparing the work area, removing caps and accessories, taking out the vinyl panels, detaching the fence rails, removing the fence posts, and cleaning up and handling disposal.
It’s important to approach the disassembly process with caution and take the time to inspect each component, ensuring that all attachments are properly removed. By handling the process carefully, you can preserve the condition of the vinyl fence components for possible reuse or recycling.
Remember, if you’re unsure about any aspect of the disassembling process or face challenges along the way, it’s always advisable to seek professional guidance or consult the fence manufacturer for specific instructions related to your fence model.
By disassembling your vinyl fence correctly, you open up opportunities to make necessary repairs, alterations, or design changes. Whether you’re planning to reinstall your fence or considering other fencing options, this process allows for greater flexibility and customization in your outdoor space.
We hope that this guide has provided you with valuable insights and instructions on how to disassemble your vinyl fence effectively. With careful planning and execution, you’ll be able to successfully dismantle your fence and achieve the desired outcomes for your property.
Frequently Asked Questions about How To Disassemble Vinyl Fence
Was this page helpful?
At Storables.com, we guarantee accurate and reliable information. Our content, validated by Expert Board Contributors, is crafted following stringent Editorial Policies. We're committed to providing you with well-researched, expert-backed insights for all your informational needs.


0 thoughts on “How To Disassemble Vinyl Fence”