

Articles
How To Do Curtains For 3 Windows
Modified: October 18, 2024
Learn how to hang curtains for three windows with our comprehensive articles. Find step-by-step instructions and expert tips to achieve the perfect look for your windows.
(Many of the links in this article redirect to a specific reviewed product. Your purchase of these products through affiliate links helps to generate commission for Storables.com, at no extra cost. Learn more)
Introduction
Curtains not only add a touch of elegance to any room, but they also serve practical purposes such as controlling light, providing privacy, and enhancing insulation. If you have three windows in a row, you may wonder how to effectively dress them with curtains. Don’t worry! In this article, we will guide you through the process of doing curtains for three windows.
Whether you want to create a cohesive look by using one long curtain rod or prefer individual treatments for each window, we’ll cover everything from measurement and planning to selecting the right fabric and curtain style. By following our step-by-step instructions, you’ll be able to transform your three windows into a stunning focal point in your room.
So, let’s get started!
Key Takeaways:
- Transform your three windows into a stunning focal point by carefully measuring, planning, and selecting the right fabric and curtain style. Create a cohesive look that complements your room’s style and purpose.
- Enhance the overall aesthetic and functionality of your space by choosing the right fabric, curtain style, and hanging method. Carefully prepare and install your curtains for a polished and professional look.
Measurement and Planning
Before you begin any curtain project, it’s crucial to take accurate measurements of your windows. Start by measuring the width and height of each window separately. For the width, measure from the outer edge of the window frame, not including any trim. For the height, measure from the top of the window frame to the desired length of the curtains. Be sure to account for any additional length needed for hemming or decorative elements.
Once you have the measurements, calculate the total width of all three windows combined. This will help you determine the appropriate width for your curtain rod or track. A general rule of thumb is to choose a rod or track that is at least 20% wider than the total width of the windows. This allows for proper fullness when the curtains are closed.
Next, consider the desired curtain length. Do you want the curtains to skim the floor, puddle slightly, or hang just below the windowsill? Take into account the overall style of the room and how the curtains will complement the other elements. If you’re unsure, it’s always safer to opt for longer curtains that can be hemmed if needed.
Once you have determined the measurements, it’s time to plan the overall look and feel of the curtains. Consider the style of your room and the purpose of the curtains. Are you looking for a formal, traditional look, or a more contemporary and casual vibe? This decision will influence the fabric and curtain style you choose later on.
Additionally, think about the functionality of the curtains. Do you want them to block out light, provide privacy, or simply add a decorative touch? This will help you decide whether to opt for sheer curtains, blackout curtains, or a combination of both.
By taking precise measurements and carefully planning the design and functionality, you’ll be well-prepared to move on to the next steps in the process of doing curtains for three windows.
Choosing the Right Fabric
The fabric you choose for your curtains can significantly impact the overall look and feel of your space. It’s essential to select a fabric that not only complements your room’s style but also suits the purpose of your curtains.
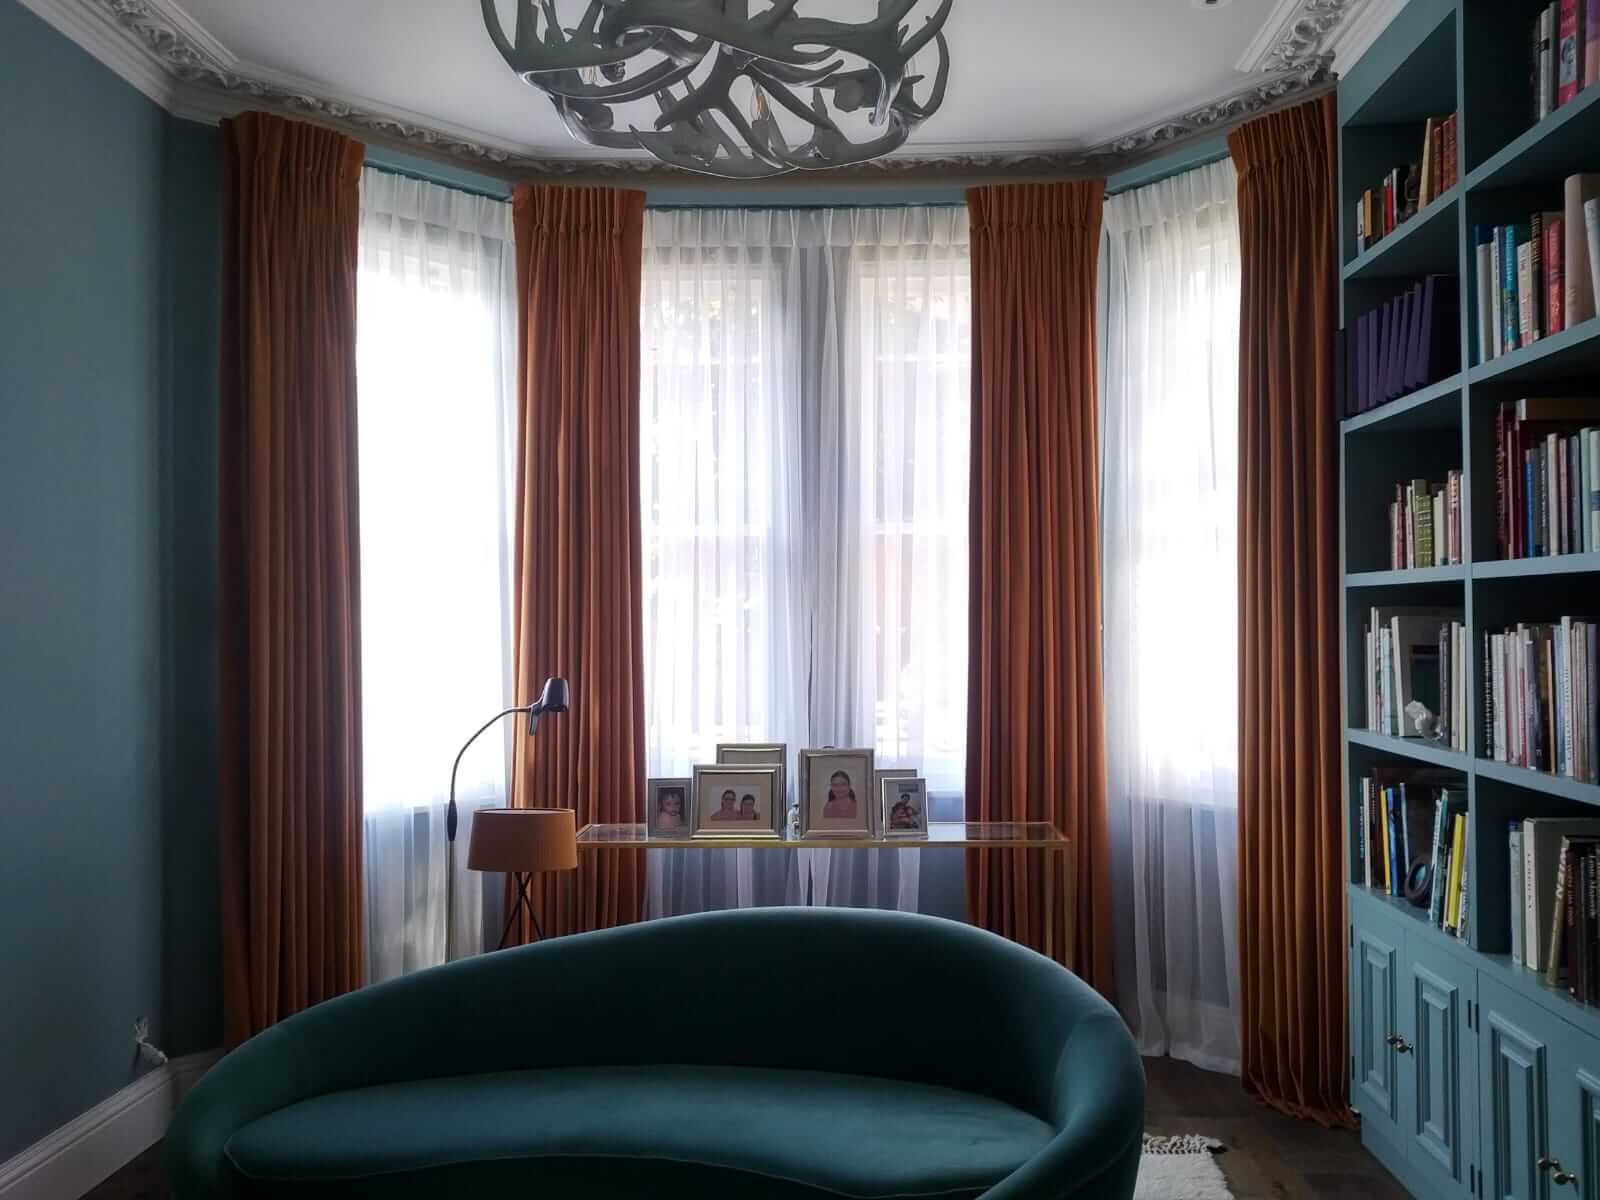
Consider the level of privacy and light control you need. If you want curtains that let in ample natural light while still providing privacy, opt for sheer fabrics like chiffon, voile, or lace. These fabrics will filter the light and create an airy and ethereal look.
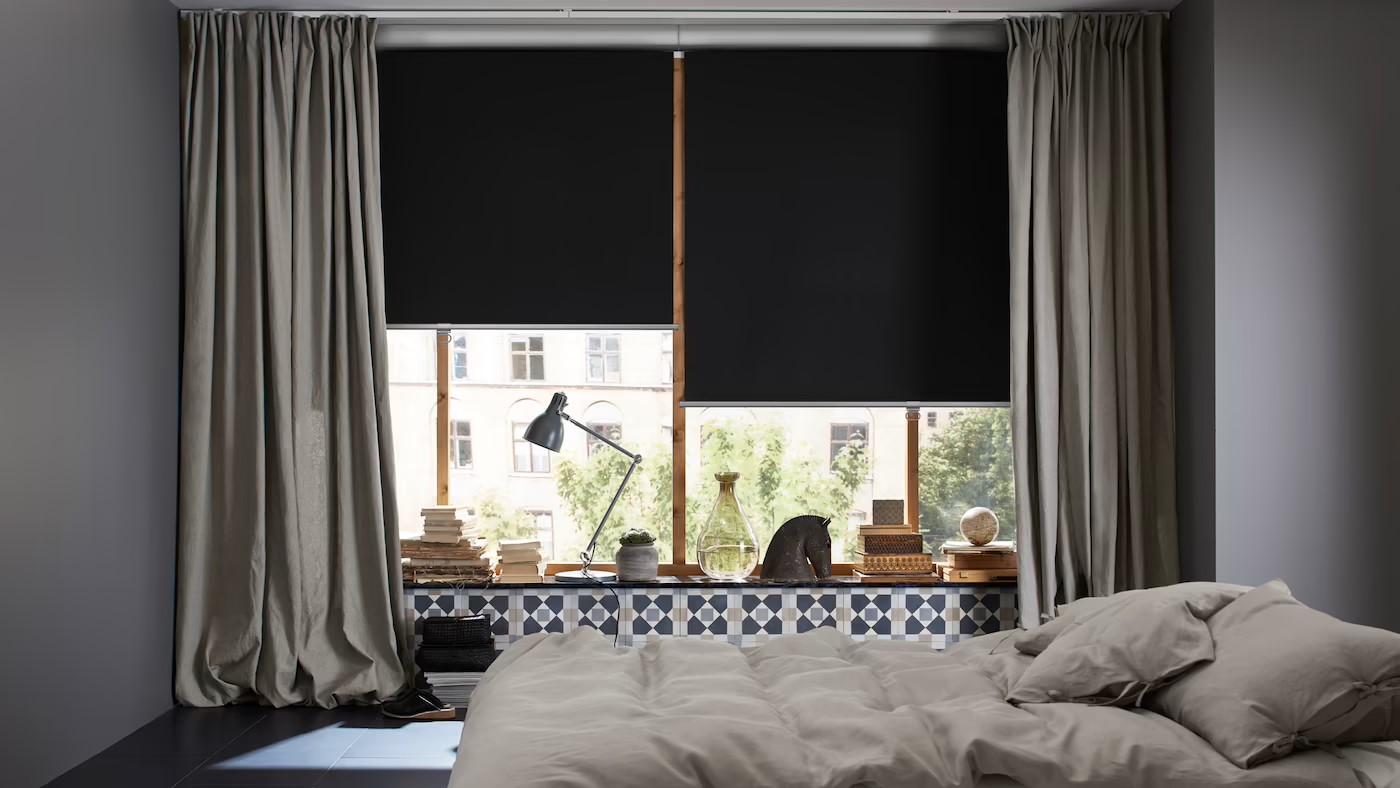
On the other hand, if you desire complete darkness and enhanced insulation, blackout fabrics are your best bet. These fabrics have a special lining that blocks out light and helps regulate the room’s temperature.
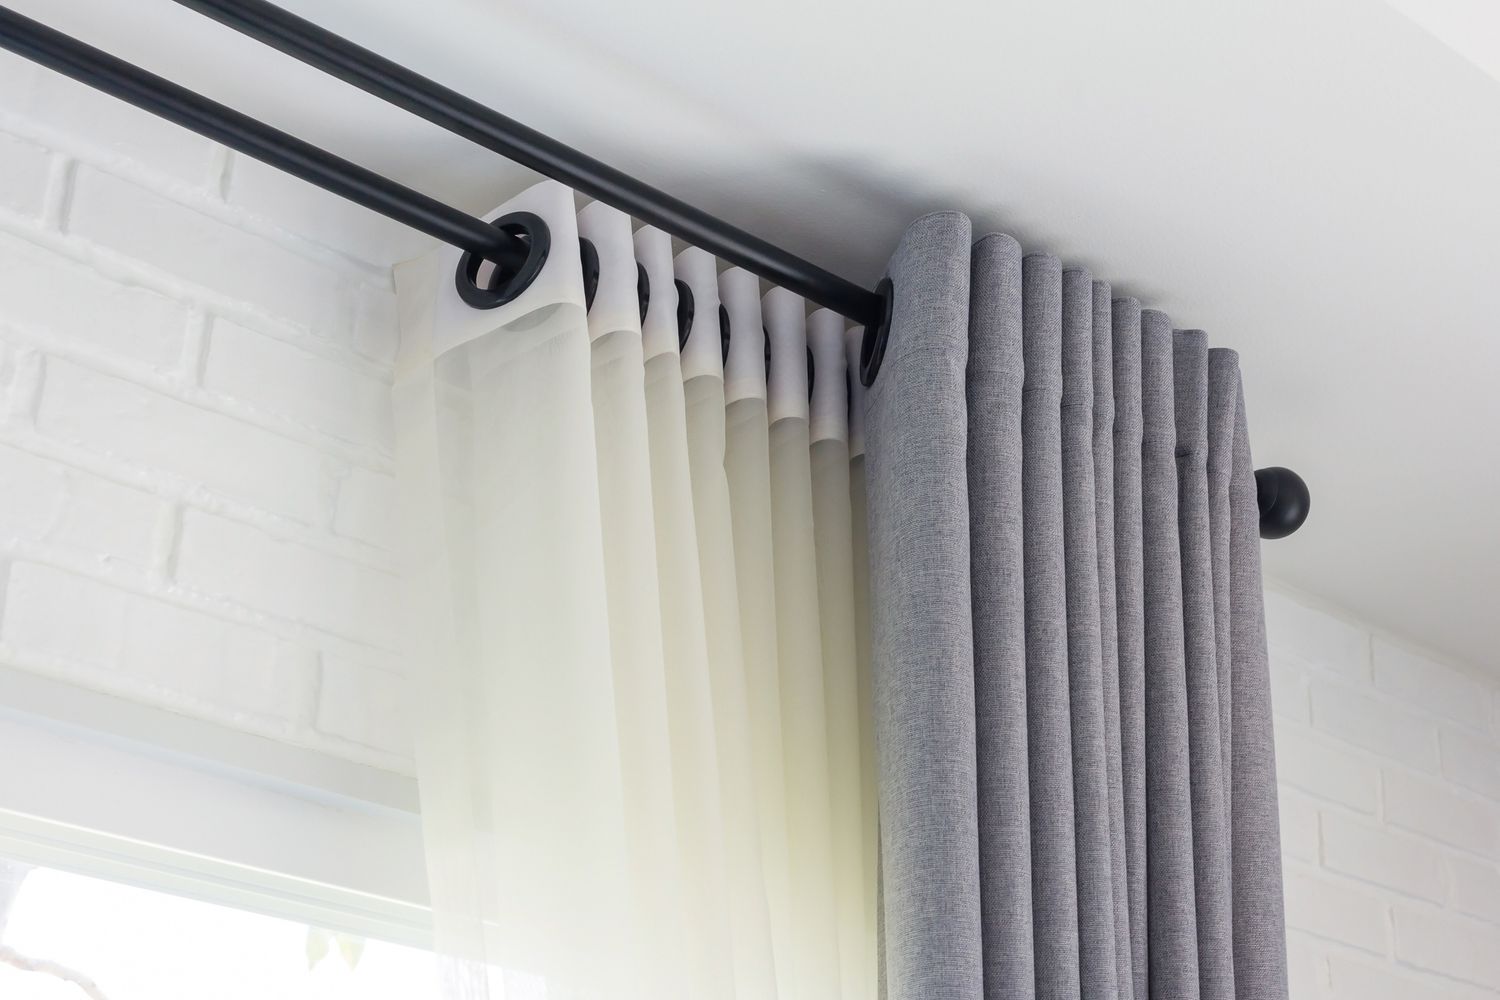
If you’re looking for a balance between filter and blackout, consider using a combination of sheer and blackout layers. You can have sheer curtains for daytime privacy and blackout curtains for nighttime darkness.
In terms of texture and pattern, think about how the fabric will add dimension to your room. If you have a minimalist or contemporary space, you may opt for solid colors or subtle patterns to create a clean and streamlined look. For a more traditional or eclectic style, you can experiment with bold colors, textured fabrics, or intricate patterns to make a statement.
When it comes to the type of fabric, you have numerous options to choose from. Cotton and linen are popular choices for their versatility, breathability, and natural appearance. Velvet, silk, and satin, on the other hand, exude luxury and elegance but can be expensive. Synthetic fabrics like polyester and microfiber are budget-friendly options that offer durability and easy maintenance.
Once you have identified the fabric that suits your style and needs, consider swatching it against your room’s color scheme and lighting to ensure it complements the overall aesthetic. Taking the time to choose the right fabric will ensure that your curtains not only look beautiful but also function effectively.
Selecting the Curtain Style
The curtain style you choose for your three windows will further enhance the overall aesthetic and functionality of the space. There are numerous styles to consider, each with its own unique charm and suitability.
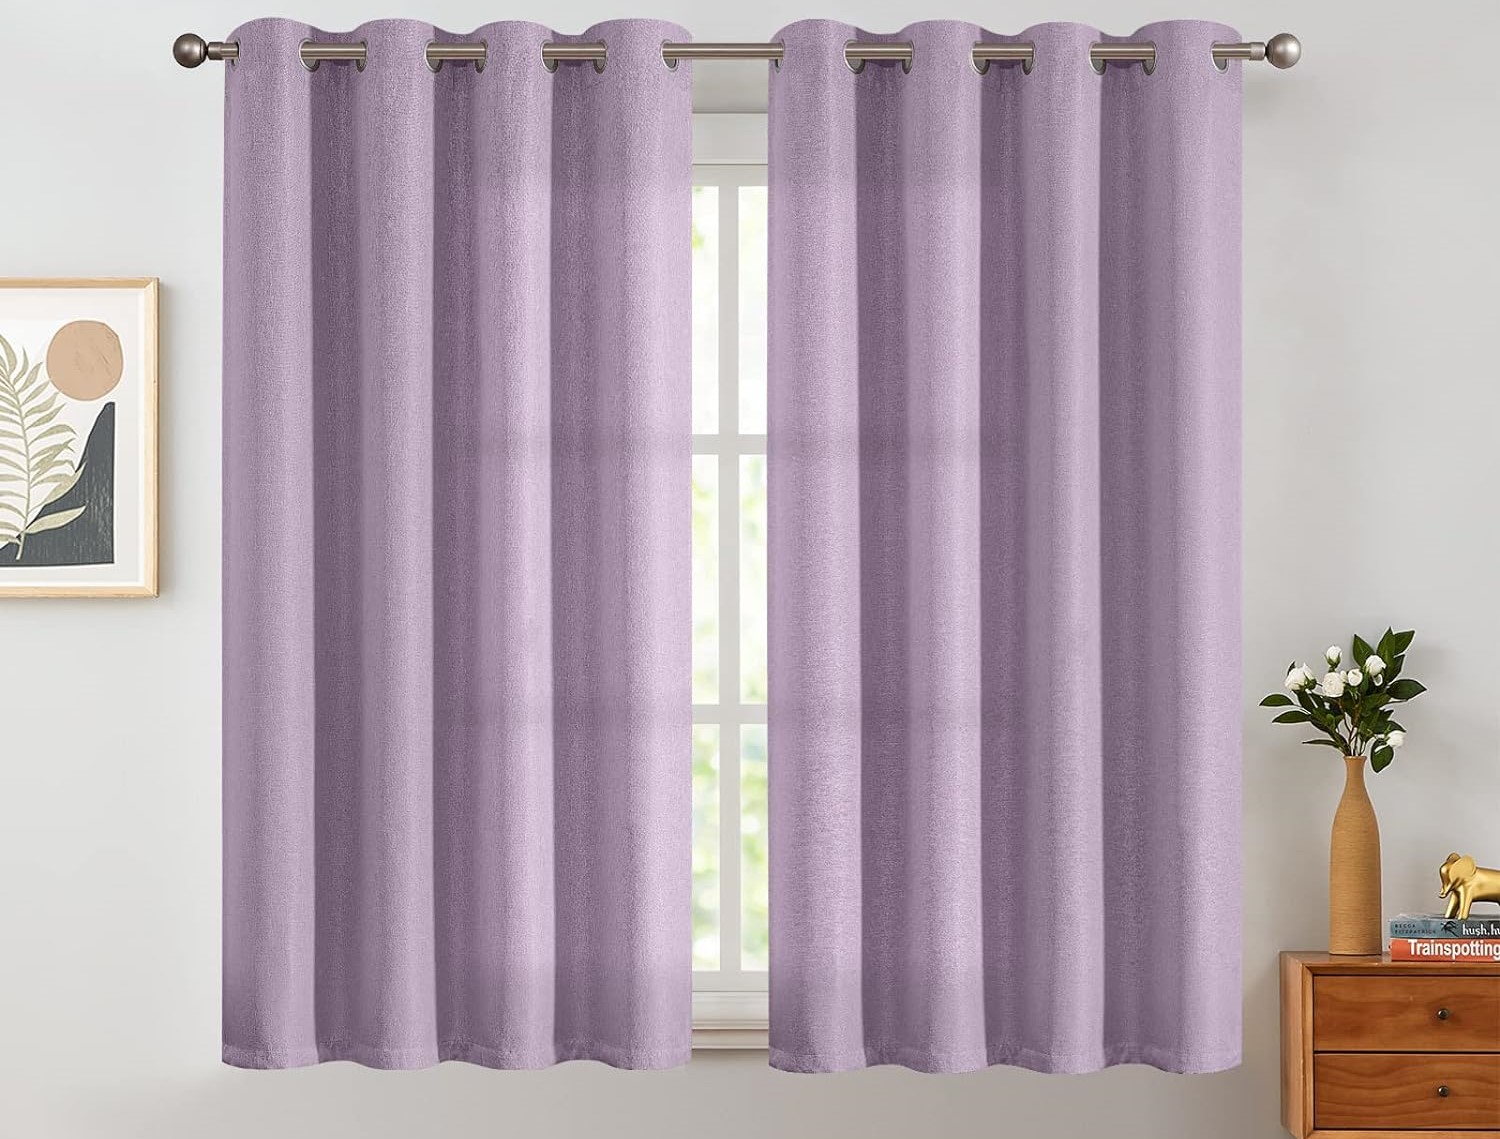
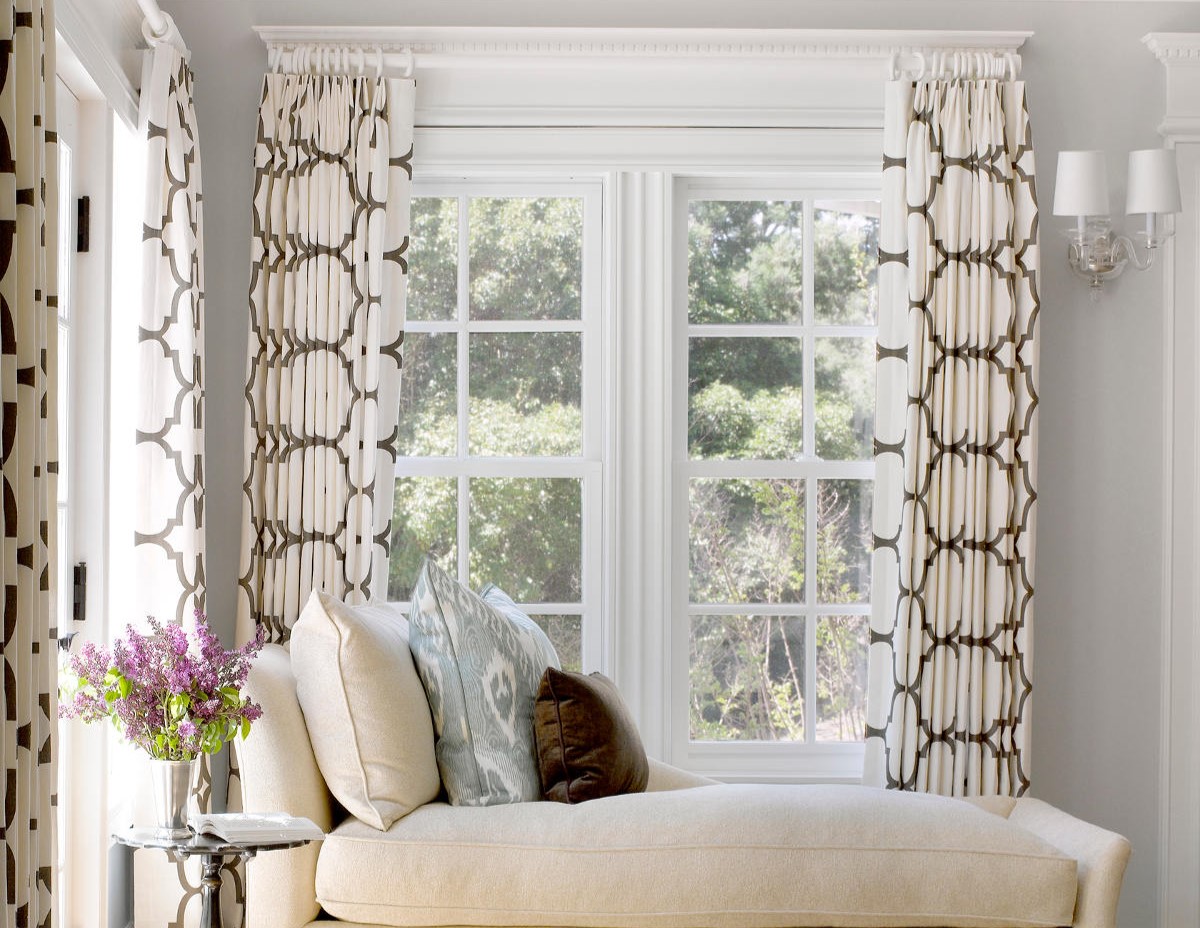
One option is to go for individual curtains for each window. This allows you to treat each window separately and gives you the freedom to play with different fabrics, patterns, and lengths. If you opt for this style, consider using curtain panels that are wide enough to cover each window when closed. You can also add tiebacks or holdbacks to keep the panels neatly pulled to the sides when open.
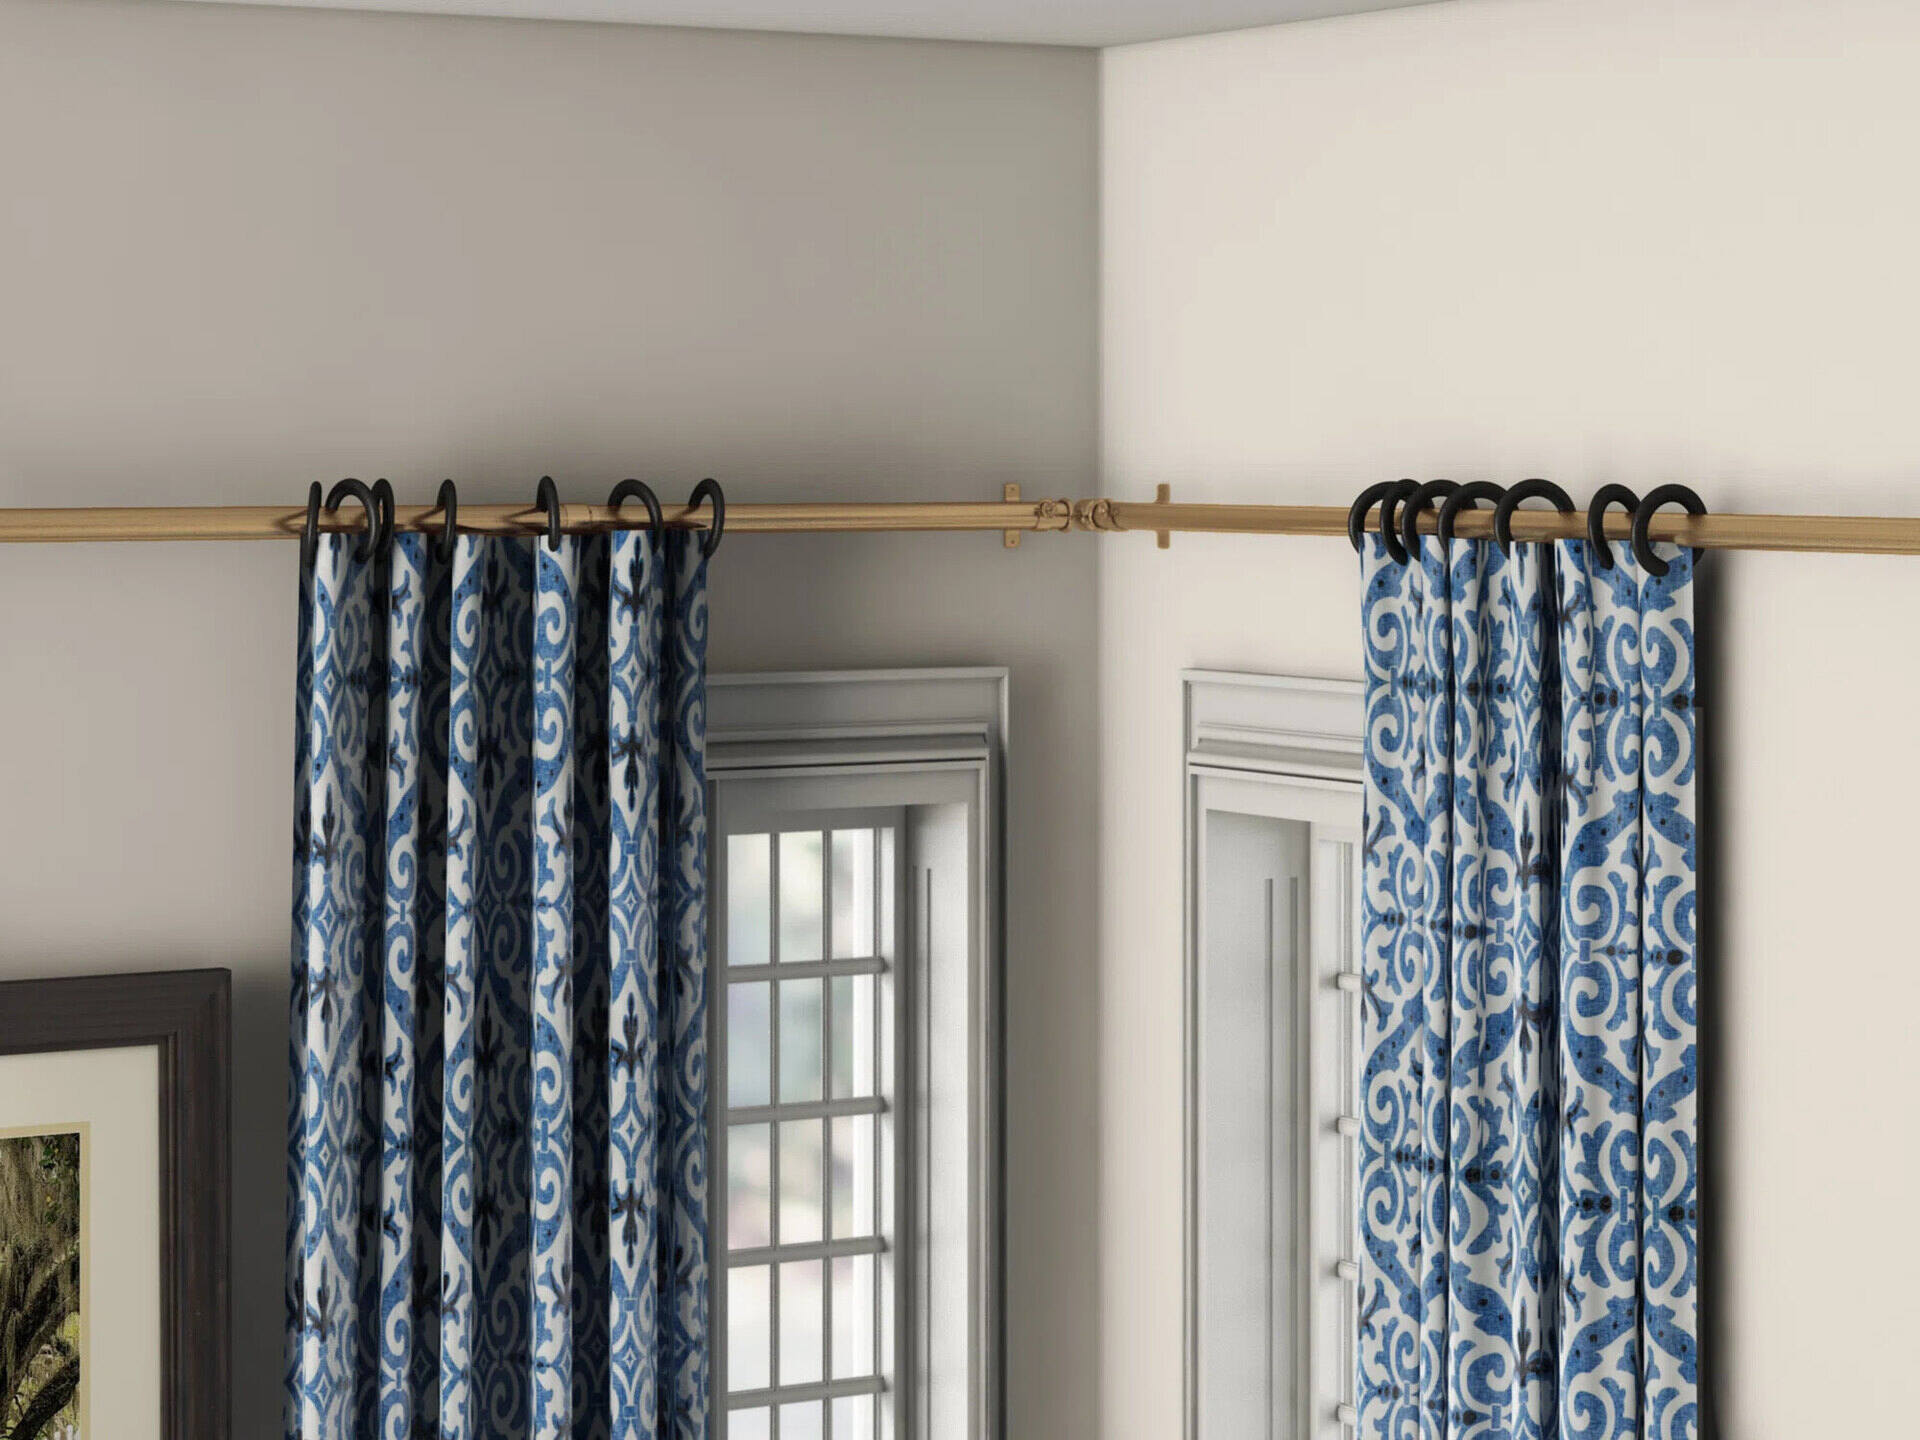
If you prefer a more continuous look, you can use one long curtain rod that spans across all three windows. This option creates a seamless visual line and allows for a dramatic and uniform appearance. To achieve this style, choose curtain panels that are wide enough to cover the entire span of the windows when closed. Keep in mind that the curtains should have enough fullness to create an elegant drape when open.
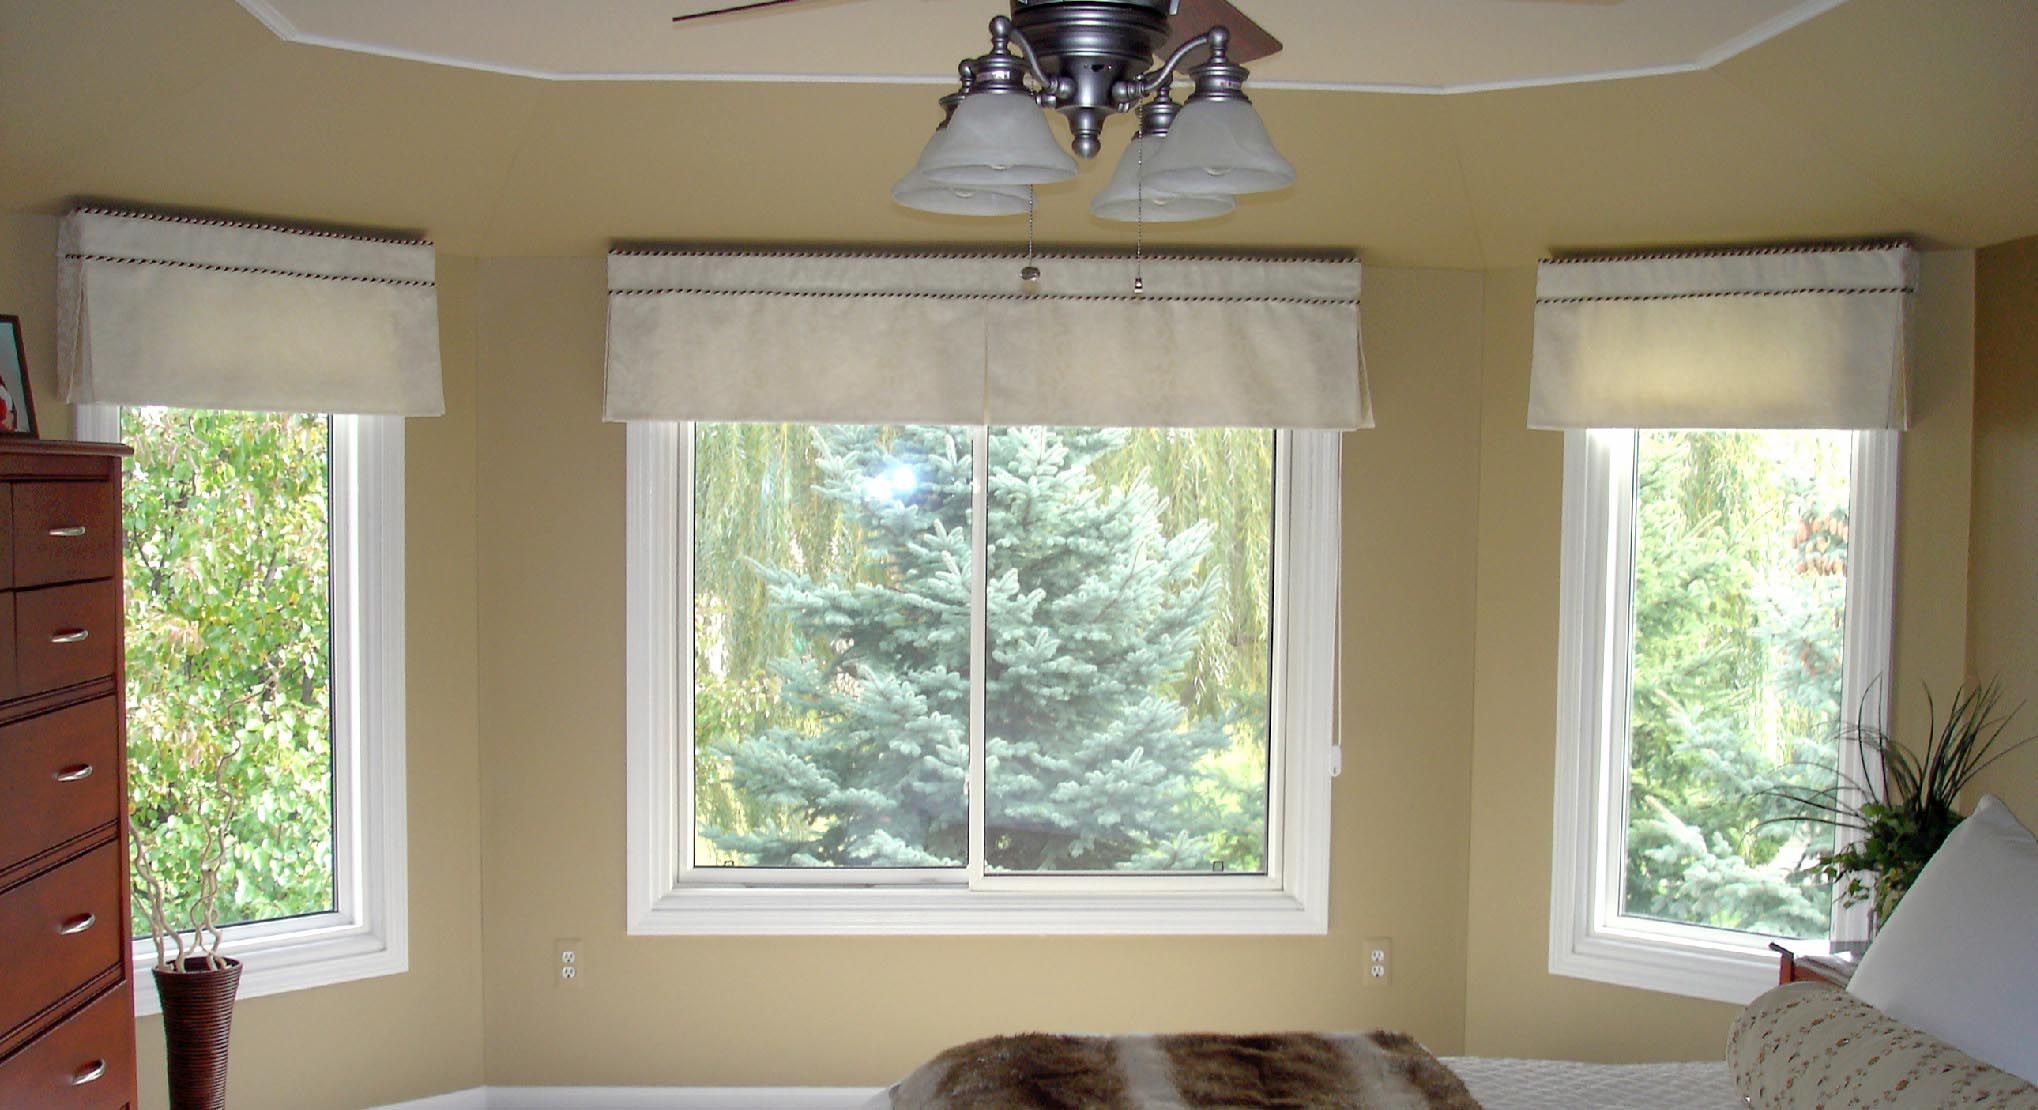
Another popular style is using a valance or pelmet across the top of the three windows. This decorative element adds a touch of sophistication and can be paired with simple curtains or left as the main focal point. Valances come in various shapes and sizes, from straight and tailored to cascading and swagged. Consider the overall theme of your room and choose a valance style that complements it.
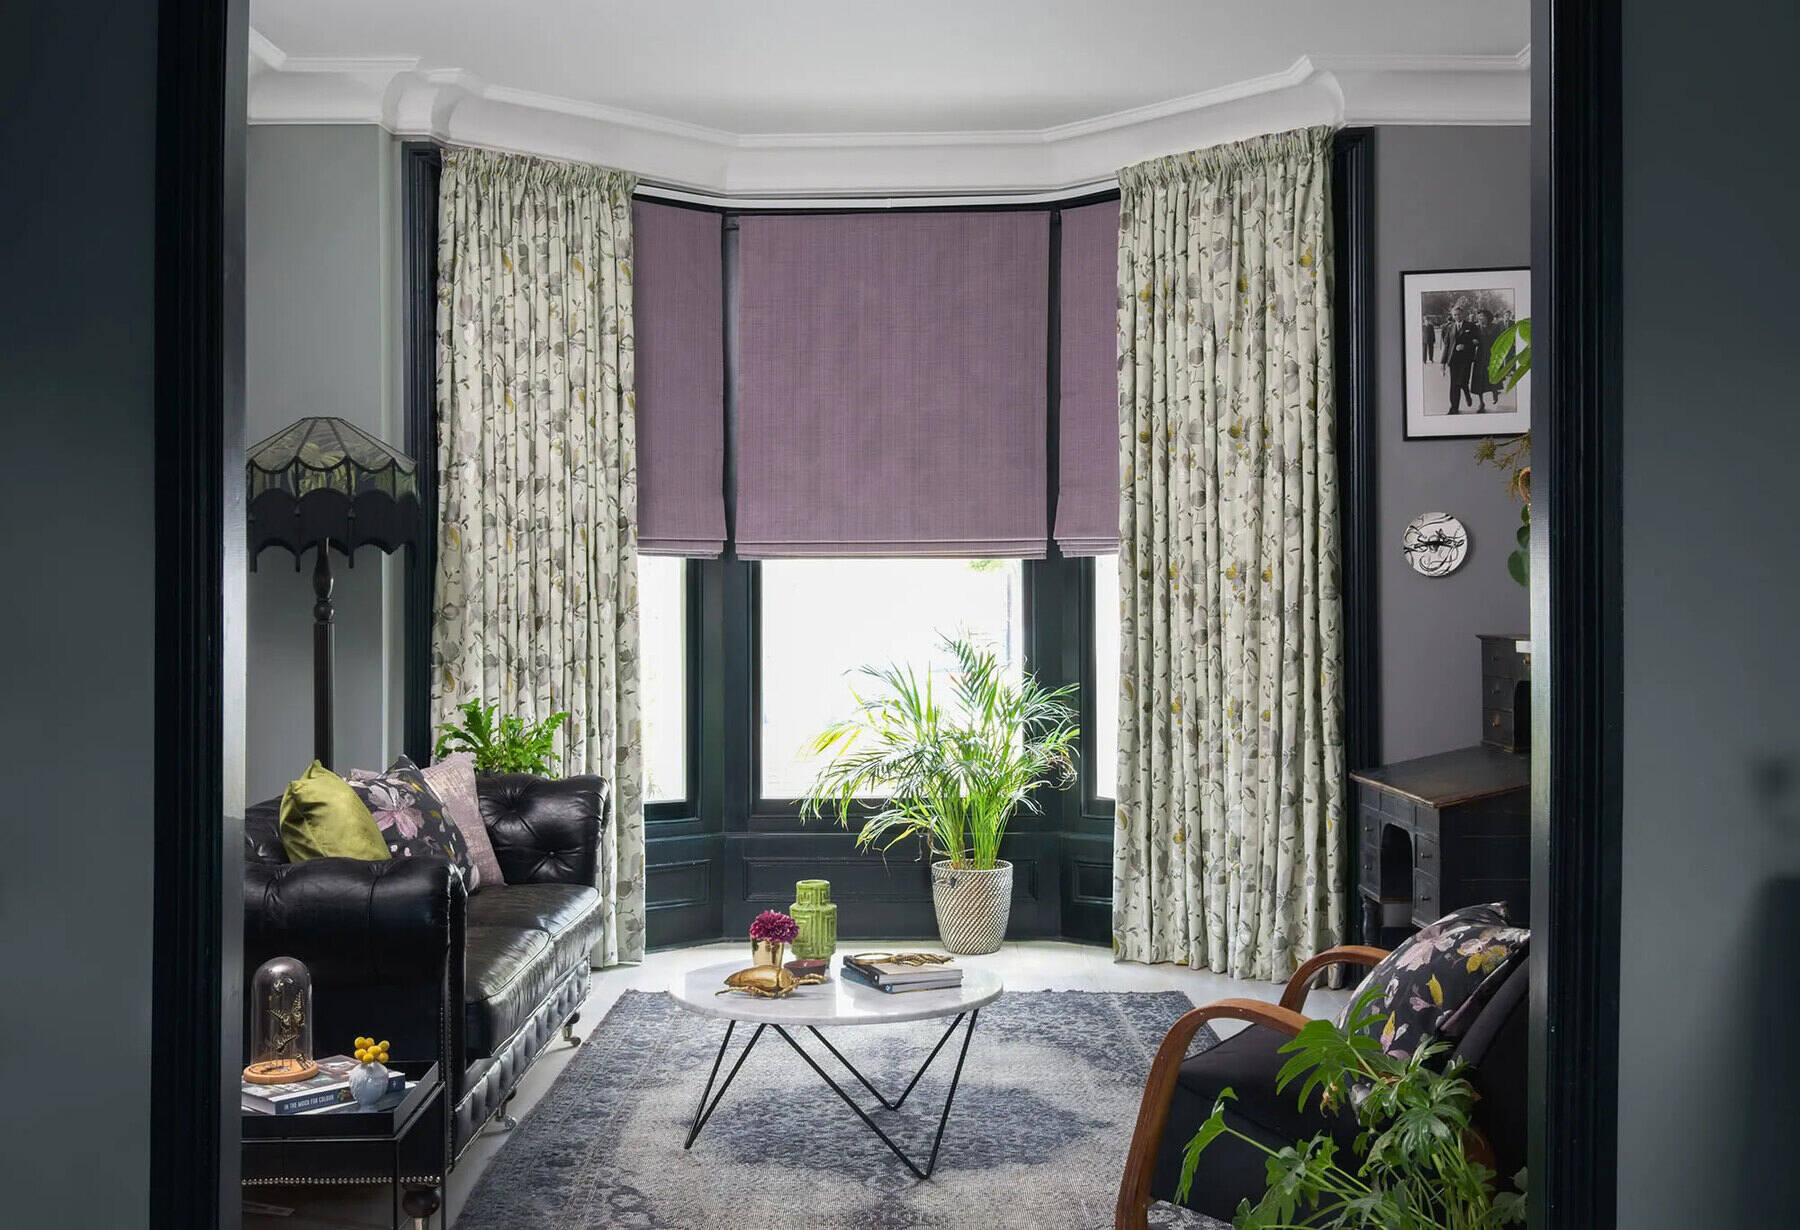
For those seeking a more contemporary and sleek look, consider using roller blinds or roman shades for each window. These options provide a clean and minimalist appearance while still offering the necessary privacy and light control. Roller blinds can be customized with different fabrics, patterns, and opacities, while roman shades offer a softer and more textured look.
When selecting the curtain style, keep in mind the functionality and desired mood of the room. Consider the level of privacy and light control you need and how the chosen style can achieve that. Additionally, think about how the curtains will interact with other elements in the room, such as furniture, wall color, and flooring. Maintaining a cohesive style and balancing form with function will ensure that the curtains blend seamlessly into your space.
Determining the Hanging Method
After selecting the curtain style for your three windows, it’s time to determine the hanging method that best suits your chosen style and window configuration. There are a few options to consider, depending on the hardware and look you want to achieve.
The most common hanging method is using curtain rods. Curtain rods come in various materials, such as metal, wood, or plastic, and offer a wide range of styles and finishes to match your room’s decor. For three windows in a row, you can choose to install one long curtain rod that spans the entire width of the windows or opt for individual rods for each window.
If you prefer a more modern and streamlined look, you may consider using curtain tracks. Curtain tracks are typically ceiling-mounted and allow for smooth and discreet operation. They are a great choice if you want your curtains to completely cover the windows when closed, as they offer more flexibility in terms of curtain width and stackback.
When hanging curtains, it’s crucial to consider the clearance needed for the curtains to open and close smoothly. For curtain rods, make sure there is enough space between the rod and the ceiling or window frame to prevent any obstructions. For curtain tracks, ensure that there is enough space above the track for the curtains to stack neatly when open.
If you choose to use valances or pelmets, determine the hanging method for these decorative elements as well. Valances can be directly mounted onto the wall or installed using brackets or a separate valance rod. Pelmets, on the other hand, are typically secured directly to the window frame or incorporated into the curtain rod installation.
When determining the hanging method, consider the weight of the curtains and the hardware’s weight-bearing capacity. Heavy curtains may require sturdier rods or tracks to ensure they are properly supported. Additionally, take into account any additional hardware, such as curtain rings, clips, or hooks, that may be needed for your chosen hanging method.
By carefully considering the hanging method, you can ensure that your curtains not only look aesthetically pleasing but also function smoothly and effortlessly.
When hanging curtains for 3 windows, use a single long curtain rod for a cohesive look. Hang the curtains close together to create the illusion of one large window.
Read more: How To Hang Bay Window Curtains
Preparing the Windows
Before you begin installing your curtains, it’s important to prepare the windows to ensure a smooth and clean installation. Here are some steps to follow:
- Clean the windows: Start by thoroughly cleaning the windows and window frames. Remove any dirt, dust, or grime using a glass cleaner and a lint-free cloth. This will create a clean surface for the curtains to hang against and prevent any dirt from transferring onto the fabric.
- Repair any damages: Inspect the windows for any damages, such as cracks or loose frames. Repair any issues before installing the curtains to ensure a secure and stable window structure.
- Consider window treatments: Decide whether you want to combine your curtains with other window treatments, such as blinds or shades. If so, install these treatments before hanging the curtains. This will help create a layered and coordinated look while maximizing privacy and light control.
- Measure and mark: Use a measuring tape and a pencil to mark the desired height for the curtain rod or track above each window. Be sure to measure and mark the same distance from the top of the window frame for consistency.
- Check for studs: If you’re installing curtain rods, use a stud finder to locate the studs in the wall above the windows. Mounting the curtain brackets into studs will provide extra stability and support for the rods.
- Prevent light leakage: If you want to achieve maximum light control, consider using blackout liners or adding a strip of Velcro along the sides of each window. This will help ensure that no light seeps through the sides of the curtains, creating a dark and cozy environment when needed.
By properly preparing your windows, you’ll create a solid foundation for the installation of your curtains. This will result in a professional and polished look while ensuring that your curtains function effectively.
Installing Curtain Rods or Tracks
Once you have prepared the windows, it’s time to install the curtain rods or tracks. The method you choose will depend on the type of hardware you have selected and the configuration of your windows. Here’s a step-by-step guide for installing both curtain rods and tracks:
Installing Curtain Rods:
- Locate the studs: Use a stud finder to locate the studs in the wall above each window. Mark the stud locations with a pencil.
- Measure and mark: Measure the distance from the floor or desired curtain height to the marked stud location. Mark this distance on the wall using a pencil. Repeat this process for each window.
- Mount the brackets: Place the curtain rod brackets over the marked locations on the wall. Make sure the brackets are level and align with each other. Secure the brackets to the wall by driving screws through the pre-drilled holes.
- Attach the curtain rod: Slide the curtain rod through the rod pocket or rings on your curtains. Place one end of the rod into the bracket and then insert the other end into the remaining bracket. Ensure that the rod is securely in place.
- Test the curtains: Open and close the curtains to make sure they glide smoothly along the rod. Adjust the brackets if necessary to ensure proper alignment and movement.
Installing Curtain Tracks:
- Measure and mark: Measure the distance from the floor or desired curtain height to the top of the window frame. Mark this distance on the wall or ceiling using a pencil. Repeat this process for each window.
- Attach the track: Install the curtain track according to the manufacturer’s instructions. This may involve mounting brackets or clips onto the wall or ceiling and attaching the track securely.
- Hang the curtains: Depending on the type of curtain track, either slide the curtains directly onto the track or attach them using curtain hooks. Make sure the curtains are evenly spaced and hang straight.
- Test the curtains: Open and close the curtains to ensure they move smoothly along the track. Make any necessary adjustments to the track or curtain hooks to optimize performance.
Remember to consult the specific instructions provided with your curtain rods or tracks for accurate installation guidance. Proper installation will ensure that your curtains hang securely and function flawlessly.
Hanging the Curtains
With the curtain rods or tracks installed, it’s time to hang the curtains and bring your windows to life. Follow these steps for a smooth and hassle-free hanging process:
- Prepare the curtains: Start by gently steaming or ironing the curtains to remove any wrinkles or creases. This will ensure a neat and polished look when they are hung.
- Attach curtain rings or hooks: If you are using curtains with rod pockets, skip this step. Otherwise, attach curtain rings or hooks to the top of each curtain panel according to the manufacturer’s instructions. Make sure the rings or hooks are evenly spaced and securely attached.
- Slide the curtains onto the rod or track: For curtain rods, simply slide the curtains onto the rod through the rings or rod pocket. Ensure that the curtains are distributed evenly along the length of the rod. For curtain tracks, carefully position the hooks or rings onto the track and make sure they are securely in place.
- Adjust the length: If necessary, adjust the length of the curtains by hemming or folding them. Use a measuring tape and pins to mark the desired length. Sew or use fabric adhesive to create a clean and finished hemline.
- Arrange the curtains: Style and arrange the curtains to your preference. You can gently fluff or smooth out the fabric to create beautiful folds and drapes. Make sure the curtains are hanging straight and not twisted.
- Test the curtains: Open and close the curtains a few times to ensure they move smoothly along the rod or track. Make any necessary adjustments to the rings, hooks, or folds to achieve the desired look and functionality.
Once the curtains are hung, step back and admire the transformation they bring to your windows. Notice how they enhance the overall aesthetic of the room, create privacy, and control the amount of light entering the space.
Remember to periodically check the curtains for any signs of wear or tear, especially in areas that may come into contact with the hardware. Proper care and maintenance will help to prolong the lifespan and appearance of your curtains.
Now, sit back and enjoy your beautifully dressed windows with the satisfaction of a job well done!
Finishing Touches and Maintenance
After hanging your curtains, there are a few final touches and maintenance tips that will ensure they remain in top condition and continue to enhance your space:
- Accessorize: Consider adding decorative elements such as curtain tiebacks, holdbacks, or decorative curtain rods to further enhance the look of your curtains. These accessories can add a touch of elegance and keep the curtains neatly in place when open.
- Regularly clean: To keep your curtains looking fresh and free from dust or dirt, periodically vacuum or use a fabric brush to remove any surface debris. For machine-washable curtains, follow the washing instructions provided by the manufacturer. Dry clean curtains that require professional care.
- Handle with care: Avoid pulling or tugging on the curtains forcefully, as this can damage the fabric or hardware. Be gentle when opening and closing the curtains to prevent unnecessary wear or tears.
- Monitor sunlight exposure: Over time, exposure to sunlight can cause fading and discoloration of your curtains. Consider using sheer curtains or UV-blocking window film to protect your curtains from excessive sunlight and prolong their lifespan.
- Periodically rearrange: To ensure even wear and prevent fading or discoloration, periodically rearrange your curtains. Switching curtains between different windows or rotating the panels can help distribute the sunlight exposure evenly.
- Inspect and repair: Regularly inspect your curtains for any signs of damage, such as loose threads, tears, or broken hardware. Repair or replace any damaged parts promptly to prevent further deterioration.
- Keep away from moisture: If you have windows in high-moisture areas such as bathrooms or kitchens, consider using curtains made of moisture-resistant fabrics or installing a waterproof liner behind the curtains to protect them from damage.
By implementing these finishing touches and following a regular maintenance routine, you can ensure that your curtains not only continue to look beautiful but also maintain their functionality and durability. Enjoy the beauty and practicality that well-maintained curtains bring to your living space!
Now that you've got the basics of curtain setup for three windows, why stop there? Dive deeper into the world of window dressings with our detailed guide on kitchen window curtain ideas that add texture and style specifically to kitchen spaces. Or, if you're eager to see what's trending for bedrooms, check out our collection of bedroom curtains that promise to refresh any sleeping area with the latest 2024 designs. Both articles are packed with creative solutions to enhance your home's ambiance.
Frequently Asked Questions about How To Do Curtains For 3 Windows
Was this page helpful?
At Storables.com, we guarantee accurate and reliable information. Our content, validated by Expert Board Contributors, is crafted following stringent Editorial Policies. We're committed to providing you with well-researched, expert-backed insights for all your informational needs.





0 thoughts on “How To Do Curtains For 3 Windows”