Home>Articles>How To Hang Sheer And Blackout Curtains Together
Articles
How To Hang Sheer And Blackout Curtains Together
Modified: October 28, 2024
Learn how to effectively hang sheer and blackout curtains together in this informative article. Discover the best methods and tips for achieving the perfect window treatment combination.
(Many of the links in this article redirect to a specific reviewed product. Your purchase of these products through affiliate links helps to generate commission for Storables.com, at no extra cost. Learn more)
Introduction
Welcome to our comprehensive guide on how to hang sheer and blackout curtains together. Curtains play a crucial role in enhancing the aesthetics and functionality of any room. Sheer curtains are light and translucent, allowing natural light to filter through while maintaining privacy. On the other hand, blackout curtains are designed to block out light and provide insulation, making them perfect for bedrooms or rooms where you want to control the amount of light entering.
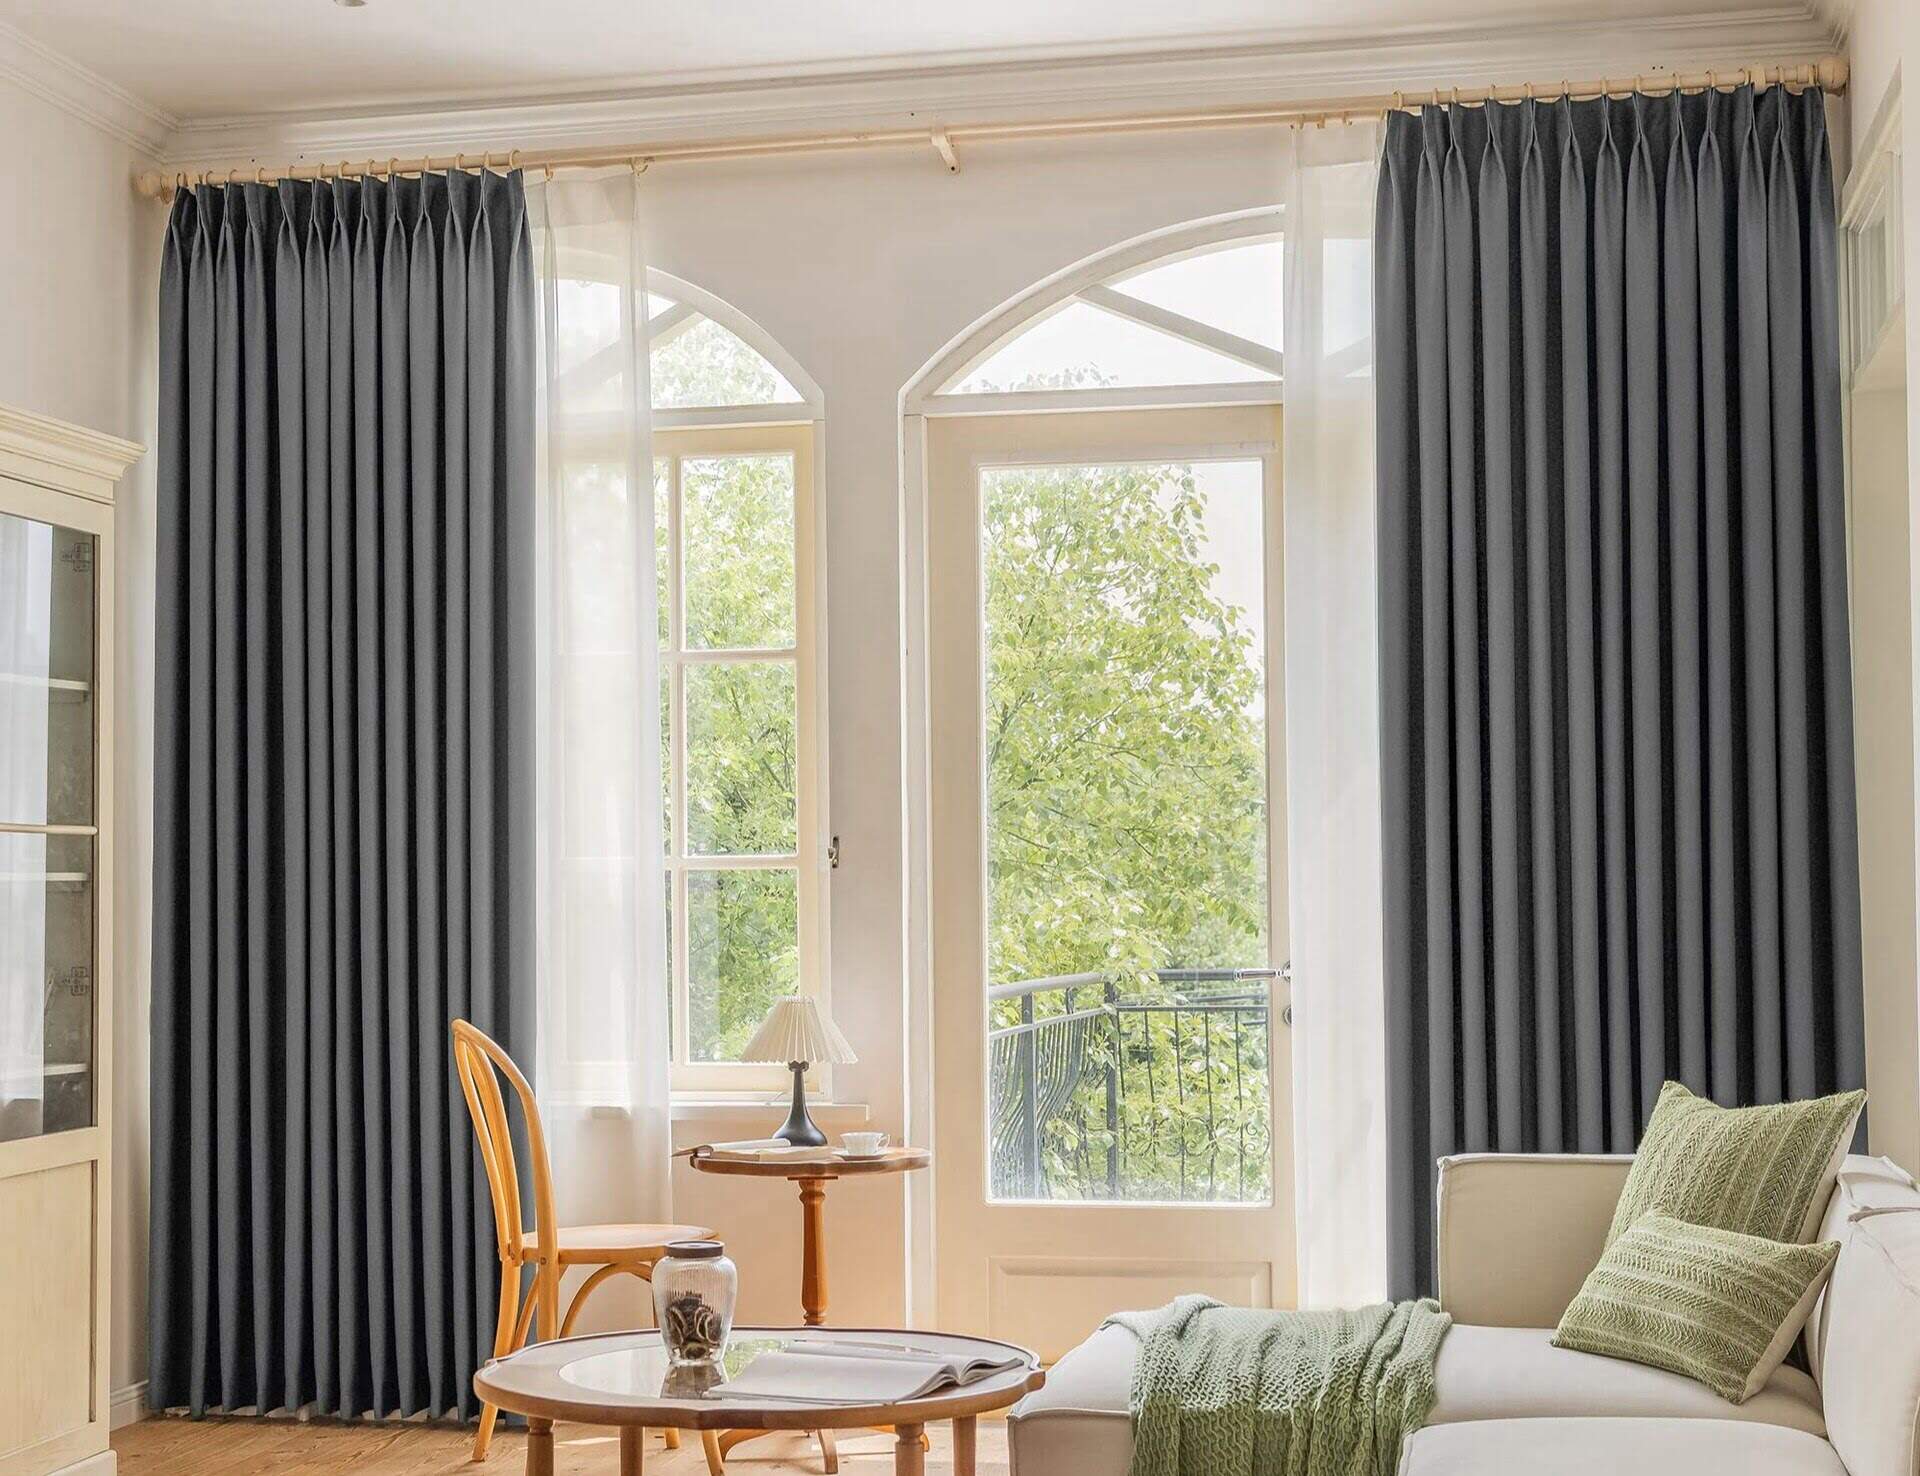
Combining sheer and blackout curtains can give you the best of both worlds. You can enjoy the soft, diffused light from the sheer curtains during the day and create a peaceful, dark environment with the blackout curtains at night. Hanging both types of curtains together requires proper planning and execution to ensure they complement each other and enhance the overall look of your space.
In this guide, we will walk you through the process of selecting the right curtains, gathering the necessary tools and materials, installing the curtain rod, and hanging the sheer and blackout curtains together. Whether you’re a DIY enthusiast or a beginner, we’ve got you covered. So let’s dive in!
Key Takeaways:
- Transform any room with elegance and functionality by seamlessly hanging sheer and blackout curtains together. Enjoy soft, diffused light during the day and create a cozy, dark environment at night for a versatile window treatment.
- Elevate your space with a stunning combination of sheer and blackout curtains. Achieve the perfect fit, consider final touches, and maintain your curtains for long-lasting beauty, style, and functionality.
Read more: How To Hang Curtains With Sheers
Choosing the Right Curtains
The first step in hanging sheer and blackout curtains together is to choose the right curtains for your space. Consider these factors when making your selection:
- Functionality: Determine the primary purpose of your curtains. Sheer curtains are ideal for filtering light and providing a soft, ethereal effect. Blackout curtains, on the other hand, are designed to block out light and provide privacy.
- Style: Consider the overall style and aesthetic of your room. Choose curtains that complement your existing decor or add a touch of elegance or drama to the space.
- Color and Pattern: Decide whether you want your curtains to blend in with the rest of the room or make a statement. Neutral colors or subtle patterns work well for a cohesive look, while bold colors and patterns can create a focal point.
- Fabric: The fabric of your curtains will affect the way they drape and how much light they filter. Sheer curtains are typically made of lightweight fabrics like chiffon or voile, while blackout curtains are often made of thicker, light-blocking materials like polyester or velvet.
- Measurements: Accurate measurements are crucial to ensure your curtains fit properly. Measure the width and height of your windows and consider whether you want the curtains to extend beyond the window frame for a fuller look.
Once you have a clear understanding of your requirements, you can start exploring different curtain options. Visit home decor stores or browse online to find a wide range of choices that meet your needs and preferences. Don’t be afraid to ask for samples or swatches to get a better idea of how the curtains will look and feel in your space.
Remember, the right curtains can add character, functionality, and style to your room. So take your time in selecting the perfect combination of sheer and blackout curtains that will transform your space into a cozy retreat.
Gathering the Necessary Tools and Materials
Before you can start hanging your sheer and blackout curtains, it’s essential to gather all the necessary tools and materials. Here’s a list of what you’ll need:
- Measuring tape: Accurate measurements are crucial for ensuring the curtains fit properly. A measuring tape will help you measure the width and height of your windows.
- Pencil: Use a pencil to mark the positions where the curtain rod brackets will be installed on the wall.
- Drill: You’ll need a drill to make holes in the wall for the curtain rod brackets. Make sure you have the appropriate drill bit for your wall type.
- Screwdriver: A screwdriver will be needed to attach the curtain rod brackets securely to the wall.
- Curtain rod: Choose a curtain rod that complements the style of your curtains and can support the weight of both the sheer and blackout curtains.
- Curtain rod brackets: The brackets hold the curtain rod in place. Make sure to choose brackets that are sturdy and durable.
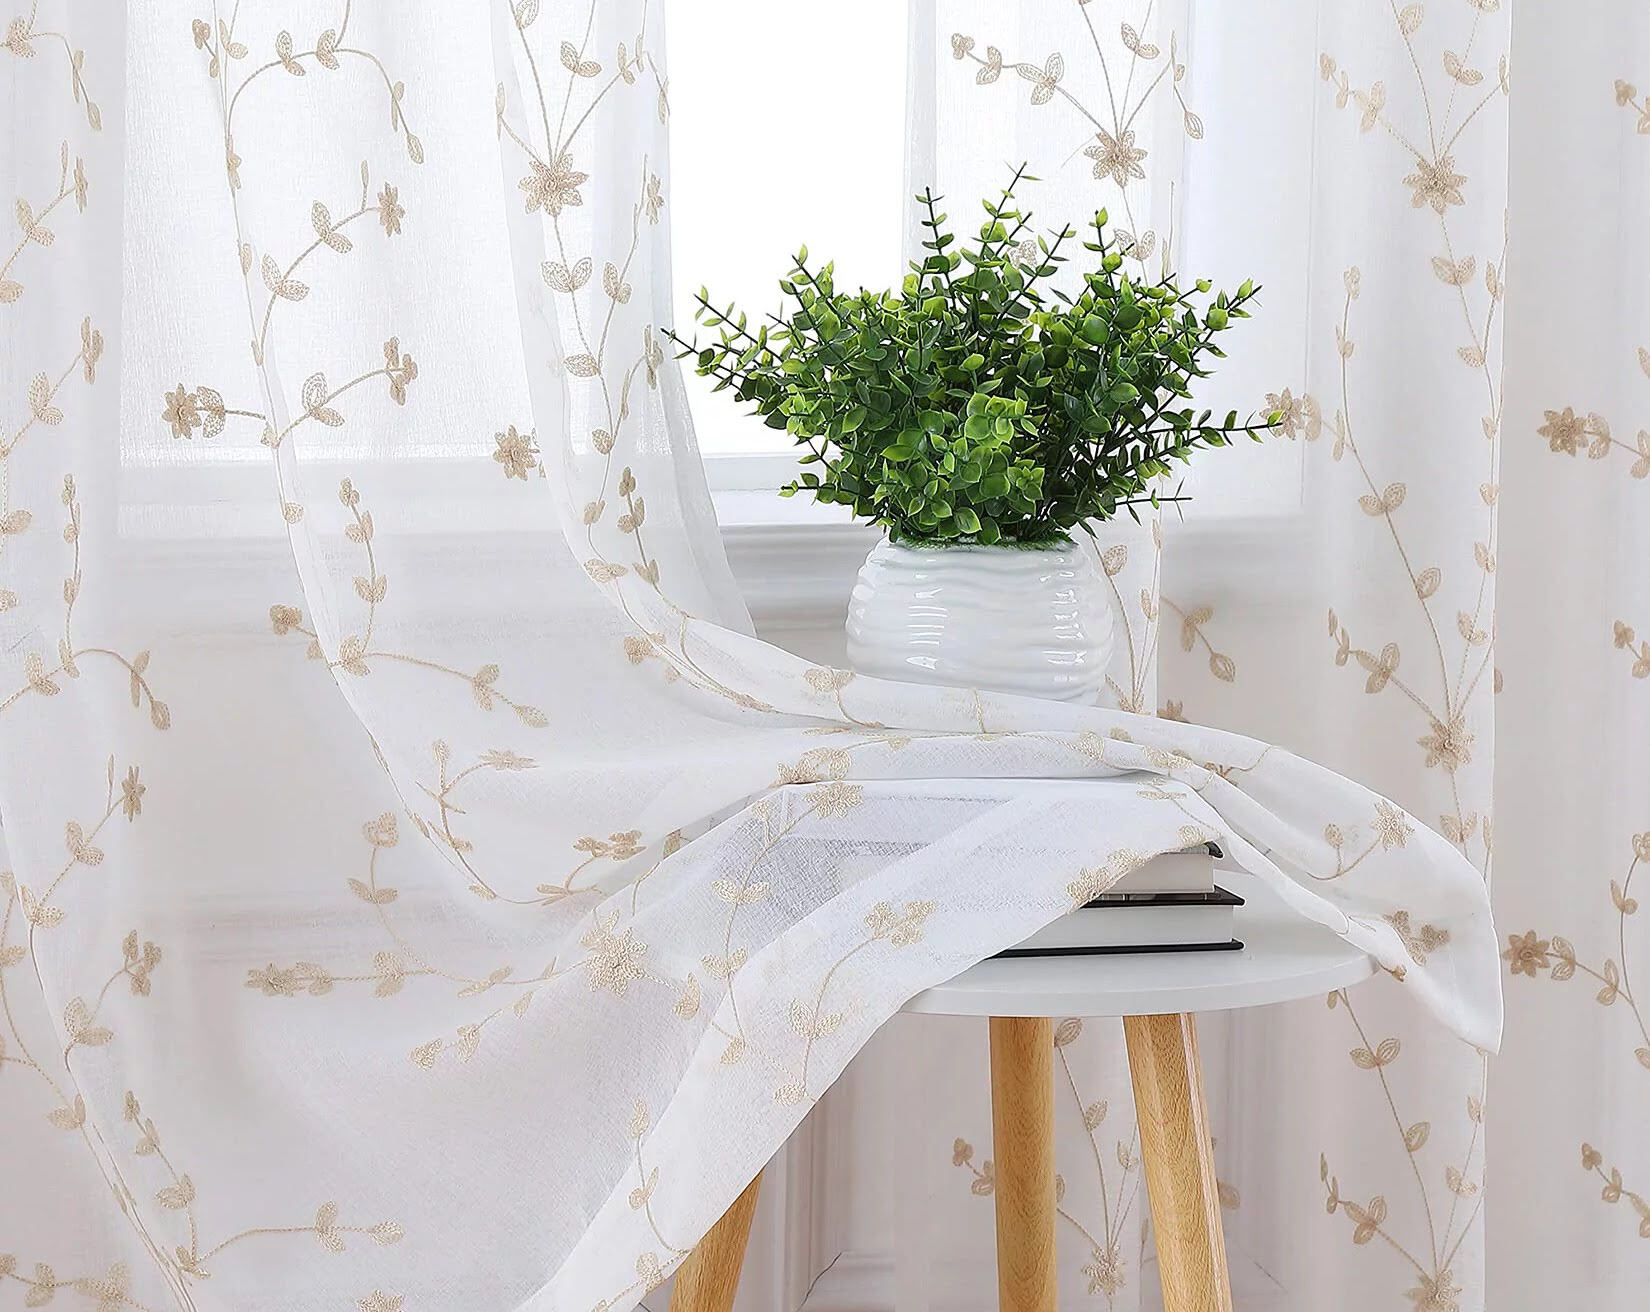
- Sheer curtains: Select sheer curtains that match your style and the dimensions of your windows.
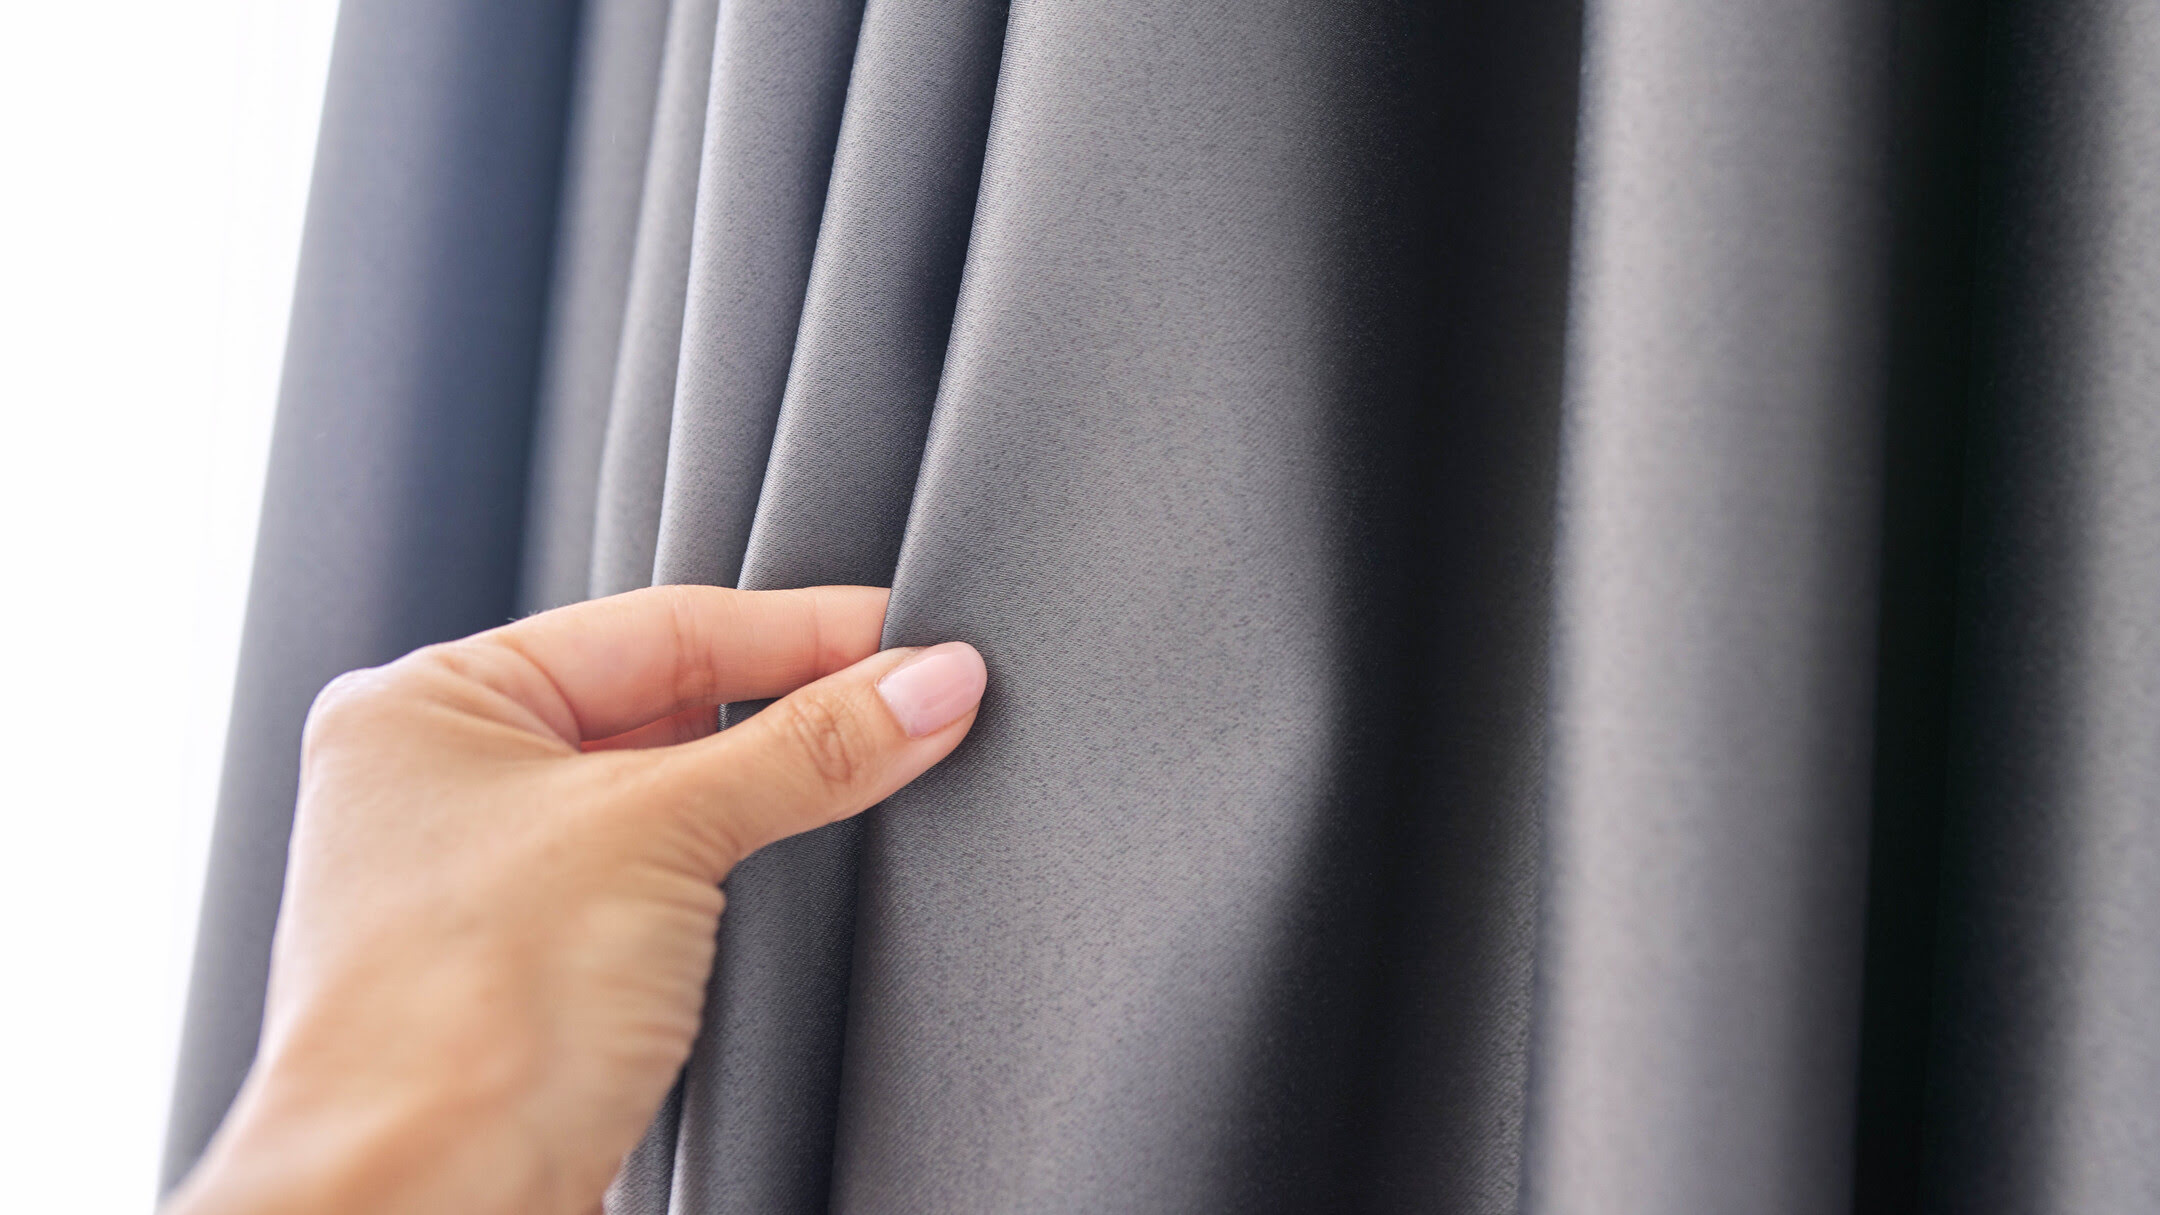
- Blackout curtains: Choose blackout curtains that coordinate with your sheer curtains and meet your light-blocking needs.
- Curtain rings or hooks: Depending on your curtain rod type, you may need curtain rings or hooks to hang the curtains.
Ensure that you have all the required tools and materials on hand before you begin the installation process. This will prevent any delays and ensure that the hanging process goes smoothly.
It’s also a good idea to double-check the measurements of your curtains and window dimensions to confirm that everything is accurate. If necessary, make any adjustments or alterations to ensure a perfect fit.
Once you have everything prepared, you’re ready to move on to installing the curtain rod and hanging your sheer and blackout curtains together. Exciting, isn’t it? Let’s get started!
Installing the Curtain Rod
Installing the curtain rod is a crucial step in hanging your sheer and blackout curtains together. Here’s a step-by-step guide to help you through the process:
- Measure and mark: Use a measuring tape to determine the desired height at which you want to hang your curtain rod. Mark the positions with a pencil, ensuring they are level and evenly spaced.
- Locate wall studs: Locate the wall studs using a stud finder or by tapping lightly on the wall. It’s important to secure the curtain rod brackets to the studs for added stability.
- Drill pilot holes: Use a drill with an appropriate drill bit to create pilot holes at the marked positions. Make sure the pilot holes are slightly smaller than the screws you will be using for the brackets.
- Attach brackets: Place the brackets over the pilot holes and align them with the markings on the wall. Secure the brackets in place by inserting screws through the holes and into the pilot holes. Use a screwdriver to tighten the screws, ensuring the brackets are firmly attached.
- Check level: Use a level to verify that the curtain rod brackets are straight and even. Make any necessary adjustments before moving on to the next step.
- Test stability: Once the brackets are securely attached, give them a gentle tug to ensure they are stable and can support the weight of the curtains. Reinforce the brackets if needed.
By following these steps, you can successfully install the curtain rod brackets and create a stable foundation for hanging your sheer and blackout curtains. Remember to take your time and double-check measurements and alignment to achieve the best results.
Now that the curtain rod is securely installed, it’s time to move on to the next steps of hanging your sheer and blackout curtains. Stay tuned for the following sections on hanging the sheer curtains and hanging the blackout curtains to complete your curtain installation project!
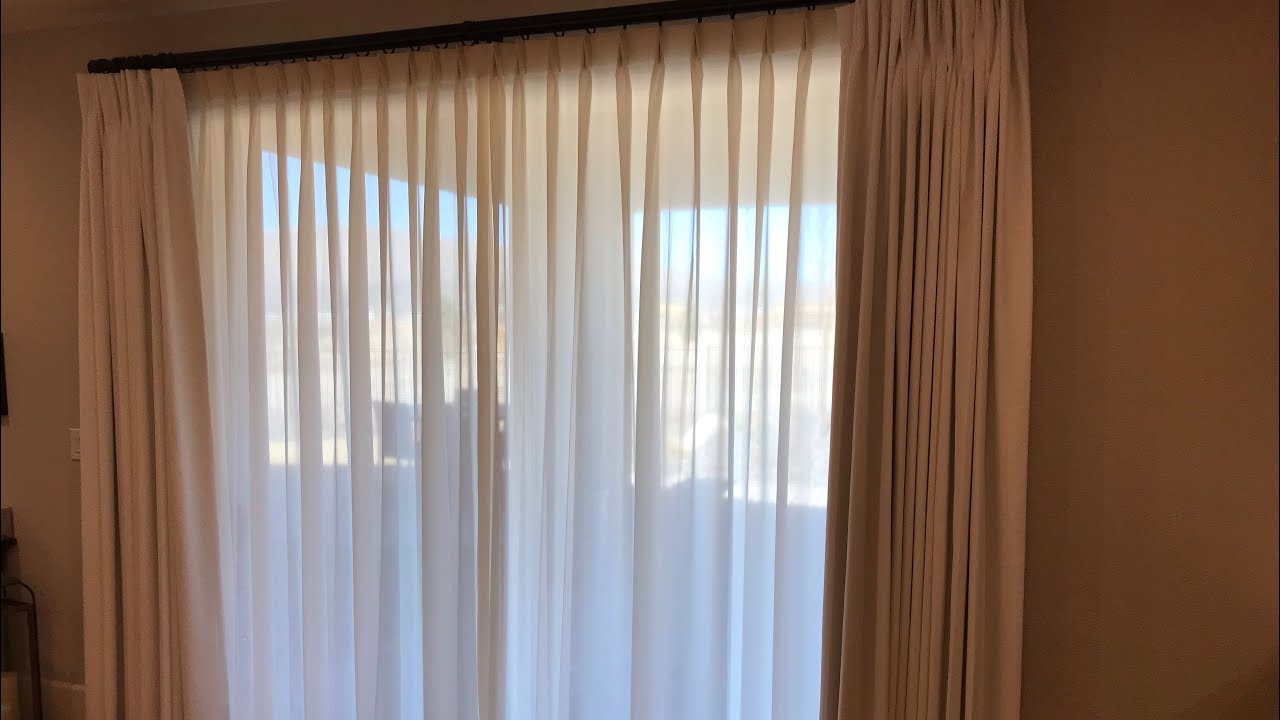
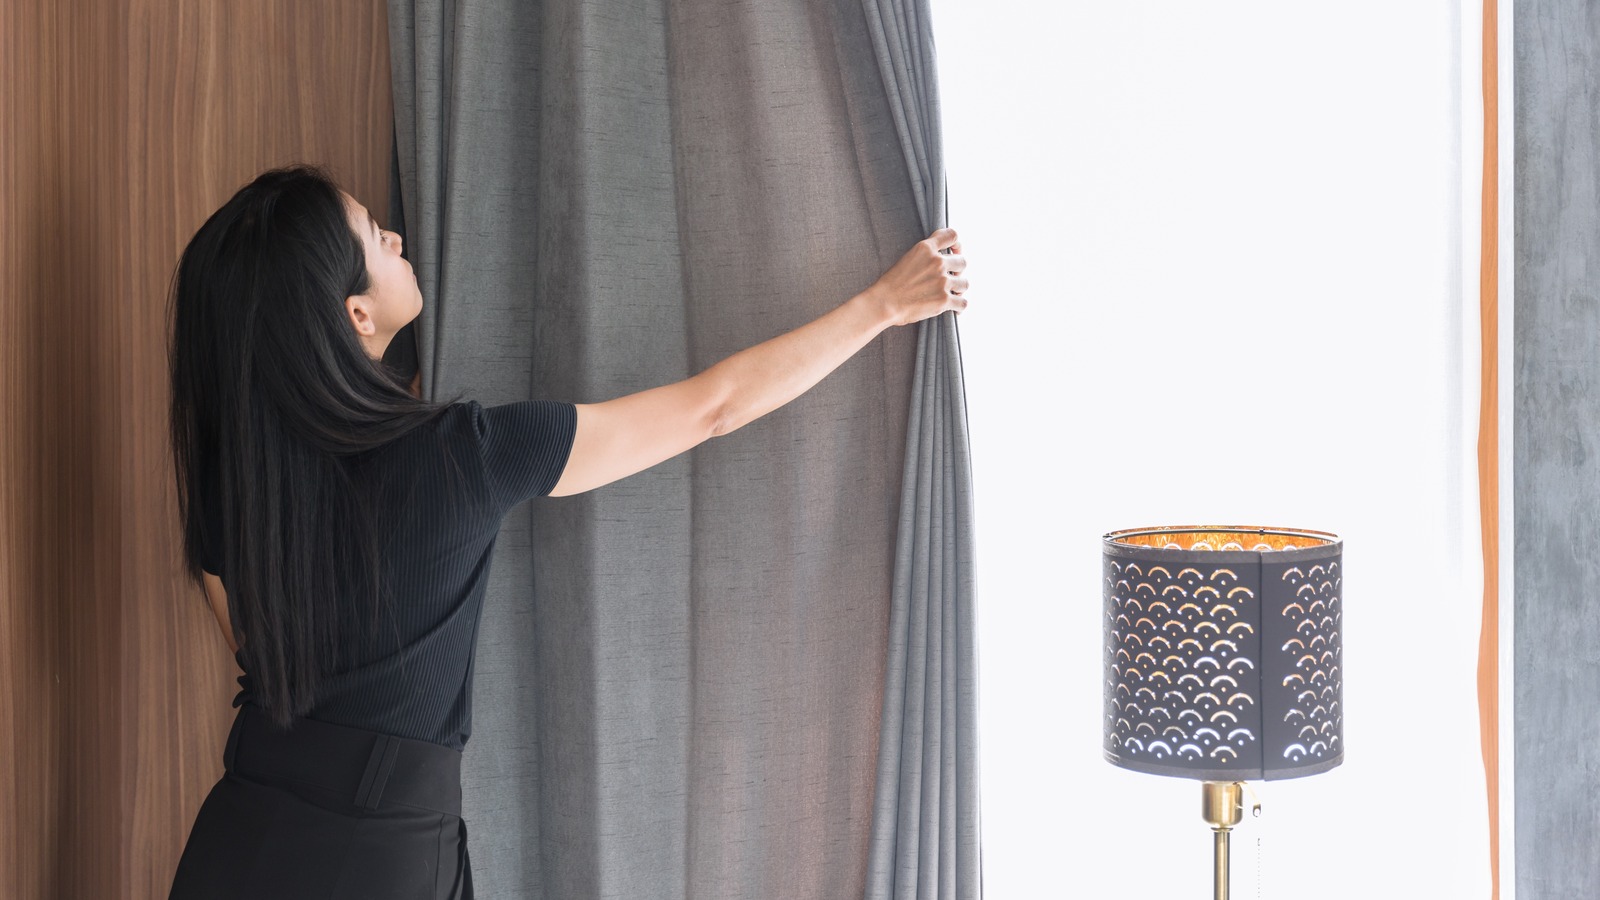
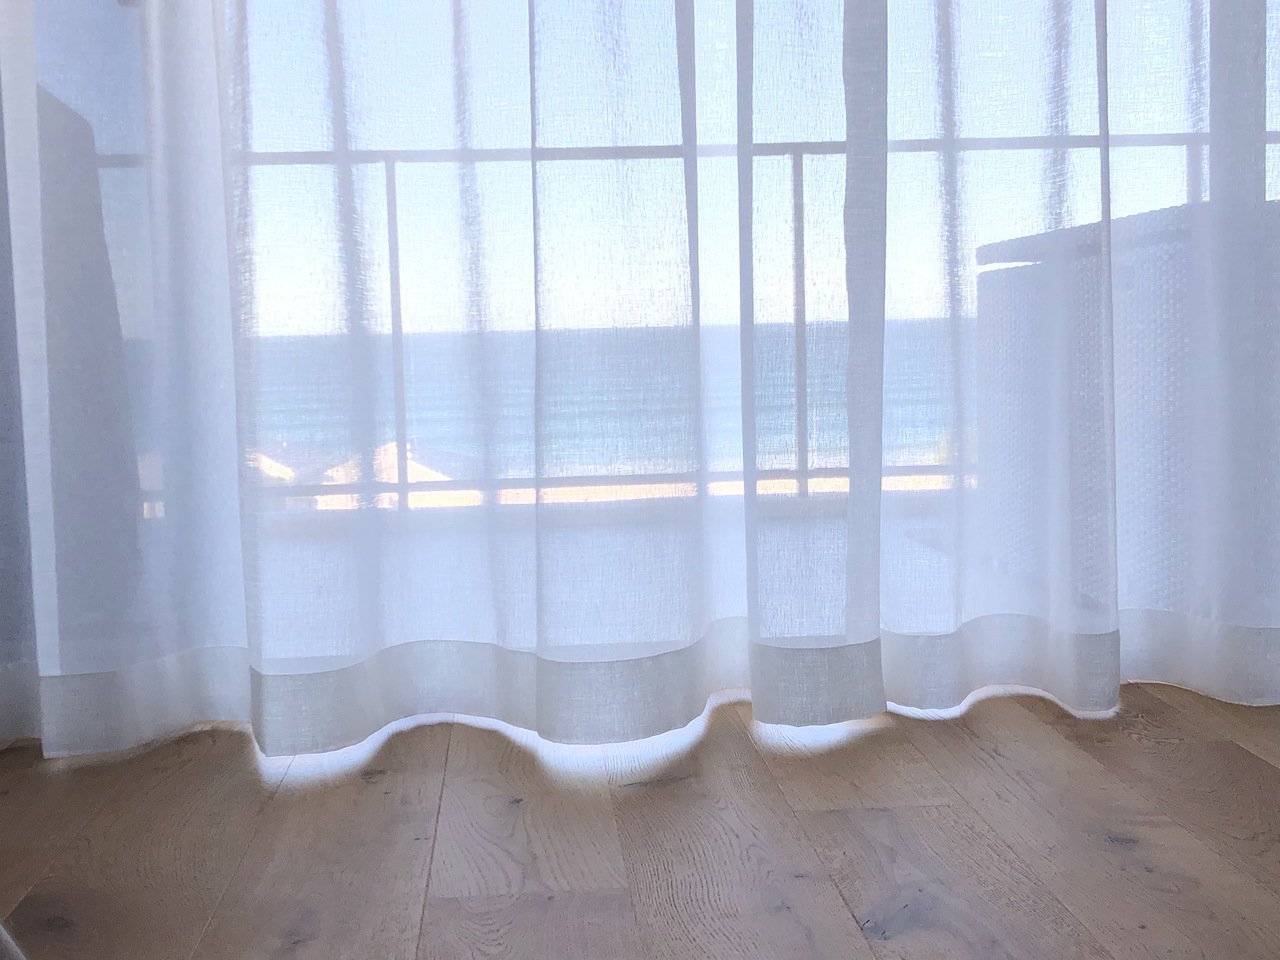
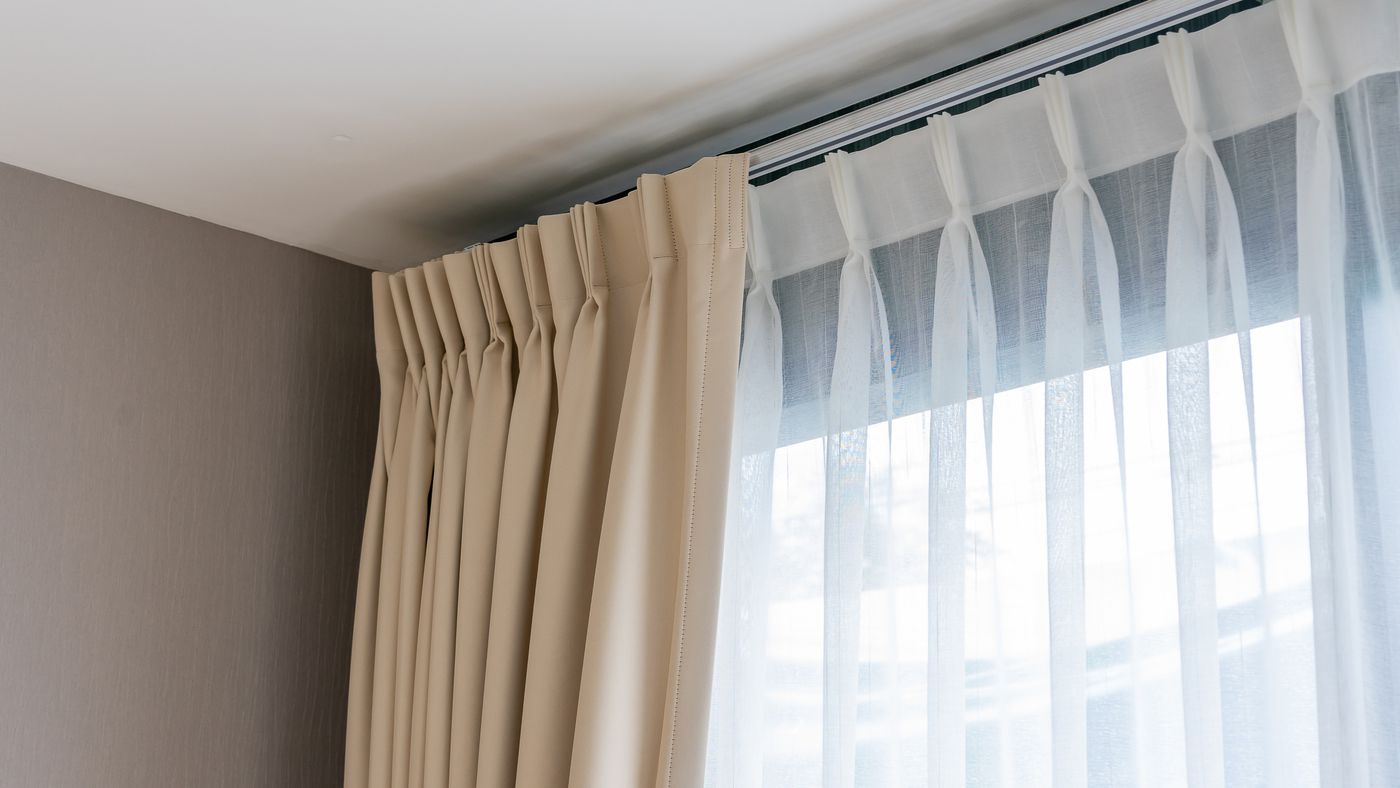
Hanging the Sheer Curtains
Now that you have the curtain rod securely installed, it’s time to hang the sheer curtains. Follow these steps to ensure a seamless and beautiful installation:
- Prepare the curtains: Start by placing the sheer curtains on a clean and flat surface. Carefully untangle and straighten out any wrinkles or creases.
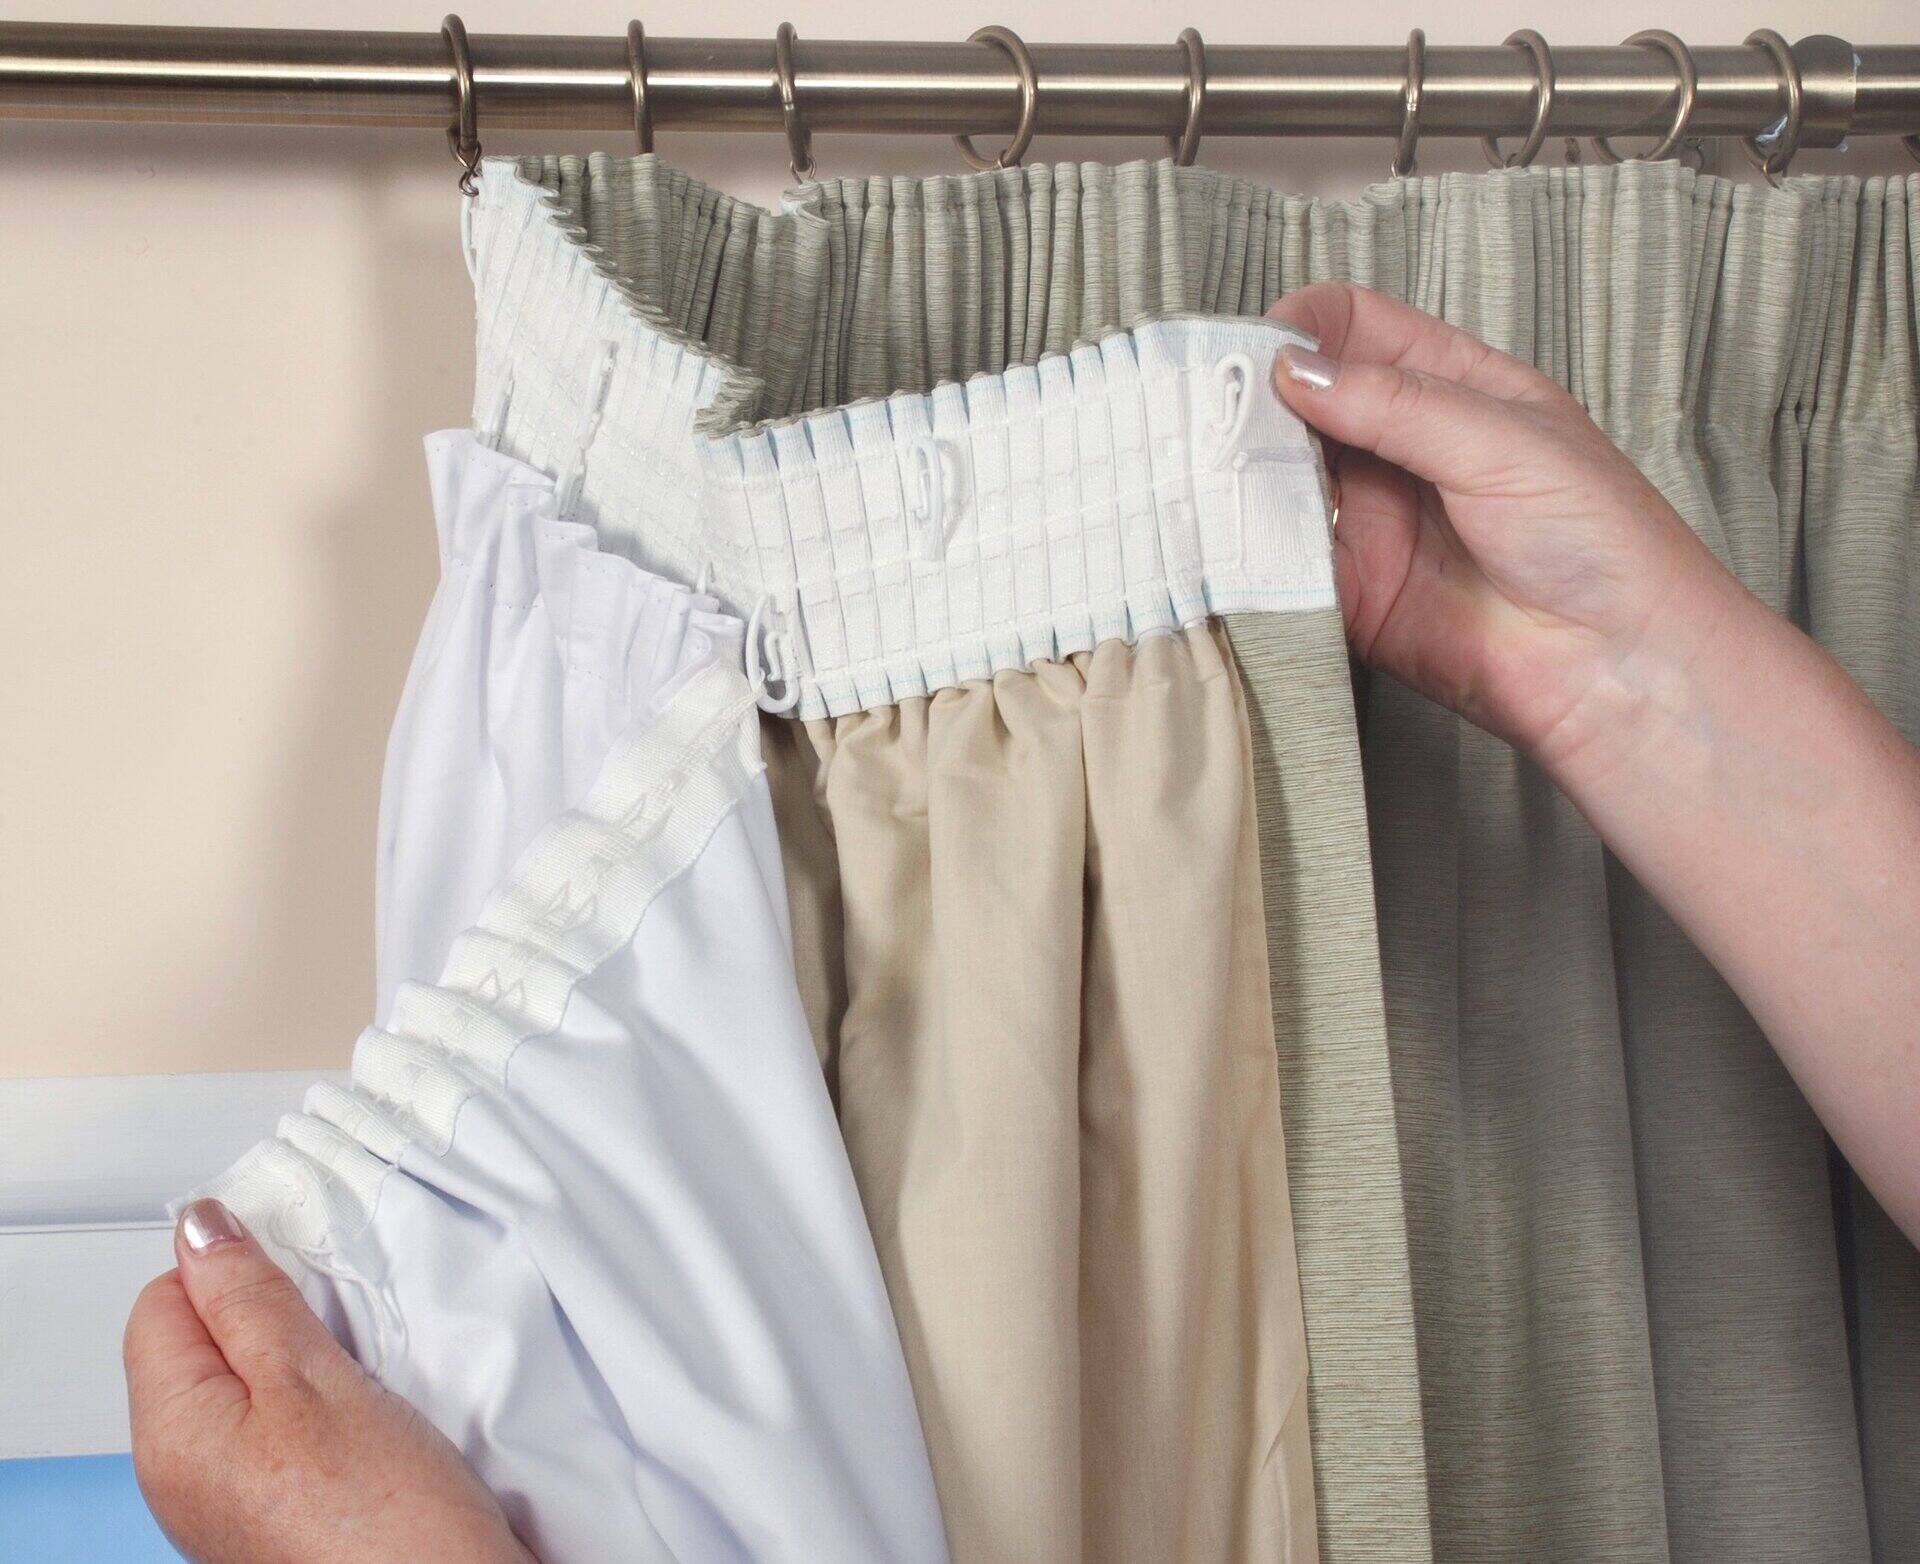
- Attach curtain rings or hooks: If your curtain rod requires curtain rings or hooks, attach them to the top edge of the sheer curtains. Make sure to evenly space them along the width of the curtains.
- Slide the curtains onto the rod: Gently slide the curtain rings or hooks onto the curtain rod. Spread out the gathers evenly along the length of the rod.
- Hang the curtains: Lift the curtain rod with the sheer curtains attached and place it onto the brackets. Ensure that the rod is securely in place.
- Adjust the curtains: Step back and assess the curtain placement. Make any necessary adjustments to ensure that the curtains are evenly distributed and hanging straight.
It’s essential to take your time during this process to ensure that the sheer curtains are hung neatly and evenly. Adjust the curtains as needed to achieve the desired length and fullness.
Keep in mind that sheer curtains are lightweight and may require some experimentation to achieve the desired look. You can try different techniques such as gathering the curtains more tightly or loosely to create different effects.
Once you’re satisfied with the placement and appearance of the sheer curtains, move on to hanging the blackout curtains to complete the layered look and enhance the functionality of your window treatments.
When hanging sheer and blackout curtains together, use double curtain rods to easily switch between the two for privacy and light control.
Read more: How To Hang Blackout Curtains
Hanging the Blackout Curtains
With the sheer curtains elegantly hung, it’s time to move on to hanging the blackout curtains. Follow these steps to ensure a successful installation:
- Prepare the blackout curtains: Start by preparing the blackout curtains just like you did with the sheer curtains. Straighten out any wrinkles or creases, ensuring they are in pristine condition.
- Attach curtain rings or hooks: If your blackout curtains require curtain rings or hooks, attach them to the top edge of the curtains. Space them evenly along the width of the curtains.
- Slide the curtains onto the rod: Carefully slide the curtain rings or hooks onto the curtain rod. Make sure the gathers are evenly spread along the length of the rod.
- Hang the curtains: Lift the curtain rod with the blackout curtains attached and place it onto the brackets alongside the sheer curtains. Ensure that the rod is firmly in place.
- Adjust the curtains: Step back and assess the placement of the blackout curtains. Make any necessary adjustments to ensure they are evenly distributed and hanging straight.
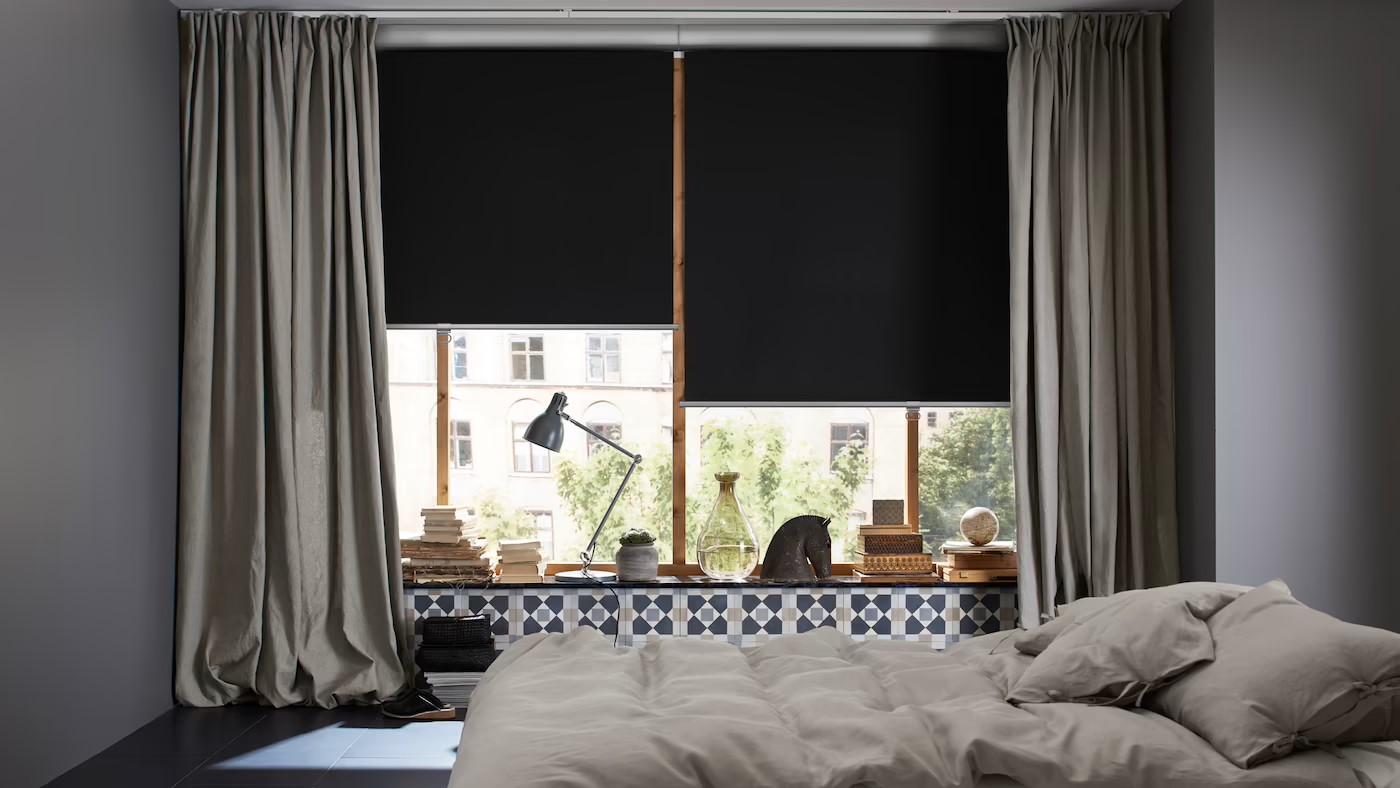
When hanging blackout curtains along with sheer curtains, it’s important to achieve a balanced look. Ensure that both curtains are evenly displayed, and the layers complement each other harmoniously.
Blackout curtains are generally heavier than sheer curtains, so make sure the curtain rod and brackets can support the added weight. If necessary, reinforce the brackets or choose a sturdier curtain rod to ensure stability.
Once the blackout curtains are hung to your liking, step back and admire the completed look. You have successfully created a layered window treatment that combines the elegance of sheer curtains with the light-blocking functionality of blackout curtains.
Now that your sheer and blackout curtains are beautifully hung, it’s time to make a few adjustments for the perfect fit and add some final touches to complete the installation process.
Adjusting the Curtains for Proper Fit
After hanging both the sheer and blackout curtains, it’s important to make any necessary adjustments to ensure a proper fit. Follow these steps to achieve the desired look and functionality:
- Length adjustment: If the curtains are too long, use a measuring tape to determine the desired length. Mark the excess fabric with a pin or clip, and remove the curtains from the rod. Trim the fabric to the desired length, ensuring to leave enough extra for a clean hem. Hem the curtains using a sewing machine or fabric adhesive, or have them professionally altered if needed.
- Fullness adjustment: If you feel that the curtains appear too sparse or too gathered, adjust the gathering or spacing of the curtain rings or hooks. You can remove some rings or hooks to create a more relaxed look, or add more to achieve a fuller appearance. Ensure that the gathers are evenly distributed along the length of the curtains.
- Straightening the curtains: If the curtains are slightly crooked or uneven, gently adjust the position of the rings or hooks on the rod. Ensure that the curtains hang straight and parallel to the floor. Step back and make any necessary tweaks for a clean and uniform appearance.
Take your time and carefully adjust the curtains as needed to achieve the proper fit and aesthetic. The beauty of hanging curtains is that they can be personalized to your liking, so don’t hesitate to experiment and make the necessary changes.
Remember that the goal is to create a seamless and visually appealing look with both the sheer and blackout curtains. Proper adjustments will ensure that the curtains complement each other and create a cohesive window treatment.
Once you’re satisfied with the fit and appearance of the curtains, it’s time to add final touches and consider a few additional factors to enhance your curtain installation.
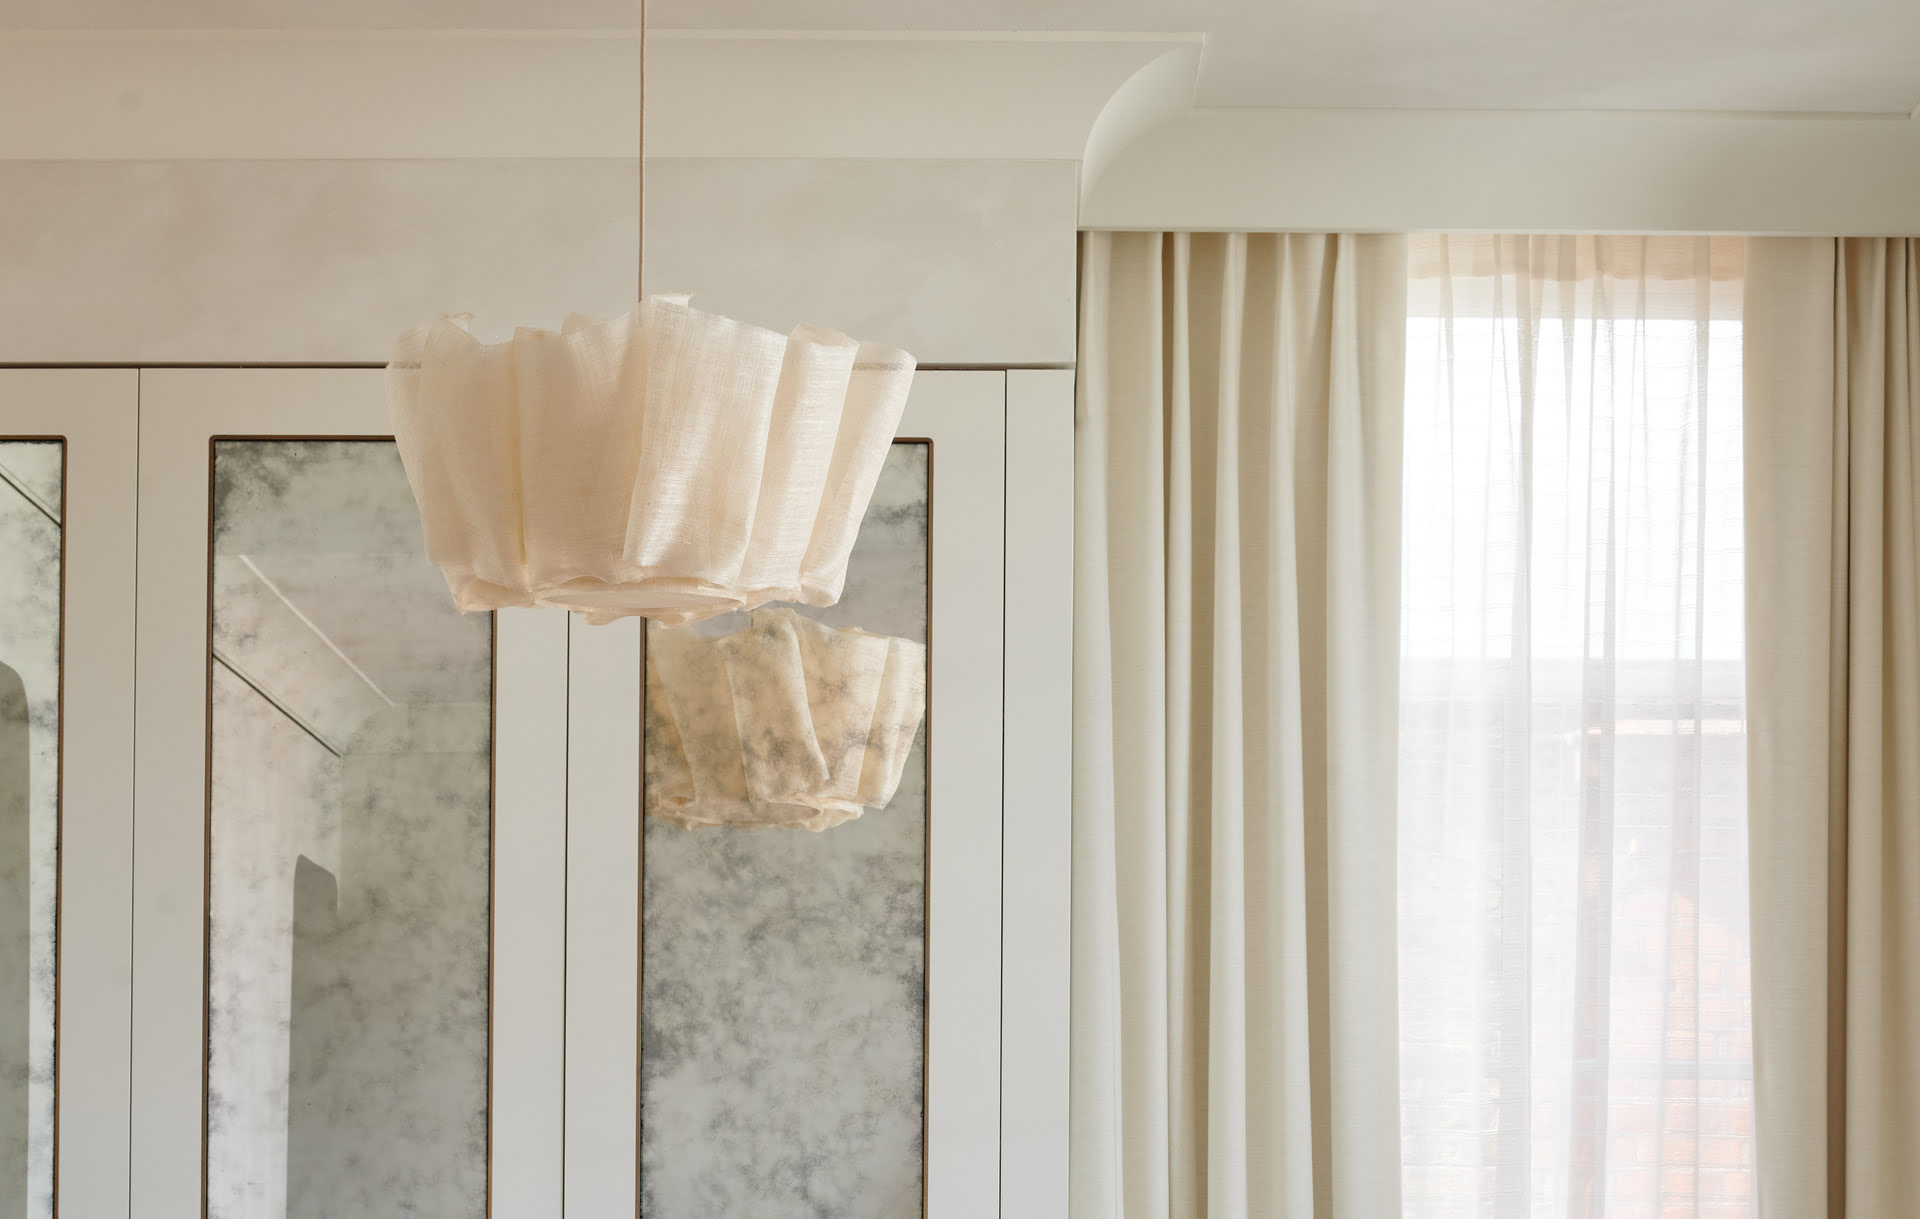
Final Touches and Considerations
With the curtains hung and adjusted to perfection, it’s time to add the final touches and consider a few important factors to complete the installation process. Here are some final touches and considerations for your sheer and blackout curtains:
- Curtain tiebacks or holdbacks: Consider using curtain tiebacks or holdbacks to enhance the overall look and functionality of your curtains. These decorative accessories can hold the curtains to the side when you want to let more light into the room.
- Window treatments for privacy: While sheer curtains provide a certain level of privacy, you may want to consider adding additional window treatments, such as blinds or shades, to further enhance privacy, especially during nighttime.
- Curtain maintenance: Regularly maintain and clean your curtains according to the manufacturer’s instructions. This will help them retain their beauty and functionality over time. Some curtains may require professional cleaning, so be sure to check the care instructions.
- Interior design accents: Consider incorporating other interior design elements like throw pillows, rugs, or artwork that complement the colors and style of your curtains. This will help create a cohesive and visually pleasing space.
- Energy efficiency: Keep in mind that blackout curtains provide insulation benefits, helping to regulate the temperature in your room and potentially reducing energy costs. Take advantage of this feature by properly closing the curtains during the hottest parts of the day or coldest nights.
- Regular inspection: Periodically inspect the curtain rods and brackets to ensure they are securely in place. Check for any signs of wear or damage, and make any necessary repairs or replacements to maintain the structural integrity of the curtain installation.
By giving attention to these final touches and considerations, you can fully maximize the functionality, aesthetic appeal, and longevity of your sheer and blackout curtains.
Now that you have completed the installation and considered the final touches, it’s time to step back and enjoy the beauty, versatility, and functionality that your newly hung curtains bring to your space.
Congratulations on successfully hanging sheer and blackout curtains together! You’ve created a stunning window treatment that combines style, light control, and privacy. Sit back, relax, and bask in the ambiance of your beautifully decorated room.
Happy curtain hanging!
Conclusion
Hanging sheer and blackout curtains together can transform any room, adding elegance, functionality, and a touch of personal style. By layering these curtains, you can enjoy the soft, diffused light of the sheer curtains during the day and create a cozy, dark environment with the blackout curtains at night.
In this comprehensive guide, we’ve covered the essential steps to help you hang sheer and blackout curtains together seamlessly. From choosing the right curtains to gathering the necessary tools and materials, installing the curtain rod, and hanging the curtains, we’ve walked you through each stage of the process.
Remember to take your time during the installation process and make any necessary adjustments for a proper fit. Consider adding final touches like curtain tiebacks or holdbacks, additional window treatments for privacy, and other interior design elements to enhance the overall look and functionality of your curtains.
It’s important to consider maintenance and regular inspections to ensure that your curtains continue to look their best and provide years of enjoyment. Proper cleaning and occasional repairs or replacements will help maintain the integrity of your curtain installation.
By following the steps and considering the suggestions in this guide, you can create a beautiful and practical window treatment that reflects your personal style and enhances the atmosphere of your space.
So, go ahead and unleash your creativity, choose the perfect combination of sheer and blackout curtains, and transform your room into a haven of style, comfort, and functionality. Happy curtain hanging!
Frequently Asked Questions about How To Hang Sheer And Blackout Curtains Together
Was this page helpful?
At Storables.com, we guarantee accurate and reliable information. Our content, validated by Expert Board Contributors, is crafted following stringent Editorial Policies. We're committed to providing you with well-researched, expert-backed insights for all your informational needs.


0 thoughts on “How To Hang Sheer And Blackout Curtains Together”