Home>Articles>How To Hang Curtains On Windows With Crown Molding
Articles
How To Hang Curtains On Windows With Crown Molding
Modified: May 6, 2024
Discover practical tips and step-by-step instructions for hanging curtains on windows with crown molding. Read our informative articles to create a polished and stylish window treatment.
(Many of the links in this article redirect to a specific reviewed product. Your purchase of these products through affiliate links helps to generate commission for Storables.com, at no extra cost. Learn more)
Introduction
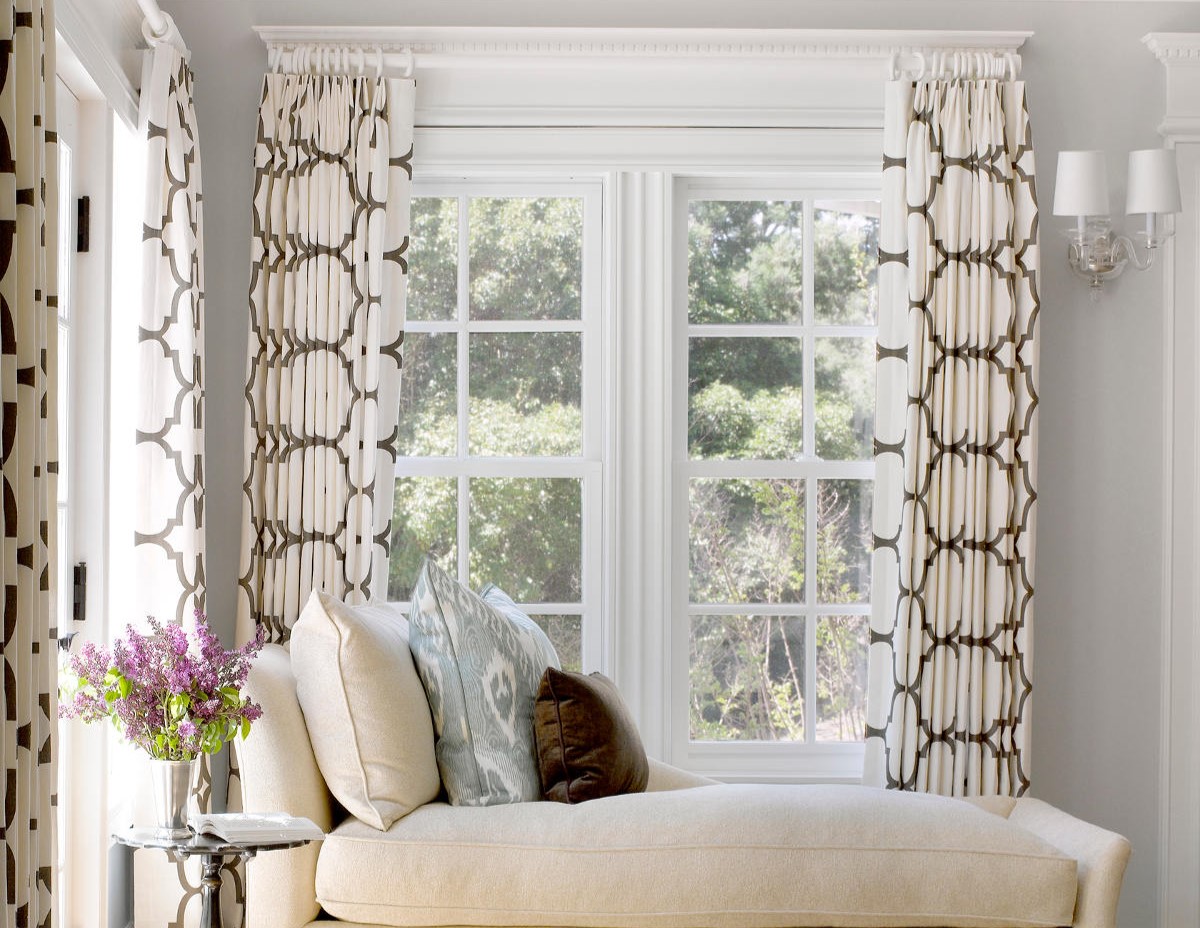
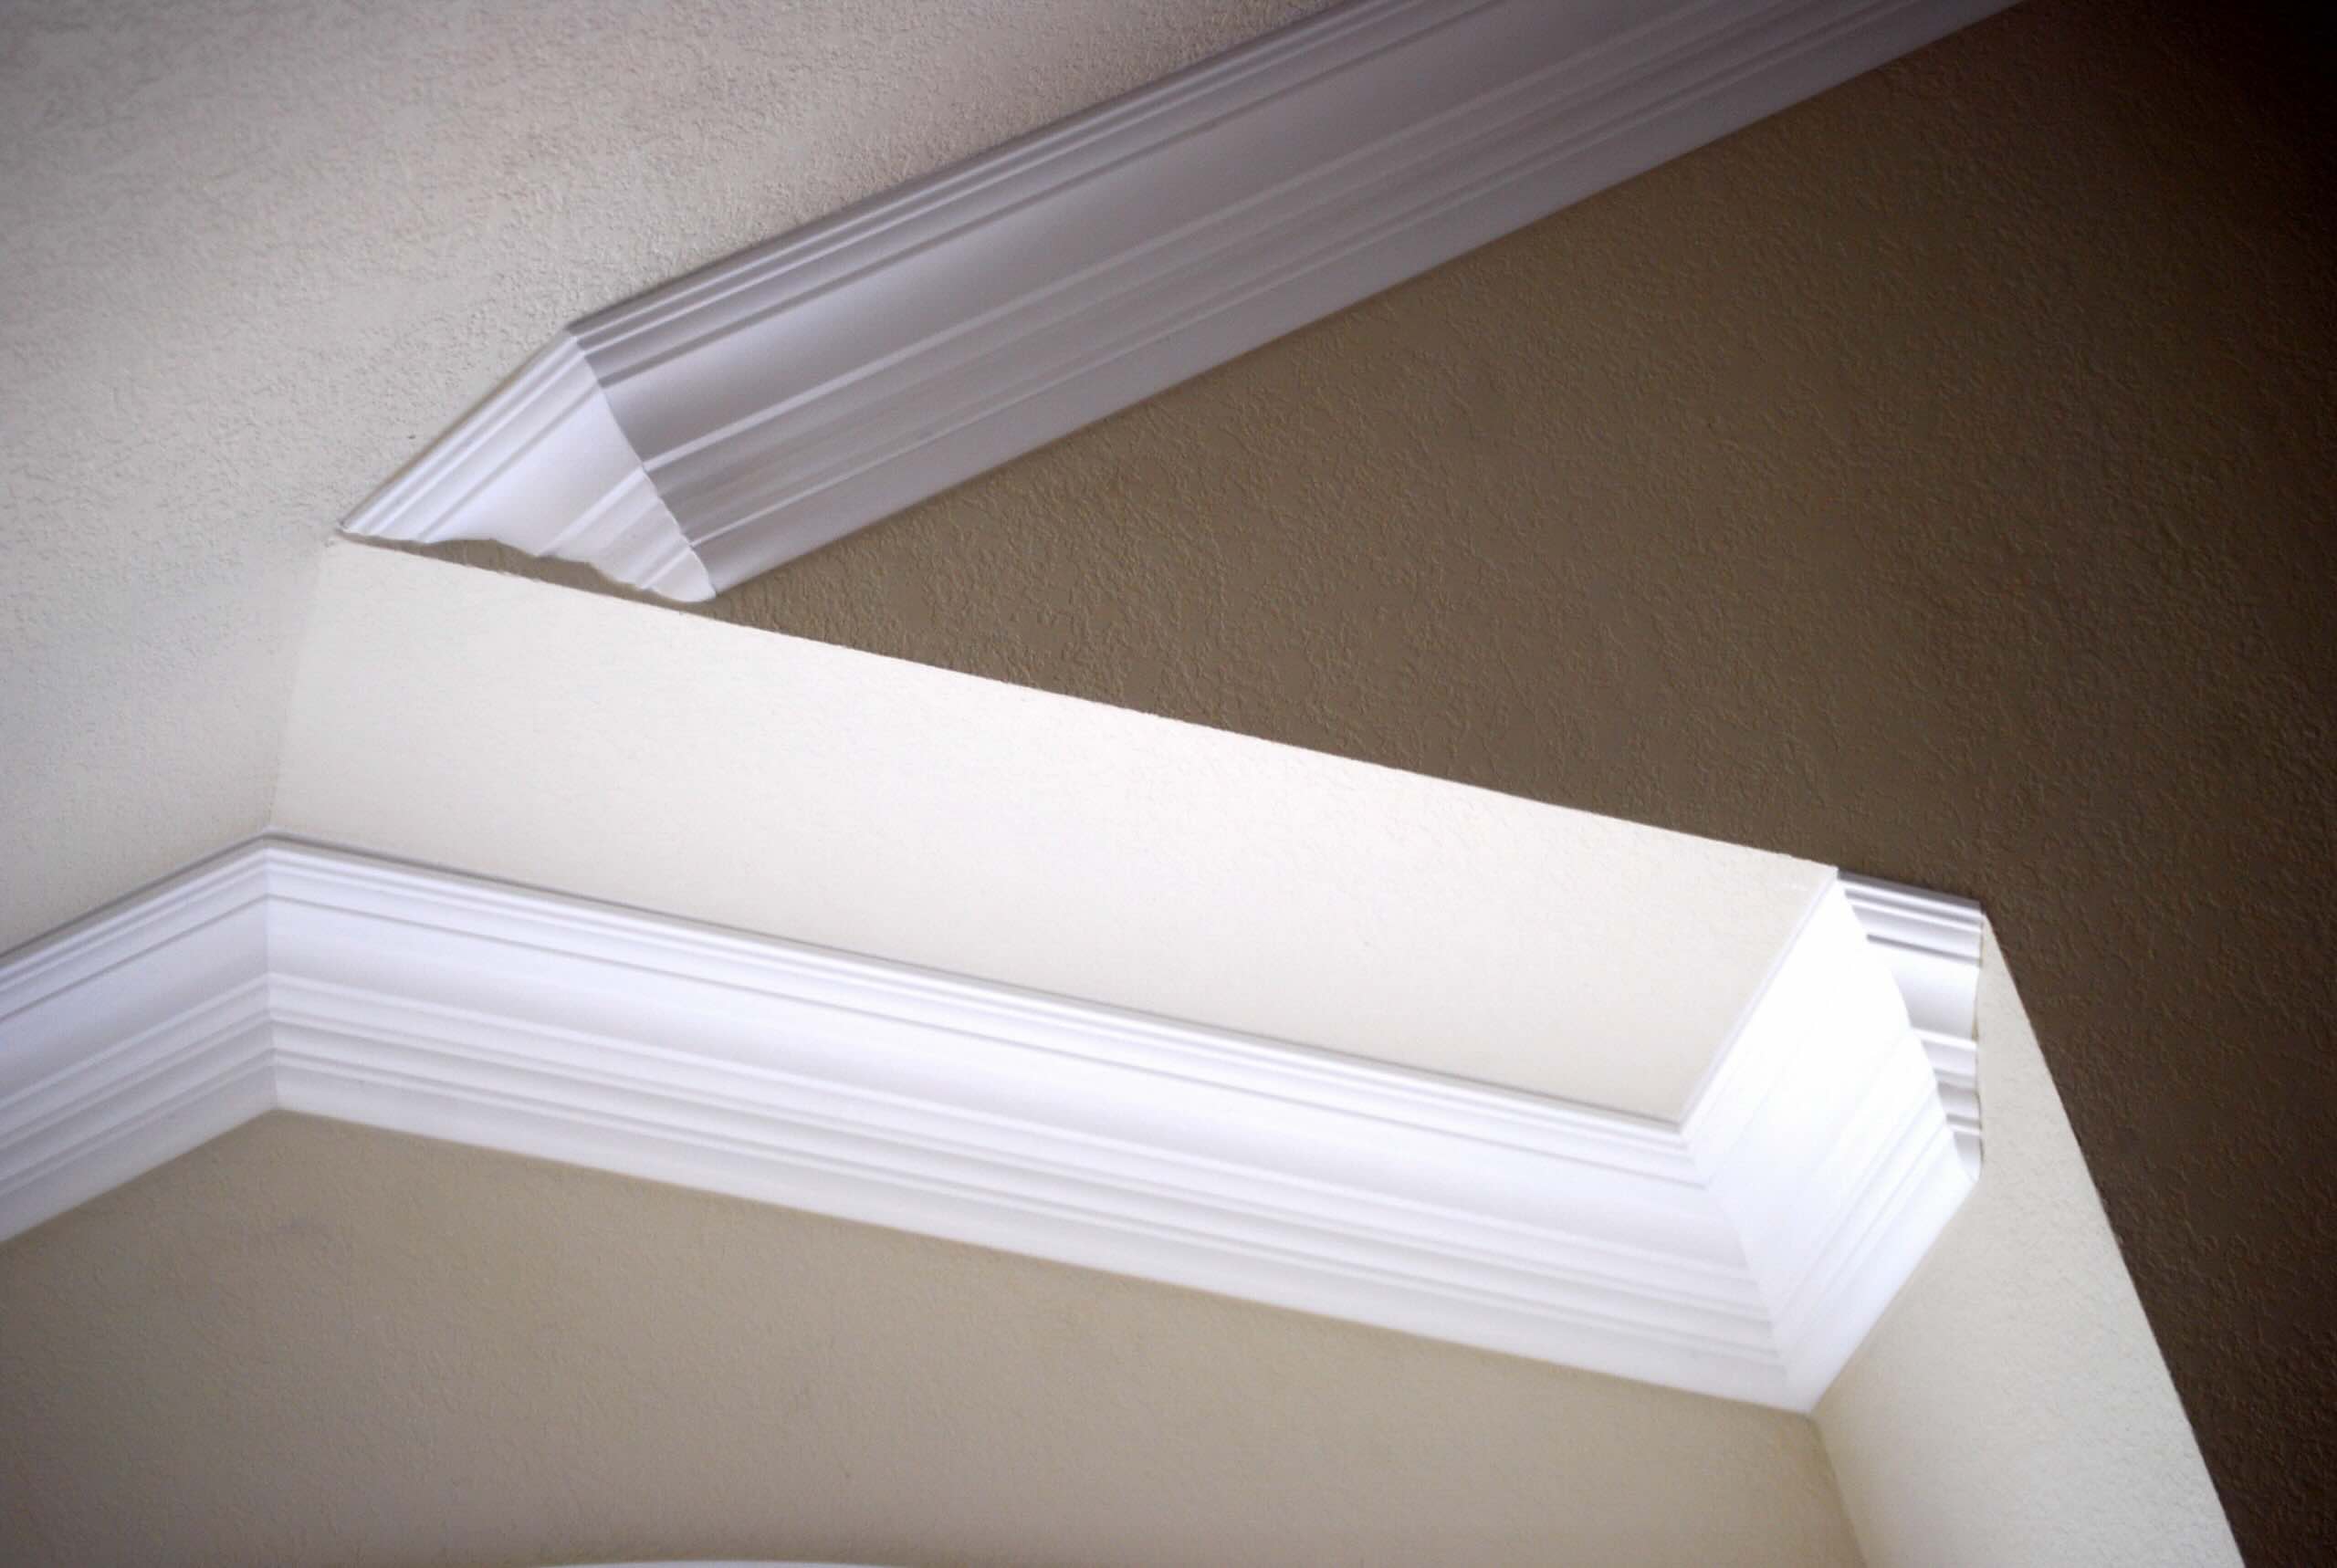
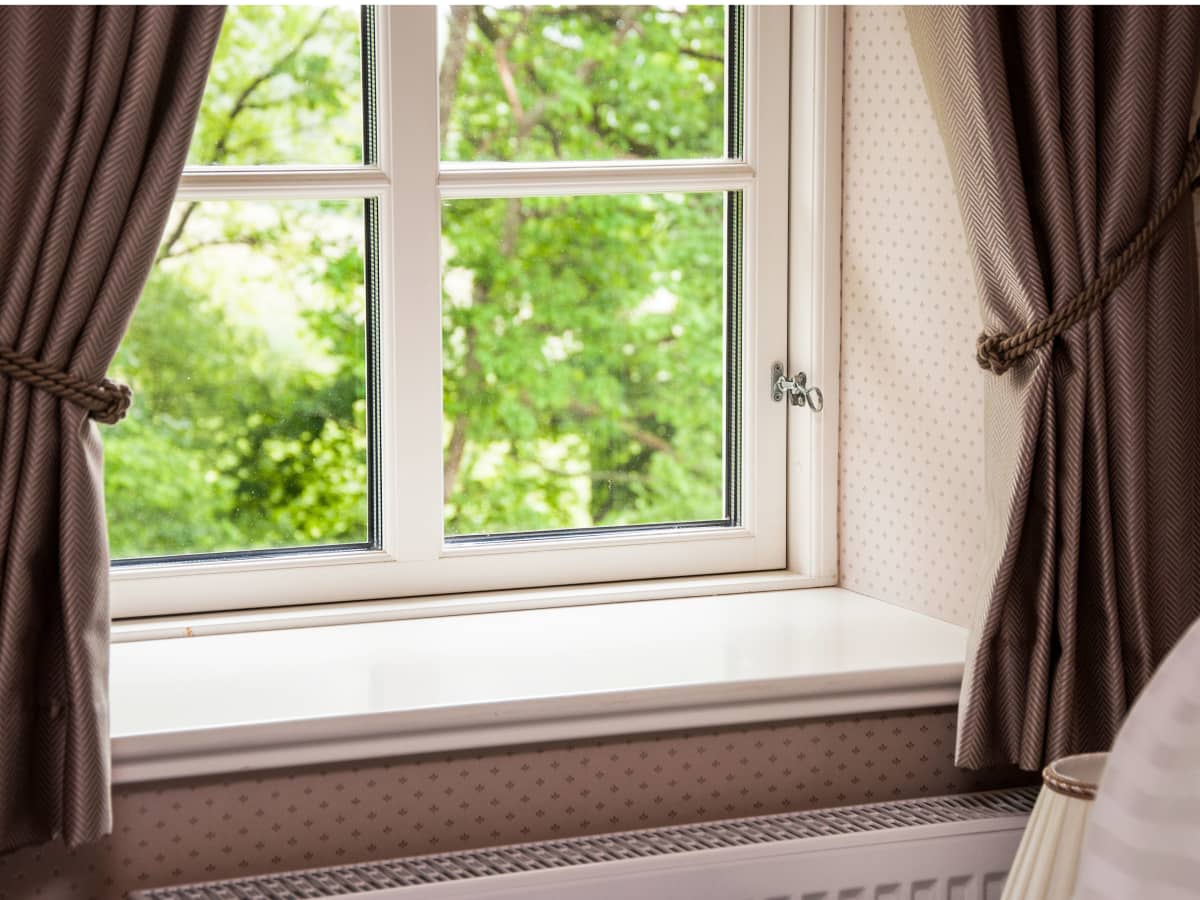
When it comes to decorating your windows, hanging curtains is a simple yet effective way to add style and functionality to your space. However, if your windows have crown molding, you may face a unique challenge in finding the right method to hang your curtains securely and aesthetically. In this article, we will guide you through the process of hanging curtains on windows with crown molding, so you can achieve the perfect balance of style and practicality.
Hanging curtains on windows with crown molding requires careful consideration and proper installation techniques to ensure that the curtains hang straight and do not damage the molding. By following the steps and using the right tools, you can achieve a professional-looking result that enhances the overall appeal of your windows and complements your interior décor.
Before you begin, it’s important to gather all the necessary tools and materials. This will make the process smoother and help you avoid any unexpected delays. Now, let’s dive into the step-by-step guide on how to hang curtains on windows with crown molding.
Key Takeaways:
- Hanging curtains on windows with crown molding requires careful measurement, selection of compatible curtain rod brackets, and secure installation to achieve a professional and visually appealing window treatment.
- After hanging the curtains, it’s important to make adjustments for length, fullness, and placement to ensure a polished and inviting atmosphere in your living space. Regular upkeep will help maintain their desired look.
Read more: How To Hang Curtains On A Corner Window
Tools and Materials Needed
Before you start hanging curtains on windows with crown molding, gather the following tools and materials:
- Measuring tape: to accurately measure the height and width of your windows and determine the curtain length.
- Pencil: for marking the height and position of the curtain rod brackets.
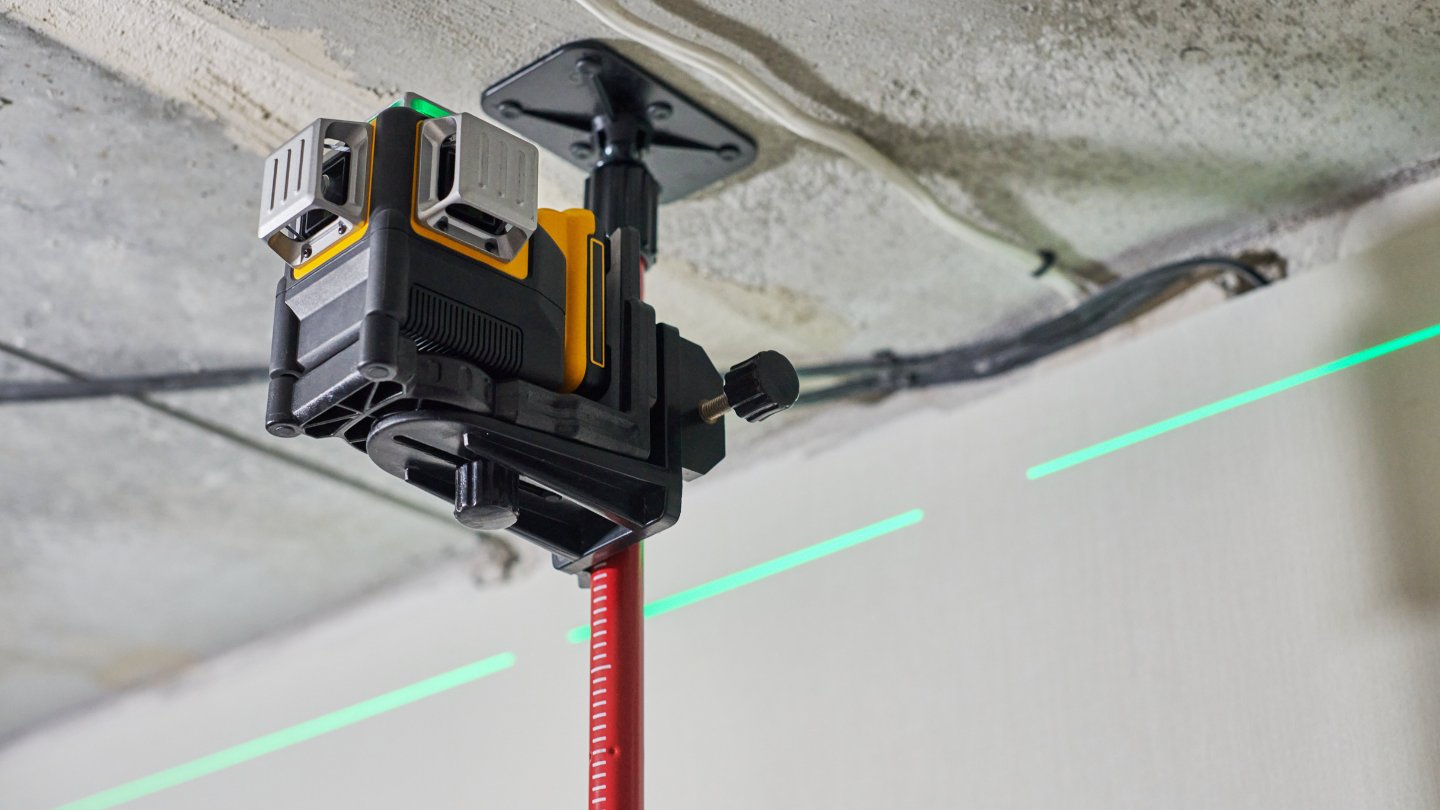
- Level: to ensure that the curtain rod is straight and level.
- Drill: for drilling holes in the wall or crown molding to install the curtain rod brackets.
- Screwdriver: to secure the curtain rod brackets and attach the curtain rod.
- Curtain rod brackets: choose brackets that are suitable for windows with crown molding. They should have an adjustable projection to clear the molding.
- Curtain rod: select a rod that matches your preferred style and can support the weight of your curtains.
- Screws and anchors: to securely attach the curtain rod brackets to the wall or crown molding.
- Curtains: choose curtains that suit your aesthetic preferences and the size of your windows. Consider the length, width, and fabric weight.
- Curtain rings or clips: if your curtains require them for easy attachment to the curtain rod.
Having these tools and materials on hand will ensure a smooth and successful curtain hanging process. Now that you’re equipped with everything you need, let’s move on to the step-by-step instructions for hanging curtains on windows with crown molding.
Step 1: Measure and Mark the Height
The first step in hanging curtains on windows with crown molding is to accurately measure and mark the height at which you want to install the curtain rod. This will ensure that your curtains hang at the desired level and complement the proportions of your windows and room.
Start by using a measuring tape to determine the distance from the floor to the desired height of the curtain rod. Keep in mind that curtains typically hang slightly above the window frame to create a visually appealing look.
Next, use a pencil to mark the height on both sides of the window. Make sure the marks are straight and level. If your window has decorative elements on the crown molding, consider whether you want the curtains to hang above or below these elements.
If you have multiple windows in the same room, ensure that the curtain rods are at the same height for a consistent look. Use a level to verify that the marks are aligned horizontally.
Once you have marked the height, take a step back and visually assess whether the placement looks balanced and aesthetically pleasing. Make any necessary adjustments to the marks before moving on to the next step.
By taking the time to measure and mark the height accurately, you will set the foundation for a well-balanced and visually pleasing curtain installation. Now that you have marked the height, let’s move on to choosing the curtain rod and brackets in the next step.
Step 2: Choose the Curtain Rod and Brackets
Choosing the right curtain rod and brackets is crucial for a successful installation on windows with crown molding. You need to select options that are compatible with the molding and provide the necessary support for your curtains. Here’s what you need to consider:
1. Adjustable Projection: Look for curtain rod brackets with an adjustable projection, which allows you to clear the crown molding. This feature ensures that the curtains hang freely without obstructing the molding.
2. Material and Style: Select curtain rod brackets that complement the aesthetic of your curtains and the overall décor of the room. Popular options include metal, wood, and decorative brackets with various finishes and designs.
3. Weight Capacity: Consider the weight of your curtains and choose a curtain rod with brackets that can support the load. Heavier curtains may require sturdier brackets or additional support in the form of center support brackets.
4. Curtain Rod Length: Measure the width of your window and choose a curtain rod that extends beyond the window frame by a few inches on each side. This allows the curtains to completely cover the window when closed and gives a wider appearance to the window when open.
Once you have selected the curtain rod and brackets that meet your requirements, you can proceed to the installation process. In the next step, we will guide you through installing the curtain rod brackets securely on the window with crown molding.
Step 3: Install the Curtain Rod Brackets
Now that you have chosen the appropriate curtain rod brackets, it’s time to install them securely on the window with crown molding. Follow these steps:
1. Positioning: Hold one of the brackets against the wall or crown molding at the marked height. Ensure that the bracket is level and aligned with the mark. Use a pencil to mark the screw holes of the bracket.
2. Preparing the Holes: If you are installing the brackets on the wall, use a drill and an appropriate drill bit to create pilot holes at the marked screw hole locations. If you are installing the brackets on the crown molding, you can use a smaller drill bit or a screwdriver to create the pilot holes.
3. Attaching the Brackets: Place the bracket back against the wall or crown molding, aligning it with the pilot holes. Insert screws through the bracket’s screw holes and into the pilot holes. Use a screwdriver or a drill with the appropriate screwdriver bit to tighten the screws. Repeat this step for the second bracket.
4. Checking Levelness: Use a level to ensure that both brackets are straight and level. Make any necessary adjustments by loosening or tightening the screws.
5. Testing Stability: Gently tug on the brackets to make sure they are securely attached and can support the weight of the curtain rod and curtains. If there is any wobbling or instability, double-check the screw tightness and consider using anchors for additional stability.
Note: If your window has a wide span or if you are using heavy curtains, you may need to install center support brackets to provide extra support for the curtain rod. Follow the manufacturer’s instructions to install them properly.
By following these steps, you will have successfully installed the curtain rod brackets on your window with crown molding. The next step is to attach the curtain rod to the brackets and prepare for hanging the curtains.
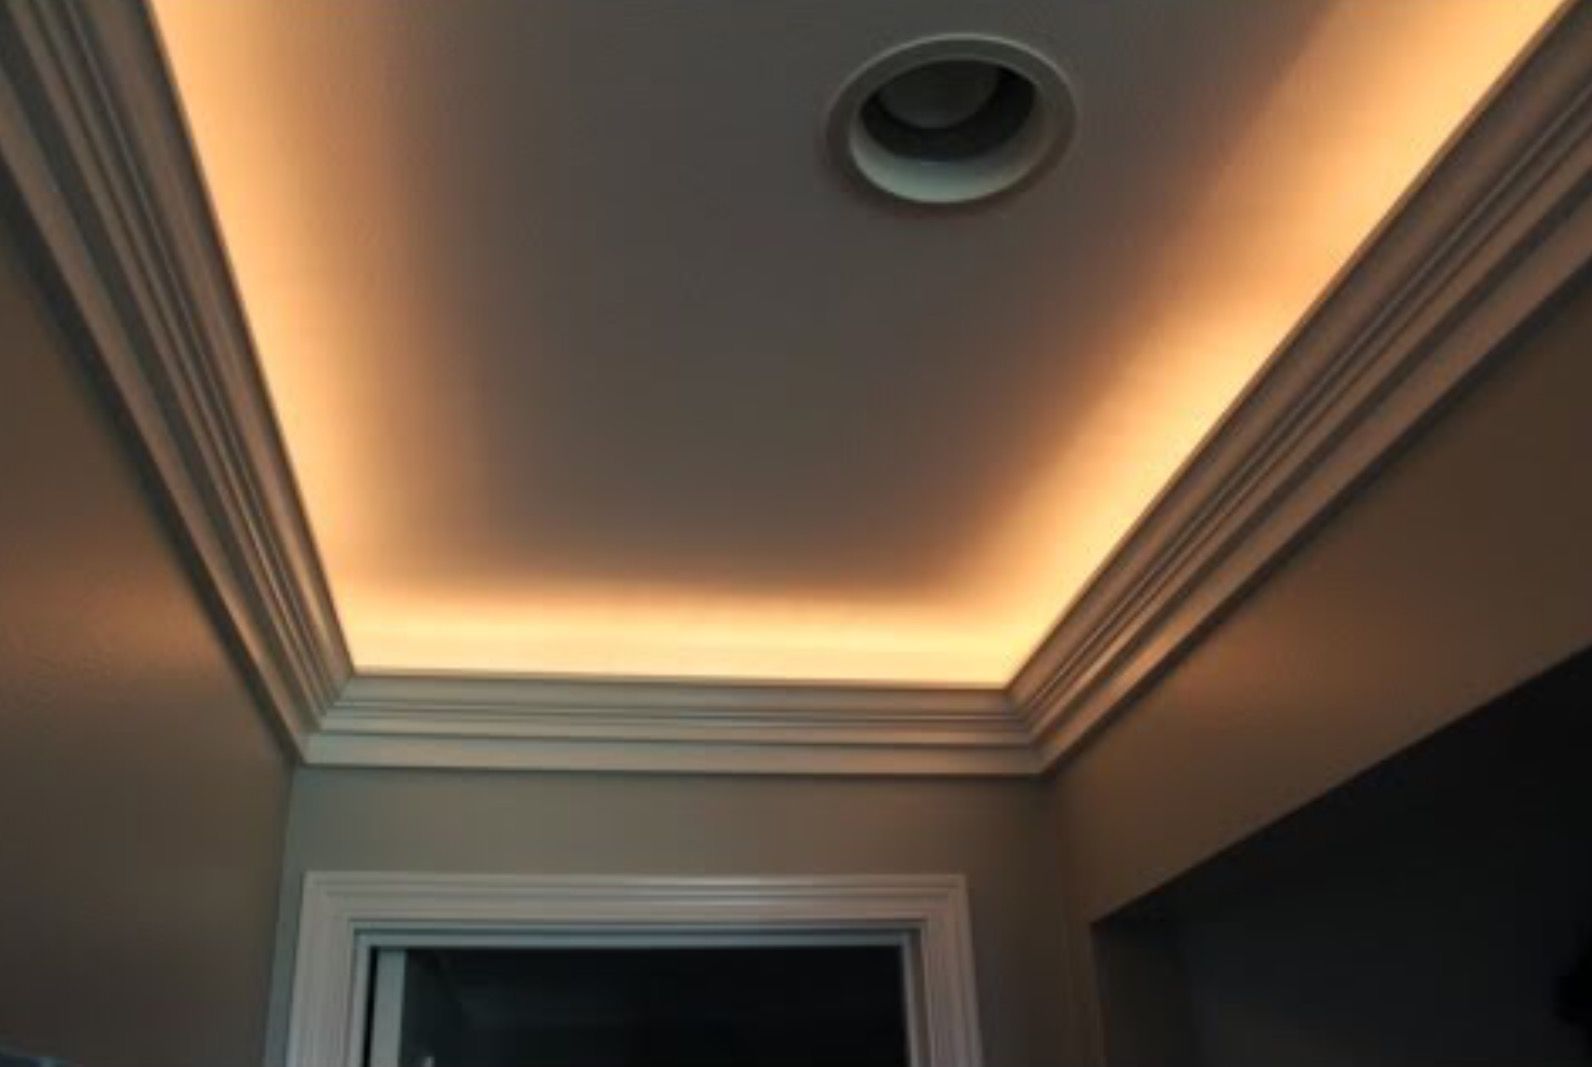
When hanging curtains on windows with crown molding, use curtain rod brackets that are designed to extend beyond the molding, allowing the curtains to hang freely without obstruction.
Step 4: Attach the Curtain Rod
With the curtain rod brackets securely installed, it’s time to attach the curtain rod. Follow these steps:
1. Measure and Cut: Measure the width of the window again to ensure an accurate fit. If necessary, use a saw or a pipe cutter to trim the curtain rod to the correct length. Take into consideration the extra width needed for the finials or decorative ends of the curtain rod.
2. Insert the Rod: Slide the curtain rod through the rod pocket or rings of your curtains. If you’re using curtain rings or clips, attach them to the rod before inserting it into the brackets.
3. Align the Rod: Carefully align the ends of the curtain rod with the openings in the curtain rod brackets. Insert the rod into the brackets by sliding it through the openings. Ensure that the rod is level and evenly aligned with the brackets.
4. Secure the Rod: Depending on the type of curtain rod brackets you have, there may be screws or other mechanisms to secure the rod in place. Follow the manufacturer’s instructions to properly secure the rod within the brackets. This will prevent the rod from shifting or falling when the curtains are opened or closed.
5. Stability Check: Give the curtain rod a gentle tug to test its stability. It should be securely held in place by the brackets. If there is any movement or instability, double-check the attachment of the brackets and tighten any screws or mechanisms as needed.
Once the curtain rod is securely attached, you’re ready to move on to the next step, which is hanging the curtains on the rod. This step will bring your window treatment to life and complete the overall look and functionality.
Step 5: Hang the Curtains
Now that the curtain rod is securely attached, it’s time to hang the curtains. Follow these steps:
1. Prepare the Curtains: Ensure that your curtains are in good condition and free from wrinkles or creases. If necessary, iron or steam them to remove any wrinkles before hanging.
2. Open the Curtains: Spread out the curtains and hold them up to the curtain rod. If you’re using curtain rings or clips, attach them to the top edge of the curtains evenly spaced. If your curtains have a rod pocket, slide the rod through the pocket.
3. Arrange the Curtains: Evenly distribute the fabric along the length of the curtain rod. Adjust the position and gather the fabric to create the desired fullness and drape. Step back and assess the appearance, making any adjustments to ensure an even and balanced look.
4. Test the Movement: Gently open and close the curtains to ensure they glide smoothly along the curtain rod. If there is any resistance or dragging, adjust the fabric or curtain rings/clips as necessary to facilitate smooth movement.
5. Finishing Touches: Once the curtains are hanging properly, take a moment to ensure they are evenly positioned on the curtain rod and that any patterns or designs are aligned correctly. Make any final adjustments to the arrangement and drape of the curtains as needed.
Your curtains are now successfully hung on the window with crown molding! The next step is to adjust and arrange the curtains to achieve the desired aesthetic and functionality, which will be covered in the next step.
Step 6: Adjust and Arrange the Curtains
After you have hung the curtains on the window with crown molding, it’s time to make any necessary adjustments and arrange them in a way that enhances the overall look and functionality. Follow these steps:
1. Length Adjustment: Determine if the curtains are the desired length. If they are too long, you may need to hem them to the appropriate length. If they are too short, consider using curtain clips or adding a decorative fabric border at the bottom to extend their length.
2. Fullness Adjustment: Assess the fullness of the curtains and adjust if necessary. If you prefer a fuller look, consider adding more panels or using wider curtains. If you prefer a sleeker appearance, remove excess fabric or adjust the gathers and pleats.
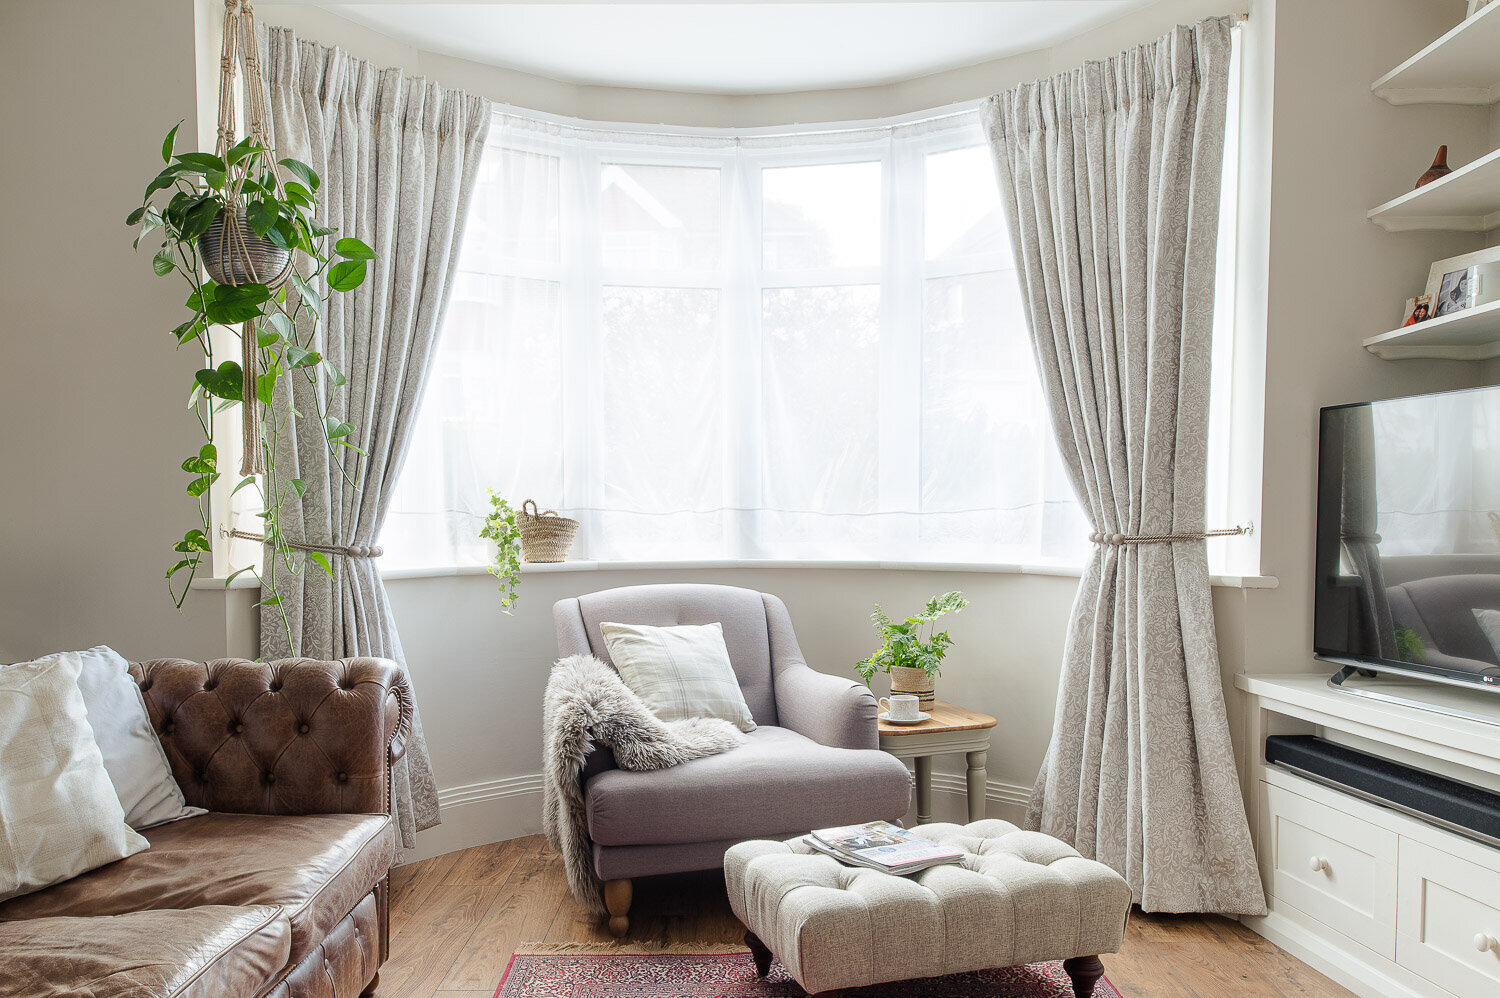
3. Curtain Tiebacks or Holdbacks: If you want to gather the curtains to the sides of the window, install curtain tiebacks or holdbacks. They can add a decorative touch while allowing more natural light to enter the room.
4. Curtain Placement: Take a step back and evaluate the positioning of the curtains. Ensure that they are evenly distributed on both sides of the window. Adjust the width so that they frame the window nicely without covering too much of the glass or crown molding.
5. Final Touches: Spend some time arranging the folds and pleats of the curtains to create an attractive and cohesive look. Step back and observe the overall appearance, making any additional adjustments as needed.
Note: It’s important to periodically check and adjust the curtain placement and arrangement, as they may shift over time due to usage or cleaning. Regular upkeep will help maintain their desired look.
By following these adjustment and arrangement steps, you can ensure that your curtains on the window with crown molding are visually appealing, functional, and enhance the overall atmosphere of the room.
Remember, hanging curtains on windows with crown molding requires attention to detail and proper installation techniques to achieve a professional and polished look. By following the step-by-step guide outlined in this article, you can confidently hang curtains that beautifully complement your windows and add a touch of style to your space.
Now, step back and admire your handiwork. Your curtains are ready to impress!
Conclusion
Hanging curtains on windows with crown molding may seem like a challenging task, but with the right tools and techniques, you can achieve a seamless and stylish window treatment. By following the step-by-step guide outlined in this article, you can confidently hang curtains that beautifully complement your windows and enhance the overall aesthetics of your space.
Start by measuring and marking the height at which you want to install the curtain rod, taking into consideration the presence of crown molding and any decorative elements. Choose the appropriate curtain rod and brackets that are compatible with the molding and can support the weight of your curtains.
Install the curtain rod brackets securely, making sure they are level and stable. Attach the curtain rod to the brackets and ensure it is properly secured. Then, hang the curtains on the rod, adjusting the length and fullness as needed. Finally, make any necessary adjustments and arrangements to achieve the desired look and functionality.
Remember, regularly check and adjust the curtain placement and arrangement to maintain their desired appearance over time. By paying attention to detail and taking the time to properly install and arrange your curtains, you can create a polished and inviting atmosphere in your living space.
Now, armed with the knowledge and guidance provided in this article, you are ready to confidently hang curtains on windows with crown molding. Enjoy the transformation and the added charm and elegance that curtains can bring to your windows!
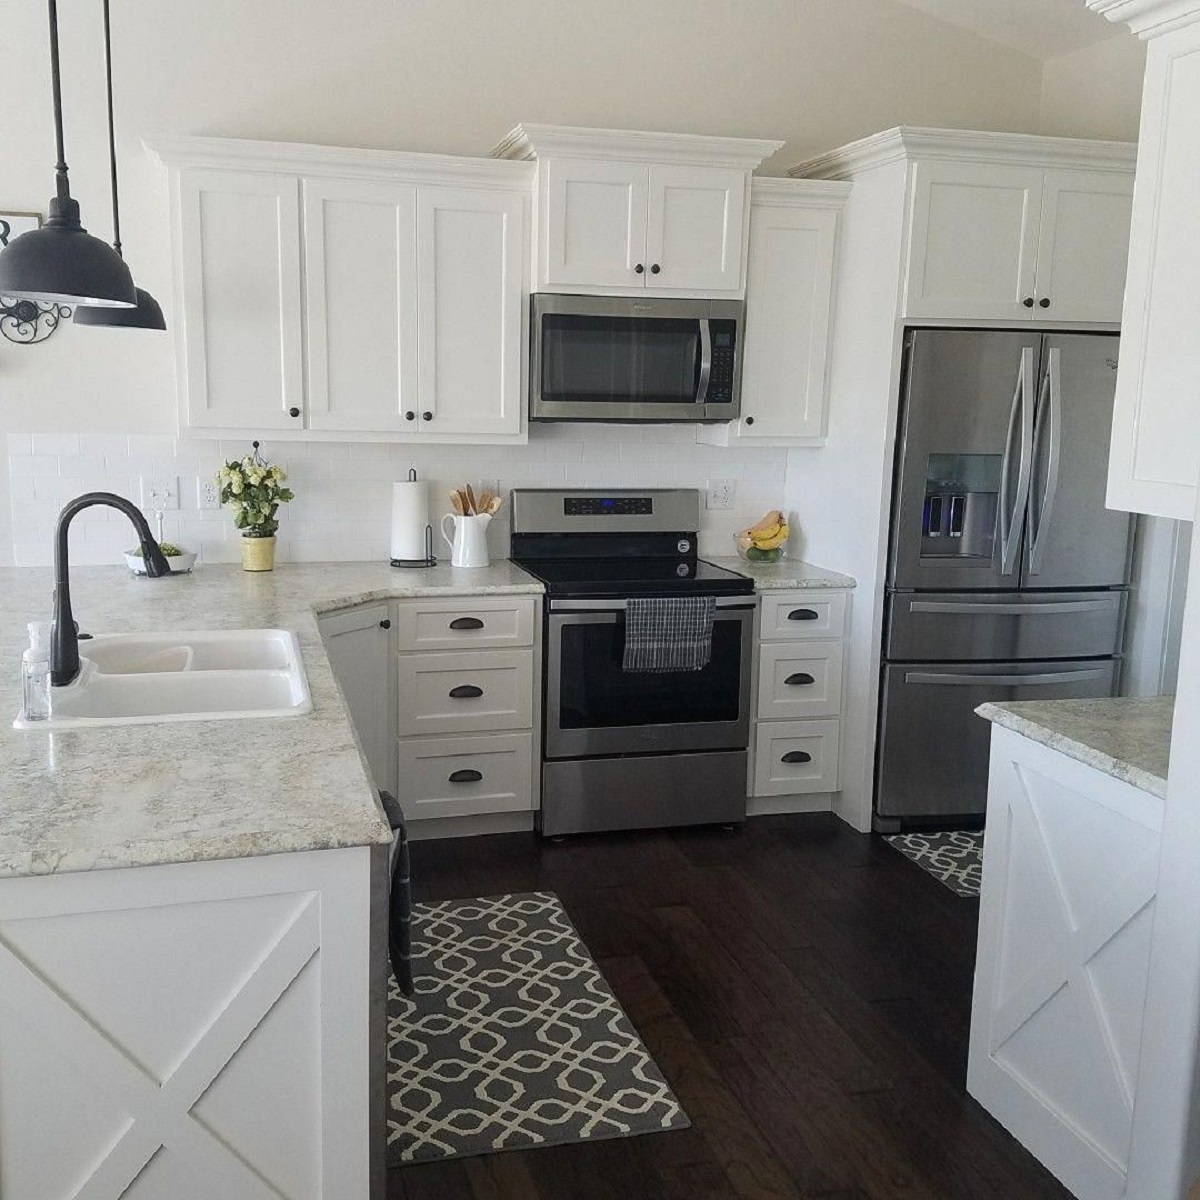
Ready to spruce up your space even more? For those who enjoyed our curtain hanging guide, mastering the art of adding crown molding around your kitchen cabinets is a perfect next step. This detailed guide ensures your kitchen stands out with a refined touch. If you're looking to revamp your living quarters without breaking the bank, our decorating tips for rental homes offer smart, budget-friendly strategies to personalize your space, making it feel like home sweet home.
Frequently Asked Questions about How To Hang Curtains On Windows With Crown Molding
Was this page helpful?
At Storables.com, we guarantee accurate and reliable information. Our content, validated by Expert Board Contributors, is crafted following stringent Editorial Policies. We're committed to providing you with well-researched, expert-backed insights for all your informational needs.


0 thoughts on “How To Hang Curtains On Windows With Crown Molding”