Articles
How Do You Clean Curtains
Modified: October 27, 2024
Learn effective techniques for cleaning curtains in this comprehensive article. Find step-by-step instructions and expert tips to keep your curtains fresh and beautiful.
(Many of the links in this article redirect to a specific reviewed product. Your purchase of these products through affiliate links helps to generate commission for Storables.com, at no extra cost. Learn more)
Introduction
Curtains not only add a touch of elegance and style to a room, but they also serve a practical purpose by blocking out light and providing privacy. Over time, curtains can accumulate dust, dirt, and stains, which can compromise their appearance and cleanliness. That’s why it’s important to know how to properly clean your curtains to keep them looking fresh and beautiful.
In this article, we will provide you with a comprehensive guide on how to clean your curtains effectively. Whether you have delicate sheer curtains or heavy drapes, we have got you covered. We will walk you through the step-by-step process of cleaning your curtains, highlighting different cleaning methods depending on the fabric and level of dirtiness.
Before you begin the cleaning process, it’s important to note that not all curtains can be treated in the same way. The fabric, color, and embellishments such as trim or tassels can influence the cleaning method you should use. Therefore, it is crucial to carefully read and follow the care instructions provided with your curtains.
Now, let’s dive into the steps involved in cleaning your curtains and restore their original beauty.
Key Takeaways:
- Properly cleaning curtains involves removing, checking care instructions, vacuuming, spot cleaning, determining the cleaning method, washing, drying, ironing or steaming, and rehanging. Following these steps ensures fresh, beautiful curtains.
- Understanding fabric types, care instructions, and suitable cleaning methods is crucial for maintaining the cleanliness and longevity of curtains. Whether machine washing, hand washing, or dry cleaning, the right approach preserves the beauty of curtains.
Read more: How Do You Steam Curtains
Step 1: Remove the curtains
The first step in cleaning your curtains is to carefully remove them from the curtain rod or track. Take your time to ensure that you don’t damage or tear the fabric in the process. If your curtains have hooks, unhook them one by one. For curtains with grommets or eyelets, gently slide them off the curtain rod.
Once you have successfully taken down the curtains, lay them on a clean surface, such as a bed or a table, ensuring that the fabric is spread out flat. If your curtains are too long, you might need to fold them neatly before placing them down. Avoid crumpling or bunching the fabric, as this can make it more difficult to remove stains and wrinkles later on.
It’s a good idea to shake the curtains out gently to remove any loose dust or dirt particles. This step will help reduce the amount of dirt you’ll have to deal with during the cleaning process. If possible, take your curtains outside and give them a gentle shake to dislodge any debris.
Removing the curtains from the windows is an essential first step as it allows you to clean them more effectively, ensuring that you reach all areas of the fabric and treat any stains properly. It also prevents any cleaning solutions or water from damaging your windows or window frames.
Now that you’ve successfully removed the curtains, let’s move on to the next step: checking the care instructions.
Step 2: Check the care instructions
Before proceeding with any cleaning method, it’s crucial to check the care instructions provided by the manufacturer or on the label attached to your curtains. The care instructions will inform you about the recommended cleaning methods, temperatures, and any specific precautions you need to take.
Start by examining the label on your curtains. Look for symbols that indicate the appropriate cleaning method, such as machine washing, hand washing, or dry cleaning. Pay attention to temperature restrictions and any other special instructions, such as avoiding bleach or fabric softeners.
If your curtains don’t have a label, or if it has faded or become illegible over time, you can do a quick online search using the specific fabric type or brand to find the recommended cleaning methods. Many curtain manufacturers provide detailed care instructions on their websites.
It’s important to note that some curtains may be labeled as “dry clean only.” In such cases, it’s best to follow the instructions and take them to a professional dry cleaner. Attempting to clean “dry clean only” curtains at home may result in damage or shrinkage.
If the care instructions allow for machine washing or hand washing, proceed to the next step. If not, we will explore alternative cleaning methods later in this guide.
Checking the care instructions is essential to ensure that you clean your curtains in a way that won’t damage the fabric or compromise their quality. Following the recommended cleaning methods will help you maintain the longevity and appearance of your curtains.
Now that you’ve checked the care instructions, let’s move on to step 3: vacuuming the curtains.
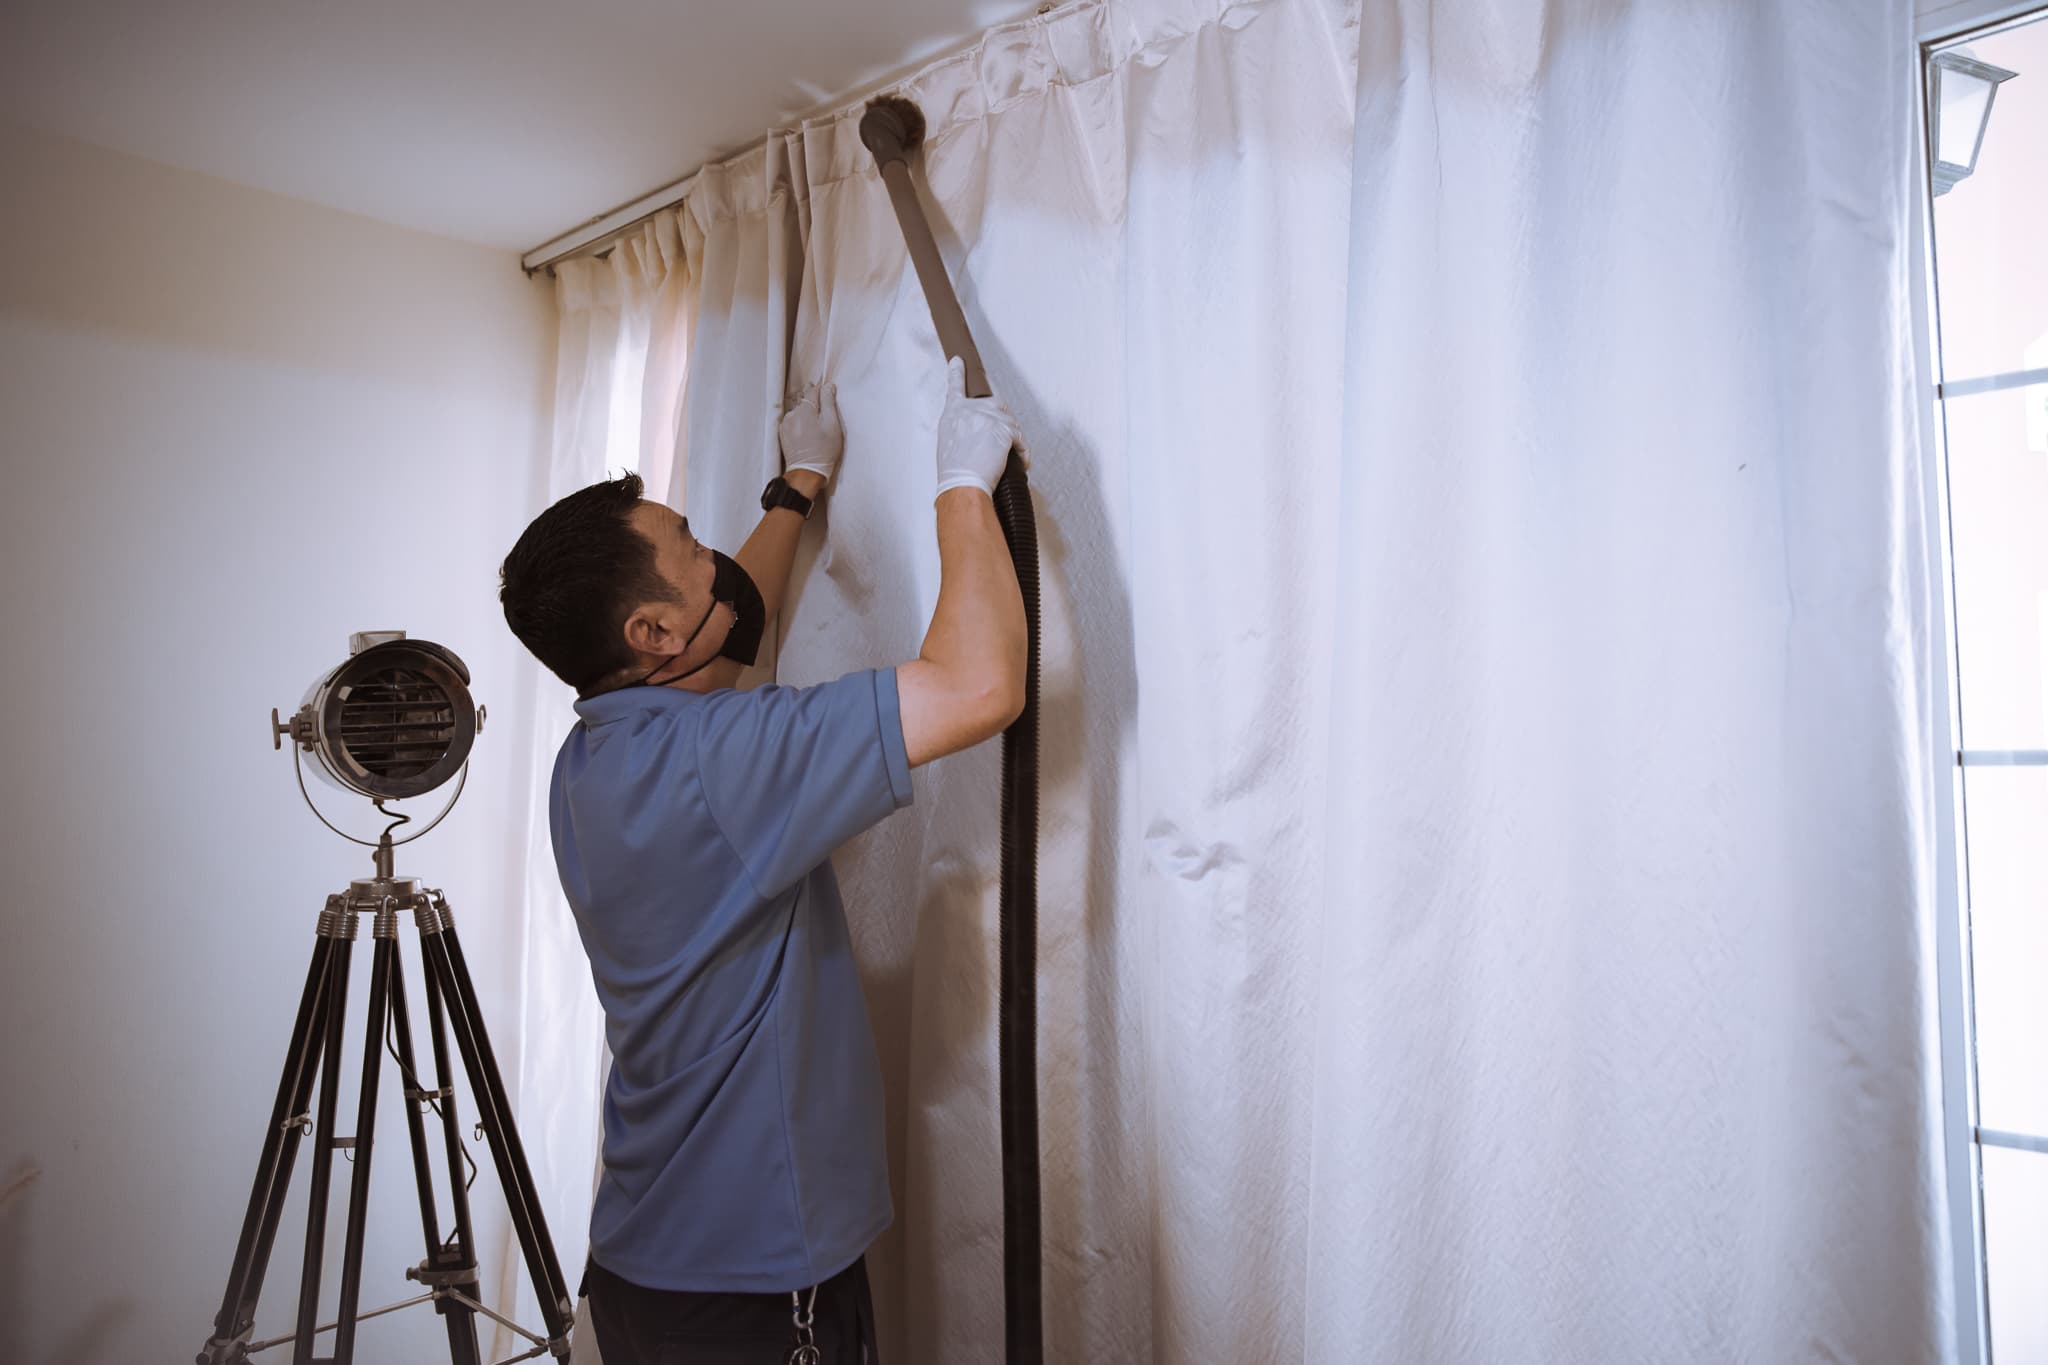
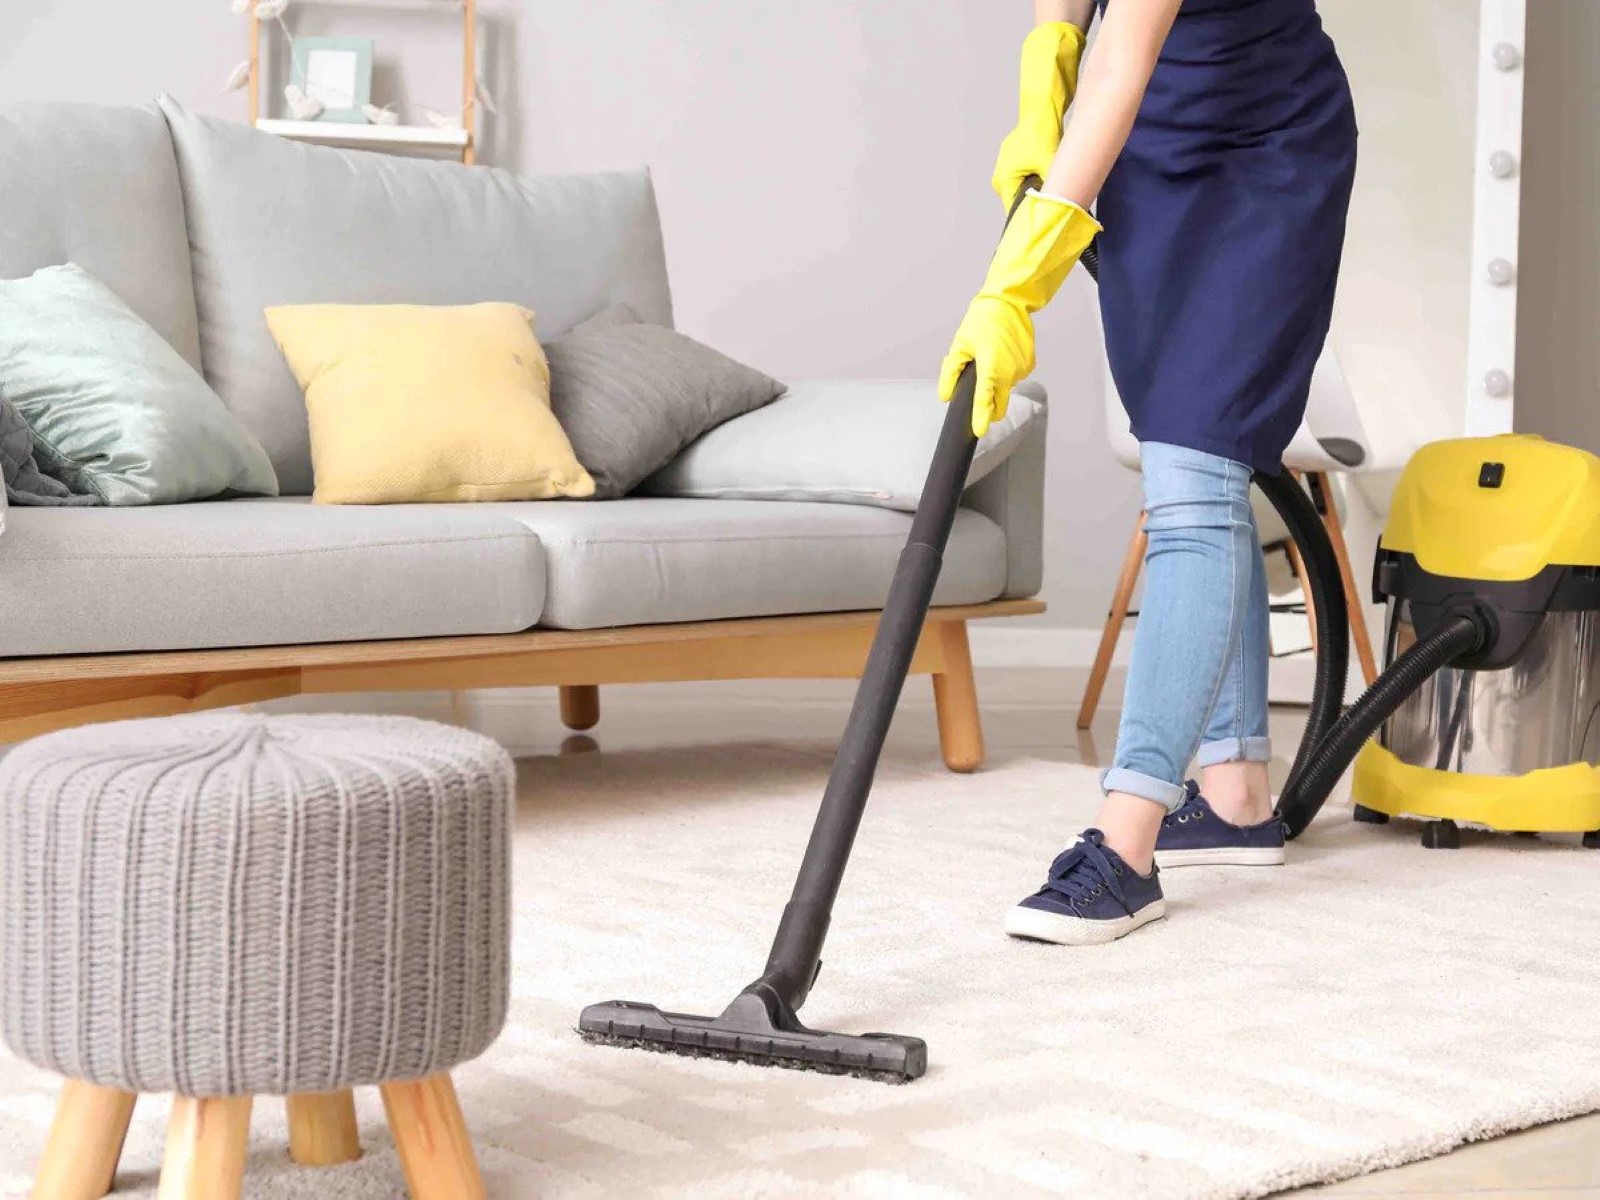
Step 3: Vacuum the curtains
Once you have checked the care instructions and determined that your curtains are suitable for machine or hand washing, it’s time to remove any loose dust and dirt by vacuuming them. Vacuuming helps to eliminate surface dirt, allergens, and pet hair, making the cleaning process easier and more effective.
Start by attaching the upholstery brush attachment to your vacuum cleaner. The upholstery brush has soft bristles that are gentle on the fabric and prevent any damage while effectively removing dust and debris.
Begin at the top of the curtains and work your way down, using long, sweeping motions. Pay special attention to the folds and pleats, as they tend to accumulate more dust. Move the brush attachment across the fabric in straight lines, covering both the front and back sides of the curtains.
If you have sheer or delicate curtains, use a lower suction setting on your vacuum cleaner to avoid pulling or damaging the fabric. Be gentle and take your time, ensuring you cover all areas of the curtains.
For heavy or thick curtains, you may need to use the crevice attachment to clean along the edges and corners. This attachment allows you to reach narrow crevices and remove any hidden dirt or debris.
While vacuuming, pay attention to any stains or spots that may require additional cleaning. Mark these areas with a small piece of tape or a mental note so that you can address them later in the cleaning process.
By vacuuming your curtains, you’ll remove the majority of loose dirt and dust, making the subsequent cleaning steps more effective. It’s an essential step in the overall cleaning process and helps to maintain the cleanliness and freshness of your curtains.
Now that you’ve vacuumed the curtains, let’s move on to step 4: spot cleaning any stains.
Step 4: Spot clean any stains
After vacuuming your curtains, it’s time to tackle any stubborn stains or spots that may be present. Spot cleaning allows you to target specific areas of the fabric that require more attention, without needing to wash the entire curtain.
Start by identifying the stains on your curtains. Common types of stains include food and drink spills, ink marks, grease stains, or dirt smudges. It’s important to address these stains as soon as possible to prevent them from setting in or becoming more difficult to remove.
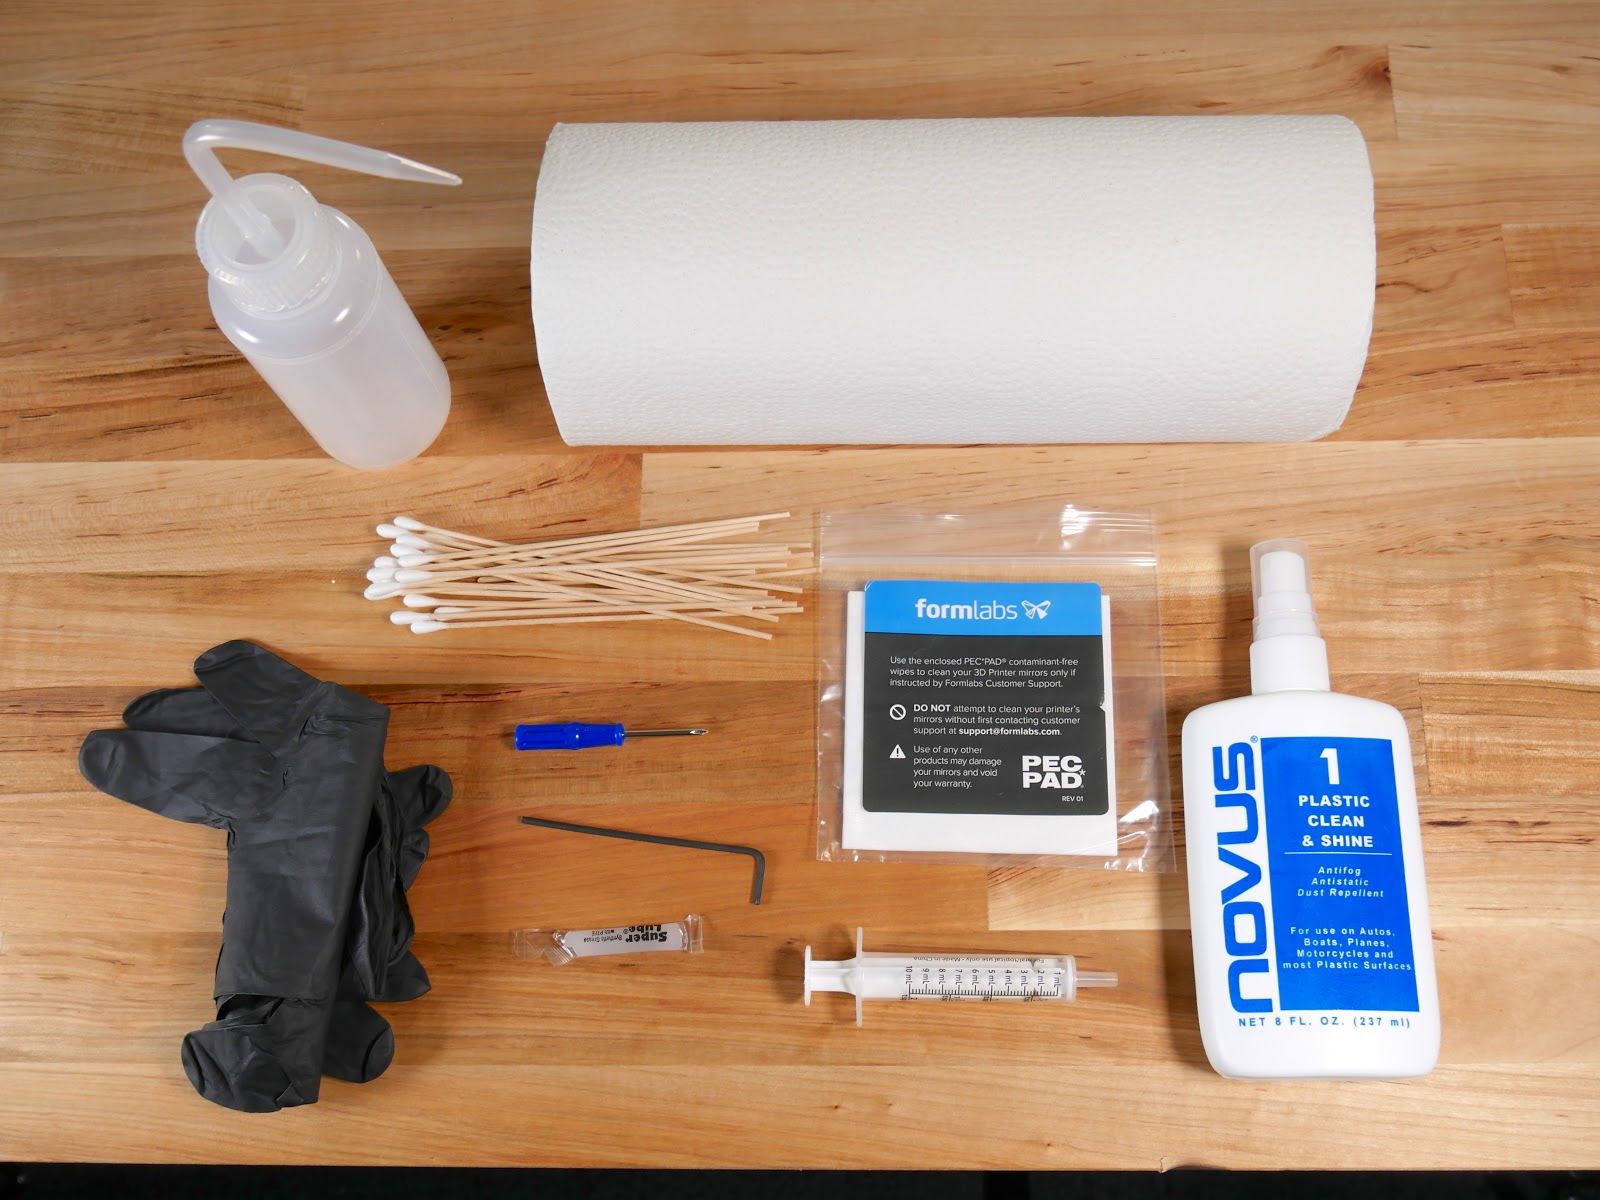
You can use various cleaning solutions to spot clean your curtains, depending on the type of stain and fabric. Here are a few effective methods:
1. Mild detergent solution: Mix a small amount of mild liquid detergent with warm water. Dampen a clean white cloth or sponge with the solution and gently blot the stain. Avoid rubbing the fabric vigorously, as this can damage the fibers. Rinse the cloth or sponge with clean water and continue to blot the stain until it fades.
2. Vinegar and water: Create a mixture of equal parts white vinegar and water. Moisten a clean cloth with the solution and gently blot the stain. Vinegar is particularly effective in removing grease or oil-based stains. Rinse the cloth with clean water and continue blotting until the stain is gone.
3. Baking soda paste: For stubborn stains, make a paste by mixing baking soda with a small amount of water. Apply the paste to the stained area and let it sit for a few minutes. Gently scrub the stain with a soft brush or cloth, then rinse with clean water.
It’s important to test any cleaning solution on a small, inconspicuous area of the curtain before applying it to the stain. This will ensure that the solution does not cause any discoloration or damage to the fabric.
Remember to blot the stained area rather than rubbing it vigorously, as excessive rubbing can weaken the fabric or spread the stain further. Always work from the outside of the stain inward to avoid spreading it to unaffected areas.
Once you have successfully removed the stain, gently pat the area with a clean, dry cloth to absorb excess moisture. Allow the spot-cleaned area to air dry before moving on to the next step.
By spot cleaning the stains on your curtains, you can effectively target and remove specific areas of dirt or discoloration without subjecting the entire curtain to a thorough cleaning process.
Now that you’ve spot cleaned the stains, let’s move on to step 5: determining the cleaning method.
Read more: How Do You Clean A Fireplace
Step 5: Determine the cleaning method
After spot cleaning any stains on your curtains, it’s time to assess the overall cleanliness and decide on the most appropriate cleaning method. The choice of cleaning method will depend on the fabric type, level of dirtiness, and the care instructions provided.
If the care instructions allow for machine washing, you can typically proceed with this method for fabric curtains. However, it’s important to consider a few factors before tossing your curtains into the washing machine:
1. Fabric type: Different fabrics require different care. Some fabrics, like cotton or polyester, are generally safe for machine washing. However, delicate fabrics such as silk or velvet may require gentle hand washing or professional dry cleaning.
2. Size and weight: Consider the size and weight of your curtains. If they are too large or heavy to fit comfortably in your washing machine, you may need to use alternative cleaning methods such as hand washing or dry cleaning.
3. Decorative features: Pay attention to any decorative features on your curtains, such as embellishments, trims, or delicate stitching. These features may require special care or gentle handling, which might not be suitable for machine washing.
If machine washing is not an option, consider the following alternatives:
1. Hand washing: Hand washing is a gentle and effective method for delicate or non-machine washable curtains. Fill a basin or sink with lukewarm water and a mild detergent. Submerge the curtains and gently agitate the water to remove dirt. Rinse the curtains thoroughly and carefully press out excess water without wringing or twisting.
2. Dry cleaning: If your curtains are labeled as “dry clean only” or have decorative elements that can’t withstand water, take them to a professional dry cleaner. Dry cleaning ensures proper care for your curtains without risking damage or shrinkage.
3. Steaming: Steaming is an effective method for refreshing curtains and removing wrinkles. Use a garment steamer or handheld steamer, holding it a few inches away from the fabric to avoid direct contact. Move the steamer in vertical strokes, allowing the steam to penetrate and relax the fabric.
Remember to always follow the care instructions and use the appropriate method for your curtains. This will help preserve their quality and ensure they remain in good condition after cleaning.
Now that you’ve determined the cleaning method, let’s move on to step 6: machine washing the curtains.
Step 6: Machine wash the curtains
If your curtains are machine washable according to the care instructions, machine washing can be a convenient and effective method to clean them. However, it’s important to follow the proper steps to ensure successful results without damaging the fabric.
Start by sorting your curtains based on color and fabric type. It’s best to wash curtains of similar colors and fabrics together to avoid color bleeding or damage. Check for any delicate or embellished curtains that may require hand washing or dry cleaning instead.
Next, remove any hooks or hardware from the curtains. It’s important to detach any metal or sharp objects that may cause damage to the fabric or the washing machine. You can place these items in a small bag or container to keep them safe during the washing process.
Before adding your curtains to the washing machine, it’s a good idea to turn them inside out. This will help protect the front of the curtains from any potential damage or snagging during the washing process.
When it comes to selecting the proper washing cycle, opt for a gentle or delicate cycle with cold water. Harsh cycles or hot water can cause shrinkage, fading, or damage to certain fabrics. Additionally, choose a mild detergent that is suitable for the fabric type and add it to the machine following the manufacturer’s instructions.
Once the machine is filled with water and the detergent has dissolved, carefully add your curtains. Avoid overloading the machine, as this can lead to inadequate cleaning or wrinkling. It’s best to wash a maximum of two curtains at a time to ensure they have enough space to move around during the wash cycle.
Once the washing cycle is complete, promptly remove the curtains from the machine to prevent wrinkles from setting in. Gently shake out the curtains to remove any excess water and reshape them by hand as needed.
For sheer or lightweight curtains, you may want to consider using a laundry bag or pillowcase to protect them during the washing process. This will help prevent snagging or tearing while still allowing them to be effectively cleaned.
After machine washing, hang the curtains immediately to air dry. Avoid using a dryer, as it can cause shrinkage or damage to the fabric. If possible, hang the curtains in a well-ventilated area or outside to speed up the drying process. Make sure they are completely dry before rehanging them.
Machine washing is a convenient and efficient way to clean most curtains. By following the appropriate steps, you can effectively remove dirt and stains while keeping your curtains in excellent condition.
Now that you’ve machine washed your curtains, let’s move on to step 7: hand washing the curtains (if applicable).
To clean curtains, start by checking the care label for specific instructions. Most curtains can be vacuumed or gently spot cleaned. For machine washable curtains, use a gentle cycle and air dry to avoid shrinking or damage.
Step 7: Hand wash the curtains
If your curtains are not suitable for machine washing or if you prefer a more gentle approach, hand washing is a viable option. It allows you to have better control over the cleaning process and is ideal for delicate fabrics or curtains with intricate detailing.
Before starting the hand washing process, prepare a basin or sink with lukewarm water. Add a mild detergent specifically designed for hand washing delicate fabrics. Make sure the detergent is fully dissolved in the water before immersing your curtains.
Begin by submerging the curtains in the soapy water, gently swishing them around to ensure even distribution of the detergent. Avoid agitating the fabric too vigorously, as this can cause stretching or damage.
Gently massage the fabric with your hands to dislodge any dirt or stains. Pay special attention to the areas that require extra cleaning. If necessary, you can use a soft brush or sponge to lightly scrub the fabric, taking care not to be too harsh.
After gently cleaning the curtains, drain the soapy water from the sink or basin. Rinse the curtains thoroughly under running water until no soapy residue remains. Be thorough in rinsing as any leftover detergent can lead to discoloration or stiffness in the fabric.
To remove excess water, avoid wringing or twisting the curtains, as this can distort their shape. Instead, gently squeeze the fabric to release the water. Alternatively, you can roll the curtains in a clean, dry towel and press down to absorb the moisture.
Once most of the water has been removed, hang the curtains to air dry. Choose a well-ventilated area or hang them outside in mild weather. Make sure to arrange the fabric neatly, smoothing out any wrinkles or folds. Avoid direct sunlight, as it can cause fading or damage to certain fabrics.
Handwashing is a gentle and effective method for cleaning delicate curtains. It allows you to have control over the process and ensures the preservation of the fabric’s quality and detailing.
Now that you’ve hand washed your curtains, let’s move on to step 8: dry cleaning the curtains (if applicable).
Step 8: Dry clean the curtains
For curtains labeled as “dry clean only” or made from delicate fabrics that cannot withstand water, dry cleaning is the recommended method. Dry cleaning ensures that your curtains are cleaned effectively and safely without risking damage or shrinkage.
Before proceeding with dry cleaning, it’s essential to find a reputable dry cleaner in your area. Look for a cleaner with experience in handling curtains and a good reputation for quality service. You can ask for recommendations from friends, read online reviews, or contact local curtain retailers for referrals.
Once you have found a reliable dry cleaner, gather your curtains and take them to the cleaning facility. It’s a good idea to inform the cleaner about any stains or specific concerns you may have, as this will help them provide the appropriate care and treatment.
At the dry cleaner, the curtains will go through a specialized cleaning process using solvent-based solutions instead of water. The dry cleaning machine allows for gentle agitation to remove dirt and stains without causing any damage to the delicate fabric.
After the cleaning process, the curtains will undergo a drying stage in a controlled environment. This ensures that the curtains dry thoroughly, with minimal risk of shrinkage or wrinkling. The dry cleaner may also offer additional services such as ironing or pressing to give your curtains a crisp and professional appearance.
Once the dry cleaning process is complete, carefully inspect your curtains before taking them home. Check for any remaining stains or issues that might require specific attention. If you notice any problems, bring them to the attention of the dry cleaner, who will address them accordingly.
When returning home, handle the dry-cleaned curtains with care to avoid any damage during transportation. Hang them immediately upon arrival, ensuring they are properly arranged and free from wrinkles.
Dry cleaning is the optimal choice for curtains that cannot be washed with water or those made from delicate fabrics. By entrusting your curtains to a professional dry cleaner, you can ensure that they receive the specialized care they require.
Now that you’re familiar with the dry cleaning process, let’s move on to step 9: air drying or tumble drying the curtains.
Read more: How Do You Clean A Dryer
Step 9: Air dry or tumble dry the curtains
After cleaning your curtains, whether through machine washing, hand washing, or dry cleaning, the next step is to properly dry them. Drying your curtains correctly is crucial to prevent shrinkage, maintain their shape, and minimize the formation of wrinkles.
There are two main methods for drying curtains: air drying and tumble drying. The drying method you choose will depend on the fabric type, care instructions, and personal preference.
Air drying: Air drying is a gentle and natural way to dry your curtains. To air dry your curtains, simply hang them up using a curtain rod or a clothesline in a well-ventilated area. Choose a spot where there is good airflow to ensure proper drying.
If the curtains are heavy or tending towards being wrinkled, you can gently shake or flick the fabric to remove any excess water before hanging them. Ensure that the curtains are properly arranged and smoothly stretched out to avoid any creases or wrinkles forming during the drying process.
It’s important to avoid direct sunlight when air drying, as it can lead to fabric fading and damage. Instead, choose a shaded area or an indoor location near an open window.
Depending on the thickness of the fabric and the surrounding temperature and humidity, air drying may take a few hours up to a few days. Be patient and allow the curtains to fully dry before rehanging them.
Tumble drying: Some curtains may be suitable for tumble drying, but it’s important to check the care instructions beforehand. If the care instructions permit tumble drying, use a gentle or low heat setting to prevent shrinkage or damage.
Before placing your curtains in the dryer, check for any hooks or hardware that could potentially damage the fabric. Remove them if necessary.
To reduce the risk of wrinkles, put a few clean, dry towels or sheets in the dryer along with your curtains. This will act as a cushioning barrier, preventing the curtains from rubbing against each other and minimizing creasing.
Set your dryer to the appropriate heat or air setting and a gentle cycle. Avoid using high heat, as this can cause damage to certain fabrics. Check on the curtains periodically to monitor their drying progress and remove them from the dryer as soon as they are dry.
Whether you choose to air dry or tumble dry your curtains, make sure they are completely dry before rehanging them. Moisture can lead to mold or mildew growth, and damp curtains can cause an unpleasant odor in your living space.
Now that you’ve properly dried your curtains, let’s move on to step 10: ironing or steaming the curtains to remove any remaining wrinkles.
Step 10: Iron or steam the curtains
After drying your curtains, it’s time to address any remaining wrinkles and ensure they look crisp and presentable. Ironing or steaming your curtains can help remove wrinkles and restore their smooth appearance.
Ironing: Before you begin ironing, check the care instructions to ensure that ironing is safe for your curtains. Some delicate or synthetic fabrics may not be suitable for direct heat.
Set up your ironing board in a well-ventilated area. Fill your iron with water if it has a steam function, following the manufacturer’s instructions. Adjust the iron to the appropriate temperature setting for your fabric. Start with a lower heat setting and increase it if necessary, always being cautious not to overheat or scorch the fabric.
Lay a clean, white cotton or linen cloth over the curtain to serve as a protective barrier between the fabric and the iron. Gently glide the iron over the cloth, working in small sections. Apply light pressure and smooth out any wrinkles, being careful not to linger too long in one spot to prevent fabric damage. For best results, move the iron in straight, even strokes following the grain of the fabric.
Pay particular attention to pleats, hems, and any decorative elements on the curtains. Use the tip of the iron to reach into crevices and delicate areas. If needed, you can use a little steam by holding the iron just above the fabric and pressing the steam button.
Continue ironing until all the wrinkles are gone, periodically shifting the fabric on the ironing board to ensure you cover all areas. Once you’ve finished ironing, hang the curtains immediately to prevent new wrinkles from forming.
Steaming: Steaming is an alternative method for removing wrinkles from curtains without direct contact with the fabric. It’s a gentler approach, especially suitable for delicate or heat-sensitive materials.
Fill a garment steamer or handheld steamer with water and preheat it according to the manufacturer’s instructions. Hang your curtains on a rod or a clothesline, making sure they are stretched out and taut.
Hold the steamer about 6 inches away from the fabric and move it in an up and down motion, allowing the steam to penetrate the wrinkles. Work section by section, focusing on areas with more stubborn wrinkles. Gently pull down on the fabric to smooth out the wrinkles as you steam.
As the steam heats and relaxes the fabric, the wrinkles should naturally release. Be patient and take your time to ensure thorough steaming. Once you’ve steamed all sections, allow the curtains to air dry in their stretched position to help the fabric retain its smooth appearance.
Ironing or steaming your curtains is the final touch to ensure they look polished and neat. It’s a step that can greatly enhance the overall appearance of your curtains and add a finishing touch to your room’s decor.
Now that you’ve ironed or steamed your curtains, let’s move on to step 11: rehanging the curtains.
Step 11: Rehang the curtains
After cleaning, drying, and ironing or steaming your curtains, the final step is to rehang them and enjoy the refreshed look they bring to your space. Properly rehanging your curtains ensures that they hang evenly, drape nicely, and enhance the overall ambiance of your room.
Begin by preparing the curtain rods or tracks. Check that they are clean and free from dust or debris. If needed, wipe them down with a damp cloth before reattaching the curtains.
Next, carefully place each curtain back onto the rod or track. Start with the first curtain panel, sliding it onto the rod or reattaching it to the hooks or rings. Slowly work your way across, ensuring that each curtain hangs neatly and evenly.
As you rehang the curtains, take a step back and observe how they fall and gather. Adjust the position of the panels as needed to achieve a visually balanced look. Pay attention to maintaining consistent length and spacing between the curtains.
Smooth out any folds or pleats that may have formed during the cleaning and drying process. Gently tugging at the fabric can help even out the panel’s appearance and encourage a graceful drape.
Consider using curtain weights or clips to hold the fabric in place and prevent excessive movement. This can ensure that the curtains maintain their desired shape while adding an elegant touch.
Once the curtains are rehung, step back and evaluate their appearance. Admire the effort you’ve put into cleaning and refreshing them. Take a moment to adjust the curtains if necessary, ensuring they hang just right.
With your curtains freshly cleaned and back in place, you can now enjoy their renewed beauty and the enhanced atmosphere they bring to your room. Sit back, relax, and appreciate the transformed look your curtains contribute to your living space.
Remember to regularly dust or vacuum your curtains to maintain their cleanliness between deeper cleaning sessions. This will help reduce the frequency of thorough cleaning and ensure that your curtains stay fresh and visually appealing for longer.
Congratulations! You have successfully completed the process of cleaning and rehanging your curtains, and now you can bask in the satisfaction of a job well done.
Now that you have rehung your curtains, it’s time to sit back, relax, and enjoy the refreshed and clean ambiance they bring to your space.
As a final reminder, always refer to the care instructions provided with your curtains. These instructions are specific to your curtain’s fabric type and should be followed to maintain their quality and longevity.
We hope this comprehensive guide has been helpful in assisting you in cleaning and maintaining your curtains. Happy curtain cleaning!
That concludes our step-by-step guide on how to clean and care for your curtains. We hope you found this information helpful and that it enables you to keep your curtains looking their best for years to come.
Conclusion
Curtains are an important element of any home decor, adding style, privacy, and functionality to a room. Over time, curtains can collect dust, dirt, and stains, which can compromise their appearance and cleanliness. That’s why understanding how to properly clean your curtains is essential in maintaining their beauty and prolonging their lifespan.
In this comprehensive guide, we have covered a step-by-step process for effectively cleaning your curtains. We started by removing the curtains from the rod or track, checking the care instructions, and vacuuming to remove loose dirt and dust. We then spot cleaned any stains and determined the appropriate cleaning method based on fabric and care instructions.
We covered machine washing for suitable fabrics, hand washing for delicate curtains, and dry cleaning for those labeled as “dry clean only.” We discussed air drying and tumble drying techniques, as well as the importance of properly ironing or steaming the curtains to remove wrinkles.
Finally, we concluded with the crucial step of rehanging the curtains, ensuring they hang evenly and gracefully to complete the transformation. By following these steps and paying attention to the care instructions, your curtains will look fresh, clean, and beautiful.
Remember, maintaining the cleanliness of your curtains is essential not only for aesthetics but also for hygiene. Clean curtains contribute to a healthy living environment by minimizing dust and allergens. Regular dusting or vacuuming in between deep cleaning sessions will help keep your curtains looking their best for longer.
With the knowledge and guidance provided in this article, you are now equipped to confidently clean and care for your curtains. So go ahead, take the necessary steps to breathe new life into your curtains, and enjoy the refreshed and inviting atmosphere they bring to your home.
Thank you for reading, and may your curtains always add beauty and charm to your living spaces!
Frequently Asked Questions about How Do You Clean Curtains
Was this page helpful?
At Storables.com, we guarantee accurate and reliable information. Our content, validated by Expert Board Contributors, is crafted following stringent Editorial Policies. We're committed to providing you with well-researched, expert-backed insights for all your informational needs.


0 thoughts on “How Do You Clean Curtains”