Home>Articles>How To Hang Curtains When Window Is Against Wall
Articles
How To Hang Curtains When Window Is Against Wall
Modified: October 20, 2024
Learn how to hang curtains when your window is located against the wall with these helpful articles. Find step-by-step guides and practical tips for achieving the perfect window treatment.
(Many of the links in this article redirect to a specific reviewed product. Your purchase of these products through affiliate links helps to generate commission for Storables.com, at no extra cost. Learn more)
Introduction
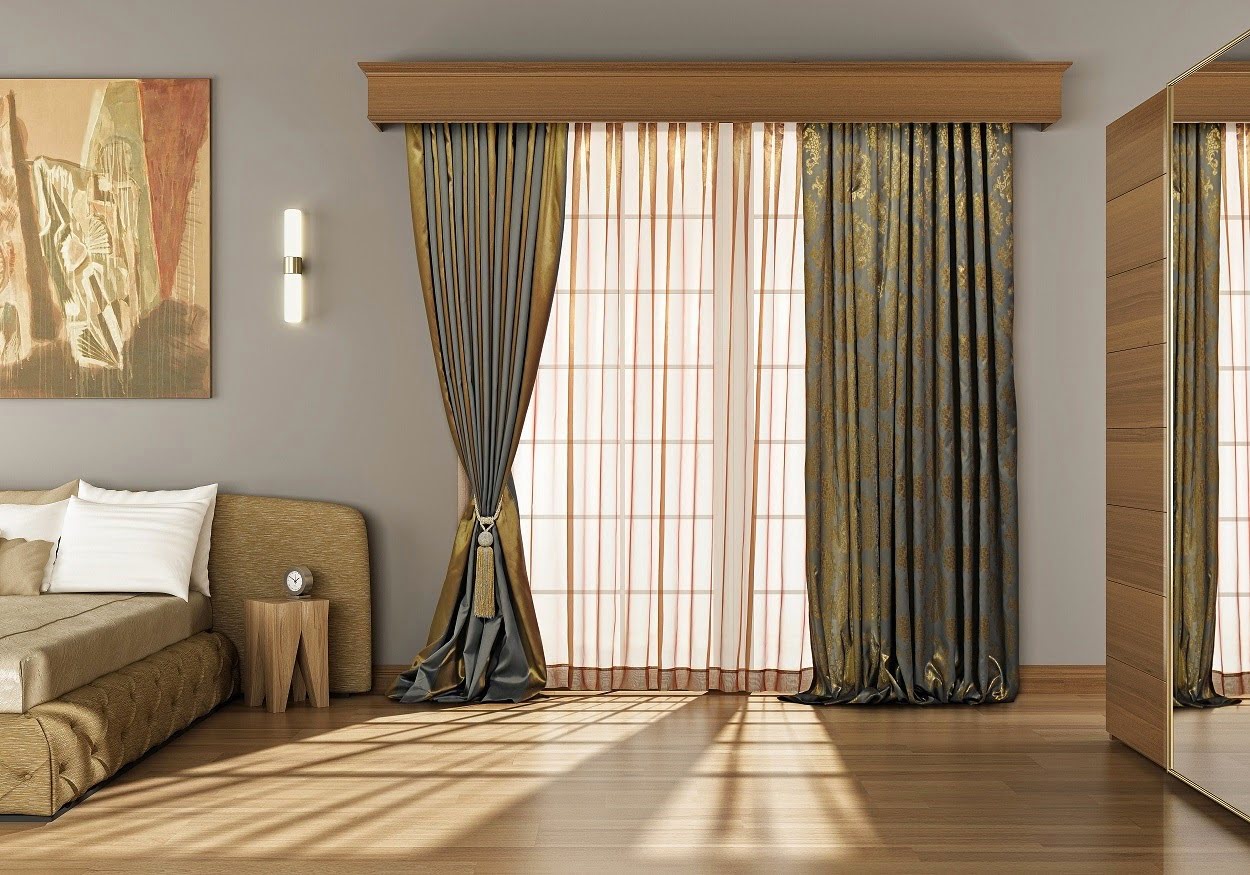
When it comes to decorating your home, curtains play a crucial role in adding both style and functionality to a space. They not only provide privacy and block out unwanted light, but they can also enhance the overall aesthetic appeal of a room. However, hanging curtains can sometimes be challenging, especially when the window is positioned against a wall.
In this article, we will discuss various techniques and tips on how to hang curtains when the window is situated close to the wall. Whether you have limited space or a unique window layout, we have got you covered. By following these steps, you can achieve a seamless and visually pleasing curtain installation.
So, let’s dive in and explore the best ways to hang curtains when the window is against the wall.
Key Takeaways:
- Overcoming the challenge of hanging curtains when the window is against a wall involves careful assessment, accurate measurements, and selecting the right type of curtain rod. By following these steps, you can achieve a visually pleasing and functional window treatment.
- Enhancing your curtain installation with accessories like tiebacks, valances, and liners can elevate the overall aesthetic and functionality of your window treatment. Don’t be afraid to experiment and personalize your space with creative curtain solutions.
Read more: How To Hang Curtains On A Corner Window
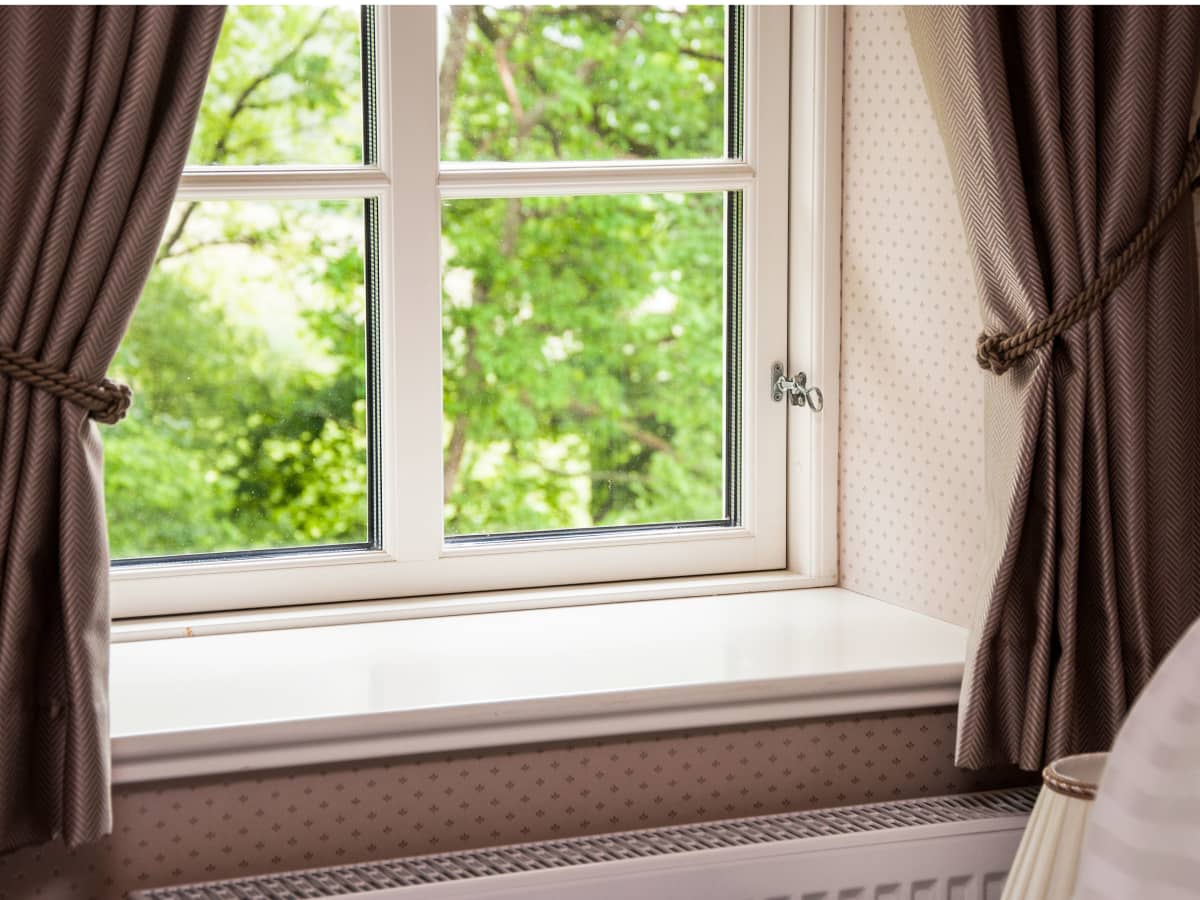
Assessing the Window and Wall Layout
Before diving into the process of hanging curtains, it is crucial to assess the layout of both the window and the wall. Understanding the dimensions and positioning of these elements will help you determine the best approach for curtain placement.
Start by examining the window frame and the adjacent wall. Consider the distance between the window and the wall and note any obstructions such as light switches, power outlets, or vents. This assessment will help you determine how much space you have to work with.
Next, take measurements of the window and wall. Measure the width and height of the window opening, as well as the width of the wall on each side of the window. Additionally, note the height and depth of any trim or molding around the window.
By having these measurements handy, you can accurately choose the right curtain rod length and bracket placement later in the process.
Another important aspect to consider is the overall style you want to achieve. Determine whether you prefer curtains that fully cover the window or curtains that frame the window subtly. This will guide your decisions when it comes to curtain rod selection and installation.
Lastly, consider the function of the curtains. Are you looking for curtains that block out light and provide privacy, or do you prefer sheer curtains that allow natural light to filter through? Keep in mind the purpose of the curtains to help you decide on the appropriate fabric and thickness.
Once you have assessed the window and the wall layout, you are ready to move on to the next step: measuring for curtain rod placement.
Measuring for Curtain Rod Placement
Accurate measurements are crucial when it comes to hanging curtains, especially when dealing with a window that is against a wall. Properly measuring for curtain rod placement will ensure that your curtains fit the window perfectly and hang at the desired height.
Start by measuring the width of the window. Use a tape measure and measure from edge to edge, taking note of the measurement. This will determine the width of the curtain rod needed.
Next, determine the desired height of the curtains. Measure from the top of the window frame to the point where you want the curtains to hang. Standard curtain height is typically floor-length or just above the floor, but you can adjust it to your preference.
Remember to consider the length of the curtains themselves when measuring for the rod placement. If you want the curtains to touch the floor, add a few inches to the height measurement to account for the curtain length and any hemming that may be required.
Once you have the width and height measurements, it’s time to decide on the curtain rod placement. In most cases, curtain rods are mounted just above the window frame or directly on the ceiling. Consider the aesthetic appeal and functionality when choosing the placement.
If you opt for mounting the rod just above the window frame, measure the distance from the top of the window frame to determine the exact placement. Add an extra couple of inches to create some space between the top of the window and the curtain rod for a more visually pleasing look.
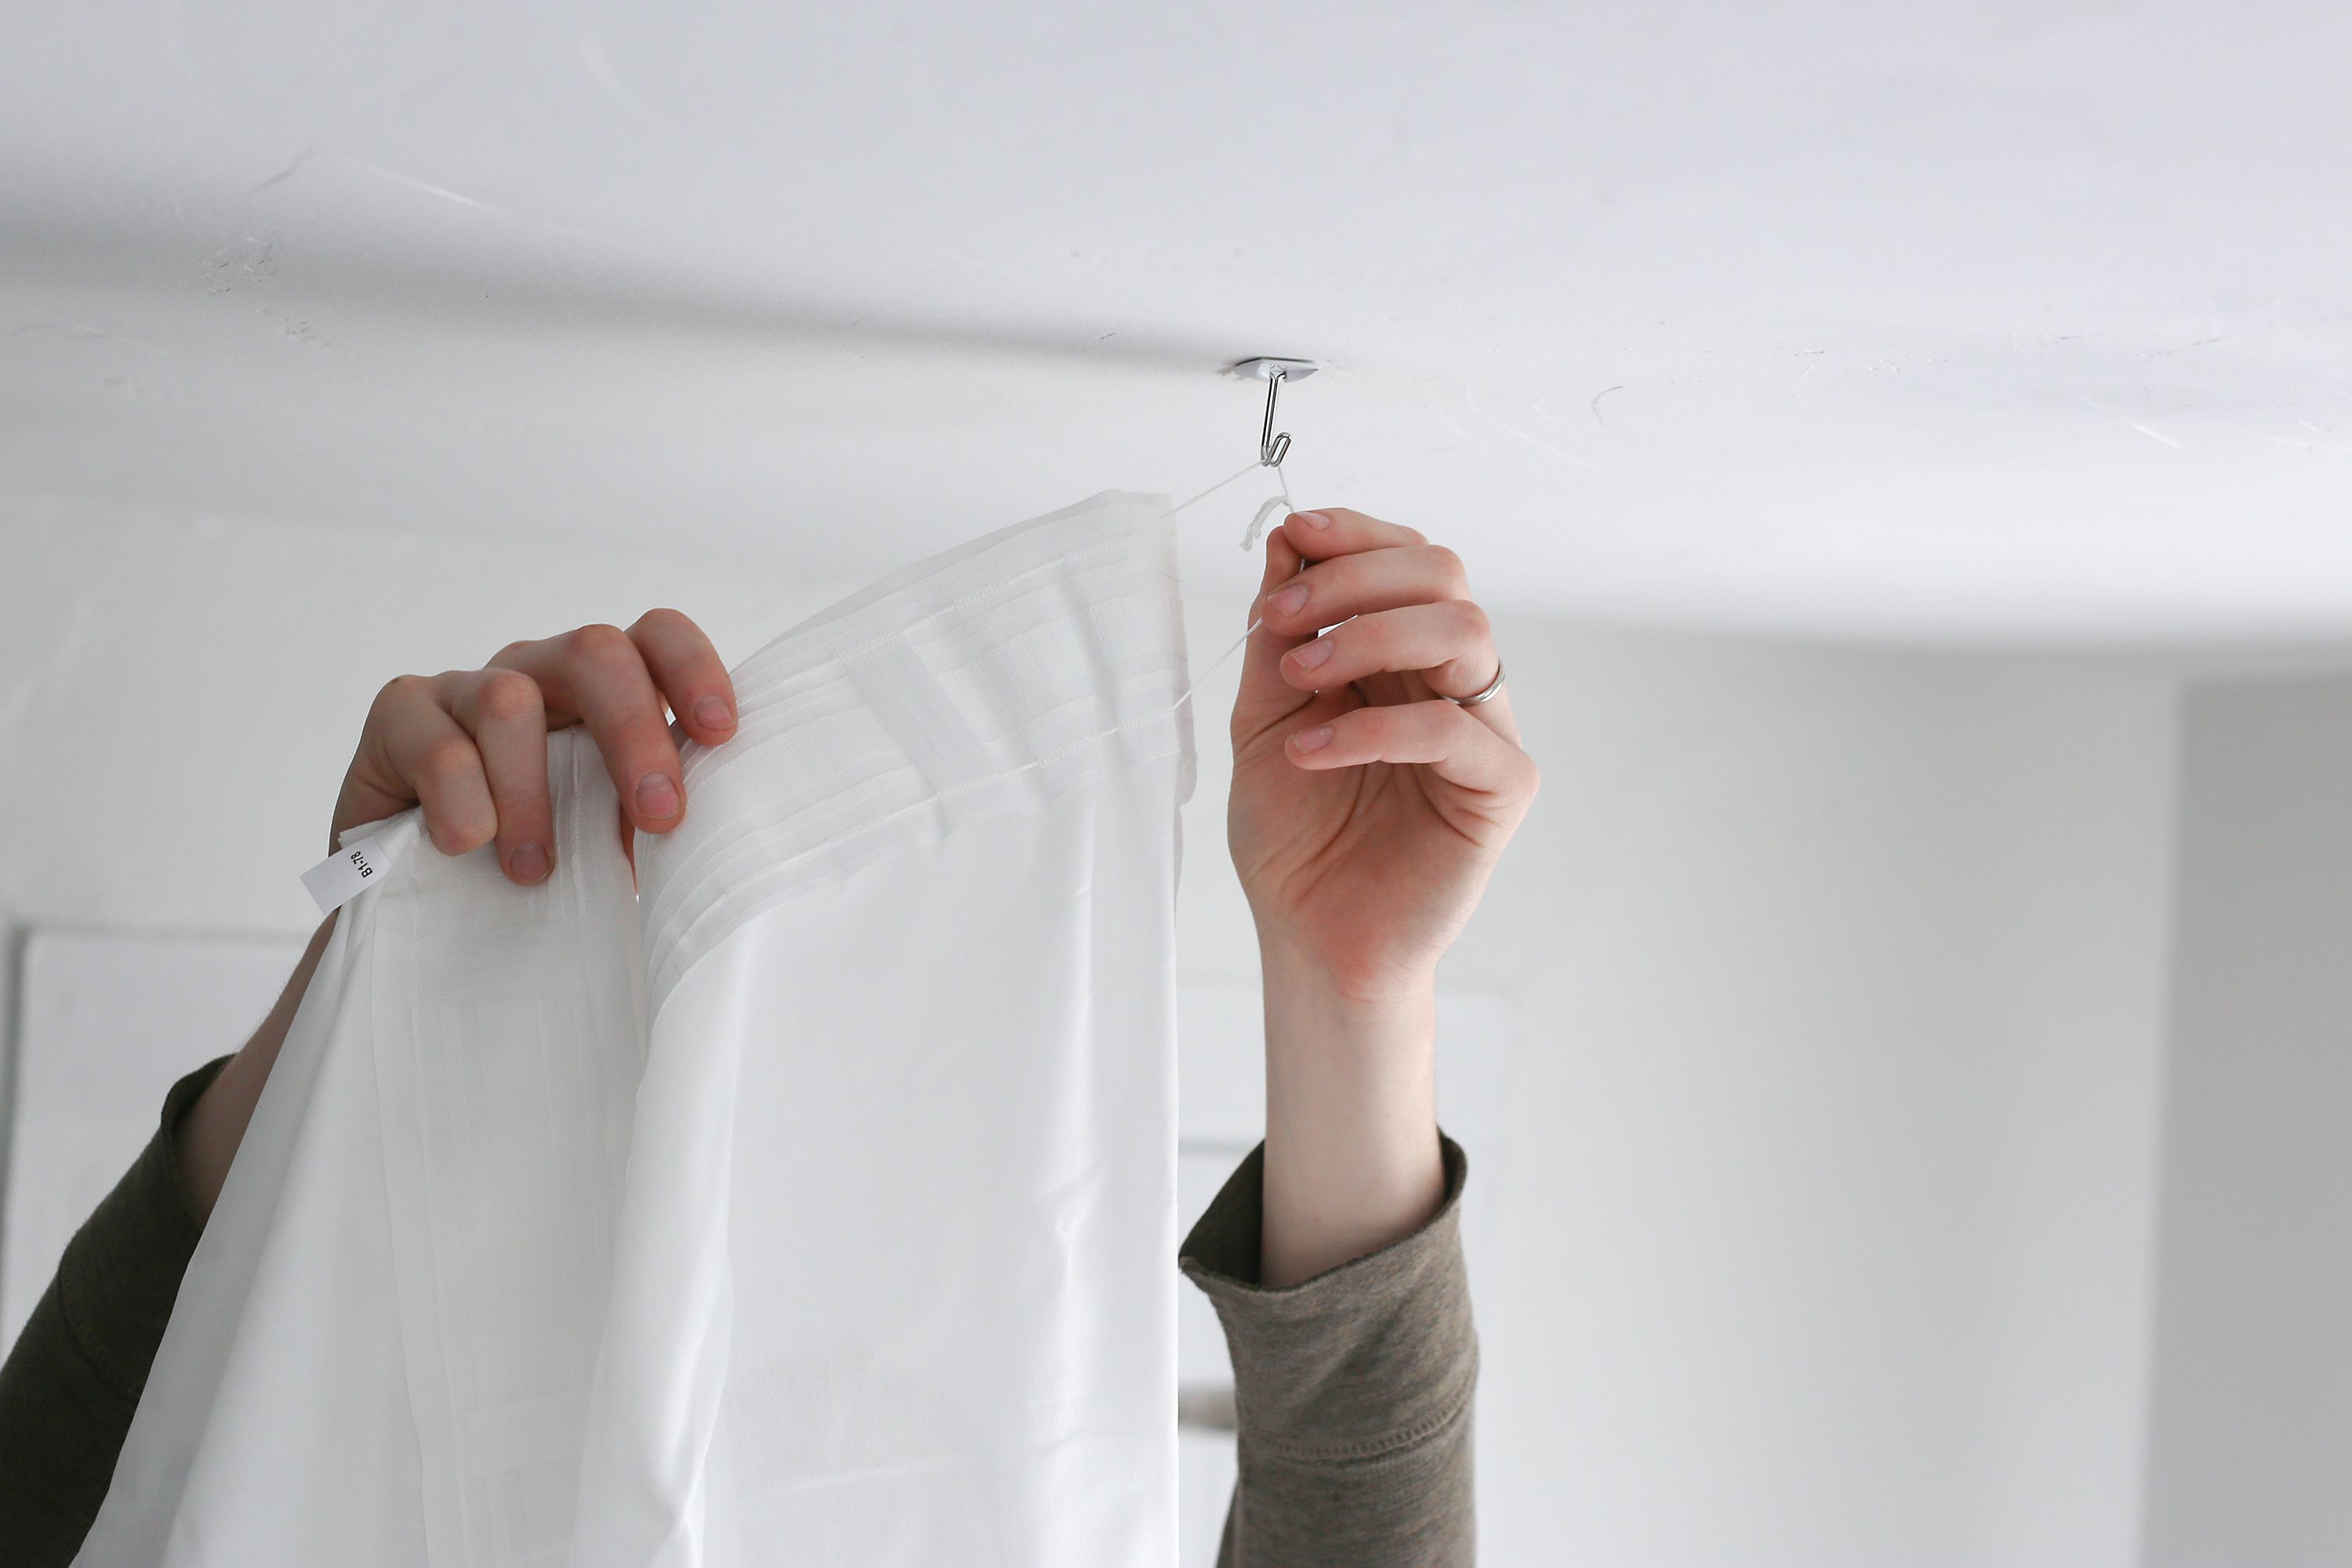
If you choose to mount the rod on the ceiling, measure the distance from the ceiling to the desired curtain height. This will give you the measurement for the top of the curtain rod placement.
By taking accurate measurements for the curtain rod placement, you will ensure that your curtains hang perfectly and complement the overall style of your space.
Now that you have the necessary measurements, let’s move on to choosing the right type of curtain rod.
Choosing the Right Type of Curtain Rod
When it comes to hanging curtains, selecting the right type of curtain rod is essential for both functionality and aesthetics. There are several options available, each with its own advantages and considerations.
1. Standard Curtain Rod: A standard curtain rod is a basic and versatile option. It typically consists of a metal or wooden rod with decorative finials on each end. This type of rod works well for lightweight to medium-weight curtains and is available in various lengths to accommodate different window sizes.
2. Double Curtain Rod: If you want to layer curtains for both style and functionality, a double curtain rod is an excellent choice. It features two parallel rods, allowing you to hang sheer curtains or lighter panels behind heavier drapes. This option adds depth and texture to your window treatment.
3. Traverse Curtain Rod: Traverse curtain rods are designed for curtains that need to be opened and closed with ease. These rods have a pulley system that allows the curtains to slide along the rod smoothly. They are ideal for heavy or floor-length curtains and are commonly used in formal living rooms or bedrooms.
4. Tension Curtain Rod: Tension rods are a practical and convenient option, especially for temporary curtain installations or when drilling into the wall is not desired. These rods use spring tension to hold them in place, making them easy to install and remove. They are suitable for lightweight curtains or for creating room dividers.
When choosing a curtain rod, consider the weight and length of your curtains, as well as the style you want to achieve. Ensure that the chosen rod has a weight capacity that can support your curtains without sagging or bending.
In addition to the type of curtain rod, also consider the material and finish. Metal rods, such as stainless steel or wrought iron, offer durability and a modern look, while wooden rods provide a classic and warm aesthetic. Select a finish that complements the overall decor of your room.
By carefully selecting the right type of curtain rod, you can enhance the functionality and style of your window treatment. Now that you have chosen the rod, it’s time to move on to installing the curtain rod brackets.
Installing the Curtain Rod Brackets
Once you have chosen the appropriate curtain rod for your window, the next step is to install the curtain rod brackets. These brackets will provide support for the rod and ensure that your curtains hang securely.
Here’s a step-by-step guide on how to install the curtain rod brackets:
- Start by determining the placement of the brackets. Refer to your earlier measurements and mark the desired position on the wall or ceiling.
- Using a measuring tape and a level, double-check the accuracy of your markings to ensure that the brackets will be level and properly aligned.
- If you are installing the brackets on a wall, use a stud finder to locate the wall studs. Mounting the brackets directly into the studs will provide maximum stability. Mark the stud locations on the wall.
- If there are no studs available or if you prefer not to mount the brackets directly into the studs, use wall anchors or toggle bolts to secure the brackets in place. Follow the manufacturer’s instructions for properly installing the wall anchors or toggle bolts.
- Using a drill and the appropriate screws or mounting hardware, attach the brackets to the wall or ceiling at the marked positions. Ensure that the brackets are securely fastened.
- Once the brackets are installed, give them a gentle tug to test their stability. If they feel loose, tighten the screws or adjust the position of the brackets as necessary.
- After confirming that the brackets are securely in place, attach the curtain rod to the brackets. Slide the rod through the openings in the brackets or follow the specific instructions provided with your chosen curtain rod.
- Give the curtain rod a gentle shake to ensure that it is properly seated in the brackets and can support the weight of the curtains.
By correctly installing the curtain rod brackets, you will provide a stable and secure foundation for your curtains. Once you have attached the rod to the brackets, it’s time to move on to the next step: attaching the curtains.
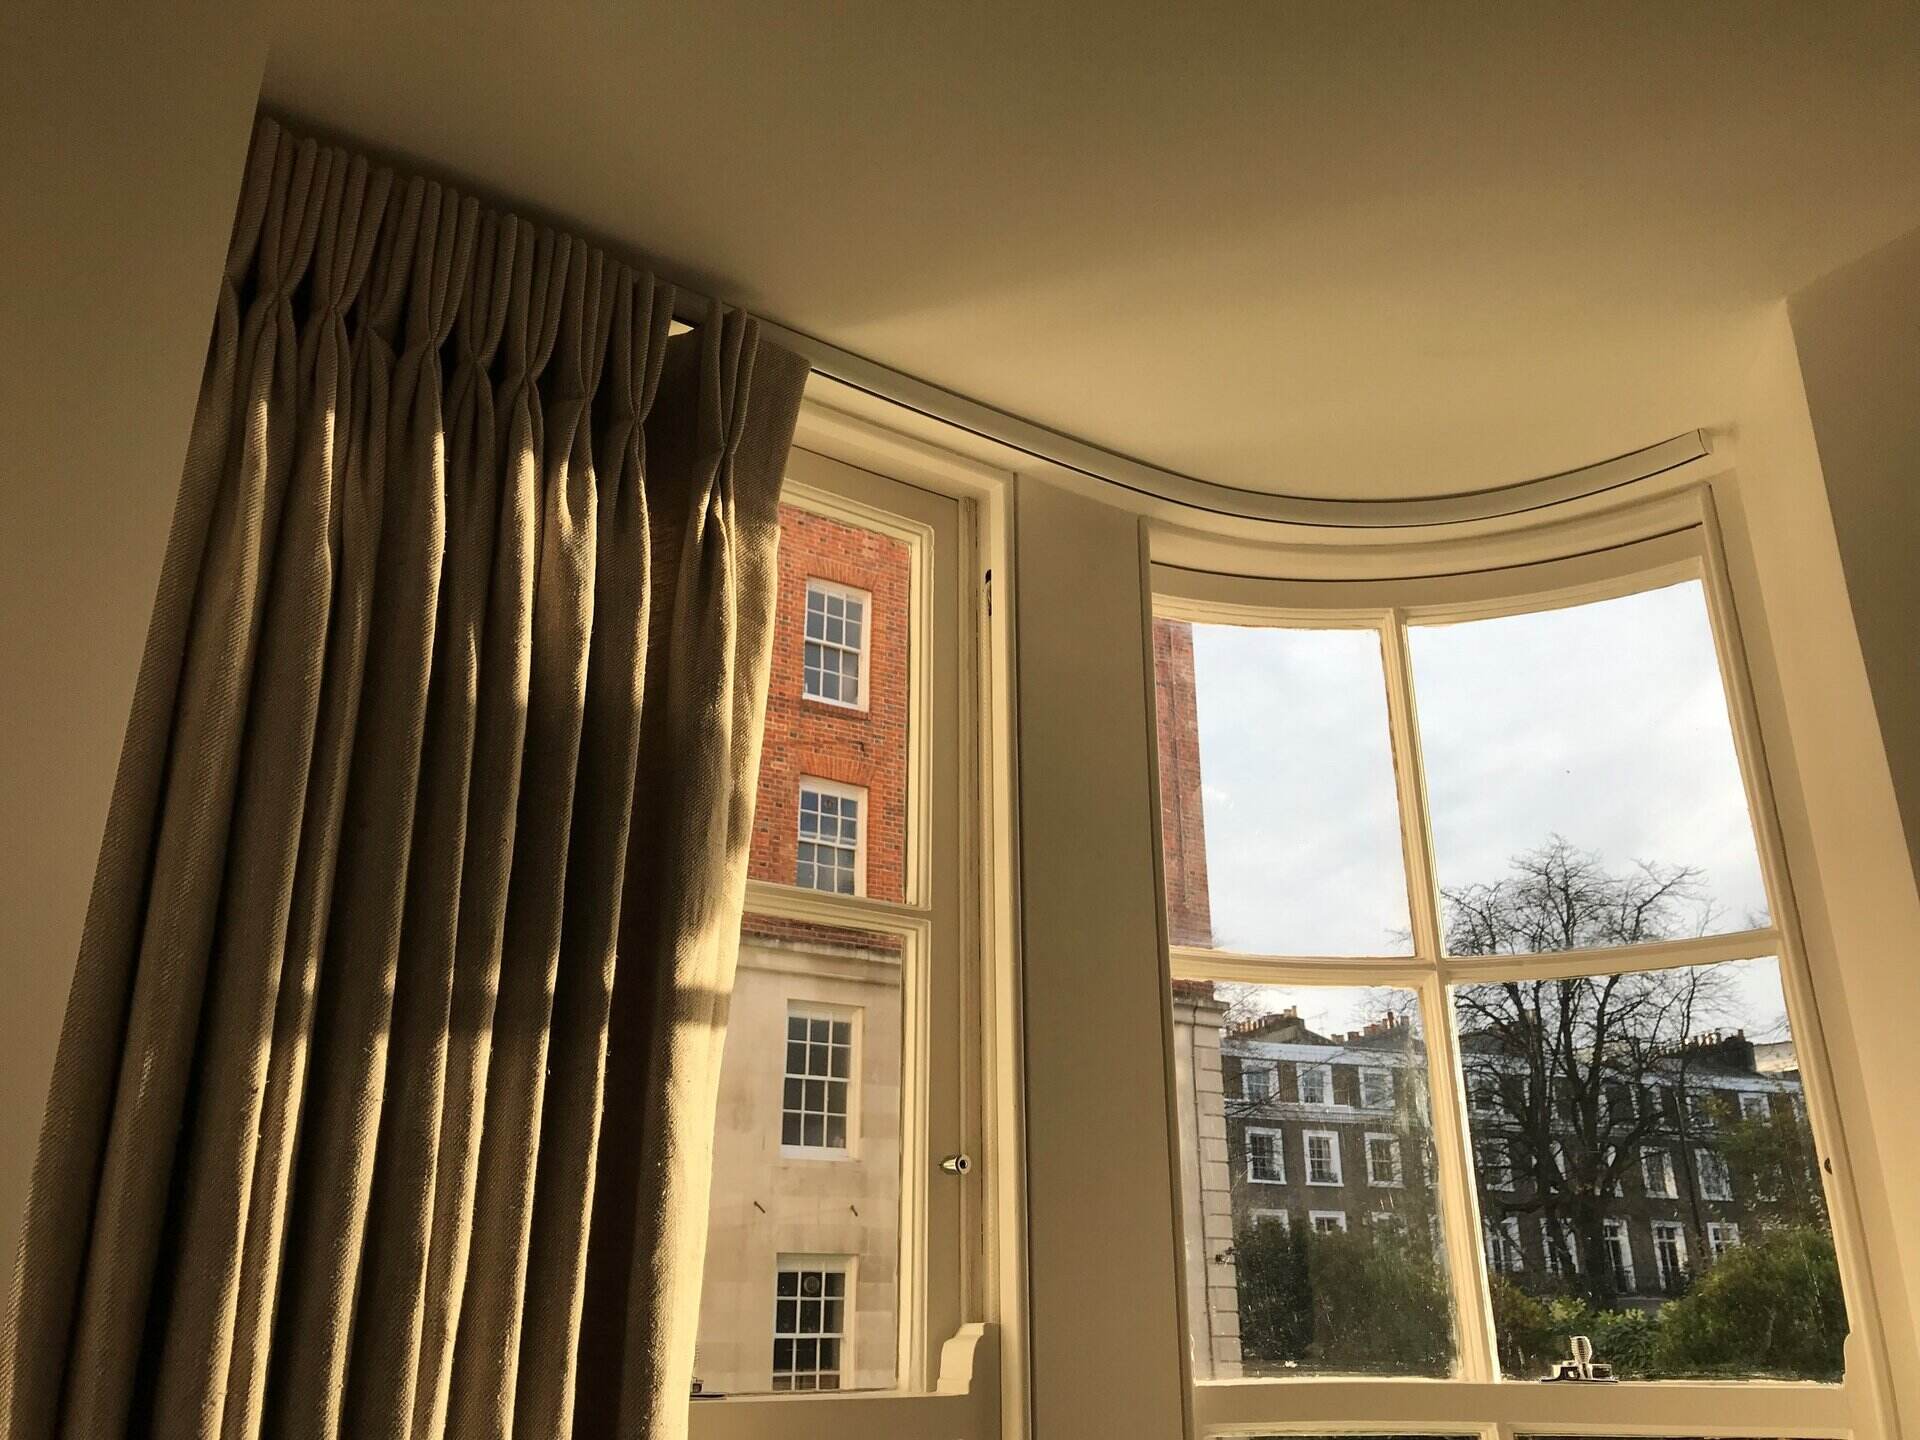
When hanging curtains on a window that is against a wall, consider using a wrap-around curtain rod to allow the curtains to fully cover the window without obstruction. This will create a seamless and polished look for your window treatment.
Attaching the Curtain Rod
Now that you have installed the brackets securely, it’s time to attach the curtain rod to them. Attaching the curtain rod is a simple process that will complete the foundation for hanging your curtains.
- Start by positioning yourself in front of the brackets. Hold the curtain rod at an angle, aligning it with the openings or slots in the brackets.
- Insert one end of the curtain rod into one bracket, ensuring that it sits securely in place.
- With one end of the rod in place, rotate or slide the other end of the rod into the other bracket. Apply gentle pressure to ensure a snug fit.
- If your curtain rod has finials, decorative end caps, or any other attachments, make sure to attach them at this stage. Simply screw them onto the ends of the curtain rod until they are securely in place.
- Give the curtain rod a gentle shake or tug to test its stability. It should be securely held in place by the brackets.
Ensure that the curtain rod is level and aligned with the window. If adjustments are needed, carefully remove the rod from the brackets, make the necessary adjustments, and reattach it to the brackets.
Remember to follow any specific instructions provided by the manufacturer for your particular curtain rod. Some rods may have different attachment mechanisms, such as spring-loaded brackets or hooks, so always refer to the product manual for proper installation.
By attaching the curtain rod securely to the brackets, you have now completed the foundation for hanging your curtains. With the curtain rod in place, it’s time to move on to the final step: hanging the curtains.
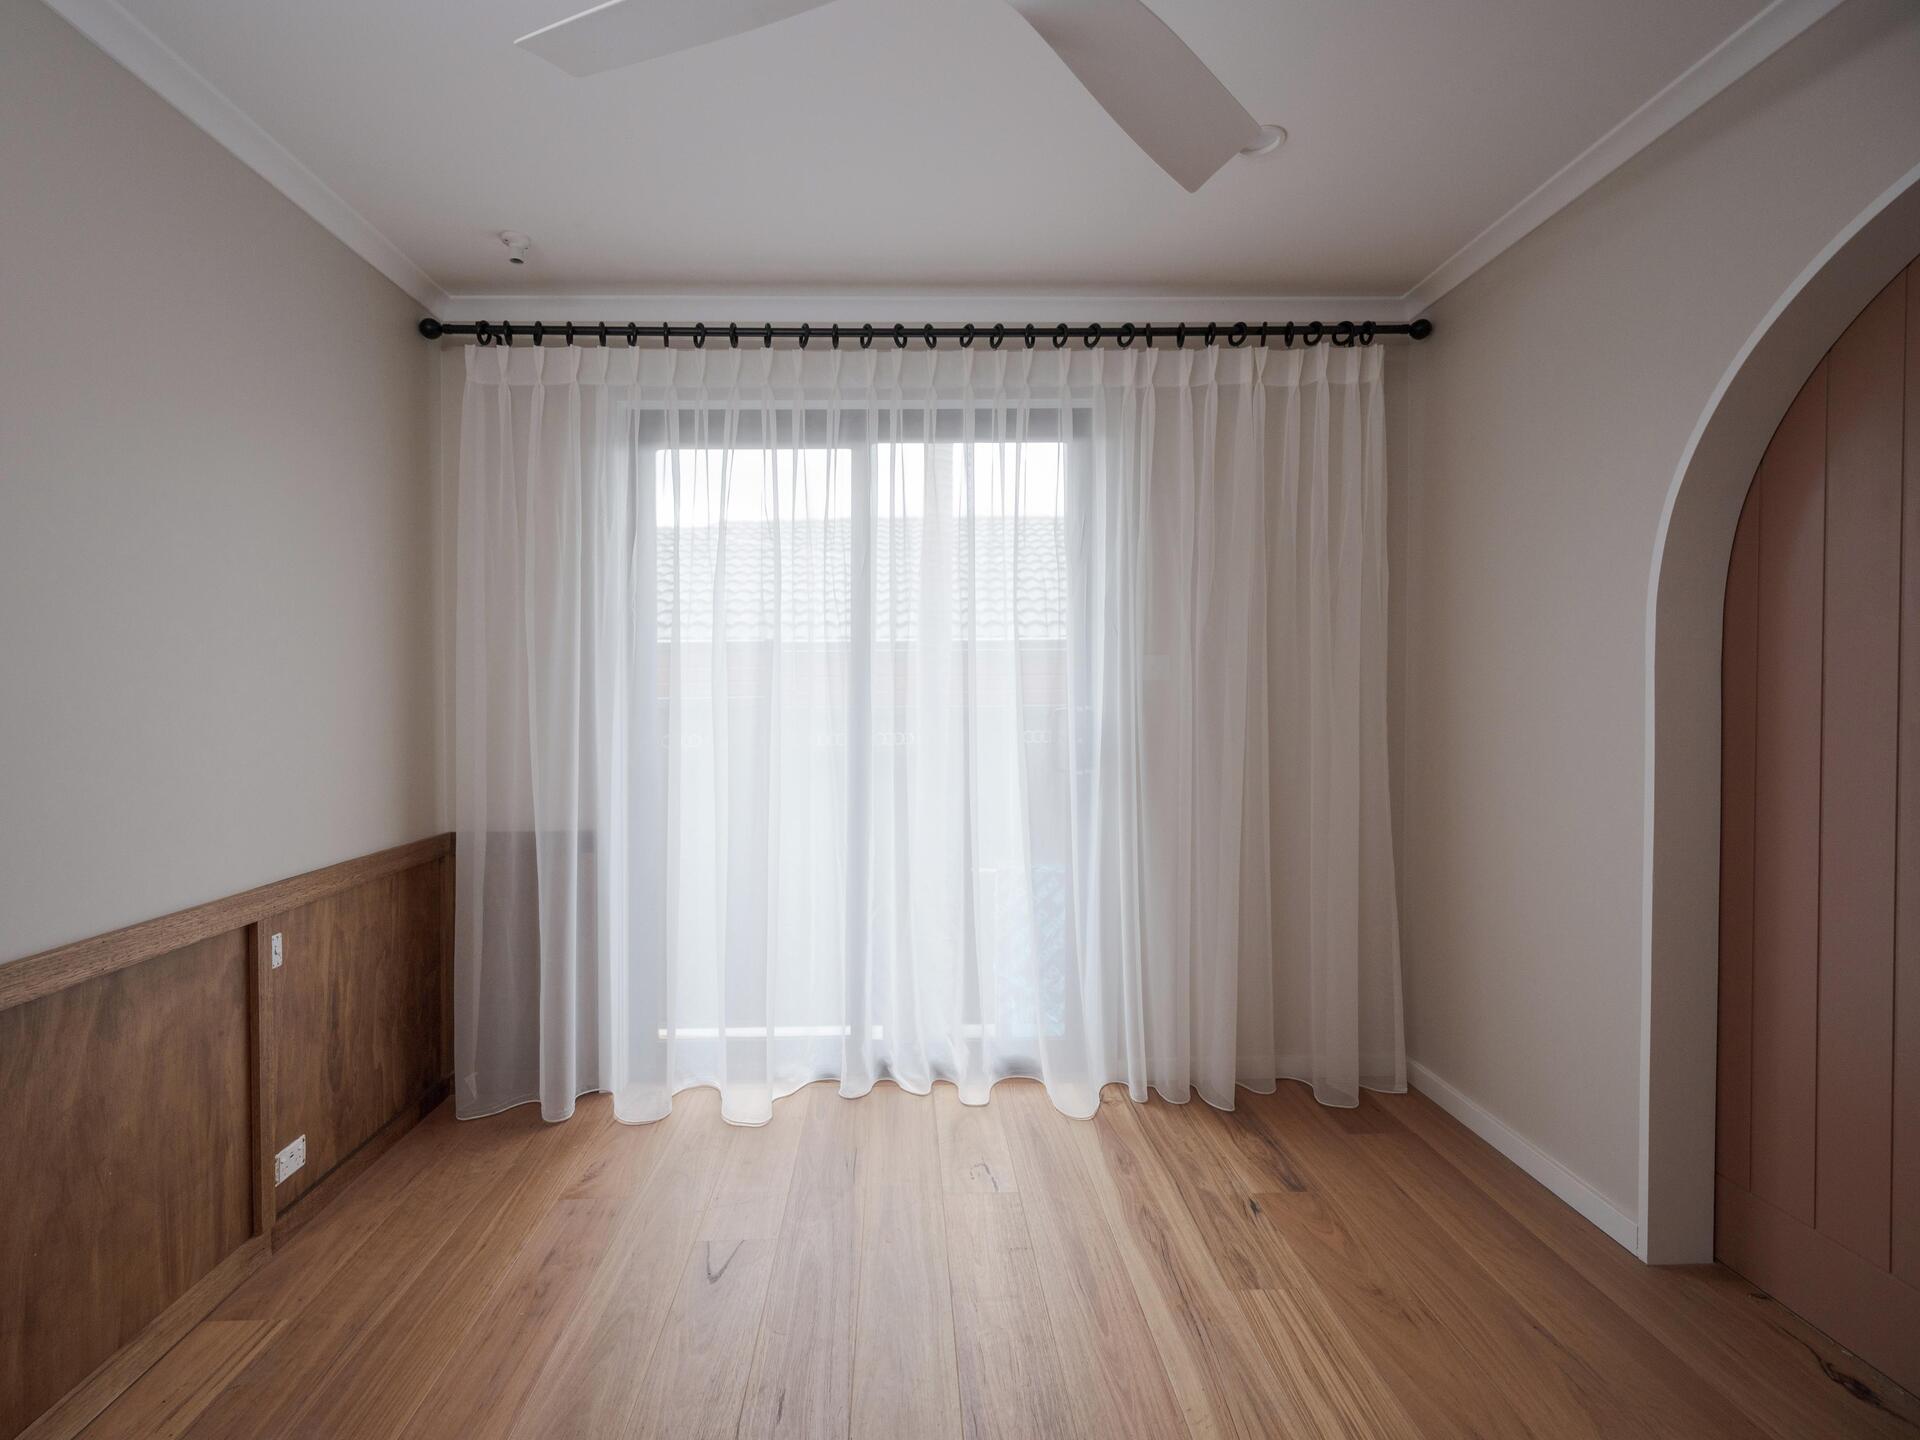
Hanging the Curtains
After installing the curtain rod and attaching it securely to the brackets, it’s time to hang the curtains and bring your window treatment to life. The process of hanging curtains requires careful attention to detail to ensure a polished and professional look.
- Start by preparing the curtains for hanging. If your curtains have been folded or packaged, gently iron or steam them to remove any creases or wrinkles.
- Lay the curtains flat on a clean surface and determine the appropriate orientation. Curtains often have a distinct top and bottom, so make sure you position them correctly.
- For curtain panels with rod pocket or tab top headers, simply slide the curtain rod through the pocket or tabs at the top of the panel. Ensure that the curtain is evenly distributed along the rod.
- If you have curtains with grommets, thread the curtain rod through the grommets, making sure that the curtains are evenly spread across the rod.
- If your curtains require curtain rings or clips, attach them to the top edge of the curtains according to the manufacturer’s instructions. Then, slide the rings or clips onto the curtain rod and position the curtains evenly.
- Once the curtains are attached to the rod, lift the rod and carefully place it onto the brackets. Ensure that the rod rests securely in the brackets and does not sag in the middle.
- Step back and observe the curtains to ensure that they are hanging evenly and at the desired height. Make any adjustments as needed.
- Give the curtains a final check to ensure that they hang straight and are evenly distributed. Adjust the folds or pleats if necessary.
Once you are satisfied with the placement and appearance of the curtains, step back and admire the transformation they bring to your space. A well-hung curtain can add drama, warmth, and personality to a room.
Remember that the process may vary depending on the specific style of your curtains and the curtain rod selected. Always refer to the manufacturer’s instructions for any specific guidelines or recommendations.
Now that you have successfully hung the curtains, let’s explore some tips for enhancing the curtain installation.
Tips for Enhancing the Curtain Installation
Once you have successfully hung your curtains, there are a few additional tips and tricks that can enhance the overall appearance and functionality of your window treatment. Consider these suggestions to take your curtain installation to the next level:
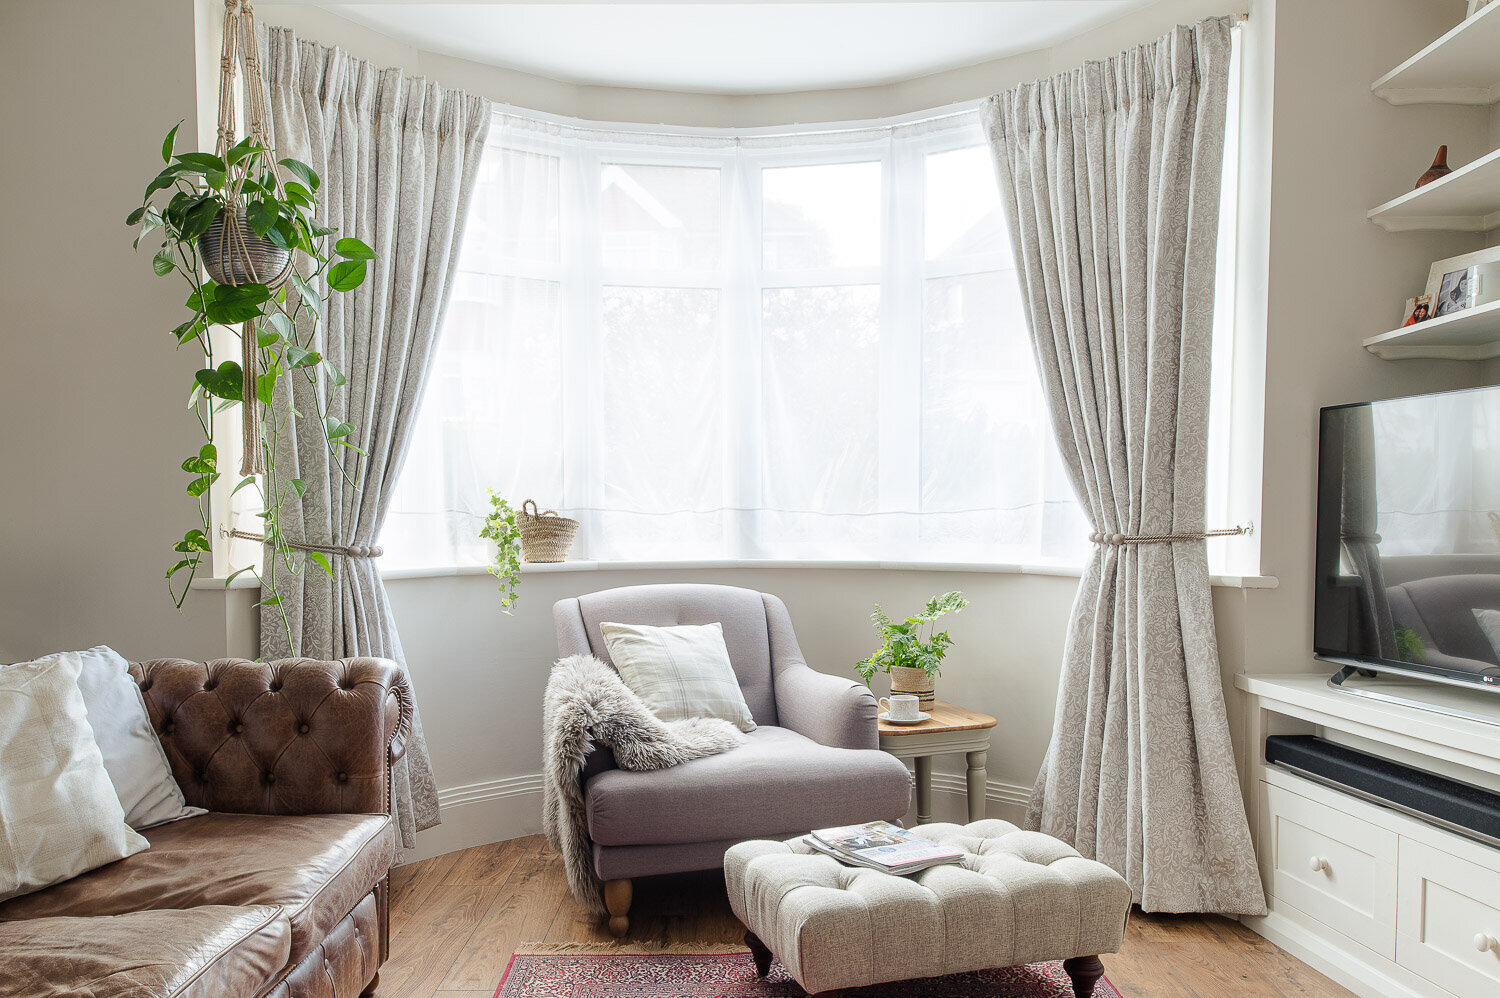
- Use curtain tiebacks or holdbacks: If you want to let in more natural light or create an elegant look, consider using curtain tiebacks or holdbacks. These accessories hold the curtains to the side when not in use, allowing sunlight to enter the room and creating a visually appealing drape effect.
- Add curtain valances or swags: To add depth and visual interest, consider pairing your curtains with curtain valances or swags. These decorative fabric additions can be mounted above the curtains to create a layered look and add a touch of elegance to the window treatment.
- Consider curtain liners: Depending on the type of curtains you have chosen, adding curtain liners can provide additional benefits. Liners can help block out light, increase privacy, and provide insulation to regulate temperature. They can also protect your curtains from fading due to prolonged exposure to sunlight.
- Experiment with curtain lengths: Don’t be afraid to play with different curtain lengths to achieve the desired aesthetic. Floor-length curtains create a formal and dramatic look, while curtains that slightly graze the floor can lend a more casual and relaxed feel. Consider your room’s style and purpose when deciding on the appropriate curtain length.
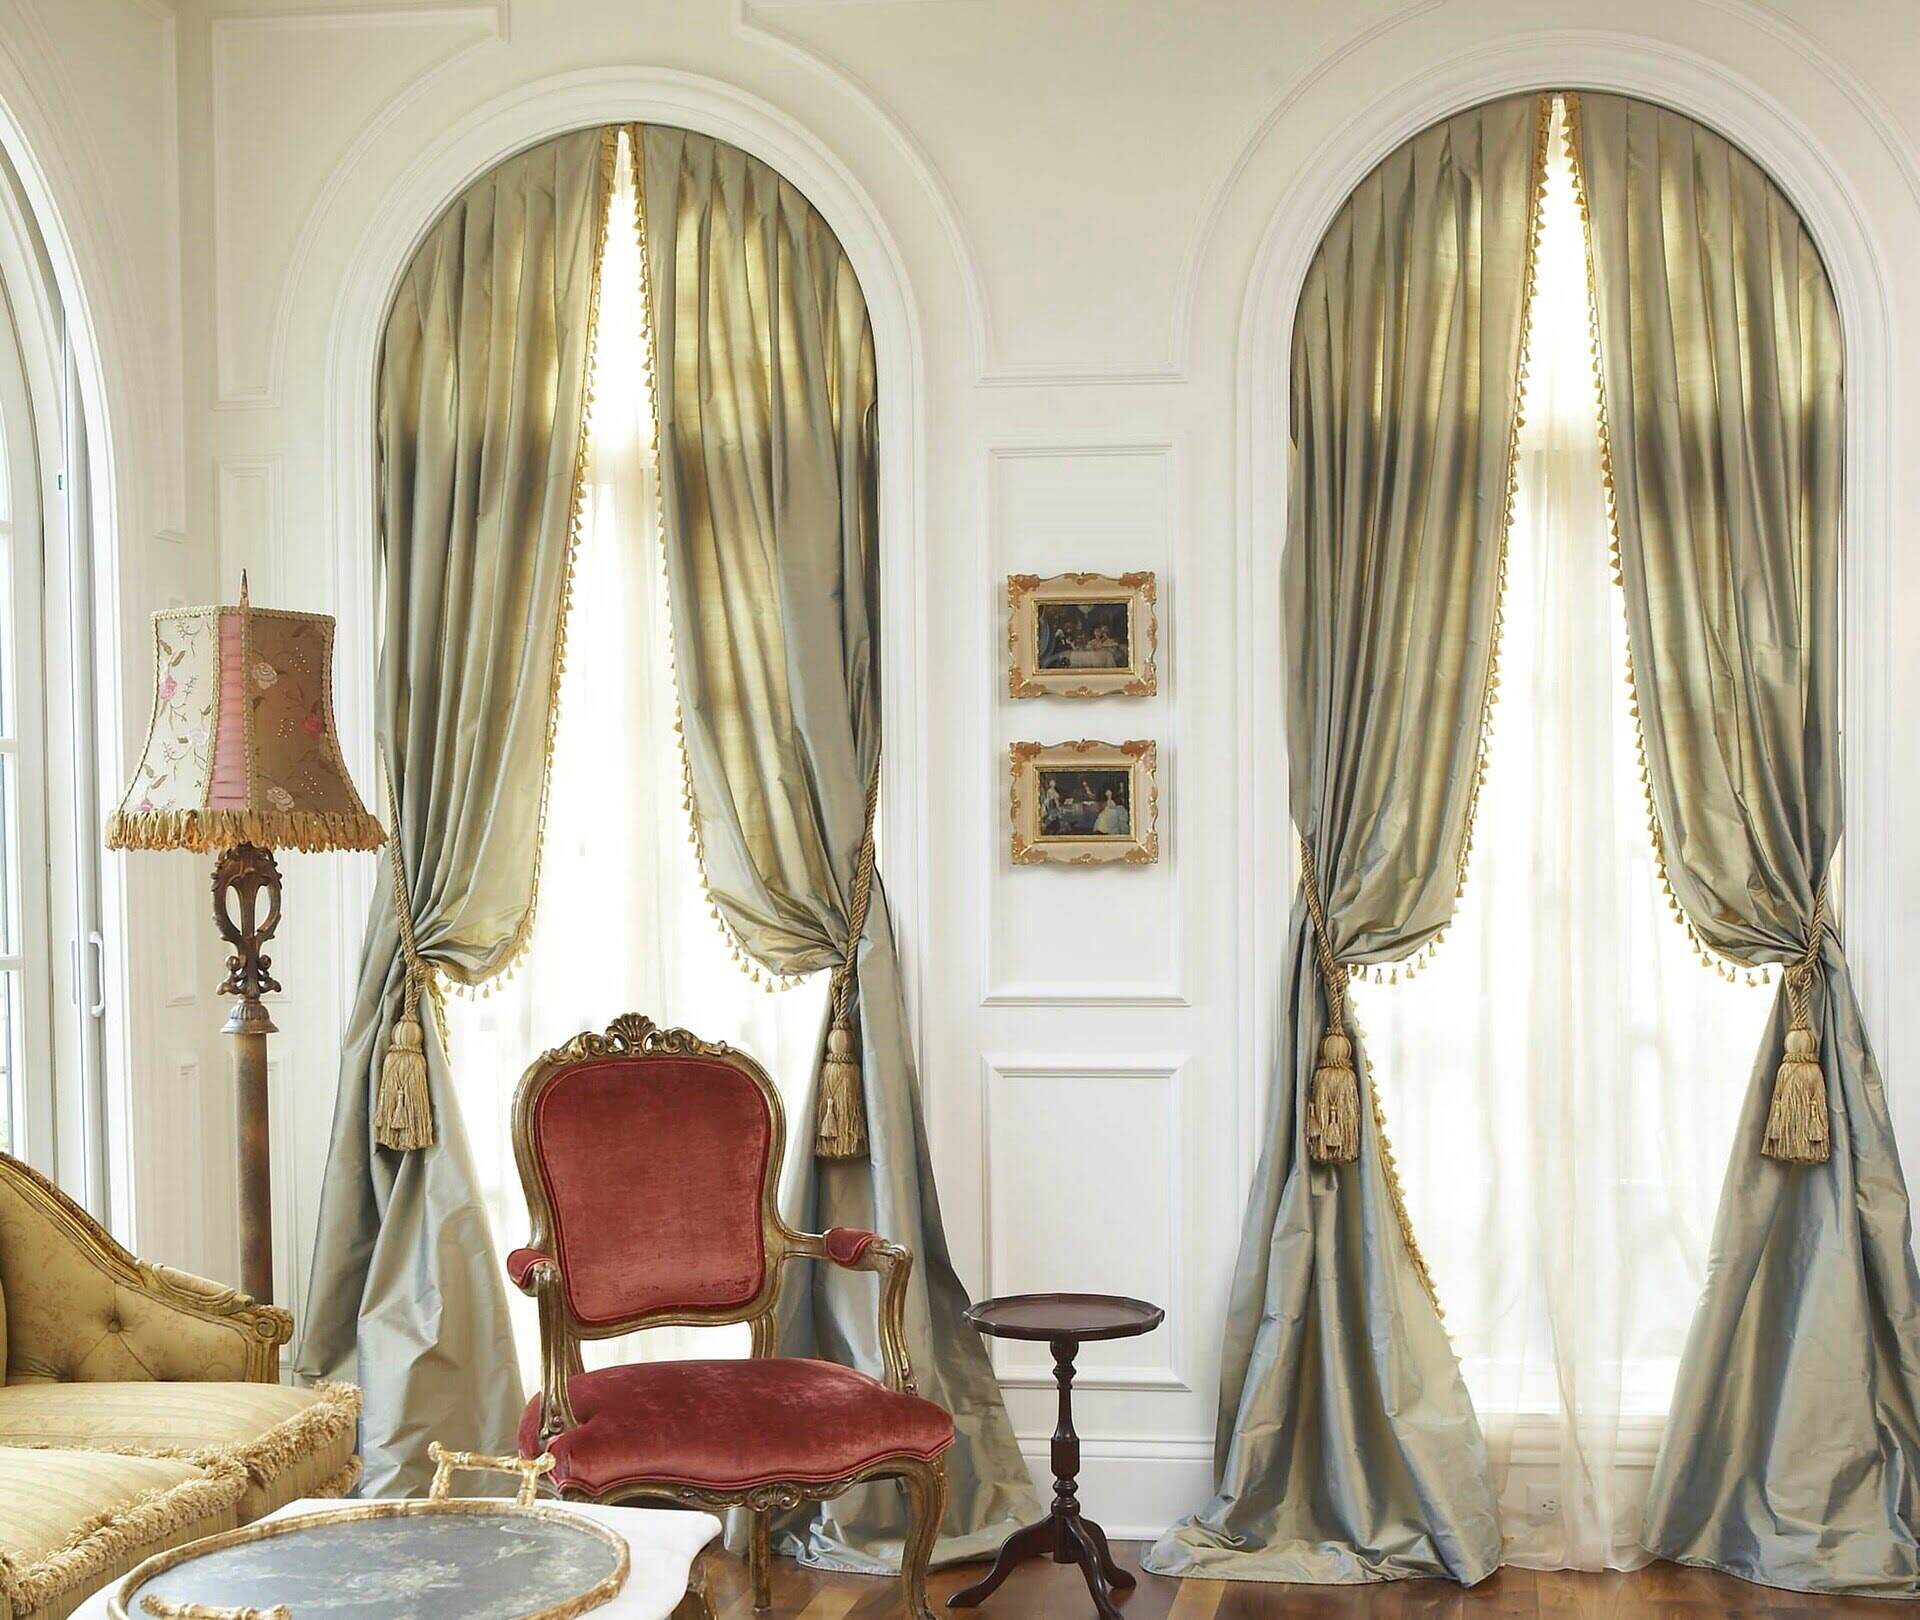
- Add curtain accessories: Consider adding decorative accessories to elevate your curtain installation. This can include decorative curtain rods with unique finials, tassel tiebacks, or ribbon accents. These small details can make a big impact on the overall appearance and personalization of your curtains.
- Ensure proper curtain care: To maintain the look and functionality of your curtains, follow the manufacturer’s care instructions. Regularly vacuum or dust your curtains to remove any accumulated debris. For washable curtains, follow the recommended washing and drying methods to keep them clean and fresh.
- Regularly assess and update: Periodically evaluate your curtains and the overall window treatment to ensure they still meet your needs and style preferences. Over time, you may wish to refresh the curtains with new fabric or update the hardware for a renewed look.
By incorporating these tips, you can enhance the visual appeal, functionality, and longevity of your curtain installation. Don’t be afraid to get creative and experiment to find the perfect combination that complements your space.
Now that we have explored various tips and techniques for enhancing your curtain installation, let’s wrap up the article.
Conclusion
Hanging curtains when the window is positioned against a wall may present some unique challenges, but with the right techniques and tips, you can achieve a beautiful and functional window treatment. By assessing the window and wall layout, measuring for curtain rod placement, choosing the right type of curtain rod, installing the curtain rod brackets securely, attaching the curtains, and implementing additional enhancements, you can create a visually appealing and personalized space.
Remember to take accurate measurements and consider factors such as curtain length, fabric type, and the desired style when selecting curtains and curtain rods. Installing the curtain rod brackets in the correct positions and attaching the curtain rod securely will provide a stable foundation for hanging your curtains. Pay attention to details such as levelness and even distribution of the curtains to create a polished look.
Enhancing your curtain installation with techniques like using curtain tiebacks or holdbacks, adding valances or swags, considering curtain liners, experimenting with curtain lengths, and adding decorative accessories will elevate the overall aesthetic of your window treatment. Regularly assessing and updating your curtains will ensure they continue to meet your design preferences and functional needs.
With these tips and techniques in mind, you are now equipped to hang curtains when the window is against a wall successfully. Be creative, have fun, and create a space that reflects your personal style while providing privacy, light control, and visual appeal.
So, go ahead and transform your windows into stunning focal points with the perfect curtains!
Now that you've mastered hanging curtains by a wall-bound window, why not tackle more creative challenges around your home? Engaging in DIY projects not only spruces up your space but also brings personal satisfaction and a unique touch to every corner. Dive into our next read on the allure of crafting and fixing things yourself. You’ll discover why rolling up your sleeves and getting hands-on is such a rewarding experience. Don’t miss out on transforming ordinary into extraordinary!
Frequently Asked Questions about How To Hang Curtains When Window Is Against Wall
Was this page helpful?
At Storables.com, we guarantee accurate and reliable information. Our content, validated by Expert Board Contributors, is crafted following stringent Editorial Policies. We're committed to providing you with well-researched, expert-backed insights for all your informational needs.


0 thoughts on “How To Hang Curtains When Window Is Against Wall”