
Articles
How To Dry A Blanket In Dryer
Modified: August 27, 2024
Discover the best techniques and tips for drying blankets in a dryer with our informative articles. Ensure your blankets stay fresh and cozy after every wash.
(Many of the links in this article redirect to a specific reviewed product. Your purchase of these products through affiliate links helps to generate commission for Storables.com, at no extra cost. Learn more)
Introduction
Drying a blanket in a dryer is a convenient and efficient way to get it fresh, clean, and ready for use again. Whether you need to dry a thick winter blanket, a cozy fleece throw, or a delicate quilt, following the right steps will help you achieve optimal results without any damage. In this article, we will guide you through the process of drying a blanket in a dryer, ensuring that your blanket comes out fluffy, soft, and ready to provide warmth and comfort.
Before diving into the specific steps, it’s important to note that not all blankets are suitable for machine drying. Always check the care label on your blanket for any specific instructions or recommendations from the manufacturer. Some blankets may require alternative drying methods, such as air drying or laying flat to prevent any shrinking, warping, or damage to delicate fabrics and materials.
If your blanket is safe for machine drying, read on to learn how to effectively and safely dry it in a dryer.
Key Takeaways:
- Properly preparing your blanket, selecting the right drying settings, and periodically checking its progress are essential for effectively drying a blanket in a dryer while maintaining its quality and appearance.
- Adding dryer balls or towels can enhance the drying process, and allowing the blanket to cool down completely after drying ensures safety and prevents discomfort or damage.
Read more: How To Dry Blankets In Dryer
Step 1: Prepare the blanket for drying
Before placing your blanket in the dryer, it’s important to prepare it properly to ensure the best drying results. Here are some key steps to follow:
- Check for any stains or spills: Inspect your blanket for any stains or spills that may require pre-treatment. If you notice any, gently blot the area with a stain remover or spot cleaner and allow it to sit for a few minutes before proceeding.
- Remove excess moisture: If your blanket is wet or damp, it’s best to remove as much excess moisture as possible before putting it in the dryer. You can do this by carefully wringing out the blanket or using a clean towel to absorb the moisture.
- Untangle any knots or tangles: Ensure that your blanket is free from any knots or tangles. Gently untangle any twisted or knotted areas to allow for even drying and to prevent any potential damage to the fibers.
- Secure loose threads or embellishments: If your blanket has loose threads or delicate embellishments, it’s important to secure them before putting it in the dryer. Use small safety pins or thread to secure any loose elements to prevent them from getting tangled or damaged during the drying process.
- Empty the pockets: If your blanket has pockets, make sure to empty them before putting it in the dryer. This will prevent any items, like tissues or loose change, from causing damage or creating noise during the drying cycle.
By taking these steps to prepare your blanket, you’ll ensure that it is ready for effective and safe drying in the machine. Once you’ve completed these preparations, you’re ready to move on to the next step of selecting the appropriate drying setting.
Step 2: Select the appropriate drying setting
Choosing the right drying setting for your blanket is crucial to ensure that it dries thoroughly without damage. Different fabrics and materials may require different heat levels and drying times. Follow these guidelines to select the appropriate drying setting:
- Refer to the care label: The care label on your blanket is a valuable resource for determining the recommended drying settings. It will often provide information on the appropriate heat level, drying time, and any other specific instructions to follow.
- Consider the fabric: Take into account the fabric composition of your blanket. If it is made of a delicate material such as silk or wool, opt for a low heat or delicate setting to avoid shrinking or damaging the fibers. For thicker and more durable fabrics like cotton or polyester, a regular or medium heat setting should suffice.
- Choose the drying time: Depending on the size and thickness of your blanket, you may need to adjust the drying time accordingly. Larger and thicker blankets may require more time to fully dry. Start with a conservative estimate and increase the drying time if necessary.
- Use the appropriate options: Some dryers come with additional options that can enhance the drying process. Consider using features like a moisture sensor, which detects the dampness of the blanket and automatically adjusts the drying time, or using a low-heat or air fluff option for delicate fabrics.
- Avoid high heat: It’s generally best to avoid using high heat settings for drying blankets, as this can increase the risk of shrinking, fading, or damaging the fabric. Opt for a moderate heat setting that ensures thorough drying without excessive heat exposure.
By selecting the appropriate drying setting, you’ll ensure that your blanket dries effectively while maintaining its quality and integrity. Once you’ve chosen the setting, it’s time to move on to the next step: placing the blanket in the dryer.
Step 3: Place the blanket in the dryer
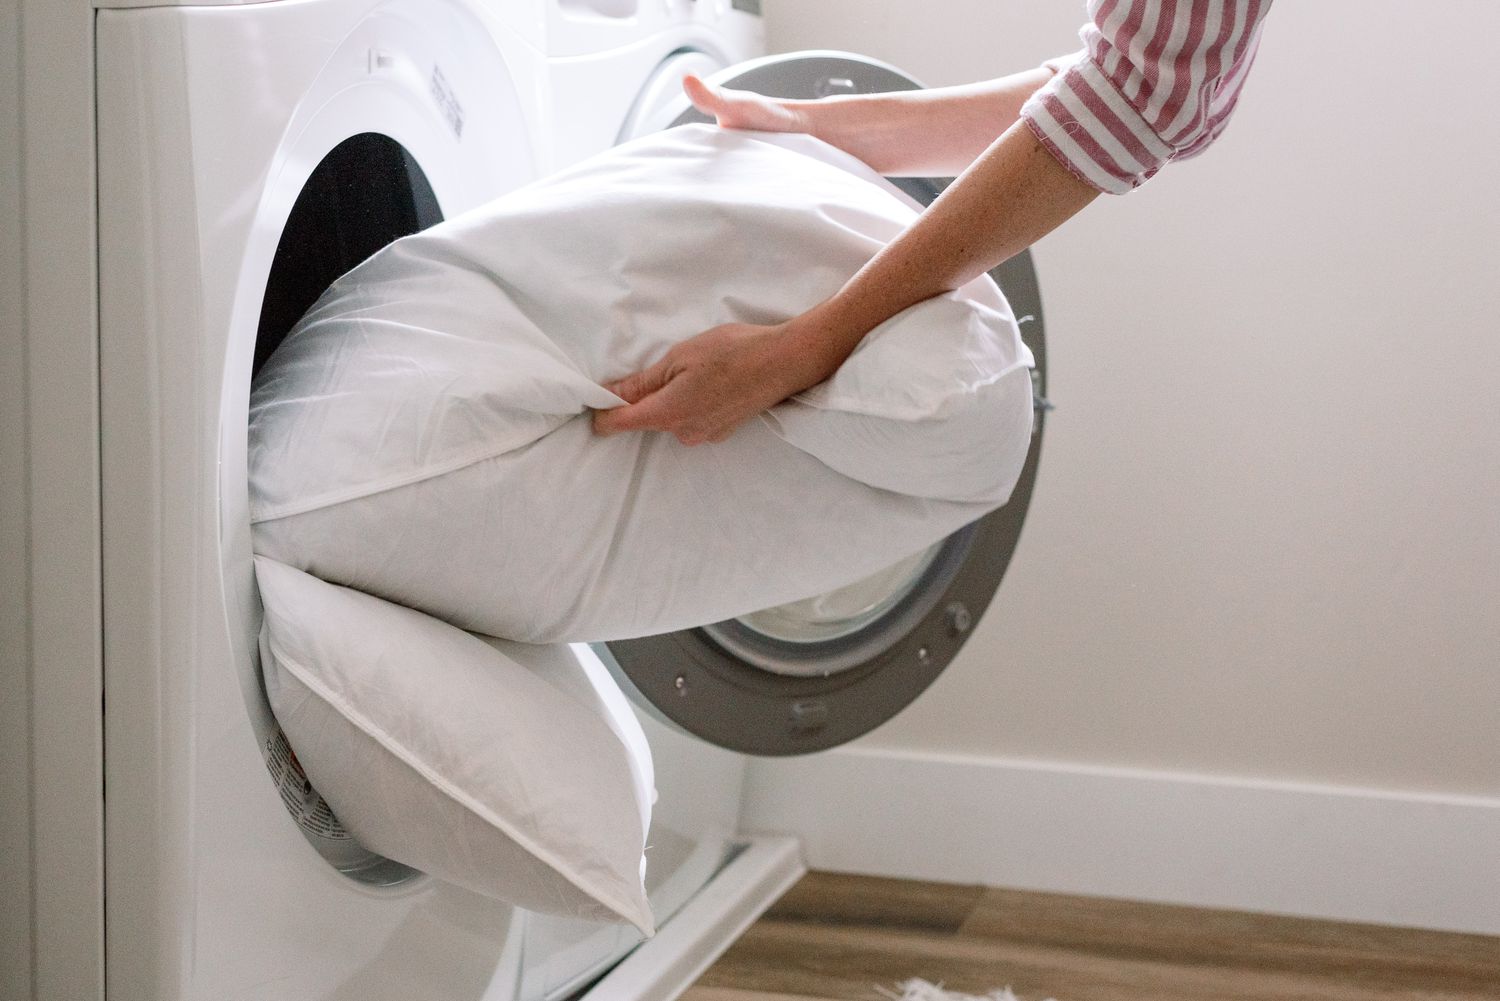
Now that you’ve prepared your blanket and selected the appropriate drying setting, it’s time to place it in the dryer. Follow these steps to ensure proper placement:
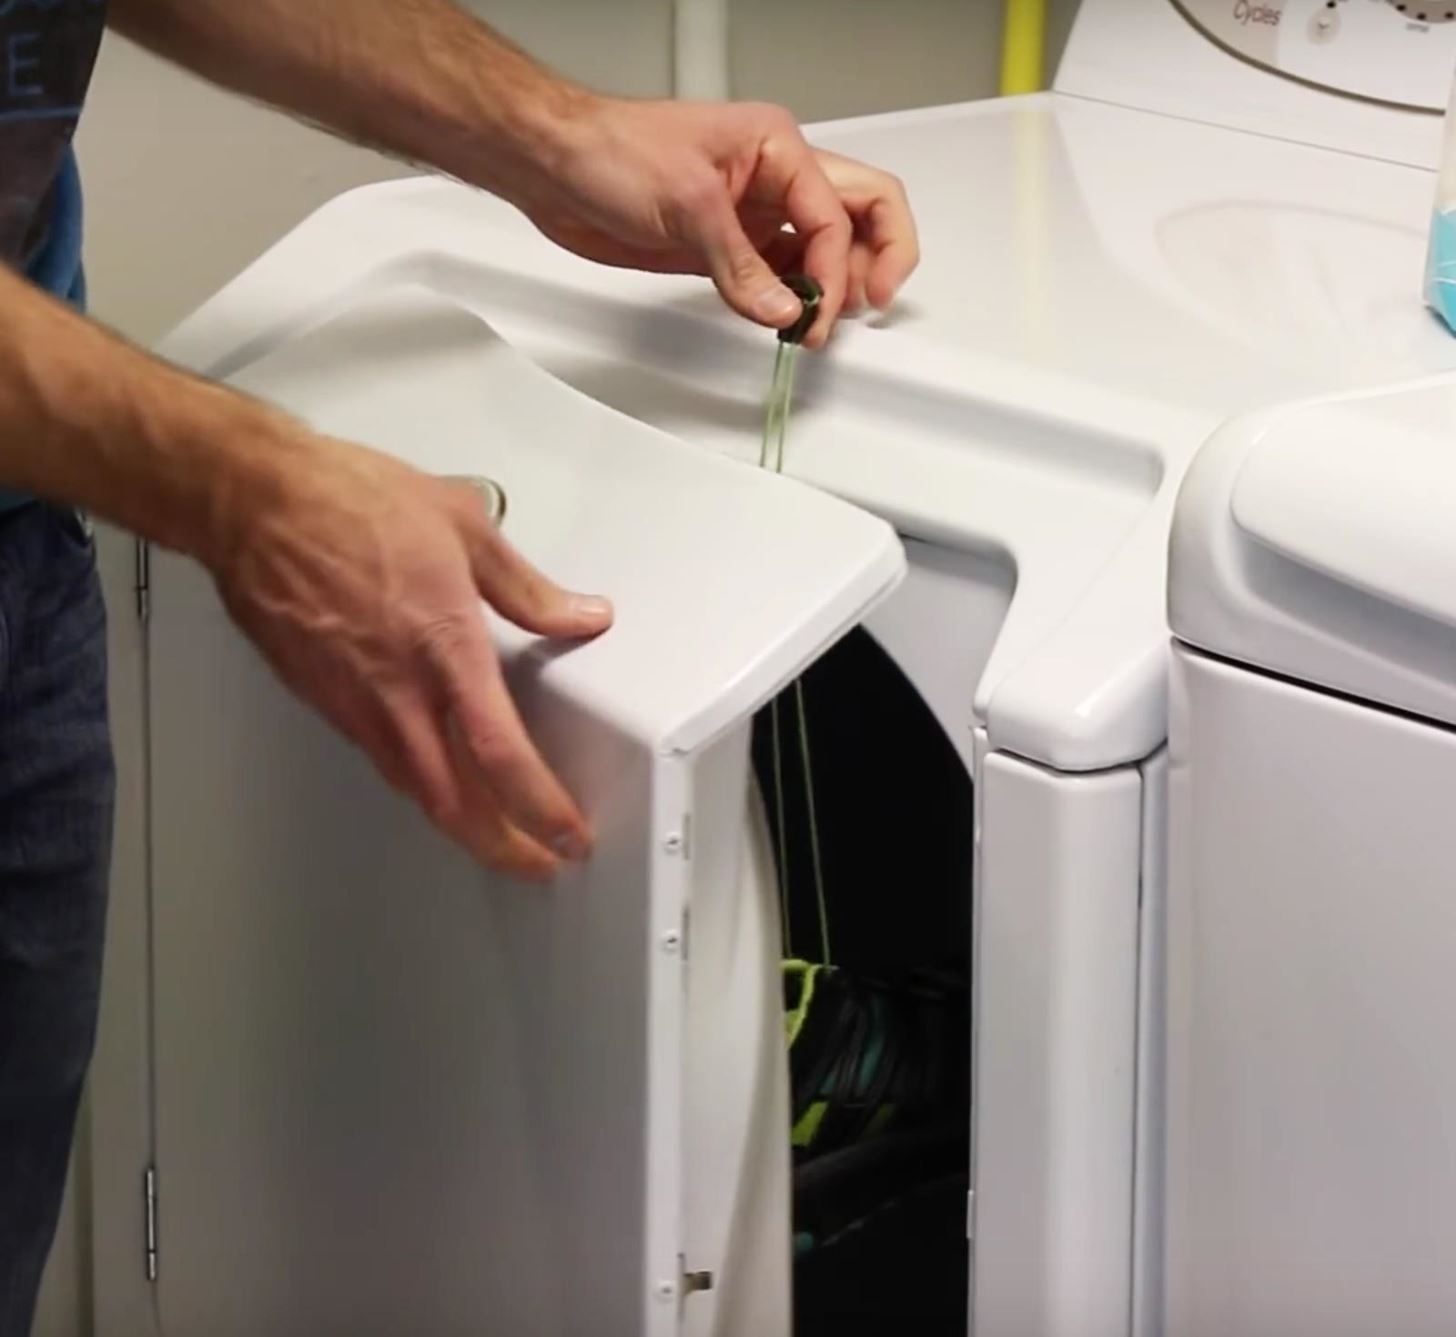
- Open the dryer door: Begin by opening the door of your dryer. Ensure that the inside of the dryer drum is clean and free from any debris or lint that could transfer onto the blanket.
- Smooth out the blanket: Gently spread out the blanket inside the dryer, making sure to avoid any folds or creases. This will help promote even drying and prevent wrinkles or uneven patches.
- Avoid overcrowding: It’s important not to overload the dryer with too many blankets or other garments. Overcrowding can impede proper airflow and hinder the drying process. Make sure there is enough space for the blanket to move around freely without becoming tangled.
- Secure the blanket: If necessary, use clothespins or laundry clips to secure the corners or edges of the blanket to the dryer drum. This will prevent the blanket from getting twisted or balled up during the drying cycle.
- Close the dryer door: Once the blanket is properly positioned, close the dryer door securely. Ensure that it is fully closed to prevent any heat or moisture from escaping during the drying process.
By placing the blanket correctly in the dryer, you’ll maximize the airflow and ensure that it dries efficiently. With the blanket securely positioned, you’re now ready to move on to the next step: adding dryer balls or towels, if desired.
Step 4: Add dryer balls or towels (if desired)
If you want to enhance the drying process and achieve a fluffier end result, you can consider adding dryer balls or towels to the dryer. Here’s what you need to know:
- Dryer balls: Dryer balls are small, spiky balls made of plastic or wool that help to create space between the layers of the blanket as it tumbles in the dryer. This promotes better airflow, reduces drying time, and helps to prevent the blanket from clumping together.
- Towels: If you don’t have dryer balls, you can use clean, dry towels instead. Adding a couple of towels to the dryer can have a similar effect. The towels create space and movement, allowing the hot air to circulate more effectively.
- Benefits of using dryer balls or towels: Using dryer balls or towels can help to prevent static cling, reduce wrinkles, and make your blanket fluffier. They also help to distribute heat evenly, which can result in more efficient drying.
- Add them to the dryer: Place the dryer balls or towels on top of the blanket in the dryer. Make sure they are evenly distributed and not concentrated in one area. If you’re using dryer balls, two or three should be sufficient. If you’re using towels, a couple of large towels should do the trick.
- Start the dryer: Once the dryer balls or towels are added, you can now start the dryer by selecting your chosen drying setting and pressing the start button.
Adding dryer balls or towels to the dryer can help improve the drying process and achieve better results. However, it’s important to note that they are optional, and your blanket can still dry effectively without them. With the additions in place, it’s time to move on to the next step: setting the drying time and temperature.
Read more: How To Dry A Weighted Blanket
Step 5: Set the drying time and temperature
Setting the appropriate drying time and temperature is crucial to ensure that your blanket dries thoroughly without any damage. Here’s how you can do it:
- Refer to the care label: Start by referring to the care label on your blanket. It may provide specific instructions regarding the recommended drying time and temperature. Follow these instructions if available.
- Consider the fabric: Take into account the fabric composition of your blanket. Different fabrics require different drying settings. For delicate fabrics like silk or wool, choose a low-heat or delicate cycle to prevent shrinking or damage. For thicker fabrics like cotton or polyester, a regular or medium heat setting may be more appropriate.
- Adjust the drying time: Based on the size and thickness of your blanket, you may need to adjust the drying time accordingly. Larger and thicker blankets may require a longer drying time, while smaller ones will dry more quickly. Start with the recommended time on the dryer, and increase or decrease it as needed.
- Choose additional settings: Some dryers offer additional settings that can further customize the drying process. For example, you may have options for sensor drying, which detects the moisture levels and automatically adjusts the drying time, or a timed drying option that allows you to set a specific duration.
- Avoid high heat: It’s generally advisable to avoid using high heat settings for drying blankets, as this can lead to shrinkage or damage, especially for delicate fabrics. Opt for a moderate heat setting that effectively dries the blanket without subjecting it to excessive heat exposure.
By setting the appropriate drying time and temperature, you will ensure that your blanket dries thoroughly and safely. Once you have chosen the settings, it’s time to proceed to the next step: starting the dryer.
To dry a blanket in a dryer, use a low heat setting to prevent damage to the fabric. Add a couple of clean tennis balls to help fluff the blanket as it dries. Check the blanket periodically to ensure even drying.
Step 6: Start the dryer
With all the necessary preparations in place, it’s time to start the dryer and begin the drying process. Follow these steps to start the dryer:
- Double-check the settings: Before starting the dryer, double-check the selected drying time and temperature to ensure that they are appropriate for your blanket. Make any adjustments if necessary.
- Close the dryer door: Ensure that the dryer door is securely closed. This will prevent any heat or moisture from escaping during the drying cycle.
- Press the start button: Locate the start button on your dryer and press it to initiate the drying cycle. The dryer will begin to tumble the blanket and circulate heated air to dry it.
- Avoid interruptions: Once the dryer is running, try to avoid opening the dryer door as much as possible. Frequent opening can cause heat and moisture loss, resulting in longer drying times.
- Monitor the drying process: Keep an eye on the drying cycle to ensure everything is progressing smoothly. If you notice any unusual noises or issues, pause the dryer and inspect the blanket to avoid potential damage.
Starting the dryer is a simple but essential step in the blanket drying process. Now all you have to do is wait for the allotted drying time to complete. In the meantime, you can move on to the next step: checking on the blanket periodically.
Step 7: Check on the blanket periodically
While the blanket is drying in the dryer, it’s important to periodically check on its progress to ensure that it is drying evenly and without any issues. Here’s what you need to do:
- Set a timer: It’s helpful to set a timer or use the timer function on your phone to remind yourself to check on the blanket at regular intervals. The frequency of the checks will depend on the drying time and your personal preference.
- Open the dryer door carefully: When it’s time to check on the blanket, open the dryer door carefully to avoid any potential injury. Be mindful of the hot air and steam that may escape when you open the door.
- Inspect the blanket: Take a close look at the blanket to ensure that it is drying evenly. Check for any areas that may be damp or not drying as quickly as the rest of the blanket.
- Reshuffle if needed: If you notice any damp spots or areas that are taking longer to dry, gently shake and rearrange the blanket inside the dryer. This will promote better airflow and help even out the drying process.
- Address any issues: If you come across any issues while checking on the blanket, such as excessive wrinkling or twisting, take the necessary steps to rectify the problem. Smooth out any wrinkles or untangle any twisted sections before closing the dryer door and resuming the drying cycle.
- Repeat the checks: Continue to check on the blanket periodically throughout the drying process, adjusting the drying time if needed, until the blanket is fully dry.
By checking on the blanket periodically, you can ensure that it is drying evenly and without any issues. This step allows you to address any problems promptly and adjust the drying process as necessary. Once you are satisfied that the blanket is fully dry, it’s time to move on to the next step: removing the blanket from the dryer.
Step 8: Remove the blanket from the dryer
Now that the drying cycle is complete, it’s time to remove your blanket from the dryer. Follow these steps to do it safely and effectively:
- Ensure the dryer has cooled down: Before removing the blanket, make sure that the dryer has cooled down. This will prevent any accidental burns or discomfort when handling the hot blanket.
- Open the dryer door: Gently open the dryer door, taking care not to let the blanket tumble out or get caught on the door. Keep in mind that the blanket may still be warm, so take caution while handling it.
- Retrieve the blanket: Carefully lift the blanket out of the dryer, supporting its weight to prevent it from dragging on the floor or any other surfaces that could potentially soil it.
- Inspect for any dampness: Examine the blanket to ensure that it is completely dry. If you notice any areas that are still damp or slightly moist, it may indicate that the blanket needs further drying or that certain sections require extra attention.
- Address any issues: If you find any damp spots or areas on the blanket, consider air-drying those specific sections or using a hairdryer on a cool setting to dry them completely.
- Smooth out wrinkles: Gently shake or smooth out any wrinkles that may have formed during the drying process. This will help restore the blanket’s appearance and ensure it is ready for immediate use or storage.
By following these steps to remove your blanket from the dryer, you’ll ensure that it remains in good condition and ready for use. Once you’re satisfied that the blanket is dry, wrinkle-free, and in good shape, it’s time for the final step: allowing the blanket to cool down.
Read more: How To Dry A Minky Couture Blanket
Step 9: Let the blanket cool down
After removing the blanket from the dryer, it’s important to let it cool down completely before using or storing it. Follow these steps to allow the blanket to cool down:
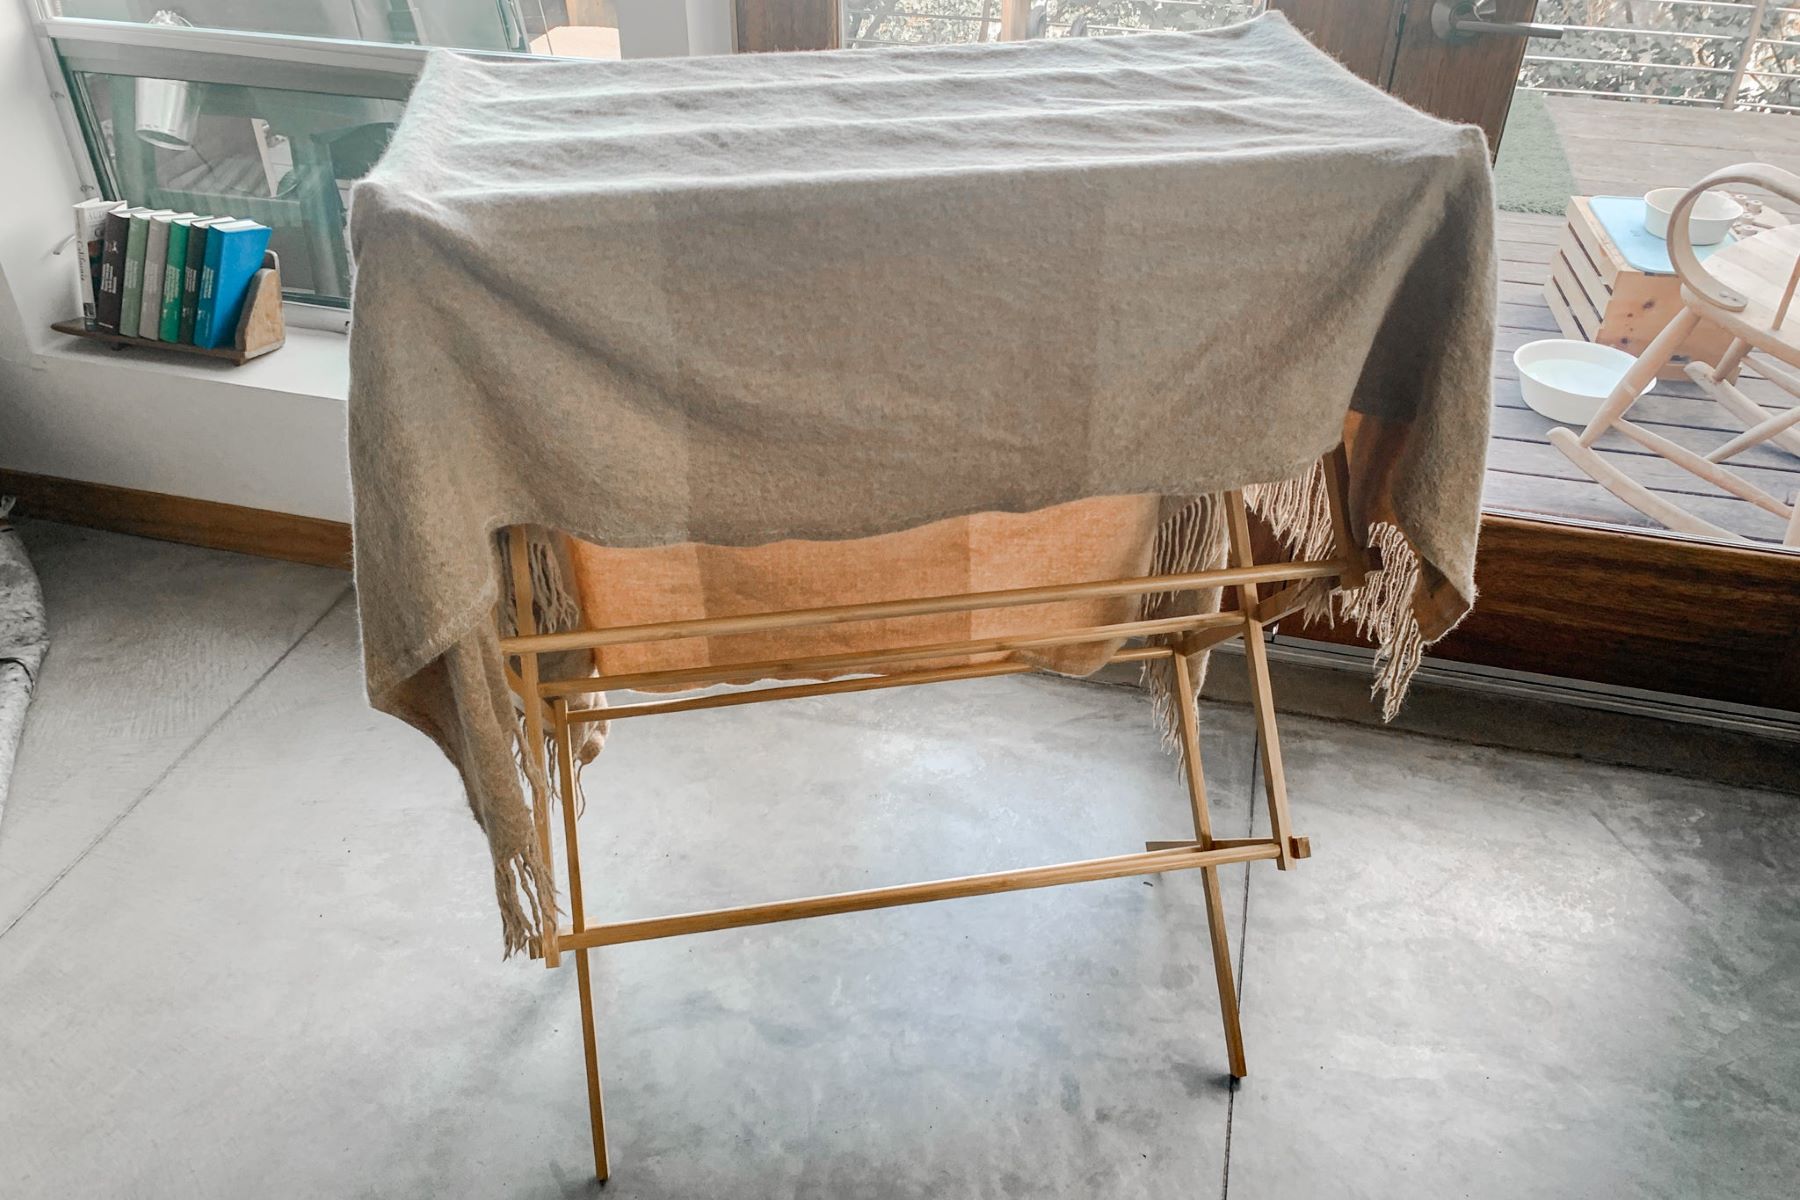
- Find a flat surface: Place the blanket on a clean, flat surface, such as a table or a bed. This will allow it to cool down evenly and prevent any wrinkles or folds from forming.
- Avoid direct sunlight: Ensure that the blanket is not exposed to direct sunlight while cooling down. Direct sunlight can cause fading or discoloration of certain fabrics.
- Give it time: Depending on the thickness and material of your blanket, it may take anywhere from 15 minutes to a couple of hours to cool down completely. Patience is key to avoid any discomfort or damage when using or storing the blanket.
- Test the temperature: Before handling or using the blanket, gently touch it to ensure that it has reached a comfortable and cool temperature throughout.
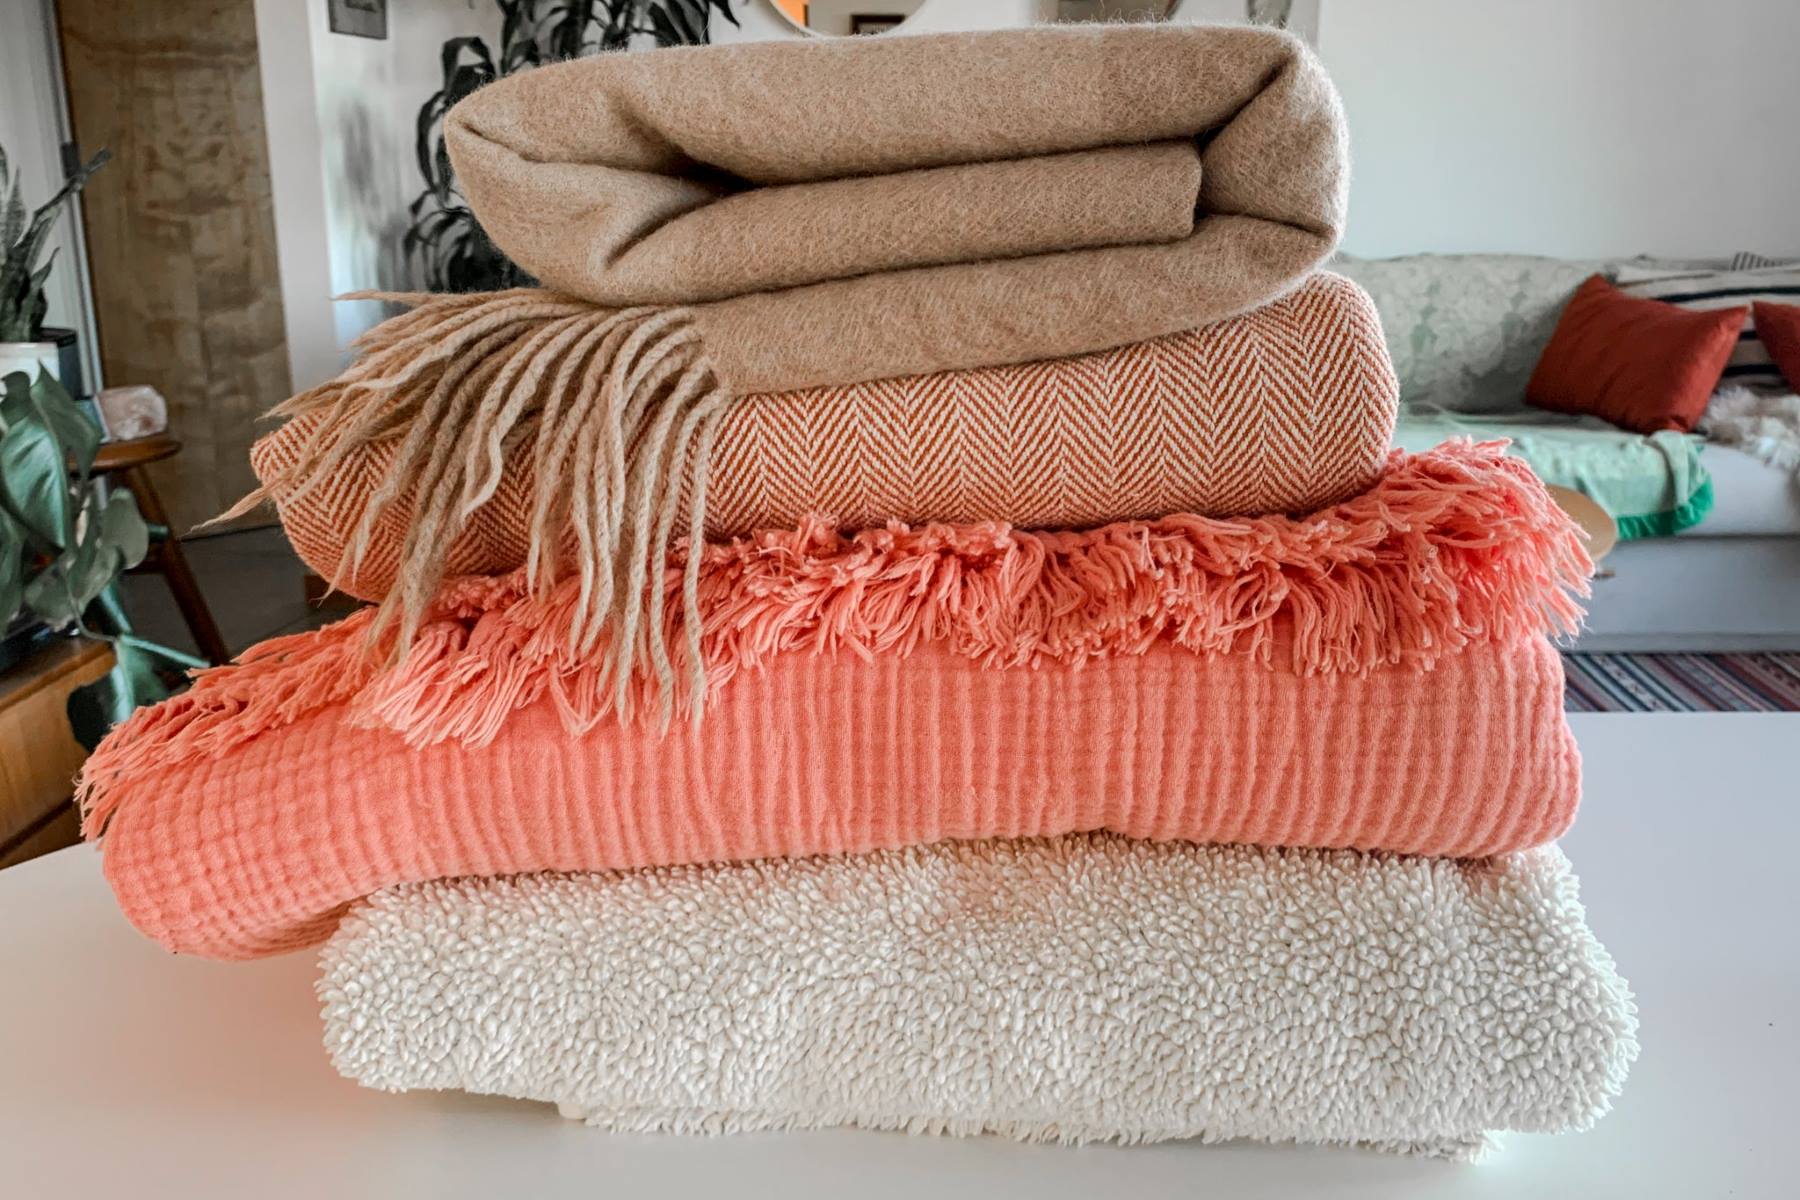
- Store or use as desired: Once the blanket has cooled down, you can either fold and store it in a clean, dry location or use it immediately to provide warmth and comfort.
Allowing the blanket to cool down is a crucial step that ensures your safety and prevents any potential discomfort when using or storing it. By following these steps, you’ll ensure that your blanket remains in excellent condition and ready for future use.
Congratulations! You have successfully completed all the steps to dry a blanket in a dryer. By following these guidelines, you can maintain the quality and longevity of your blankets while enjoying their cozy benefits whenever you need them.
Remember to always refer to the care label on your blanket for any specific instructions and recommendations. If you encounter any issues or concerns, don’t hesitate to consult a professional or reach out to the manufacturer for guidance.
Conclusion
Drying a blanket in a dryer is a convenient and efficient way to prepare it for immediate use or storage. By following the steps outlined in this article, you can ensure that your blanket dries thoroughly and remains in excellent condition. From preparing the blanket and selecting the appropriate drying settings to checking on its progress and allowing it to cool down, each step plays a crucial role in achieving optimal results.
Remember to always refer to the care label on your blanket for any specific instructions or recommendations from the manufacturer. Some blankets may require alternative drying methods, such as air drying or laying flat, to ensure their longevity and prevent damage to delicate fabrics or materials.
With proper preparation, correct drying settings, and periodic checks, you can dry a blanket in a dryer effectively while maintaining its quality and appearance. Adding dryer balls or towels can further enhance the drying process by reducing wrinkles, preventing clumping, and promoting fluffiness.
Once the drying cycle is complete, be sure to remove the blanket from the dryer with caution, allowing it to cool down completely before using or storing it. Giving the blanket enough time to cool down will ensure your safety and prevent any discomfort or damage.
By following these guidelines, you can maximize the lifespan of your blankets and provide yourself with cozy warmth whenever needed. Enjoy the comfort and convenience of a freshly dried blanket, knowing that you have taken the necessary steps to care for it properly.
Remember, each blanket may have different requirements, so be attentive to its specific needs. When in doubt, consult the care label or seek advice from professionals to ensure proper care and maintenance.
Happy drying!
Frequently Asked Questions about How To Dry A Blanket In Dryer
Was this page helpful?
At Storables.com, we guarantee accurate and reliable information. Our content, validated by Expert Board Contributors, is crafted following stringent Editorial Policies. We're committed to providing you with well-researched, expert-backed insights for all your informational needs.
