
Articles
How To Dry Bed Sheets In Dryer
Modified: August 26, 2024
Learn the best technique to dry bed sheets in the dryer with these helpful articles. Say goodbye to damp sheets and hello to fluffy and dry bedding!
(Many of the links in this article redirect to a specific reviewed product. Your purchase of these products through affiliate links helps to generate commission for Storables.com, at no extra cost. Learn more)
Introduction
When it comes to fresh, clean bed sheets, drying them properly is just as important as washing them. While air-drying bed sheets is a popular option, using a dryer can be a convenient and effective method. The gentle heat and tumbling action of a dryer help to remove moisture and leave your bed sheets soft and wrinkle-free.
In this article, we will guide you through the process of drying bed sheets in a dryer, ensuring that they come out perfectly dry and ready to be put back on your bed. So, let’s dive in and discover the step-by-step process of achieving beautifully dried bed sheets with ease.
Key Takeaways:
- Properly preparing and loading bed sheets into the dryer is essential for effective drying. Shake out, smooth, and separate the sheets before choosing the right settings and adding fabric softener or dryer sheets for optimal results.
- Promptly removing and folding dry bed sheets prevents wrinkles and maintains their crisp appearance. Store them in a clean, dry area, and label or organize them for easy access when changing your bed.
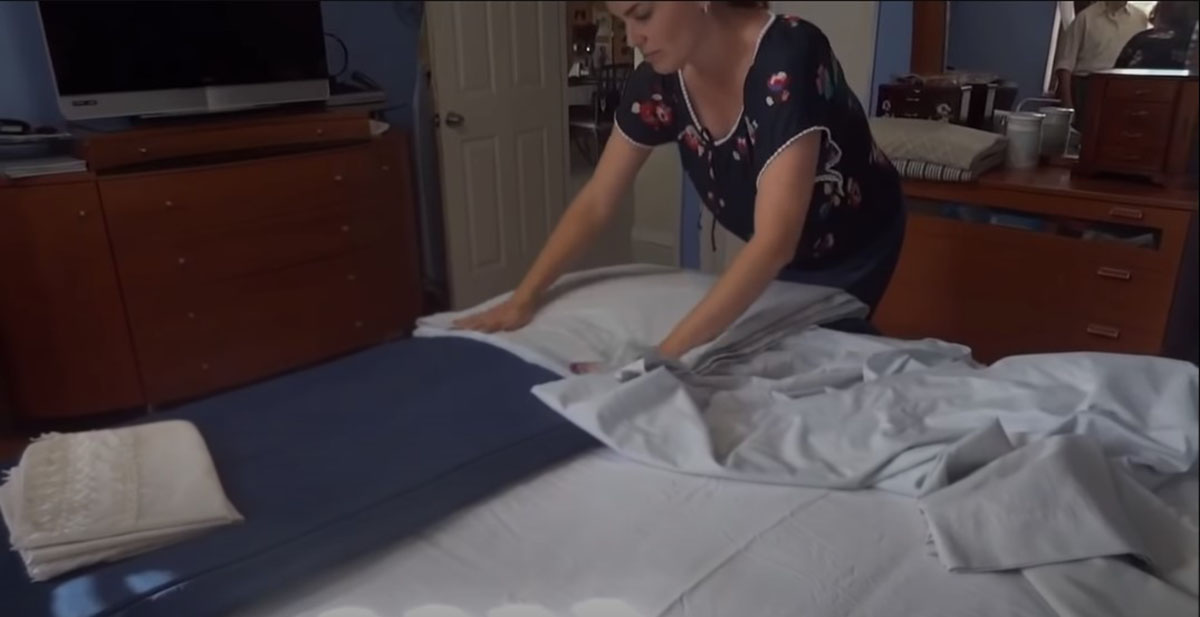
Step 1: Preparing the bed sheets for drying
Before you begin the drying process, it’s important to properly prepare your bed sheets. Here’s what you need to do:
- Remove the bed sheets from the washing machine: Once the sheets have finished washing, promptly remove them from the machine to prevent any wrinkles from setting in.
- Shake out the bed sheets: Give each bed sheet brisk shakes to eliminate any excess moisture and loosen any tangled fabric.
- Smooth out wrinkles: Take a few moments to smooth out any noticeable wrinkles in the fabric, as these can become more stubborn to remove once the sheets are dry.
- Check for any stains or spots: Inspect the bed sheets for any remaining stains or spots. If you notice any, pre-treat them with a stain remover or rewash the sheets before drying.
- Separate bed sheets by size: If you’re drying multiple sets of bed sheets, it’s a good idea to separate them by size. This will make it easier to match them up when it’s time to put them back on your bed.
- Secure any loose buttons or fasteners: Before loading the bed sheets into the dryer, double-check that all buttons, snaps, or other fasteners are secure. This will prevent them from snagging on other items or causing damage to the fabric.
By following these simple steps, you’ll ensure that your bed sheets are ready for the drying process and will come out looking their best.
Step 2: Choosing the right drying settings
Choosing the correct drying settings for your bed sheets is crucial to ensure that they dry evenly and without any damage. Here’s what you need to consider:
- Check the care label: Start by checking the care label on your bed sheets. It will provide specific instructions and recommendations for drying. Follow any guidelines given to avoid shrinking or damaging the fabric.
- Select the appropriate heat setting: Most dryers offer a range of heat settings, such as low, medium, and high. For most bed sheets made from cotton or linen, using a low to medium heat setting is recommended. This will prevent the fabric from overheating and help maintain its quality.
- Choose the right drying time: Depending on the thickness and material of the bed sheets, the drying time may vary. It’s generally best to start with a shorter drying time and extend it if needed. Avoid over-drying, as this can cause the fabric to become brittle and prone to wrinkles.
- Consider using a delicate or gentle cycle: If your dryer has a delicate or gentle cycle option, use it for more delicate bed sheets like silk or satin. This setting reduces the intensity of tumbling, reducing the risk of damage to the fabric.
- Opt for an extended cool-down period: Some dryers offer a cool-down feature to help reduce wrinkles and make the fabric easier to handle once it’s done drying. If available, choose this option to give your bed sheets that extra touch of freshness.
By using the appropriate drying settings, you’ll ensure that your bed sheets dry effectively and without any potential harm to the fabric.
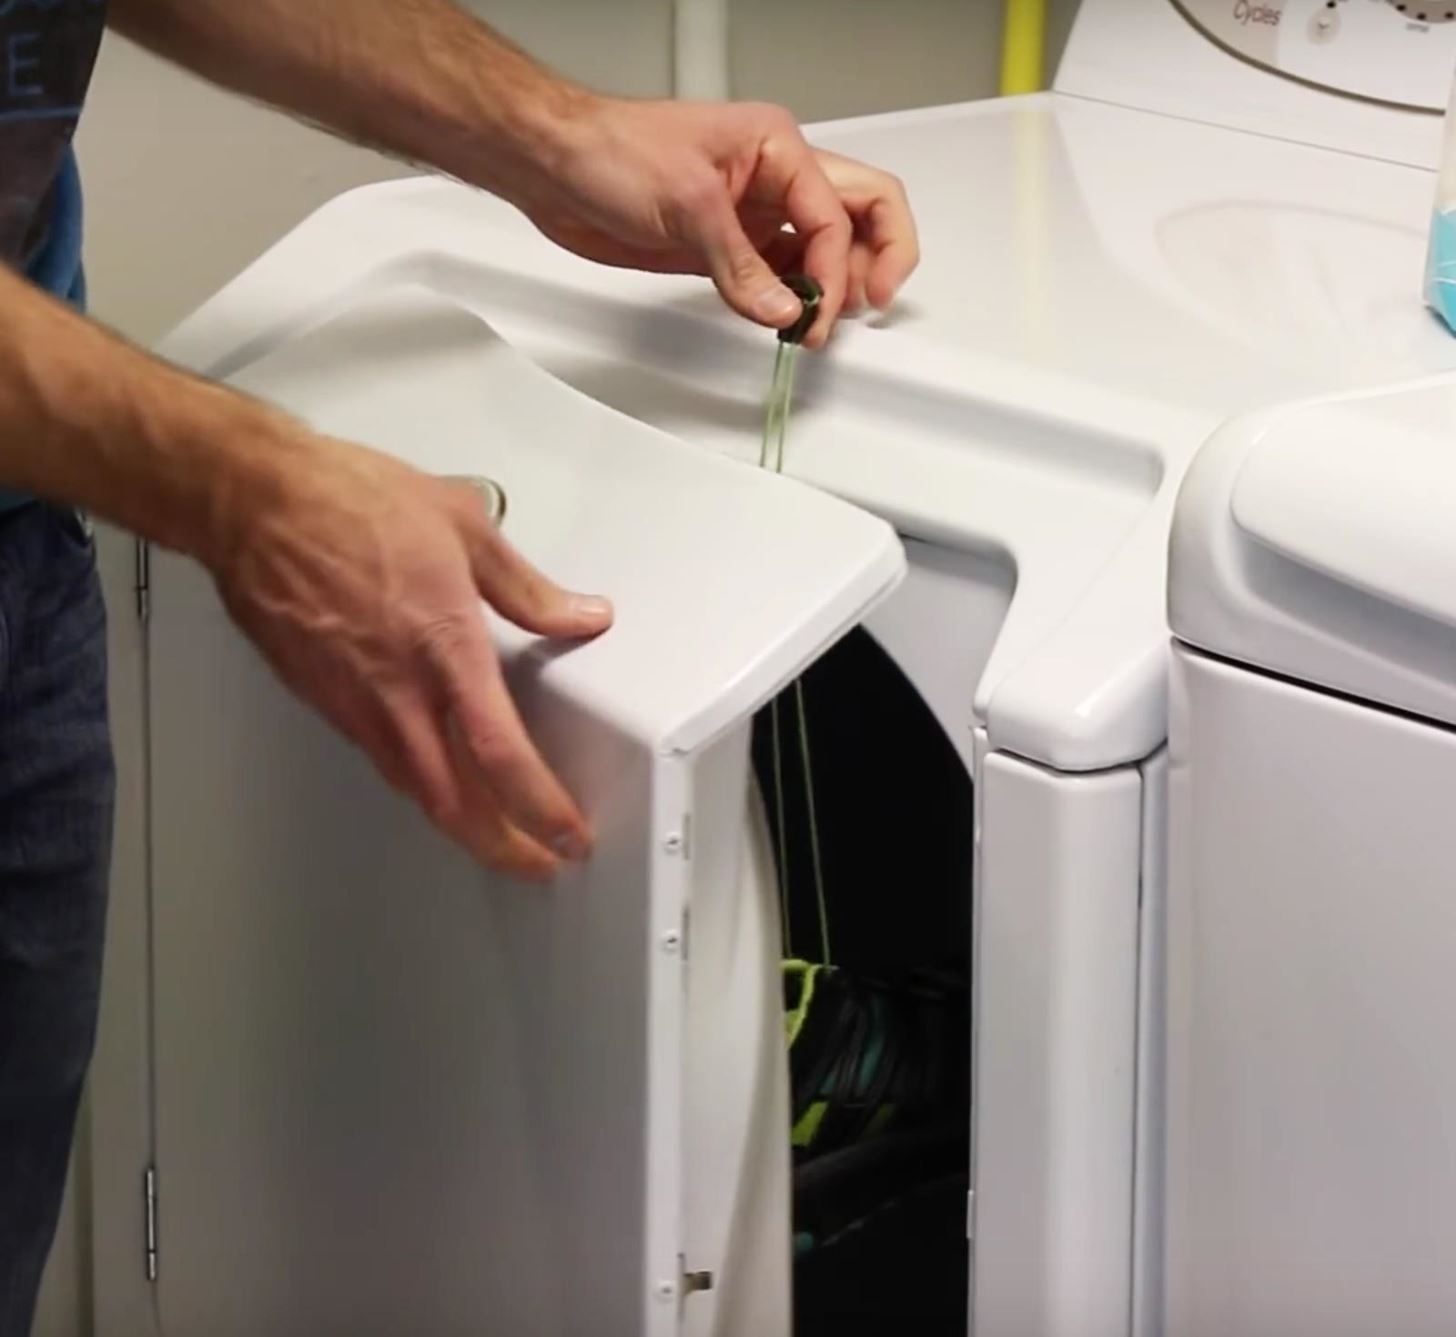
Step 3: Loading the bed sheets into the dryer
Properly loading your bed sheets into the dryer is essential to allow for even drying and prevent tangling or wrinkling. Here’s how to do it:
- Shake out the bed sheets: Give each bed sheet a final shake to remove any lingering wrinkles and loosen the fabric. This will help prevent tangling and promote even drying.
- Start with one bed sheet at a time: Place one bed sheet into the dryer, making sure to unfold it fully. Make sure the sheet is evenly spread out to allow for maximum airflow and efficient drying.
- Place smaller items on top: If you have smaller items, such as pillowcases or shams, place them on top of the bed sheet. This will prevent them from getting lost or tangled in the dryer.
- Avoid overloading the dryer: To ensure proper drying, avoid overcrowding the dryer with too many bed sheets. They need enough space to tumble freely and dry evenly. If necessary, dry your sheets in multiple batches.
- Close the dryer door: Once all the bed sheets are loaded, close the dryer door securely. This will create a contained environment for optimal drying conditions.
By following these steps, you’ll ensure that your bed sheets are loaded properly and ready to undergo the drying process efficiently.
To dry bed sheets in the dryer, use a low heat setting to prevent shrinking and remove the sheets promptly to prevent wrinkles. Consider adding dryer balls to help fluff and separate the sheets for more even drying.
Step 4: Adding fabric softener or dryer sheets (optional)
Adding fabric softener or dryer sheets to the drying process can enhance the softness, fragrance, and overall freshness of your bed sheets. While this step is optional, many people find it beneficial. Here’s how to do it:
- Fabric Softener: If you choose to use fabric softener, add it to the designated dispenser in your dryer. Follow the manufacturer’s instructions for the proper amount to use for your load size. Fabric softener helps to reduce static cling and leaves your bed sheets feeling luxuriously soft.
- Dryer Sheets: Alternatively, you can use dryer sheets, which are pre-moistened sheets of fabric that release a subtle fragrance as they tumble with the bed sheets. Simply place one or two dryer sheets into the dryer with your bed sheets at the beginning of the drying cycle.
Both fabric softener and dryer sheets add a pleasant scent to your bed sheets, making them feel fresh and inviting. If you prefer unscented bed sheets, you can opt to skip this step altogether.
Note: It’s important to read and follow the instructions provided with the fabric softener or dryer sheets to ensure proper usage and avoid any potential fabric damage.
Read more: What Are Bed Sheets
Step 5: Setting the timer and starting the dryer
With your bed sheets loaded into the dryer and any optional fabric softener or dryer sheets added, it’s time to set the timer and start the drying process. Here’s what you need to do:
- Select the appropriate drying time: Refer to the care label on your bed sheets to determine the recommended drying time. If no specific instructions are provided, start with a conservative drying time and adjust as needed.
- Turn the dial or press the buttons: Depending on the type of dryer you have, turn the dial to the desired drying time or press the corresponding buttons on the control panel to set the timer.
- Choose additional drying settings: If your dryer offers additional settings, such as temperature control or a specific drying mode, adjust them according to your preferences and the recommendations on the care label.
- Start the dryer: Once you’ve set the timer and adjusted any additional settings, press the start button or close the door to initiate the drying cycle.
During the drying process, it’s a good idea to periodically check on the progress of your bed sheets. This will allow you to adjust the drying time or make any necessary modifications if needed.
It’s important to note that different dryer models may have variations in their controls and operation. Therefore, it’s highly recommended to refer to the user manual of your specific dryer for detailed instructions.
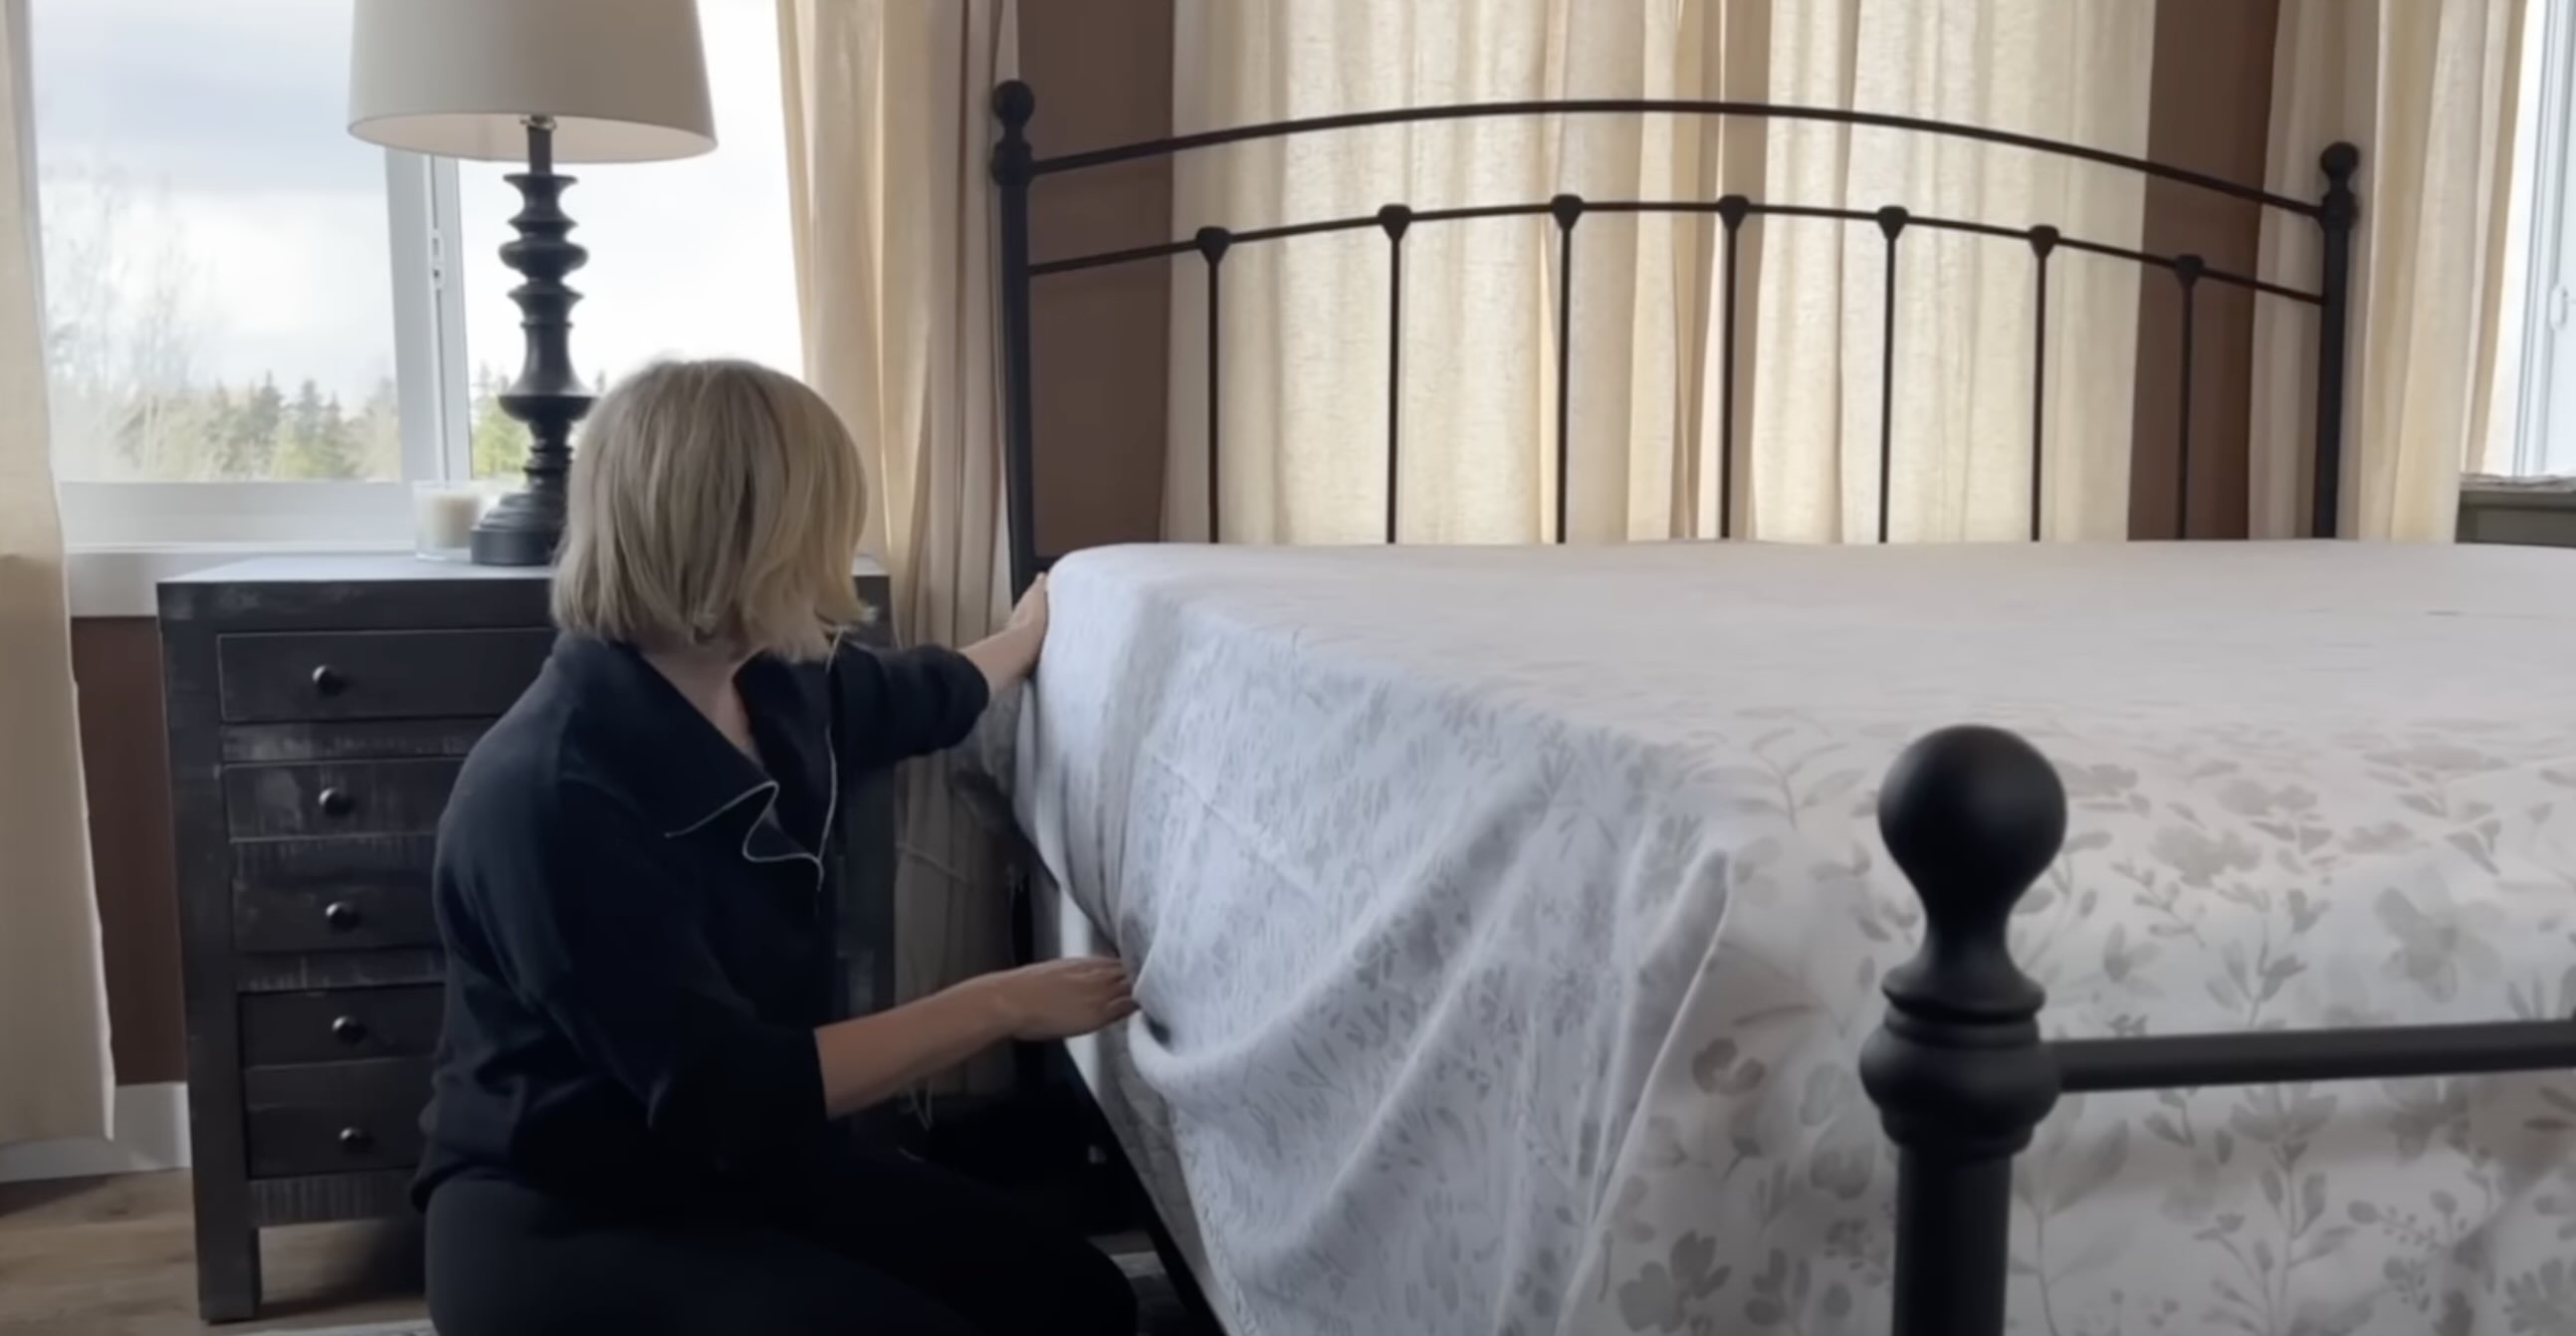
Step 6: Removing the dry bed sheets from the dryer
Once the drying cycle is complete, it’s time to carefully remove your dry bed sheets from the dryer. Follow these steps for a successful and wrinkle-free removal:
- Open the dryer door: Carefully open the dryer door, ensuring that you do not disturb the other items inside the dryer.
- Remove the bed sheets promptly: Take out the bed sheets as soon as the drying cycle ends to prevent them from wrinkling or becoming creased.
- Smooth out any wrinkles: Once you have removed the bed sheets, give them a gentle shake and smooth out any remaining wrinkles with your hands. This will help maintain their crisp appearance.
- Inspect for any damage: Before folding or storing the bed sheets, take a moment to inspect them for any signs of damage or fraying. If you notice any issues, address them promptly.
By promptly removing your bed sheets from the dryer and smoothing out any wrinkles, you can ensure that they are ready for use or storage in their best condition.
Remember, if you’re not planning to use the bed sheets immediately, it’s best to fold and store them promptly to keep them fresh and avoid any additional wrinkles or creases.
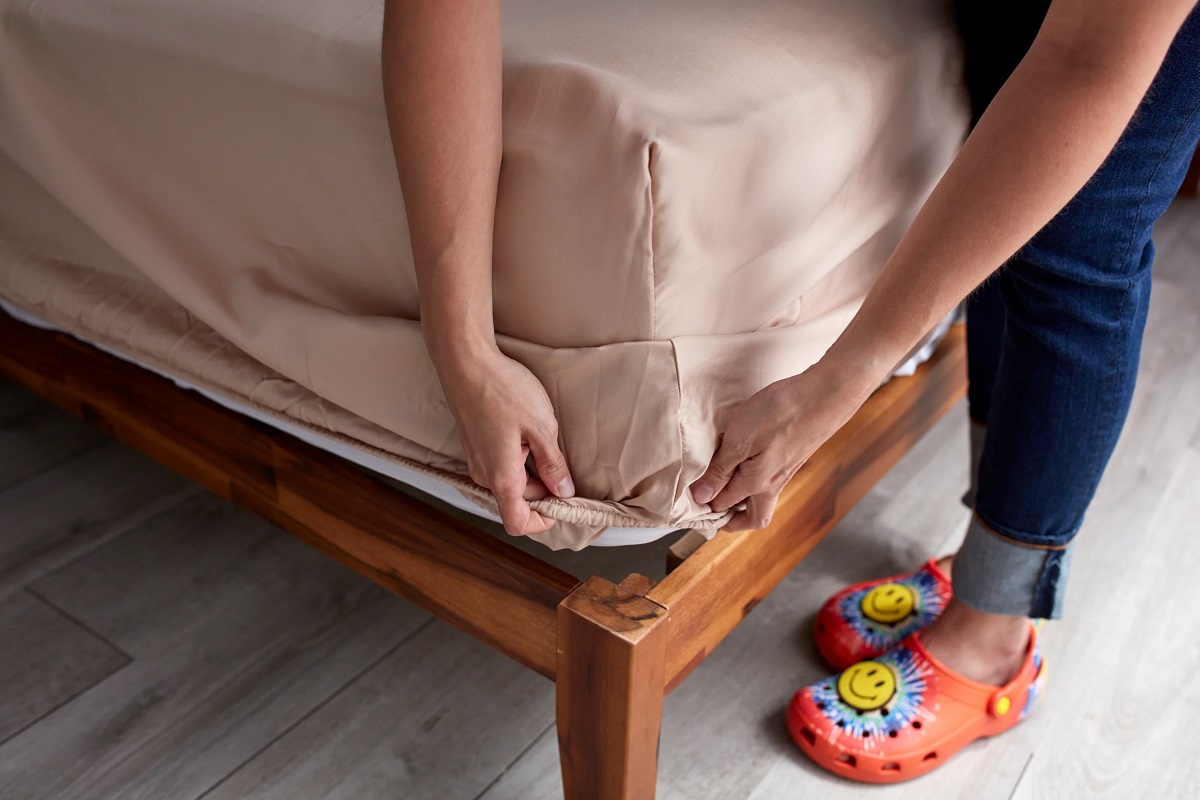
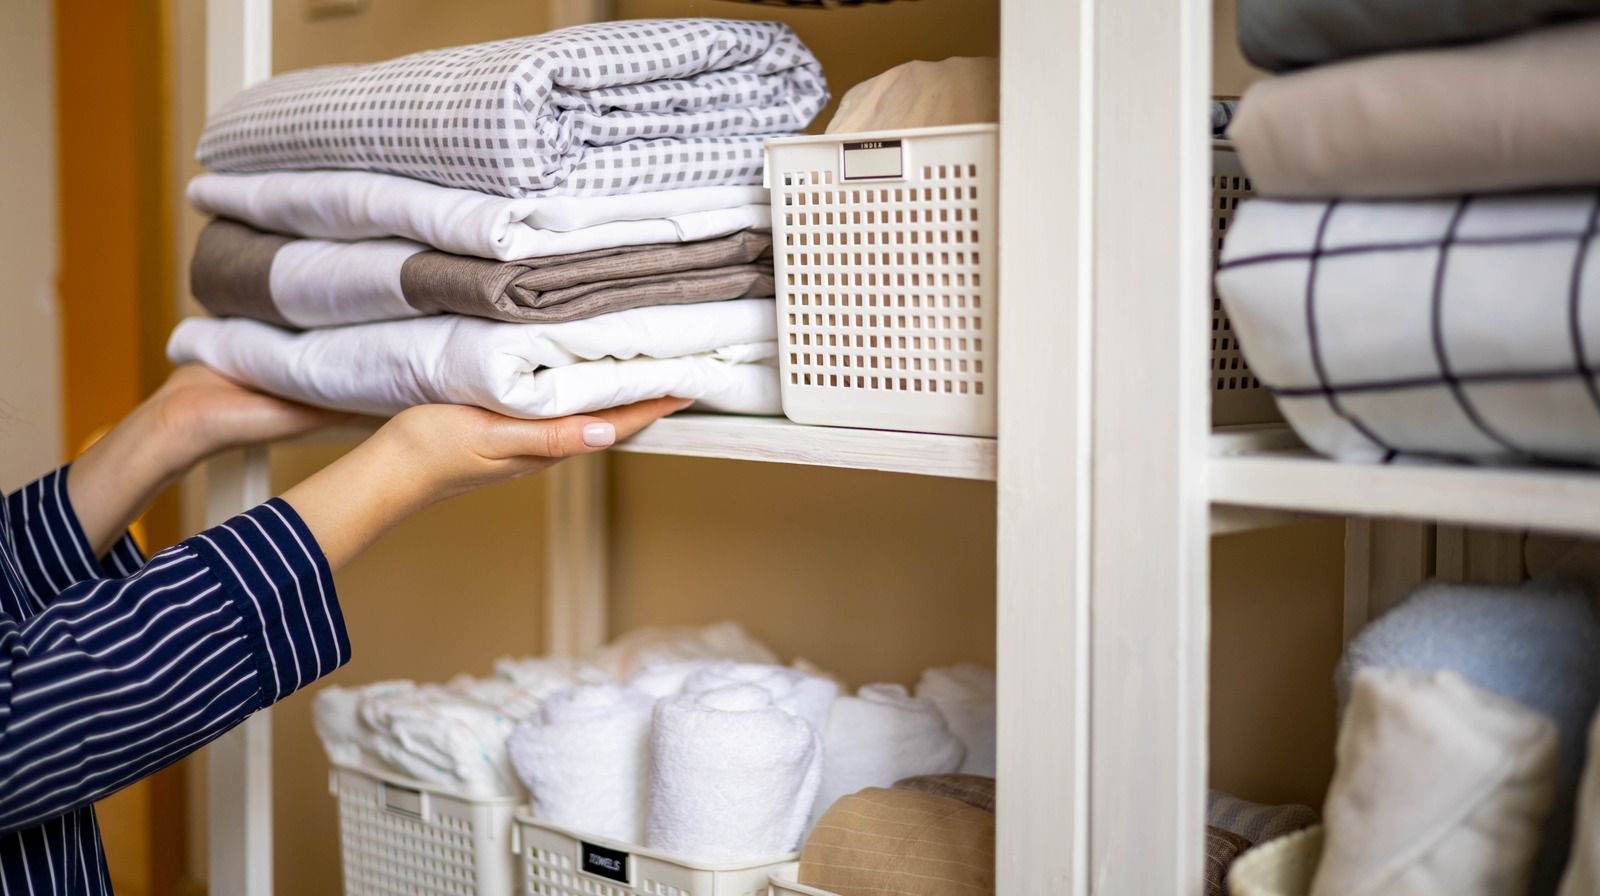
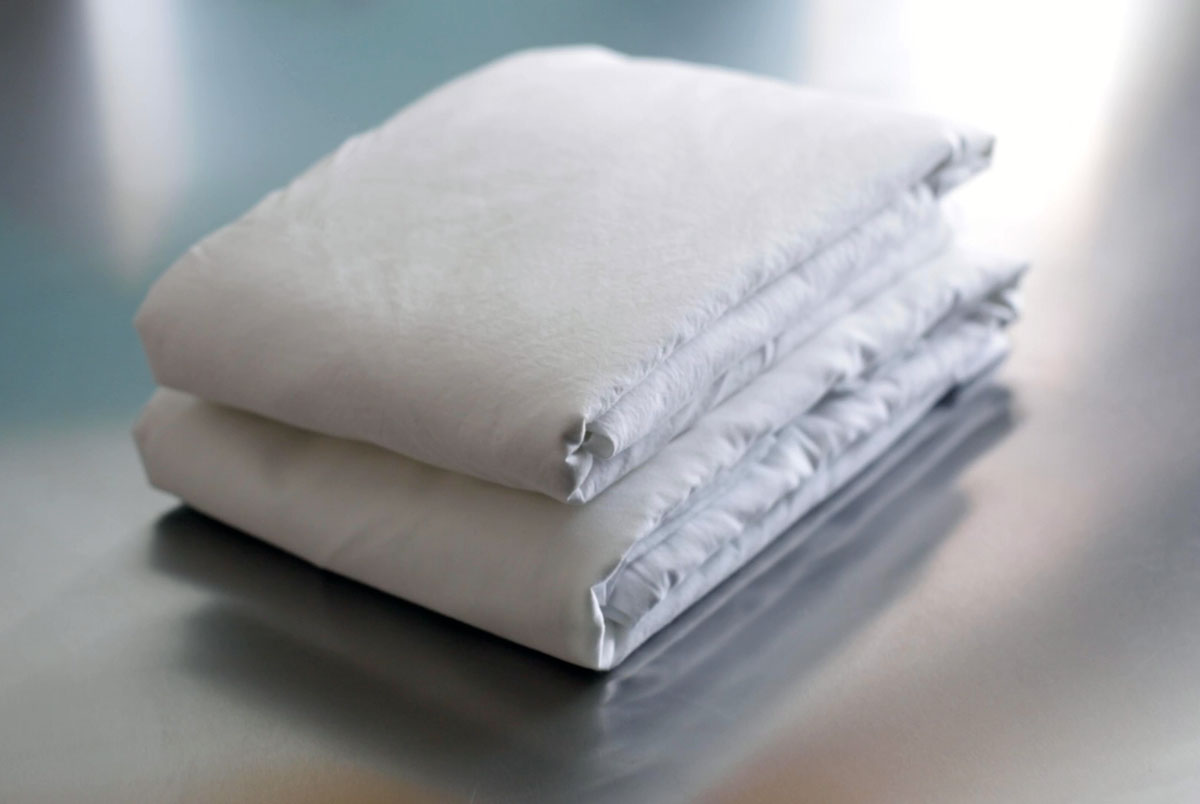
Step 7: Folding and storing the bed sheets
Once your bed sheets are dry and wrinkle-free, it’s time to fold and store them properly. Follow these steps for an organized and neat storage solution:
- Find a clean and dry surface: Begin by selecting a clean and dry surface, such as a table or bed, to fold your bed sheets. Ensure that the surface is free from any dust or debris.
- Smooth out the bed sheets: Lay one bed sheet flat on the surface and smooth out any wrinkles or creases with your hands. Make sure it’s spread out evenly.
- Fold the bed sheet in half: Fold the bed sheet in half lengthwise, with the top edge meeting the bottom edge. Smooth out any wrinkles as you go.
- Fold the bed sheet in half again: Take one side of the folded bed sheet and fold it over towards the center. Repeat with the other side, so the bed sheet is now folded in quarters.
- Repeat the folding process for the remaining bed sheets: Follow the same folding process for the rest of your bed sheets, one sheet at a time.
- Stack the folded bed sheets: Once all the bed sheets are folded, stack them neatly on top of each other. You can alternate the direction of the fold to easily differentiate between different sets, if necessary.
- Store in a clean and dry area: Find a storage space that is clean, dry, and free from excessive heat or moisture. This could be a linen closet, a drawer, or a dedicated storage container.
- Label or organize as needed: If you have multiple sets of bed sheets, consider labeling or organizing them by size, color, or design. This will make it easier to find the set you need when changing your bed.
By folding and storing your bed sheets properly, you’ll not only keep them organized but ensure that they stay fresh and ready for use.
Remember to wash your bed sheets regularly to maintain their cleanliness and freshness. When it’s time to use them again, simply unfold and place them back on your bed for a comfortable and inviting sleep experience.
Frequently Asked Questions about How To Dry Bed Sheets In Dryer
Was this page helpful?
At Storables.com, we guarantee accurate and reliable information. Our content, validated by Expert Board Contributors, is crafted following stringent Editorial Policies. We're committed to providing you with well-researched, expert-backed insights for all your informational needs.


0 thoughts on “How To Dry Bed Sheets In Dryer”