Articles
How To Dry A Soaking Wet Blanket
Modified: January 19, 2024
Learn the best techniques and tips for efficiently drying a soaking wet blanket in this informative article. Discover helpful strategies for quick and effective drying.
(Many of the links in this article redirect to a specific reviewed product. Your purchase of these products through affiliate links helps to generate commission for Storables.com, at no extra cost. Learn more)
Introduction
Have you ever experienced the frustration of a soaking wet blanket? Whether it’s due to a spilled drink, a leaky roof, or unexpected rain, a wet blanket can be a real inconvenience. Not only is it uncomfortable to use or sleep with a damp blanket, but it also poses the risk of developing musty odors or even mold if not properly dried.
In this article, we will guide you through a step-by-step process on how to effectively dry a soaking wet blanket. With the right materials and techniques, you’ll have your blanket clean, dry, and ready to use in no time.
Before we dive into the details, it’s important to note that the methods we will discuss largely depend on the material of the blanket. Different fabrics have different care instructions, so be sure to check the manufacturer’s label or instructions before attempting to dry your blanket.
Now, let’s gather the necessary materials and get started on bringing that wet blanket back to its cozy and dry state.
Key Takeaways:
- Don’t let a soaking wet blanket ruin your day. Follow these steps to effectively dry it, ensuring a cozy and mold-free blanket for future use.
- Properly drying a wet blanket is essential to prevent musty odors and mold growth. With patience and the right techniques, you can restore your blanket to its cozy and dry state.
Read more: How To Dry Wet Carpet
Materials Needed
To effectively dry a soaking wet blanket, you will need the following materials:
- Towels: Preferably large and absorbent towels to help remove excess water from the blanket.
- Fans or air circulation: These will aid in speeding up the drying process by promoting airflow.
- Heat sources: Such as radiators, heaters, or even sunlight if the weather permits, to provide additional warmth and drying power.
- Hangers or clothespins: To hang the blanket for air drying.
- Laundry detergent or fabric softener (optional): If you wish to wash the blanket after removing excess water, you may need these cleaning agents.
It is important to note that while these materials are commonly used for drying wet blankets, the specific ones you need may vary depending on the fabric and quality of your blanket. Always refer to the care instructions provided by the manufacturer to ensure the best drying process for your particular blanket.
Once you have gathered all the necessary materials, we can proceed with the step-by-step process of drying your soaking wet blanket.
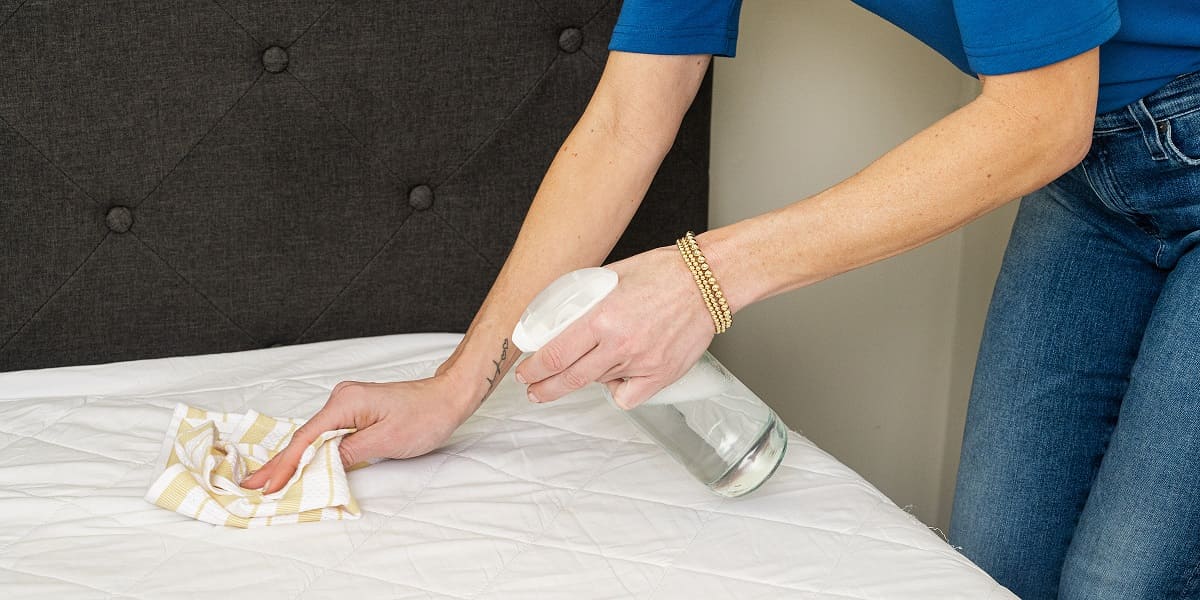
Step 1: Removing Excess Water
The first and crucial step in drying a soaking wet blanket is to remove as much excess water as possible. This will help accelerate the drying process and prevent the blanket from becoming unnecessarily heavy and prone to damage.
Start by spreading out a clean and dry surface, such as a clean bathtub or a large, absorbent towel on the floor. Lay the wet blanket flat on top of the surface.
Next, carefully press down on the blanket with your hands, starting from one end and working your way to the other. Apply gentle pressure to squeeze out the water trapped in the fibers of the blanket. Repeat this process multiple times, making sure to cover the entire surface of the blanket.
If necessary, you can also try rolling the blanket from one end to the other, gently pressing it with your hands as you go. This rolling motion helps to further squeeze out the water and remove excess moisture from the blanket.
If the blanket is too large or heavy to handle on your own, consider enlisting the help of a friend or family member to assist you in removing the excess water. This will ensure a more effective and efficient process.
Once you have removed as much water as possible, proceed to the next step: wringing out the blanket to eliminate even more moisture.
Step 2: Thoroughly Wringing Out the Blanket
After removing the excess water from the blanket, the next step is to thoroughly wring it out to further eliminate moisture. Wringing out the blanket will help accelerate the drying process and make it easier for the remaining moisture to evaporate.
To begin, find a clean and dry area where you can work on wringing out the blanket. It is recommended to do this outside or over a large sink to prevent water from splashing around.
Start by holding one corner of the blanket firmly and twist it in a clockwise motion. Continue twisting until you reach the other end of the blanket. This twisting motion will squeeze out the water trapped in the fibers.
Once you have twisted the blanket completely, hold it securely and squeeze it gently to release any excess water. Be careful not to wring the blanket too vigorously, as this could damage the fabric.
Repeat the twisting and squeezing process a few more times, working your way along the entire length and width of the blanket. This will ensure that you extract as much moisture as possible.
If the blanket is too large or heavy to wring out by hand, you can also try folding it in half and stepping on it with clean feet or placing heavy objects on top to help apply pressure and force out the water.
Once you have thoroughly wrung out the blanket, it is time to move on to the next step: using towels for absorption.
Step 3: Using Towels for Absorption
Now that you have removed the excess water and wrung out the blanket, it is time to use towels to aid in the absorption of remaining moisture. Towels are highly absorbent and can help speed up the drying process.
Start by laying down a clean and dry towel on a flat surface, such as a table or countertop. Place the wet blanket on top of the towel, ensuring that the entire surface of the blanket makes contact with the towel.
Gently press down on the blanket with your hands, allowing the towel to absorb the moisture from the blanket. Move your hands across the surface of the blanket, applying gentle pressure to facilitate absorption.
If necessary, you can also fold the towel over the blanket, sandwiching it in between two layers of towel. This will increase the contact area and improve absorption.
After a few minutes, carefully remove the wet towel and replace it with a fresh, dry towel. Repeat the process of pressing down on the blanket to absorb more moisture. Continue this cycle of towel absorption, replacing the wet towel with a dry one, until the towels no longer absorb much moisture from the blanket.
It’s important to note that during this step, you may need multiple towels depending on the size of the blanket and the amount of moisture it retains. Ensure that each towel used is clean and dry, as using wet or dirty towels can introduce unwanted odors or residue to the blanket.
Once the towels have absorbed as much moisture as possible, it’s time to move on to the next step: utilizing fans or open windows to promote airflow.
After wringing out as much water as possible, lay the wet blanket flat on a clean surface and use towels to absorb excess moisture. Then, hang it outside or use a dryer on low heat.
Read more: How To Dry A Wet Car Carpet
Step 4: Utilizing Fans or Open Windows
After using towels to absorb as much moisture as possible, it’s time to promote airflow by utilizing fans or open windows. This step will help facilitate the evaporation of moisture and expedite the drying process of the wet blanket.
If you have access to a portable fan, position it strategically near the wet blanket. Set the fan to a moderate or high speed, directing the airflow towards the blanket. This will help circulate the air around the blanket, allowing the moisture to evaporate more quickly.
If a fan is not available, you can also rely on natural airflow by opening windows or doors. Ensure that there is proper ventilation in the room, allowing fresh air to enter and humid air to exit. This natural airflow will assist in drying out the wet blanket.
While the blanket is exposed to airflow, periodically fluff or shake it gently. This will help loosen any remaining moisture and distribute the air flow more evenly throughout the fabric.
It’s important to note that the drying time may vary depending on factors such as the fabric thickness, humidity levels, and ambient temperature. Be patient and allow sufficient time for the blanket to dry thoroughly.
Once the blanket feels noticeably drier to the touch, it’s time to move on to the next step: applying heat sources for additional drying power.
Step 5: Applying Heat Sources
To expedite the drying process of your wet blanket, it is time to apply heat sources. The addition of heat will help further evaporate any remaining moisture and ensure that the blanket is thoroughly dried.
If you have access to a radiator, heater, or even a clothes dryer, these can be effective heat sources for drying your blanket. Place the wet blanket near the heat source, ensuring that it is not too close to avoid any damage to the fabric.
If you choose to use a clothes dryer, select a low heat or delicate cycle, as high heat settings may shrink or damage certain fabrics. Place the wet blanket in the dryer, along with a clean, dry towel to help absorb any excess moisture.
Alternatively, if the weather permits, you can take advantage of sunlight as a natural heat source. Hang the wet blanket outside in a sunny area where it will receive direct sunlight. Make sure to secure the blanket with clothespins or hangers to prevent it from falling or being blown away by the wind.
It’s important to monitor the drying process closely when utilizing heat sources. Check the blanket periodically to ensure that it is drying evenly and that the heat source is not causing any damage or discoloration.
Continue applying heat sources until the blanket feels completely dry to the touch and there is no lingering dampness. Keep in mind that certain fabrics may take longer to dry than others, so exercise patience and allow sufficient time for the drying process.
Once the blanket is dry, it’s time to move on to the next step: hanging the blanket to finish the drying process.
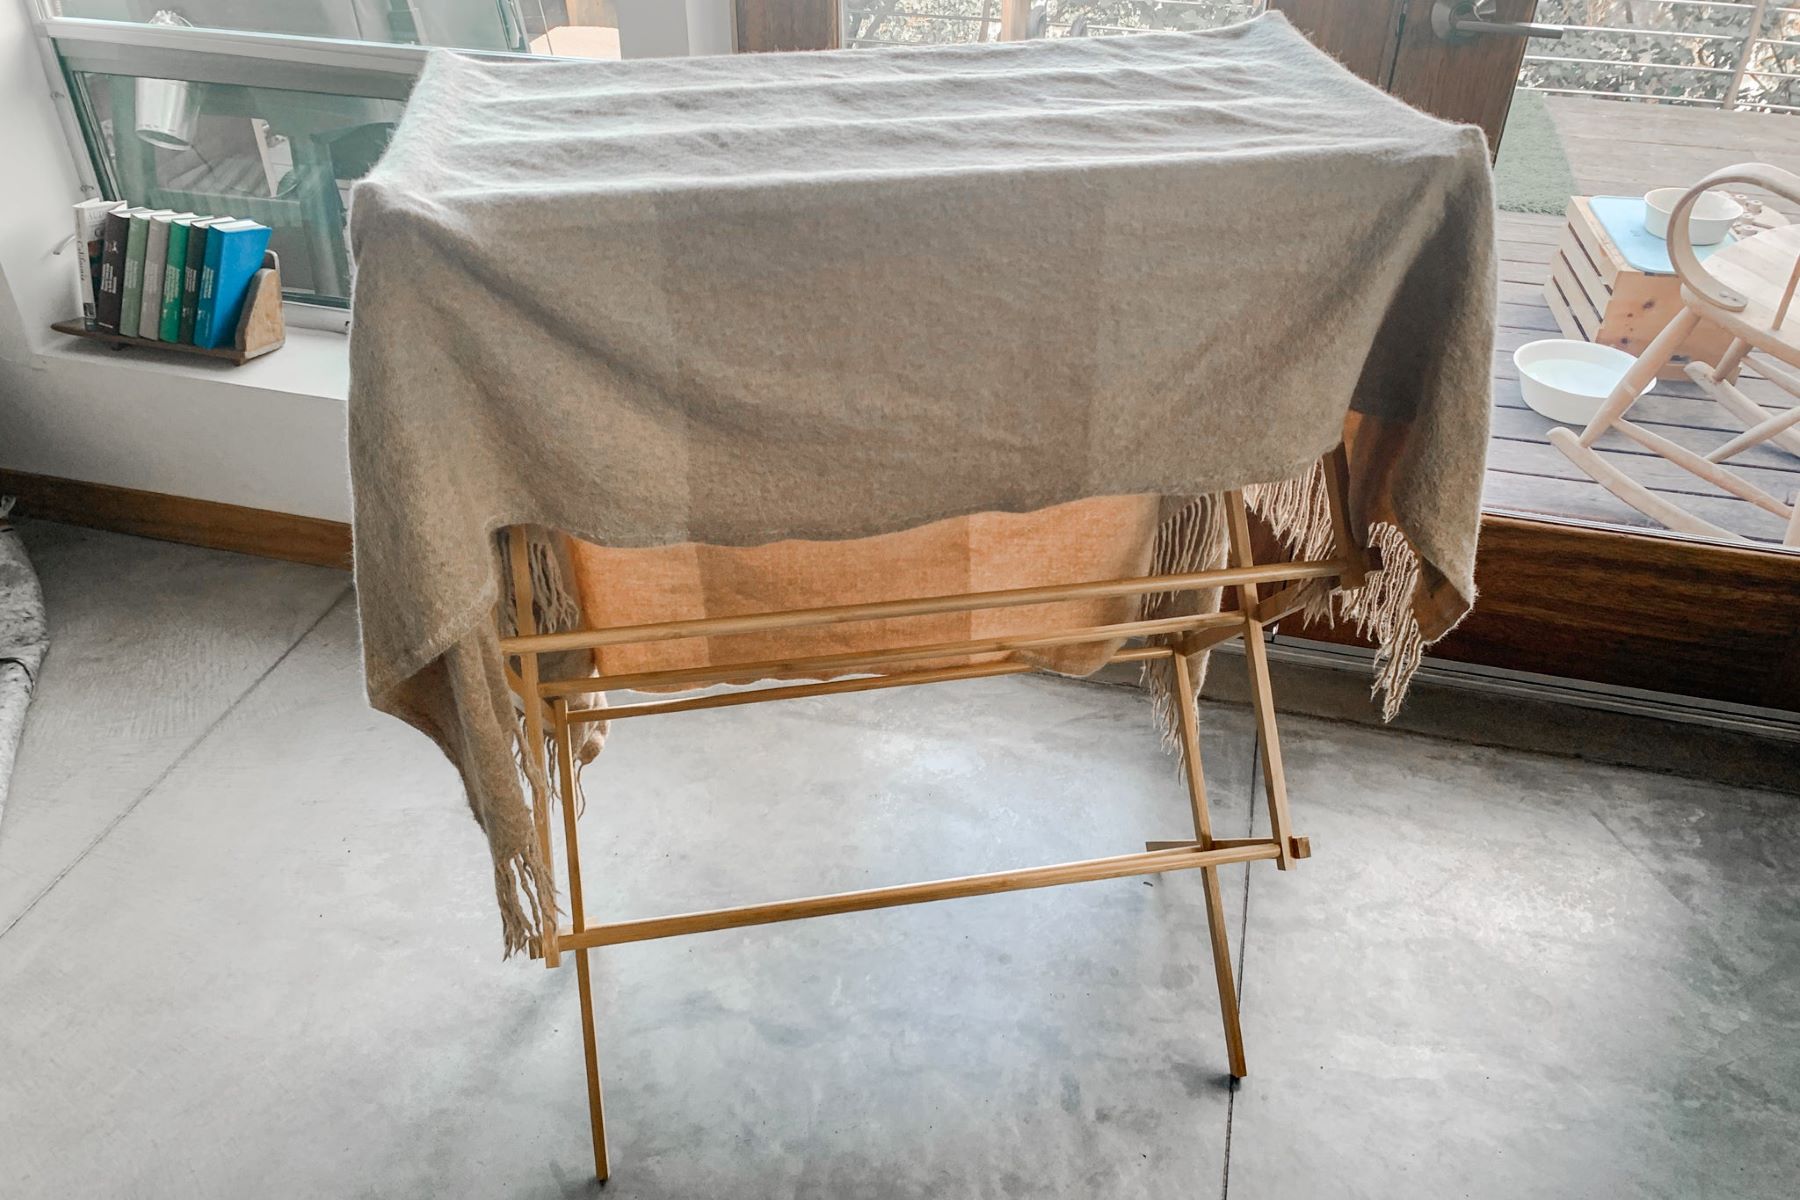
Step 6: Hanging the Blanket to Dry
After applying heat sources and ensuring that the majority of the moisture has been evaporated, it’s time to hang the blanket to complete the drying process. Hanging the blanket allows for proper airflow and ensures that any remaining moisture is evenly dispersed and eliminated.
Find a suitable location to hang the blanket, such as a clothesline or a sturdy rod. Make sure the area is well-ventilated to promote faster drying.
Before hanging the blanket, give it a gentle shake to remove any wrinkles or folds that may have formed during the drying process. This will help the blanket to hang more evenly and facilitate air circulation.
Using clothespins or hangers, securely fasten the blanket to the clothesline or rod, ensuring that it is spread out evenly and not bunched up. This will allow for maximum exposure of the blanket to the surrounding air.
Depending on the weather conditions and the fabric of the blanket, drying times can vary. It may take several hours or even a full day for the blanket to completely dry. Be patient and allow sufficient time for the drying process to be completed.
During the drying process, periodically check the blanket for any signs of dampness. If any areas still feel slightly moist, gently adjust the blanket and rearrange it on the clothesline or rod to promote better air circulation around those areas.
Once the blanket is completely dry, remove it from the clothesline or rod. Give it a final inspection to ensure that there are no remaining damp spots or moisture. If the blanket feels dry and there are no signs of dampness, congratulations! You have successfully dried your soaking wet blanket.
Now that your blanket is dry and ready to use, it’s time for the final step: checking for dampness.
Step 7: Checking for Dampness
Before storing or using your now dried blanket, it’s important to perform a final check for any signs of dampness. Even if the blanket feels dry to the touch, there may still be areas that retain moisture.
To check for dampness, run your hands over the surface of the blanket, paying close attention to the areas that were previously wet. If you feel any cool or slightly damp spots, it indicates that those areas need further drying.
If you come across any damp areas, you can either hang the blanket back up to air dry or employ additional methods to eliminate the moisture. Placing the blanket near a heat source, such as a radiator or using a hairdryer on a low heat setting, can help dry out those remaining damp spots.
Once you have confirmed that the blanket is completely dry, carefully fold or store it in a clean and dry area. Avoid packing it away in airtight containers or plastic bags, as this can trap moisture and cause musty odors or mildew growth.
Lastly, it’s important to remember that preventing a wet blanket is easier than drying one. Take necessary precautions to protect your blanket, such as keeping it away from liquids, fixing any leaks, and storing it in a dry and climate-controlled environment.
By following these steps and taking proper care of your blanket, you can ensure that it remains clean, dry, and cozy for many future uses.
Congratulations on successfully drying your soaking wet blanket!
Please note that the drying methods and materials mentioned in this article are general recommendations. Always refer to the care instructions provided by the manufacturer to ensure the best drying process for your specific blanket.
Read more: How To Dry A Wet Crawl Space
Conclusion
Drying a soaking wet blanket may seem like a daunting task, but with the right materials and techniques, it can be accomplished effectively. By following the step-by-step process outlined in this article, you can ensure that your wet blanket is thoroughly dried, free from moisture, and ready to use or store.
Remember to start by removing excess water and wringing out the blanket to eliminate as much moisture as possible. Then, use absorbent towels to further aid in the absorption process. Utilizing fans or open windows will promote airflow and assist in the evaporation of remaining moisture.
Applying heat sources, such as radiators or sunlight, will help expedite the drying process. Hanging the blanket allows for proper airflow and ensures that any lingering moisture is evenly dispersed.
Lastly, be sure to check for dampness before storing or using the blanket. If any areas remain damp, consider using additional drying methods or heat sources to eliminate the moisture completely.
Properly drying a wet blanket is essential to prevent musty odors, mold growth, and damage to the fabric. By following these steps and exercising patience, you can restore your soaked blanket to its cozy and dry state.
Remember to always refer to the care instructions provided by the manufacturer, as different fabrics may require specific drying methods. With care and attention, you can maintain the quality and longevity of your blanket for years to come.
Now that you’ve mastered the art of drying wet blankets, you can face unexpected spills, leaks, or downpours with confidence. Say goodbye to the discomfort of a damp blanket and enjoy the warmth and comfort of a dry and cozy one.
Frequently Asked Questions about How To Dry A Soaking Wet Blanket
Was this page helpful?
At Storables.com, we guarantee accurate and reliable information. Our content, validated by Expert Board Contributors, is crafted following stringent Editorial Policies. We're committed to providing you with well-researched, expert-backed insights for all your informational needs.