Articles
How To Fix A Dishwasher
Modified: October 28, 2024
Looking for articles on how to fix a dishwasher? Find step-by-step guides, troubleshooting tips, and expert advice to get your dishwasher running smoothly again.
(Many of the links in this article redirect to a specific reviewed product. Your purchase of these products through affiliate links helps to generate commission for Storables.com, at no extra cost. Learn more)
Introduction
A dishwasher is a modern marvel that saves us from the tedious task of washing dishes by hand. It works silently and efficiently, leaving us with sparkling clean plates, glasses, and cutlery. However, like any other household appliance, dishwashers can encounter problems that prevent them from functioning properly. From power supply issues to clogged spray arms, there are several common problems that can disrupt the smooth operation of your dishwasher.
In this article, we will guide you through the process of fixing a dishwasher and getting it back to its optimal performance. Whether you are a first-time DIYer or someone experienced in home repairs, this step-by-step guide will help you troubleshoot and resolve the most common issues that can arise in a dishwasher. We will cover everything from checking the power supply to replacing faulty components, providing you with the knowledge and confidence to tackle dishwasher problems head-on.
Before we dive into the details of fixing a dishwasher, it is important to note that safety should be your top priority. Always ensure that the dishwasher is disconnected from the power supply before attempting any repairs. Additionally, if you are unsure about any steps or if the problem seems beyond your capabilities to fix, it is recommended to seek professional assistance.
So, let’s roll up our sleeves and get ready to solve some dishwasher troubles. In the following sections, we will explore the most common problems that dishwashers encounter and the steps you can take to fix them. From power supply checks to replacing faulty components, this comprehensive troubleshooting guide will help you restore your dishwasher’s functionality and bring back the convenience to your kitchen.
Key Takeaways:
- Troubleshooting and fixing common dishwasher problems, from power supply checks to replacing faulty components, can be done with the right tools, knowledge, and safety precautions, saving time and money on repairs.
- Regular maintenance, such as cleaning filters and unclogging spray arms, is essential for preventing dishwasher issues. Prioritizing safety and seeking professional help for complex problems ensures optimal dishwasher performance.
Common Dishwasher Problems
Like any complex appliance, dishwashers can experience a variety of issues that can disrupt their normal operation. Understanding these common problems will help you diagnose the specific issue with your dishwasher and take the necessary steps to fix it. Here are some of the most common dishwasher problems:
- Dishwasher not turning on: This can be caused by a power supply issue, such as a blown fuse or a tripped circuit breaker. It could also be due to a faulty door latch or a malfunctioning control panel.
- Dishes not getting clean: If your dishes are still dirty after a wash cycle, it could be a result of water supply problems, clogged spray arms, or a worn-out heating element.
- Water not draining: A dishwasher that fails to drain water can be caused by a blockage in the drain hose or a malfunctioning drain pump.
- Leaking water: Water leaks can occur due to damaged door seals, a loose water valve, or a cracked water inlet valve.
- Strange noises: Unusual noises during a wash cycle can indicate a problem with the motor, worn-out bearings, or a loose spray arm.
- Foul odor: A lingering odor in your dishwasher can be caused by food particles trapped in the drain filter, a clogged drain hose, or a dirty interior.
While these are just a few examples, there can be other issues that may arise with your dishwasher. However, by understanding these common problems, you will be better equipped to diagnose and fix the problem at hand. In the following sections, we will outline the necessary tools and materials you will need to troubleshoot and fix your dishwasher.
Tools and Materials Needed
When it comes to fixing a dishwasher, having the right tools and materials on hand is essential. Here is a list of the items you will need to successfully troubleshoot and repair your dishwasher:
- Screwdriver set: A set of screwdrivers with different sizes and types (such as Phillips and flathead) will help you remove panels and access various components of the dishwasher.
- Pliers: Pliers will come in handy for gripping and loosening small components, such as hose clamps or wire connectors.
- Multimeter: A multimeter is an essential tool for measuring electrical resistance, voltage, and continuity. It will help you test various electrical components in your dishwasher.
- Adjustable wrench: An adjustable wrench will be useful for loosening or tightening nuts and bolts that hold parts of the dishwasher together.
- Replacement parts: Depending on the specific issue with your dishwasher, you may need to replace certain components. This can include items such as a new door latch, heating element, drain pump, or control panel.
- Cleaning supplies: To clean and maintain your dishwasher, you will need some basic cleaning supplies, such as dish soap, vinegar, baking soda, and a scrub brush.
- Safety equipment: Safety should always be a priority. Make sure to have safety goggles, gloves, and a face mask to protect yourself during the repair process.
Having these tools and materials readily available will ensure that you can efficiently troubleshoot and fix your dishwasher. It’s always a good idea to gather everything you need before starting the repair process, as it can save you time and prevent unnecessary delays.
Now that you’re equipped with the necessary tools and materials, let’s move on to the step-by-step process of fixing your dishwasher.
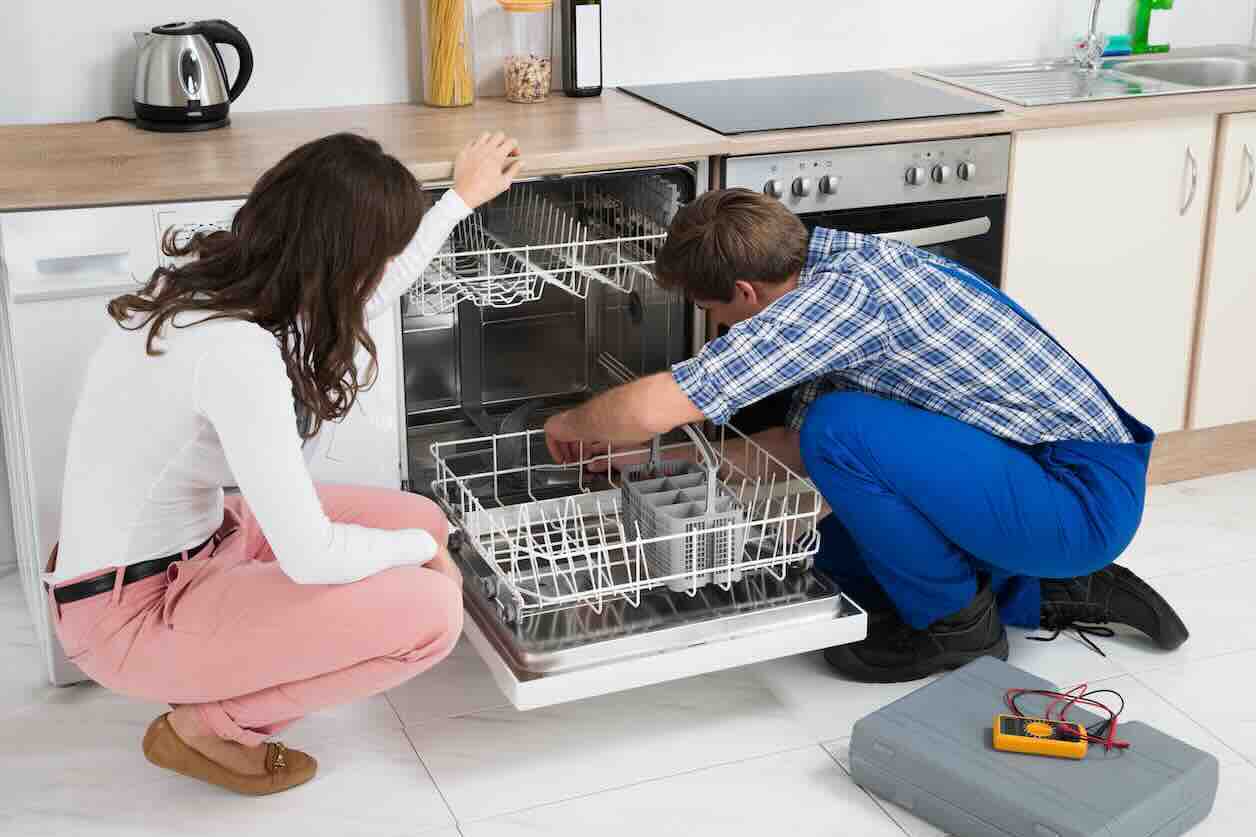
Step 1: Check Power Supply
One of the first steps in troubleshooting a dishwasher is to check its power supply. If your dishwasher is not turning on or showing any signs of power, there may be an issue with the electrical connection. Here’s what you need to do:
- Check the power cord: Ensure that the power cord is securely plugged into a functional electrical outlet. If it’s loose or damaged, replace the power cord.
- Inspect the circuit breaker: Check the circuit breaker or fuse box to see if a breaker has tripped or a fuse has blown. If so, reset the breaker or replace the fuse.
- Test the outlet: Use a multimeter to test the outlet for voltage. Connect the multimeter leads to the hot and neutral terminals of the outlet. If there is no voltage, there may be an issue with the wiring or the outlet itself.
- Examine the door latch: Some dishwashers have a safety feature that prevents them from starting if the door latch is not securely closed. Make sure the door latch is in good condition and functioning properly.
If you have checked all these aspects and the dishwasher is still not receiving power, there may be a larger electrical issue. It is recommended to seek the assistance of a professional electrician or appliance repair technician to diagnose and resolve the problem.
Once you have confirmed that the power supply is not the issue, you can move on to the next step in troubleshooting your dishwasher. In the following sections, we will cover additional troubleshooting steps to help you identify and fix common dishwasher problems.
Step 2: Inspect the Water Supply
Proper water supply is crucial for the optimal functioning of your dishwasher. If your dishwasher is not filling with water or not getting enough water, it’s important to inspect the water supply. Follow these steps to troubleshoot the water supply:
- Check the water valve: Ensure that the dishwasher’s water valve is fully open. Sometimes, the valve may accidentally get closed or partially closed, restricting the water flow. If necessary, turn the valve counterclockwise to open it fully.
- Inspect the water supply line: Examine the water supply hose that connects your dishwasher to the water source. Look for kinks, bends, or leaks in the hose. If you notice any damage, replace the hose.
- Clean the water inlet valve: The water inlet valve can sometimes become clogged with debris or mineral deposits, preventing adequate water flow. To clean it, turn off the water supply, remove the valve, and rinse it under running water. If cleaning doesn’t solve the problem, consider replacing the valve.
- Check the water pressure: Insufficient water pressure can affect the performance of your dishwasher. Test the water pressure by turning on a nearby faucet and checking the flow. If you have low water pressure, you may need to contact a plumber to address the issue.
- Inspect the float switch: The float switch is a small device located in the bottom of the dishwasher tub. It monitors the water level and ensures that the dishwasher fills properly. Make sure the float switch moves freely and is not stuck in the raised position.
By inspecting and addressing any issues with the water supply, you can ensure that your dishwasher receives adequate water to operate effectively. If the water supply is not the cause of the problem, proceed to the next troubleshooting step.
In the upcoming steps, we will explore further troubleshooting measures to help you fix common dishwasher problems and get your appliance back in working order.
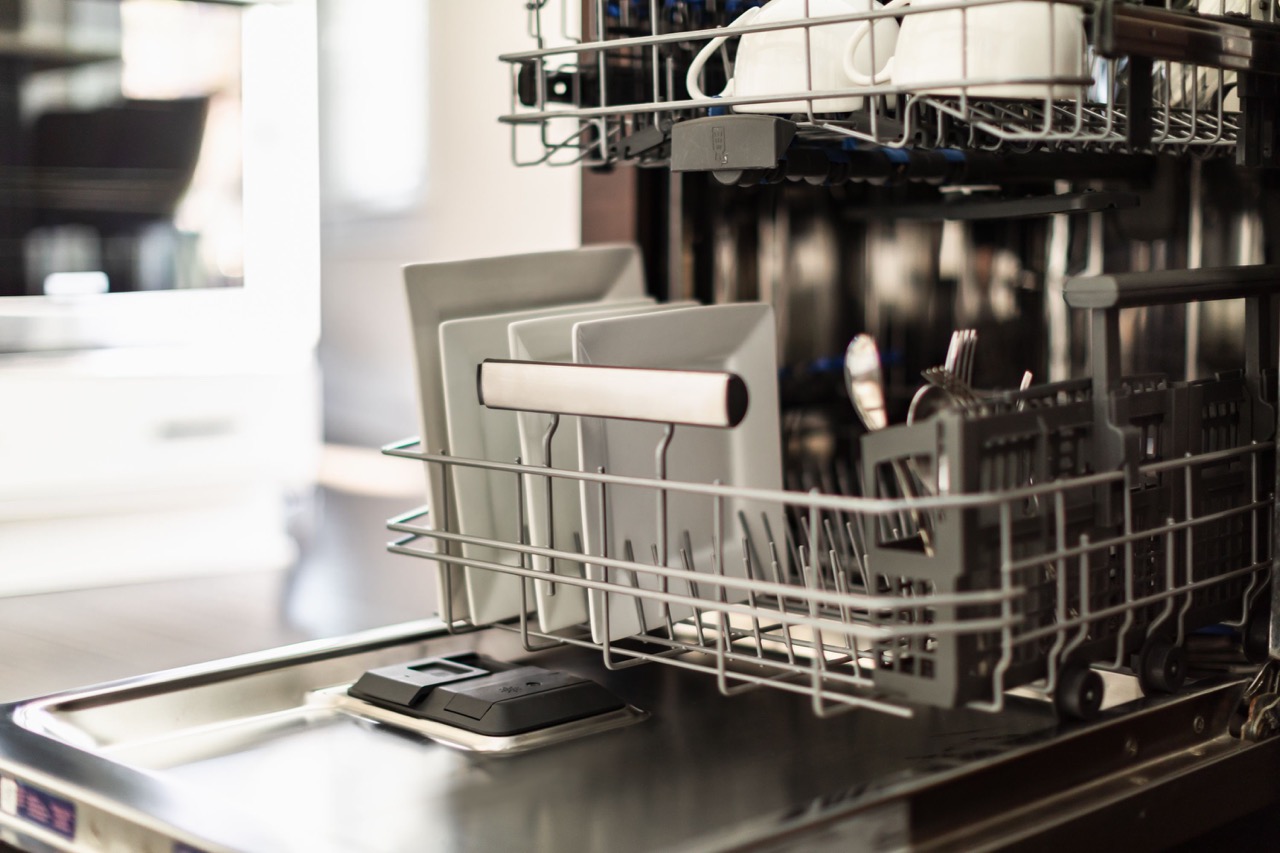
Step 3: Clean the Filters
Clogged filters can significantly impact the cleaning performance of your dishwasher. Over time, food particles, debris, and mineral deposits can accumulate in the filters, leading to poor drainage, food residue on dishes, and unpleasant odors. Regularly cleaning the filters is an important step in maintaining your dishwasher’s efficiency. Follow these steps to clean the filters:
- Locate the filters: Depending on your dishwasher model, the filters can be located at the bottom of the dishwasher, near the spray arms. Remove the bottom rack to access the filters.
- Remove the large debris: Carefully remove any large food debris or objects that may be trapped in the filters. Dispose of them in the trash or compost.
- Rinse the filters: Using warm, soapy water, gently wash the filters to remove any remaining residue. Use a soft brush or sponge to scrub away stubborn particles. Rinse the filters thoroughly under running water to remove all soap residue.
- Inspect for damage: While cleaning, check the filters for any signs of damage or wear. If you notice any cracks or tears, it’s best to replace the filters to ensure proper filtration.
- Reinstall the filters: Once the filters are cleaned and completely dry, reinsert them back into the dishwasher. Make sure they are properly aligned and secured in place.
Regularly cleaning the filters will not only improve the efficiency of your dishwasher but also help prevent clogs and bad odors. It’s recommended to clean the filters at least once a month or more frequently if you notice any buildup or debris.
Now that the filters are clean, we can move on to the next step in troubleshooting your dishwasher. In the following sections, we will guide you through additional troubleshooting measures to help you address common dishwasher problems.
Step 4: Unclog the Spray Arms
The spray arms in your dishwasher play a crucial role in distributing water and detergent to effectively clean your dishes. However, over time, these spray arms can become clogged with food particles, mineral deposits, or debris, leading to reduced water flow and poor cleaning performance. Taking the time to unclog the spray arms will help restore their functionality. Follow these steps to unclog the spray arms:
- Remove the spray arms: Depending on your dishwasher model, the spray arms can be easily removed by twisting or unscrewing them. Refer to the dishwasher’s manual for specific instructions on how to remove the spray arms.
- Inspect for blockages: Carefully examine the spray arms for any visible blockages. Use a toothpick, small brush, or compressed air to dislodge and remove any debris that may be obstructing the spray arm nozzles.
- Soak in vinegar: If the spray arms are heavily clogged with mineral deposits, soak them in white vinegar for about an hour. This will help break down the deposits and make it easier to clean. Rinse the spray arms thoroughly with water after soaking.
- Clean the spray arm nozzles: Use a small brush, such as a toothbrush or pipe cleaner, to clean the spray arm nozzles. Pay special attention to any stubborn buildup or particles that may have accumulated. Make sure all the nozzles are clear and free from obstruction.
- Reinstall the spray arms: Once the spray arms are clean and dry, carefully reattach them to the dishwasher, ensuring they are properly aligned and securely fastened.
Unclogging the spray arms will help ensure that water is distributed evenly throughout the dishwasher, resulting in more efficient cleaning. It’s recommended to clean the spray arms every few months to keep them in optimal working condition.
Now that the spray arms are unclogged, we can move on to the next step in troubleshooting your dishwasher. In the following sections, we will cover additional troubleshooting measures to help you address common dishwasher problems.
Check the dishwasher filter regularly and clean it to prevent clogs and ensure proper drainage. This simple maintenance tip can help improve the performance of your dishwasher.
Step 5: Examine the Heating Element
The heating element in your dishwasher is responsible for heating the water to the appropriate temperature for effective cleaning and drying. If your dishwasher is not heating properly, it can result in dishes not being cleaned thoroughly and remaining wet at the end of the cycle. Here’s how you can examine the heating element:
- Access the heating element: Depending on your dishwasher model, the heating element can be located at the bottom of the dishwasher or near the tub’s sidewalls. Refer to the dishwasher’s manual for specific instructions on accessing the heating element.
- Inspect for visible damage: Carefully examine the heating element for any visible signs of damage such as cracks, breaks, or discoloration. If you notice any damage, the heating element may need to be replaced.
- Test the heating element for continuity: Use a multimeter to test the heating element for continuity. Set the multimeter to the resistance or ohms setting and touch the multimeter leads to the terminals of the heating element. If the multimeter shows no continuity, it means the heating element is faulty and needs to be replaced.
- Clean mineral deposits: If the heating element appears to be in good condition but isn’t heating properly, it may be due to mineral deposits. Use a soft brush or cloth to clean any mineral deposits from the heating element.
- Reinstall the heating element: Once you have finished examining and cleaning the heating element, reinstall it in the dishwasher, ensuring it is properly aligned and securely fastened.
By examining the heating element and ensuring it is functioning properly, you can help ensure that your dishwasher effectively cleans and dries your dishes. If you determine that the heating element is faulty, it’s recommended to consult the dishwasher’s manual or seek professional assistance for replacement.
With the heating element examined, we can move on to the next step in troubleshooting common dishwasher problems. In the following sections, we will guide you through additional troubleshooting measures to help you address any remaining issues.
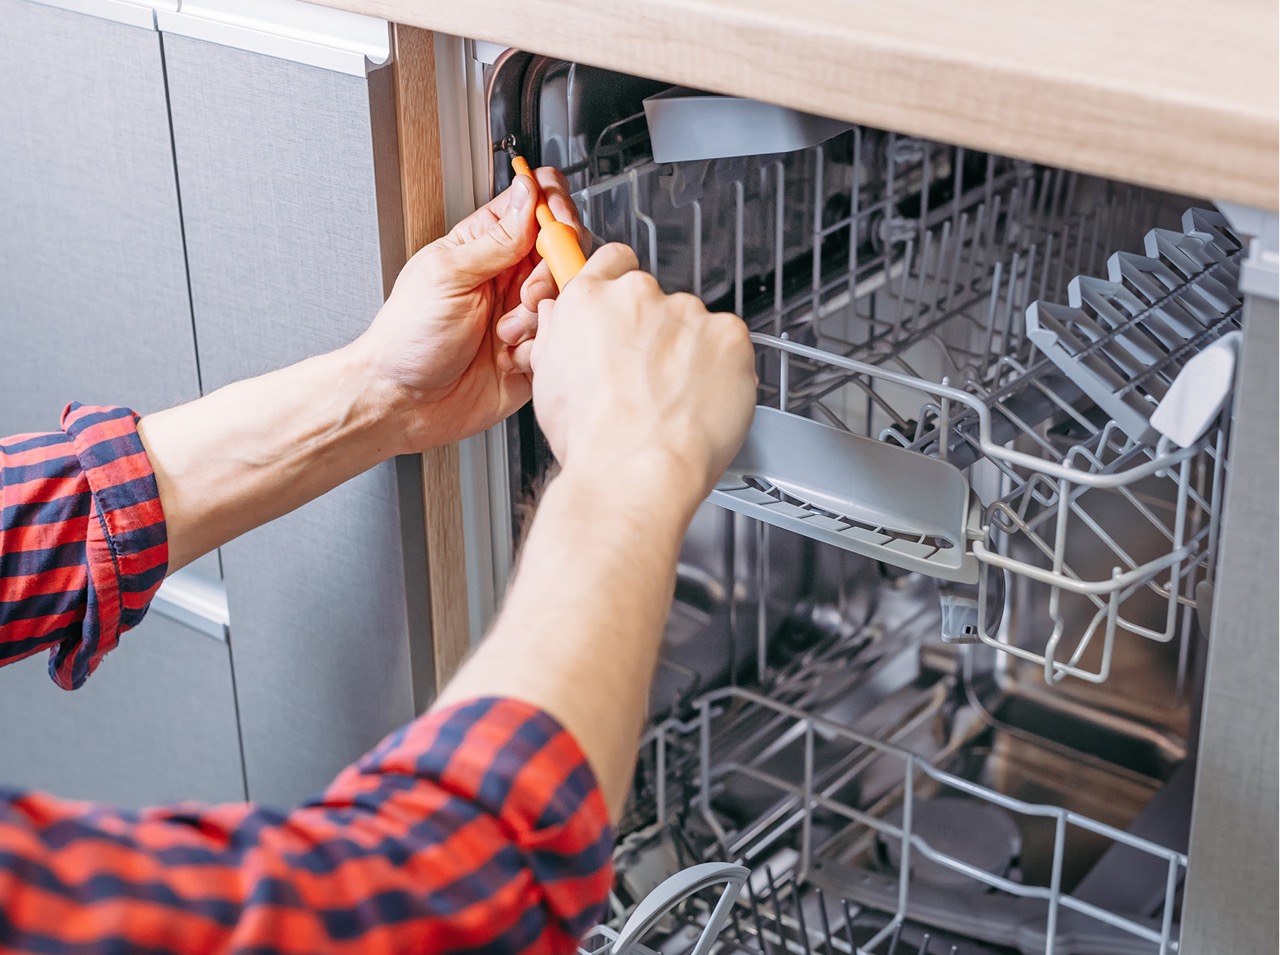
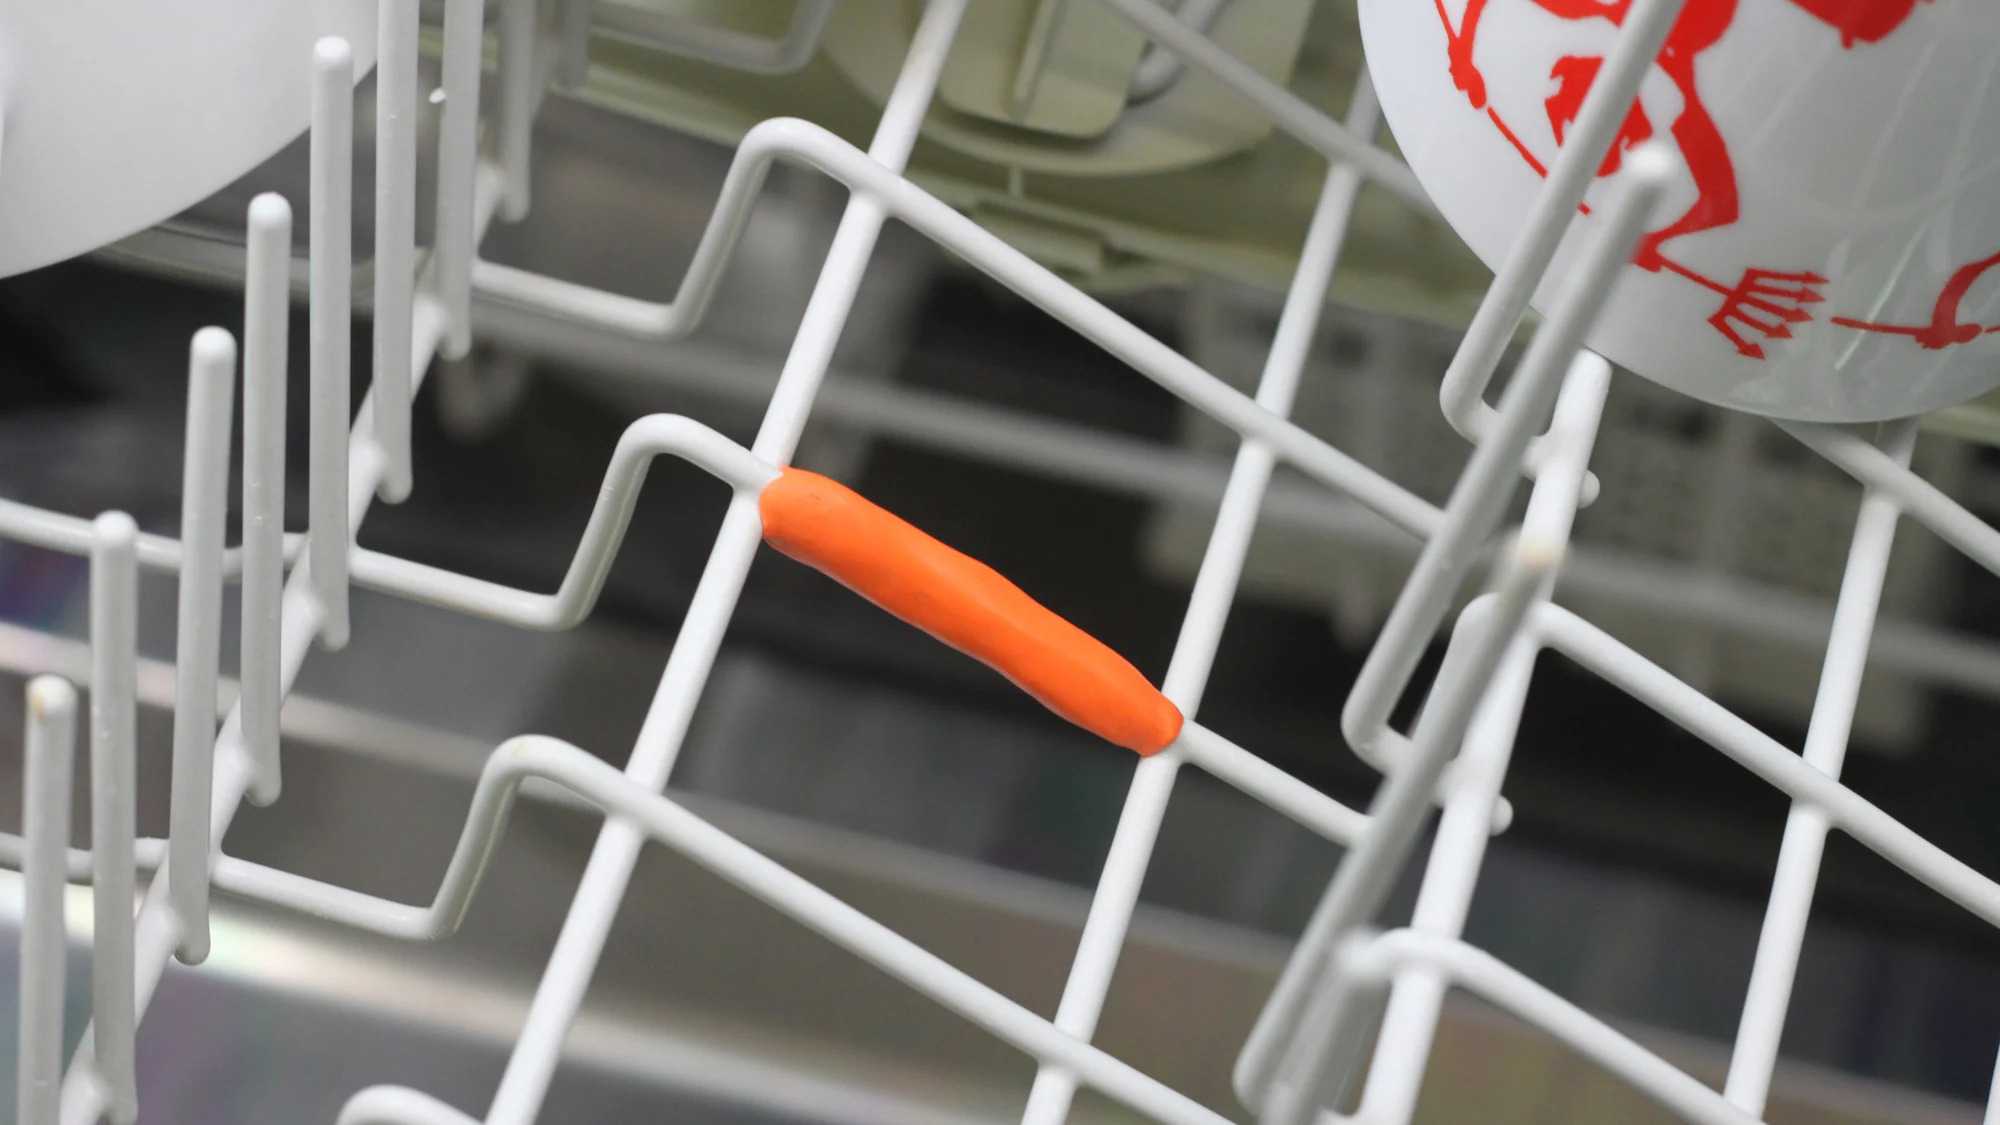
Step 6: Test the Door Latch
The door latch of your dishwasher is a crucial component that ensures the door is securely closed during operation. If the door latch is not functioning properly, it can prevent the dishwasher from starting or interrupt the wash cycle. Here’s how you can test the door latch:
- Inspect the latch mechanism: Open the dishwasher door and examine the latch mechanism. Look for any visible signs of damage or misalignment that may prevent the latch from securely closing.
- Check for obstructions: Ensure that there are no objects or debris obstructing the latch or latch striker plate. Clear away any obstructions that may prevent the latch from engaging properly.
- Test the latch: Close the dishwasher door and gently try to wiggle it back and forth. If the latch feels loose or doesn’t hold the door firmly, it may need to be adjusted or replaced.
- Activate the door switch: Some dishwashers have a door switch that activates when the door is closed. Listen for a clicking sound or check for any visible indication that the door switch is engaging properly.
- Inspect the control panel: If the door latch is functioning correctly but the dishwasher still doesn’t start, check the control panel for any error codes or indicators that may suggest an issue with the latch or door sensor.
If you notice any issues with the door latch, it’s important to address them promptly to ensure proper functioning of the dishwasher. Adjusting or replacing the latch mechanism may be necessary to resolve the problem.
Once you have tested and resolved any issues with the door latch, you can move on to the next step in troubleshooting your dishwasher. In the following sections, we will cover additional troubleshooting measures to help you address common dishwasher problems.
Step 7: Troubleshoot the Control Panel
The control panel of your dishwasher is the command center that allows you to select different wash cycles, adjust settings, and monitor the progress of the wash cycle. If the control panel is not functioning properly, it can disrupt the normal operation of the dishwasher. Here’s how you can troubleshoot the control panel:
- Check for error codes: Some dishwashers have an error code system that displays specific codes when there is a problem. Refer to the dishwasher’s manual to understand what each error code means and how to resolve it.
- Reset the control panel: Sometimes, a simple reset can resolve minor control panel issues. Turn off the dishwasher and unplug it from the power source. Wait for a few minutes, then plug it back in and turn it on. This may help reset the control panel and clear any temporary glitches.
- Inspect the control panel buttons: Check if any of the control panel buttons are stuck or unresponsive. Gently press each button to ensure they are functioning properly.
- Inspect the wiring connections: Examine the wiring connections behind the control panel to ensure they are secure. Loose or damaged connections can cause problems with the control panel functions.
- Test the control panel: Use a multimeter to test the control panel for continuity. Set the multimeter to the resistance or ohms setting and touch the multimeter leads to the terminals of the control panel. If there is no continuity or if the readings are inconsistent, the control panel may need to be replaced.
- Consult the manufacturer or a professional: If you have tried the above steps and the control panel is still not functioning properly, it’s best to consult the dishwasher’s manual or contact the manufacturer for further assistance. Alternatively, you can seek the help of a professional appliance repair technician.
Troubleshooting the control panel can help you identify and resolve any issues that are affecting the functioning of your dishwasher. By addressing control panel problems, you can ensure that your dishwasher operates smoothly and efficiently.
With the control panel troubleshooting done, we can move on to the next step in troubleshooting common dishwasher problems. In the following sections, we will guide you through additional troubleshooting measures to help you address any remaining issues.
Step 8: Address Leaks and Water Drainage Issues
Leaks and water drainage problems can be frustrating issues to deal with in your dishwasher. Not only can they cause water damage to your kitchen, but they can also impact the overall performance of your appliance. Here’s how you can address leaks and water drainage issues:
- Inspect the door seal: The door seal, also known as the gasket, ensures a watertight seal when the dishwasher door is closed. Check for any signs of damage or cracks in the seal. If you notice any issues, consider replacing the door seal to prevent leaks.
- Check the dishwasher tub: Examine the interior of the dishwasher tub for any cracks or damage that may be causing leaks. If you find any issues, it may be necessary to replace the tub or consult a professional for repair.
- Inspect the drain hose: Check the drain hose for any kinks, bends, or damage. Ensure that it is properly connected and not blocked by debris. If you notice any issues, straighten the hose or replace it if necessary.
- Inspect the dishwasher’s float switch assembly: The float switch assembly is responsible for monitoring the water level in the dishwasher. If there is a leak, it can activate the float switch and interrupt the wash cycle. Inspect the assembly for any signs of damage or misalignment.
- Clean the air gap (if applicable): If your dishwasher has an air gap, clean it to prevent clogs that can cause drainage problems. Remove the cap and clean any debris or mineral deposits. Rinse it thoroughly and reinstall it.
- Check the drain pump: The drain pump helps remove wastewater from the dishwasher. If it is not functioning properly, it can cause drainage issues. Inspect the pump for any clogs, damage, or blockages. Clean or replace the pump if necessary.
- Verify proper installation: Ensure that your dishwasher is properly installed with the correct alignment and level. Improper installation can lead to leaks and drainage problems. Refer to the dishwasher’s manual or consult a professional for assistance.
Addressing leaks and water drainage issues is essential for the proper functioning of your dishwasher and to prevent any water damage to your kitchen. By following these steps and resolving any problems you encounter, you can maintain the efficiency and reliability of your dishwasher.
With leaks and water drainage issues tackled, we can move on to the final step in troubleshooting common dishwasher problems. In the next section, we will cover the process of replacing faulty components.
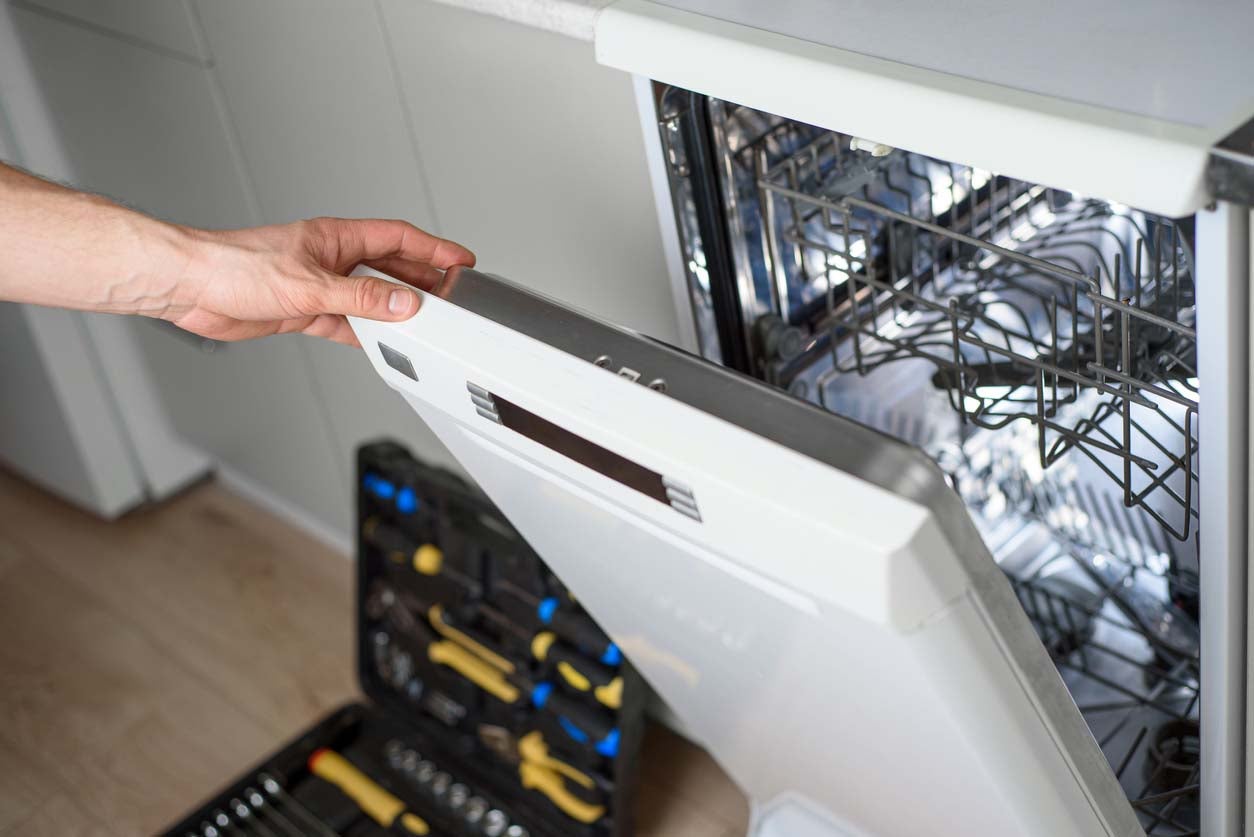
Step 9: Replace Faulty Components
If you have followed all the previous troubleshooting steps and are still experiencing issues with your dishwasher, it may be necessary to replace faulty components. Faulty components can cause a range of problems, from a dishwasher not starting to inadequate cleaning performance. Here’s how you can replace faulty components:
- Identify the faulty component: Based on your observation and the symptoms exhibited by your dishwasher, determine which component is likely causing the issue. This could be a faulty motor, pump, control panel, thermostat, or any other part specific to your dishwasher model.
- Source the replacement part: Contact the manufacturer of your dishwasher or visit their official website to obtain the correct replacement part for the faulty component. Alternatively, you can purchase replacement parts from reputable appliance parts retailers online or in-store.
- Turn off the power and water supply: Before replacing any components, make sure to turn off the power to the dishwasher by unplugging it or switching off the circuit breaker. Also, shut off the water supply to avoid any leaks or water damage.
- Disconnect and remove the faulty component: Depending on the component that needs to be replaced, you may need to disconnect wiring harnesses, hoses, or screws. Carefully follow the manufacturer’s instructions or consult the dishwasher’s manual to safely remove the faulty component.
- Install the new component: Once the faulty component is removed, carefully install the new component in its place. Ensure all connections are secure and follow the manufacturer’s guidelines for proper installation.
- Reassemble and test: Put all the parts back together, ensuring that everything is properly aligned and fastened. Once reassembled, restore power and water supply to the dishwasher and run a test cycle to check if the new component has resolved the problem.
Replacing faulty components may require some technical skills, especially when dealing with electrical components. If you are unsure about your abilities or encounter any difficulties during the process, it is recommended to seek professional assistance.
By replacing faulty components, you can restore your dishwasher’s functionality and enjoy clean and spotless dishes once again.
With step 9 completed, we have covered all the necessary troubleshooting measures to address common dishwasher problems. In the next section, we will conclude our guide and recap the key points.
Conclusion
Fixing a dishwasher can be a daunting task, but with the right knowledge and guidance, you can successfully troubleshoot and resolve common issues. Through the steps outlined in this guide, you have learned how to diagnose and address problems related to power supply, water supply, filters, spray arms, heating element, door latch, control panel, leaks, water drainage, and faulty components.
Remember to always prioritize safety by disconnecting the power supply before attempting any repairs and seeking professional assistance if the issue seems beyond your capabilities.
Regular maintenance and cleaning are also essential to keep your dishwasher running smoothly. Cleaning the filters, unclogging the spray arms, and inspecting the heating element periodically can help prevent problems from occurring.
By following these troubleshooting steps, you can save time and money by repairing your dishwasher yourself. However, if you encounter any complications or have doubts, it is recommended to consult the dishwasher’s manual or seek professional help.
Your dishwasher is an invaluable appliance that brings convenience and efficiency to your kitchen. By understanding how to diagnose and fix common problems, you can ensure its optimal performance and enjoy hassle-free dishwashing for years to come.
We hope this guide has been helpful in guiding you through the process of fixing your dishwasher. Remember to refer back to this article as a reference whenever you encounter any issues. Good luck with your dishwasher repairs!
Frequently Asked Questions about How To Fix A Dishwasher
Was this page helpful?
At Storables.com, we guarantee accurate and reliable information. Our content, validated by Expert Board Contributors, is crafted following stringent Editorial Policies. We're committed to providing you with well-researched, expert-backed insights for all your informational needs.


0 thoughts on “How To Fix A Dishwasher”