Articles
How To Fix Electric Stove Burners
Modified: August 17, 2024
Looking for articles on how to fix electric stove burners? Find step-by-step guides and helpful tips in our comprehensive collection. Enhance your cooking experience today!
(Many of the links in this article redirect to a specific reviewed product. Your purchase of these products through affiliate links helps to generate commission for Storables.com, at no extra cost. Learn more)
Introduction
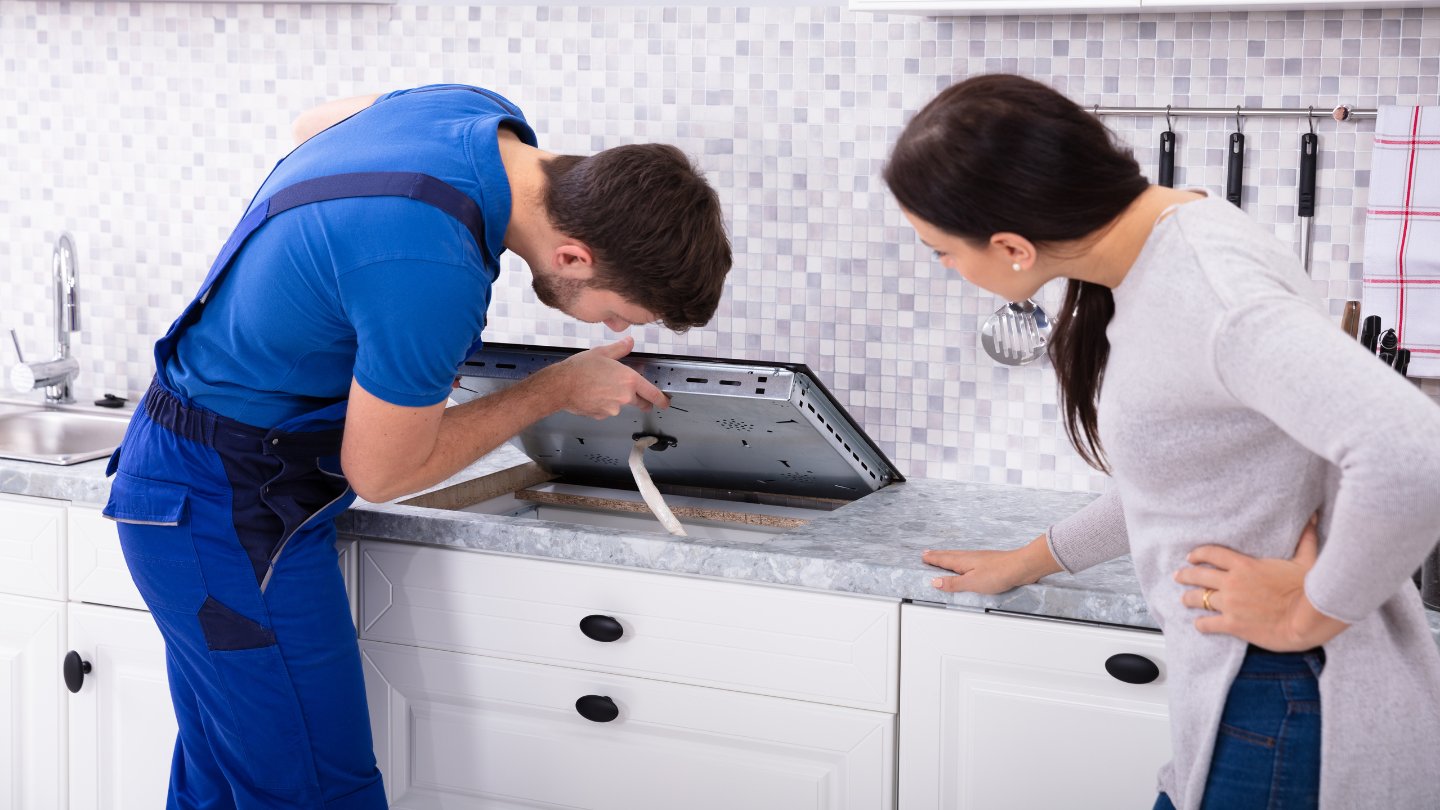
Having an electric stove in your kitchen can be a convenient and efficient way to cook your favorite meals. However, like any household appliance, electric stove burners can encounter issues from time to time. Dealing with malfunctioning or non-functional burners can be frustrating, especially when you have a meal to prepare. But fear not, as many common problems with electric stove burners can be fixed quite easily with a little know-how and some basic tools.
In this article, we will explore the most common issues you may encounter with your electric stove burners and guide you through the steps needed to fix them. Whether your burner is not heating up, heating unevenly, or not working at all, we have you covered with a comprehensive troubleshooting guide to get your burners back in proper working order.
Before we dive into the troubleshooting steps, make sure to always prioritize safety. Ensure your stove is completely turned off and unplugged before attempting any repairs. If you are unsure or uncomfortable with performing any of the steps, it’s always best to consult a professional technician.
Now, let’s get started on identifying and resolving the issues with your electric stove burners!
Key Takeaways:
- Troubleshoot and fix common electric stove burner issues with simple steps and basic tools, ensuring a safe and efficient cooking experience at home.
- Regular maintenance and careful handling of electric stove burners can prevent issues, extending the lifespan and ensuring a pleasurable cooking experience.
Read more: How To Fix Frigidaire Stove Burners
Common Issues with Electric Stove Burners
Electric stove burners may experience various problems that can hinder their functionality. Understanding the common issues that can arise will help you diagnose the problem more effectively and determine the necessary steps to fix it. Here are some of the most common problems:
- No Heat: One of the most frustrating issues is when the burner fails to produce any heat. This can be caused by a faulty heating element, a broken infinite switch, or a problem with the power supply.
- Uneven Heating: If your burner heats unevenly, with one area getting hotter than the rest, it could signify a problem with the element or the surface element control switch.
- Overheating: Sometimes, the burner may overheat, causing it to switch off or trip the circuit breaker. This can happen due to a malfunctioning thermostat or a damaged surface element control switch.
- Intermittent Heating: If the burner intermittently heats and then stops working, the issue may be with a loose or faulty connection in the receptacle block or the surface element socket.
- Stuck or Loose Burner: Burners that are stuck in the “on” position or are loose and wobbly can be caused by a damaged surface element control switch or a faulty surface element socket.
By identifying the specific issue you are facing with your electric stove burner, you can proceed with the appropriate troubleshooting steps to address it. In the following sections, we will guide you through each of these common issues and provide step-by-step instructions on how to fix them.
Tools and Materials Required
Before you begin troubleshooting and fixing the issues with your electric stove burners, it’s essential to gather the necessary tools and materials. Having everything on hand will make the process smoother and more efficient. Here’s a list of the common tools and materials you may need:
- Screwdriver Set: A set of Phillips and flat-head screwdrivers will be handy for removing screws and accessing various components on your electric stove.
- Needle-Nose Pliers: These long, narrow pliers are useful for grasping and manipulating small wires and components.
- Wire Cutters: Wire cutters are essential for cutting and stripping wires during repairs or replacements.
- Electrical Multimeter: An electrical multimeter is a valuable tool for testing electrical connections, voltage, and continuity.
- Heat-Resistant Gloves: When working with hot elements or other heated parts, heat-resistant gloves will protect your hands from burns.
- Replacement Parts: Depending on the specific issue, you may need to purchase replacement parts such as burners, receptacle blocks, infinite switches, or surface element control switches. Refer to your stove’s manual or consult a professional to determine the correct parts for your model.
Having these tools and materials readily available will ensure a smoother troubleshooting and repair process. Before you proceed, make sure to review the safety precautions in your stove’s manual and take appropriate measures to protect yourself.
Now that you have the necessary tools and materials ready, it’s time to start troubleshooting and fixing the issues with your electric stove burners. Let’s move on to the step-by-step guide on how to fix these common problems.
Step 1: Check the Power Supply
When dealing with any electrical appliance, it’s essential to start troubleshooting by checking the power supply. A faulty power supply can cause issues with your electric stove burners. Follow these steps to check the power supply:
- Check the Outlet: Ensure that the outlet your stove is plugged into is functioning correctly. Plug in another appliance or device to confirm if it works. If the outlet is not working, try resetting the circuit breaker or replacing the fuse.
- Inspect the Power Cord: Examine the power cord for any visible damage, such as frayed wires or cuts. If you notice any issues, it’s crucial to replace the power cord before continuing to use the stove.
- Test the Power Supply: Use an electrical multimeter to test the power supply to the stove. Set the multimeter to measure AC voltage. Unplug the stove and remove the back panel to access the power supply connections. Carefully touch the multimeter probes to the power supply wires while someone else plugs in the stove or turns it on. Ensure that the multimeter displays the correct voltage (should be compatible with the rating mentioned in the stove’s manual).
If the power supply is functioning correctly, move on to the next step. However, if you encounter any issues during the power supply check, it’s best to consult a professional electrician to rectify any electrical problems. Handling electrical components without proper knowledge can be dangerous.
Remember, safety is of utmost importance when working with electricity. Always ensure that your stove is unplugged and turned off before performing any checks or repairs on the power supply or any other components.
With the power supply confirmed to be working correctly, we can move on to the next steps of troubleshooting and fixing the issues with your electric stove burners.
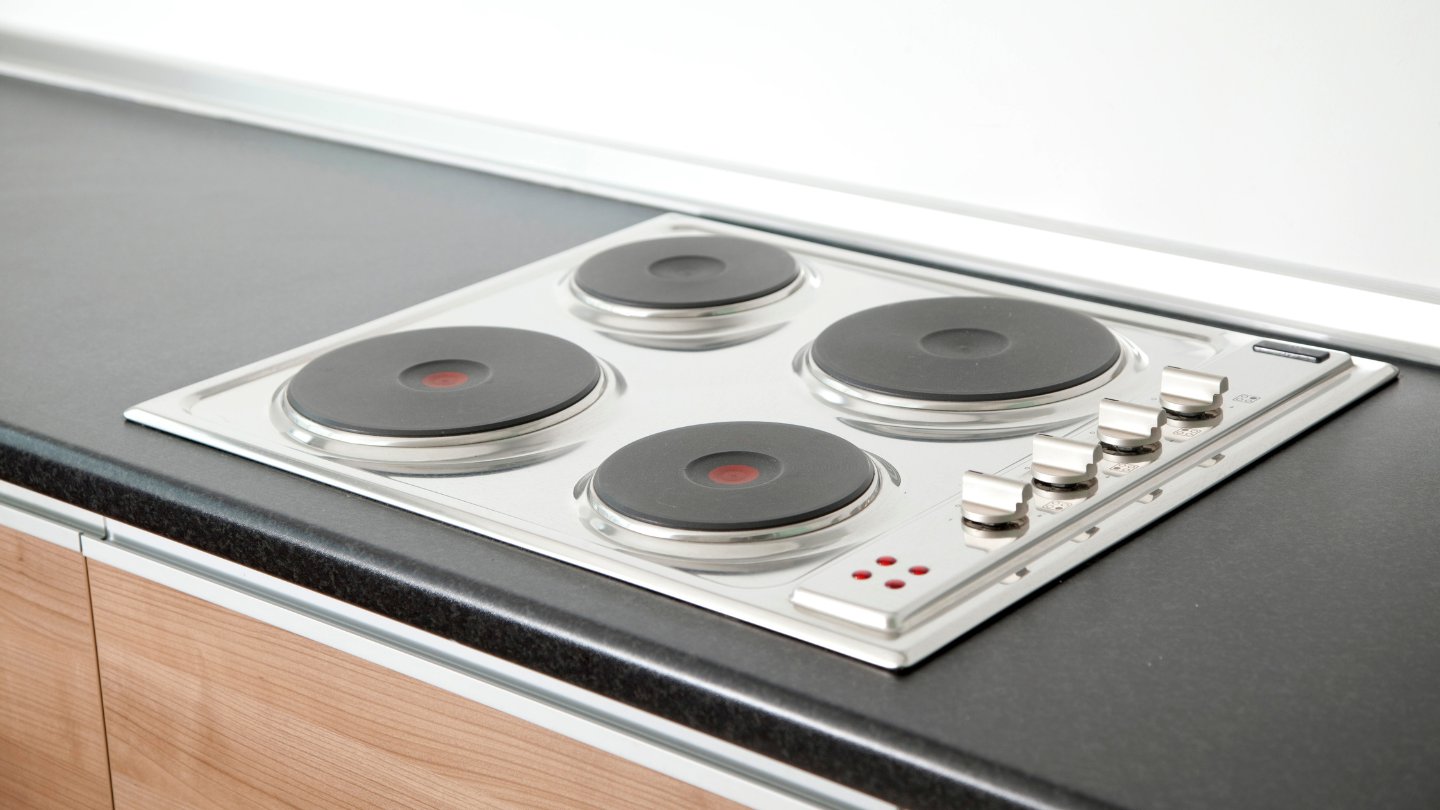
Step 2: Inspect and Clean the Burner Element
If your electric stove burner is not heating up or heating unevenly, it may be due to a dirty or damaged burner element. Follow these steps to inspect and clean the burner element:
- Turn Off and Unplug the Stove: Ensure that the stove is completely turned off and unplugged from the power supply to prevent any accidents or electrical shocks.
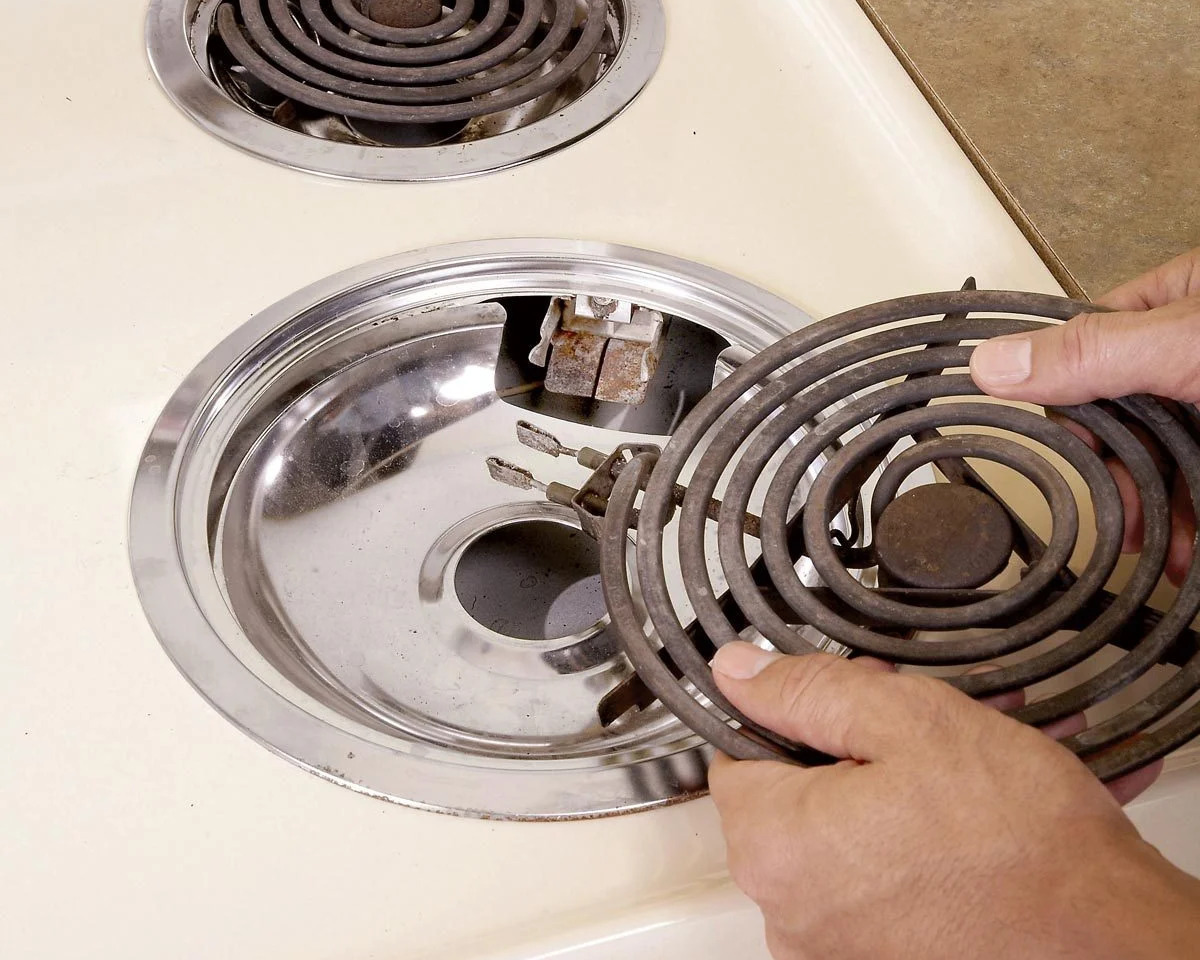
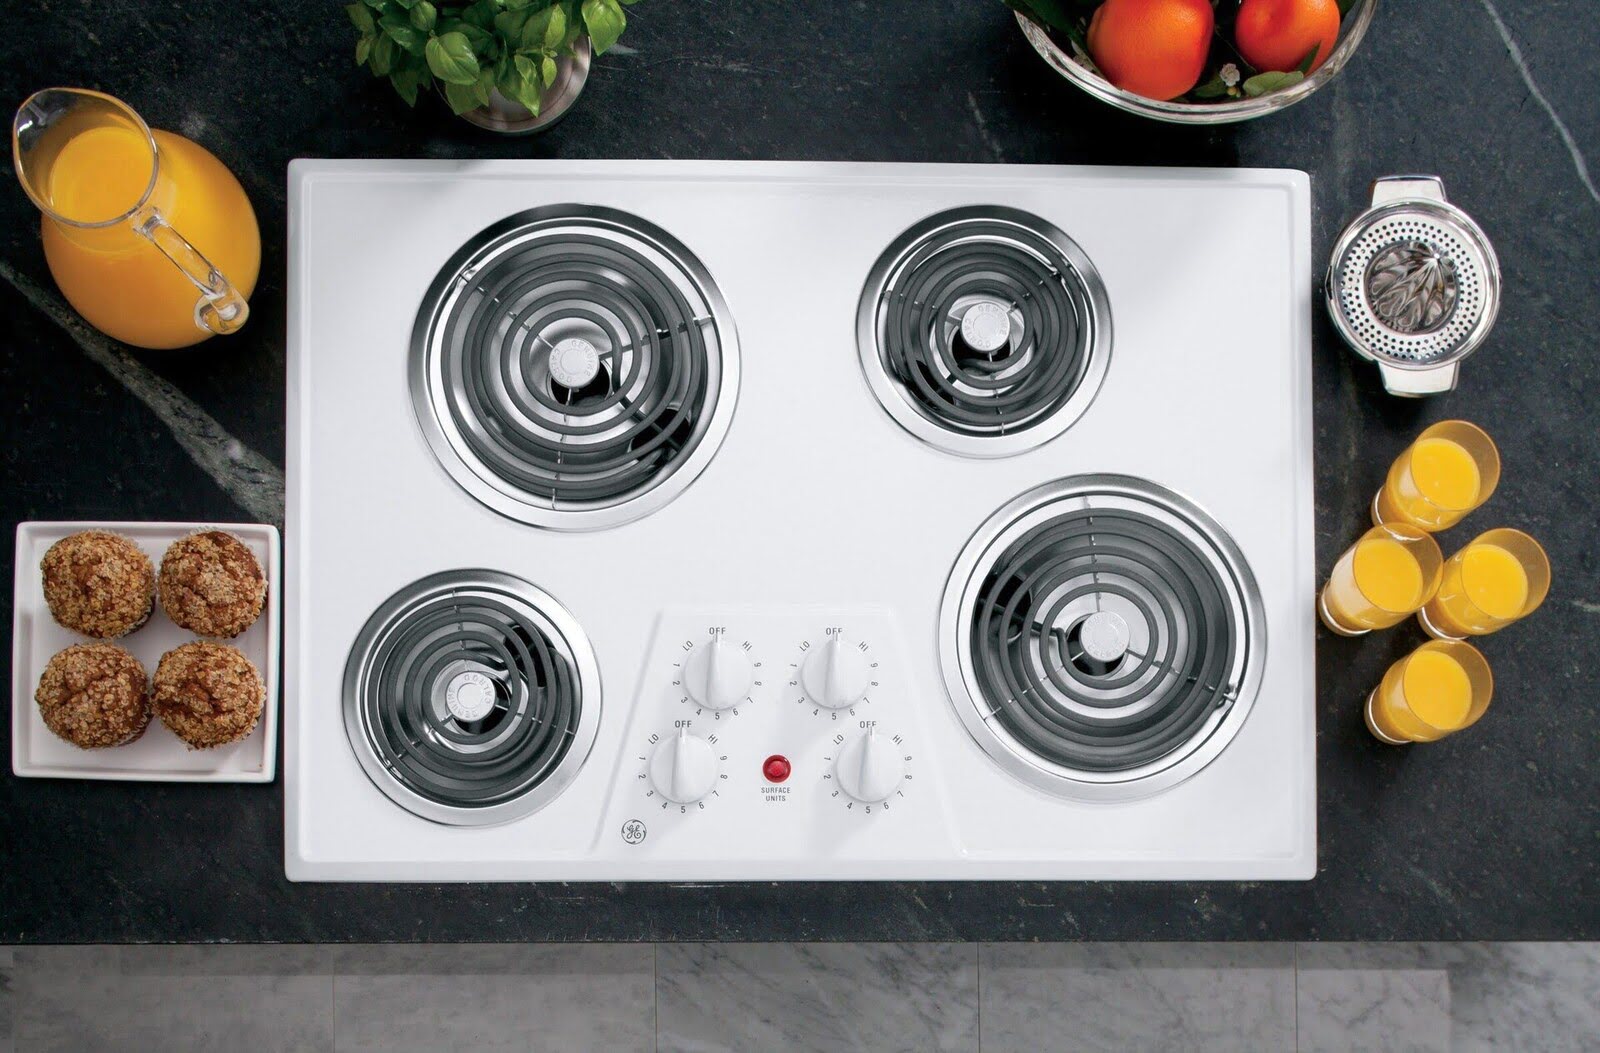
- Access the Burner Element: Lift or remove the burner drip pans and remove the grates or covers to access the burner elements. Note the location and size of the problematic burner.
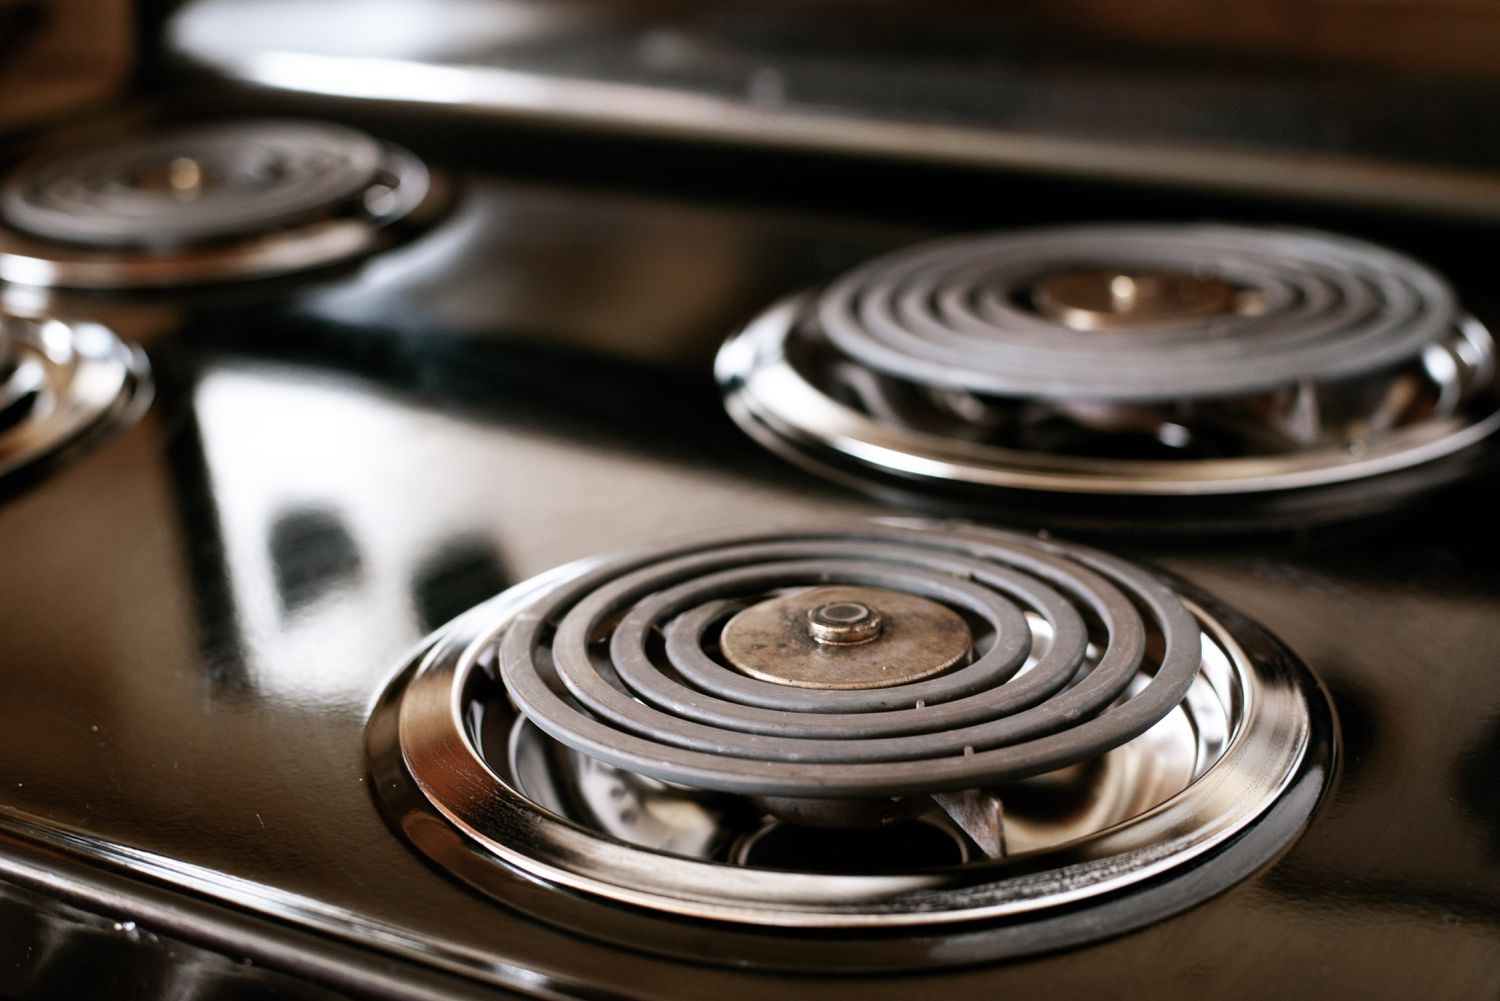
- Inspect the Burner Element: Carefully examine the burner element for any visible damage, such as broken or discolored areas. If you notice any physical damage, it’s best to replace the burner element with a new one.
- Clean the Burner Element: If the burner element appears to be in good condition, it may be dirty or covered in residue. Use a soft cloth or sponge dampened with a mixture of warm water and mild dish soap to gently clean the burner element. Avoid using abrasive cleaners or scrub brushes, as they can damage the element’s surface.
- Remove Built-Up Residue: If there is significant residue buildup on the burner element, it may affect heat distribution. Use a plastic scraper or a toothbrush to carefully remove any stubborn residue. Be gentle to avoid damaging the element.
- Dry and Reassemble: After cleaning, ensure that the burner element is completely dry. Once dry, reassemble the burner by placing it back in its original position and securing any grates or covers.
Once you’ve completed these steps, plug in the stove, turn it on, and test the burner to see if it heats up evenly. If the problem persists, move on to the next step for further troubleshooting.
Regular maintenance and cleaning of your burner elements can help prevent issues and ensure optimal performance. It’s recommended to clean the burner elements regularly, especially if you notice any residue or buildup. This simple maintenance step can go a long way in keeping your electric stove burners in good working condition.
In the next step, we will explore how to replace faulty burner elements if cleaning doesn’t resolve the issue.
Read more: How To Fix Gas Stove Burners
Step 3: Replace Faulty Burner Elements
If cleaning the burner element did not solve the issue and it is still not heating up properly or at all, it may be necessary to replace the faulty element. Here’s how to replace a faulty burner element:
- Turn Off and Unplug the Stove: Before beginning any repairs, ensure that the stove is turned off and unplugged to prevent any electrical accidents.
- Identify the Problematic Element: Determine which burner element is faulty and needs to be replaced. Note its size and location for purchasing the correct replacement part.
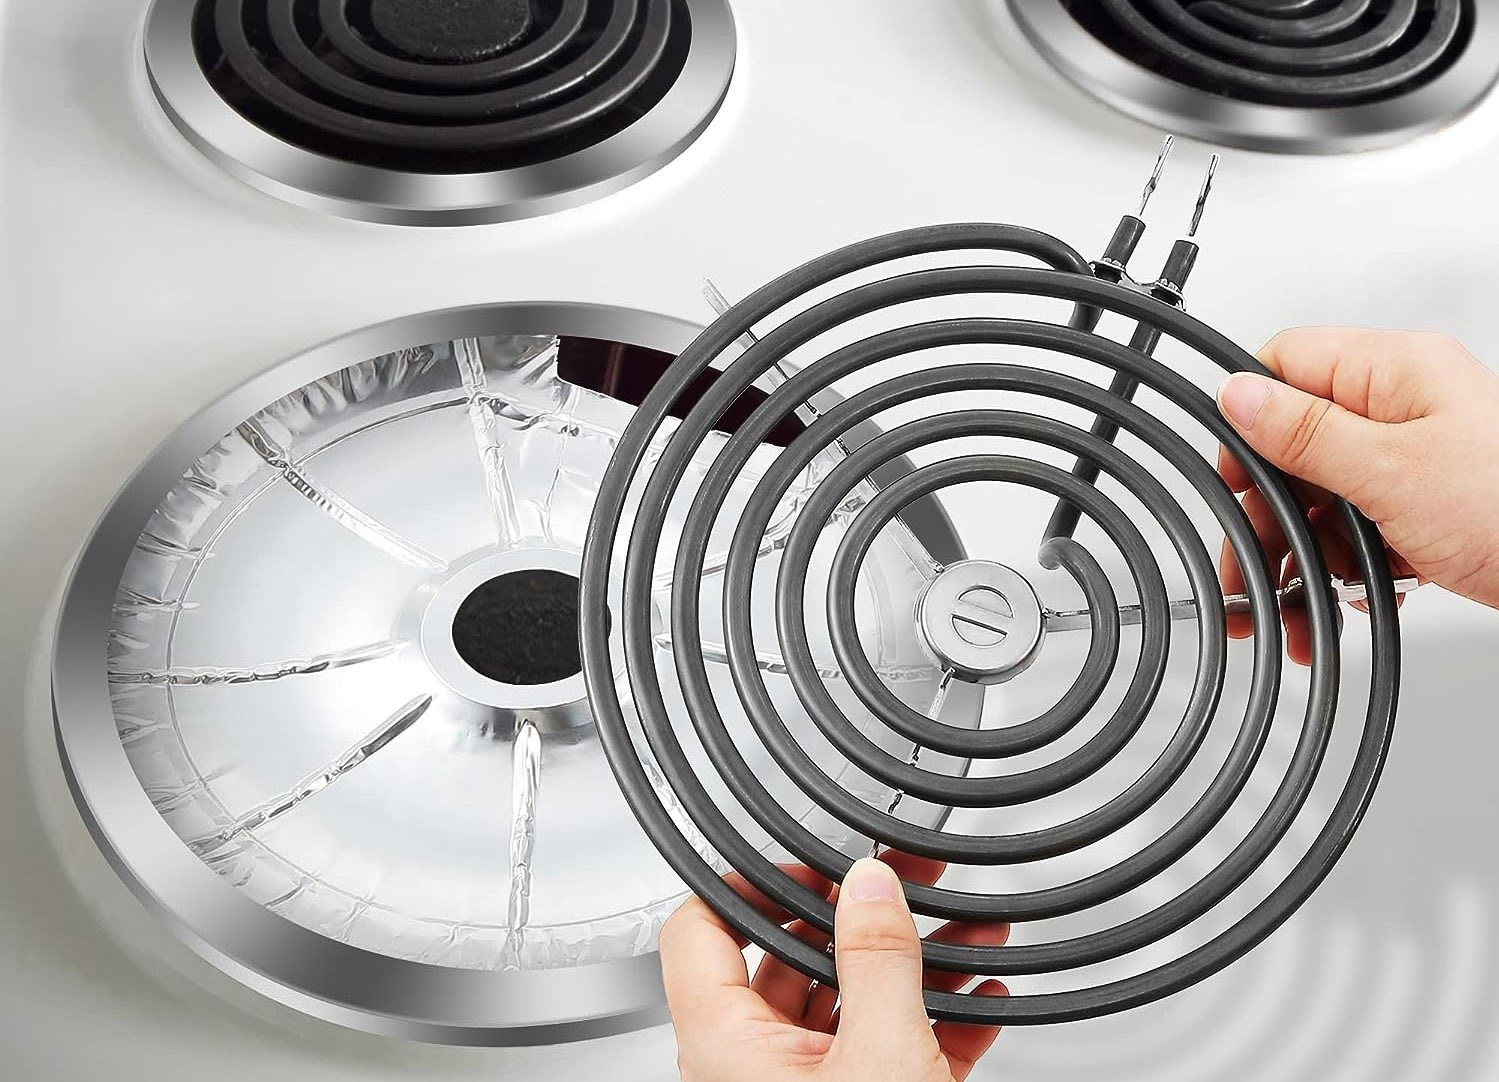
- Remove the Burner Element: Lift or remove any grates or covers that are covering the burner element. Carefully lift the burner element from its socket, being mindful of any electrical connections that may need to be detached.
- Disconnect the Electrical Connections: Depending on your stove model, the burner element may be connected via blade connectors or screws. Disconnect the electrical connections carefully by either removing the screws or gently pulling the blade connectors apart. Take note of the wire placement or take a picture to ensure correct reconnection later.
- Install the New Burner Element: Take the new burner element that matches in size and model. Align the electrical connections with the appropriate socket on the stove and attach them securely. Carefully place the burner element back into its socket, ensuring it is properly seated.
- Secure and Reassemble: Once the new burner element is in place, reattach any screws or blade connectors to secure the electrical connections. Put back any grates or covers that were removed earlier.
After replacing the faulty burner element, plug in the stove and test the new element to ensure it is heating up properly. If the burner still doesn’t work, there may be an issue with another component. In the next step, we will check and replace the receptacle block if needed.
Remember, when working with electricity, always prioritize safety. If you are unsure or uncomfortable with replacing the burner element yourself, seek the assistance of a professional technician.
To fix electric stove burners, first check for any visible damage or debris. If the burner is not heating, it may need to be replaced. Always ensure the stove is unplugged before attempting any repairs.
Step 4: Check and Replace the Receptacle Block
If your electric stove burner is still not functioning properly after replacing the burner element, the issue may lie with the receptacle block. The receptacle block is the component that connects the burner element to the wiring harness. Here’s how to check and replace the receptacle block:
- Turn Off and Unplug the Stove: Before you begin any repairs, make sure the stove is turned off and unplugged to prevent any electrical accidents.
- Access the Receptacle Block: Locate the receptacle block, which is usually located under the cooktop. You may need to remove the cooktop or lift it up to access the block. Refer to your stove’s manual for specific instructions.
- Inspect the Receptacle Block: Examine the receptacle block for any visible signs of damage, such as burnt wires or loose connections. If you notice any issues, it indicates a faulty receptacle block that needs to be replaced.
- Test the Receptacle Block: Use an electrical multimeter to test the receptacle block for continuity. Set the multimeter to measure continuity, and touch the probes to the terminals of the receptacle block. If there is no continuity, it means the receptacle block is faulty and needs to be replaced.
- Remove the Old Receptacle Block: If the receptacle block is indeed faulty, disconnect the wiring harness attached to it. Depending on your stove model, the wiring may be connected using blade connectors, screws, or wire nuts. Take note of the wire placement or take a picture to ensure correct reconnection later.
- Install the New Receptacle Block: Take the new receptacle block that matches your stove’s model and attach the wiring harness to it. Make sure all connections are secure and properly aligned with the terminals.
- Secure and Reassemble: Once the new receptacle block is in place, securely attach any connectors, screws, or wire nuts. Put back the cooktop if it was removed earlier.
After replacing the receptacle block, plug in the stove and test the burner element to see if it is heating up properly. If the issue persists, it’s time to move on to the next step and check the infinite switch.
Remember, if you are unsure or uncomfortable with checking or replacing the receptacle block, it is best to seek the assistance of a professional technician to ensure safety and proper repairs.
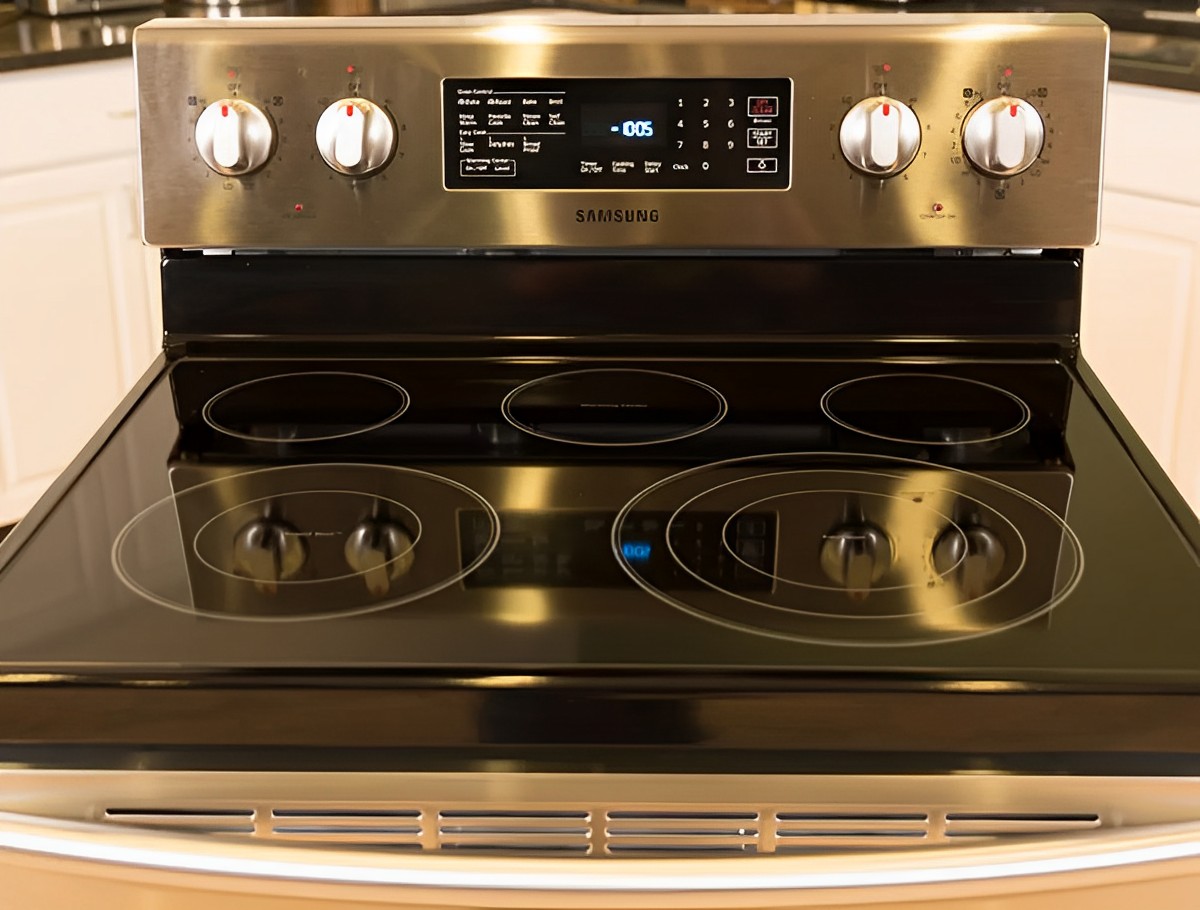
Step 5: Test the Infinite Switch
If your electric stove burner is still not functioning correctly after checking and replacing the receptacle block, the issue may lie with the infinite switch. The infinite switch is responsible for regulating the heat intensity of the burner element. Here’s how to test the infinite switch:
- Turn off and unplug the stove: Ensure the stove is turned off and unplugged before starting any repairs to avoid electrical hazards.
- Locate the infinite switch: The infinite switch is usually located on the control panel of the stove. Refer to your stove’s manual to locate it and understand its specific design.
- Remove the control knob: Most infinite switches are secured with a control knob. Gently pull the knob off to expose the switch.
- Test the infinite switch: Using an electrical multimeter, set it to measure resistance (ohms). Touch the multimeter probes to the terminals of the infinite switch. Gradually rotate the switch from its lowest temperature setting to the highest. The resistance reading should change smoothly and gradually as you turn the switch. If there is no change in resistance or if it fluctuates erratically, the infinite switch is likely faulty and needs to be replaced.
- Replace the infinite switch: If the infinite switch is determined to be faulty, disconnect the wires connected to it. Take note of the wire placement or take a picture for reference. Remove the defective switch and install the new one, reconnecting the wires according to the correct configuration.
- Reassemble the control knob: Once the new infinite switch is installed, reattach the control knob securely.
After replacing the infinite switch, plug in the stove and test the burner element to see if it is now heating up properly. If the issue persists, it’s time to move on to the next step and inspect the surface element control switch.
Remember, if you are unsure or uncomfortable with testing or replacing the infinite switch, it is best to consult a professional technician to ensure safety and proper repairs.
Step 6: Inspect and Replace the Surface Element Control Switch
If your electric stove burner is still not functioning correctly after testing and replacing the infinite switch, the next component to check is the surface element control switch. The surface element control switch is responsible for regulating the power supply to the burner element. Here’s how to inspect and replace the surface element control switch:
- Turn off and unplug the stove: Ensure the stove is turned off and unplugged to avoid any electrical hazards during the inspection and replacement process.
- Locate the surface element control switch: The surface element control switch is usually located on the control panel of the stove, near the infinite switches. Consult your stove’s manual to confirm its location.
- Remove the control knob: Similar to the infinite switch, the surface element control switch will have a control knob. Gently pull the knob off to expose the switch.
- Inspect the surface element control switch: Carefully examine the surface element control switch for any visible signs of damage, such as burnt wiring or loose connections. If you notice any issues, it indicates a faulty switch that needs to be replaced.
- Test the surface element control switch: Using an electrical multimeter, set it to measure resistance (ohms). Touch the multimeter probes to the terminals of the surface element control switch. Gradually rotate the switch from its lowest temperature setting to the highest. The resistance reading should change smoothly and gradually as you turn the switch. If there is no change in resistance or if it fluctuates erratically, the surface element control switch is likely faulty and needs to be replaced.
- Replace the surface element control switch: If the surface element control switch is determined to be faulty, disconnect the wires connected to it. Take note of the wire placement or take a picture for reference. Remove the defective switch and install the new one, reconnecting the wires according to the correct configuration.
- Reassemble the control knob: Once the new surface element control switch is installed, reattach the control knob securely.
After replacing the surface element control switch, plug in the stove and test the burner element to see if it is now heating up properly. If the issue persists, move on to the next step and check the surface element socket.
Remember, if you are unsure or uncomfortable with inspecting or replacing the surface element control switch, it is best to consult a professional technician to ensure safety and proper repairs.
Read more: How To Measure Electric Stove Burners
Step 7: Check and Replace the Surface Element Socket
If your electric stove burner is still not functioning correctly after inspecting and replacing the surface element control switch, the next component to examine is the surface element socket. The surface element socket is responsible for connecting the burner element to the wiring harness. Here’s how to check and replace the surface element socket:
- Turn off and unplug the stove: Ensure that the stove is turned off and unplugged to prevent any electrical accidents during the inspection and replacement process.
- Locate the surface element socket: The surface element socket is usually located under the cooktop. You may need to remove the cooktop or lift it up to access the socket. Consult your stove’s manual for specific instructions.
- Inspect the surface element socket: Carefully examine the surface element socket for any visible signs of damage, such as burnt wires or loose connections. If you notice any issues, it indicates a faulty socket that needs to be replaced.
- Test the surface element socket: Using an electrical multimeter, set it to measure continuity. Touch the multimeter probes to the terminals of the surface element socket. If there is no continuity, it means the surface element socket is faulty and needs to be replaced.
- Replace the surface element socket: If the surface element socket is determined to be faulty, disconnect the wires connected to it. Take note of the wire placement or take a picture for reference. Remove the defective socket and install the new one, reconnecting the wires according to the correct configuration.
- Reassemble the cooktop: Once the new surface element socket is installed, secure it in place and reassemble the cooktop if it was removed earlier.
After replacing the surface element socket, plug in the stove and test the burner element to see if it is now heating up properly. If the issue persists, move on to the next step and troubleshoot other potential problems.
Keep in mind that if you are unsure or uncomfortable with checking or replacing the surface element socket, it is best to consult a professional technician to ensure safety and proper repairs.
Step 8: Troubleshooting Other Potential Problems
If your electric stove burner is still not functioning properly after going through the previous steps, there may be other underlying issues. Here are a few additional troubleshooting steps to consider:
- Check the surface element control board: This board controls the operation of the burners. Inspect it for any visible damage, such as burnt components or loose connections. If necessary, it may need to be replaced.
- Inspect the wiring harness: Examine the wiring harness that connects various components of the stove for any loose or damaged wires. If you find any issues, repair or replace the affected wiring as needed.
- Check the main control board: The main control board regulates the overall operation of the stove. If it is faulty, certain burner functions may not work correctly. Inspect the board for any signs of damage or malfunction and replace it if necessary.
- Consult the stove’s manual: Refer to the manufacturer’s manual for specific troubleshooting steps and information related to your stove model. The manual may provide additional guidance on identifying and resolving the issue you are experiencing.
- Seek professional assistance: If you have gone through all the troubleshooting steps and still cannot identify or fix the problem, it is recommended to seek the help of a professional technician. They will have the expertise and tools to diagnose and repair more complex issues with your electric stove burners.
Remember, when troubleshooting and repairing electrical appliances, always prioritize safety. Ensure the stove is turned off and unplugged before performing any checks or repairs, and if you are unsure or uncomfortable with any step, it’s best to seek professional assistance.
By following these troubleshooting steps, you can hopefully identify and resolve the issues with your electric stove burners. Enjoy cooking your favorite meals on a fully functioning stove once again!
Conclusion
Dealing with issues with your electric stove burners can be frustrating, but with the right knowledge and troubleshooting steps, you can often fix the problems yourself. By following the steps outlined in this guide, you can identify and address common issues such as no heat, uneven heating, overheating, intermittent heating, and stuck or loose burners.
Starting with checking the power supply and inspecting/cleaning the burner element, you can gradually progress through steps to replace faulty components like the burner element itself, the receptacle block, the infinite switch, the surface element control switch, and the surface element socket. It’s important to perform each step carefully, prioritize safety, and consult a professional if you are uncertain or uncomfortable with any aspect of the repair process.
In some cases, despite going through all the troubleshooting steps, you may still encounter problems with your electric stove burners. This could indicate more complex issues with components like the surface element control board, wiring harness, or main control board. In such situations, it’s best to consult the stove’s manual for specific instructions or seek the assistance of a professional technician.
Remember, regular maintenance, cleaning, and careful handling of your electric stove burners can help prevent issues and keep them working efficiently. By understanding the common problems and following the steps outlined in this guide, you can extend the lifespan of your stove and ensure a pleasurable cooking experience for years to come.
Now that you’ve learned how to troubleshoot and fix common issues with electric stove burners, you are equipped with the knowledge to tackle any problems that may arise. Get started and enjoy the benefits of a fully functional electric stove in your kitchen!
Frequently Asked Questions about How To Fix Electric Stove Burners
Was this page helpful?
At Storables.com, we guarantee accurate and reliable information. Our content, validated by Expert Board Contributors, is crafted following stringent Editorial Policies. We're committed to providing you with well-researched, expert-backed insights for all your informational needs.


0 thoughts on “How To Fix Electric Stove Burners”