Articles
How To Remove Electric Stove Burners
Modified: January 6, 2024
Looking for articles on how to remove electric stove burners? Check out our comprehensive guide for easy step-by-step instructions on safely removing stove burners.
(Many of the links in this article redirect to a specific reviewed product. Your purchase of these products through affiliate links helps to generate commission for Storables.com, at no extra cost. Learn more)
Introduction
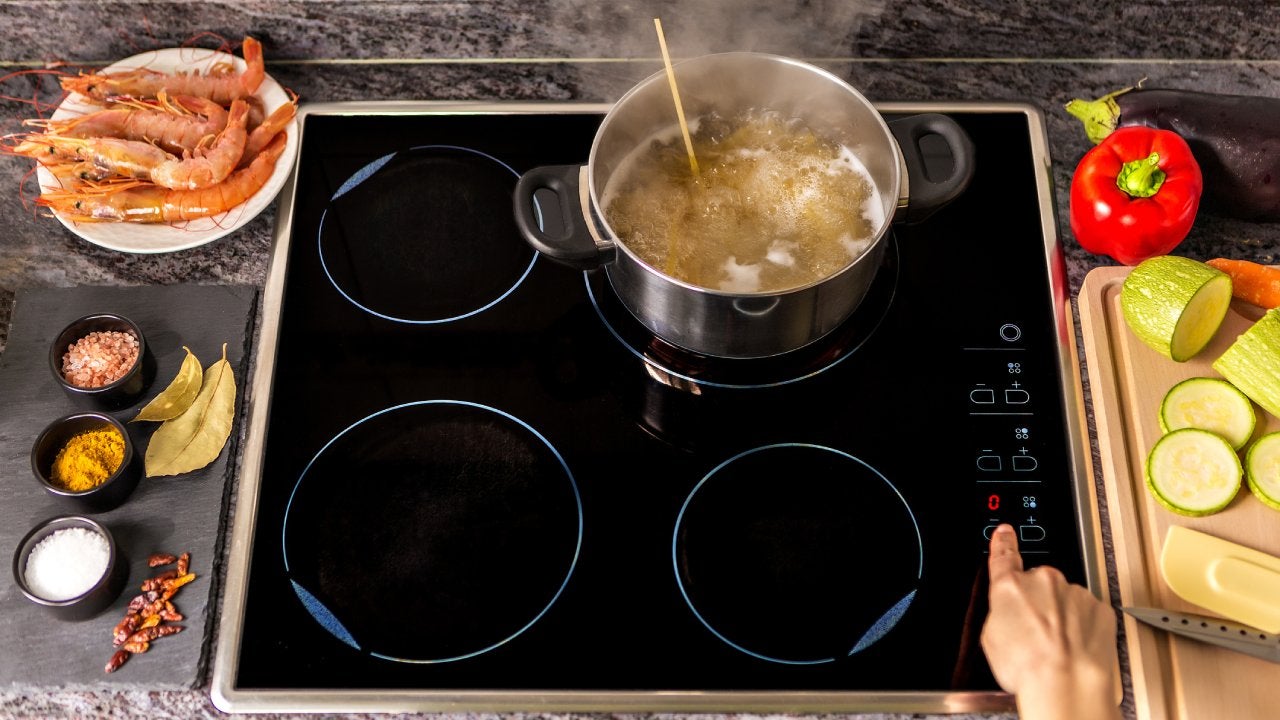
Removing electric stove burners may seem like a daunting task, but with the right guidance, it can be a simple and straightforward process. Whether you need to clean the burners or replace them, knowing how to safely remove them is essential. In this article, we will provide you with a step-by-step guide on how to remove electric stove burners without any hassle.
Before you begin, it’s important to keep in mind that safety should always be a priority when working with electrical appliances. Ensure that you have read and understood the manufacturer’s instructions and take the necessary safety precautions. Let’s dive into the process of removing electric stove burners.
Key Takeaways:
- Safely removing electric stove burners involves crucial safety precautions, proper disconnection of power, and careful handling of burner elements. Follow these steps for a hassle-free and safe removal process.
- Thoroughly cleaning the burner area and reassembling the burners ensures optimal stove performance. Regular maintenance and cleaning routines are essential for safe and efficient cooking experiences.
Read more: How To Remove Stove Burners
Safety Precautions
Before proceeding with the removal of electric stove burners, it is crucial to take the following safety precautions to minimize the risk of accidents or injuries:
- Unplug the stove: Always disconnect the power supply by unplugging the stove from the electrical outlet. This will prevent the risk of electric shock while working on the burners.
- Allow the burners to cool: Give the burners sufficient time to cool down before attempting to remove them. Hot burners can cause burns or other injuries.
- Wear protective gloves: To protect your hands from sharp edges, burns, or chemical exposure, it is advisable to wear a pair of gloves when handling the burners.
- Use a stable surface: Work on a sturdy and level surface to ensure stability and avoid any accidents or damage to the stove or surrounding area.
- Read the manufacturer’s instructions: Familiarize yourself with the specific instructions provided by the manufacturer for your electric stove model. This will provide you with additional safety guidelines and precautions specific to your appliance.
By following these safety precautions, you can minimize the risks associated with removing electric stove burners and ensure a safe working environment.
Step 1: Turn Off the Power
Before you start removing electric stove burners, it is essential to turn off the power to the stove. This will prevent any accidental shocks or electrical issues during the process.
To ensure the power is completely turned off, follow these steps:
- Locate the power cord of your electric stove. It is usually found at the back of the stove.
- Unplug the power cord from the electrical outlet. This will disconnect the stove from the power supply.
- You can also turn off the power at the circuit breaker panel. Locate the circuit breaker for your kitchen or stove and switch it off. This will ensure that there is no electrical current flowing to the stove.
Once the power is turned off, you can safely proceed with removing the electric stove burners without any risk of electric shock or other electrical issues.
Note: It is always recommended to double-check that the power is turned off by testing the burners before proceeding with the removal process.
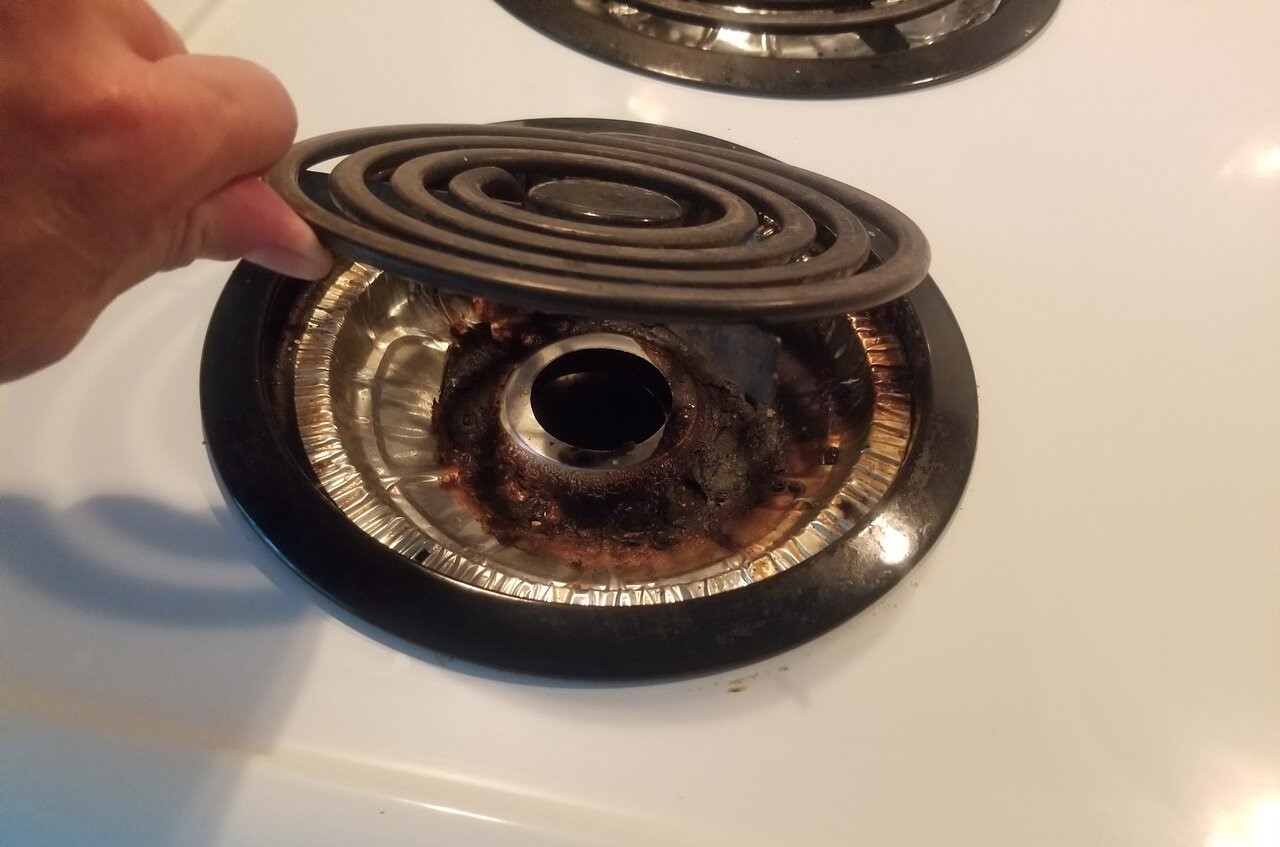
Step 2: Remove the Burner Drip Bowls
The next step in removing electric stove burners is to remove the burner drip bowls. These bowls are located beneath the burners and serve to collect any spills or drips during cooking. Here’s how you can remove them:
- Make sure the burners have cooled down completely before you begin.
- Identify the burner drip bowls. They are typically made of metal or porcelain and are positioned directly below each burner.
- Gently lift the burner drip bowl by gripping the edges with your hands or by using a pair of tongs if they are too hot to touch.
- Slide the bowl out from underneath the burner. Be careful as some bowls may be slightly stuck or dirty, so they may require a bit of force to remove.
- Repeat this process for each burner, removing all the drip bowls.
Once you have removed the burner drip bowls, set them aside for cleaning. It’s important to clean these bowls regularly to prevent the buildup of grease or food residue.
Removing the burner drip bowls not only allows for easier access to the burners themselves but also makes it simpler to clean the surrounding area. In the next step, we will disconnect the burner elements.
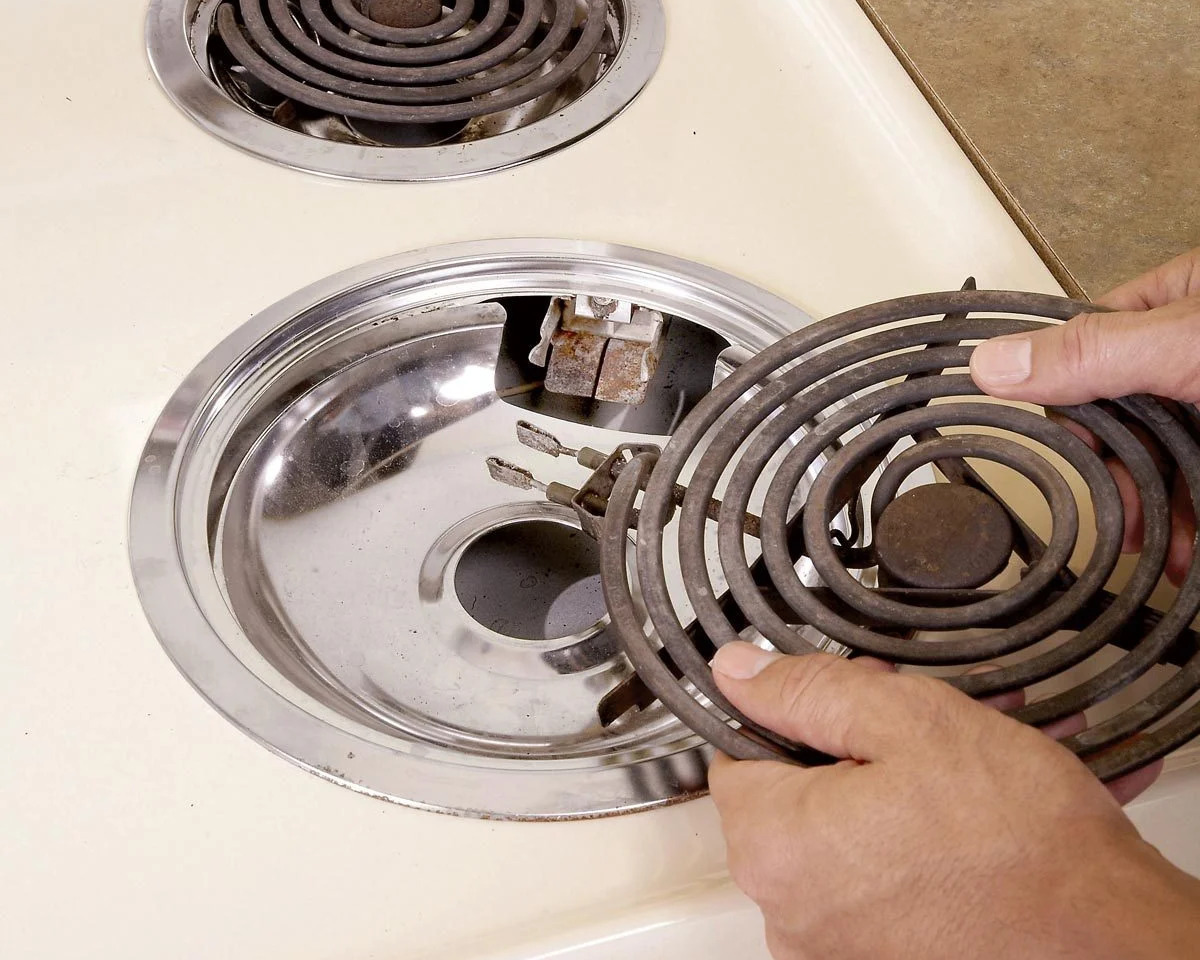
Make sure the burners are completely cool before attempting to remove them. Gently lift and pull the burner away from the socket, being careful not to force it. If it’s stuck, check for any debris or corrosion that may be hindering its removal.
Step 3: Disconnect the Burner Elements
Once you have removed the burner drip bowls, the next step is to disconnect the burner elements. These are the heating elements that generate the heat for cooking on the stovetop. Follow these steps to disconnect the burner elements:
- Ensure that the power to the stove is turned off, as mentioned in Step 1.
- Locate the electrical connections for each burner element. They are usually located beneath the stovetop.
- Gently pull the burner elements away from their connections. Be careful as the elements may be hot or still warm from previous use.
- If the burner elements are held in place with screws, use a screwdriver to loosen and remove the screws. Once the screws are removed, the elements should easily slide out.
- Repeat this process for all the burner elements, disconnecting them one by one.
By disconnecting the burner elements, you are ensuring that there is no electrical connection to the burners, allowing for safe removal and cleaning. Remember to handle the elements with care to avoid any burns or injuries.
With the burner elements disconnected, you can now proceed to the next step, which involves lifting and removing the burner elements from the stovetop.
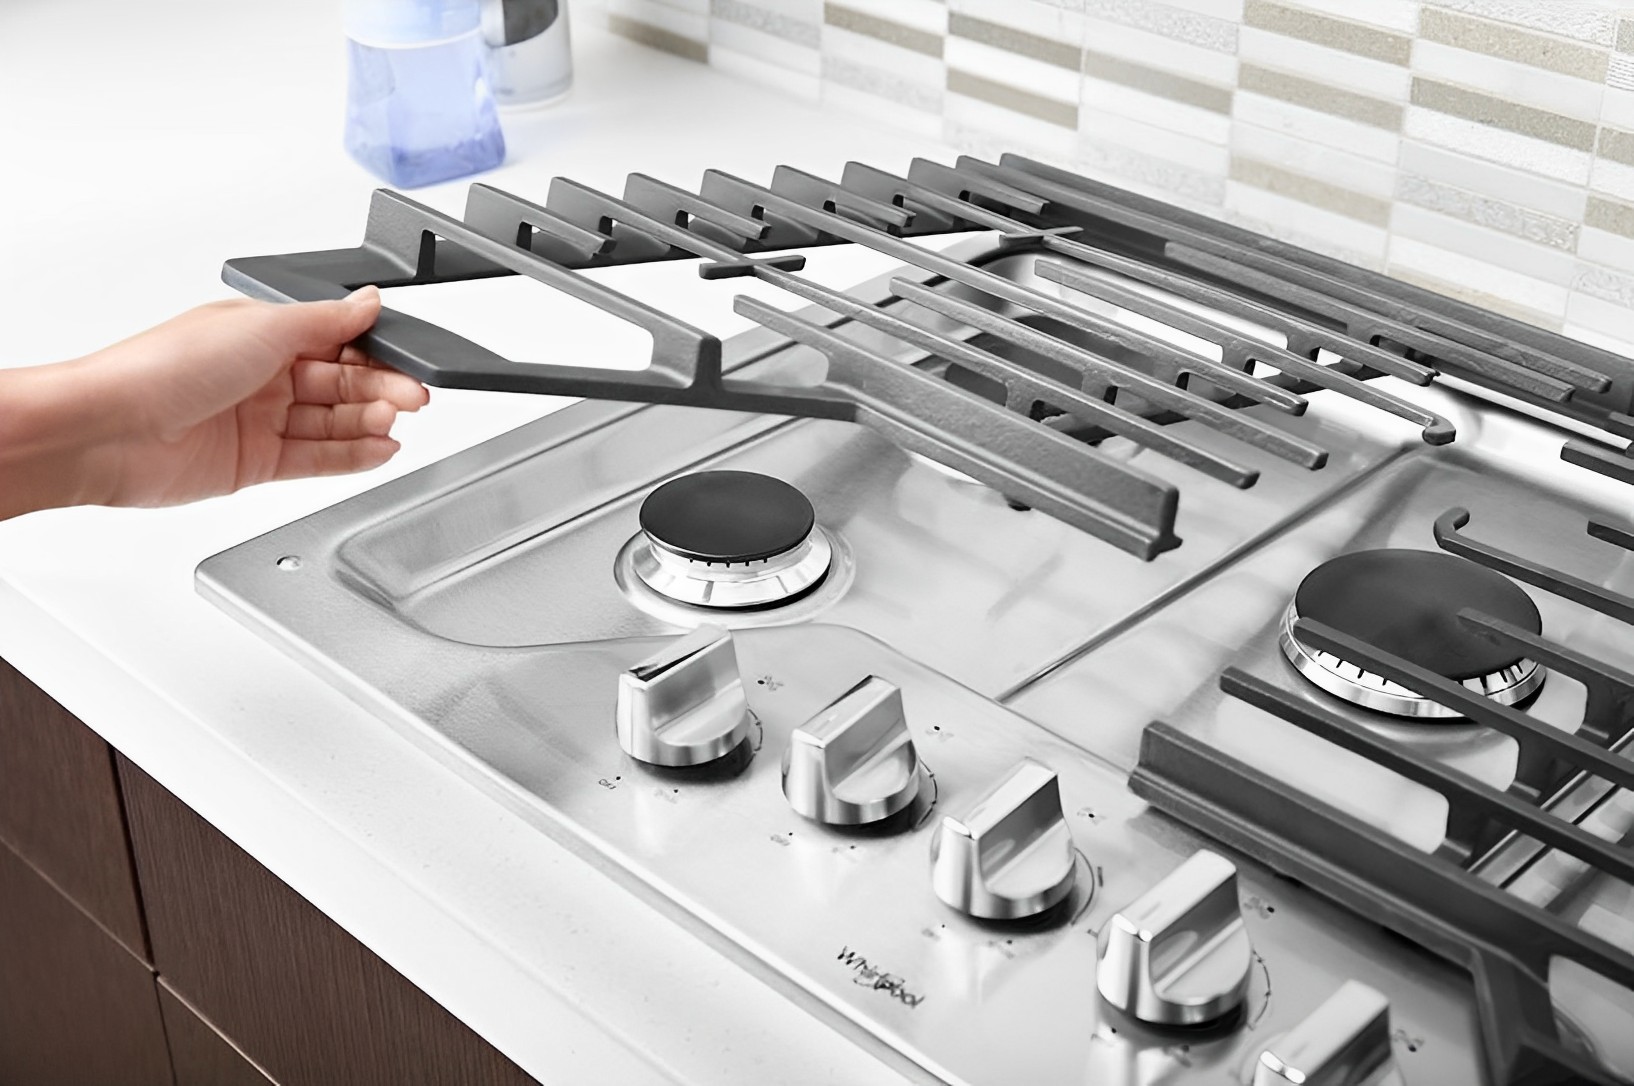
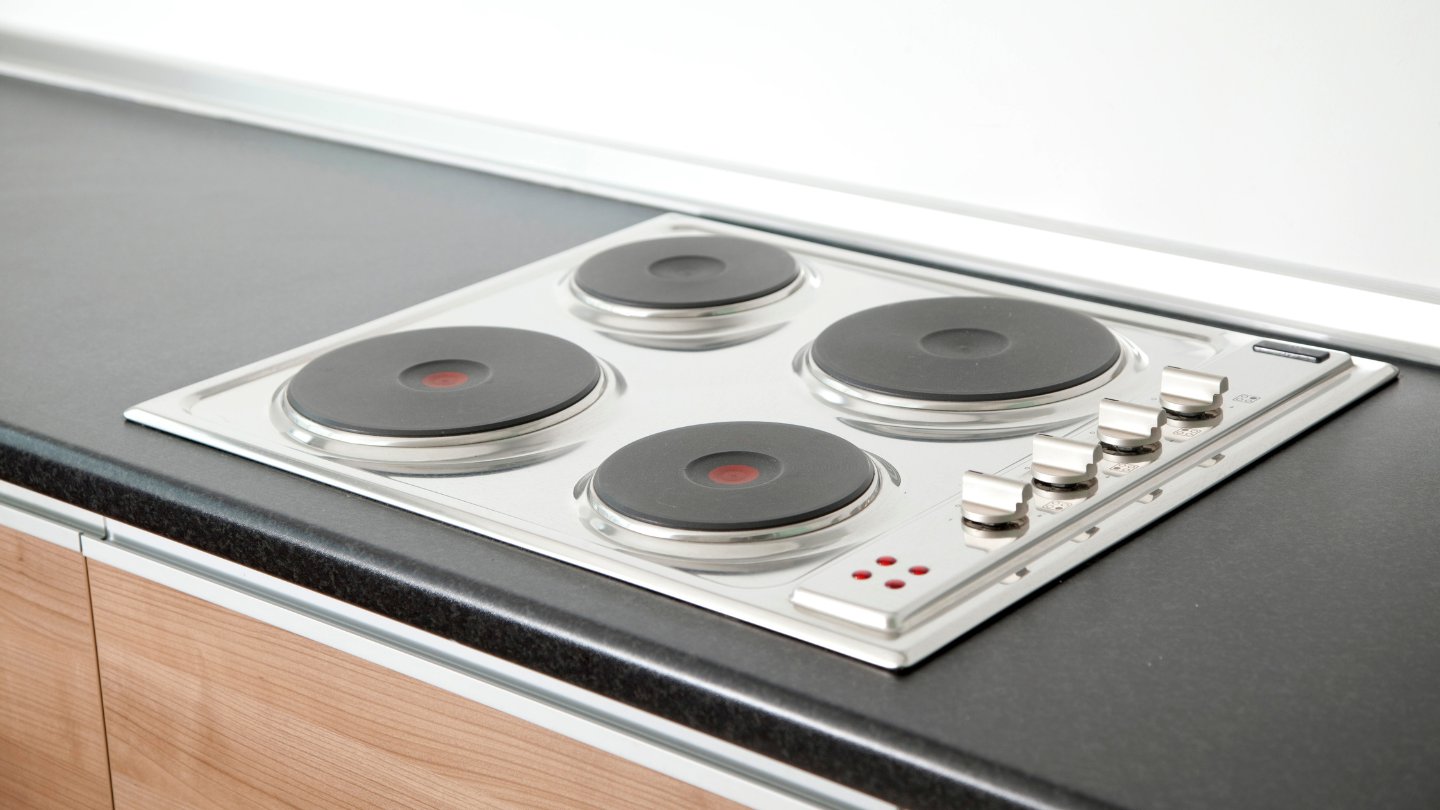
Step 4: Lift and Remove the Burner Elements
Now that you have disconnected the burner elements, it’s time to lift and remove them from the stovetop. The burner elements are the components responsible for heat distribution during cooking. Follow these steps to safely lift and remove the burner elements:
- Make sure the burner elements have cooled down completely before proceeding.
- Locate the edges of the burner elements. They are typically circular or rectangular in shape and positioned on top of the stove.
- Using both hands, gently lift the burner element from its designated area. Be cautious as some burner elements may have clips or brackets that need to be disengaged before they can be lifted.
- If necessary, release any clips or brackets by pushing or squeezing them to free the burner element from its position.
- Continue lifting the burner element until it is completely detached from the stovetop.
- Repeat this process for all the burner elements, lifting and removing each one individually.
By lifting and removing the burner elements, you will have better access to the stovetop surface for cleaning or maintenance purposes. Remember to handle the burner elements with care as they may still be hot, especially if they were recently in use.
With the burner elements removed, you can proceed to the next step, which involves cleaning the burner area thoroughly.
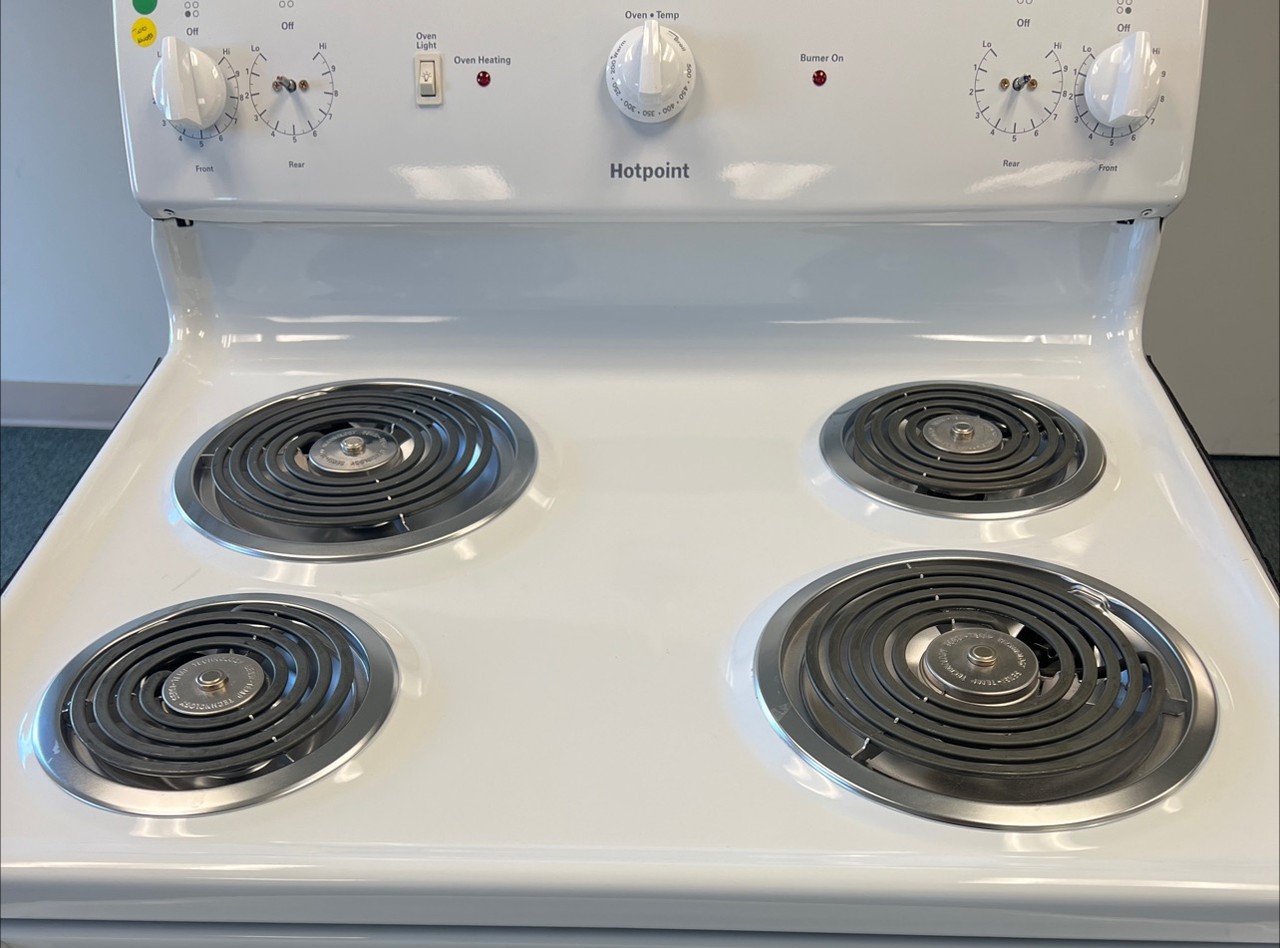
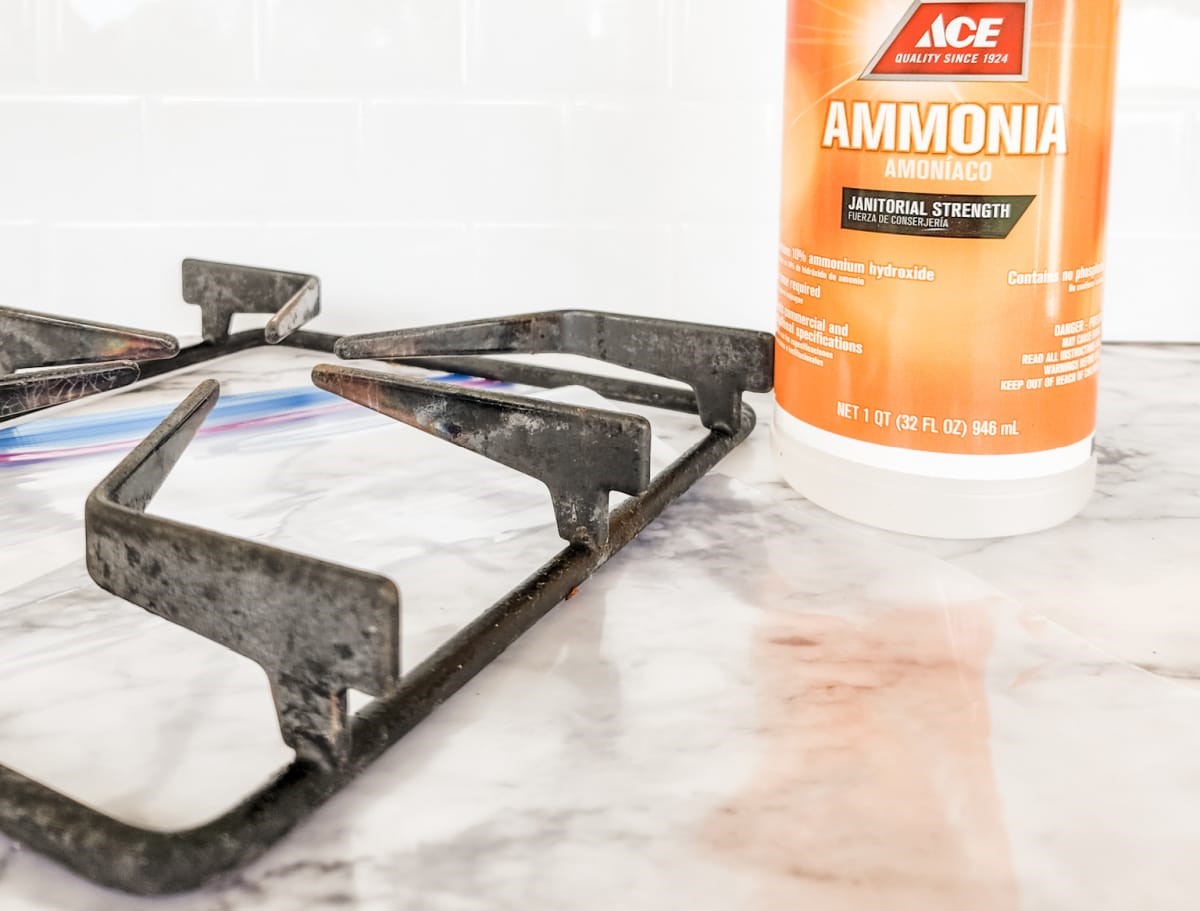
Step 5: Clean the Burner Area
Now that you have removed the electric stove burners, it’s time to clean the burner area. Over time, grease, spills, and food residue can accumulate in this area, affecting the efficiency of your stove and potentially causing unpleasant odors. Follow these steps to effectively clean the burner area:
- Prepare a cleaning solution by mixing warm water with a mild dish soap or a suitable stove cleaner. Avoid using harsh chemicals that may damage the stove surface.
- Grab a clean sponge or rag and dip it into the cleaning solution. Make sure it is damp but not soaking wet.
- Gently scrub the burner area, focusing on areas with visible dirt or stains. Pay close attention to the areas around the burner ports and the surrounding surface.
- If there are stubborn stains or stuck-on residue, you may need to use a soft brush or a non-abrasive scrub pad to remove them. Be gentle to avoid scratching the stove surface.
- Rinse the sponge or rag thoroughly to remove any remaining cleaning solution and continue wiping the burner area until it is clean.
- Once the burner area is clean, dry it thoroughly with a clean towel or allow it to air dry before reassembling the burners.
It is also a good idea to clean the burner drip bowls that you removed earlier. You can wash them with warm soapy water or place them in the dishwasher if they are dishwasher safe.
By properly cleaning the burner area, you not only maintain the cleanliness and appearance of your stove but also ensure optimal performance during cooking. With the burner area clean, you can now proceed to the final step of reassembling the burners and testing the stove.
Step 6: Reassemble and Test
After cleaning the burner area, it’s time to reassemble the electric stove burners and test the stove to ensure everything is working properly. Follow these steps for the final stage:
- Take each burner element that you removed earlier and position it back onto the stove’s surface. Make sure they are aligned correctly and fit snugly into their designated areas.
- If the burner elements have clips or brackets, reattach them to secure the elements in place. Ensure that they are properly engaged to prevent any movement or wobbling during use.
- Next, connect the burner elements to their corresponding electrical connections. Carefully align the prongs or pins on the elements with the receptacles or terminals beneath the stovetop, and gently push them in until they are firmly in place.
- Once all the burner elements are reassembled and connected, it’s time to test the stove. Plug the power cord back into the electrical outlet or switch on the circuit breaker for the stove to restore power.
- Turn on the burner knobs or switches to activate the corresponding burners. Allow them a few moments to heat up and ensure they are functioning correctly.
- Observe each burner to confirm that they are heating evenly and without any issues such as sparking, unusual smells, or abnormal flame patterns. If you notice any problems, turn off the power immediately and consult a professional for assistance.
Congratulations! You have successfully reassembled the burners and tested the stove. Your electric stove is now ready for use.
Remember to follow proper maintenance and cleaning routines regularly to keep your stove in optimal condition and ensure safe and efficient cooking experiences.
Frequently Asked Questions about How To Remove Electric Stove Burners
Was this page helpful?
At Storables.com, we guarantee accurate and reliable information. Our content, validated by Expert Board Contributors, is crafted following stringent Editorial Policies. We're committed to providing you with well-researched, expert-backed insights for all your informational needs.


0 thoughts on “How To Remove Electric Stove Burners”