
Articles
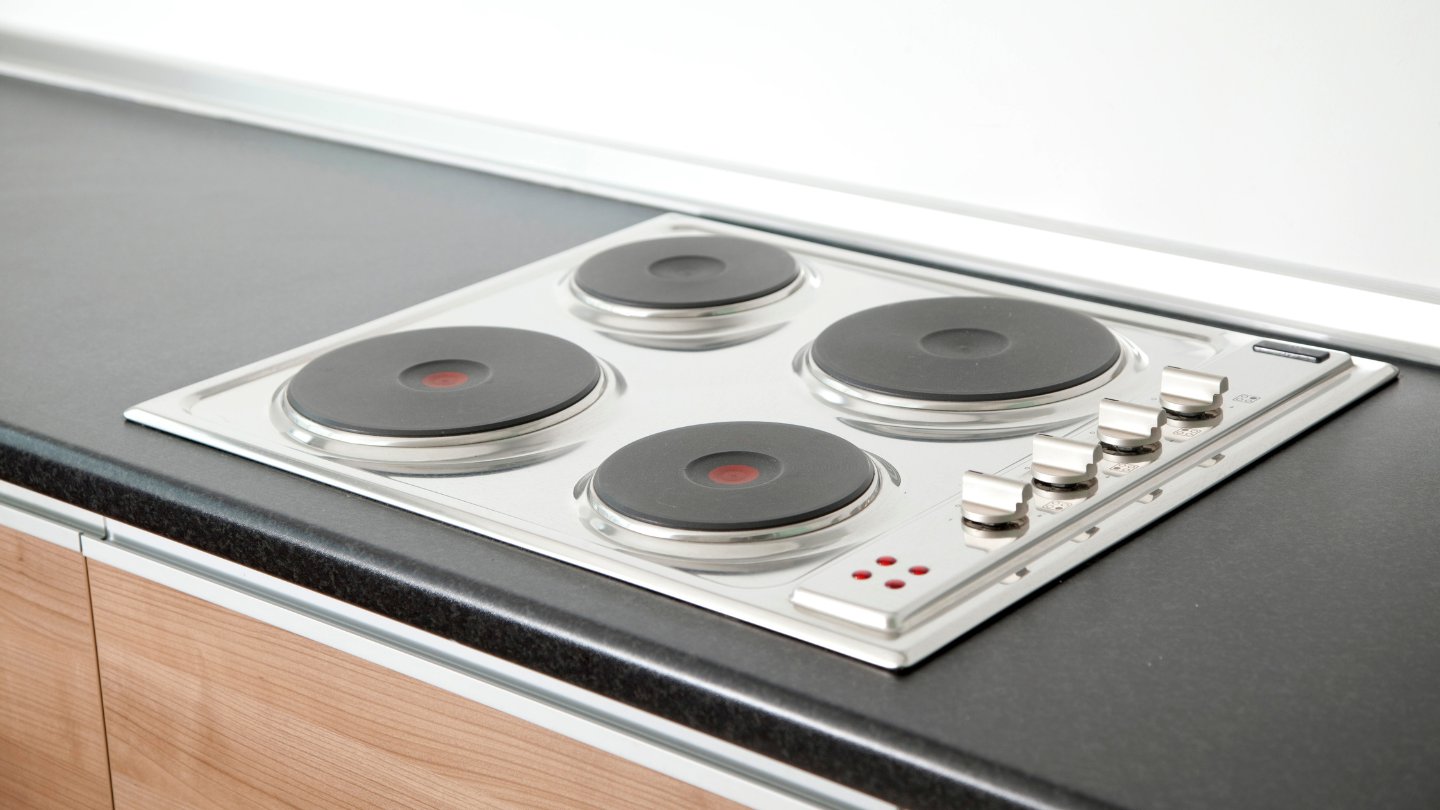
How To Test Electric Stove Burners
Modified: March 25, 2024
Looking for articles on how to test electric stove burners? Discover helpful tips and tricks to ensure your stove is functioning properly.
(Many of the links in this article redirect to a specific reviewed product. Your purchase of these products through affiliate links helps to generate commission for Storables.com, at no extra cost. Learn more)
Introduction
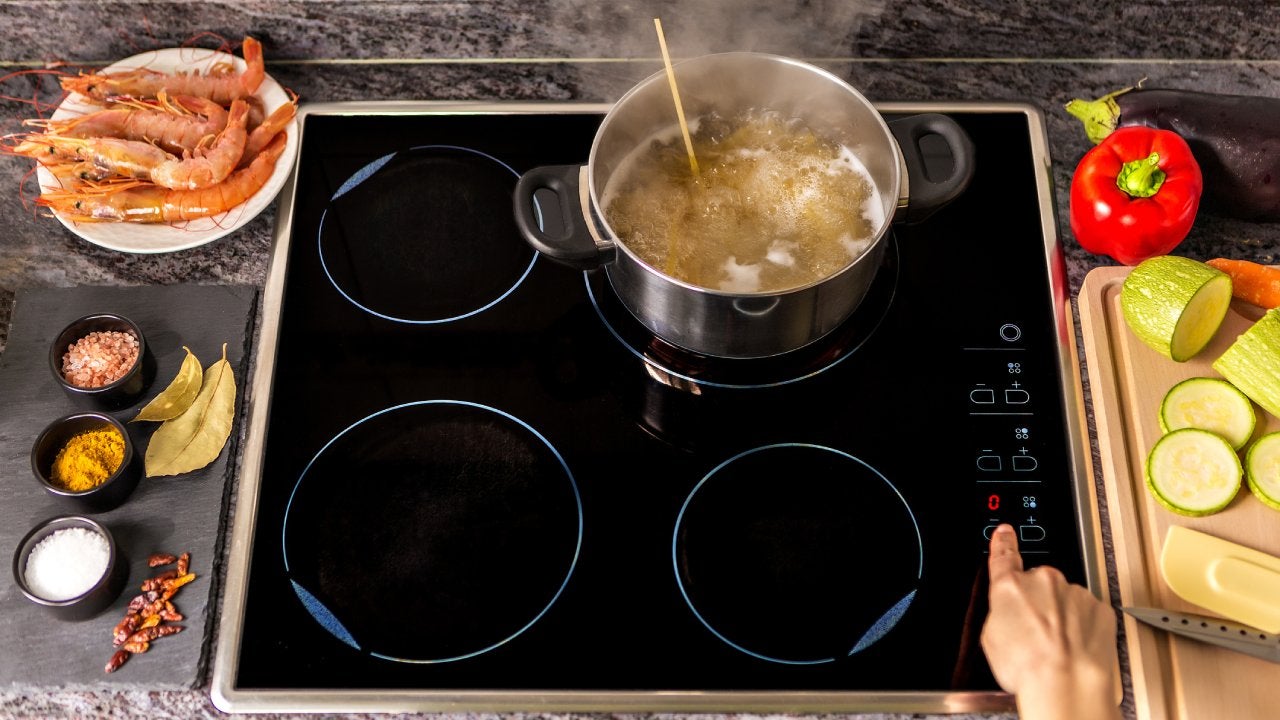
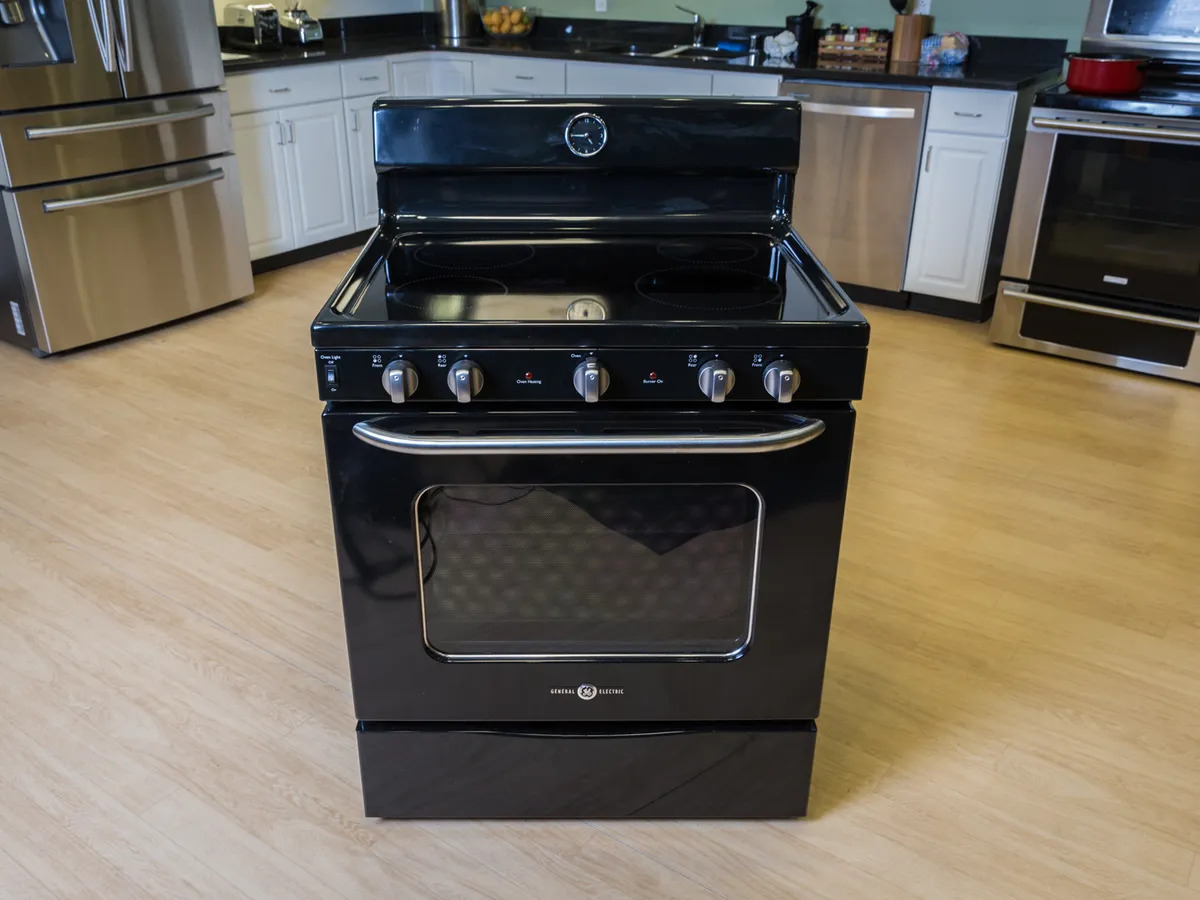
Electric stoves have become a common appliance in households, offering convenience and efficiency in the kitchen. While they are generally reliable, there may come a time when you need to test the burners to ensure they are working properly. Whether it’s a burner that won’t heat up or one that is not providing consistent temperature, troubleshooting the issue can help you identify the problem and find a solution.
In this article, we will guide you through the process of testing electric stove burners. We will cover safety precautions to keep in mind, as well as step-by-step instructions to help you check the power supply, test the burner element, and inspect the control knobs. Additionally, we will provide tips on verifying temperature control and offer troubleshooting and maintenance suggestions.
Before we dive into the testing process, it’s important to emphasize that working with electrical appliances can be dangerous. Always prioritize your safety and follow the manufacturer’s instructions and guidelines. If you are not comfortable or confident in trying to fix the problem yourself, it’s best to consult a professional technician.
Now, let’s get started with the necessary safety precautions to ensure a secure testing environment.
Key Takeaways:
- Prioritize safety by following precautions such as turning off power, wearing protective gear, and checking for damage before testing electric stove burners.
- Regular maintenance, including cleaning, checking wiring, and replacing faulty parts, is crucial for keeping electric stove burners in excellent working condition.
Read more: How To Fix Electric Stove Burners
Safety Precautions
Before you begin testing the electric stove burners, it is crucial to prioritize safety to prevent any accidents or injuries. Follow these safety precautions to create a secure testing environment:
- Turn off the power: Before starting any maintenance or testing procedures, disconnect the power supply to the electric stove. Locate the circuit breaker or unplug the stove from the wall outlet to ensure there is no electrical current flowing to the appliance.
- Wear protective gear: When working with electrical appliances, it’s important to protect yourself. Wear insulated gloves and safety goggles to guard against any potential electrical shocks or burns.
- Allow the stove to cool down: If the stove was recently in use, ensure that it has cooled down before you start testing the burners. Touching hot surfaces can result in severe burns.
- Keep the area clear: Make sure the area around the stove is clear of any flammable materials or objects that could obstruct your movement. This will minimize the risk of accidents or fires during testing.
- Avoid water contact: Never use water or any liquid to clean or test the electric stove burners while they are connected to power. Water conducts electricity and can lead to electric shocks or short circuits.
By adhering to these safety precautions, you can significantly reduce the risk of accidents and ensure a safe testing process. Now that you’re aware of the safety measures, let’s move on to the first step of testing: checking the power supply.
Checking Power Supply
Before proceeding with testing the burners, it’s essential to ensure that the power supply to the electric stove is functioning correctly. Follow these steps to check the power supply:
- Check the circuit breaker or fuse: Start by inspecting the circuit breaker or fuse dedicated to the stove. Look for any tripped breakers or blown fuses. If you find any issues, reset the breaker or replace the fuse with a new one of the same rating.
- Ensure the stove is properly plugged in: If the stove is plugged into an outlet, verify that the plug is securely inserted. Sometimes, the plug may appear connected but could be loose. If it’s loose, firmly push it into the outlet.
- Test the outlet: If the stove is properly plugged in, check if the outlet is functional. Connect another device, such as a lamp or phone charger, to the same outlet and see if it works. If the tested device doesn’t work, there may be an issue with the outlet or the wiring connected to it. Contact a licensed electrician to resolve the electrical problem.
- Inspect the power cord: Examine the power cord for any signs of damage, such as frayed wires or exposed insulation. If you notice any damage, the power cord may need to be replaced. Contact a professional technician or electrician for assistance in replacing the power cord.
- Check the main electrical panel: If all else fails and you are still experiencing power issues with the stove, verify if the main electrical panel in your home has tripped breakers or blown fuses. Reset the breakers or replace the fuses as necessary.
By following these steps to check the power supply, you can ensure that the electric stove is receiving the necessary electrical current. If you’ve determined that the power supply is not the issue, proceed to the next step: testing the burner element.
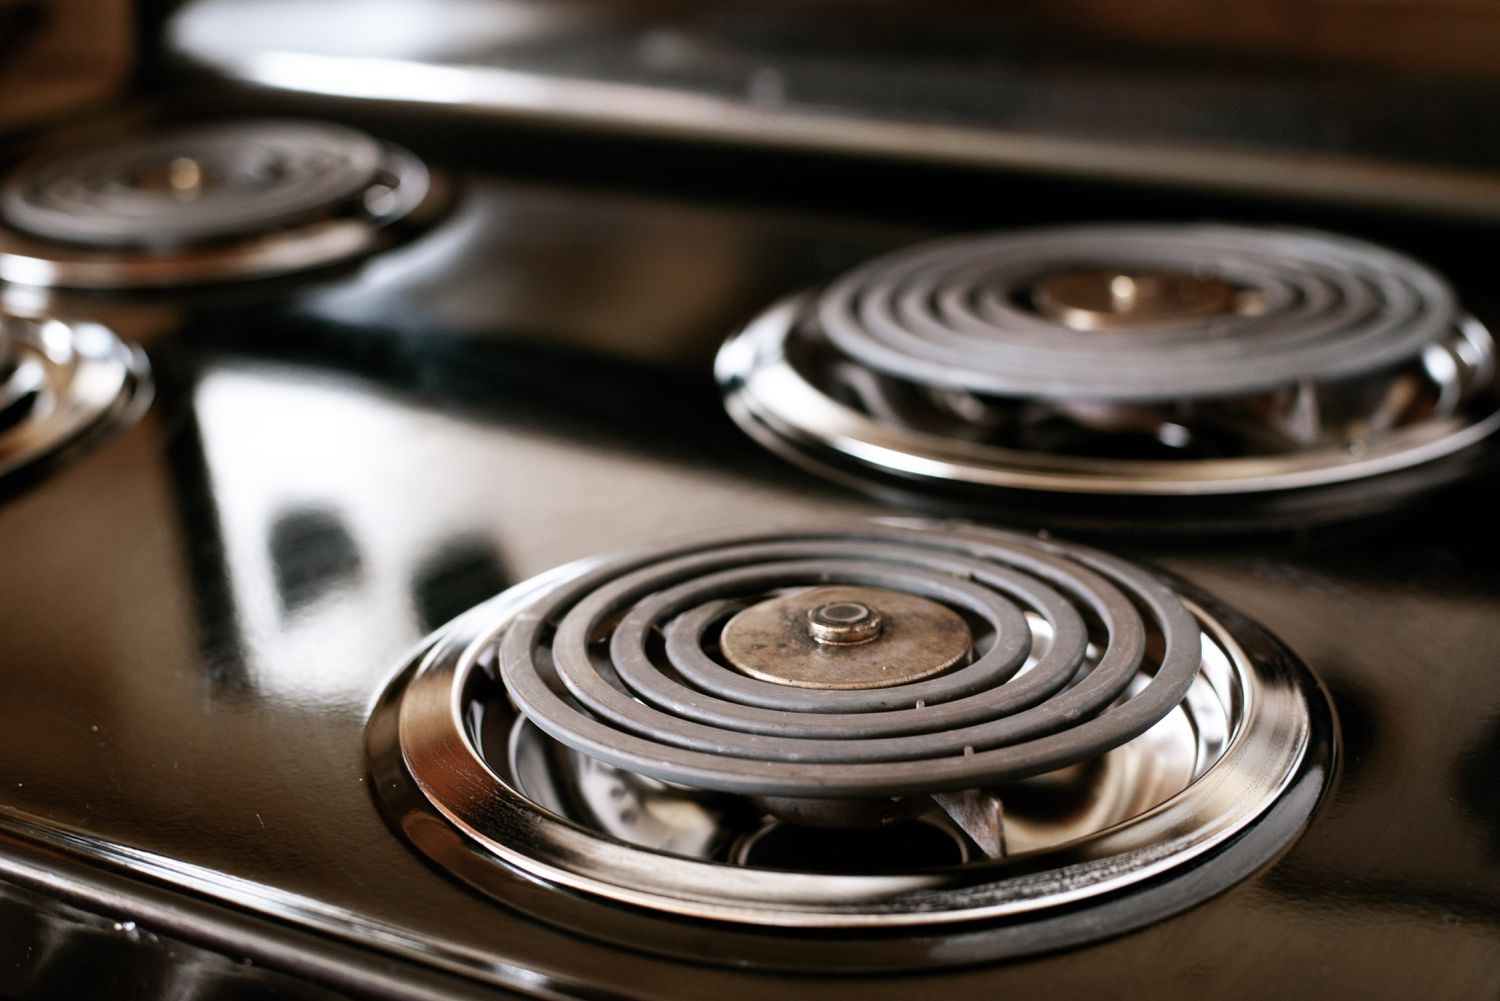
Testing Burner Element
If your electric stove burner is not heating up or providing consistent temperature, it’s time to test the burner element. Follow these steps to determine if the element is functioning properly:
- Ensure the power is off: Before testing the burner element, make sure the power to the stove is turned off. This will prevent any accidental electrical shocks.
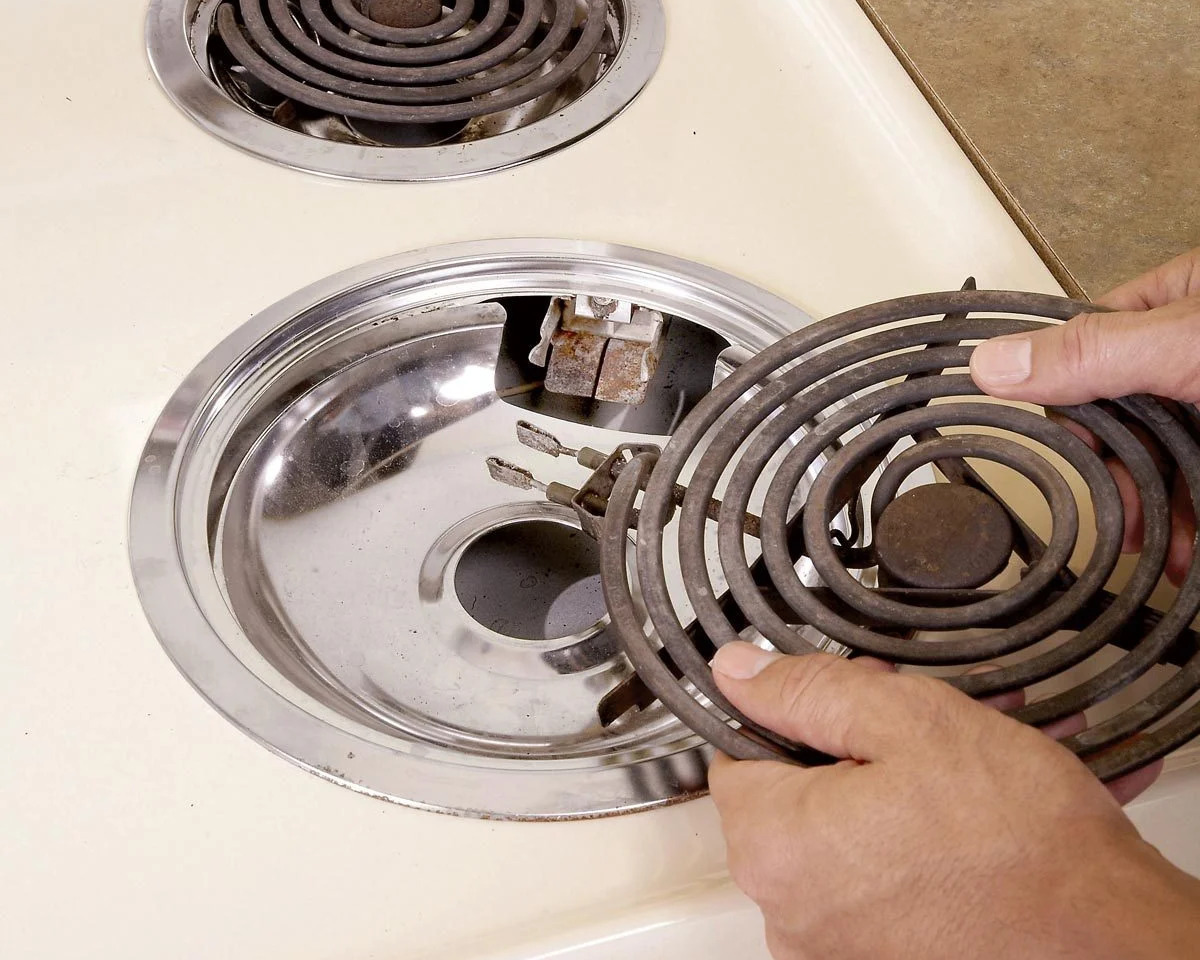
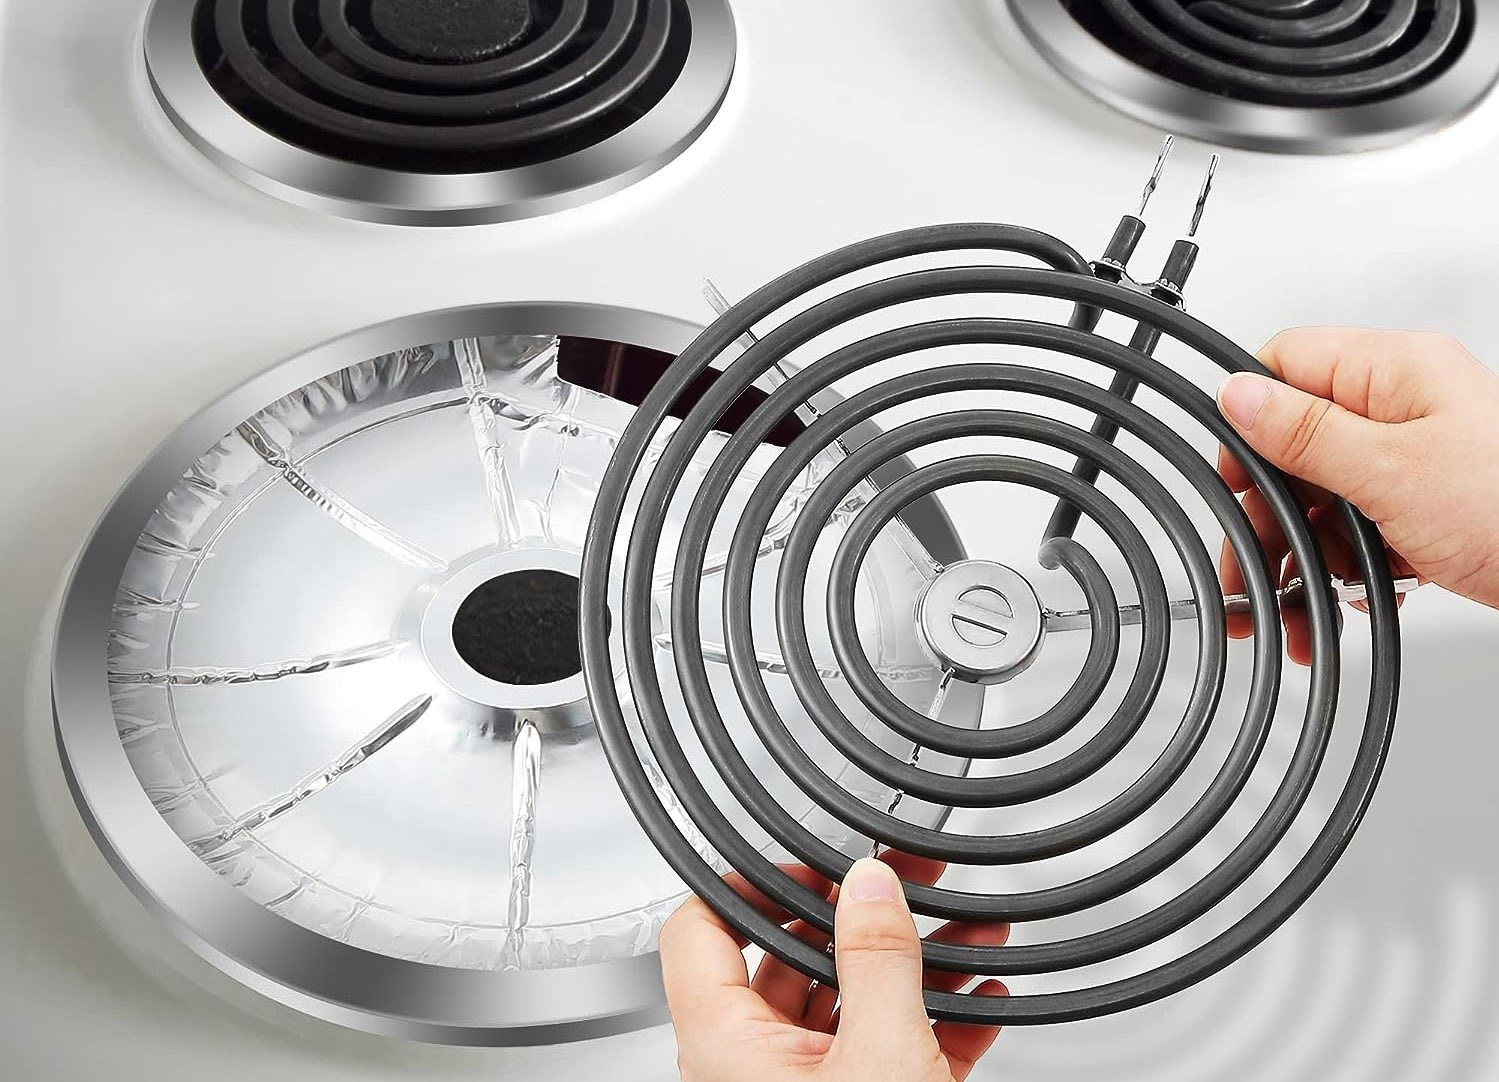
- Visual inspection: Start by visually inspecting the burner element for any signs of damage. Look for any visible cracks, discoloration, or loose connections. If you notice any damage, the element may need to be replaced.
- Check for continuity: Using a multimeter, set it to the resistance or continuity mode. Place one probe on one end of the burner element and the other probe on the opposite end. If the multimeter indicates a reading of zero resistance or beeps, it means the element has continuity and is functioning properly. If there is no reading or beeping, it suggests that the element has a break and needs to be replaced.
- Inspect the terminal block and connections: Examine the terminal block and connections where the burner element is attached. Ensure they are securely fastened and free from any corrosion or loose wires. If there are any issues with the terminal block or connections, it may affect the performance of the burner element.
- Swap burner elements: If you have multiple burners of the same size and type, you can try swapping the elements to determine if the issue lies with the element or another component of the stove. If the burner works properly when swapped with another element, it indicates that the original element is faulty.
By following these steps, you can effectively test the burner element of your electric stove. If the burner element is functioning correctly and you are still facing issues, move on to the next step: inspecting the control knobs.
When testing electric stove burners, use a multimeter to check for continuity. Place the multimeter probes on the burner terminals and if there is no continuity, the burner needs to be replaced.
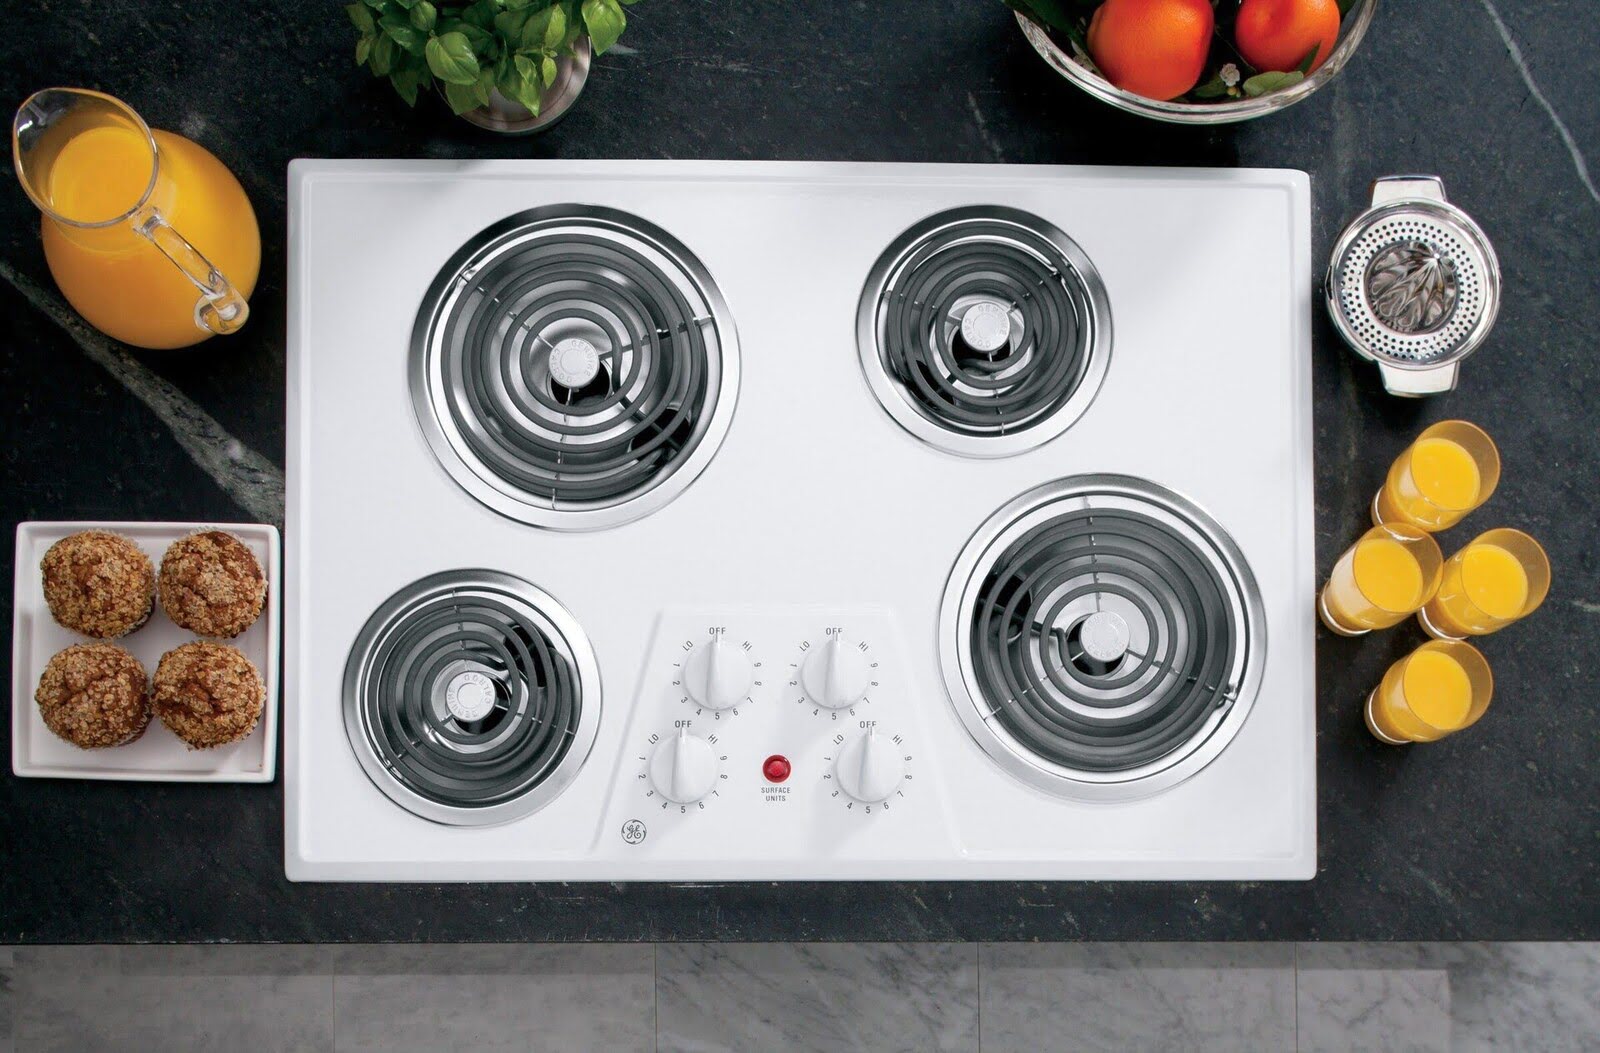
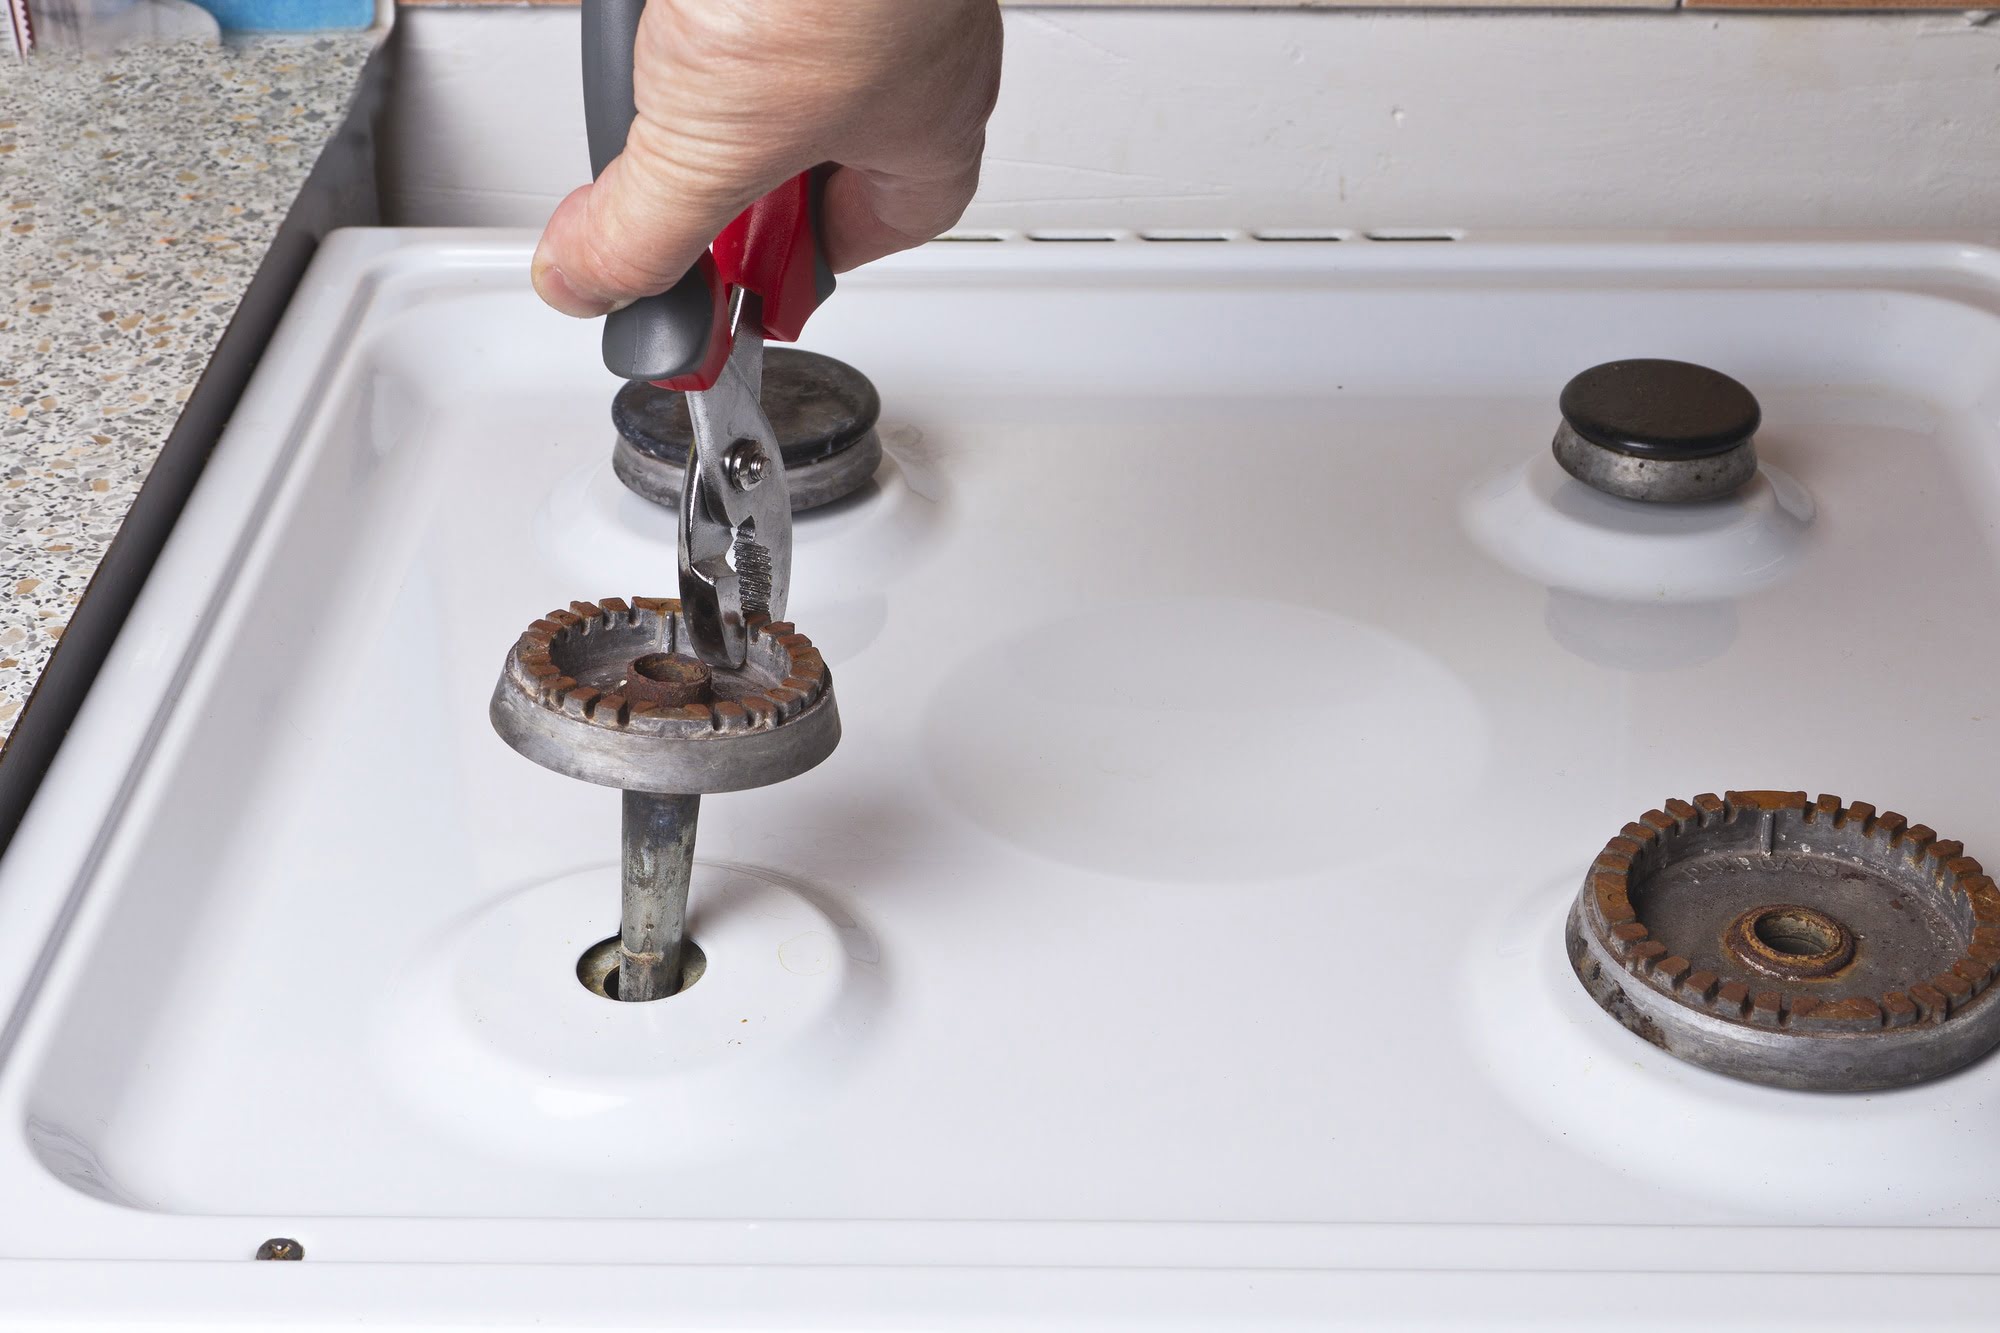
Inspecting Control Knobs
If you’re experiencing problems with the temperature control or functionality of your electric stove burners, it’s important to inspect the control knobs. Follow these steps to ensure that the control knobs are in good condition:
- Power off the stove: Before starting the inspection, ensure that the power to the stove is turned off to prevent any accidents.
- Remove the control knobs: Gently pull the control knobs off the stove. Most knobs are designed to easily come off by hand, but if they are stuck, you can use a pair of pliers covered with a cloth for a better grip.
- Check for damage: Inspect the control knobs for any signs of damage, such as cracks or chips. Damaged knobs may not provide accurate temperature control or may not function properly. If you notice any damage, the control knob needs to be replaced.
- Clean the knobs: Over time, control knobs can accumulate grease, dirt, or food residue, which might hinder their proper functioning. Clean the knobs using a mild dish soap and a damp cloth. Make sure to dry them thoroughly before reattaching.
- Inspect the control shaft: While the knobs are removed, take a look at the control shaft beneath. Ensure that it is clean and free from any obstructions. Any debris or buildup on the control shaft can affect the smooth operation of the knobs.
- Reattach the control knobs: Once the knobs and shaft are clean and in good condition, gently reattach the control knobs to the stove. Make sure they are securely fitted in their respective positions.
By following these steps, you can inspect the control knobs of your electric stove and identify any issues that might be affecting the temperature control or functionality. If the control knobs are in good condition and the problem persists, move on to the next step: verifying temperature control.
Read more: How To Measure Electric Stove Burners
Verifying Temperature Control
When using an electric stove, it’s essential to have accurate temperature control to ensure your meals are cooked properly. If you’re experiencing fluctuations in temperature or inconsistent heating, follow these steps to verify the temperature control:
- Power off the stove: Before conducting any tests, make sure the power to the stove is turned off for safety.
- Use an oven thermometer: Place an oven thermometer on the center rack of the oven. Set the oven to a specific temperature, such as 350°F (175°C), and allow it to preheat for about 15 minutes.
- Monitor the temperature: While the oven is preheating, keep an eye on the oven thermometer. Note any variations in the temperature displayed on the thermometer compared to the set temperature on the oven control panel.
- Repeat the test: Repeat the temperature test with different temperature settings, such as 300°F (150°C) and 400°F (200°C). Compare the displayed temperature on the oven thermometer with the set temperature to determine if there is a consistent variance.
- Adjust the calibration, if possible: Some electric stoves have a calibration feature that allows you to adjust the temperature settings. Refer to the manufacturer’s instructions on how to calibrate your specific stove model. Calibrating the oven can help compensate for any temperature discrepancies.
- Consult a professional technician: If you consistently observe significant temperature variations, despite calibration attempts, it may indicate a problem with the internal temperature sensor or thermostat. In such cases, it is recommended to consult a professional technician for further diagnosis and repair.
By following these steps, you can verify the temperature control of your electric stove and identify any inconsistencies. Maintaining accurate temperature control is crucial for achieving consistent cooking results. If you’ve completed this step and are still facing issues with your electric stove, continue to the next section for troubleshooting and maintenance tips.
Troubleshooting and Maintenance Tips
Even with regular maintenance, electric stoves may encounter occasional issues. Here are some troubleshooting and maintenance tips to help you resolve common problems and keep your electric stove running smoothly:
- Clean regularly: Regularly clean the surface of the stove, including the burners, control knobs, and control panel. Use a mild cleaner and a soft cloth or sponge to remove grease, food residue, and stains. Avoid using abrasive cleaners that may scratch the surface.
- Check the wiring: Inspect the wiring connections behind the stove. Ensure they are securely attached and free from any damage. Loose or damaged wiring can cause inconsistent heating or other functioning issues. If you notice any problems, consult a professional technician for proper repairs.
- Replace faulty parts: If you identify a specific component, such as a burner element or control knob, that is not functioning properly, replace it with a compatible part. Consult the stove’s manual or contact the manufacturer for guidance on replacement parts.
- Perform regular maintenance: Follow the manufacturer’s recommended maintenance schedule, such as cleaning or replacing air filters, to keep the stove operating efficiently. Regular maintenance can prevent potential issues and extend the lifespan of the appliance.
- Avoid spills and excessive moisture: Be cautious when cooking and prevent liquids from spilling onto the stove’s control panel or other components. Excessive moisture can damage the electrical circuits and cause malfunctions.
- Ensure proper ventilation: Electric stoves require proper ventilation to prevent overheating and ensure efficient operation. Ensure that the ventilation system, such as exhaust fans or range hoods, is clean and functioning effectively.
- Keep the stove level: Check that the stove is level to avoid uneven heating. Use a leveling tool and adjust the stove’s feet if needed.
- Refer to the manual: If you encounter specific issues or have questions about your electric stove, refer to the manufacturer’s manual for troubleshooting guidance. The manual will provide valuable information on common problems and their solutions.
By following these troubleshooting and maintenance tips, you can address common issues and keep your electric stove in excellent working condition. Remember, if you’re uncertain about any repairs or encounter major problems, it’s always best to seek assistance from a professional technician.
Conclusion
Testing and maintaining your electric stove burners is essential to ensure they function optimally and provide you with reliable cooking performance. By following the steps outlined in this guide, you can troubleshoot common issues and keep your stove in excellent working condition.
Remember to prioritize safety throughout the testing process. Always turn off the power to the stove before conducting any inspections or tests. Wear appropriate protective gear, and if you’re unsure or uncomfortable with any aspect of the troubleshooting process, consult a professional technician.
Start by checking the power supply to ensure it is functioning correctly. Then proceed to test the burner element, inspect the control knobs, and verify the temperature control. These steps will help you identify any potential problems and determine the necessary course of action, be it replacing a faulty part or adjusting the temperature settings.
In addition to testing, regular maintenance is crucial for the longevity and efficient operation of your electric stove. Clean the stove regularly, check the wiring connections, and perform routine tasks as recommended by the manufacturer. These simple maintenance practices can prevent issues and keep your stove running smoothly for years to come.
Lastly, familiarize yourself with the stove’s manual for specific instructions and troubleshooting guidance. The manual can provide valuable insights tailored to your electric stove model.
By following the guidelines and implementing the troubleshooting and maintenance tips provided in this article, you can ensure that your electric stove burners are in optimal working condition. Enjoy the convenience and efficiency of your electric stove, knowing that it is performing at its best.
Frequently Asked Questions about How To Test Electric Stove Burners
Was this page helpful?
At Storables.com, we guarantee accurate and reliable information. Our content, validated by Expert Board Contributors, is crafted following stringent Editorial Policies. We're committed to providing you with well-researched, expert-backed insights for all your informational needs.


0 thoughts on “How To Test Electric Stove Burners”