Articles
How To Fluff Up A New Duvet
Modified: December 7, 2023
Learn the art of fluffing up a new duvet with these informative articles. Discover tips and techniques for achieving a cozy and luxurious bedding experience.
(Many of the links in this article redirect to a specific reviewed product. Your purchase of these products through affiliate links helps to generate commission for Storables.com, at no extra cost. Learn more)
Introduction
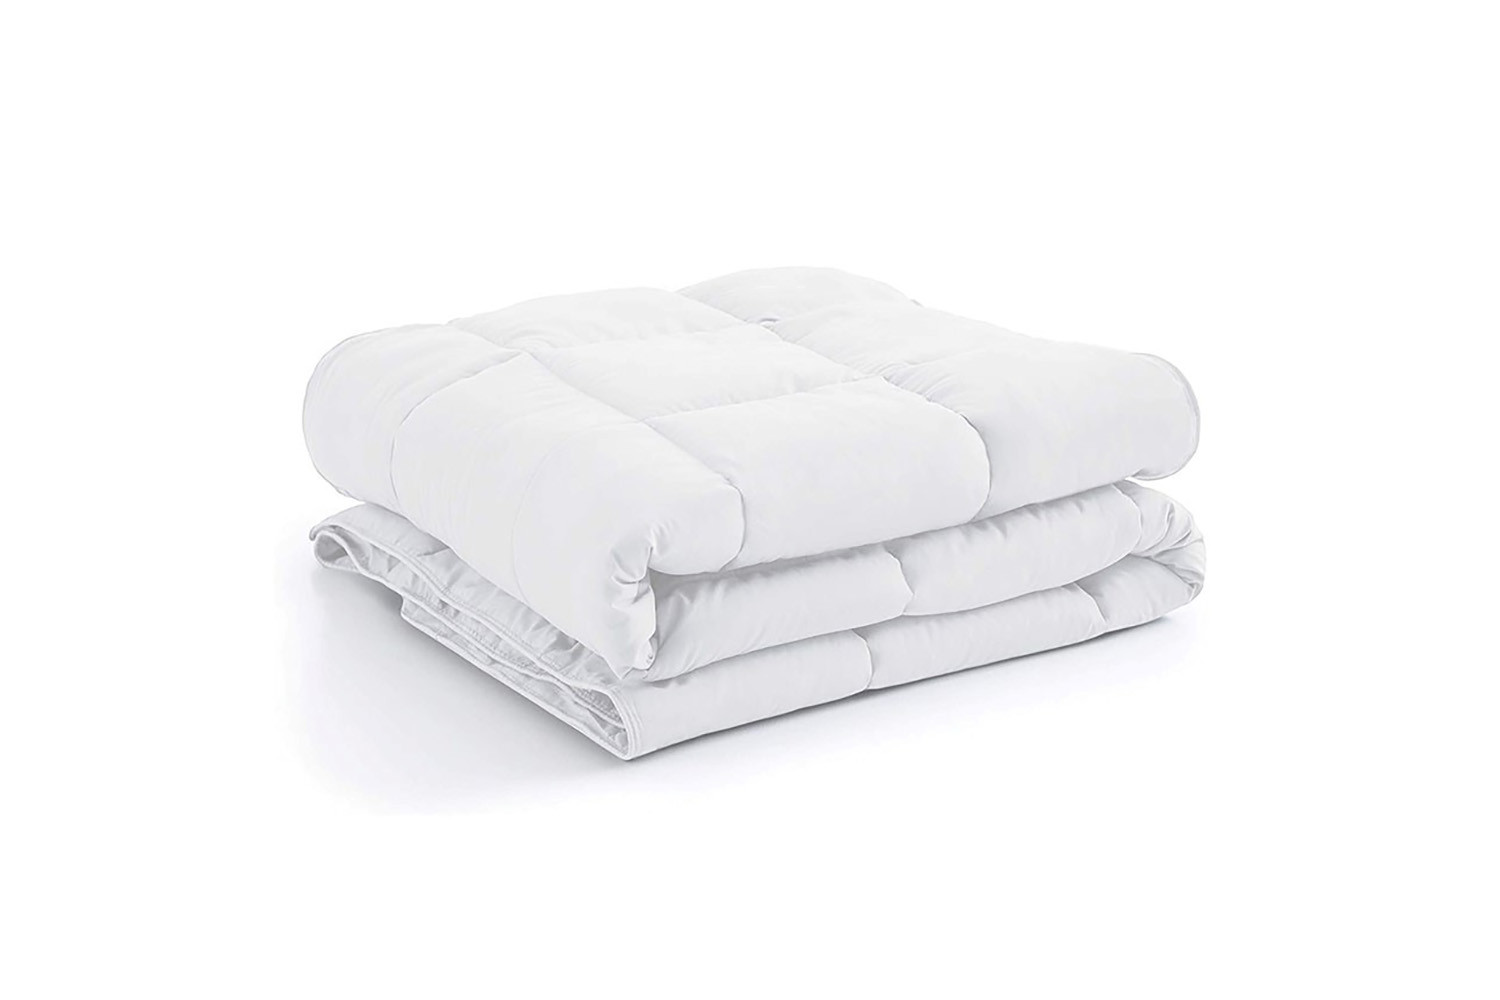
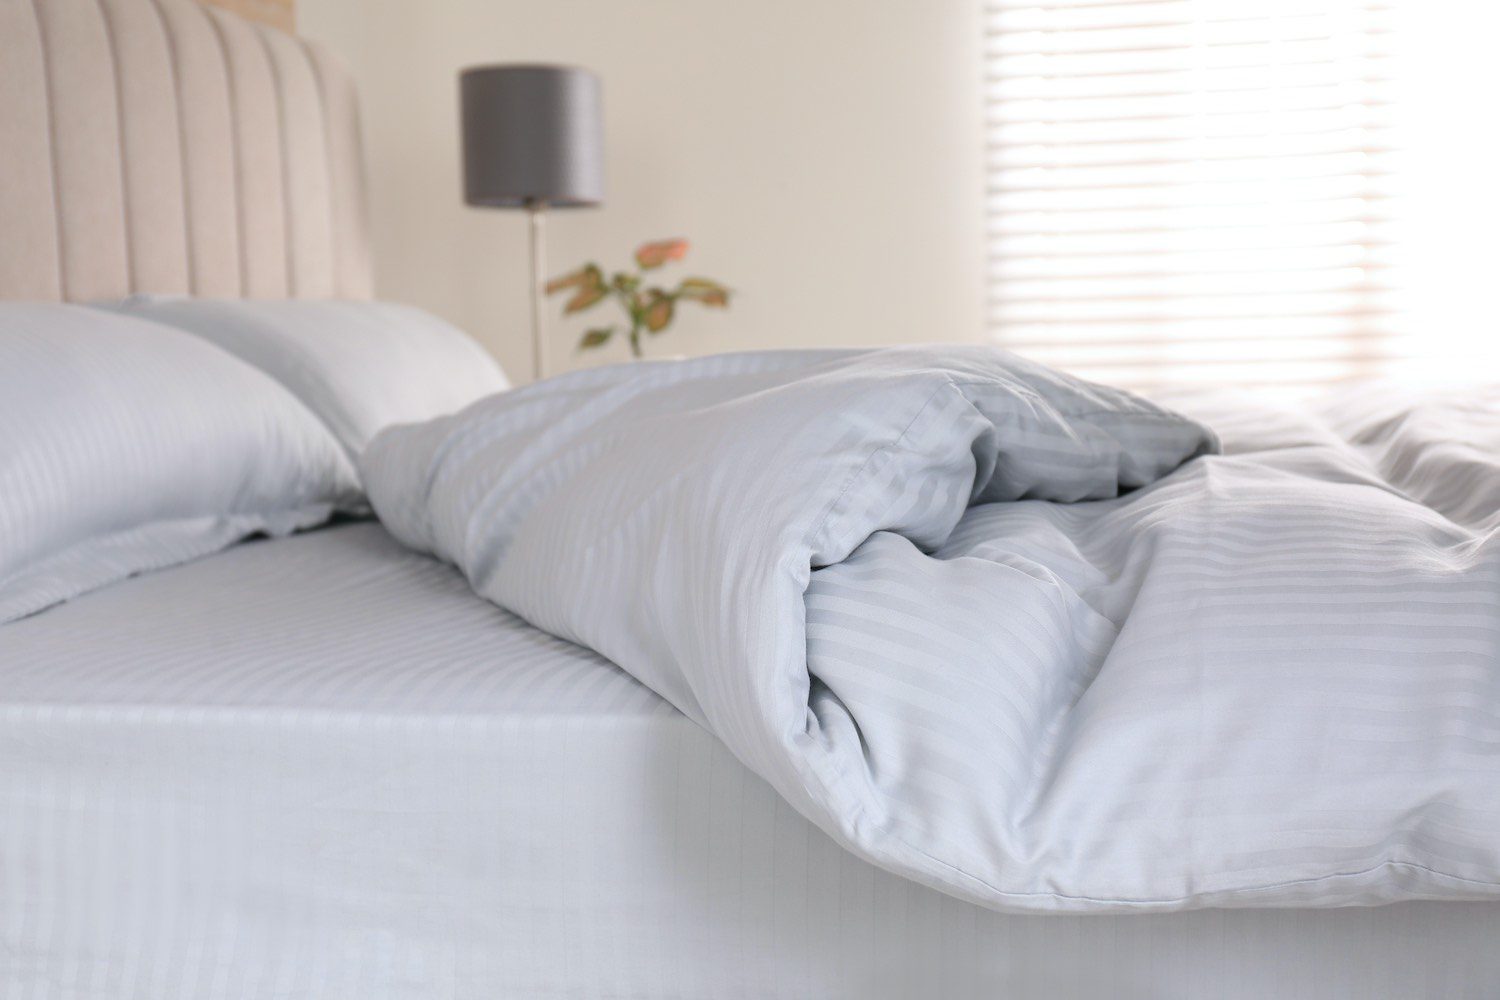
There’s something incredibly satisfying about snuggling up in a brand-new duvet. The softness, the warmth, the comforting feeling – it’s like being enveloped in a cloud. But sometimes, new duvets can be a bit flat and lifeless straight out of the packaging. That’s where the art of fluffing comes in.
In this article, we’ll guide you through the process of fluffing up a new duvet to make it fluffy, voluminous, and oh-so cozy. With a few simple techniques and a little bit of patience, you can transform your flat duvet into a fluffy paradise.
So, if you’re ready to experience the ultimate comfiness that a well-fluffed duvet provides, let’s dive right in!
Key Takeaways:
- Fluffing up a new duvet is a simple yet rewarding process that involves shaking, airing out, beating, and puffing to achieve ultimate fluffiness. Regular maintenance ensures long-lasting comfort and a cozy night’s sleep.
- Embrace the art of fluffing to transform a flat duvet into a fluffy paradise. From gentle shaking to using a hairdryer and hanging it outside, these steps bring your duvet back to life, providing luxurious comfort for years to come.
Read more: How To Fluff New Pillows
Step 1: Shake and Fluff
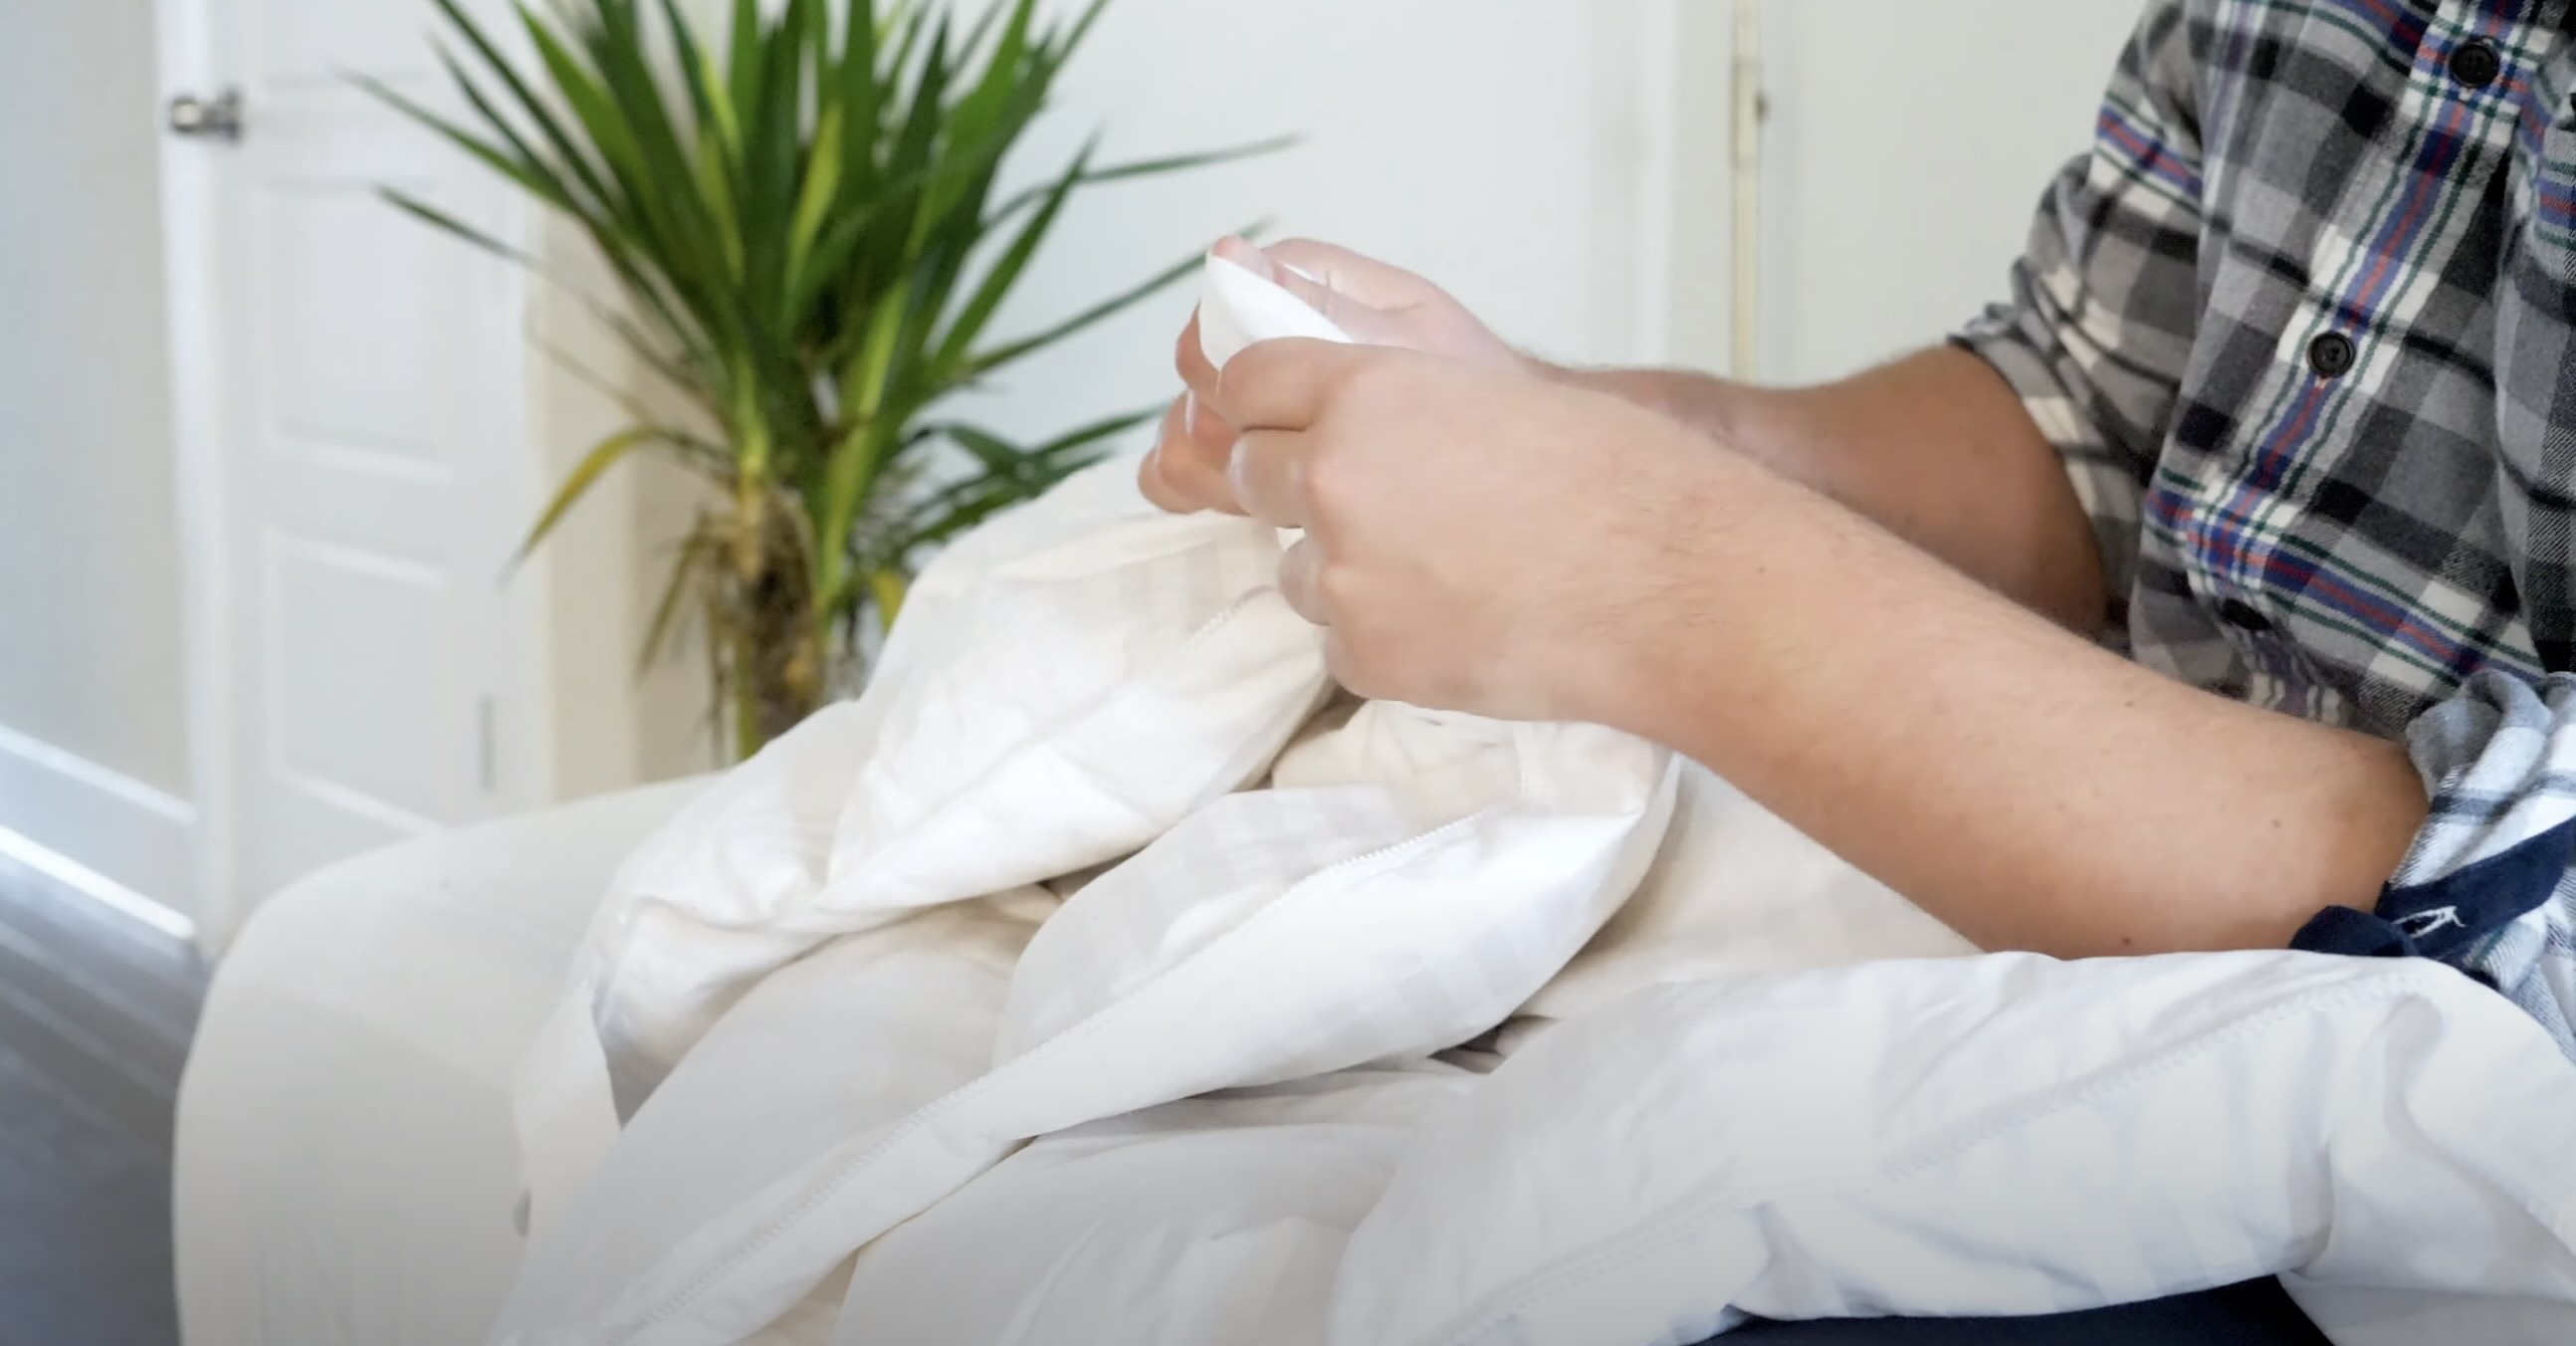
The first step in fluffing up a new duvet is to give it a good shake. Find a spacious area where you can spread out the duvet, such as your bed or a clean floor. Hold onto one corner of the duvet and give it a vigorous shake, allowing the filling inside to redistribute evenly.
After shaking, it’s time to fluff. Start at one end of the duvet and use your hands to gently fluff up the filling. Grab small sections and give them a gentle squeeze and pull to separate the fibers and create more volume. Work your way across the entire duvet, paying special attention to any areas that appear flattened or uneven.
Repeat the shaking and fluffing process a few times, alternating between shaking and fluffing. This helps to ensure that the filling is evenly distributed and creates a fluffy and plump duvet.
Remember, be gentle while fluffing to avoid damaging the duvet or disrupting the stitching. The goal is to create a lofty and comfortable duvet, not to tear it apart!
Step 2: Air It Out
After shaking and fluffing your new duvet, it’s beneficial to let it air out for a while. This step not only helps to remove any lingering odors from the packaging but also allows the duvet to fully expand.
Find a well-ventilated area, preferably outdoors, where you can hang the duvet. If you don’t have access to outdoor space, a large and airy room will suffice. Make sure to choose a place that is clean and dust-free.
Hang the duvet on a clothesline or over a sturdy rail, ensuring that it has enough space to fully spread out. Leave it to air out for a few hours or even overnight. This will allow the filling to fluff up further and regain its natural loft.
While the duvet is airing out, gently pat and fluff it occasionally to promote better airflow and even distribution of the filling. This will also help to accelerate the fluffing process.
By giving your new duvet time to air out, you’re allowing it to reach its maximum fluffiness potential. So, be patient and let nature do its magic!
Step 3: Beat and Puff
Now it’s time to bring out your inner fluffing champion! Step 3 involves beating and puffing up your duvet to give it that ultimate fluffy goodness.
First, lay your duvet flat on a clean surface. Take a clean, dry towel and fold it into a small square or rectangle. Starting from one end, gently pat the duvet using the folded towel. This rhythmic patting motion helps to fluff up the filling and separate any clumps that may have formed.
Continue to beat the duvet lightly with the towel, focusing on areas that may still feel flat or compressed. You can also use your hands to create a flicking motion on the duvet’s surface, gently whipping it to further fluff up the filling.
As you beat and puff, pay attention to the corners and edges of the duvet. These areas tend to flatten out faster, so give them extra attention to ensure that the duvet remains uniformly fluffy.
Remember to take breaks and step back occasionally to assess the fluffiness. If needed, repeat the beating and puffing process until you achieve your desired level of loftiness.
Beating and puffing may sound like hard work, but it’s worth it for that oh-so-comfortable, cloud-like duvet experience!
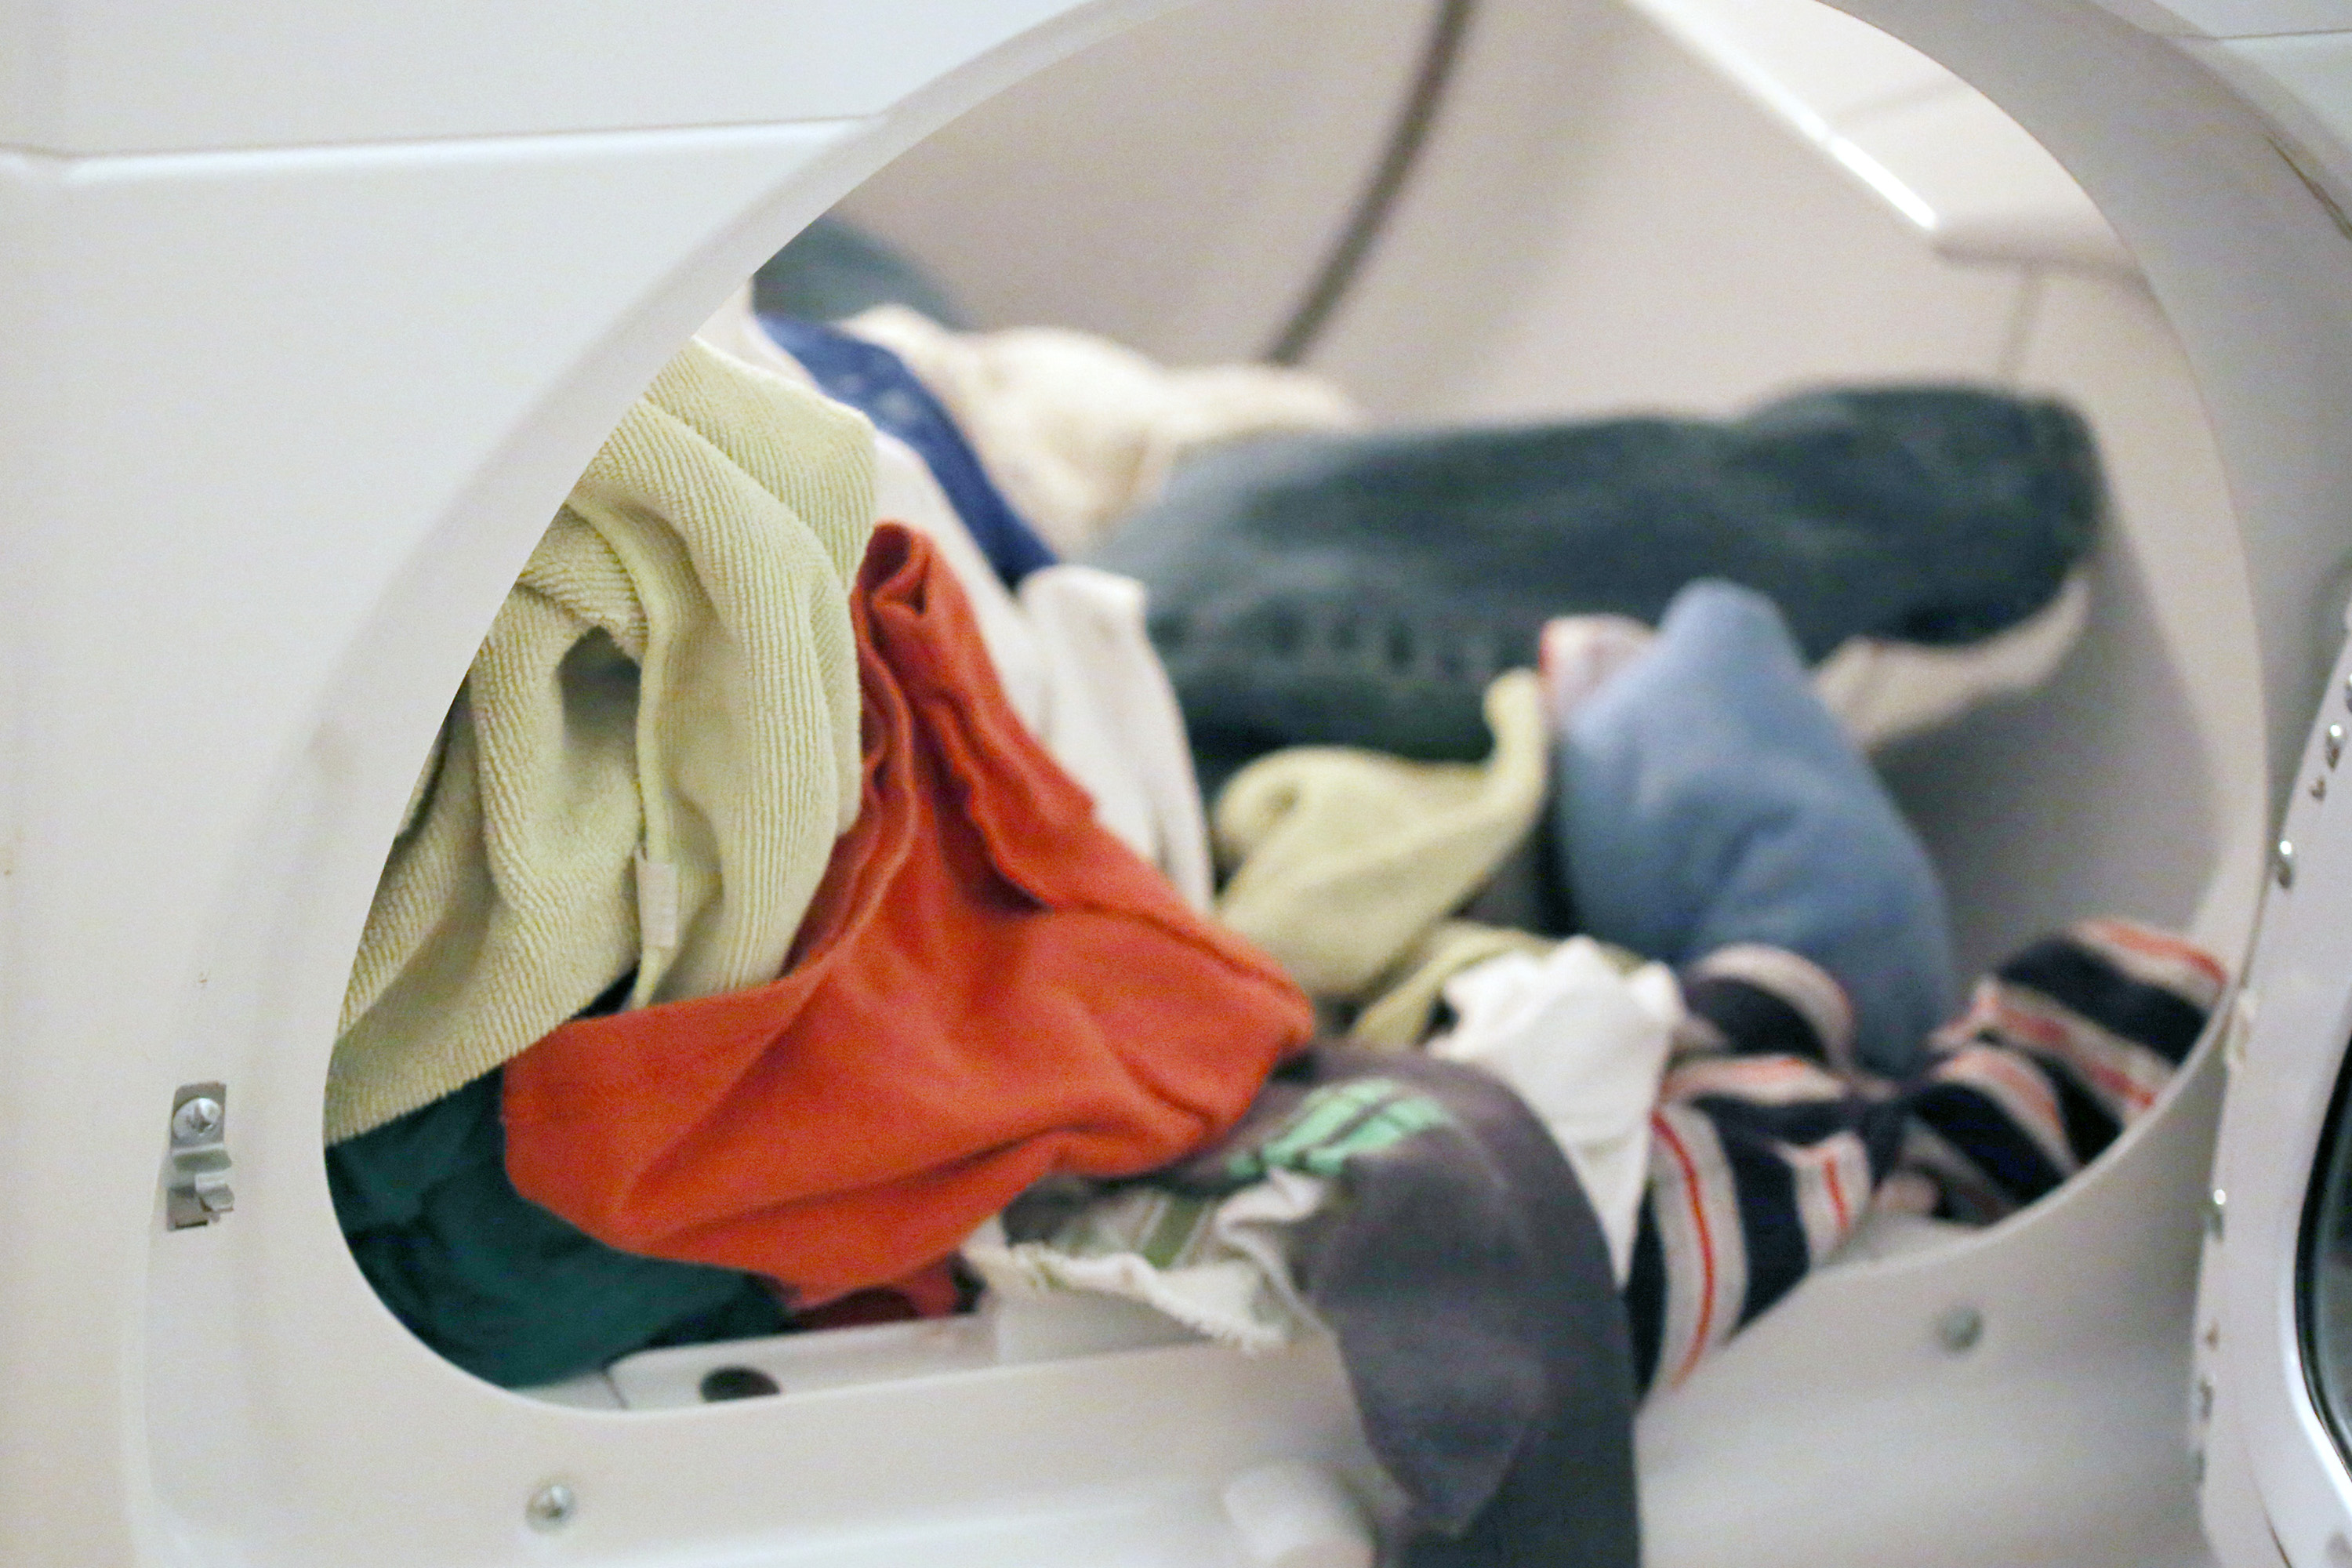
Step 4: Use a Hairdryer
If you’re looking for a quick and effective way to fluff up your new duvet, a hairdryer can be your secret weapon. This step requires a bit of gentle heat and airflow to rejuvenate the filling and regain its fullness.
First, take your duvet and lay it flat on a bed or spacious surface. Set your hairdryer to a low or medium heat setting to avoid damaging the duvet fabric. Hold the hairdryer a few inches away from the duvet and move it back and forth in a sweeping motion.
While applying gentle heat, use your free hand to fluff and shake the duvet. This will help to distribute the warm air evenly and encourage the filling to expand.
Pay extra attention to any flattened or compacted areas, directing the airflow towards those spots. Use your hand to massage and plump up the filling as the heat works its magic.
Continue this process, moving gradually across the duvet until you’ve covered the entire surface. Take breaks as needed to prevent the duvet from becoming too warm.
Using a hairdryer can be a great trick to quickly revive a flat duvet, but be cautious not to overheat the fabric or expose it to excessive heat for an extended period.
With the help of a hairdryer, you can bring your duvet back to life and experience the cozy fluffiness it was meant to provide.
Before putting a new duvet into a duvet cover, give it a good shake to fluff up the filling and distribute it evenly. This will help the duvet look plump and feel cozy.
Read more: How To Fluff Up Couch Cushions
Step 5: Hang it Outside
Bringing your duvet outside for some fresh air and sunshine can work wonders in fluffing it up. This step is particularly beneficial if you have a spacious outdoor area where you can hang your duvet.
On a sunny and dry day, find a clothesline or a sturdy railing to hang your duvet. Make sure to choose a spot that is away from dust and pollutants to keep your duvet clean.
Spread out the duvet and give it a gentle shake to allow the filling to redistribute. Hang it up, ensuring that it has enough space to fully expand and catch the breeze.
The combination of sunlight and fresh air will help to naturally fluff up the duvet. The warmth from the sun will gently loosen any compressed fibers, while the breeze will aid in the ventilation and drying process.
Leave your duvet outside for a few hours, periodically checking on it and giving it a gentle pat or shake to promote even distribution of the filling. Avoid leaving it out for too long, especially if there is a chance of rain or strong winds.
By harnessing the power of nature, you can give your duvet that extra boost of fluffiness, making it a haven of comfort and relaxation.
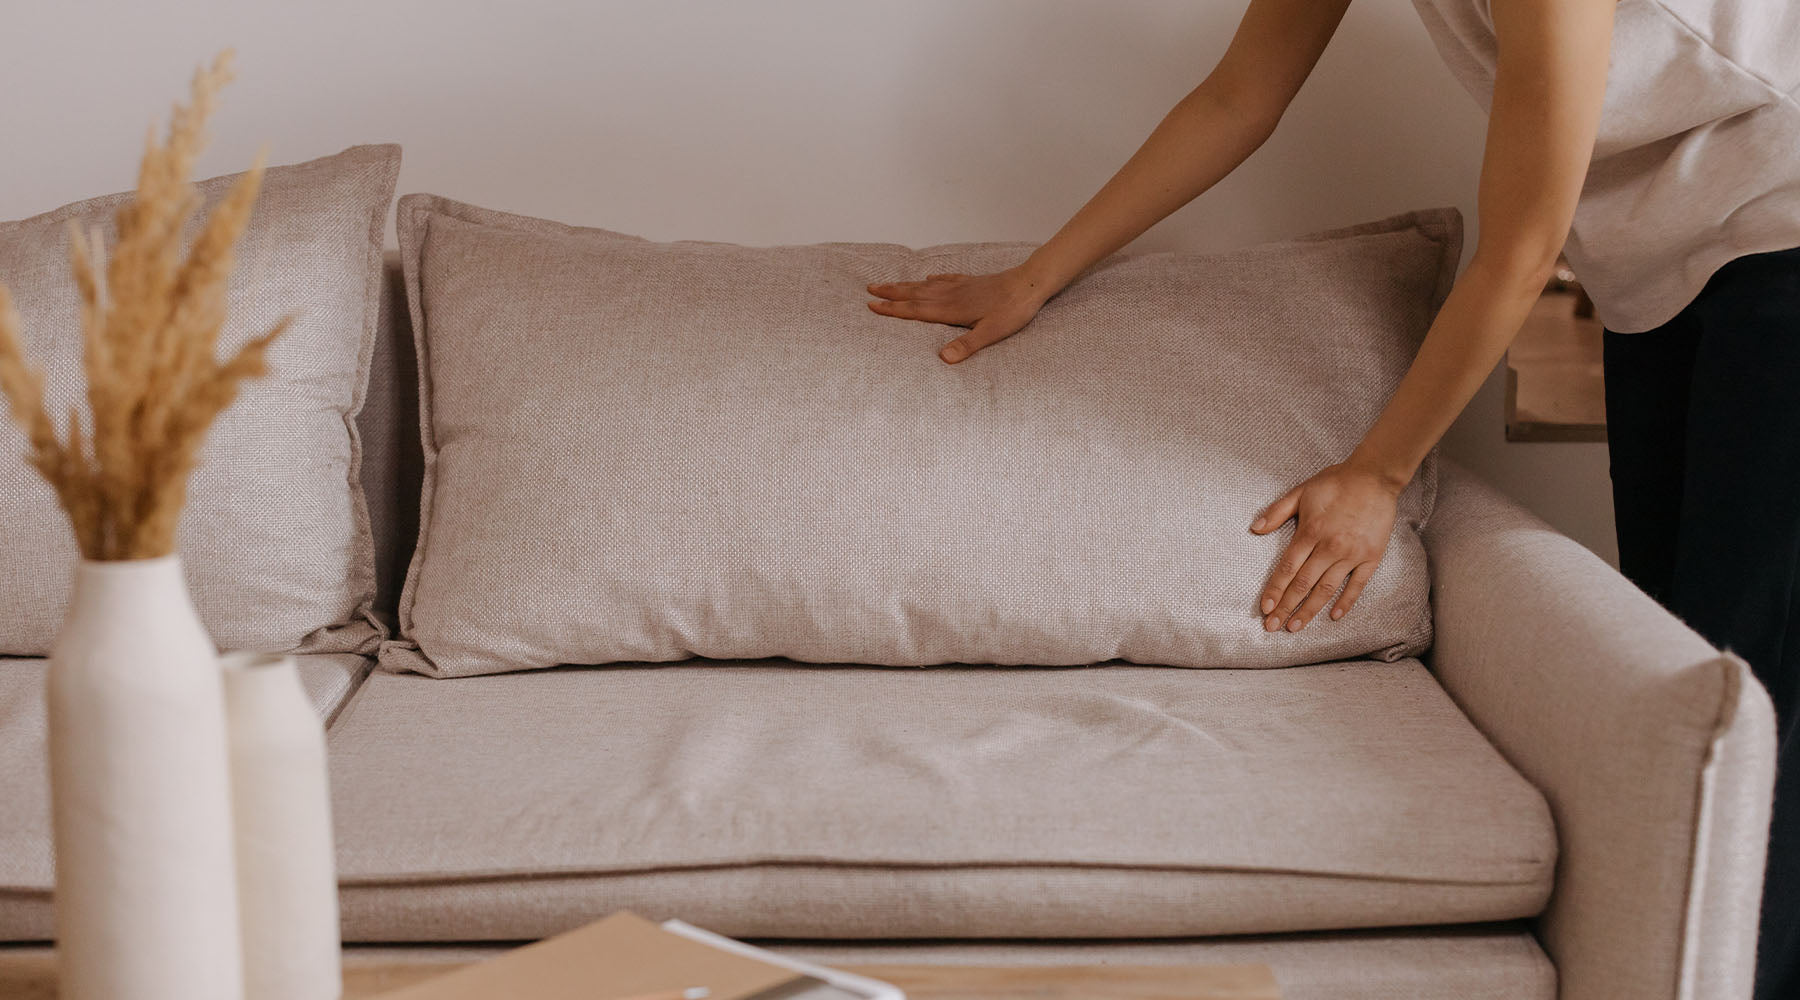
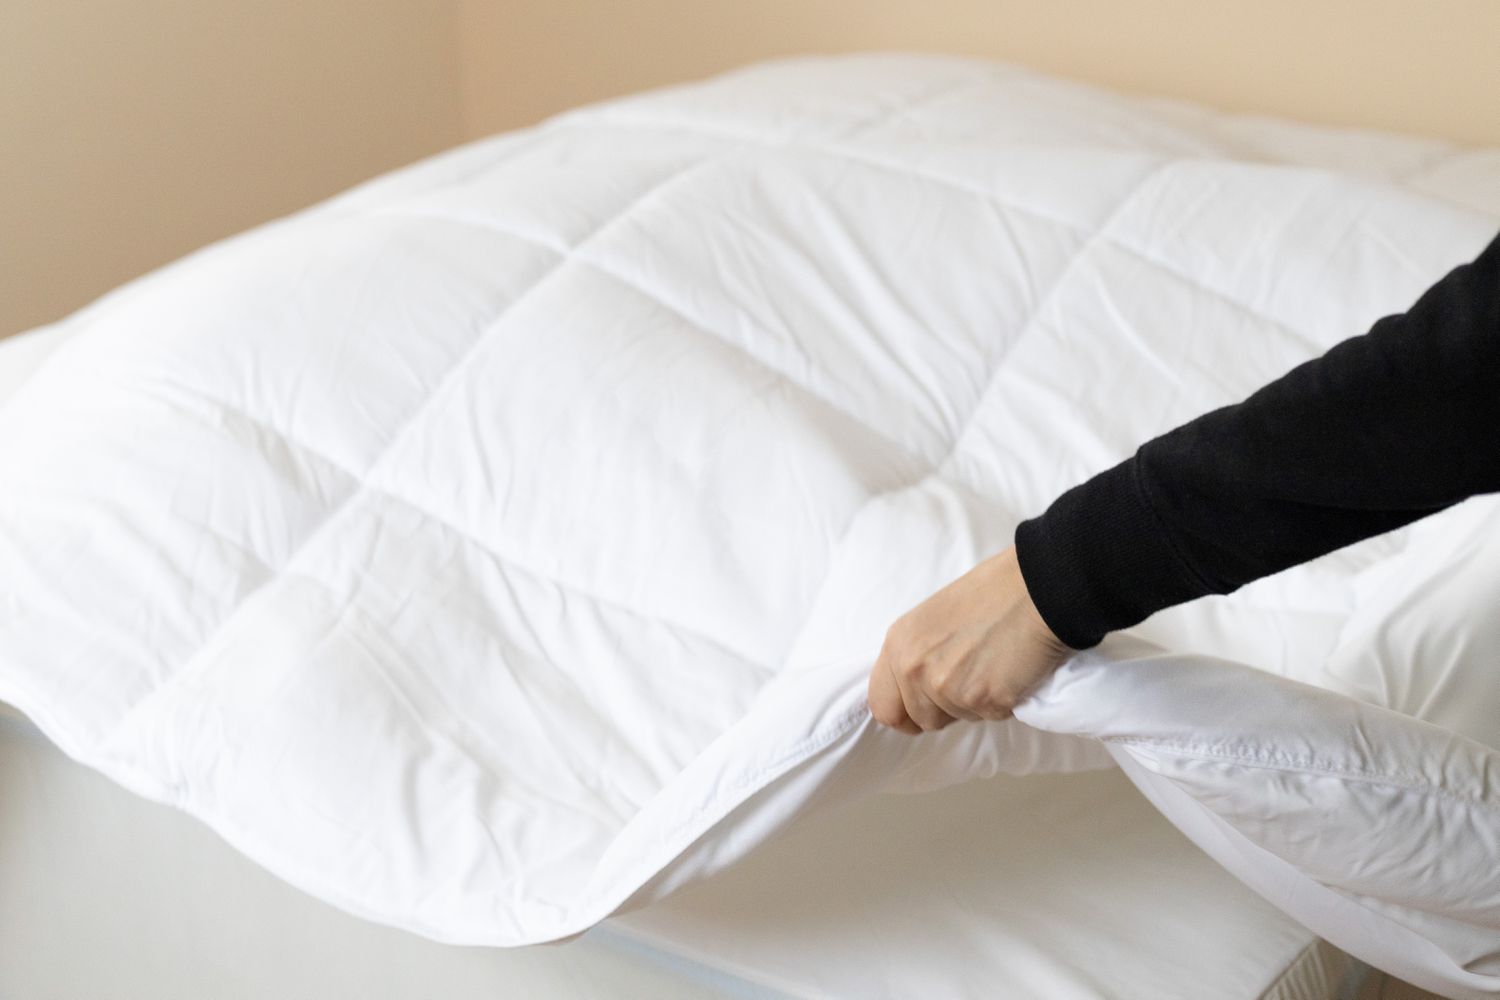
Step 6: Pat and Plump
Once your duvet has been shaken, fluffed, and aired out, it’s time to focus on the finishing touches to ensure maximum fluffiness. Step 6 involves patting and plumping the duvet to give it that extra boost of volume and comfort.
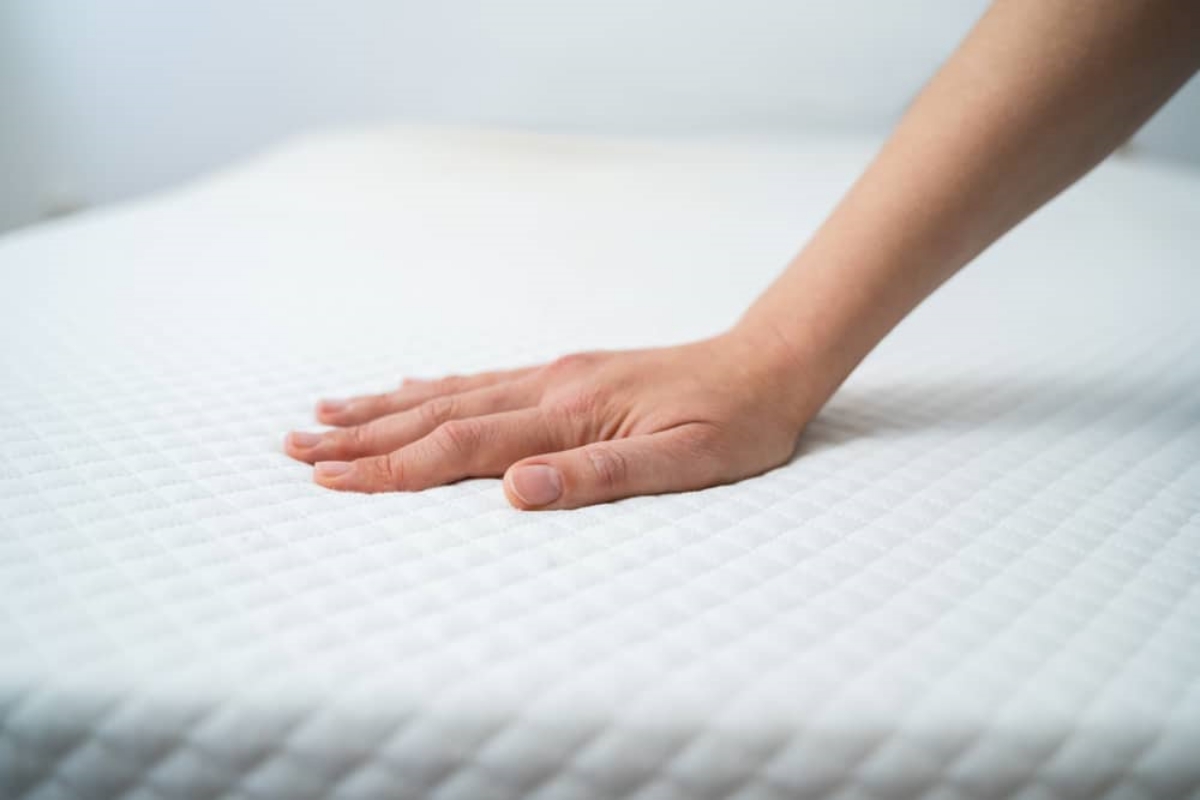
Begin by laying the duvet flat on your bed or a spacious surface. Starting from one corner, use your hands to gently pat and smooth out the surface of the duvet. This helps to distribute the filling evenly and remove any remaining wrinkles or lumps.
Continue to work your way across the entire duvet, using a combination of patting and light pressing motions. As you do so, pay attention to any areas that may still appear flattened or uneven. Give them some extra attention to ensure a uniform distribution of fluffiness.
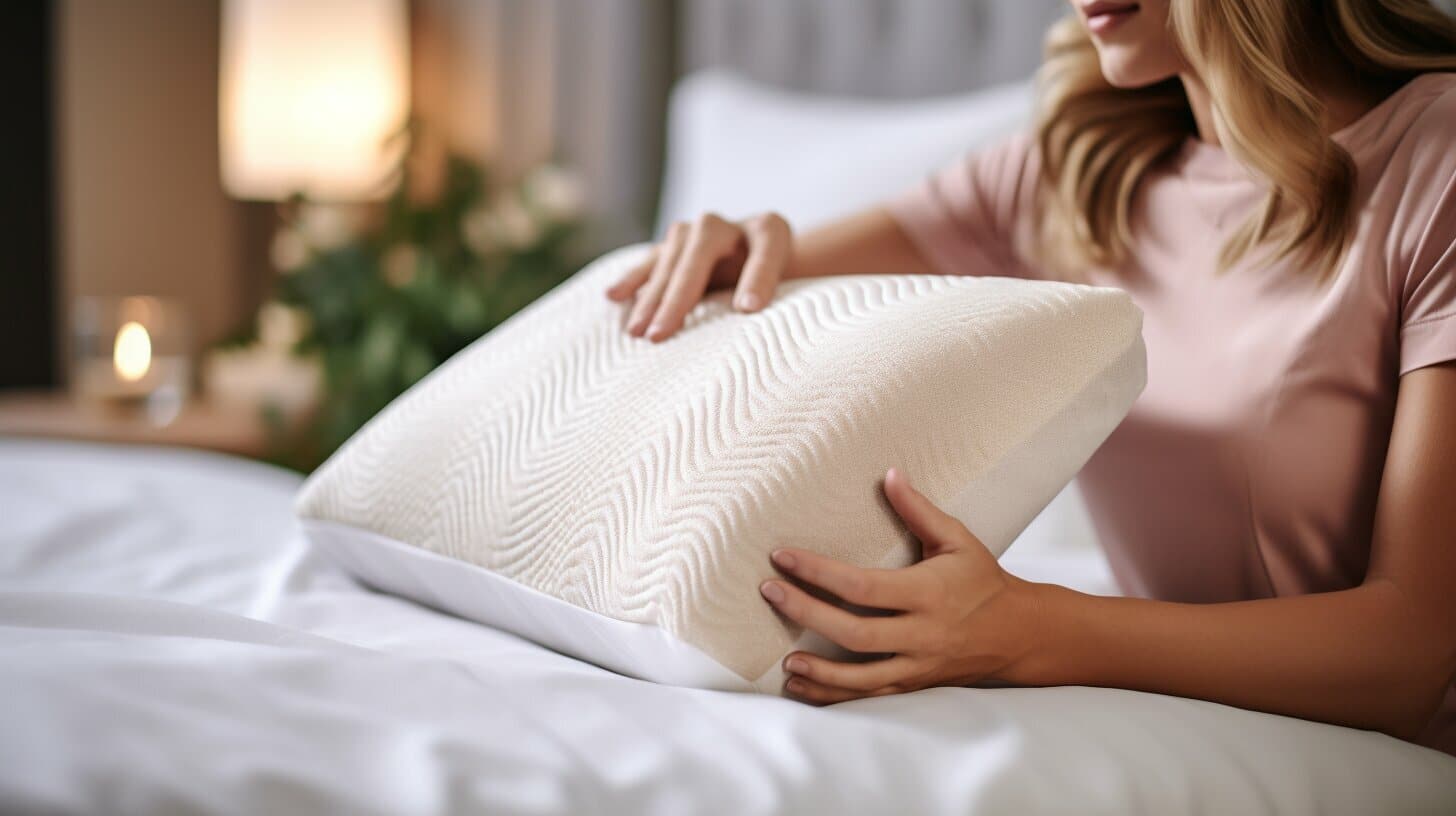
Next, it’s time to plump up the duvet. Hold onto the corners of the duvet and give it a few firm shakes, allowing the filling to settle and expand. This action helps to create a lofty and voluminous duvet that is perfect for snuggling up in.
Repeat the patting and plumping process as needed until your duvet reaches the desired level of fluffiness and fullness. Take a step back and admire your handiwork as you witness your once flat duvet transform into a fluffy cloud of comfort.
Remember, patting and plumping are the final steps that add the finishing touches to your fluffing process. So be thorough and enjoy the satisfaction of a perfectly fluffed duvet.
Step 7: Repeat as Needed
Fluffing a new duvet is not a one-time task; it may require some ongoing maintenance to keep it in its fluffiest and most comfortable state. Step 7 is all about repeating the fluffing steps as needed to maintain the optimal level of fluffiness.
Over time, the filling in your duvet may start to compress or become unevenly distributed. This can happen due to regular use or even after washing the duvet. When you start to notice a loss of fluffiness, it’s time to repeat the fluffing process.
Follow the steps outlined in the previous sections, starting from shaking and fluffing to airing it out, beating and puffing, using a hairdryer, hanging it outside, and finally, patting and plumping. Each time you go through these steps, your duvet will regain its volume and softness.
How often you need to repeat the fluffing process depends on factors like the quality of the duvet, frequency of use, and personal preference. Some individuals may find that they need to fluff their duvet every few weeks, while others may only need to do it once every few months.
Pay attention to your duvet’s appearance and feel. If it starts to look limp or flat, or if you notice any uneven areas, it’s a sign that it’s time for a fluffing session.
By regularly repeating the fluffing process, you can ensure that your duvet remains plush, cozy, and rejuvenating, providing you with the ultimate comfort every time you crawl into bed.
Conclusion
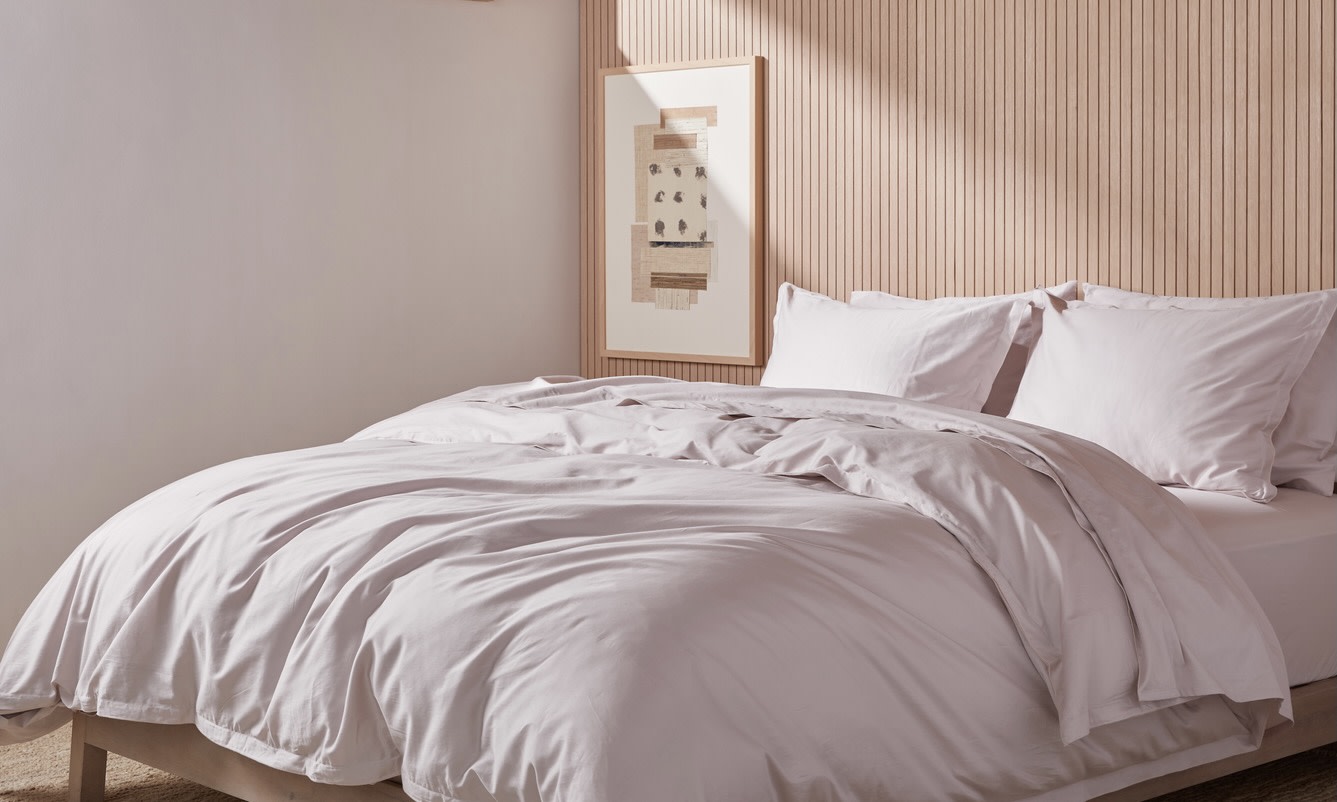
Fluffing up a new duvet is a simple and rewarding process that can transform a flat and lifeless bedding into a fluffy paradise. By following the steps outlined in this article, you can achieve a duvet that is voluminous, comfortable, and perfect for a good night’s sleep.
From shaking and fluffing to airing it out, beating and puffing, using a hairdryer, hanging it outside, and patting and plumping, each step plays a crucial role in reviving your duvet’s fluffiness. The repetitive motions, the gentle heat, and the refreshing air all work together to bring your duvet back to life.
Remember, fluffing is not a one-time task. To maintain the optimal level of fluffiness, you may need to repeat the process periodically, depending on your duvet’s usage and personal preference. Regular fluffing sessions will ensure that your duvet remains plush and inviting for years to come.
So, the next time you bring home a new duvet or notice your existing one losing its volume, don’t despair. Armed with the techniques and tips from this article, you can confidently tackle the fluffing process and enjoy the cozy and luxurious comfort that a well-fluffed duvet provides.
Embrace the art of fluffing and experience the joy of snuggling up in a cloud-like haven every night!
Frequently Asked Questions about How To Fluff Up A New Duvet
Was this page helpful?
At Storables.com, we guarantee accurate and reliable information. Our content, validated by Expert Board Contributors, is crafted following stringent Editorial Policies. We're committed to providing you with well-researched, expert-backed insights for all your informational needs.

0 thoughts on “How To Fluff Up A New Duvet”