Articles
How To Put A Blanket In Duvet
Modified: October 20, 2024
Discover the step-by-step process of properly placing a blanket inside a duvet with this comprehensive guide. Read our articles for helpful tips and tricks.
(Many of the links in this article redirect to a specific reviewed product. Your purchase of these products through affiliate links helps to generate commission for Storables.com, at no extra cost. Learn more)
Introduction
Putting a blanket inside a duvet can be a convenient way to add an extra layer of warmth and comfort to your bed. Whether you’re looking to make your bed cozier for cooler nights or simply want to change up the look of your bedding, this step-by-step guide will show you how to effectively put a blanket inside a duvet.
By following these simple instructions, you’ll be able to achieve a neatly organized and well-insulated bed setup in no time. So grab your favorite duvet cover and blanket, and let’s get started!
Key Takeaways:
- Transform your bed into a cozy oasis by seamlessly inserting a blanket into a duvet using simple steps. Enjoy a well-prepared and inviting bed for a restful sleep experience.
- Elevate your bedding setup with a neatly organized and well-insulated arrangement. Follow the step-by-step guide to effortlessly put a blanket inside a duvet for added warmth and comfort.
Step 1: Prepare the blanket and duvet
Before you begin the process of putting a blanket inside a duvet, it’s important to ensure that both the blanket and duvet are clean and in good condition. Remove any dirt or debris from the blanket by giving it a gentle shake or quick run through the washing machine, if needed. Make sure the duvet cover is also clean before proceeding.
Next, lay the duvet cover flat on your bed or a clean, spacious surface. Smooth out any wrinkles or creases to provide a smooth canvas for inserting the blanket. It’s recommended to choose a duvet cover with a similar size or slightly larger than your blanket to ensure a proper fit.
If your blanket is significantly larger than your duvet cover, you can fold it in half or quarters to make it more manageable and easier to insert into the cover. However, be mindful of any bulky seams or decorative elements on the blanket that might cause discomfort during sleep.
Take a moment to familiarize yourself with the blanket and duvet cover, ensuring that any tags or labels are tucked away and won’t be visible when the duvet is inserted. This will create a cleaner, more polished look for your bed.
Once the blanket and duvet cover are prepared, you’re ready to move on to the next step of the process.
Step 2: Lay the duvet cover flat
Now that you’ve prepared the blanket and duvet, it’s time to lay the duvet cover flat on your bed or a clean, spacious surface. Smooth out any wrinkles or creases to create a flat surface for easy insertion of the blanket.
Start by holding the duvet cover from the top corners and give it a gentle shake to help distribute the fabric evenly. This will ensure that the duvet cover is properly aligned and ready for the next step.
If you’re working alone, it may be helpful to use something to hold down the edges of the duvet cover to prevent it from moving while you insert the blanket. You can use books, heavy objects, or even ask a friend or family member to help you hold it in place.
It’s also a good idea to orient the duvet cover so that the opening flap is at the foot of the bed. This will make it easier to close the duvet cover once the blanket is inserted.
By laying the duvet cover flat and making sure it’s well-positioned, you’ll have a smooth and easy surface to work with as you move on to the next steps.
Step 3: Insert the blanket into one corner of the duvet cover
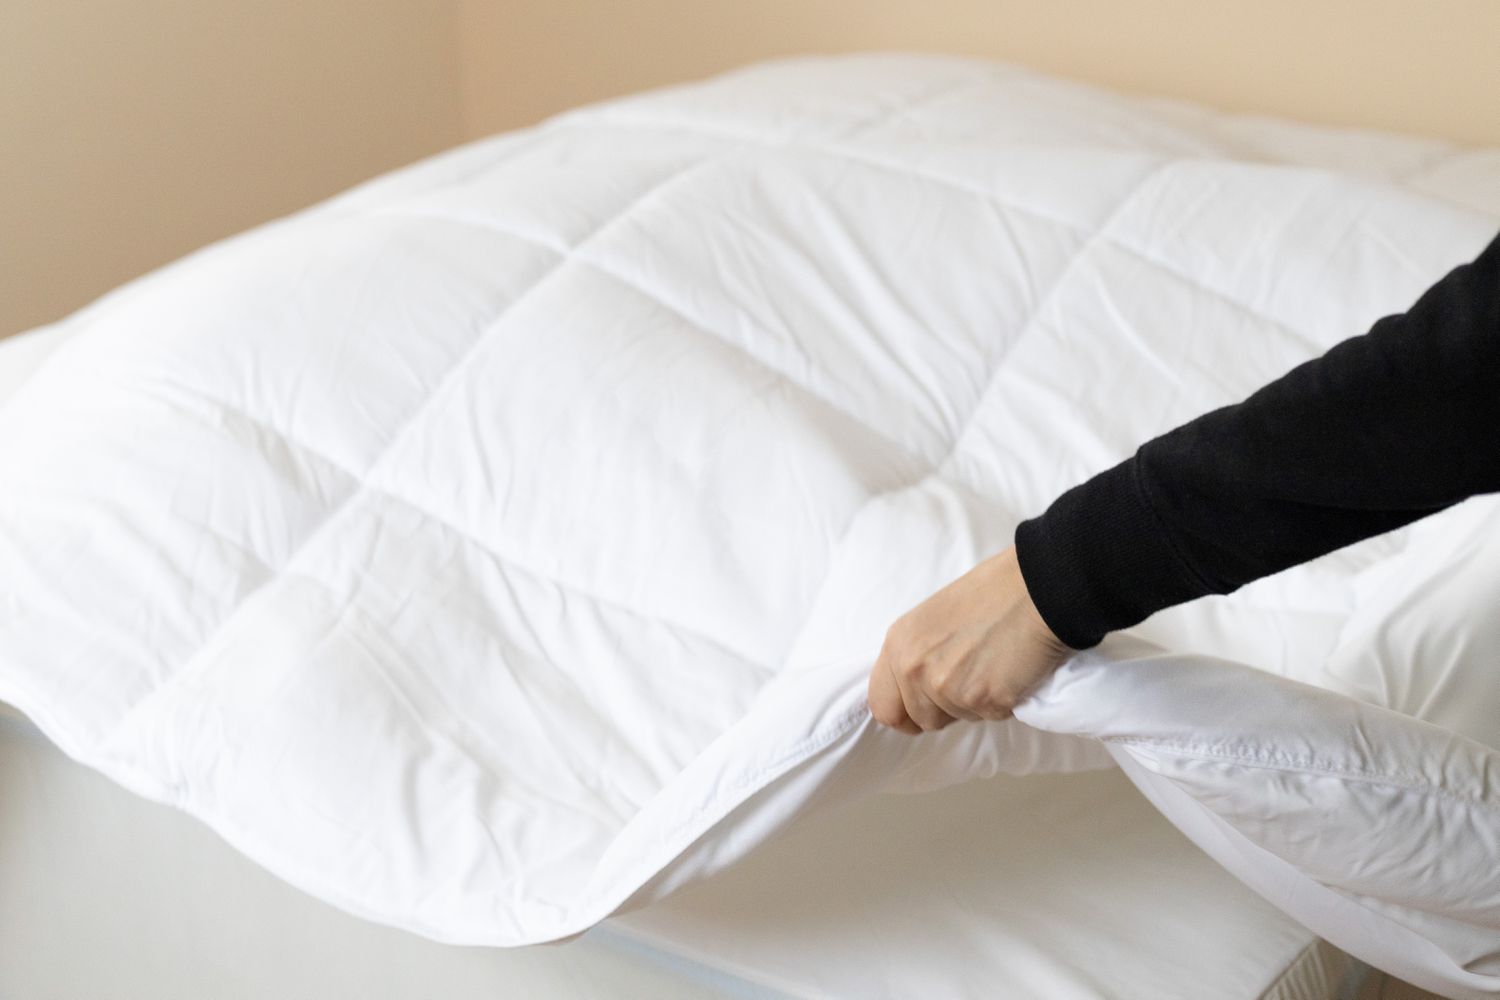
With the duvet cover laid flat and ready, it’s time to start inserting the blanket. Begin by locating one corner of the duvet cover and tuck one corner of the blanket into it. Make sure the blanket is aligned with the corner of the duvet cover, allowing for a snug fit.
Hold the corner of the duvet cover and the corresponding corner of the blanket firmly together and give it a gentle shake to help the blanket settle into place. This will prevent the blanket from shifting or bunching up inside the duvet cover later on.
Once the blanket is securely inserted into one corner, move on to the next corner and repeat the process. Tuck the corner of the blanket into the corner of the duvet cover, making sure it’s aligned properly. Again, give it a gentle shake to ensure a smooth and even distribution of the blanket within the duvet cover.
Continue this process, working your way around the duvet cover, tucking each corner of the blanket into the corresponding corner of the duvet cover. By inserting the blanket into one corner at a time, you’ll maintain better control and prevent the blanket from bunching or becoming unevenly distributed.
It’s important to take your time with this step, ensuring that the corners are securely tucked in and the blanket is evenly spread throughout the duvet cover. This will result in a well-fitted and comfortable bedding arrangement.
Once all the corners are securely tucked in, you’re ready to move on to the next step.
Step 4: Smooth out the duvet and blanket
Now that the blanket is inserted into the corners of the duvet cover, it’s time to smooth out both the duvet cover and the blanket to achieve a neat and polished look. This step is crucial to ensure that the blanket is evenly distributed and there are no bulky or lumpy areas.
Start by gently pulling and adjusting the duvet cover from the top to smooth out any wrinkles or creases. Work your way down, smoothing out the fabric as you go. This will help create a smooth and flat surface for the blanket to lay on.
Next, smooth out the blanket from the top, making sure it lies flat and evenly within the duvet cover. Use your hands to gently press down on the blanket, smoothing out any folds or unevenness. Take your time to ensure that the blanket is spread out evenly, with no lumps or bunching.
If needed, you can use a flat object, such as a ruler or a large book, to help smooth out any stubborn wrinkles or creases. Gently run the flat object over the surface of the duvet cover and the blanket to flatten and even out the fabric.
By taking the time to smooth out both the duvet cover and the blanket, you’ll achieve a clean and streamlined look for your bed. This step will also ensure that the blanket is properly aligned and covers the entire surface area of the duvet cover.
Once you’re satisfied with the smoothness of the duvet cover and the blanket, you’re ready to move on to the next step.
When putting a blanket in a duvet, start by laying the duvet cover flat on the bed, then lay the blanket on top. Roll both the duvet and blanket together, then flip the duvet cover inside out and stuff the rolled duvet and blanket inside. Unroll and shake to distribute the blanket evenly.
Step 5: Secure the corners and sides of the duvet
Now that the duvet cover and blanket are smoothly laid out, it’s time to secure the corners and sides to prevent the blanket from shifting or coming loose inside the duvet cover. This will ensure that your bedding stays in place and maintains a neat appearance.
Start by reaching inside the duvet cover and locating the corner where the blanket is tucked in. Take a few moments to ensure that the blanket is properly aligned and evenly spread within the duvet cover.
Once you’re satisfied with the placement, reach inside the corner and firmly pinch the edges of the duvet cover and the blanket together. Holding them tightly, use your other hand to fold the excess fabric over the pinched area, creating a secure pocket.
You can then use safety pins or duvet clips to secure the folded fabric in place, preventing the blanket from shifting or bunching up inside the duvet cover. Place the safety pins or duvet clips close to the edge of the corner, making sure they are tightly secured.
Repeat this process for each corner of the duvet cover, ensuring that the blanket is securely held in place. Take your time to make sure the corners are tightly secured, as this will help maintain the even distribution of the blanket throughout the duvet cover.
Once all the corners are secured, move on to the sides of the duvet cover. Reach inside the cover and smooth out any wrinkles or folds along the sides. Use your hands to press the fabric firmly together, ensuring that the blanket is enclosed within the duvet cover.
Again, use safety pins or duvet clips to secure the sides of the duvet cover, keeping the blanket in place. Place the pins or clips evenly along the sides, spacing them out to provide adequate support and prevent any shifting of the blanket.
By securing the corners and sides of the duvet cover, you’ll ensure that the blanket stays in place, providing a comfortable and well-insulated bedding arrangement.
Once you’ve secured all the corners and sides, you’re ready to move on to the next step.
Step 6: Shake and fluff the duvet
After securing the corners and sides of the duvet, it’s time to give it a good shake and fluff to distribute the blanket evenly and add some loft to your bedding. This step will help create a plush and inviting appearance for your bed.
Start by standing at the foot of the bed and firmly grasp the duvet cover near the top corners. Give it a gentle but firm shake to allow the blanket to settle into its natural position within the cover. This shaking motion will help the blanket spread out and fill up the duvet cover evenly.
Continue shaking the duvet cover a few times, focusing on different areas to ensure the blanket is evenly distributed. This will fluff up the blanket and create a fluffy and inviting look for your bed.
Next, go around the bed and gently tug on the edges of the duvet cover to smooth out any wrinkles or folds. Use your hands to fluff and adjust the blanket within the cover, making sure it’s evenly spread out from corner to corner.
If needed, you can also use your hands to reshape the corners of the duvet cover, ensuring they are crisp and well-defined. This will give your bed a clean and polished appearance.
Take a step back and visually assess the duvet to see if any areas need additional fluffing or adjustment. Use your hands to pat and plump up any sections that appear flat or uneven.
By giving your duvet a good shake and fluff, you’ll create a visually appealing and inviting look for your bed. The blanket will be evenly distributed, providing optimal warmth and comfort during sleep.
Once you’re satisfied with the fluffy appearance of your duvet, you’re ready to move on to the final step.
Step 7: Close the duvet cover
With the blanket securely inserted and the duvet fluffed, it’s time to close the duvet cover to complete the process. Closing the duvet cover will not only give your bed a finished look but also keep the blanket in place while you sleep.
Start by standing at the foot of the bed and hold the top of the duvet cover together, ensuring that the opening flap is aligned properly. Begin by rolling the opening flap over the top of the duvet, covering the blanket inside.
Once you have rolled the opening flap over the top of the duvet, continue rolling or folding it until it reaches the foot of the bed. This will enclose the entire duvet and blanket within the cover.
With the opening flap rolled or folded, secure it in place using the closure mechanism provided by your duvet cover. This could be buttons, snaps, ties, or a zipper.
Take your time to fasten the closure evenly and securely, ensuring that it doesn’t come undone during use. This will keep the duvet and blanket in place and maintain the integrity of your bedding arrangement.
Once the duvet cover is closed, take a moment to smooth out any wrinkles or folds on the surface. Use your hands to gently press down and create a smooth, finished appearance for your bed.
Finally, step back and admire your handiwork. Your blanket is now securely and neatly inside the duvet cover, giving your bed a cozy and inviting look.
Remember, when it’s time to wash your bedding, simply unfasten the closure, remove the blanket from the duvet cover, and clean them separately according to their care instructions. Then, repeat this process to put the blanket back into the duvet cover for a fresh and rejuvenated bed setup.
By closing the duvet cover, you have completed the process of putting a blanket inside a duvet. Enjoy your well-prepared bed and a good night’s sleep!
Conclusion
Putting a blanket inside a duvet is a simple yet effective way to add an extra layer of warmth and comfort to your bed. By following the steps outlined in this guide, you can achieve a neatly organized and well-insulated bedding setup.
From preparing the blanket and duvet to securing the corners and sides, each step plays a vital role in creating a polished and cozy appearance for your bed. By taking the time to smooth out the duvet, shake and fluff the blanket, and close the duvet cover, you ensure that your bedding looks and feels its best.
Remember to choose a duvet cover that is similar in size or slightly larger than your blanket to ensure a proper fit. Take care to insert the blanket into the corners of the duvet cover, smooth out any wrinkles, and secure the corners and sides to prevent any shifting or bunching.
By closing the duvet cover, you complete the process and create a finished look for your bed. Now, you can enjoy a comfortable and well-prepared bed that welcomes you at the end of a long day.
Don’t forget, when it’s time to wash your bedding, simply unfasten the closure and remove the blanket from the duvet cover. Follow the care instructions for each item, then repeat the process to put the blanket back into the duvet cover for a fresh and rejuvenated bed setup.
Putting a blanket in a duvet is a versatile and customizable option that allows you to easily switch up the look and feel of your bedding. Whether you’re looking for added warmth during cold winter nights or a change of style, this technique offers a practical solution.
Now that you know how to put a blanket inside a duvet, you can confidently create a cozy and inviting bed that will provide a restful sleep experience. Enjoy the comfort and versatility of this technique and make your bed a sanctuary of warmth and relaxation.
Frequently Asked Questions about How To Put A Blanket In Duvet
Was this page helpful?
At Storables.com, we guarantee accurate and reliable information. Our content, validated by Expert Board Contributors, is crafted following stringent Editorial Policies. We're committed to providing you with well-researched, expert-backed insights for all your informational needs.