Home>Furniture>Living Room Furniture>How To Fluff A Bean Bag

Living Room Furniture
How To Fluff A Bean Bag
Modified: March 16, 2024
Learn how to quickly and easily fluff your bean bag for maximum comfort and relaxation. Discover the perfect addition to your living room furniture with our step-by-step guide.
(Many of the links in this article redirect to a specific reviewed product. Your purchase of these products through affiliate links helps to generate commission for Storables.com, at no extra cost. Learn more)
Introduction
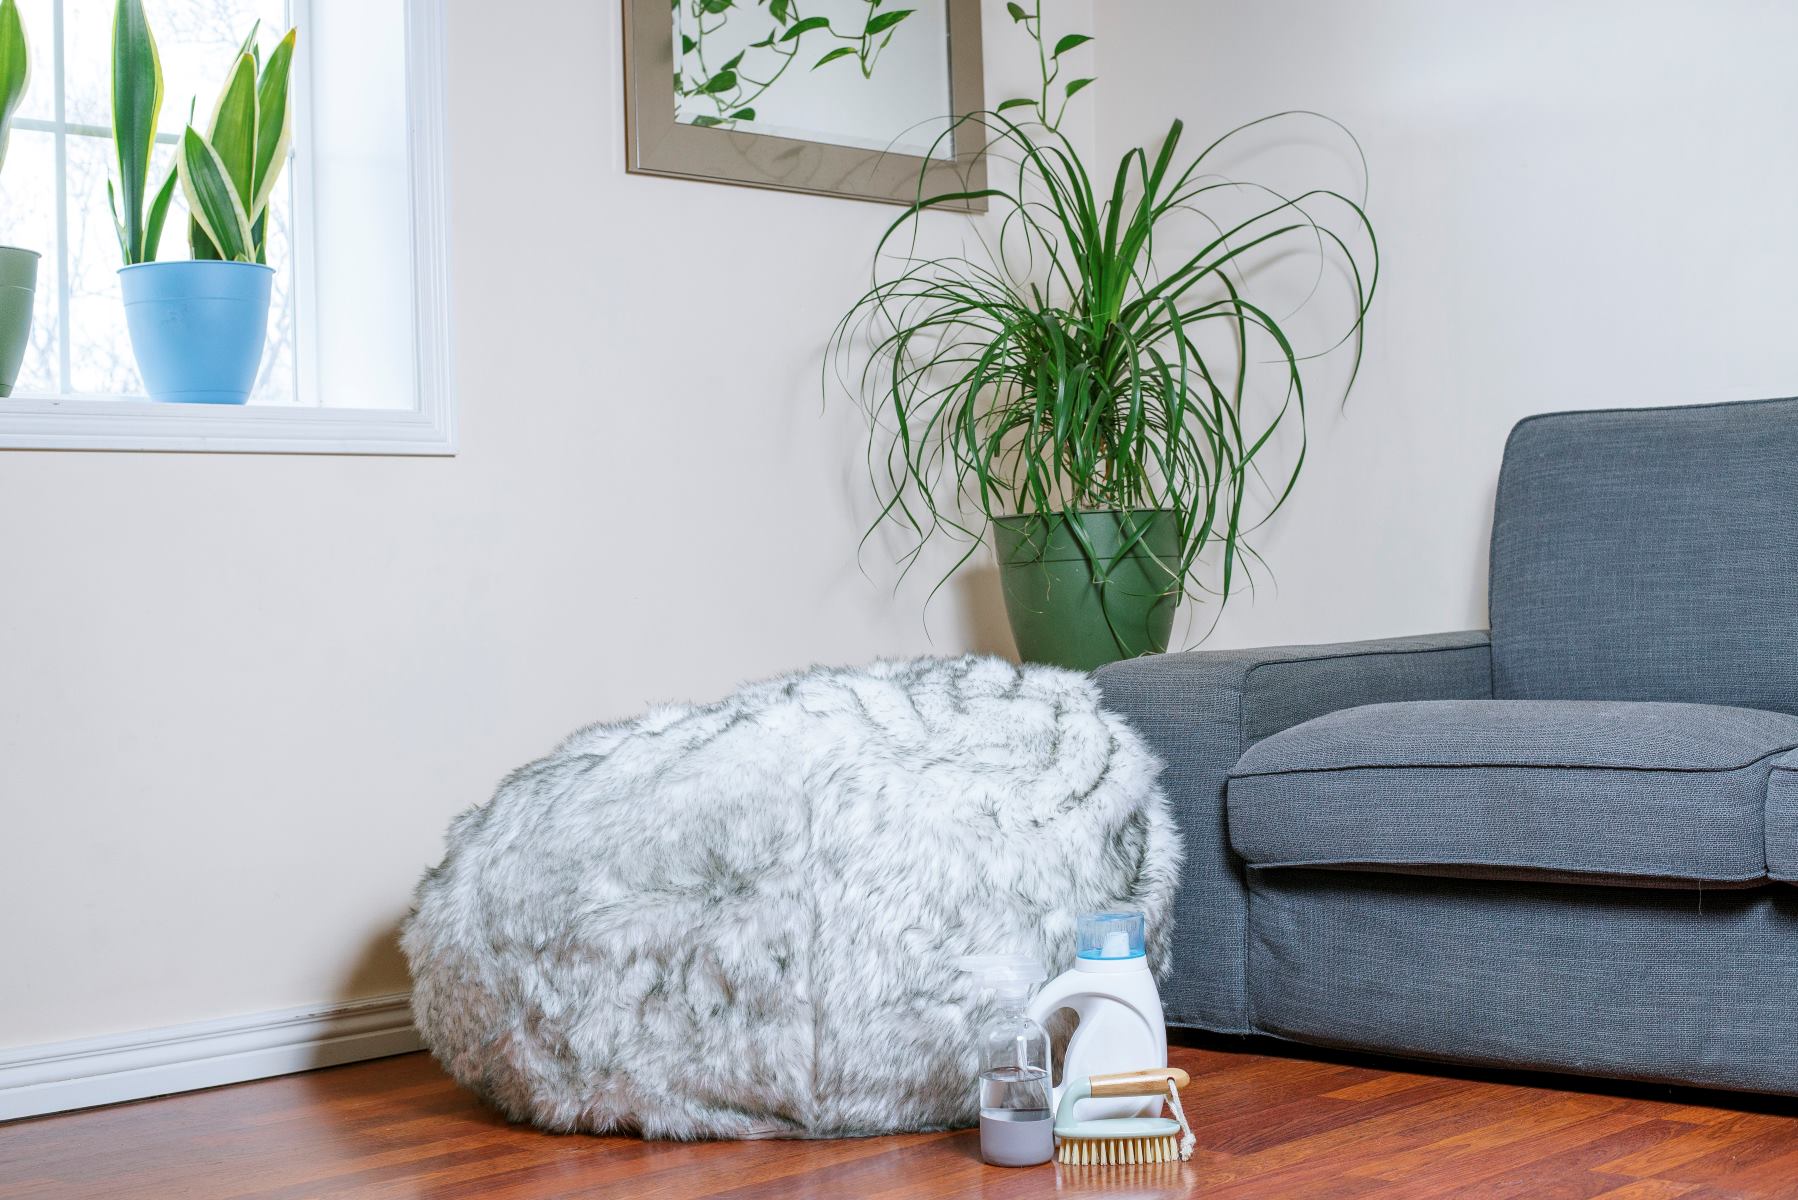
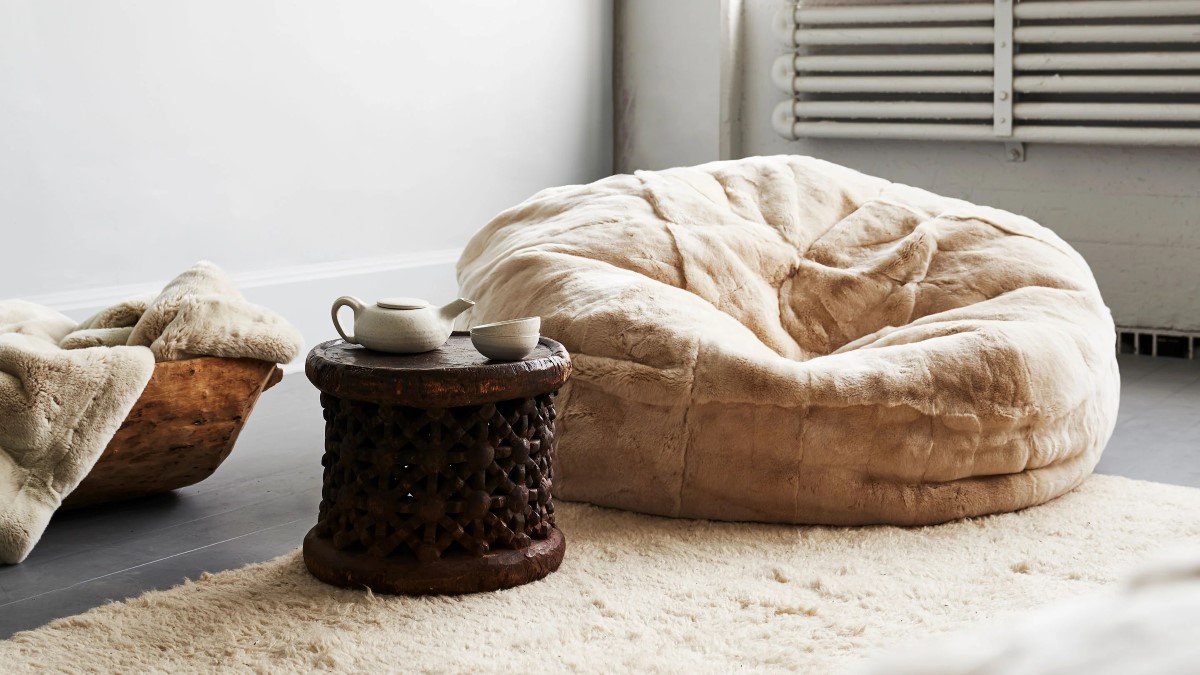
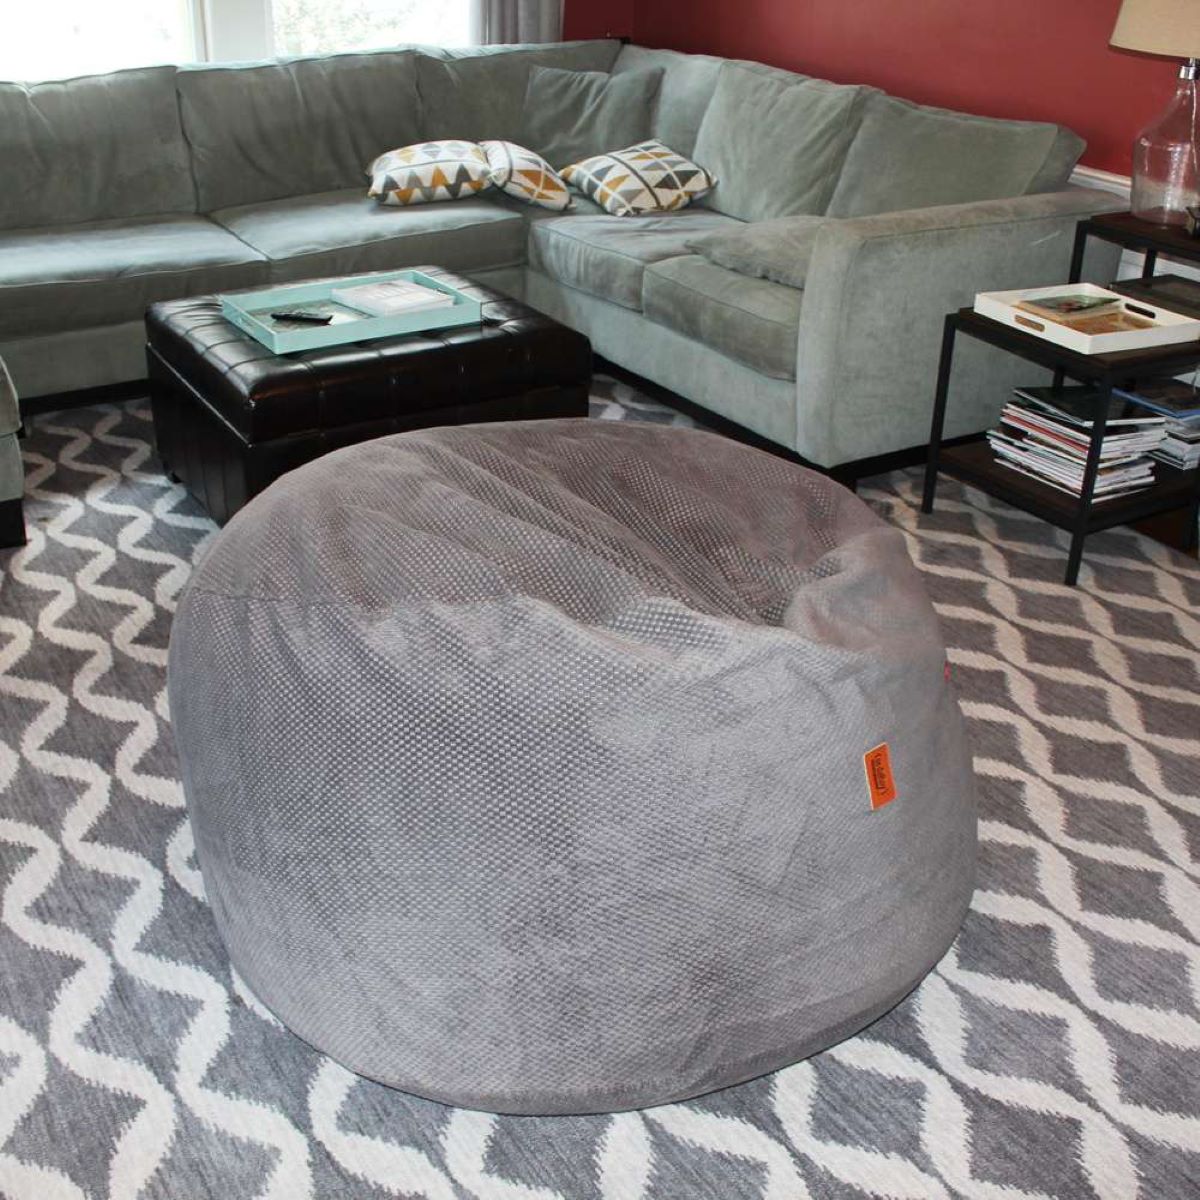
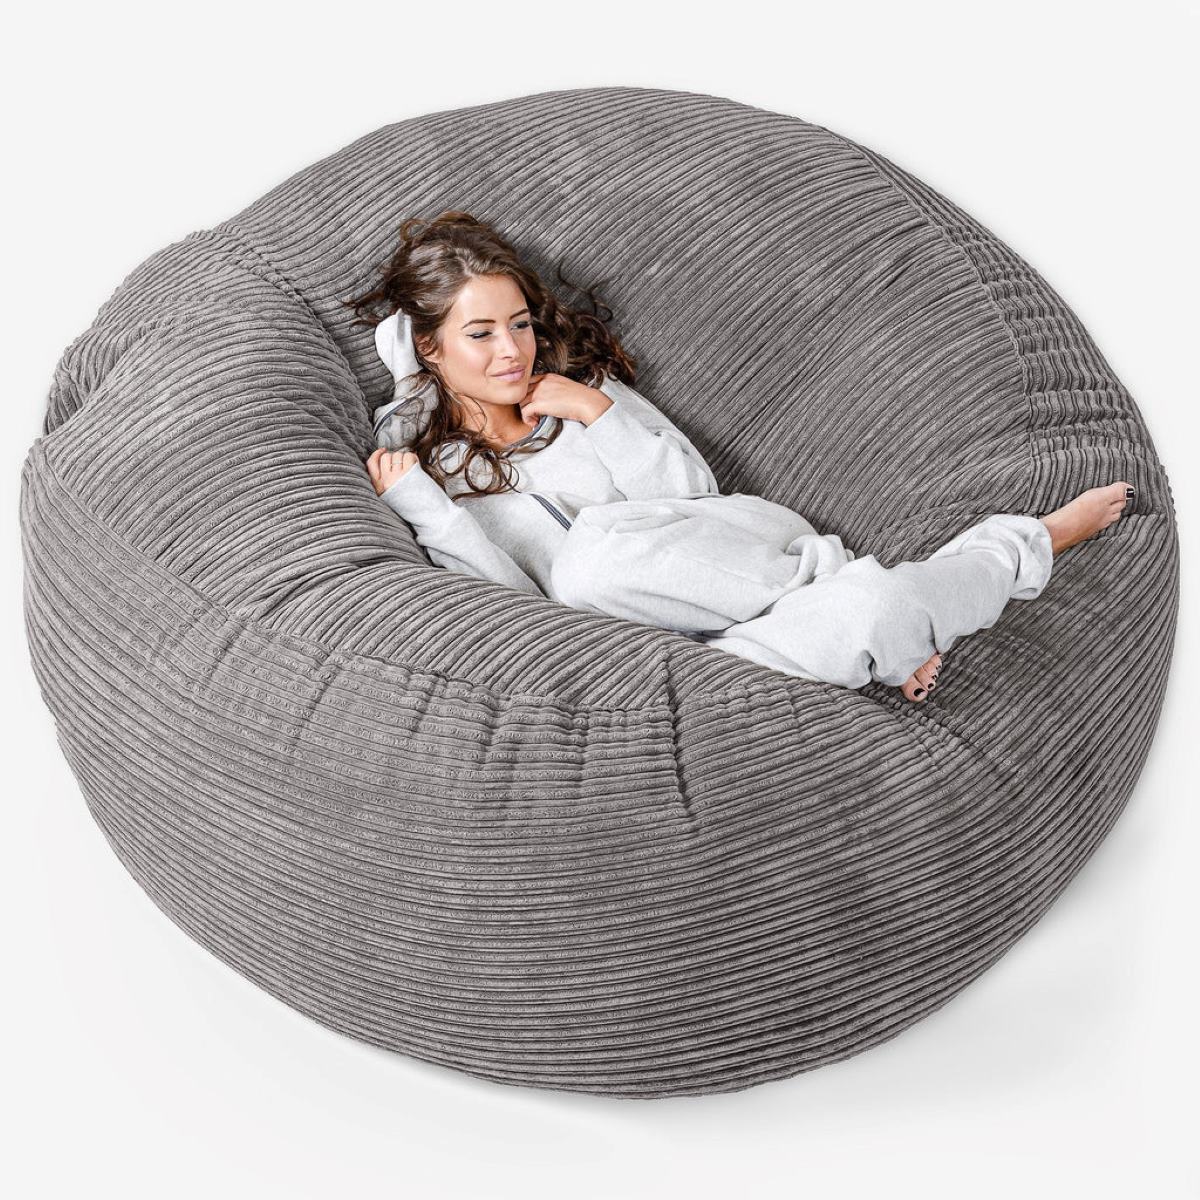
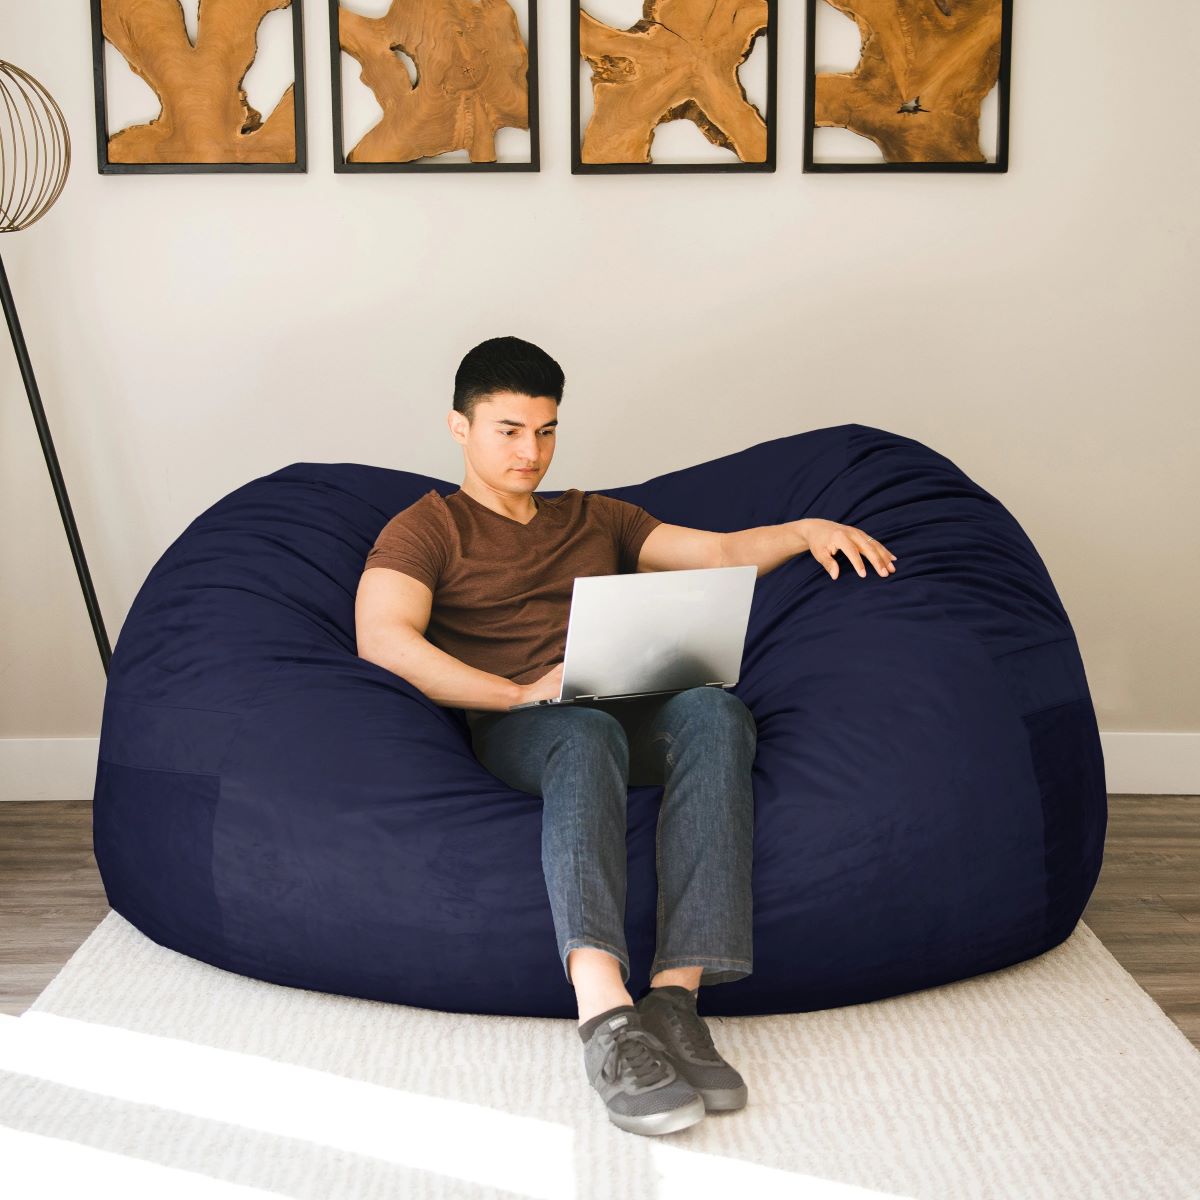
Bean bags are a popular and versatile piece of furniture that can add a touch of comfort and style to any living room. Whether you use them for lounging, reading, or as additional seating for guests, bean bags are an essential part of creating a cozy and inviting space. However, over time, bean bags can lose their fluffiness and become flat and uncomfortable. Luckily, there are some simple steps you can take to revive your bean bag and bring back its plump and inviting shape.
In this article, we will guide you through the process of fluffing a bean bag to restore its softness and provide you with tips on maintaining its fluffiness for longer periods. So, grab your bean bag and let’s get started!
Key Takeaways:
- Revive your bean bag’s comfort and style by fluffing, refilling, and conditioning it. Enjoy cozy lounging bliss for years to come with regular maintenance.
- Keep your bean bag plump and inviting by following simple steps to maintain its fluffiness. A well-fluffed bean bag equals hours of comfortable relaxation.
Read more: What Is Bean Bag
Materials Needed
Before you begin fluffing your bean bag, gather the following materials:
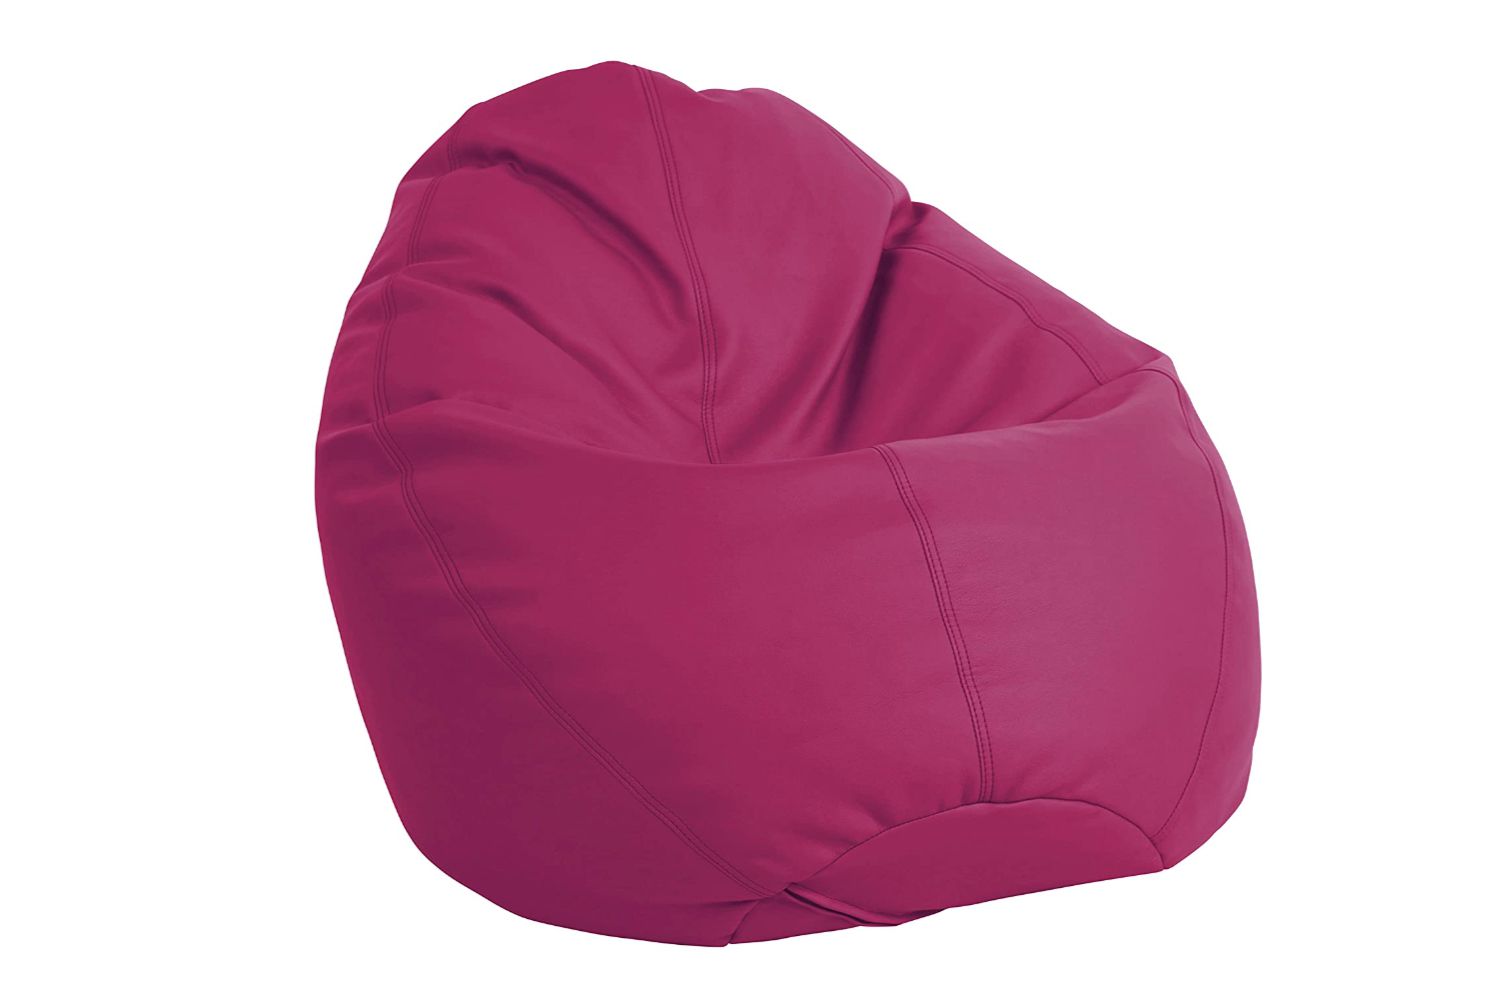
- Bean Bag: The bean bag that you want to fluff up. Ensure that it is clean and free from any spills or stains before proceeding.
- Bean Bag Refill: This is optional but recommended if your bean bag has lost a significant amount of fill. You can find refill beans at most home goods stores or online.
- Vacuum Cleaner: A vacuum cleaner with a hose attachment will be useful in removing any dirt or debris from the bean bag.
- Large Plastic Bag: A large plastic bag will be used to contain the bean bag fill while you fluff it.
- Tarp or Sheet: Place a tarp or sheet on the floor to catch any spilled bean bag fill during the process.
Once you have gathered these materials, you are ready to begin fluffing your bean bag!
Step 1: Fluffing the Bean Bag
Fluffing the bean bag is the first step in reviving its shape and comfort. Follow these steps to ensure a thorough fluffing:
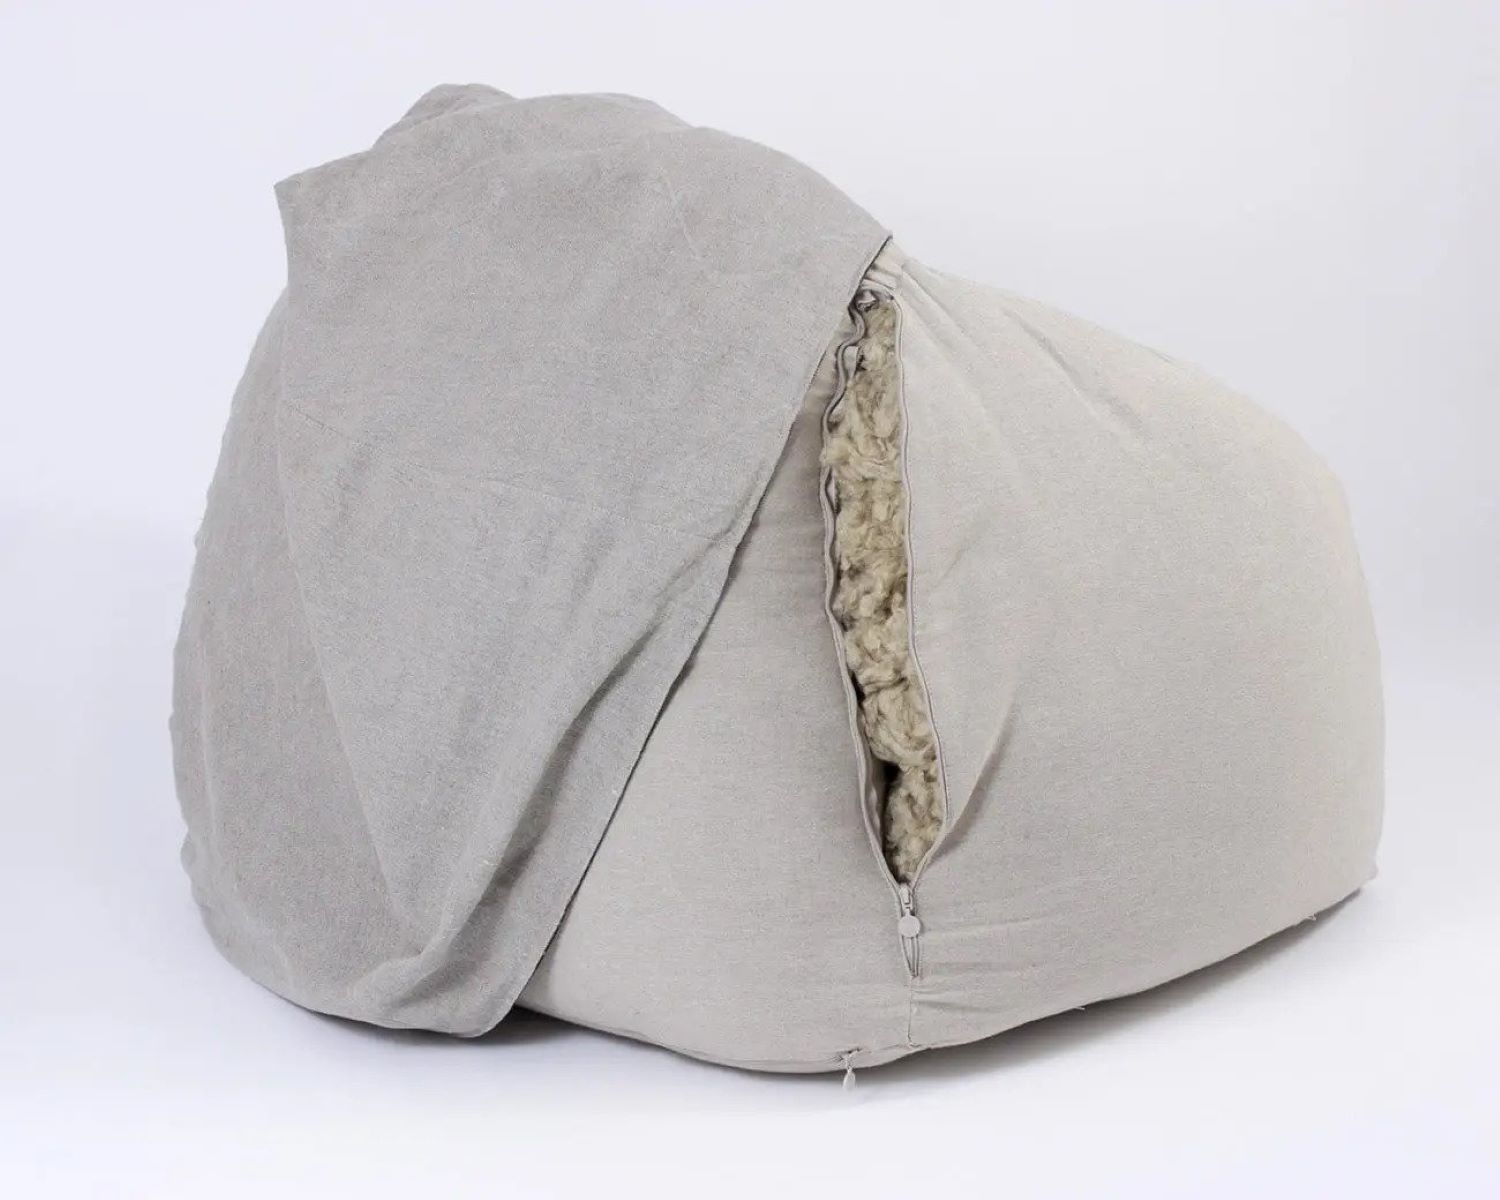
- Empty the Bean Bag: Start by emptying the bean bag of its fill. Find the zipper or opening and carefully remove all the beans. You can use a large plastic bag to collect and store the beans for later use.
- Inspect the Bean Bag: Take a moment to inspect the bean bag for any signs of damage or wear. Check the seams, zippers, and fabric for any tears or loose threads. If you notice any issues, consider repairing them before proceeding with the fluffing process.
- Prepare the Bean Bag: Give the bean bag a good shake to loosen any remaining fill and flatten it out on a clean, flat surface. This will make it easier to work with as you fluff it.
- Use a Vacuum Cleaner: Attach the hose attachment to your vacuum cleaner and use it to suck out any dirt or debris that may have accumulated inside the bean bag. Move the hose around all areas of the bean bag to ensure a thorough cleaning.
- Beat and Fluff the Bean Bag: With the bean bag empty and clean, it’s time to give it a good beating. Use your hands or a soft object, like a pillow or cushion, to gently beat and fluff the bean bag. This will help redistribute the remaining fill and restore its shape. Pay extra attention to the areas where the bean bag has flattened or lost its plumpness.
Once you have thoroughly fluffed the bean bag, it’s time to move on to the next step: refilling it. Continue reading to learn how to effectively refill your bean bag for optimal comfort.
Step 2: Refilling the Bean Bag
Refilling the bean bag is an essential step to bring back its fullness and ensure maximum comfort. Follow these steps to effectively refill your bean bag:
- Assess the Fill Level: Take a look at your empty bean bag and determine how much refill it needs. If it has lost a significant amount of fill and feels flat, you may need to add more refill beans. If it still has a decent amount of fill, you can skip this step.
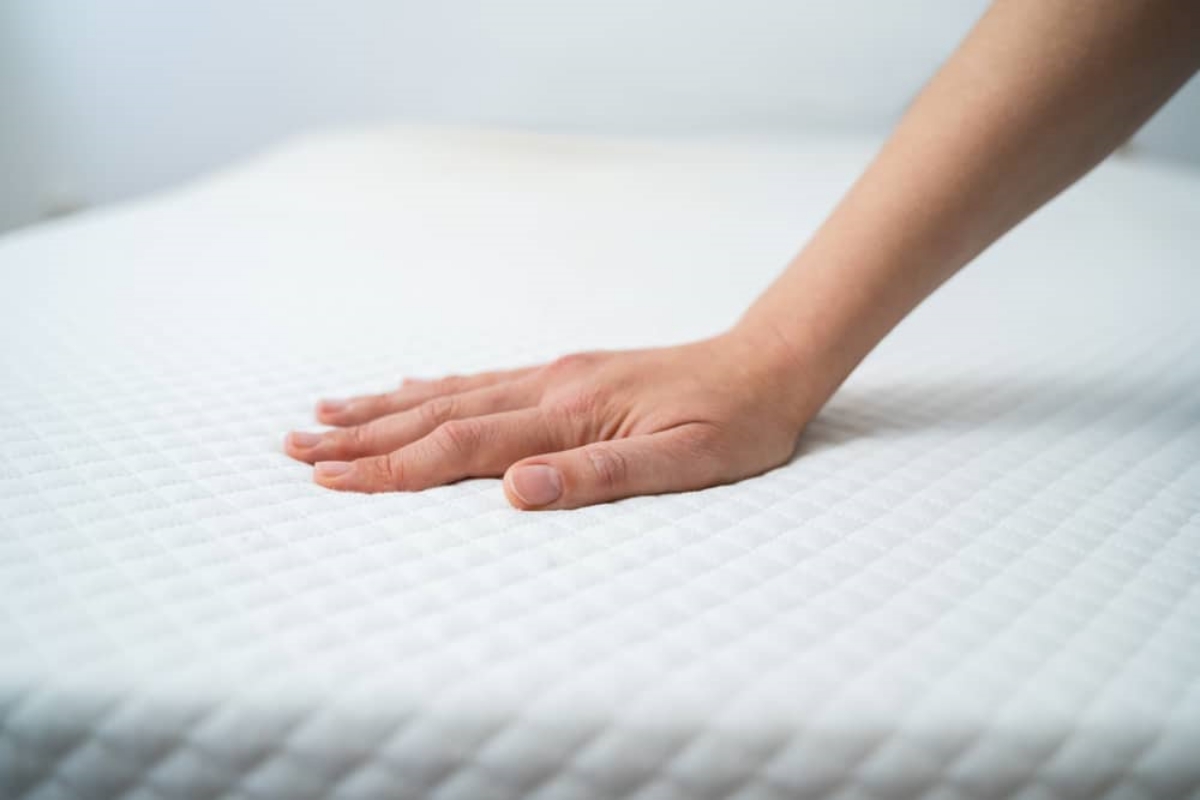
- Choose the Right Refill: There are different types of bean bag refills available, including polystyrene beads, foam, or shredded memory foam. Consider your personal preference and the level of comfort you desire when selecting the type of fill to use. You can find bean bag refills at home goods stores or order them online.
- Fill the Bean Bag Gradually: Begin by pouring a small amount of refill beans into the bean bag, using a funnel or the opening. Fill it gradually, shaking and fluffing the bag every few scoops to evenly distribute the beans. Avoid overfilling, as it can make the bean bag too firm or uncomfortable to sit on.
- Test the Comfort: Once you have added enough refill beans, test the comfort level of the bean bag by sitting on it. Adjust the fill as needed to achieve the desired level of softness and support.
- Close the Opening: Once you are satisfied with the fill level, carefully close the zipper or opening of the bean bag. Make sure it is securely fastened to prevent any spills or leaks.
With your bean bag refilled, it’s time to move on to the next step: shaking and conditioning the bean bag. Keep reading to learn how to ensure optimal fluffiness and comfort.
To fluff a bean bag, unzip the cover and remove the filling. Fluff and shake the filling to redistribute it evenly. Then, put it back into the cover and zip it up tightly. This will help restore the bean bag’s shape and comfort.
Step 3: Shaking and Conditioning the Bean Bag
Shaking and conditioning the bean bag is an important step to ensure that the fill is evenly distributed and the bag is in its optimal shape. Follow these steps to shake and condition your bean bag:
- Take the Bean Bag Outside: Move your bean bag to an open area, preferably outdoors. This will make it easier to shake and condition without making a mess inside your living room.
- Shake Vigorously: Grab the bean bag firmly and shake it vigorously side to side, up and down, and in circular motions. This will help evenly distribute the fill and fluff up the bag.
- Massage and Knead the Bag: After shaking, massage and knead the bean bag with your hands. Press the sides and top to manipulate the fill and encourage it to spread out evenly inside the bag.
- Flip and Rotate: Flip the bean bag over and rotate it to different angles to ensure that all sides are being conditioned. This will prevent any areas from becoming flat or lumpy.
- Repeat if Necessary: If your bean bag still feels uneven or lumpy, repeat the shaking, massaging, and flipping process until you are satisfied with the overall shape and feel.
Once you have shaken and conditioned your bean bag, it’s time to move on to the final step: testing the fluffiness. Keep reading to learn how to assess the fluffiness of your revitalized bean bag.
Read more: How To Make A Bean Bag
Step 4: Testing the Fluffiness
After following the previous steps to fluff, refill, and condition your bean bag, it’s time to test the fluffiness and ensure it meets your comfort expectations. Here’s how you can assess the fluffiness of your revitalized bean bag:
- Sit and Assess: Take a seat on your bean bag and pay attention to how it feels. Notice if it provides adequate support and cushioning. Is it comfortable to sit or lounge on? Assess if the bean bag has regained its plumpness and shape.
- Check for Unevenness: Run your hands over the surface of the bean bag to check for any areas that may feel uneven or lumpy. Gently press down to ensure the fill is evenly distributed. If you come across any uneven spots, give them a gentle massage or knead them to redistribute the fill.
- Observe the Appearance: Step back and visually inspect the bean bag. Does it look full and fluffy? Notice if there are any areas that look flattened or deflated. If so, try shaking or massaging those specific areas to restore their shape.
- Ask for Feedback: If you have friends or family members around, invite them to sit on the bean bag and provide feedback on its fluffiness. They may notice things that you may have missed, and their input can help you make any necessary adjustments.
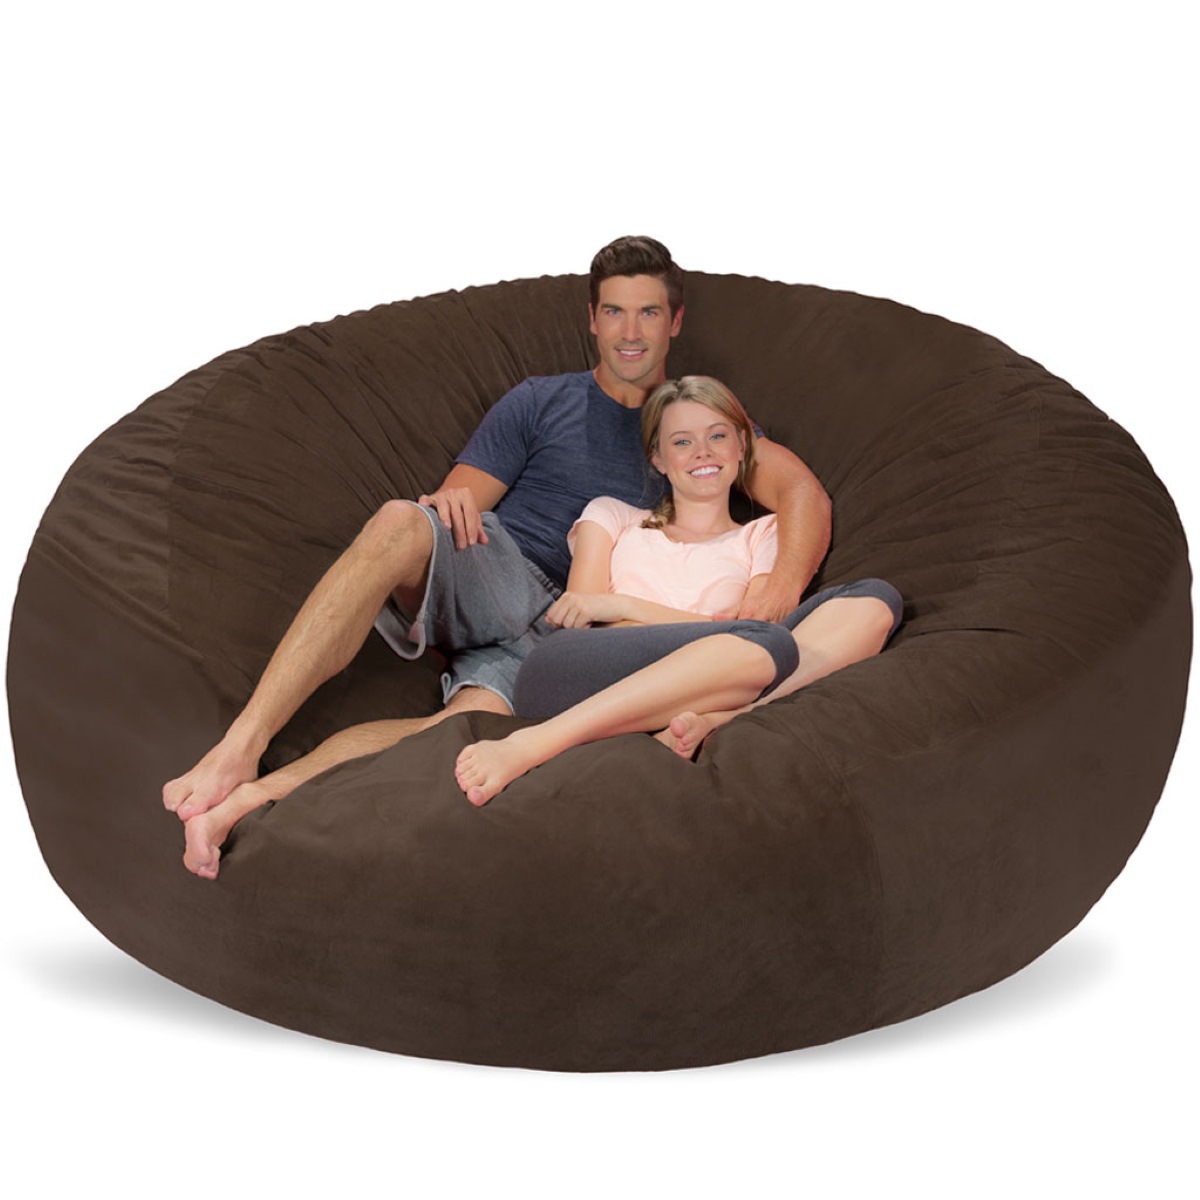
If you are satisfied with the fluffiness and comfort of your bean bag, congratulations! You have successfully fluffed and revitalized it. Now, all that’s left is to enjoy the cozy seating experience it provides.
However, it’s important to keep in mind that bean bags may require occasional fluffing and maintenance to keep them in optimal condition. If you notice any signs of flattening or loss of shape over time, simply repeat the fluffing process outlined in this article.
By regularly fluffing and maintaining your bean bag, you can ensure that it remains a comfortable and inviting piece of furniture in your living room for years to come.
Remember, a well-fluffed bean bag equals hours of lounging bliss!
Conclusion
A bean bag is a versatile and comfortable piece of furniture that can add a touch of coziness and style to your living room. Over time, it’s natural for a bean bag to lose its fluffiness and become flat and uncomfortable. However, with a few simple steps, you can easily restore its shape and comfort.
In this article, we’ve covered the essential steps to fluffing a bean bag. We discussed the materials needed, including a bean bag refill, vacuum cleaner, large plastic bag, and tarp or sheet. We then explored the step-by-step process of fluffing, refilling, shaking, and conditioning the bean bag, ensuring that the fill is evenly distributed and the bag is in optimal shape.
After following these steps, it’s important to test the fluffiness by sitting on the bean bag and assessing its comfort and appearance. If needed, you can make further adjustments to redistribute the fill and restore any flat or uneven areas.
By taking the time to maintain your bean bag and regularly fluff it, you can ensure that it remains a cozy and inviting seating option in your living room for years to come. Remember, a well-fluffed bean bag equals hours of comfortable lounging and relaxation.
So, go ahead and revive your bean bag using the tips provided in this article. Enjoy the comfort and style it brings to your living space, and make the most out of your bean bag experience!
Frequently Asked Questions about How To Fluff A Bean Bag
Was this page helpful?
At Storables.com, we guarantee accurate and reliable information. Our content, validated by Expert Board Contributors, is crafted following stringent Editorial Policies. We're committed to providing you with well-researched, expert-backed insights for all your informational needs.


0 thoughts on “How To Fluff A Bean Bag”