Articles
How To Dry A Duvet
Modified: August 27, 2024
Discover effective methods and tips in our articles on how to dry a duvet. Keep your bedding fresh and clean with these expert recommendations.
(Many of the links in this article redirect to a specific reviewed product. Your purchase of these products through affiliate links helps to generate commission for Storables.com, at no extra cost. Learn more)
Introduction
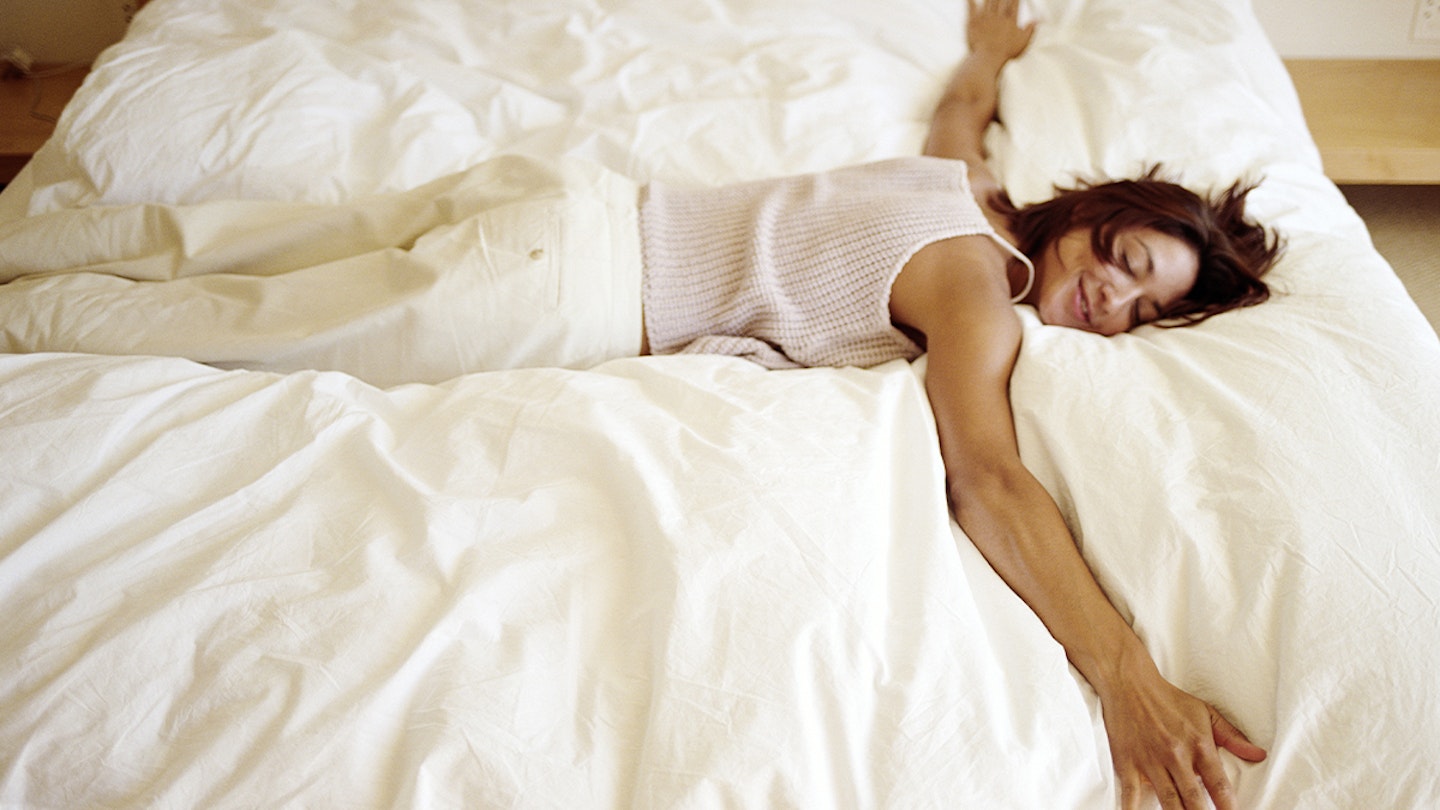
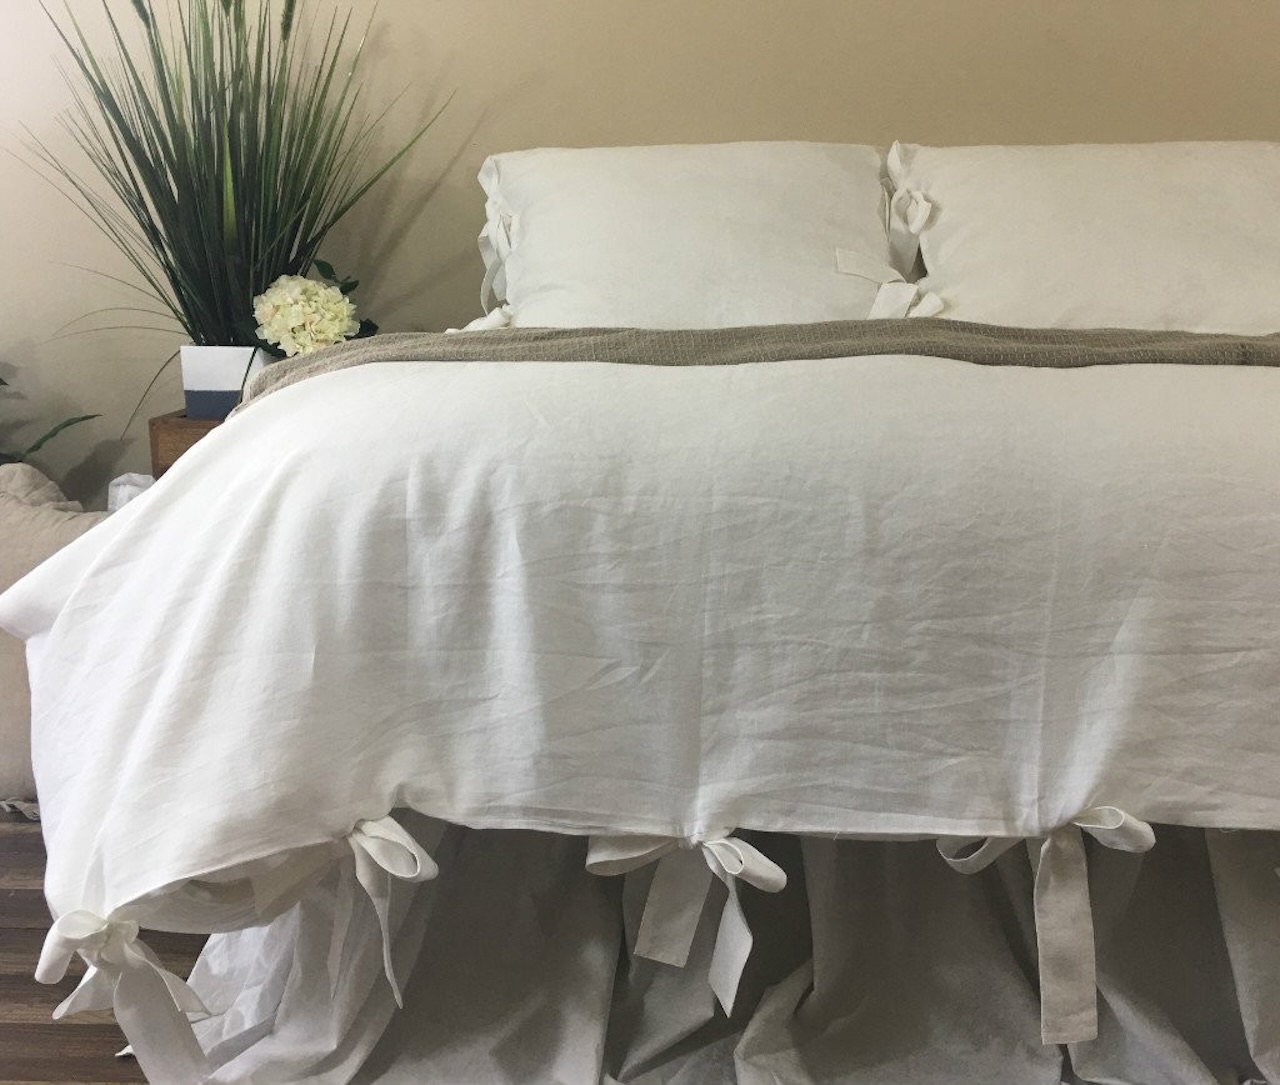
Duvets are a cozy and essential part of our bedrooms, providing warmth and comfort during the colder months. However, there comes a time when we need to clean and dry our duvets to keep them fresh and maintain their quality. Drying a duvet properly is crucial to prevent mold, mildew, and unpleasant odors.
In this article, we will guide you through the process of drying a duvet effectively. Whether you choose to air dry or use a dryer, we will provide you with the necessary steps to ensure your duvet is not only clean but also fluffy and ready to be used again.
Before we dive into the drying process, it’s important to check the care label on your duvet. Some duvets may have specific instructions or recommendations for drying. If your duvet doesn’t have a care label or you’re unsure about the instructions, follow the general guidelines provided in this article.
Now, let’s get started and learn how to dry a duvet properly!
Key Takeaways:
- Properly drying a duvet is crucial for maintaining its quality and freshness. Whether air drying or using a dryer, following the right steps ensures a clean, fluffy, and cozy duvet ready for use.
- Regularly fluffing and reshaping your duvet helps maintain its optimal condition, ensuring long-lasting warmth and comfort for a restful night’s sleep. Always refer to care instructions and seek professional advice if unsure.
Read more: Can You Tumble Dry A Duvet?
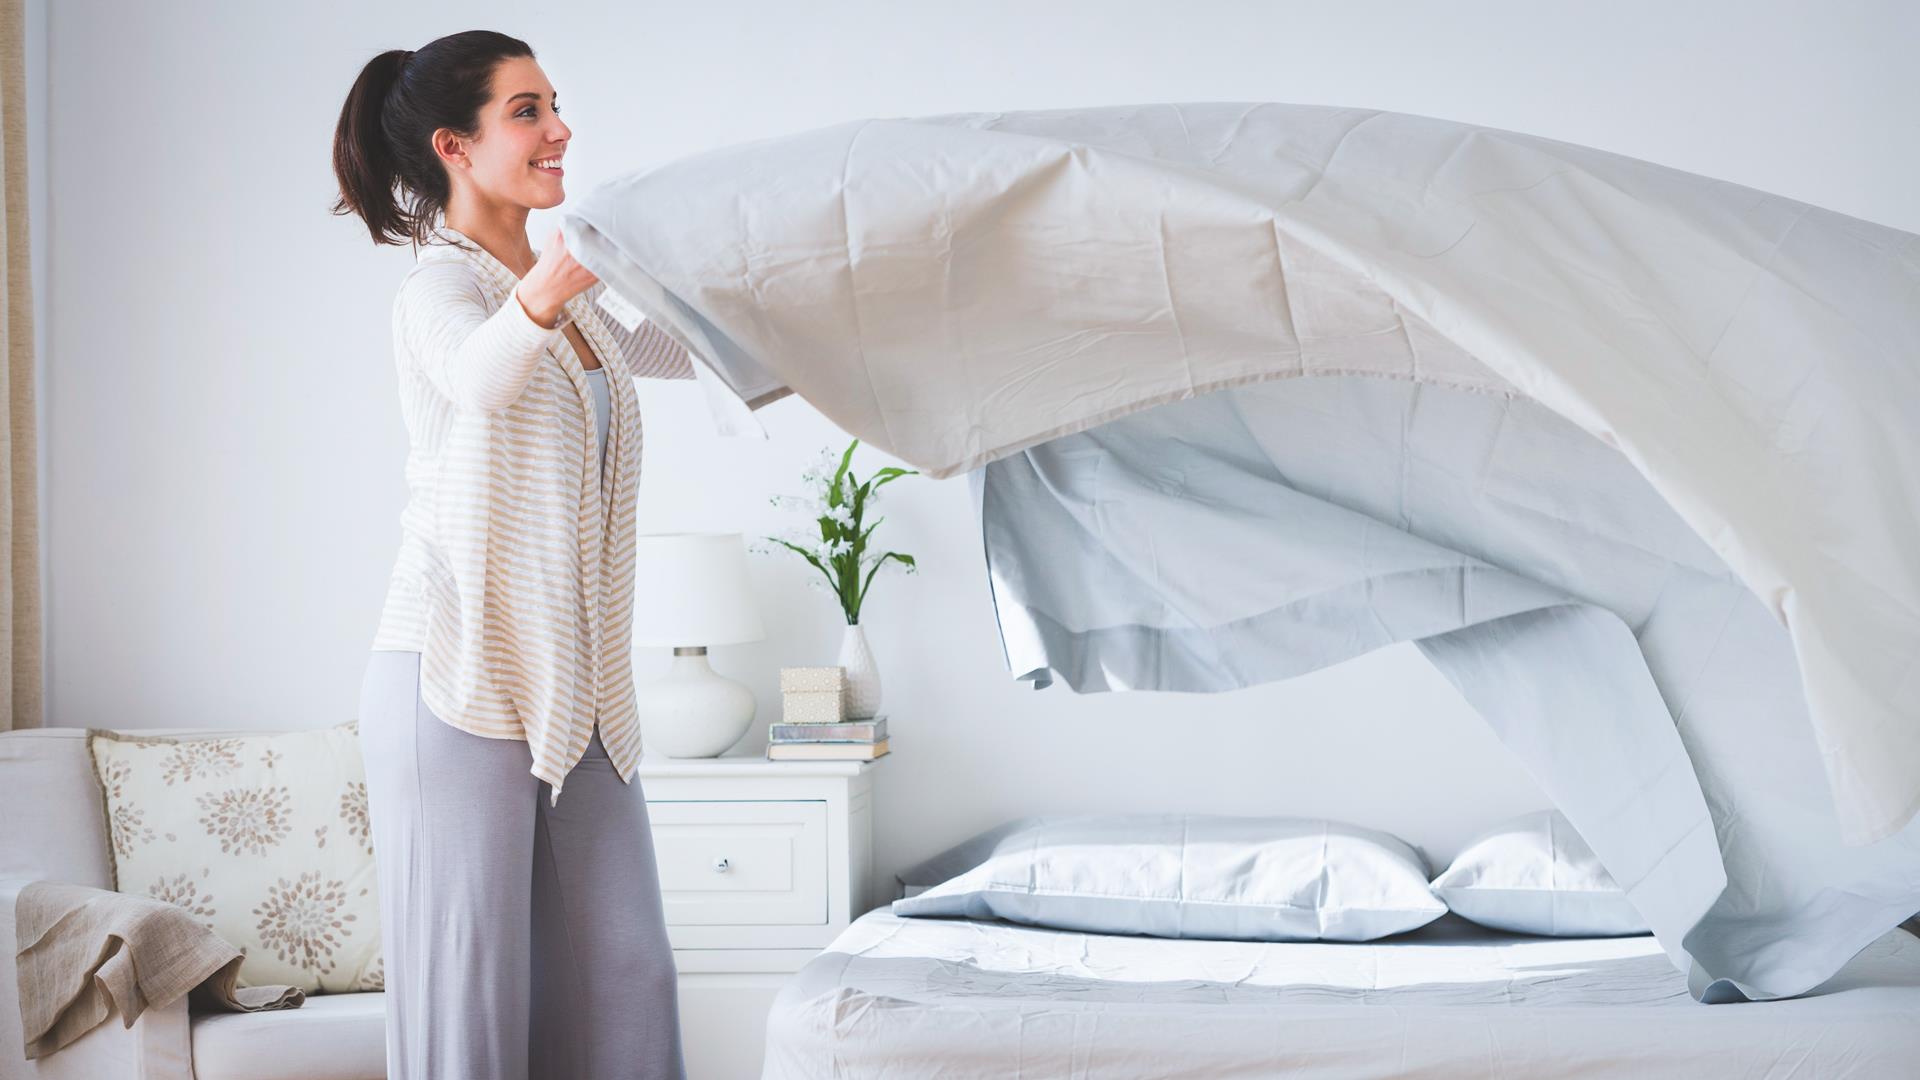
Step 1: Prepare the duvet for drying
Before you begin the drying process, it’s important to prepare your duvet properly. Here are the steps to follow:
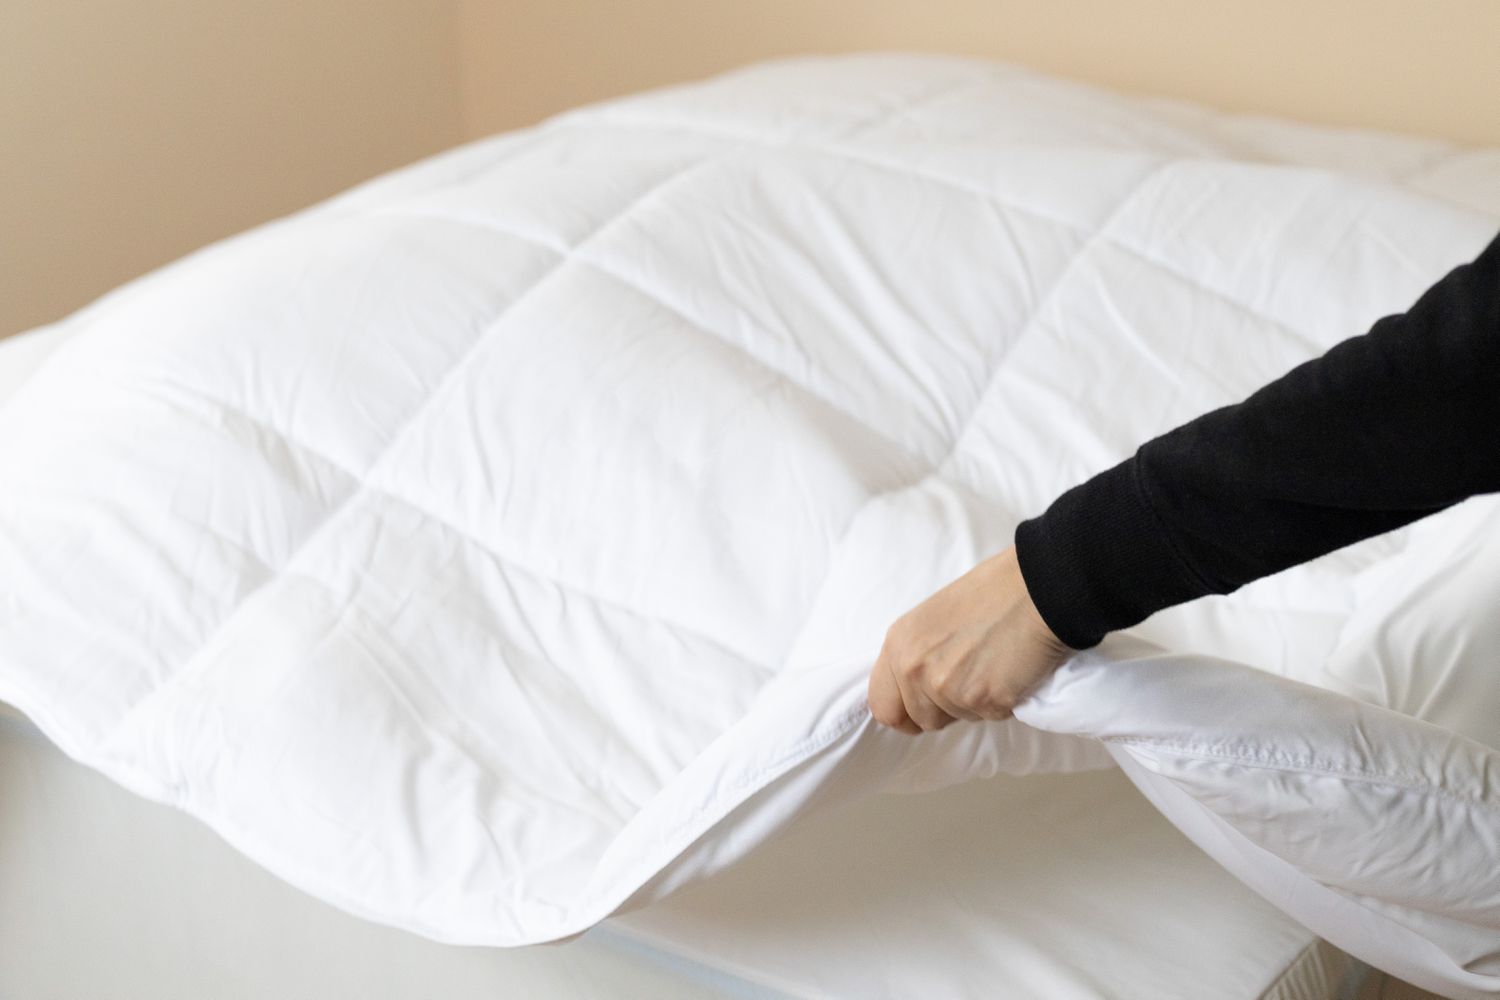
- Remove the duvet cover: If your duvet has a removable cover, take it off and set it aside. This will allow the duvet to dry more evenly and efficiently.
- Inspect for stains or spots: Carefully examine the duvet for any stains or spots. If you find any, spot clean them using a mild detergent and a soft cloth. Gently dab the stained area until the stain fades away. Avoid rubbing or scrubbing, as this can damage the fabric.
- Mend any tears or loose threads: Check the duvet for any tears, loose threads, or weak seams. Mend them using a needle and thread to prevent further damage during the drying process.
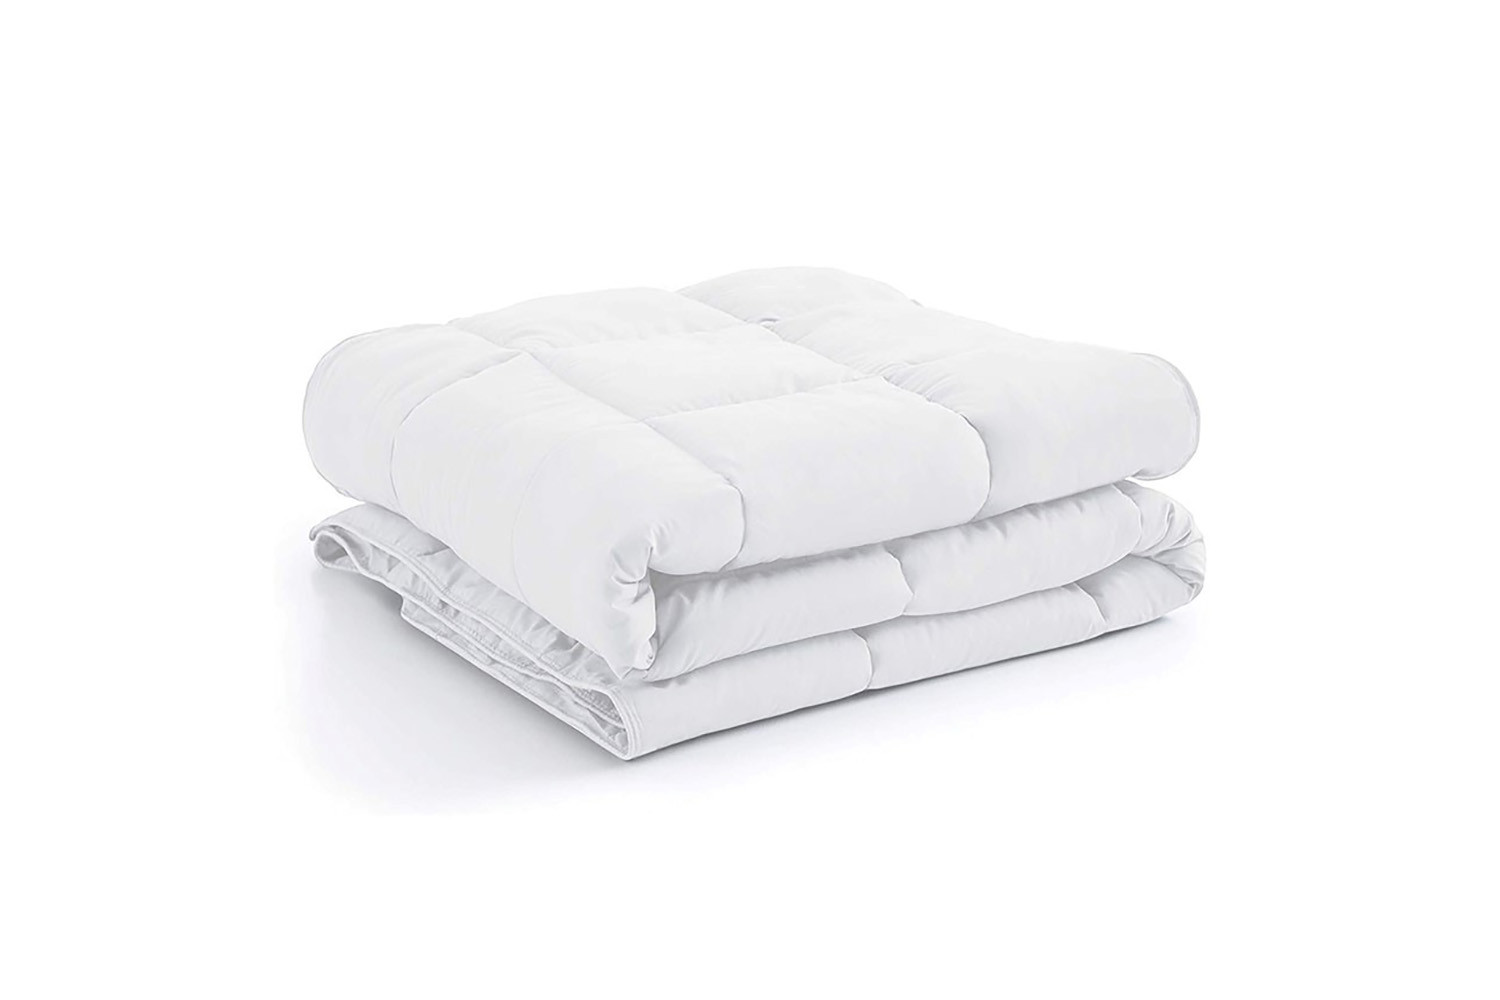
- Shake and fluff the duvet: Give the duvet a good shake to remove any loose debris or dust. Then, fluff it up by patting and shaking it gently. This will help restore the loft and ensure even drying.
By following these steps, you’ll ensure that your duvet is clean, free from stains, and ready to be dried properly.
Step 2: Choose the right drying method
Choosing the right drying method is crucial to ensure that your duvet dries evenly and retains its quality. Depending on your preferences and available resources, you can choose between air drying or using a dryer. Here are the options:
- Air drying: Air drying is a natural and gentle method for drying your duvet. This method is suitable for duvets made of delicate fabrics or those that are not machine washable. To air dry your duvet:
- Find a well-ventilated area: Choose a location where your duvet can hang freely and get good air circulation.
- Use a clothesline or drying rack: Hang your duvet on a clothesline or drying rack, making sure it’s spread out evenly.
- Rotate and fluff: Every few hours, rotate and fluff the duvet to ensure even drying and prevent clumping of the fill.
- Allow ample time: Air drying can take several hours to a day, depending on the thickness of the duvet and the humidity in the environment.
- Using a dryer: If you prefer a quicker drying method or don’t have access to outdoor space for air drying, using a dryer is a convenient option. However, it’s important to set the dryer to a low heat setting to avoid damaging the duvet. Follow these steps:
- Use a large-capacity dryer: Make sure your dryer is large enough to accommodate the size of your duvet without overcrowding.
- Choose low heat or air fluff setting: Set the dryer to a low heat or air fluff setting to prevent excessive heat exposure.
- Place clean tennis balls or dryer balls: Adding a few clean tennis balls or dryer balls to the dryer helps to fluff and distribute the fill evenly.
- Dry in intervals: Dry the duvet in 10 to 15-minute intervals, taking breaks to remove and fluff the duvet to prevent clumping.
- Check for dryness: Regularly check the duvet for dryness. It should feel completely dry to the touch before removing it from the dryer.
Consider your preferences, time availability, and the materials your duvet is made of when choosing the drying method. Now, let’s move on to the actual drying process in the next steps.
Step 3: Air drying the duvet
If you’ve chosen to air dry your duvet, here are the steps to follow:
- Find a well-ventilated area: Look for a spacious, well-ventilated area where you can hang your duvet to dry. This could be a clothesline in your backyard or a large drying rack indoors.
- Spread it out evenly: Lay out your duvet across the clothesline or drying rack, ensuring that it is spread out evenly to facilitate proper airflow and drying.
- Choose a dry, sunny day: Opt for a dry and sunny day to aid in the drying process. Sunlight can help kill bacteria and freshen up your duvet.
- Rotate and fluff: Every few hours, rotate the duvet and give it a gentle shake or pat to fluff it up and prevent the filling from clumping together.
- Ensure complete drying: Depending on the thickness of your duvet and the weather conditions, air drying can take a day or longer. Ensure that the duvet is completely dry before proceeding to the next step.
Keep in mind that air drying may take longer than using a dryer, especially in humid climates. However, this method is gentle and highly recommended for delicate fabrics or duvets with intricate designs. It allows the duvet to retain its shape and quality without the harsh effects of a machine dryer.
Once your duvet is completely dry, it’s time to move on to the next step: fluffing and reassembling the duvet.
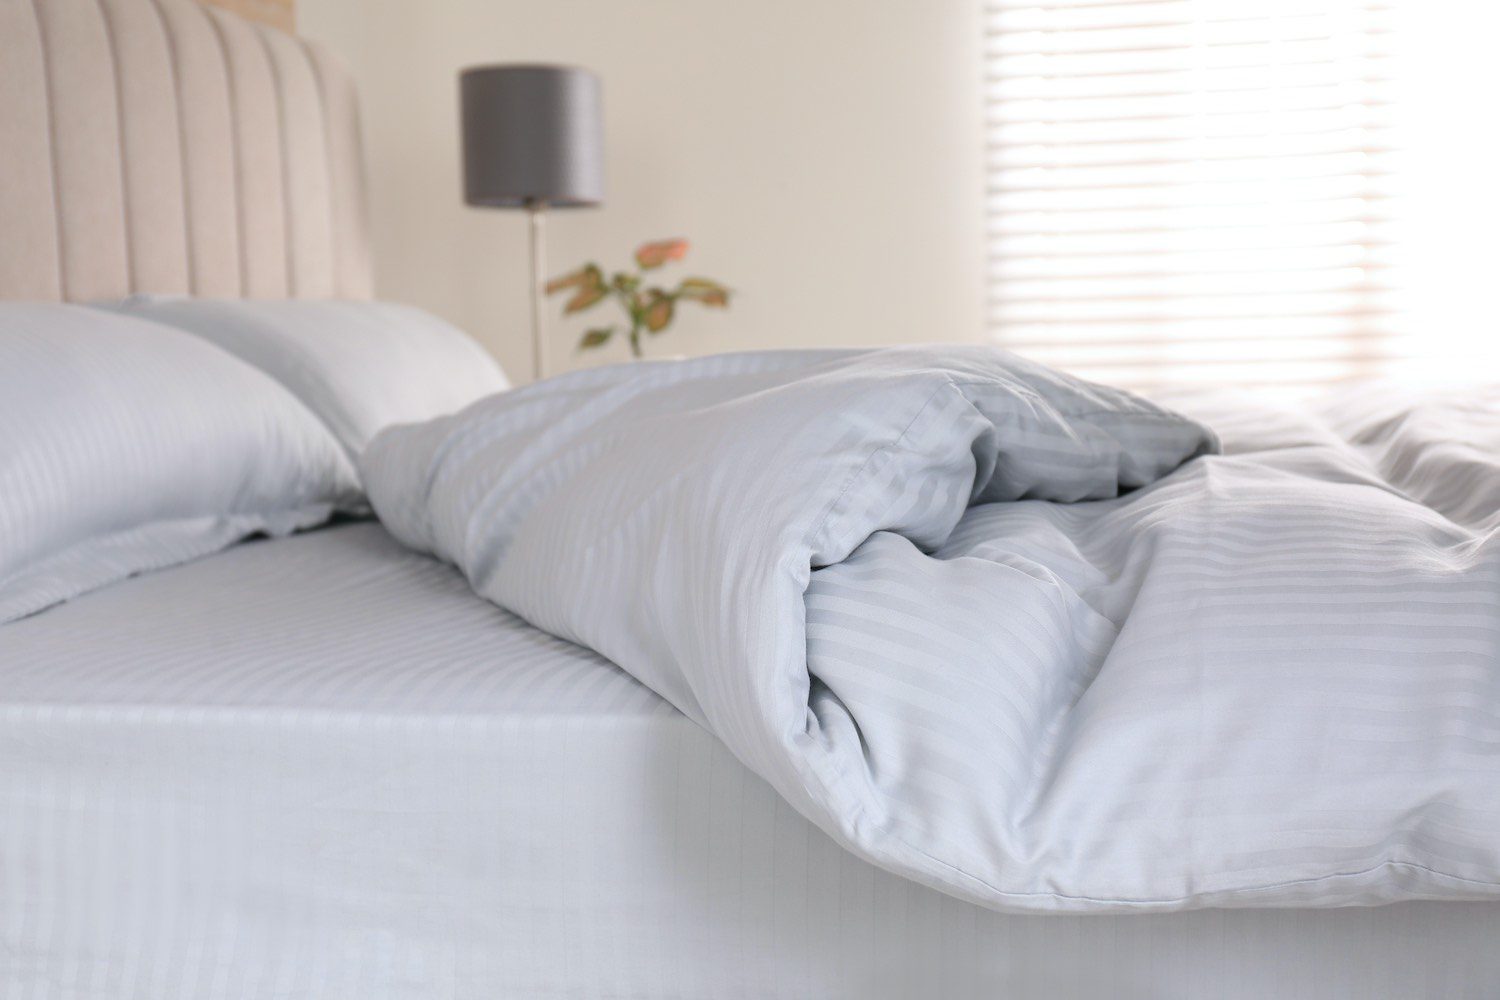
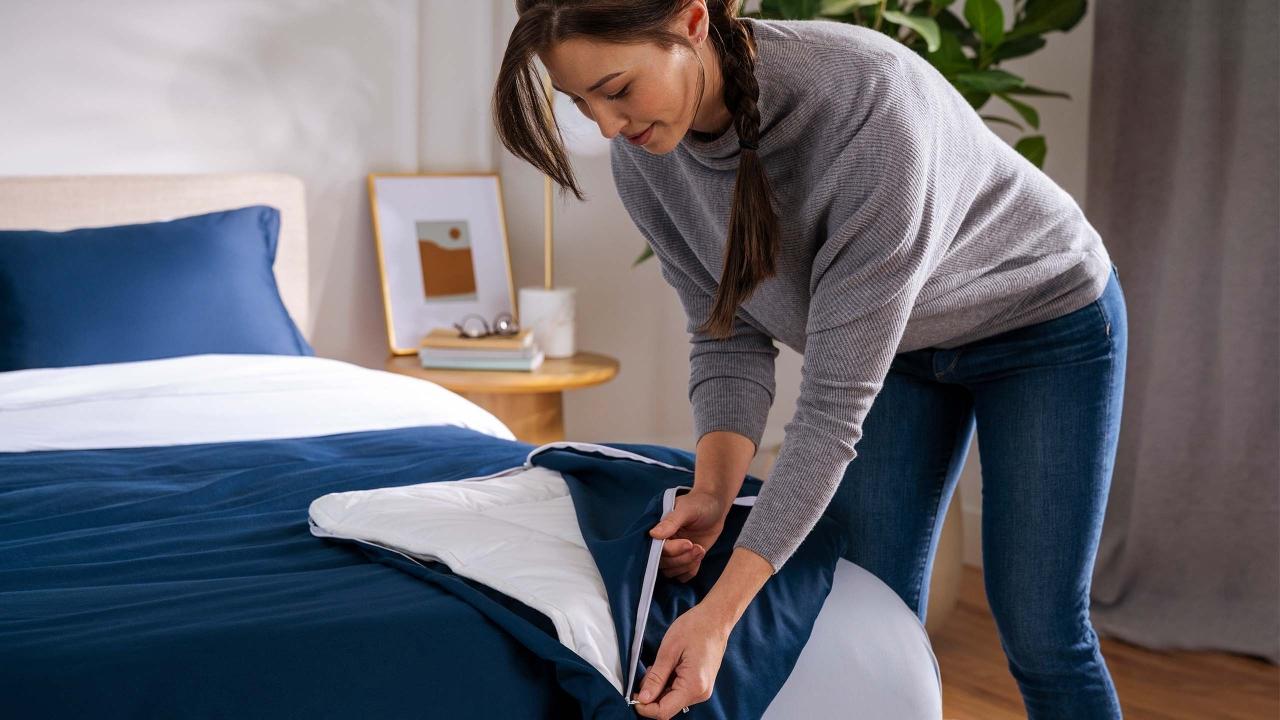
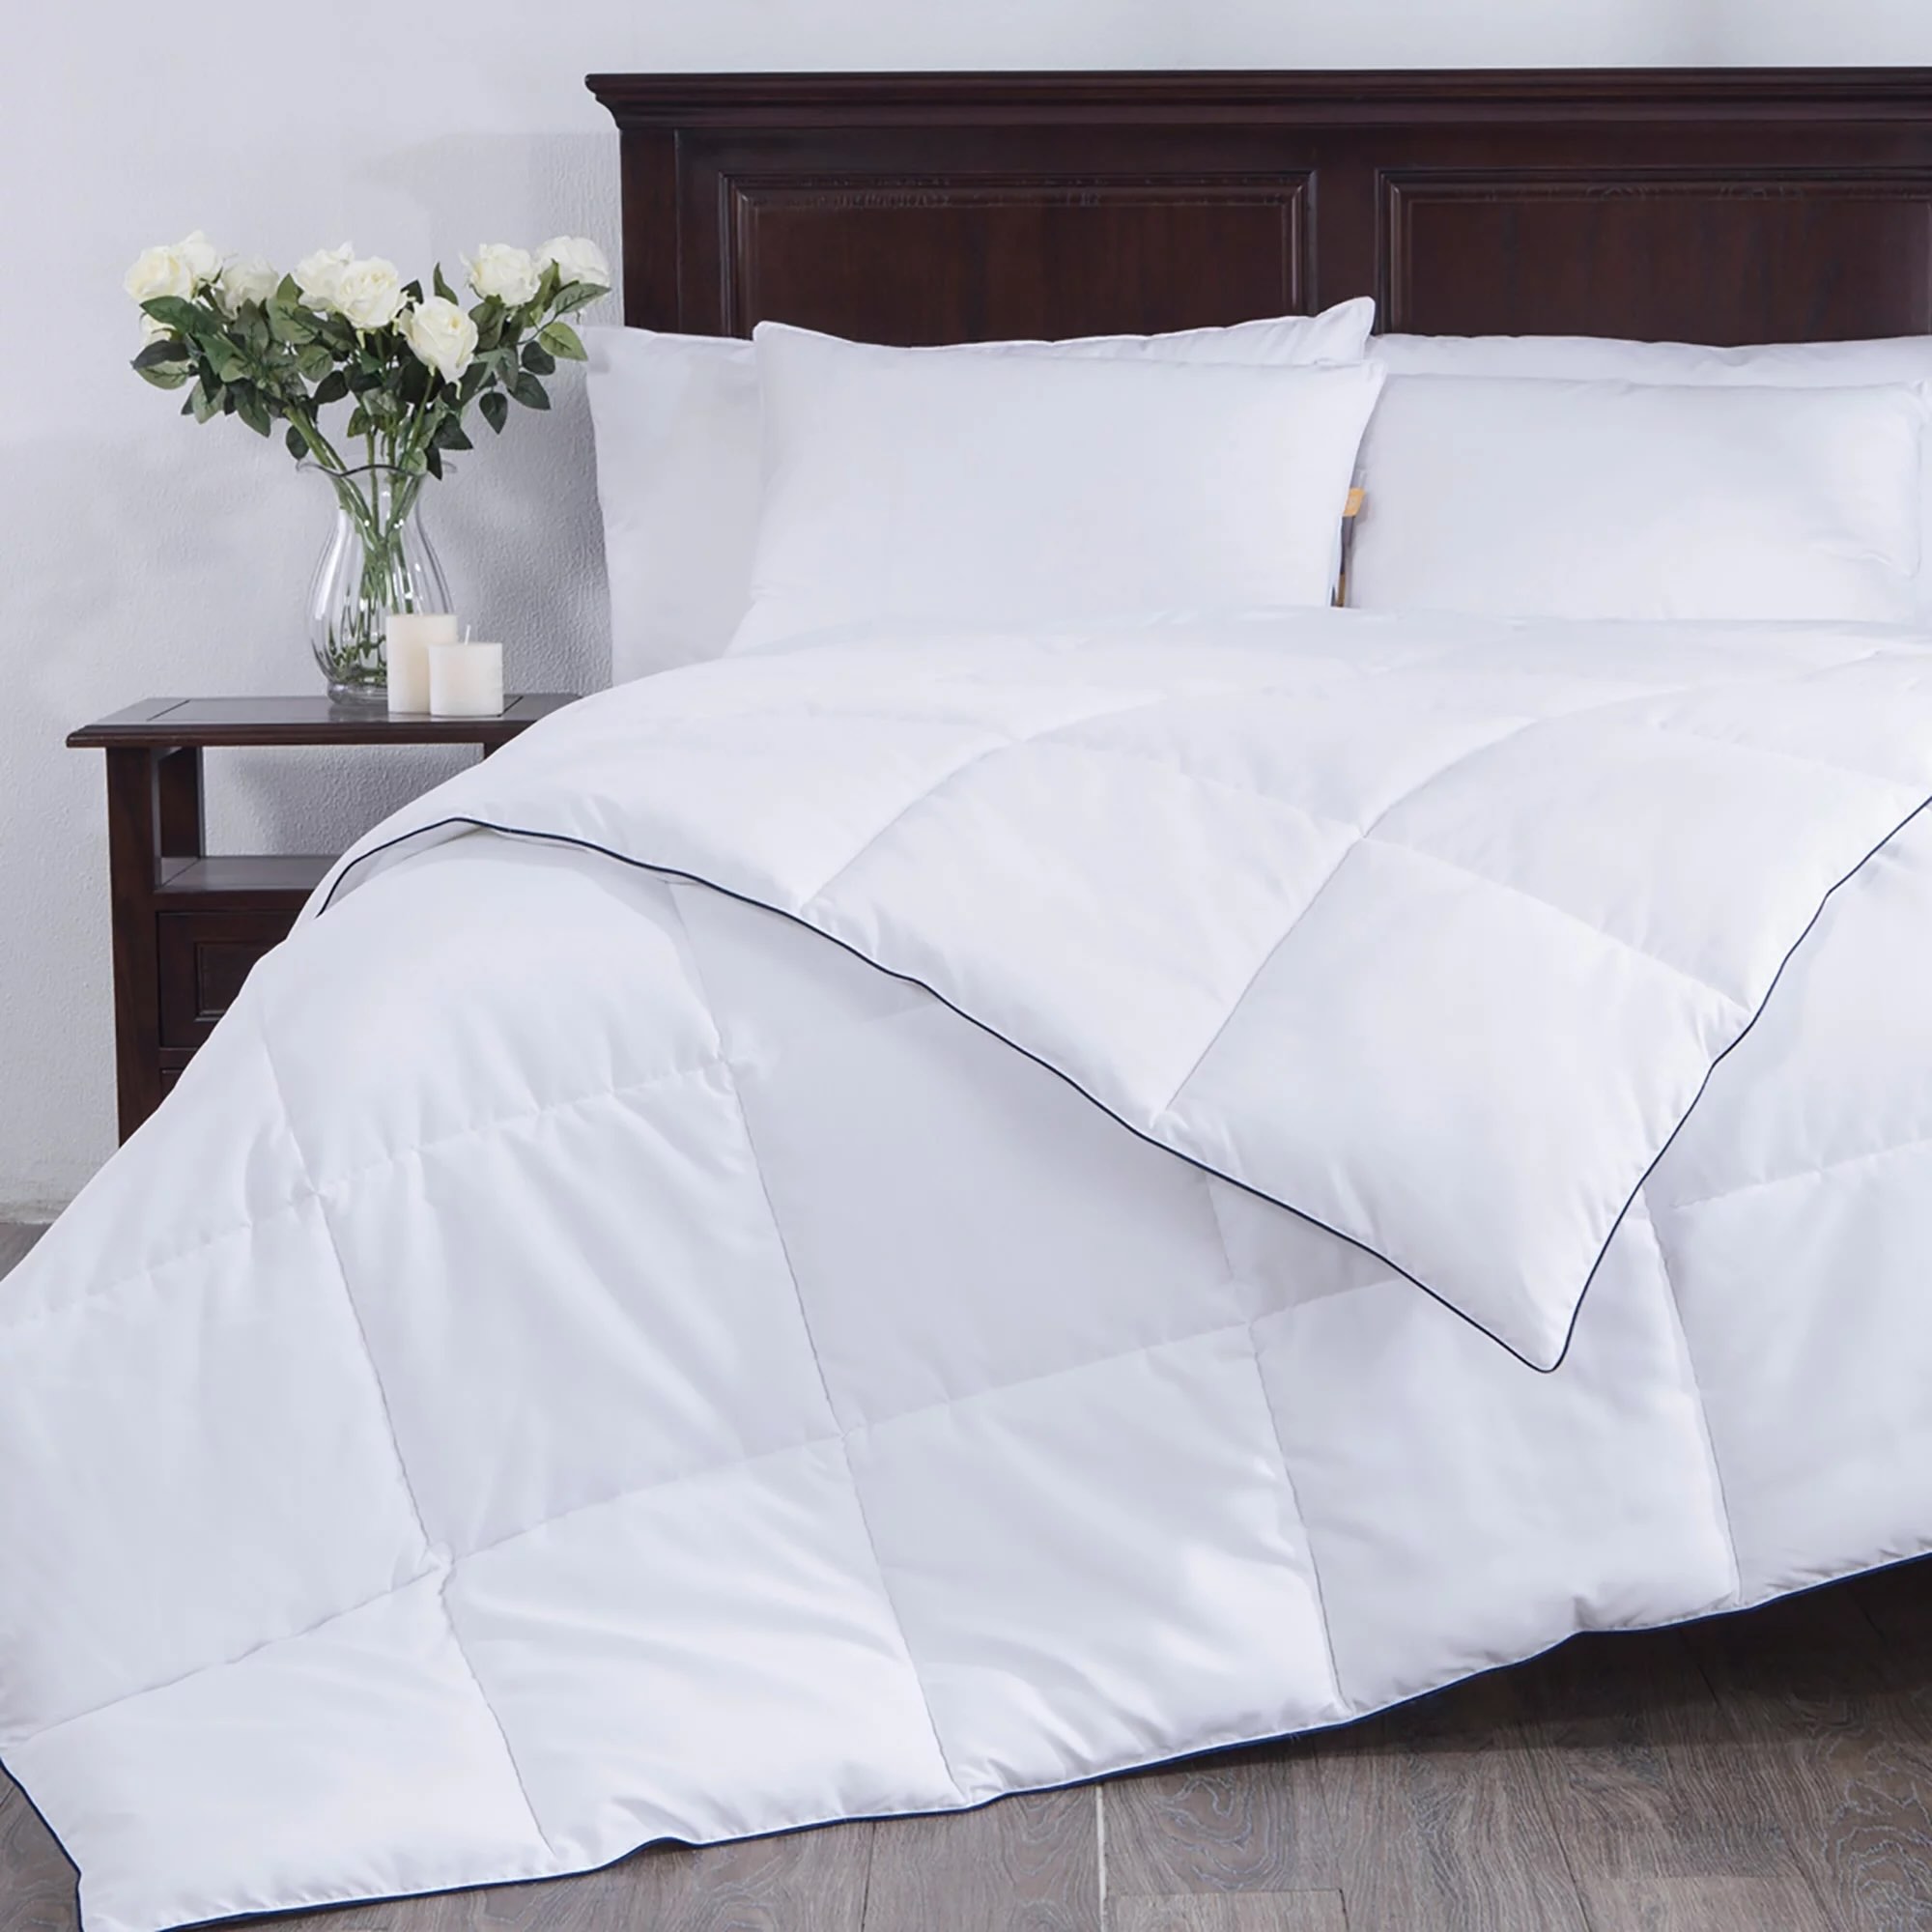
After washing your duvet, place it in the dryer with a few tennis balls to help fluff and evenly distribute the filling. Use a low heat setting and check regularly to prevent overheating.
Step 4: Using a dryer to dry the duvet
If you’ve decided to use a dryer to dry your duvet, follow these steps:
- Preparation: Before placing your duvet in the dryer, make sure it’s clean and free from any stains or spots. If needed, spot clean it with a mild detergent and let it dry completely.
- Check the capacity: Ensure that your dryer is large enough to accommodate the size of your duvet without it being crammed or folded too tightly.
- Low heat setting: Set your dryer to a low heat or air fluff setting. High heat can damage the filling or fabric of your duvet, so it’s important to use a gentle drying cycle.
- Add dryer balls or clean tennis balls: Include a few clean tennis balls or dryer balls in the dryer with your duvet. These will help to fluff up the duvet and prevent the fill from clumping together during the drying process.
- Drying in intervals: Start the dryer and let it run for 10 to 15-minute intervals. After each interval, take a break to remove the duvet and give it a gentle shake or fluff to redistribute the filling.
- Checking for dryness: Regularly check the duvet for dryness. It should feel completely dry to the touch. If it still feels damp, continue drying it in intervals until it’s fully dry.
It’s important to be patient when using a dryer. Drying your duvet in intervals and taking breaks to fluff it will prevent overheating and ensure that it dries evenly. Avoid rushing the process and resist the temptation to crank up the heat to speed up drying time.
Once your duvet is completely dry, it’s time to move on to the final step: fluffing and reassembling the duvet.
Read more: How Much Does Dry Cleaning A Duvet Cost
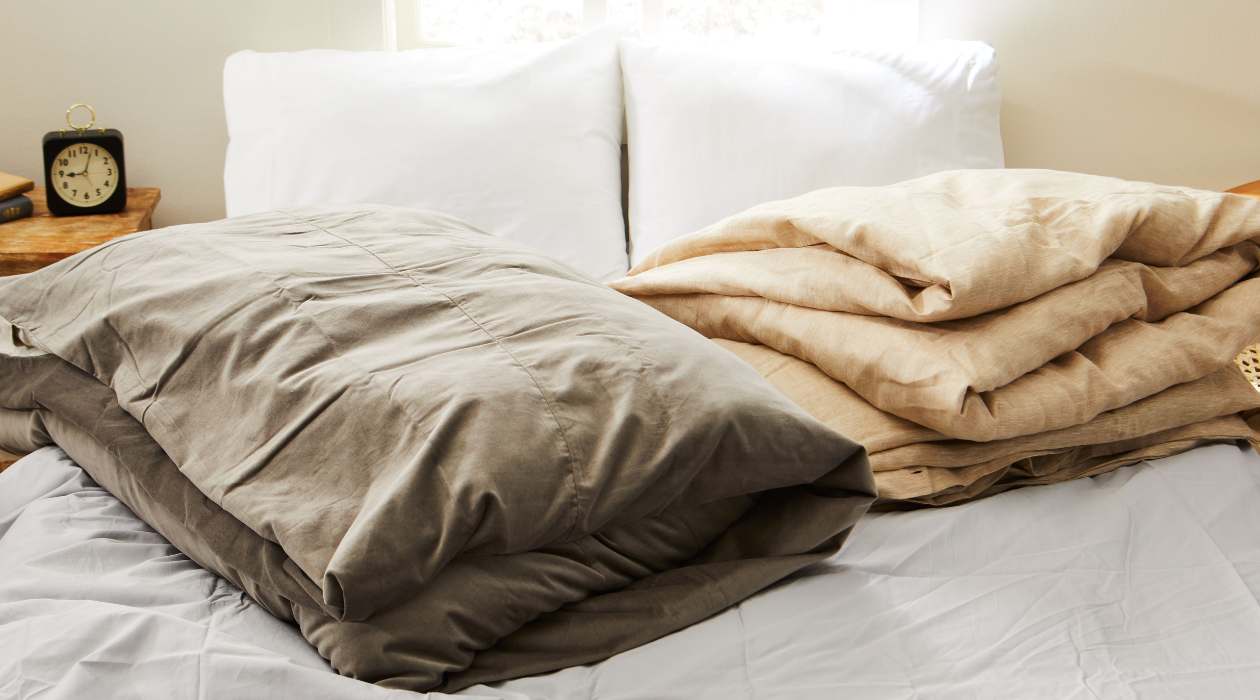
Step 5: Fluffing and reassembling the duvet
After drying your duvet, it’s important to give it a final fluffing to restore its loft and ensure it’s ready for use. Here are the steps to follow:
- Fluff the duvet: Once your duvet is fully dry, take it out of the dryer or remove it from the drying area. Give it a gentle shake or fluff to loosen up the filling and restore its natural loft.
- Inspect for clumps or uneven areas: Check your duvet for any clumps or areas where the filling may have shifted during the drying process. Gently massage these areas to redistribute the filling and eliminate any uneven spots.
- Reassemble the duvet: If your duvet has a removable cover, now is the time to reassemble it. Carefully insert the dry duvet back into the cover, making sure it fits evenly and snugly.
- Smooth out any wrinkles: Smooth out any wrinkles or creases on the duvet cover to give it a neat and tidy appearance.
- Fluff and reshape regularly: To keep your duvet in optimal condition, make a habit of fluffing and reshaping it regularly. This helps to maintain its loft and even distribution of the filling.
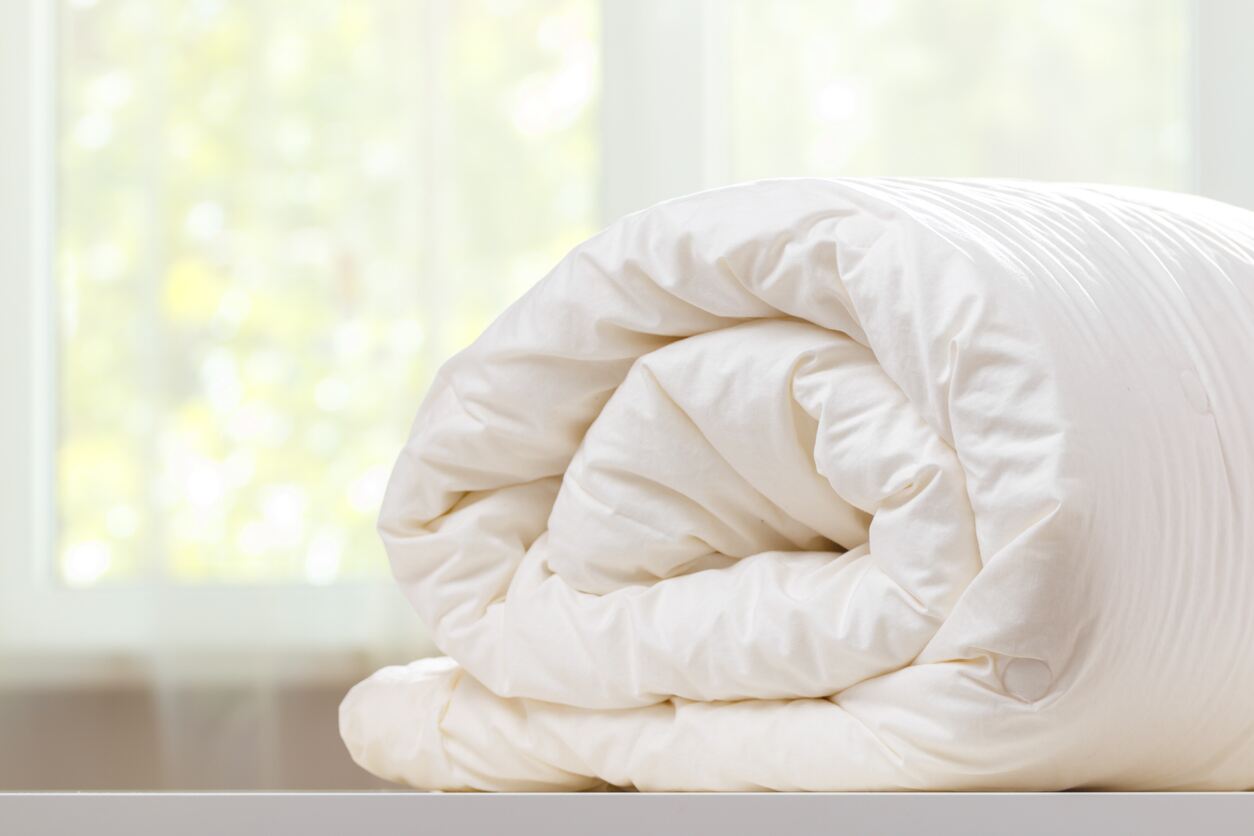
By following these steps, your duvet will be clean, dry, and fluffy, ready to provide you with cozy warmth and comfort.
Remember to always check the care instructions on your duvet and follow any specific recommendations for drying. If in doubt, consult the manufacturer or seek professional advice.
Now that you’ve successfully dried and fluffed your duvet, you can enjoy the fresh and cozy feeling it provides, ensuring a good night’s sleep.
Happy drying!
Conclusion
Drying a duvet properly is essential to maintain its quality, freshness, and longevity. Whether you choose to air dry or use a dryer, following the right steps will ensure that your duvet is clean, dry, and ready for use.
In this article, we’ve provided a comprehensive guide to help you through the drying process. We started by preparing the duvet, inspecting for stains, mending any tears, and giving it a good shake to fluff it up.
Next, we explored the two main drying methods: air drying and using a dryer. Air drying is a natural and gentle method, perfect for delicate fabrics or duvets with intricate designs. On the other hand, using a dryer offers a quicker drying process, but it’s crucial to use a low heat setting to avoid damaging the duvet.
We discussed the steps involved in air drying, including finding a well-ventilated area, spreading out the duvet evenly, and ensuring complete drying before moving on. We also provided instructions for using a dryer, such as checking the capacity, setting a low heat or air fluff setting, and periodically fluffing the duvet during the drying process.
After the duvet is dry, we emphasized the importance of fluffing and reassembling it. This step involves giving the duvet a final shake or fluff, inspecting for clumps or uneven areas, and reassembling it if there’s a removable cover. We also recommended regularly fluffing and reshaping the duvet to maintain its optimal condition.
By following these steps, you can ensure that your duvet remains clean, fresh, and cozy, ready to provide you with warmth and comfort.
Remember to always refer to the care instructions on your duvet for specific recommendations. And if you’re unsure, it’s best to consult the manufacturer or seek professional advice.
We hope this guide has been helpful in guiding you through the process of drying a duvet. Now, you can enjoy the benefits of a clean and revitalized duvet for a restful night’s sleep.
Happy drying!
Frequently Asked Questions about How To Dry A Duvet
Was this page helpful?
At Storables.com, we guarantee accurate and reliable information. Our content, validated by Expert Board Contributors, is crafted following stringent Editorial Policies. We're committed to providing you with well-researched, expert-backed insights for all your informational needs.
0 thoughts on “How To Dry A Duvet”