
Articles
How To Fold A Fitted Sheet
Modified: August 27, 2024
Learn the best technique for folding a fitted sheet in this step-by-step guide. Our articles provide helpful tips and tricks to make the process easy and efficient.
(Many of the links in this article redirect to a specific reviewed product. Your purchase of these products through affiliate links helps to generate commission for Storables.com, at no extra cost. Learn more)
Introduction
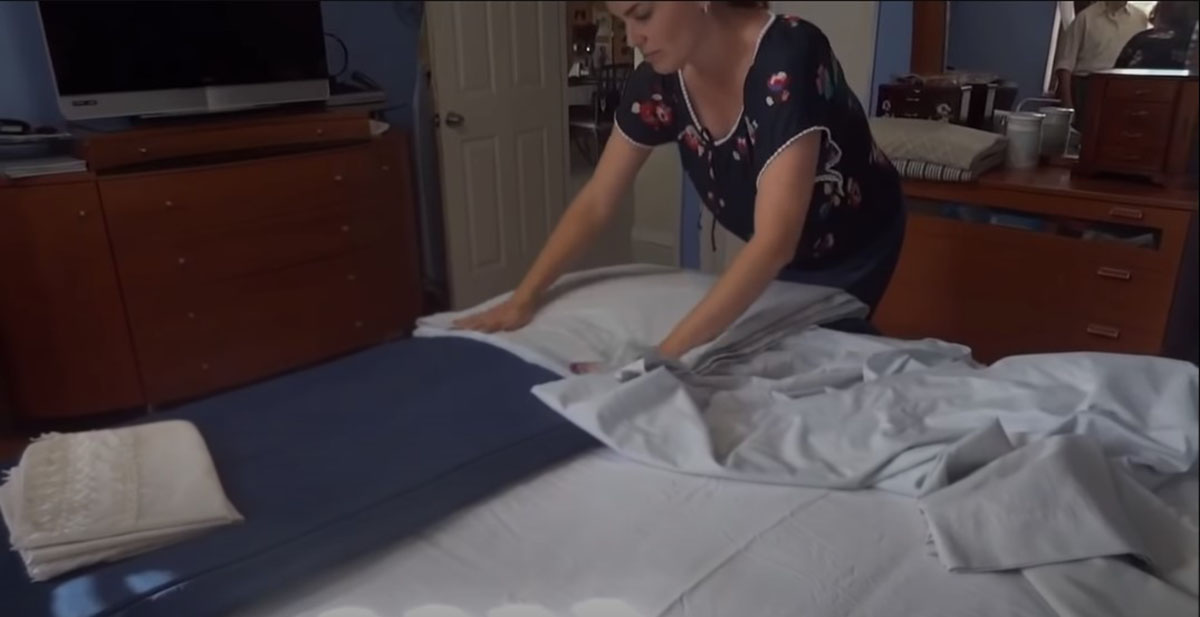
Folding a fitted sheet can often be a frustrating and challenging task. The elastic edges and awkward shape of the sheet can make it seem almost impossible to achieve that perfectly folded rectangle. But fear not, with the right technique and a little practice, you’ll be able to conquer this household chore like a pro.
In this article, we will guide you through a step-by-step process on how to fold a fitted sheet with ease. Whether you’re a neat freak who loves perfectly organized linen closets or simply looking to declutter your bedroom, this guide will help you master the art of folding fitted sheets.
Before we dive into the details, let’s have a quick glance at the necessary tools you’ll need:
- A fitted sheet
- A flat surface such as a table or bed
- A clear space with enough room to spread out the sheet
Now that you have everything you need, let’s jump into the first step of the folding process.
Key Takeaways:
- Master the art of folding fitted sheets with ease using the step-by-step guide. Starting with the corners, folding into a rectangle, and final storage, you’ll conquer this household chore like a pro.
- Embrace the challenge of folding a fitted sheet with confidence. Practice patience, follow the steps carefully, and achieve a sense of satisfaction and accomplishment in keeping your linen closet or bedroom organized.
Read more: How To Fold Fitted Bed Sheets
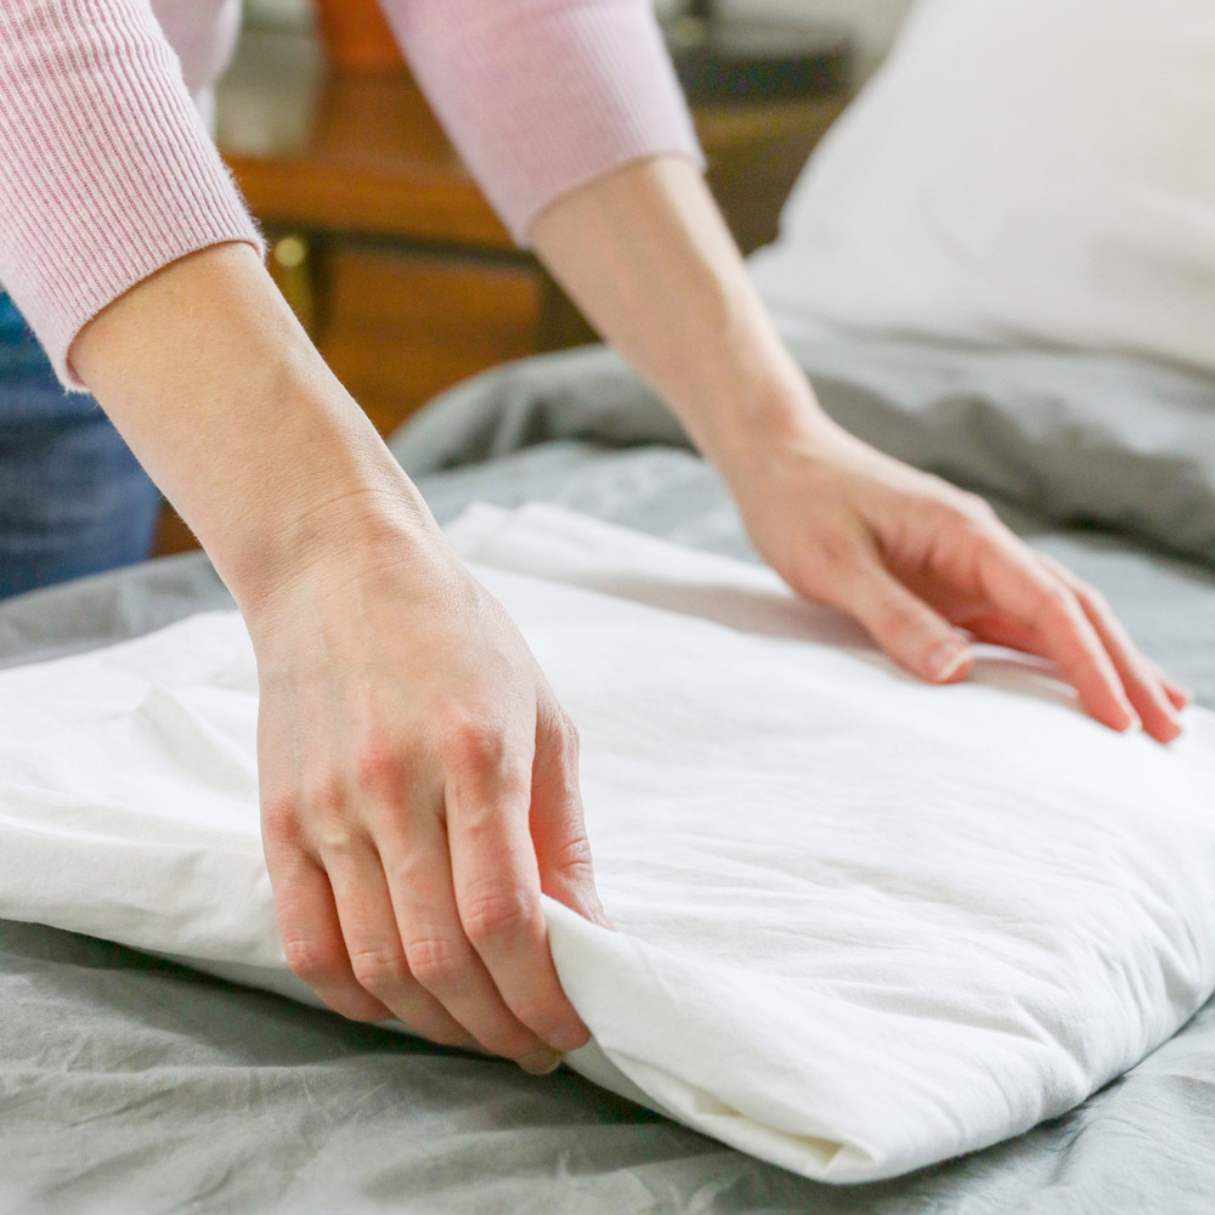
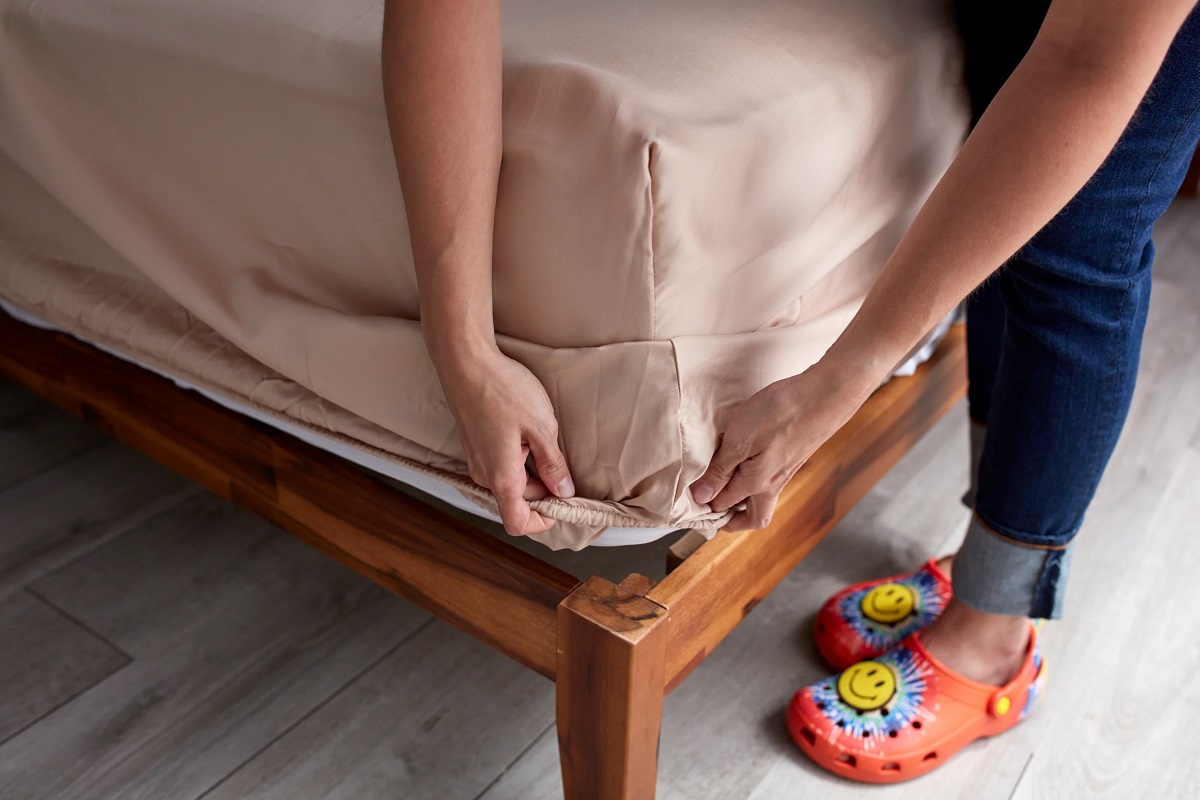
Step 1: Start with the corners
The first step in folding a fitted sheet is to locate the corners. Fitted sheets usually have elasticized corners, which make them fit snugly around the corners of your mattress.
To begin, hold the sheet with the elasticized corners facing upward. Identify one corner of the sheet and place your hand inside it, grasping the corner seam firmly.
Next, take the adjacent corner and bring it over the corner you are holding, creating a pocket. This will form a smaller, folded triangle at one end of the sheet.
Repeat this process with the remaining two corners, bringing them over the already folded corners. You should now have a larger, more defined triangle shape.
Once all corners are folded, shake out the sheet and adjust the corners as needed to ensure a more symmetrical triangle shape.
By starting with the corners, you create a solid foundation for the rest of the folding process. It sets the stage for the next steps, making it easier to achieve a neatly folded fitted sheet.
Now that you’ve mastered the first step, let’s move on to the next.
Step 2: Fold the sides inward
With the corners properly folded, it’s time to move on to the next step of folding your fitted sheet.
Start by holding the fitted sheet in front of you, with the elasticized corners facing up. Take one side of the sheet and fold it inward towards the center, aligning it with the adjacent side.
Repeat this process with the opposite side, folding it over the first folded side.
By folding the sides inward, you create a clean and straight edge on one side of the sheet, making it easier to achieve a neat and tidy fold.
Once the sides are folded inward, smooth out any wrinkles or creases in the sheet, ensuring that it is evenly aligned.
Now that the sides are tucked in, you’re ready to move on to the next step.
Step 3: Fold into a rectangle
Now that the sides are folded inward, it’s time to transform your fitted sheet into a neat rectangle shape.
Start by bringing the bottom edge of the sheet up towards the top edge, folding it in half lengthwise.
Smooth out any wrinkles or creases as you fold, ensuring that the edges are aligned.
Once you have a long, narrow strip of folded sheet, it’s time to create the rectangular shape.
Take one end of the strip and fold it towards the center, aligning the edges to create a smaller section.
Repeat this process with the opposite end, folding it towards the center and aligning the edges.
You should now have a rectangular shape, with three layers of folded fabric.
Smooth out any wrinkles or creases, making sure that the edges are aligned and the corners are squared.
By folding your fitted sheet into a rectangle, you create a compact and organized shape that is easier to store and stack.
Now that you’ve successfully folded your fitted sheet into a rectangle, let’s move on to the next step.
When folding a fitted sheet, start by tucking the corners into each other to create a smooth edge. Then, fold the sheet in thirds lengthwise and then in half, before folding it into a square shape for easy storage.
Step 4: Continue folding
With the fitted sheet now in a rectangular shape, it’s time to continue folding to achieve a compact and manageable size.
Start by folding the sheet in half lengthwise once again. This will further reduce the size of the sheet and create a more manageable shape.
Smooth out any wrinkles or creases as you fold, ensuring that the edges are aligned.
Next, fold the sheet in half widthwise. This means bringing one end of the sheet towards the other end, aligning the edges.
By folding the fitted sheet in half widthwise, you create a smaller, more compact size that is easier to store and stack.
If your fitted sheet is still large or bulky, you can continue folding it in half widthwise until you achieve the desired size.
Remember to smooth out any wrinkles or creases as you fold, maintaining neat and aligned edges.
Now that you’ve made several folds, your fitted sheet should be in a compact and rectangular shape, ready for the final step.
Step 5: Final fold and storage
Congratulations! You’ve successfully reached the final step of folding your fitted sheet.
Take the folded sheet in your hands and assess its size and shape.
If desired, you can make one more fold to further reduce the size or create a more uniform shape.
Smooth out any wrinkles or creases, ensuring that all edges are aligned and corners are crisp.
Once you’re satisfied with the final fold, it’s time to prepare the sheet for storage.
You have a few options for storing your folded fitted sheet:
- Place it in a labeled linen closet or drawer. This ensures easy access and keeps your sheet neatly organized with your other linens.
- Store it inside a fabric storage bag or pillowcase. This protects the sheet from dust and keeps it together with the matching bedding set.
- Stack it with other folded linens on a shelf or in a designated storage bin. This method saves space and allows for efficient organization.
Choose the storage method that works best for your space and preferences. Whichever option you choose, make sure the sheet is stored in a clean and dry environment to maintain its freshness.
And there you have it! You’ve successfully folded and stored your fitted sheet, leaving your linen closet or bedroom tidy and organized.
With a little practice, folding fitted sheets will become easier and quicker. So don’t be discouraged if your first attempts aren’t perfect.
Remember, the key is to stay patient, follow the steps carefully, and adjust as needed to achieve a neat and uniform fold.
Now, go ahead and give it a try. You’ll be amazed at how satisfying it feels to conquer the challenge of folding a fitted sheet!
Happy folding!
Conclusion
Conquering the task of folding a fitted sheet may have seemed like a daunting challenge, but with the step-by-step process outlined in this article, you can now fold your fitted sheets with ease and precision.
Starting with the corners, folding the sides inward, creating a rectangle shape, continuing the folding process, and finally, achieving the desired size for storage, you have learned the techniques to masterfully fold a fitted sheet.
Remember, practice makes perfect. The more you fold fitted sheets using this method, the more proficient and efficient you will become.
Not only does properly folding fitted sheets help keep your linen closet or bedroom organized, but it also adds a sense of satisfaction and accomplishment to your household tasks.
So, the next time you face the challenge of folding a fitted sheet, embrace it with confidence, knowing that you have the knowledge and skills to transform that unruly sheet into a neat and tidy masterpiece.
Happy folding!
Frequently Asked Questions about How To Fold A Fitted Sheet
Was this page helpful?
At Storables.com, we guarantee accurate and reliable information. Our content, validated by Expert Board Contributors, is crafted following stringent Editorial Policies. We're committed to providing you with well-researched, expert-backed insights for all your informational needs.


0 thoughts on “How To Fold A Fitted Sheet”