Home>Interior Design>How To Fold Fitted Sheets

Interior Design
How To Fold Fitted Sheets
Modified: January 5, 2024
Discover the perfect interior design technique for folding fitted sheets and create a neat and organized space in your home. Learn step-by-step instructions and master this essential skill today!
(Many of the links in this article redirect to a specific reviewed product. Your purchase of these products through affiliate links helps to generate commission for Storables.com, at no extra cost. Learn more)
Introduction
One of the most frustrating tasks for many people is folding fitted sheets. They are notorious for their elasticized corners and odd shape that make them difficult to fold neatly. But fear not! In this article, we will provide you with a step-by-step guide on how to fold fitted sheets like a pro.
With a little practice and patience, you will be able to conquer the fitted sheet folding challenge and achieve a neat and organized linen closet. So, let’s dive in and learn the art of folding fitted sheets!
Key Takeaways:
- Master the art of folding fitted sheets with ease and achieve a neat and organized linen closet by following the step-by-step guide provided in this article. Say goodbye to messy sheets and hello to beautifully folded linens!
- With a little practice and patience, you can conquer the challenge of folding fitted sheets like a pro. Embrace the process, save space, and say farewell to wrinkled, crumpled sheets. Happy folding!
Read more: How To Fold A Fitted Sheet
Step 1: Gather Your Supplies
Before you begin folding your fitted sheet, it’s important to gather all the necessary supplies. Having everything you need within reach will make the process smoother and more efficient. Here are the supplies you’ll need:
- Fitted sheets – the ones you want to fold
- A flat surface – such as a table or bed
- Smooth and clean hands – to avoid transferring dirt or oil onto the sheet
Ensure that the flat surface you choose is clean and free of any objects that could snag or damage the sheet. This will make it easier to fold the fitted sheet neatly without any obstructions.
Once you’ve gathered these supplies, you’re ready to move on to the next step: identifying the corners of the fitted sheet.
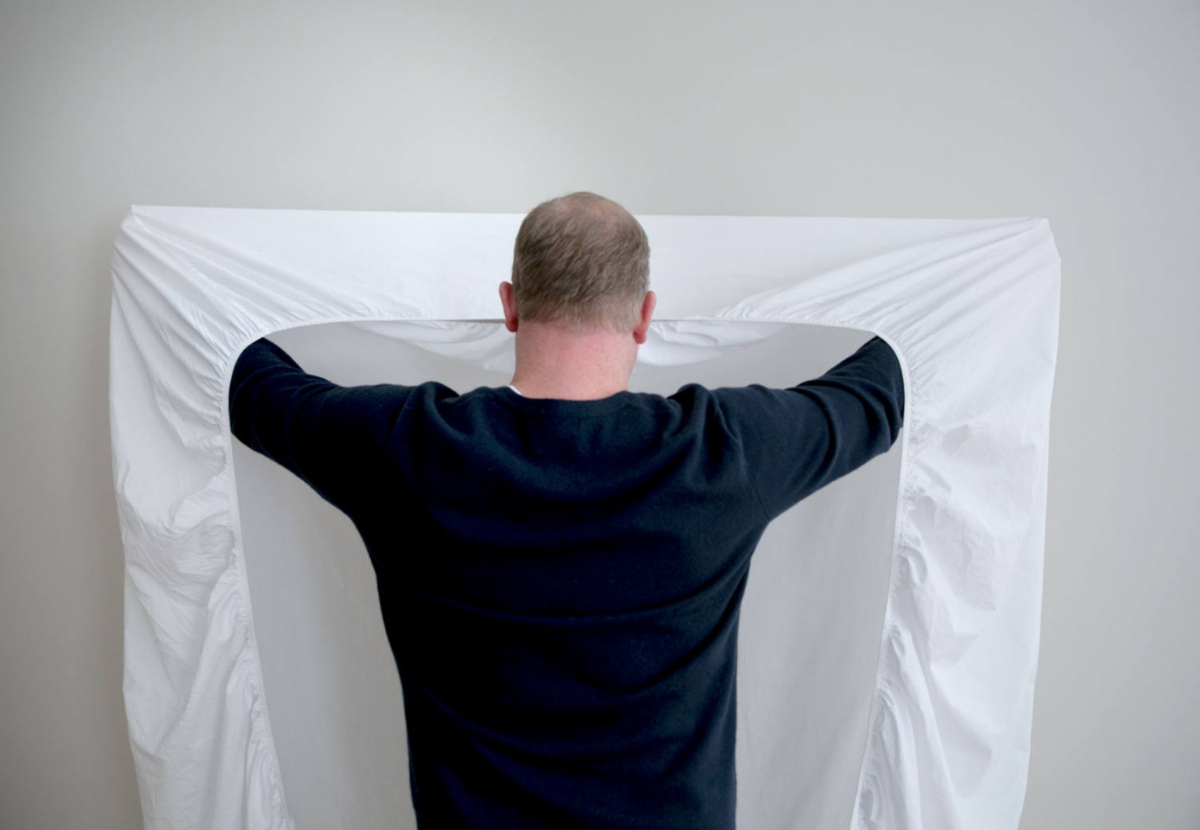
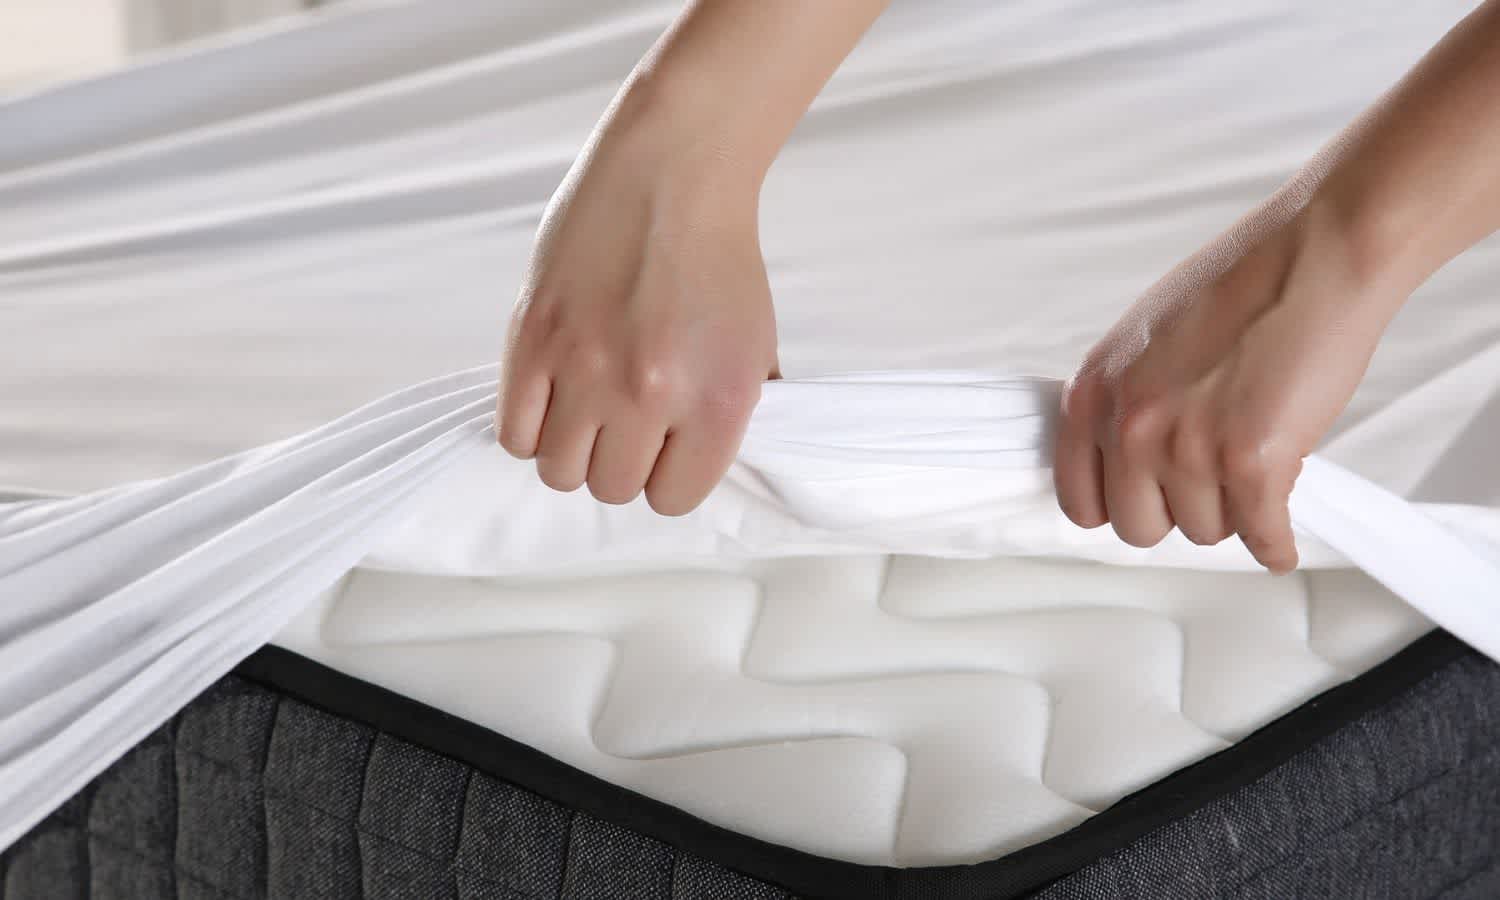
Step 2: Identify the Corners
Identifying the corners of the fitted sheet is an essential step in the folding process. It will help you fold the sheet properly and ensure a neat and symmetrical end result. Here’s how you can identify the corners:
- Hold the fitted sheet with the elasticized edge facing up.
- Locate one corner of the sheet and slip your hand inside the corner pocket.
- Pinch the corner of the sheet between your fingers, feeling for the elastic.
- Once you’ve identified the corner with the elastic, hold it firmly.
- Repeat this process for the other three corners of the fitted sheet.
By identifying the corners, you’ll have a clear understanding of how the sheet is positioned, making it easier to fold it in the next steps.
Now that you have identified the corners, it’s time to move on to step 3: folding the fitted sheet lengthwise.
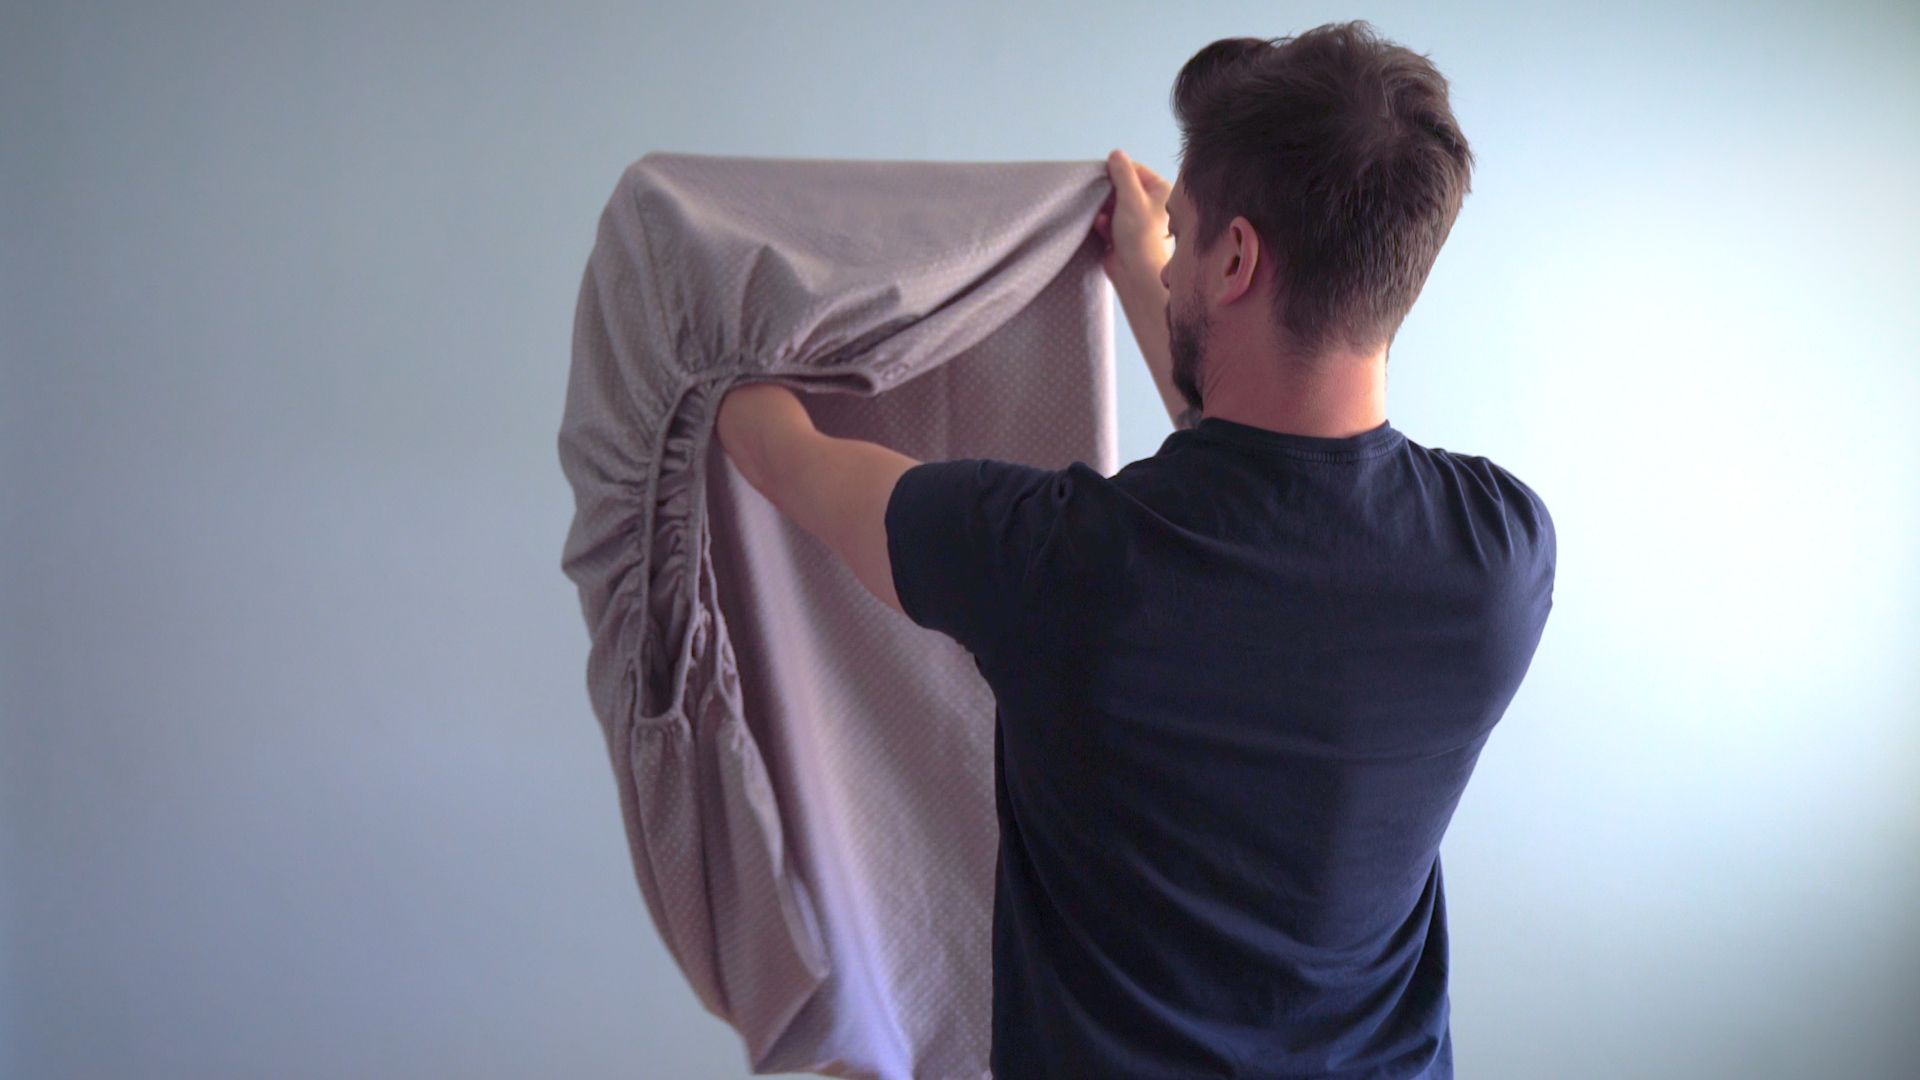
Step 3: Fold the Fitted Sheet Lengthwise
Now that you have identified the corners of the fitted sheet, it’s time to start folding. Folding the sheet lengthwise will help to create a more evenly folded sheet. Here’s how to do it:
- Hold the fitted sheet with the elastic corners facing you.
- Bring one corner with the elastic in your right hand towards the other corner with the elastic in your left hand. Make sure the edges align.
- Fold the sheet in half lengthwise, bringing the right-hand corner over the left-hand corner.
- Smooth out any wrinkles or creases as you fold, ensuring a clean and neat fold.
By folding the fitted sheet lengthwise, you are reducing its overall size and creating a more manageable shape for the next folding steps.
Now that you have successfully folded the sheet lengthwise, let’s move on to step 4: tucking in the elastic corners.
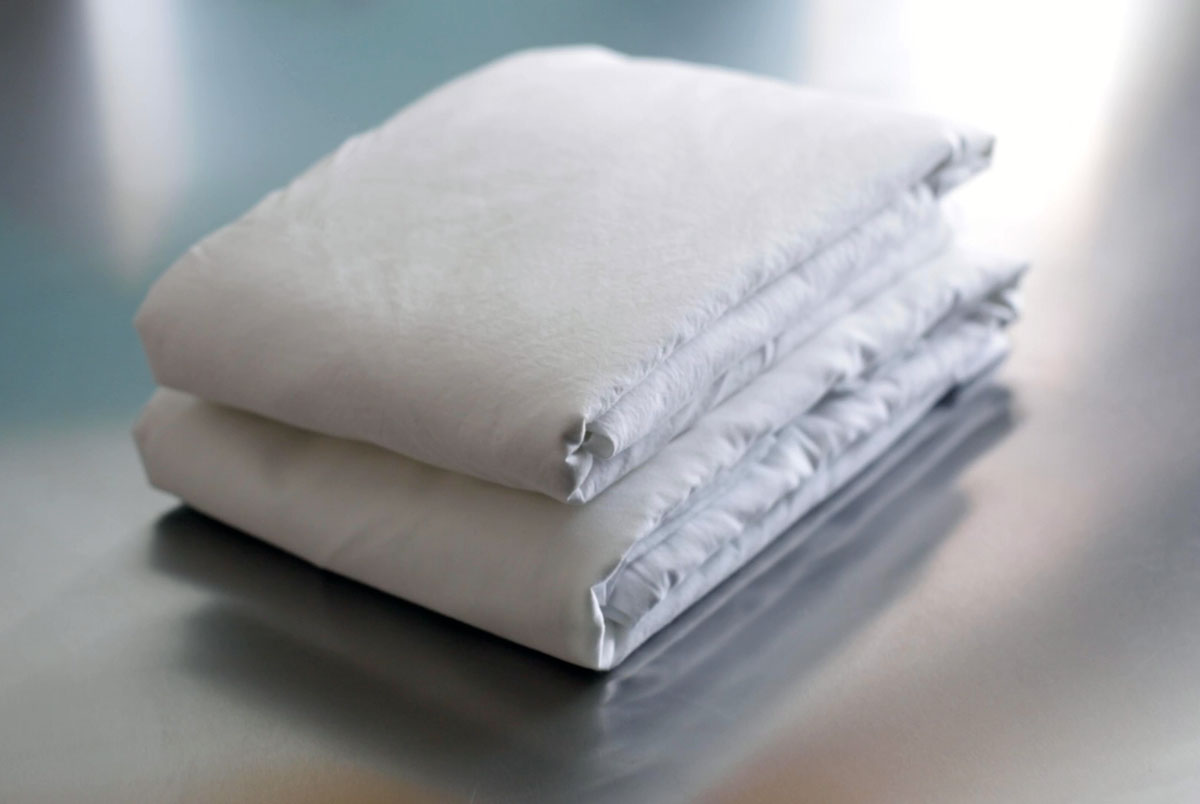
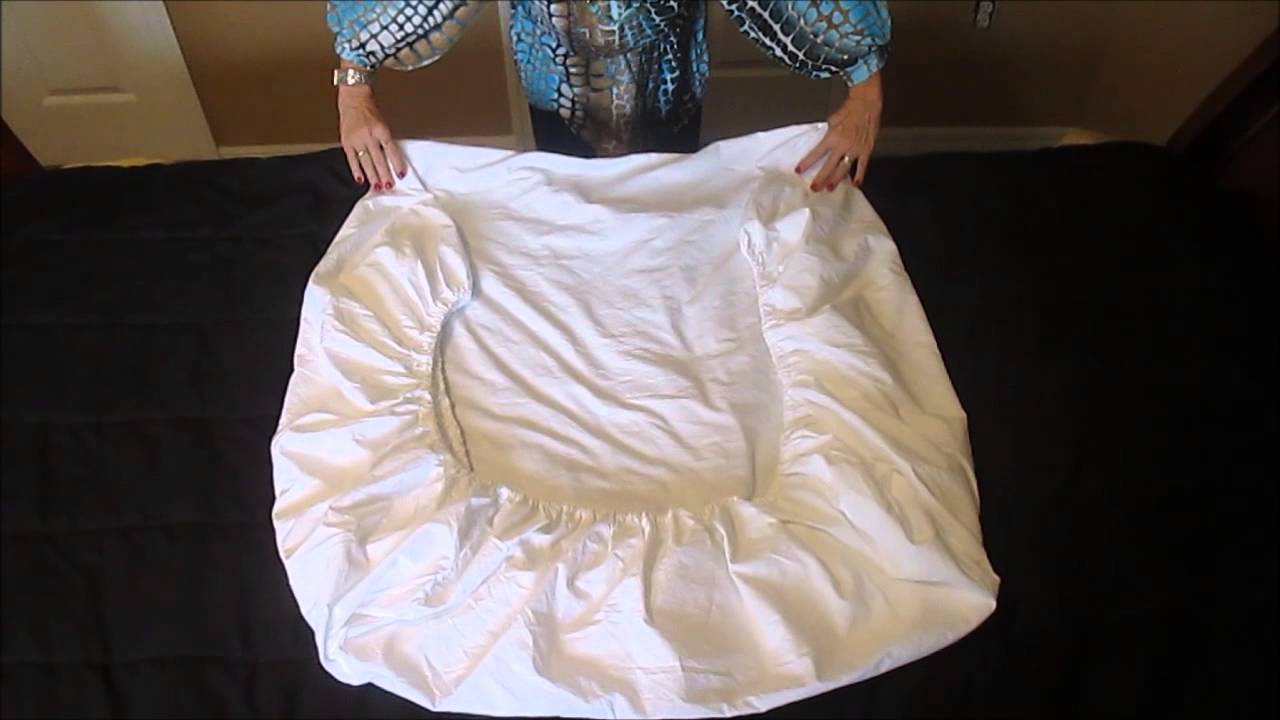
After washing and drying, lay the fitted sheet flat and fold in the elastic edges to create a rectangle. Then fold into thirds or quarters for a neat and compact fold.
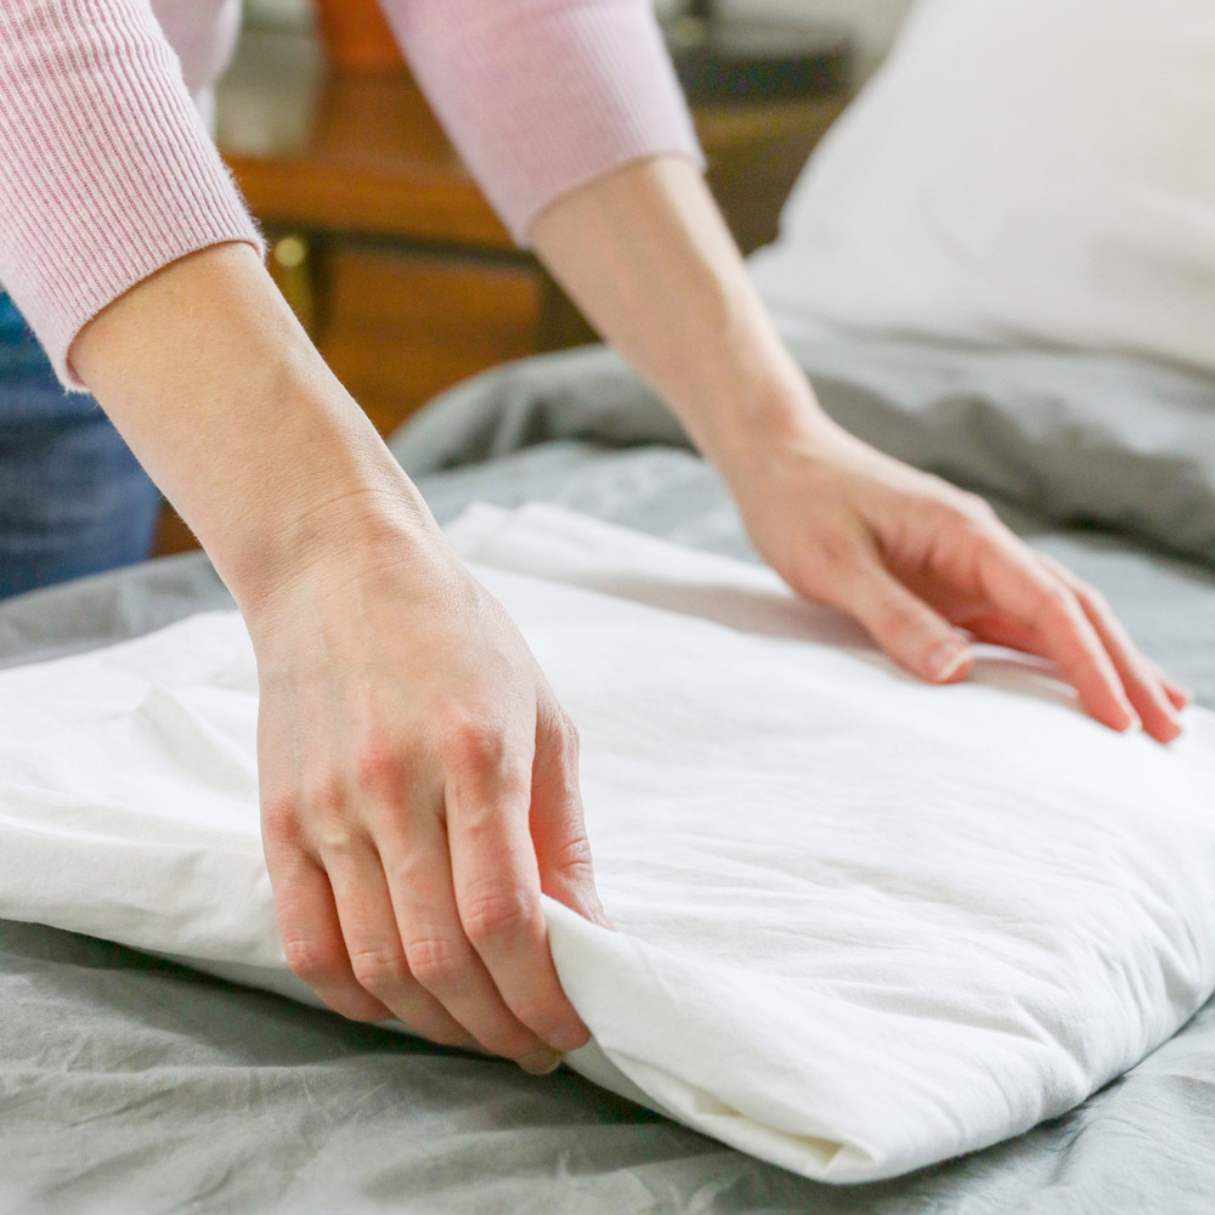
Step 4: Tuck In the Elastic Corners
After folding the fitted sheet lengthwise, it’s time to tuck in the elastic corners. This step will help to create a more compact and tidy fold. Here’s what you need to do:
- Hold the folded sheet with the elastic corners facing up.
- Take one corner with the elastic and fold it towards the opposite corner with the elastic.
- Tuck the folded corner into the corresponding corner pocket, ensuring a snug fit.
- Repeat this process with the remaining corner with the elastic, folding it towards the opposite corner and tucking it into the corner pocket.
By tucking in the elastic corners, you are ensuring that the sheet stays neatly folded and maintains its shape. This step is crucial in achieving a professional-looking fold.
Now that you have successfully tucked in the elastic corners, let’s move on to step 5: folding the sheet widthwise.
Read more: How To Fold A Fitted Sheet Hack
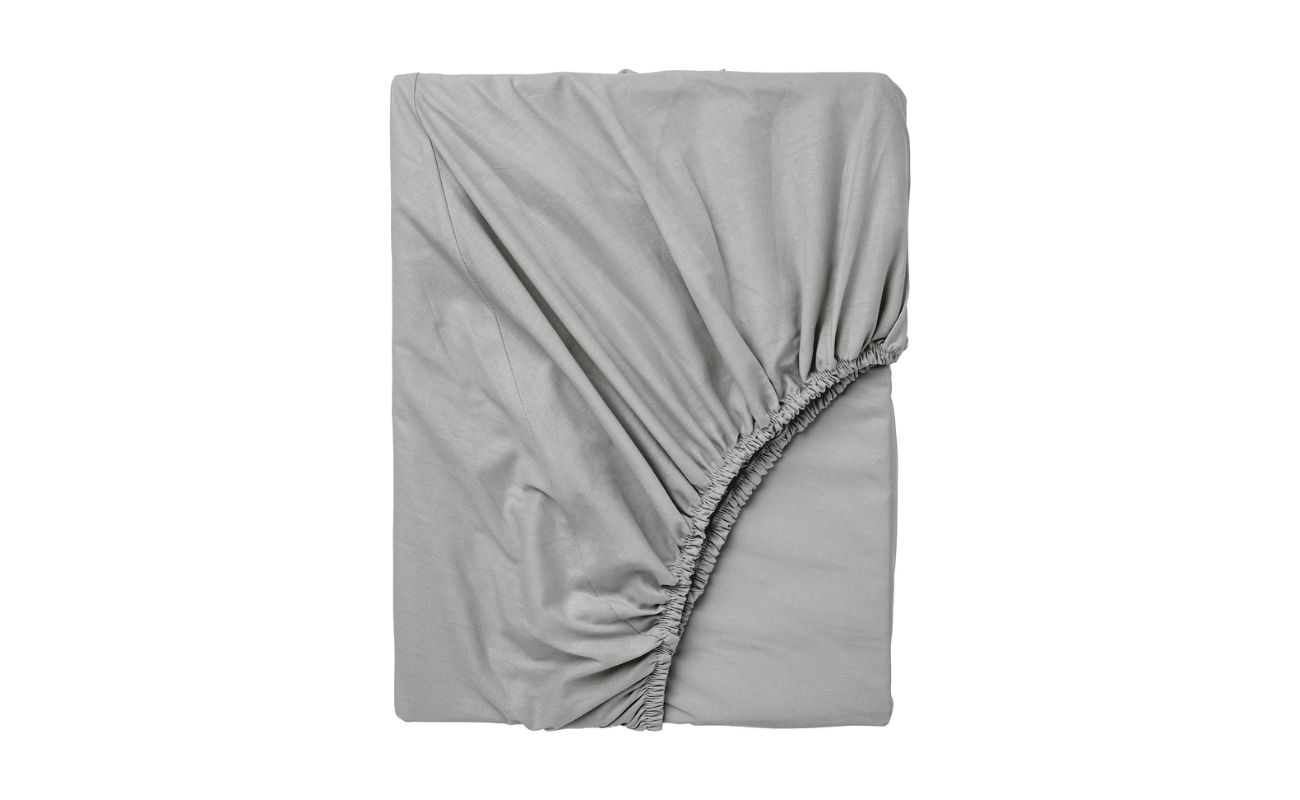
Step 5: Fold the Sheet Widthwise
After tucking in the elastic corners, it’s time to fold the fitted sheet widthwise. This step will help to further reduce the size of the sheet and create a compact fold. Follow these steps to fold the sheet widthwise:
- Hold the fitted sheet lengthwise with the elastic corners facing up.
- Bring one short end of the sheet towards the other short end, folding it in half widthwise.
- Smooth out any wrinkles or creases as you fold, ensuring a clean and even fold.
Folding the sheet widthwise will result in a more manageable size that can easily fit into your linen closet or storage space. It also helps in maintaining a neat and organized appearance.
Once you’ve successfully folded the sheet widthwise, you can move on to the final step: repeating the process for the remaining fitted sheets.
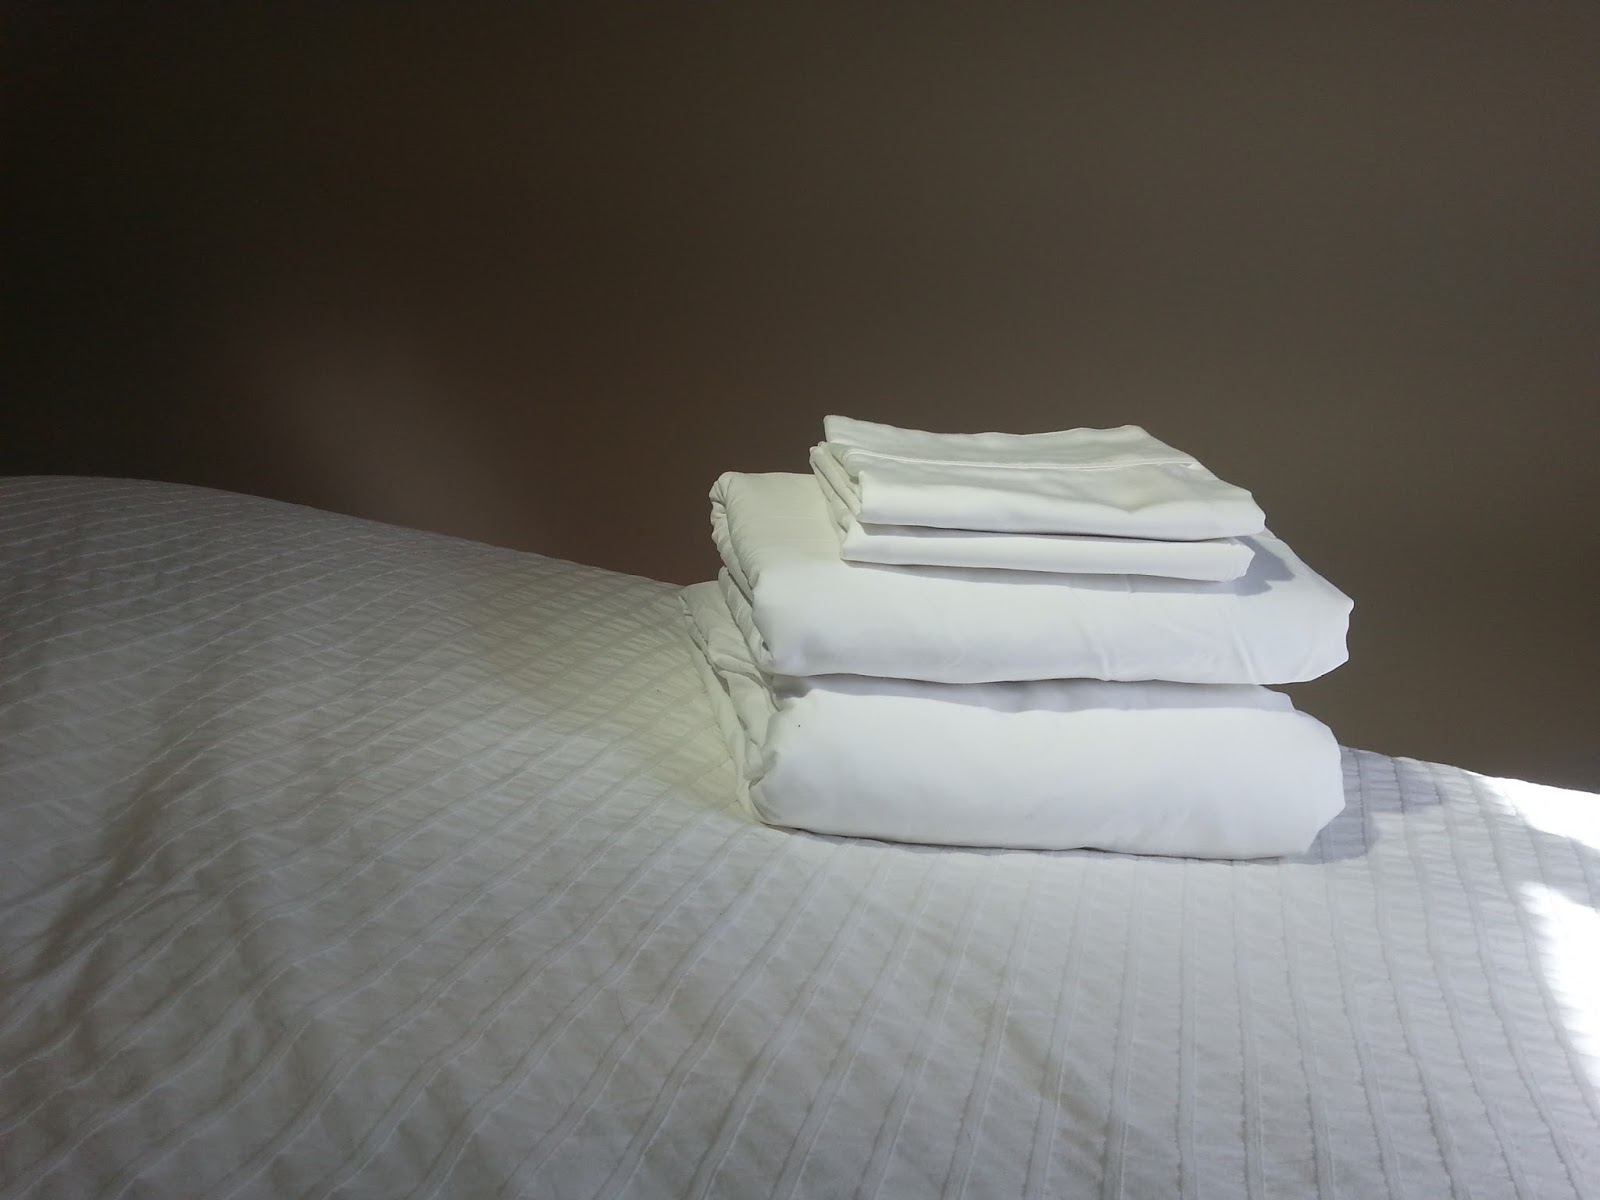
Step 6: Repeat the Process for the Remaining Fitted Sheets
Now that you have mastered the art of folding a fitted sheet, it’s time to continue the process for any remaining fitted sheets in your collection. Follow the same steps outlined in the previous sections to fold each fitted sheet:
- Gather your supplies and identify the corners of the fitted sheet.
- Fold the fitted sheet lengthwise, bringing the corners together and creating a clean fold.
- Tuck in the elastic corners, ensuring a snug fit and maintaining the shape of the sheet.
- Fold the sheet widthwise, reducing its size and creating a compact fold.
By repeating the process for each fitted sheet, you are ensuring consistency and uniformity in your linen closet or storage space. It’s the perfect way to achieve a neat and organized appearance for all your fitted sheets.
With practice, you’ll soon become a pro at folding fitted sheets, making this once daunting task a breeze.
Congratulations! You are now equipped with the knowledge and skills to fold fitted sheets like a pro. Say goodbye to messy linen closets and hello to neatly folded, organized sheets!
Conclusion
Folding fitted sheets may seem like a daunting task, but with the right techniques, it can be easily mastered. By following the step-by-step guide outlined in this article, you can fold your fitted sheets like a pro and achieve a neat and organized linen closet.
Remember to gather your supplies, identify the corners, fold the sheet lengthwise, tuck in the elastic corners, fold the sheet widthwise, and repeat the process for any remaining fitted sheets. With practice, you’ll become more efficient and proficient at folding fitted sheets.
Not only does properly folded fitted sheets create a tidy appearance, but it also saves space in your linen closet or storage area. You’ll be able to easily find and grab the sheets you need without wrestling with a jumbled mess.
So, embrace the challenge and take control of your fitted sheets. With a little patience and practice, you’ll be able to fold them like a pro in no time. Say goodbye to wrinkled, crumpled sheets and hello to beautifully folded and organized linen!
Happy folding!
Frequently Asked Questions about How To Fold Fitted Sheets
Was this page helpful?
At Storables.com, we guarantee accurate and reliable information. Our content, validated by Expert Board Contributors, is crafted following stringent Editorial Policies. We're committed to providing you with well-researched, expert-backed insights for all your informational needs.


0 thoughts on “How To Fold Fitted Sheets”