Home>Articles>How To Fry Chicken In Saladmaster Electric Skillet

Articles
How To Fry Chicken In Saladmaster Electric Skillet
Modified: December 6, 2023
Learn how to fry chicken in a Saladmaster electric skillet with our informative articles. Discover tips and tricks for achieving the perfect golden crust every time.
(Many of the links in this article redirect to a specific reviewed product. Your purchase of these products through affiliate links helps to generate commission for Storables.com, at no extra cost. Learn more)
Introduction
Are you craving some juicy and crispy fried chicken? Look no further! In this article, we will guide you through the process of frying chicken in a Saladmaster Electric Skillet. Whether you’re a novice in the kitchen or a seasoned cook, this recipe is perfect for anyone looking to make a delicious meal that will leave everyone wanting seconds.
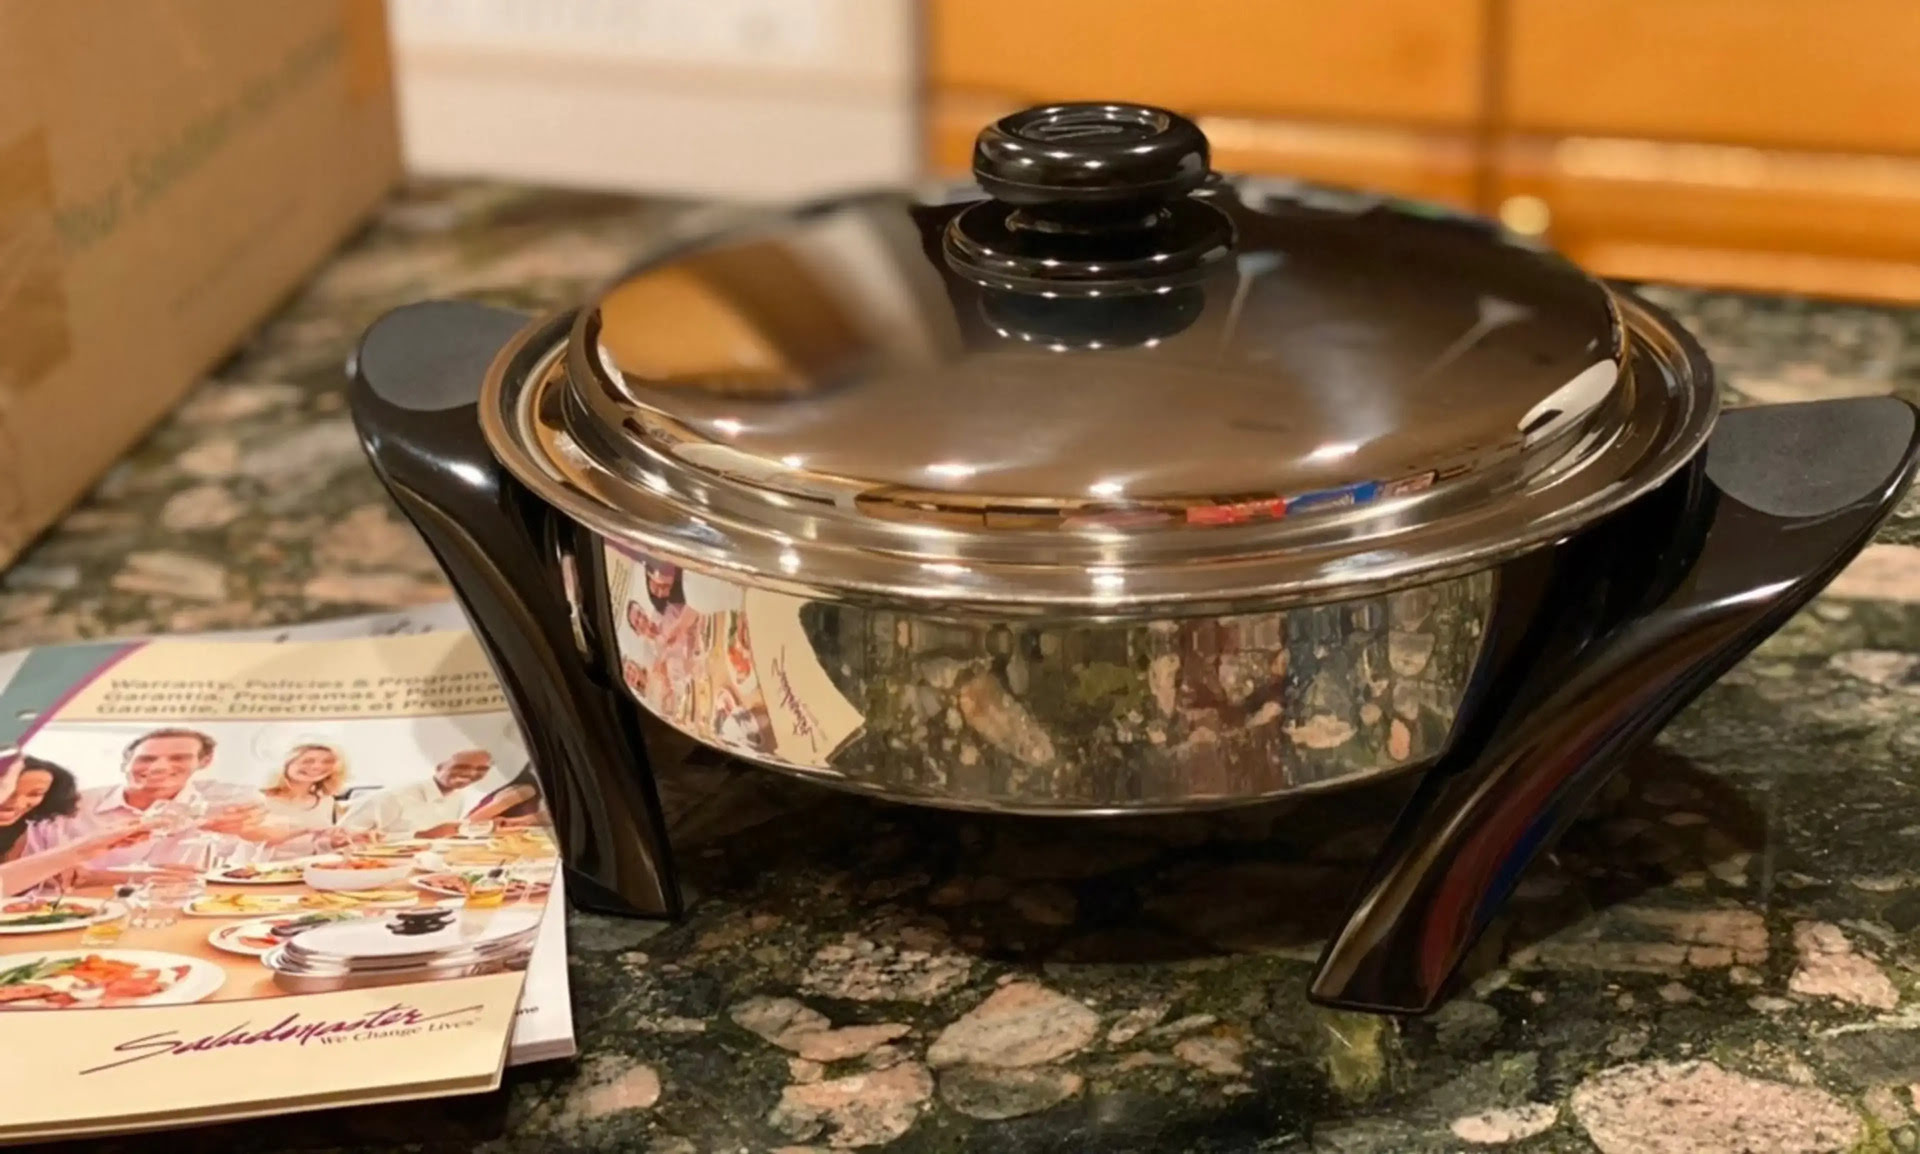
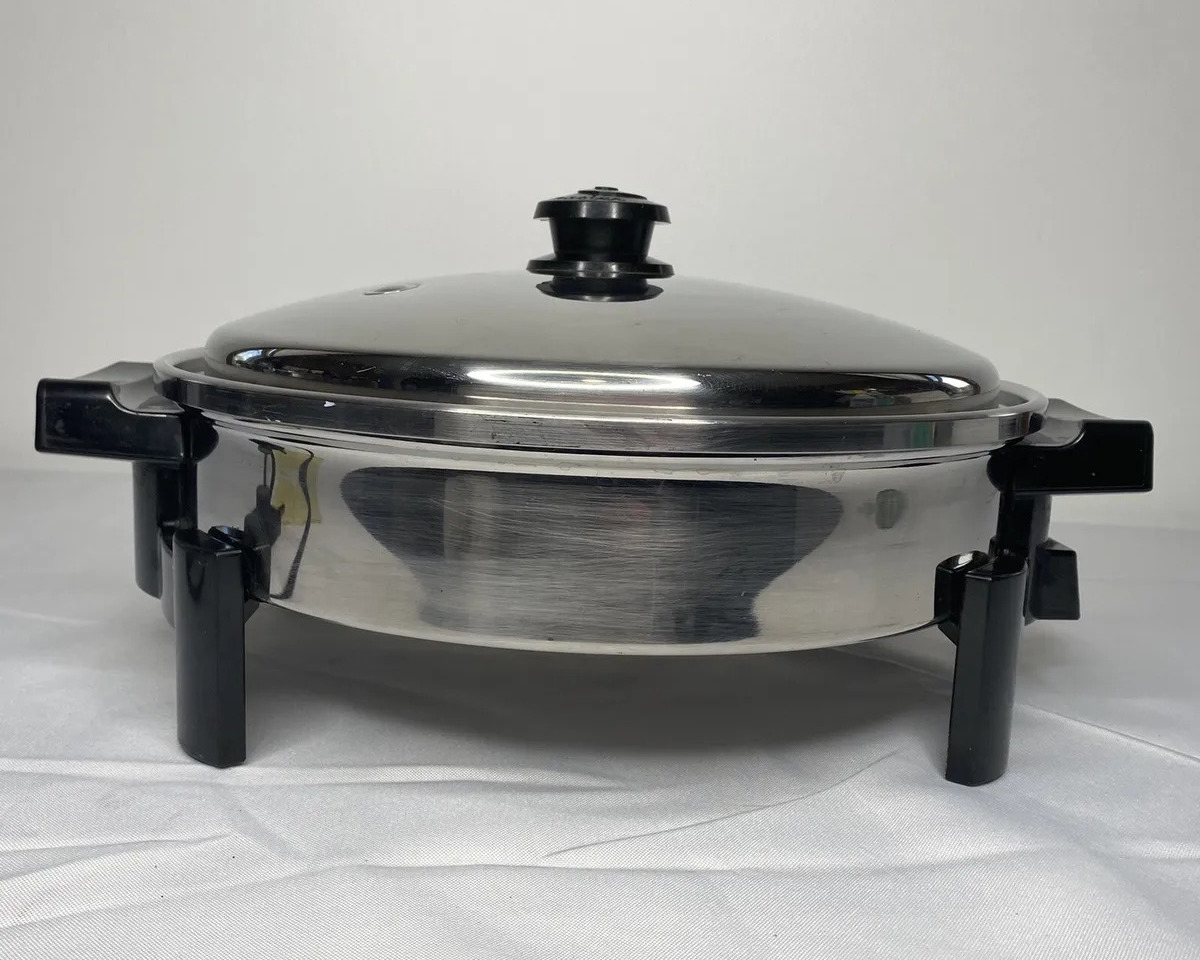
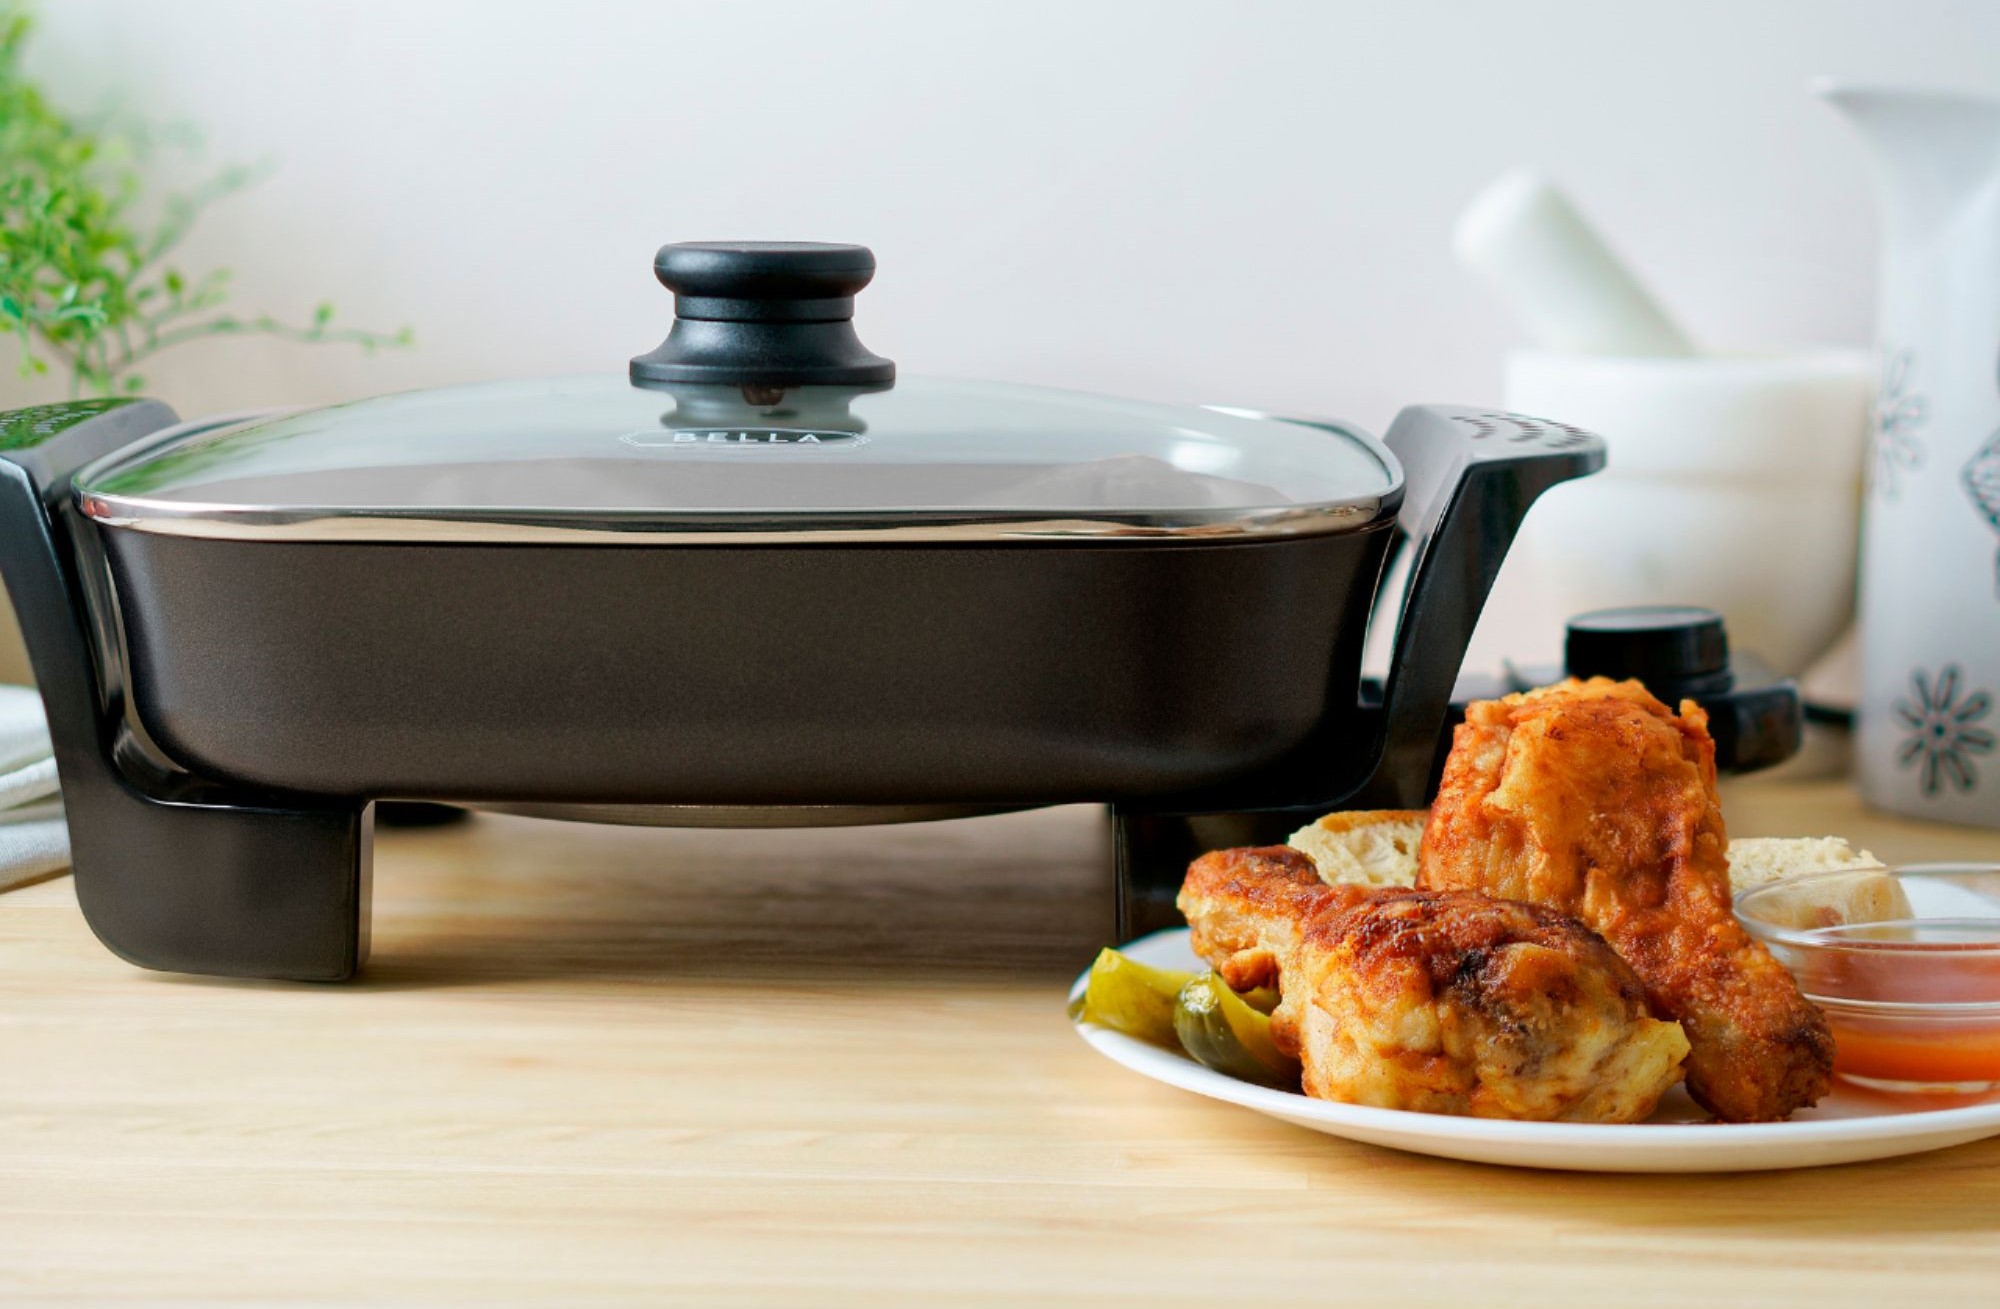
The Saladmaster Electric Skillet is a versatile and convenient appliance that allows you to fry chicken without the hassle and mess associated with traditional frying methods. With its precise temperature control and non-stick surface, you can achieve perfectly fried chicken every time.
Before we dive into the step-by-step process, let’s take a moment to talk about the key ingredients you’ll need to make this delectable dish:
Key Takeaways:
- Enjoy crispy and flavorful fried chicken using the Saladmaster Electric Skillet, with precise temperature control and a non-stick surface for perfect results every time.
- Elevate your dining experience with mouthwatering fried chicken, served hot and crispy with your favorite sides for a memorable meal shared with family and friends.
Read more: How To Fry Chicken In Electric Skillet
Ingredients:
- 4 chicken thighs
- 1 cup all-purpose flour
- 1 teaspoon salt
- 1 teaspoon black pepper
- 1 teaspoon paprika
- 1/2 teaspoon garlic powder
- 1/2 teaspoon onion powder
- Oil for frying
Now that we have the necessary ingredients, it’s time to jump right into preparing the chicken. Stay tuned for the next section where we’ll show you how to perfectly season and coat the chicken thighs before frying them to golden perfection in the Saladmaster Electric Skillet.
Preparing the Chicken
Before we start frying the chicken, it’s important to properly prepare and season the chicken thighs to ensure maximum flavor. Here’s how you can do it:
- Start by rinsing the chicken thighs under cold water to remove any excess dirt or debris. Pat them dry with paper towels.
- In a small bowl, combine the salt, black pepper, paprika, garlic powder, and onion powder. Mix well to create a flavorful seasoning blend.
- Sprinkle the seasoning mixture evenly over both sides of the chicken thighs, pressing it gently to adhere.
- Cover the seasoned chicken thighs and let them marinate in the fridge for at least 30 minutes. This will allow the flavors to penetrate the meat and make it even more delicious.
Now that the chicken thighs are seasoned and ready to go, it’s time to move on to the next step: preheating the Saladmaster Electric Skillet. Stay tuned for the next section where we’ll guide you through the process.
Preheating the Saladmaster Electric Skillet
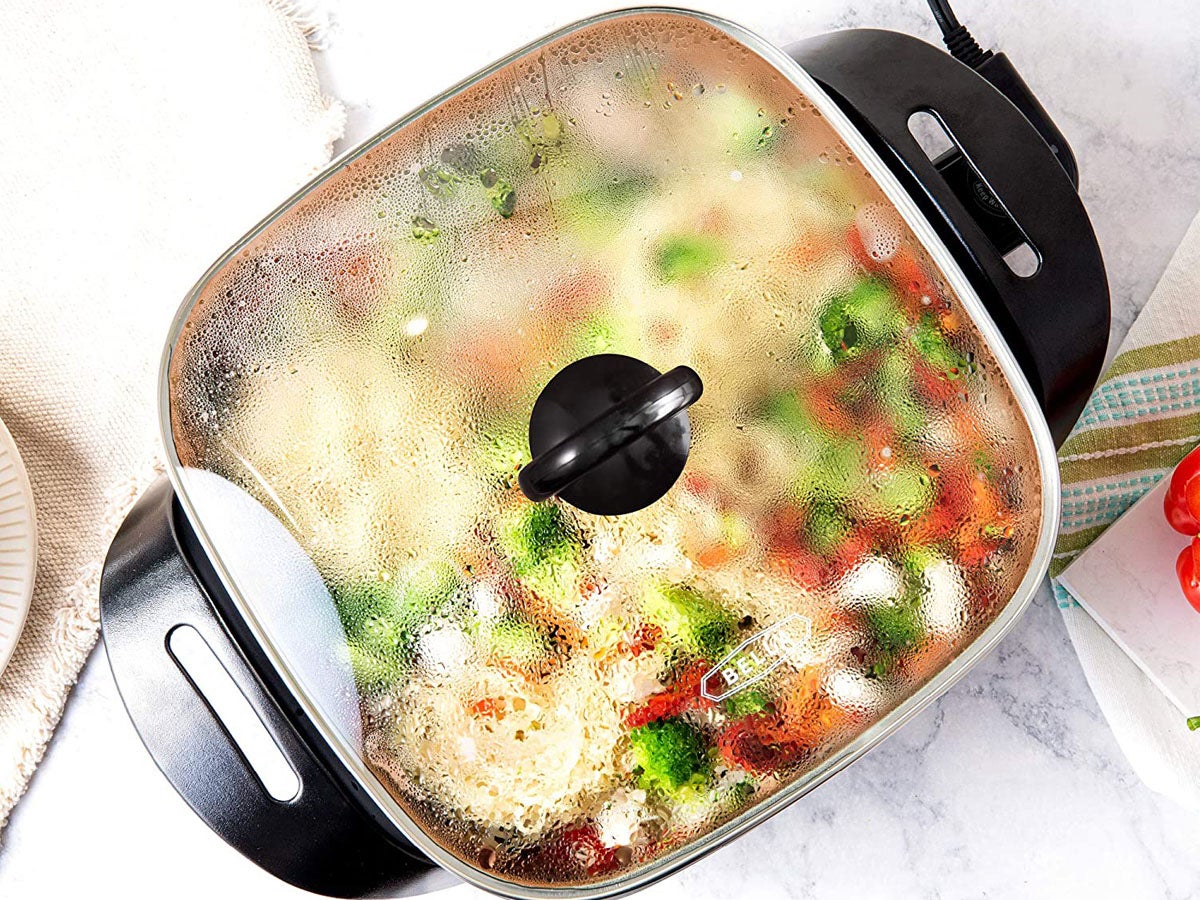
Properly preheating the Saladmaster Electric Skillet is crucial to achieving crispy and evenly cooked fried chicken. Follow these steps to ensure your skillet is at the right temperature:
- Place the Saladmaster Electric Skillet on a sturdy, heat-resistant surface. Make sure it’s away from any flammable materials.
- Plug in the skillet and turn the temperature dial to the desired frying temperature. For frying chicken, a temperature of around 350°F (175°C) is recommended.
- Allow the skillet to preheat for about 5-10 minutes. You can test if the skillet is hot enough by flicking a few drops of water onto the surface. If the water sizzles and evaporates immediately, the skillet is ready for frying.
Once the skillet has reached the desired temperature, it’s time to move on to the next step: coating the chicken thighs. Keep reading to learn how to create a crispy and flavorful coating that will take your fried chicken to the next level.
Coating the Chicken
Coating the chicken thighs in a delicious and crispy batter is an essential step in creating mouthwatering fried chicken. Follow these steps to achieve a golden and flavorful coating:
- In a shallow dish or bowl, combine the all-purpose flour, salt, black pepper, and paprika. Mix well to evenly distribute the seasonings.
- Take each marinated chicken thigh and place it in the flour mixture, pressing it gently to ensure the flour adheres to all sides of the chicken.
- Flip the chicken thigh and repeat the process, ensuring it is fully coated with the flour mixture. Shake off any excess flour.
- Place the coated chicken thighs on a wire rack or plate and let them rest for a few minutes. This will allow the flour coating to set, resulting in a crispier texture.
Now that the chicken thighs are coated and ready for frying, it’s time to move on to the next step: frying the chicken in the Saladmaster Electric Skillet. Stay tuned for the next section where we’ll guide you through the process.
To fry chicken in a Saladmaster Electric Skillet, preheat the skillet to 350°F, add a small amount of oil, and place the chicken in the skillet in a single layer. Cook for 6-8 minutes on each side until golden brown and cooked through. Enjoy!
Frying the Chicken
Now comes the exciting part: frying the chicken thighs to golden perfection in the Saladmaster Electric Skillet. Follow these steps to achieve crispy and delicious fried chicken:
- Add enough oil to the skillet to create a depth of around 1/2 inch (1.3 cm). Turn the temperature dial to about 350°F (175°C) and allow the oil to heat up for a few minutes.
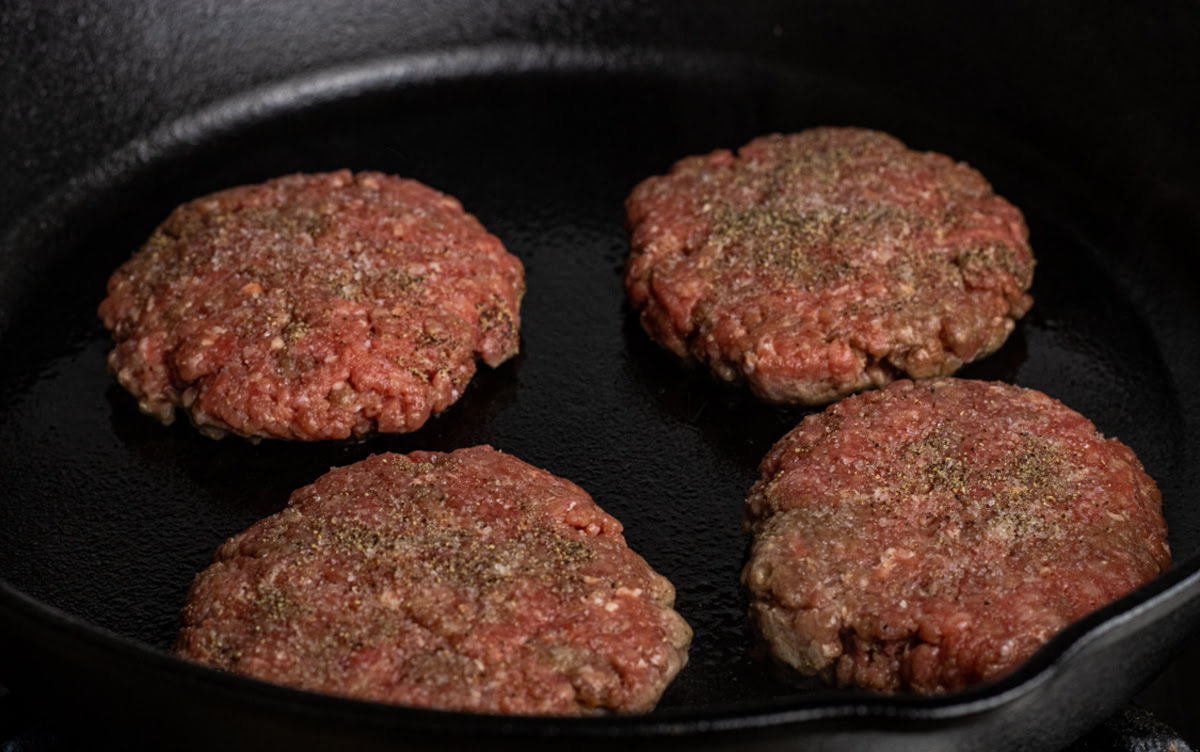
- Carefully place the coated chicken thighs into the hot oil, making sure not to overcrowd the skillet. Fry the chicken in batches if necessary.
- Cook the chicken thighs for about 5-7 minutes per side, or until they are golden brown and crispy. Use tongs to flip the chicken halfway through the cooking process for even browning.
- Monitor the temperature of the oil throughout the frying process, adjusting the heat as needed to maintain a consistent temperature.
- Once the chicken thighs are cooked to perfection, use tongs to carefully transfer them to a wire rack or paper towel-lined plate to drain any excess oil.
Now that the chicken thighs are perfectly fried, it’s time to move on to the final steps: checking for doneness and removing any excess oil. Keep reading to learn how to ensure your fried chicken is cooked all the way through and ready to be enjoyed.
Checking for Doneness
Ensuring that your fried chicken is cooked all the way through is essential for food safety and optimal flavor. Follow these steps to check if your chicken thighs are done:
- Insert a meat thermometer into the thickest part of one of the chicken thighs, making sure not to touch the bone. The internal temperature should read 165°F (74°C) to indicate that the chicken is fully cooked.
- If you don’t have a meat thermometer, you can also check for doneness by cutting into one of the chicken thighs and checking that the juices run clear. The chicken should have no pink or translucent parts.
- If the chicken is not fully cooked, you can return it to the Saladmaster Electric Skillet for additional frying time. Keep in mind that overcooking the chicken can result in dryness, so be careful not to go overboard.
Once you have confirmed that the chicken thighs are cooked through, it’s time to move on to the next step: removing and draining the fried chicken. Keep reading to learn how to remove any excess oil for a perfect final result.
Removing and Draining the Fried Chicken
After frying the chicken to perfection in the Saladmaster Electric Skillet, it’s important to remove any excess oil for a delicious and less greasy final result. Follow these steps to remove and drain the fried chicken thighs:
- Using tongs, carefully transfer the fried chicken thighs from the skillet to a wire rack or a plate lined with paper towels. This will allow the excess oil to drip off and be absorbed.
- Let the fried chicken thighs rest on the wire rack or paper towels for a few minutes. This will help the coating to set and become even crispier.
- If desired, you can lightly pat the chicken thighs with additional paper towels to absorb any remaining oil.
By removing and draining the excess oil, you’ll achieve a lighter and more enjoyable eating experience. Now that the fried chicken thighs are ready, it’s time to move on to the final step: serving and enjoying your delicious creation. Keep reading to learn how to serve the fried chicken for a memorable dining experience.
Serving and Enjoying the Fried Chicken
The moment has finally arrived – it’s time to enjoy the crispy and flavorful fried chicken you’ve prepared in the Saladmaster Electric Skillet. Follow these steps to serve and savor your delicious creation:
- Transfer the drained fried chicken thighs to a serving platter or individual plates.
- Garnish the chicken with fresh herbs, such as chopped parsley or cilantro, to add a pop of color and freshness to the dish. You can also squeeze a bit of lemon juice over the chicken for a tangy twist.
- Pair the fried chicken thighs with your favorite sides, such as mashed potatoes, coleslaw, or cornbread, to create a complete and satisfying meal.
- Serve the fried chicken immediately while it’s still hot and crispy. The combination of the juicy chicken meat and the crunchy coating is irresistible.
Now all that’s left to do is gather around the table with family and friends and enjoy the mouthwatering fried chicken you’ve made. Don’t be surprised if you’re met with smiles, compliments, and requests for second helpings!
Before we conclude, let’s quickly discuss the final step: cleaning the Saladmaster Electric Skillet to ensure its longevity and optimal performance. Follow along for some important cleaning tips.
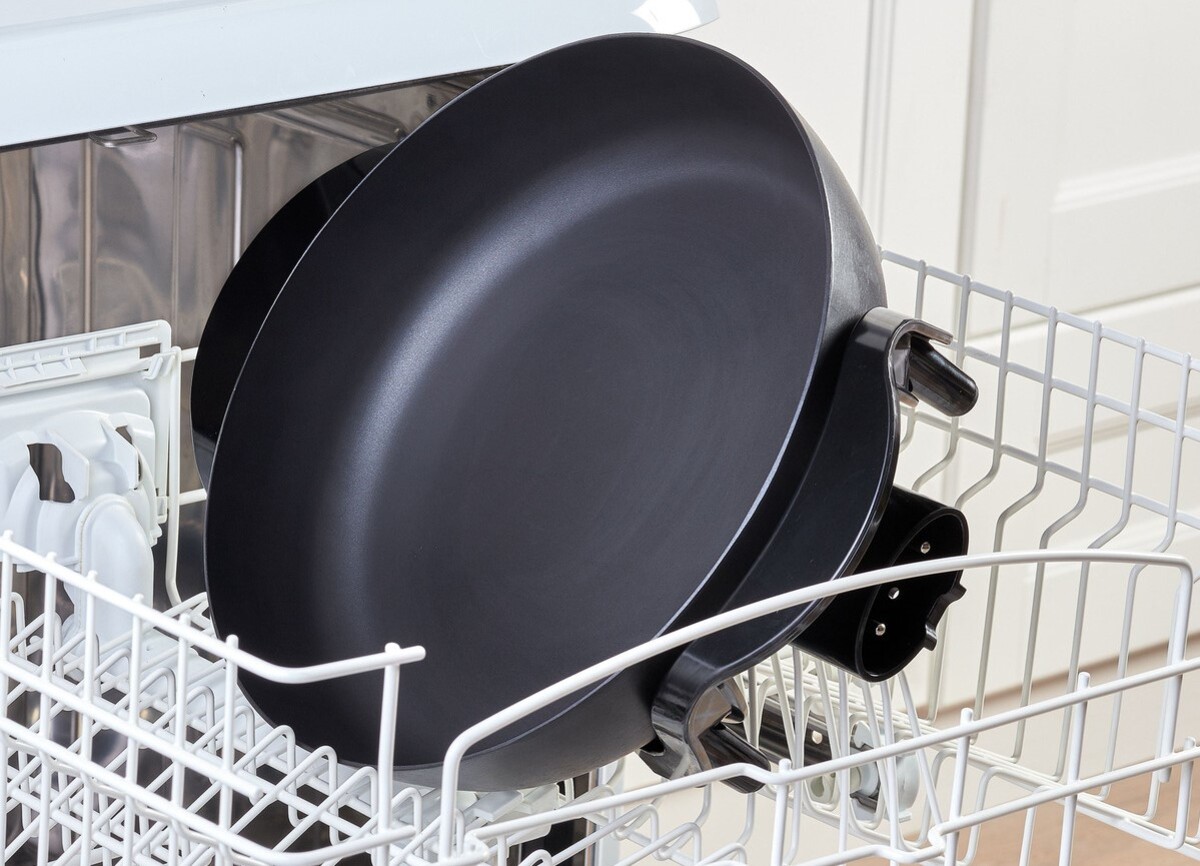
Cleaning the Saladmaster Electric Skillet
After preparing and enjoying your delicious fried chicken, it’s important to properly clean the Saladmaster Electric Skillet to maintain its functionality and prolong its lifespan. Follow these steps to clean your skillet:
- Allow the skillet to cool down completely before cleaning. Never attempt to clean a hot skillet, as it can be dangerous and cause burns.
- Once cooled, unplug the skillet from the power source and detach the temperature control dial, if possible, according to the manufacturer’s instructions.
- Using a gentle dish soap, warm water, and a non-abrasive sponge or cloth, wash the interior and exterior of the skillet. Pay special attention to any stubborn food particles or grease spots.
- Rinse the skillet thoroughly with clean water to remove all soap residue.
- Dry the skillet completely with a soft towel or allow it to air dry. Make sure there is no moisture left to prevent any potential damage or rusting.
- Reassemble the temperature control dial, if applicable, and store the skillet in a safe place until its next use.
It’s important to note that the skillet’s electrical components should never come in contact with water. Make sure to clean only the non-electric parts of the skillet.
By following these cleaning steps, you’ll ensure that your Saladmaster Electric Skillet remains in excellent condition for many more delicious meals to come.
Now you’re fully equipped with the knowledge and steps to fry chicken to perfection using the Saladmaster Electric Skillet. Enjoy the crispy and juicy results, and don’t forget to share this delectable recipe with your friends and family!
Frequently Asked Questions about How To Fry Chicken In Saladmaster Electric Skillet
Was this page helpful?
At Storables.com, we guarantee accurate and reliable information. Our content, validated by Expert Board Contributors, is crafted following stringent Editorial Policies. We're committed to providing you with well-researched, expert-backed insights for all your informational needs.


0 thoughts on “How To Fry Chicken In Saladmaster Electric Skillet”