Home>Articles>How To Fry Chicken In A Lifetime Brand Electric Skillet

Articles
How To Fry Chicken In A Lifetime Brand Electric Skillet
Modified: August 16, 2024
Learn how to fry delicious chicken using the reliable Lifetime Brand Electric Skillet. Discover expert tips and tricks with our informative articles.
(Many of the links in this article redirect to a specific reviewed product. Your purchase of these products through affiliate links helps to generate commission for Storables.com, at no extra cost. Learn more)
Introduction
Welcome to the world of cooking with an electric skillet! If you’re looking to fry delicious chicken at home, an electric skillet can be a game-changer. With its consistent heat distribution and adjustable temperature settings, it offers a convenient and efficient way to achieve crispy and succulent fried chicken.
In this article, we will guide you through the process of frying chicken in a Lifetime Brand Electric Skillet. Whether you’re a novice cook or a seasoned chef, we will provide you with step-by-step instructions and valuable tips to ensure your chicken turns out perfectly every time.
Before we dive into the specifics, it’s important to choose the right electric skillet for frying chicken. Look for one that has a non-stick surface, adjustable temperature controls, and a large cooking capacity to accommodate the amount of chicken you plan to fry.
Now that you have your electric skillet ready, let’s move on to the next steps: preparing the chicken and seasoning it to perfection.
Key Takeaways:
- Choose an electric skillet with non-stick surface, adjustable temperature controls, and ample cooking capacity for perfect fried chicken every time. Thaw, prepare, and season the chicken before frying, and monitor the cooking process closely for crispy, flavorful results.
- Elevate your fried chicken game with brining, double-dipping, and experimenting with different seasonings. Maintain a consistent temperature, avoid overcrowding the skillet, and allow the chicken to rest before serving for optimal flavor and tenderness.
Read more: How To Fry Chicken In Electric Skillet
Choosing the Right Electric Skillet
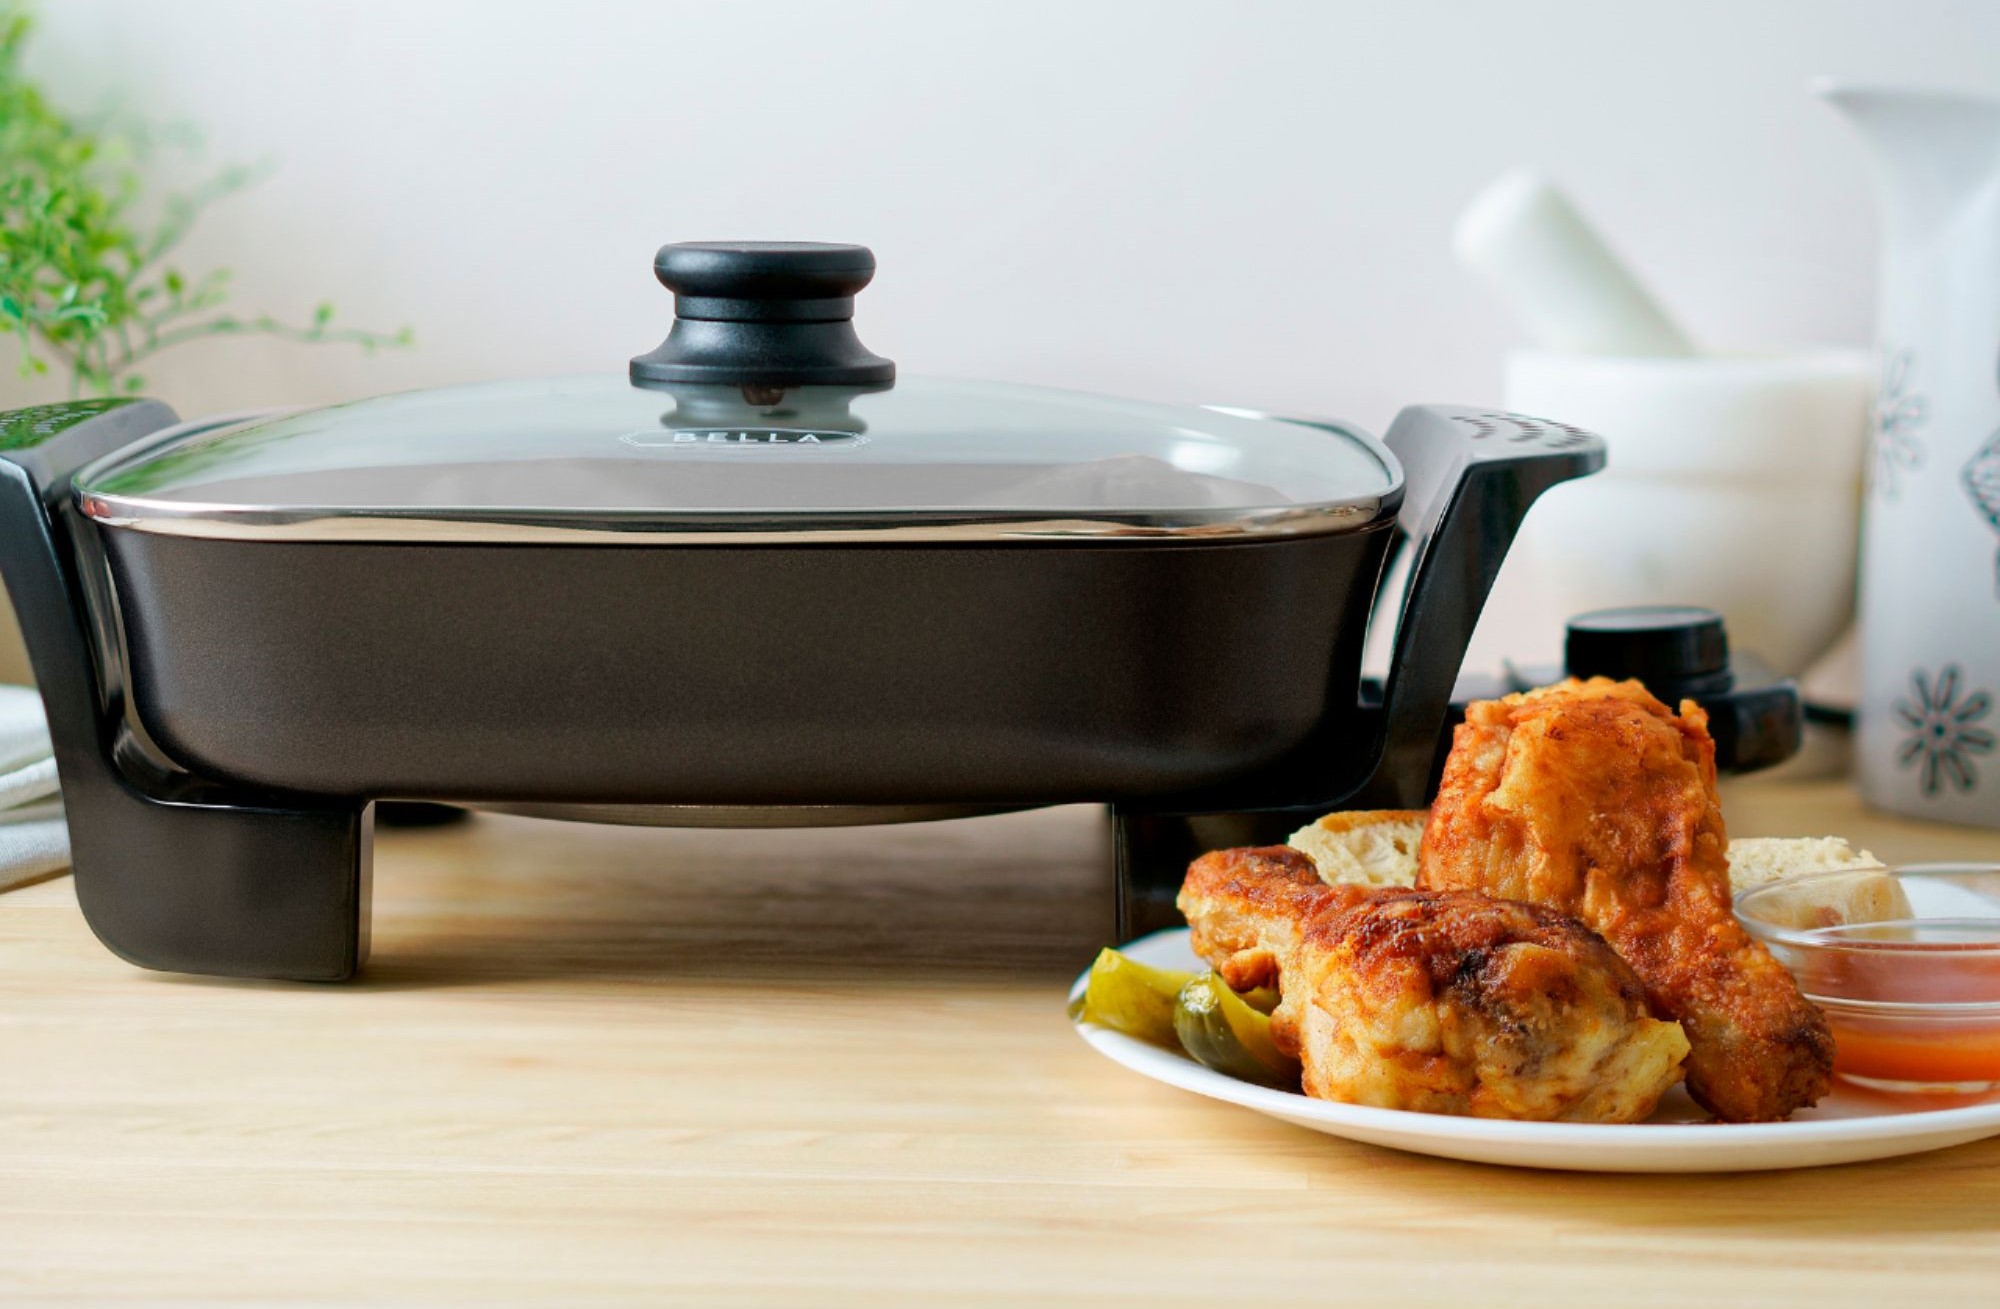
When it comes to frying chicken in an electric skillet, choosing the right one is crucial. Here are a few factors to consider before making your purchase:
- Size and Capacity: Look for an electric skillet with a large enough cooking surface to accommodate the amount of chicken you plan to fry. Consider the number of servings you typically make and choose a skillet with a size that suits your needs.
- Non-Stick Surface: Opt for a skillet with a high-quality non-stick surface. This will prevent the chicken from sticking to the surface and make cleanup easier. Make sure the non-stick coating is durable and free from harmful chemicals.
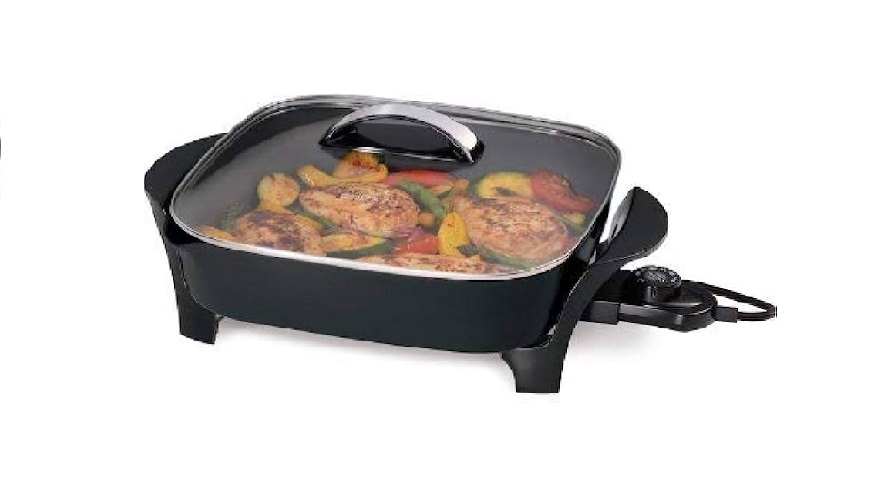
- Temperature Controls: Check if the electric skillet has adjustable temperature controls. This will allow you to set the desired temperature for frying chicken at the crispy golden-brown perfection you desire.
- Even Heat Distribution: Look for a skillet that provides even heat distribution across the cooking surface. This will ensure that your chicken cooks uniformly and avoids any hot spots that can lead to uneven frying.
- Easy to Clean: Consider the ease of cleaning the electric skillet. Look for models that have removable parts that are dishwasher safe or have a non-stick surface that can be easily wiped clean.
- Reviews and Ratings: Before making a final decision, read customer reviews and ratings of different electric skillets. This will give you insights into the performance and durability of the product.
By keeping these factors in mind, you can choose an electric skillet that will be perfect for frying chicken and enhance your cooking experience.
Preparing the Chicken
Before you start frying the chicken in your electric skillet, it’s essential to properly prepare the chicken. Follow these steps to ensure that your chicken turns out tender and flavorful:
- Thawing the Chicken: If you’re using frozen chicken, make sure to thaw it fully before frying. Thawing in the refrigerator is the safest method to ensure the chicken remains at a safe temperature throughout the process. Allow enough time for the chicken to thaw completely.
- Trimming and Cleaning: Trim excess fat and remove any giblets or organs from the chicken cavity. Rinse the chicken under cold water to remove any dirt or debris. Pat it dry with paper towels to remove excess moisture.
- Cutting the Chicken: Depending on your preference, you can fry the whole chicken or cut it into smaller pieces like drumsticks, thighs, or wings. Use a sharp knife or kitchen shears to separate the chicken into desired portions.
- Marinating (Optional): If you want to infuse your chicken with extra flavor, marinate it for at least 30 minutes or up to overnight. You can use a marinade of your choice or even a seasoned buttermilk mixture to add moisture and flavor to the chicken.
Once you have finished preparing the chicken, it’s time to move on to the next step: seasoning.
Seasoning the Chicken
Seasoning the chicken is a crucial step in adding flavor and enhancing the taste of your fried chicken. Here are some tips to season your chicken effectively:
- Salt and Pepper: Start by generously seasoning the chicken with salt and pepper. This simple combination helps to bring out the natural flavors of the meat.
- Herbs and Spices: Experiment with different herbs and spices to add depth and complexity to your fried chicken. Popular choices include garlic powder, paprika, thyme, rosemary, cayenne pepper, and oregano.
- Seasoning Blends: Take advantage of pre-made seasoning blends available in the market. These blends often contain a mix of herbs, spices, and other flavorings designed specifically for fried chicken.
- Buttermilk Soak: If you’re using the buttermilk marinade mentioned earlier, the chicken will already have a flavorful base. However, you can still sprinkle additional spices or herbs on the chicken before frying.
- Rub or Breading: Consider applying a dry rub or breading mixture to the chicken for added texture and flavor. These can range from traditional flour-based coatings to panko breadcrumbs or even a combination of both.
When seasoning the chicken, make sure to coat all sides thoroughly, including under the skin if you’re frying with the skin on. Allow the seasoned chicken to rest for a few minutes before proceeding to the next step: preheating the electric skillet.
Preheating the Electric Skillet
Now that your chicken is seasoned and ready to be cooked, it’s time to preheat your electric skillet. Follow these steps to ensure that the skillet is properly preheated:
- Placing the Skillet: Place the electric skillet on a heat-resistant surface, making sure it is away from any flammable materials or items that may obstruct the airflow.
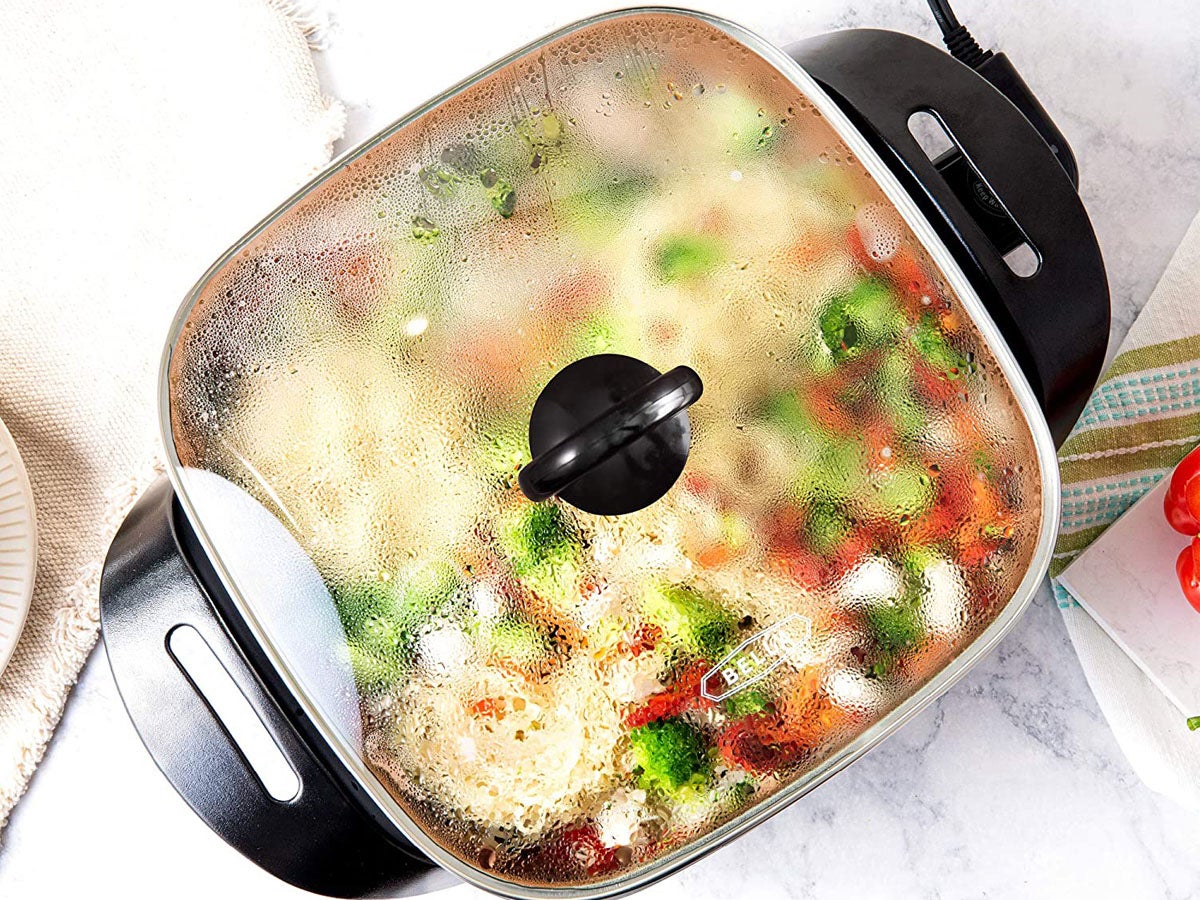
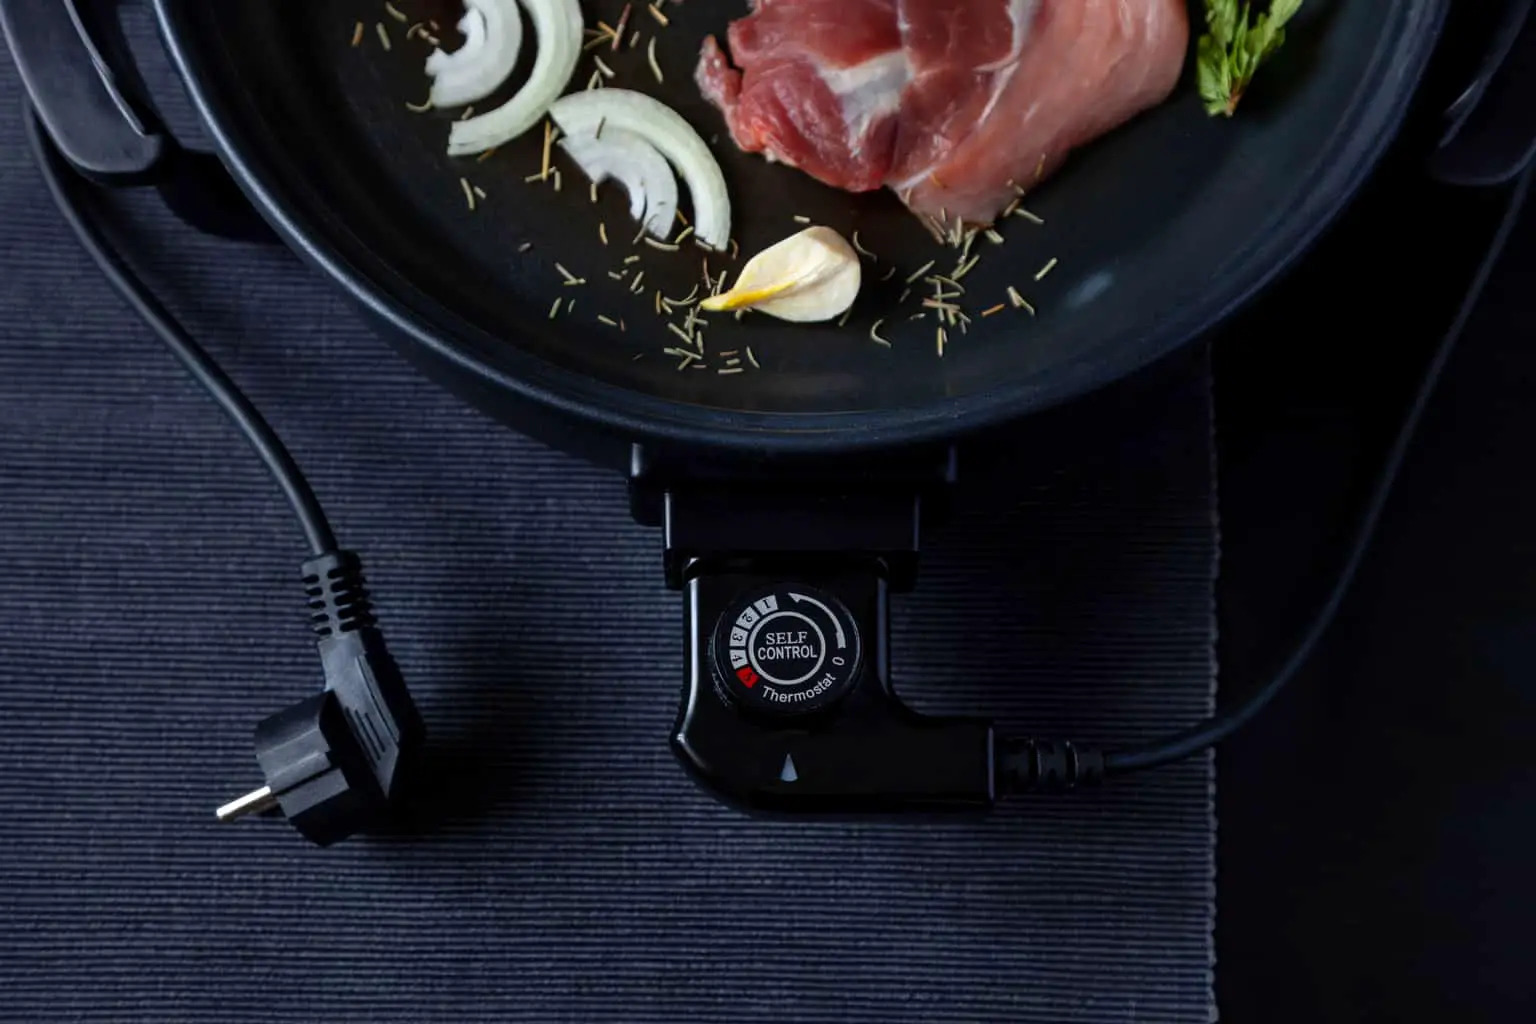
- Adjusting the Temperature: Set the temperature dial on the electric skillet to the desired frying temperature. Generally, a temperature of 350°F to 375°F (175°C to 190°C) is recommended for frying chicken.
- Preheating Time: Allow the electric skillet to preheat for at least 5 minutes, or until it reaches the desired frying temperature. This will ensure that the skillet is evenly heated for optimal cooking results.
- Adding Cooking Oil: While the skillet is preheating, add the cooking oil of your choice. Use enough oil to create a thin, even layer that covers the bottom of the skillet. The oil should be heated along with the skillet.
By preheating the electric skillet, you will ensure that the chicken cooks evenly and achieves that perfect golden-brown crust. Once the skillet is preheated and the oil is hot, it’s time to start frying the chicken.
When frying chicken in a Lifetime Brand Electric Skillet, make sure to preheat the skillet to the recommended temperature before adding the chicken. This will help ensure that the chicken cooks evenly and has a crispy exterior.
Frying the Chicken
Now comes the exciting part – frying the chicken in your preheated electric skillet! Follow these steps to achieve deliciously crispy and tender fried chicken:
- Place the Chicken in the Skillet: Carefully place the seasoned chicken pieces in the hot oil, skin side down if frying with the skin on. Make sure to leave enough space between the pieces to allow for even cooking.
- Monitor the Temperature: As you add the chicken to the skillet, the temperature may drop slightly. Keep an eye on the temperature dial and adjust it accordingly to maintain the desired frying temperature (around 350°F to 375°F or 175°C to 190°C).
- Cooking Time: Allow the chicken to fry for about 7-10 minutes per side, depending on the size and thickness of the pieces. Turn the chicken pieces halfway through the cooking time to ensure even browning and cooking.
- Golden-Brown Color: Keep an eye on the chicken and monitor its color. The chicken should turn a beautiful golden brown when properly fried. Adjust the heat as needed to prevent the chicken from getting too dark or burnt.
- Use a Meat Thermometer: For accuracy, you can check the internal temperature of the thickest piece of chicken using a meat thermometer. The chicken should reach an internal temperature of 165°F (75°C) to ensure it is fully cooked.
Once the chicken is cooked to perfection and has a lovely golden-brown crust, it’s time to move on to the next step: monitoring the cooking process.
Monitoring the Cooking Process
While frying the chicken in your electric skillet, it’s important to monitor the cooking process to ensure that it is progressing smoothly. Here’s what you need to keep an eye on:
- Temperature: Continuously monitor the temperature of the electric skillet. Adjust the temperature dial as needed to maintain the desired frying temperature throughout the cooking process.
- Cooking Time: Keep track of the cooking time and turn the chicken pieces as necessary to ensure even browning and cooking. Different sizes and thicknesses may require varying cooking times, so it’s important to be attentive.
- Color and Texture: Watch the color of the chicken as it fries. It should develop a golden-brown color and a crispy crust. Avoid overcooking or burning the chicken by adjusting the heat and cooking time as needed.
- Oil Level and Quality: Monitor the level of oil in the skillet. If it starts to get too low, you can add more oil to maintain the desired frying consistency. Additionally, keep an eye on the quality of the oil, as reused oil may affect the flavor of the chicken.
- Internal Temperature: For accuracy, you can use a meat thermometer to check the internal temperature of the thickest piece of chicken. It should reach 165°F (75°C) to ensure it is fully cooked and safe to consume.
By closely monitoring these factors, you’ll be able to achieve perfectly fried chicken with crispy and flavorful results. Now, let’s move on to some valuable tips and tricks to elevate your fried chicken game.
Tips and Tricks for Perfectly Fried Chicken
Want to take your fried chicken to the next level? Here are some helpful tips and tricks to ensure your fried chicken turns out absolutely delicious:
- Brining: Consider brining the chicken before frying. Soaking the chicken in a mixture of saltwater for a few hours or overnight can help to enhance its tenderness and flavor.
- Drying the Chicken: Before seasoning the chicken, make sure it is thoroughly dried using paper towels. Excess moisture can create splatter when the chicken is added to the hot oil, affecting the texture and crispness of the fried chicken.
- Double-Dip and Double-Fry: For an extra crunchy coating, you can double-dip the chicken in the flour or breading mixture and double-fry it. After the first round of frying, allow the chicken to cool for a few minutes, then dip it in the coating again and fry it for an additional few minutes.
- Resting Time: Allow the fried chicken to rest on a wire rack for a few minutes after frying. This will help retain its crispness and allow any excess oil to drain.
- Experiment with Seasonings: Don’t be afraid to get creative with your seasonings. Add spices like cumin, chili powder, or even a pinch of cinnamon to bring unique flavors to your fried chicken.
- Maintain a Consistent Temperature: Keep the temperature of the electric skillet consistent throughout the cooking process. Fluctuations in temperature can affect the texture and browning of the chicken.
- Batch Cooking: If you’re cooking a large quantity of chicken, fry them in smaller batches rather than overcrowding the skillet. Overcrowding can lower the oil temperature and result in less crispy chicken.
- Resting Period: After removing the chicken from the skillet, allow it to rest for a few minutes before serving. This helps to seal in the juices and allows the flavors to meld together.
By following these tips and tricks, you’ll be well on your way to serving up perfectly fried chicken that will have everyone begging for seconds.
Cleaning and Maintenance
After enjoying your delicious fried chicken, it’s important to properly clean and maintain your electric skillet. Here are some tips to keep your skillet in excellent condition:
- Unplug and Cool Down: Before cleaning, make sure to unplug the electric skillet and allow it to cool down completely. This ensures your safety and prevents any damage to the skillet.
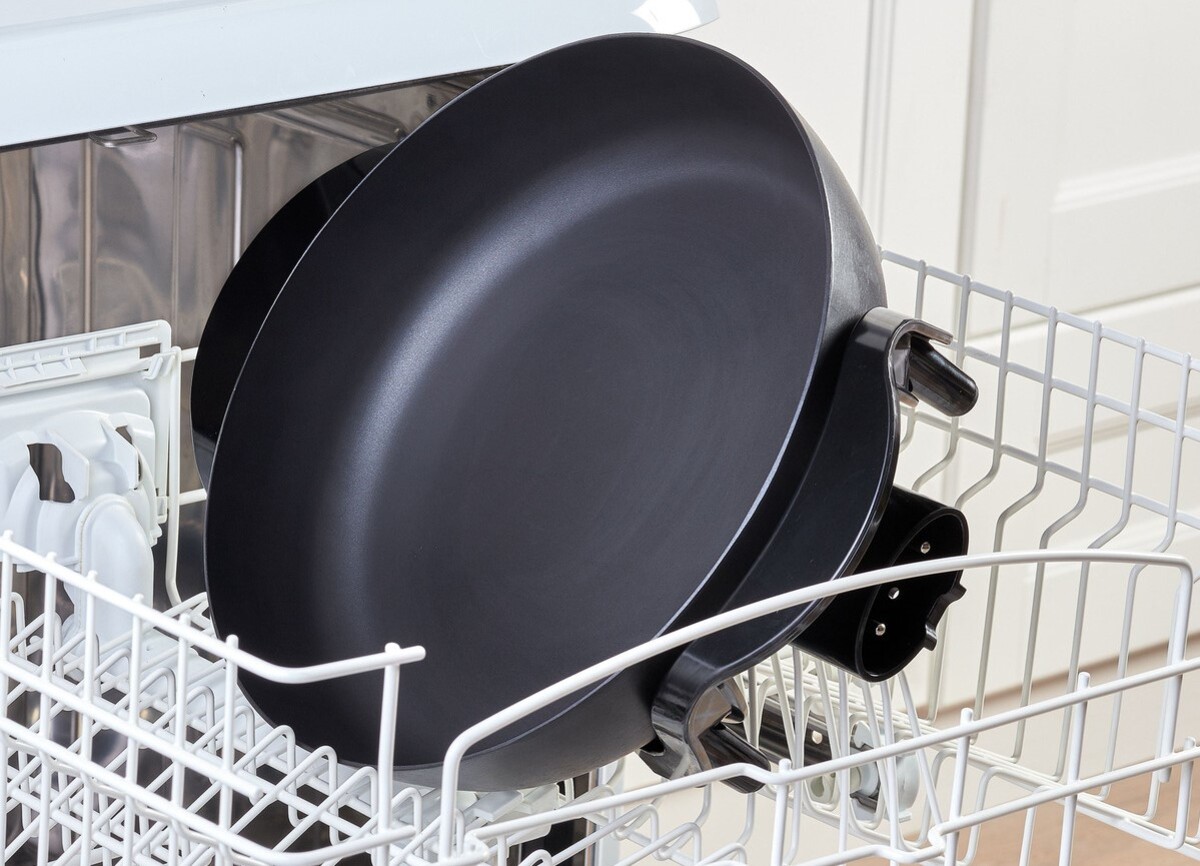
- Remove Non-Stick Parts: If your electric skillet has removable non-stick parts, carefully remove them for cleaning. These parts are often dishwasher safe, so check the manufacturer’s instructions and place them in the dishwasher if applicable.
- Hand Washing: For other parts of the electric skillet that cannot be submerged in water, such as the base or heating element, use a damp cloth or sponge with mild dish soap to clean the surface. Make sure to wipe away any food residue or oil.
- Maintain the Non-Stick Coating: To extend the lifespan of the non-stick coating, avoid using metal utensils that can scratch or damage the surface. Instead, opt for silicone, wooden, or plastic utensils that are gentle on the non-stick coating.
- Preventive Maintenance: Regularly check the electric skillet for any signs of wear or damage, such as scratches or loose parts. If necessary, refer to the manufacturer’s instructions for maintenance or contact customer support for assistance.
- Storage: When storing the electric skillet, make sure it is completely dry to avoid any moisture-related issues that can damage the skillet. Store it in a clean and dry area, preferably with its parts properly organized.
- Periodic Deep Cleaning: Depending on usage, periodically deep clean the electric skillet to remove any built-up grease or stubborn stains. Use a non-abrasive cleaner and a soft sponge or cloth to gently scrub the surface.
- Disposal: If you no longer use or need the electric skillet and it has reached the end of its lifespan, make sure to dispose of it properly according to local waste management guidelines.
By following these cleaning and maintenance tips, your electric skillet will remain in optimal condition and continue to provide you with many more delicious fried chicken meals.
Read more: How Big Is 27906 Lifetime Electric Skillet
Conclusion
Frying chicken in a Lifetime Brand Electric Skillet can be a truly satisfying experience. With the right choice of skillet, proper preparation, and careful seasoning, you can achieve crispy, flavorful fried chicken that will leave your taste buds wanting more.
Remember to choose an electric skillet that meets your cooking needs, ensuring it has a non-stick surface, adjustable temperature controls, and ample cooking capacity. Thaw and prepare the chicken, season it to your liking, and preheat the skillet before adding the chicken to the hot oil.
Throughout the frying process, closely monitor the temperature, cooking time, and color of the chicken. Use a meat thermometer to ensure the chicken is cooked to the correct internal temperature of 165°F (75°C).
For perfectly fried chicken, consider brining, double-dipping, and experimenting with different seasonings. Maintain a consistent temperature, avoid overcrowding the skillet, and allow the chicken to rest before serving for optimal flavor and tenderness.
When it comes to cleaning and maintaining your electric skillet, follow the manufacturer’s instructions and take proper care of the non-stick coating. Regular cleaning, both after each use and periodically deep cleaning, will prolong the lifespan of your skillet.
Whether you’re preparing a family dinner or cooking for a special occasion, frying chicken in a Lifetime Brand Electric Skillet can elevate your culinary skills and bring joy to your taste buds. So go ahead, embrace your inner chef, and enjoy the crispy, mouthwatering goodness of homemade fried chicken straight from your kitchen.
Frequently Asked Questions about How To Fry Chicken In A Lifetime Brand Electric Skillet
Was this page helpful?
At Storables.com, we guarantee accurate and reliable information. Our content, validated by Expert Board Contributors, is crafted following stringent Editorial Policies. We're committed to providing you with well-researched, expert-backed insights for all your informational needs.


0 thoughts on “How To Fry Chicken In A Lifetime Brand Electric Skillet”