Articles
How To Get Carpet Staples Out
Modified: January 9, 2024
Learn how to easily remove carpet staples with these informative articles. Say goodbye to stubborn staples for good!
(Many of the links in this article redirect to a specific reviewed product. Your purchase of these products through affiliate links helps to generate commission for Storables.com, at no extra cost. Learn more)
Introduction
Welcome to our comprehensive guide on how to get carpet staples out! If you’ve recently removed old carpeting or are planning to install new flooring, you may have encountered a common problem: stubborn carpet staples that refuse to come out. Trying to remove these pesky staples without the right technique and tools can be frustrating and time-consuming.
Fortunately, we’re here to help. In this article, we’ll walk you through a step-by-step process for removing carpet staples effectively and safely. Whether you’re a DIY enthusiast or a homeowner looking to save some money on hiring professionals, our guide will equip you with the knowledge and tools necessary to handle this task with ease.
Before we dive into the process, it’s important to note that removing carpet staples can be a labor-intensive job. Depending on the size of the area and the number of staples, it may take some time and effort. However, with patience and the right technique, you’ll be able to achieve a clean and staple-free surface ready for your new flooring.
Before we get started, let’s go over the tools and materials you’ll need to successfully complete the task.
Key Takeaways:
- Removing carpet staples requires patience, precision, and the right tools. By following the step-by-step process and prioritizing safety, you can achieve a clean and staple-free surface ready for new flooring.
- After successfully removing the staples, thorough cleaning and final inspection are crucial. Smooth out the carpet, inspect for any remaining staples, and prepare the area for the next phase of your home improvement project.
Read more: What Size Staple For Carpet
Tools and Materials Needed
Before you begin the process of removing carpet staples, it’s essential to gather the necessary tools and materials. Having the right equipment at hand will make the task much more manageable and efficient. Here’s a list of what you’ll need:
- Gloves: Protect your hands from sharp staples by wearing a sturdy pair of gloves. Opt for gloves made of durable material such as leather or heavy-duty fabric.
- Safety glasses: Shield your eyes from any flying debris or loose staples during the removal process. Safety glasses or goggles will provide the necessary protection.
- Needle-nose pliers: This tool will be your best friend when it comes to gripping and extracting stubborn staples. Make sure to choose a pair with a thin and pointed tip for better precision.
- Flathead screwdriver: A flathead screwdriver can come in handy for prying up stubborn staples that are difficult to remove with pliers alone.
- Pry bar: For larger or deeply embedded staples, a pry bar will provide the additional leverage needed to lift them out.
- Utility knife: In some cases, the carpet may be folded over and secured with staples. Use a utility knife to carefully cut through the folded section and free the staples.
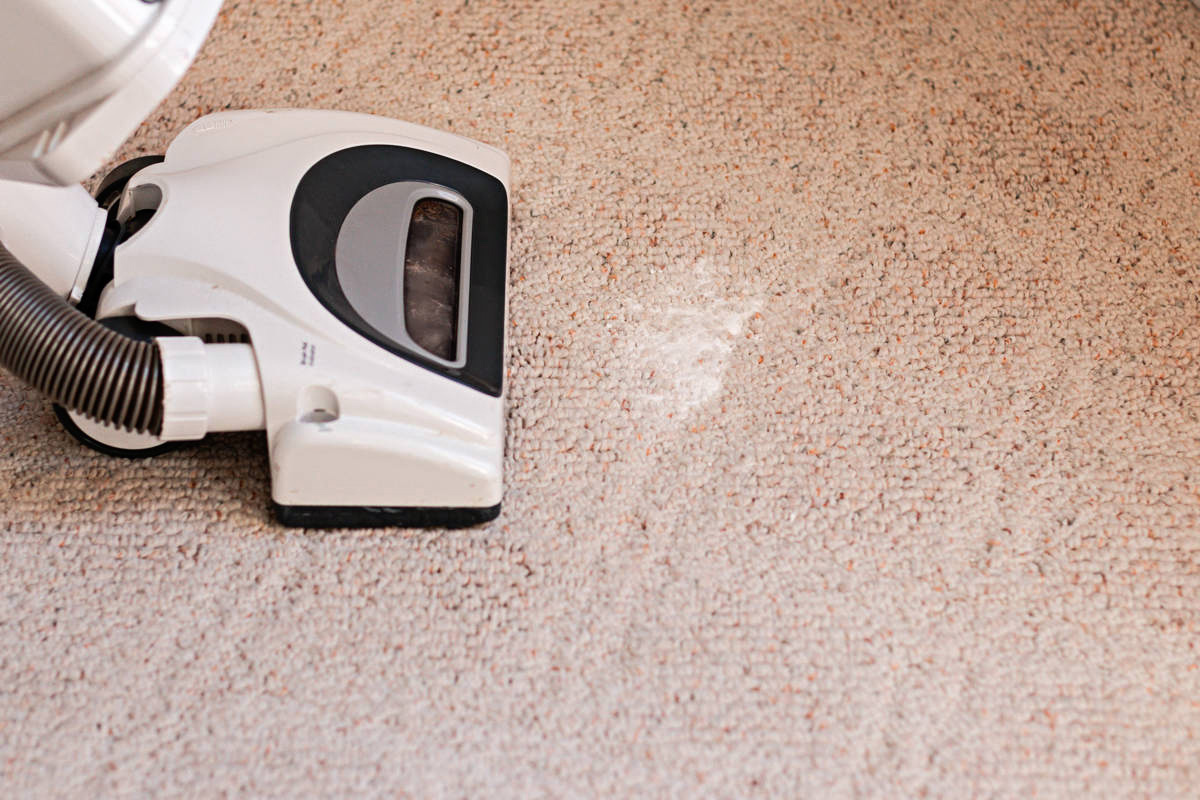
- Vacuum cleaner: Keep a vacuum cleaner nearby to suck up any loose debris, dust, or carpet remnants as you work. This will help maintain a clean and safe work environment.
With these tools and materials readily available, you’re now prepared to tackle the task of removing carpet staples. Remember to prioritize safety throughout the process by wearing gloves and safety glasses, and work methodically to ensure a thorough and successful staple removal.
Step 1: Preparation
Before diving into the process of removing carpet staples, it’s important to prepare the area and ensure you have a clear workspace. Here are the essential steps to follow:
- Clear the space: Remove all furniture, rugs, and debris from the room or area where you’ll be working. This will give you ample room to maneuver and access the carpeted surface without any obstructions.
- Inspect the carpet: Take a close look at the carpet you’re working with. Identify any areas that may have excessive wear or damage, as these sections may require unique attention or repairs after staple removal.
- Protect the baseboards: To prevent accidental damage to the baseboards, cover them with painter’s tape or use a plastic edge protector. This will serve as a barrier and ensure that your tools don’t scrape or scratch the walls.
- Put on your safety gear: Prioritize your safety by putting on a pair of gloves and safety glasses or goggles. These protective items will shield your hands and eyes from potential injury during the staple removal process.
- Set up a disposal system: Place a trash bag or a designated container nearby to collect the removed staples. Having a proper disposal system in place will help keep your workspace clean and prevent any accidental injuries from stepping on discarded staples.
By taking these necessary preparation steps, you’ll create a conducive environment for removing carpet staples effectively and safely. Now that you’ve cleared the space, protected the baseboards, and geared up with safety equipment, you’re ready to move on to the next step: identifying and locating the staples.
Step 2: Identifying and Locating the Staples
Now that you’ve completed the preparation phase, it’s time to identify and locate the carpet staples that need to be removed. This step is essential for understanding the scope of the task and determining the best approach to take. Here’s how to proceed:
- Begin in a corner: Start your staple removal process from a corner of the room or area. This will give you a clear starting point and allow you to work systematically.
- Look for visible staples: Scan the carpet surface and look for any visible staples. Take note of their location and the condition of the carpet surrounding them.
- Check under the carpet: Lift the edges of the carpet and inspect the underside. Sometimes, staples can be found securing the carpet to the padding or subfloor. Pay close attention to areas near walls, seams, or any folded sections of the carpet.
- Feel for hidden staples: Run your hand slowly and gently across the carpet surface, feeling for any hidden staples that may not be immediately visible to the naked eye.
- Use a flashlight: In poorly lit areas or to help identify smaller staples, use a flashlight to illuminate the carpet surface. This will help you spot any staples that may be hidden in the fibers.
- Make a mental or physical note: As you identify and locate the staples, mentally or physically mark their positions on the carpet. This will serve as a guide during the staple removal process.
By diligently identifying and locating the carpet staples, you’ll have a better understanding of the extent of the task at hand. With this groundwork laid, you can now move on to the next step: actually removing the carpet staples.
Use a pair of needle-nose pliers to grip the carpet staple and pull it out at a 45-degree angle. Be careful not to tear the carpet fibers.
Step 3: Removing the Carpet Staples
With the staples identified and located, it’s time to tackle the main task – removing them from the carpet. This step requires patience, precision, and the right tools. Here’s how to effectively remove the carpet staples:
- Choose the right tool: Depending on the type of staple, you may need to use different tools for removal. For standard staples, needle-nose pliers will suffice. For larger or deeply embedded staples, a pry bar or flathead screwdriver may be necessary.
- Get a good grip: Using the appropriate tool, grip the staple firmly near its base. Ensure that you have a secure hold and enough leverage to extract it without causing damage to the carpet or subfloor.
- Apply steady pressure: With a controlled and steady motion, carefully lift the staple out of the carpet. Avoid yanking or pulling forcefully, as this may tear or damage the carpet fibers.
- Work systematically: Start from one corner or edge and work your way across the room or area in a systematic manner. Remove each staple one by one, taking your time to ensure a thorough removal.
- Address stubborn staples: Some staples may be tightly embedded or resistant to removal. For these stubborn staples, use a combination of pliers and a flathead screwdriver or pry bar to gently pry them out. Take caution to avoid damaging the surrounding carpet or subfloor.
- Cut through folded sections: If you encounter staples securing folded sections of carpet, carefully use a utility knife to cut through the folded area. This will release the staples and allow you to remove them without disturbing the rest of the carpet.
As you remove each staple, place it directly into your disposal system to keep your work area clean and prevent any accidents. Repeat this process for all identified staples until the carpet surface is completely free of them.
Note: If you encounter any damaged or torn carpet sections during the staple removal process, take note of them for potential repairs or replacement after completing the staple removal.
With the carpet staples successfully removed, you’re now ready to move on to the next step: cleaning the area to ensure a smooth and pristine surface.
Read more: How To Get Pee Out Of The Carpet
Step 4: Cleaning the Area
Now that you’ve successfully removed the carpet staples, it’s time to clean the area to prepare it for your next flooring installation or any other purpose. Here’s how to thoroughly clean the space:
- Remove any loose debris: Use a vacuum cleaner or a broom to remove any loose staples, carpet fibers, or dirt from the surface. Pay close attention to the areas where the staples were removed.
- Inspect the subfloor: Take a moment to inspect the subfloor for any remaining staples or sharp objects that may have been missed during the initial staple removal. Use pliers or a scraper to remove any leftover staples.
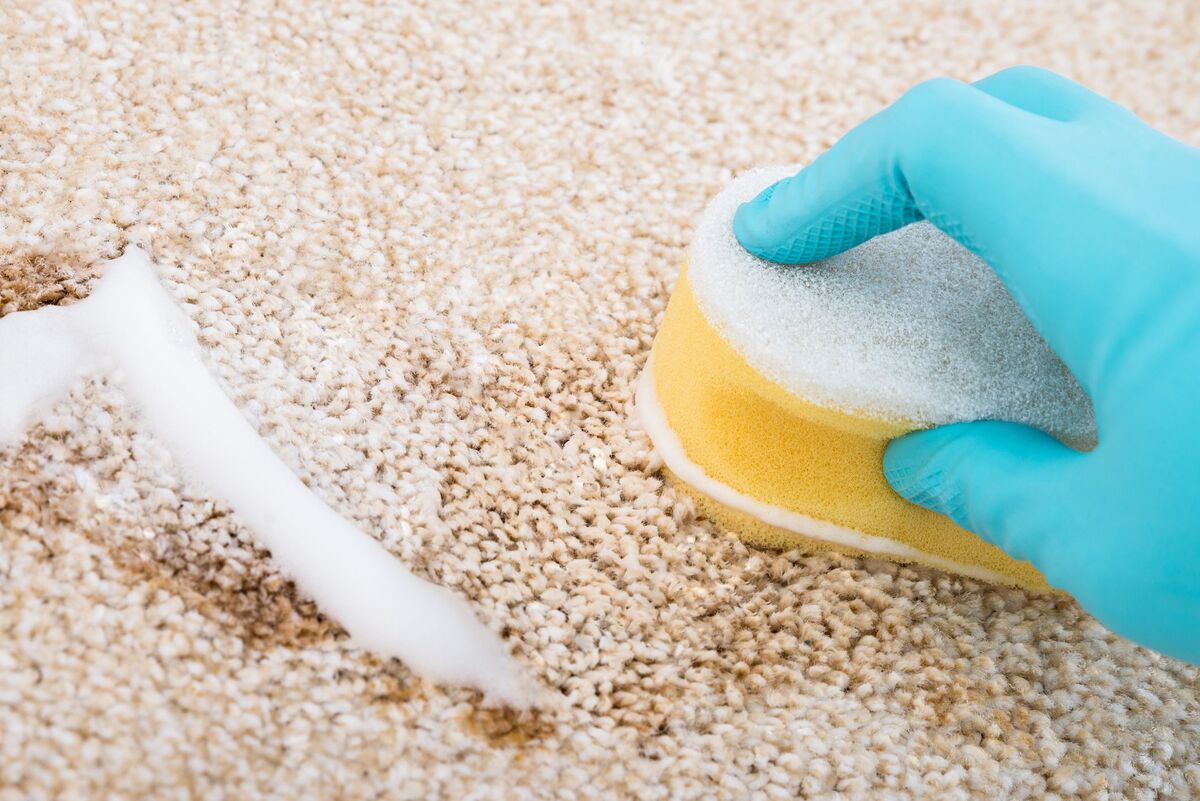
- Address any carpet damage: If the carpet was damaged during the staple removal process, assess the extent of the damage. If it’s minor, you may be able to repair it using carpet adhesive or transition strips. For more significant damage, consider consulting a professional for repair or replacing the damaged section altogether.
- Sweep or vacuum the entire area: After removing all debris and addressing any carpet damage, thoroughly sweep or vacuum the entire area to ensure it’s clean and free from any leftover staples or dust.
- Wipe down baseboards and walls: As a final touch, use a damp cloth to wipe down the baseboards and walls adjacent to the area where the carpet staples were removed. This will remove any dust or dirt that may have accumulated during the process.
By completing these cleaning steps, you’ll ensure a clean and smooth surface ready for your next flooring project or any other intended use. Remember to dispose of any remaining staples and debris properly, keeping safety in mind.
With the area cleaned up, you’re now ready for the final step of this process: adding the finishing touches and conducting a thorough inspection.
Step 5: Finishing Touches and Final Inspection
Congratulations! You’re on the final step of the carpet staple removal process. This step involves adding finishing touches to the area and conducting a thorough inspection to ensure everything is in order. Here’s what you need to do:
- Smooth out the carpet: If the carpet was folded or lifted during the staple removal process, take a moment to smooth it out and ensure it lies flat and even across the entire surface.
- Inspect for loose carpet or frayed edges: Carefully examine the edges and seams of the carpet for any loose threads or frayed edges. If you come across any, trim them with a pair of scissors to maintain a clean and neat appearance.
- Double-check for any remaining staples: Go over the entire area one more time, visually checking for any hidden or missed staples. Use pliers or a scraper to remove any last remnants if necessary.
- Inspect the overall appearance: Step back and take a good look at the finished area. Ensure that there are no noticeable imperfections, bumps, or depressions that may affect the installation of new flooring or the use of the space.
- Make any necessary repairs: If you come across any major carpet damage, such as large tears or holes, consider making the appropriate repairs or consulting a professional for further assistance.
- Prepare for the next step: If you’re planning to install new flooring or proceed with any other project, ensure that the area is clean, smooth, and ready for the next phase. Remove any tools or debris from the workspace.
By completing these finishing touches and conducting a final inspection, you can be confident in the results of your carpet staple removal endeavor. You’ve successfully removed the staples, cleaned the area, and prepared it for the next step in your home improvement journey.
Remember, the process of removing carpet staples can be time-consuming and physically demanding. Take breaks when needed and pace yourself to avoid injury or fatigue. Your efforts in removing the carpet staples will pay off when you have a clean and staple-free surface ready for your new flooring or any other purpose.
With the completion of this final step, you can now conclude the carpet staple removal process. You’ve accomplished a significant task and can take pride in your DIY skills!
Conclusion
Congratulations on successfully completing the process of removing carpet staples! You’ve tackled a challenging task with patience, precision, and the right tools. By following the step-by-step guide outlined in this article, you have created a clean and staple-free surface ready for the next phase of your home improvement project.
Throughout the process, you took the necessary steps to prepare the area, identify and locate the staples, remove them carefully, clean the space, and add the final touches. Your attention to detail and commitment to safety have helped you achieve a smooth and pristine result.
Not only have you saved time and money by taking on the staple removal yourself, but you’ve also gained valuable DIY skills and knowledge. You now have the confidence and expertise to handle similar tasks in the future.
Remember, the process of removing carpet staples can be labor-intensive, requiring patience and effort. Take breaks when needed, and prioritize your safety by wearing protective gear such as gloves and safety glasses throughout the process. The thoroughness and accuracy of your work will directly impact the success of your next flooring installation or project.
As you move forward with your home improvement journey, ensure that you properly dispose of the removed staples and clean up any debris to maintain a safe and organized workspace.
We hope this comprehensive guide has provided you with the necessary information and guidance for removing carpet staples effectively and safely. With the knowledge and skills you’ve acquired, you are now equipped to tackle future projects and create the beautiful and functional space you desire.
Good luck, and enjoy the satisfaction of a job well done!
Frequently Asked Questions about How To Get Carpet Staples Out
Was this page helpful?
At Storables.com, we guarantee accurate and reliable information. Our content, validated by Expert Board Contributors, is crafted following stringent Editorial Policies. We're committed to providing you with well-researched, expert-backed insights for all your informational needs.