Articles
How To Get Wrinkles Out Of Blackout Curtains
Modified: October 27, 2024
Discover effective methods and tips to easily remove wrinkles from blackout curtains with articles featuring step-by-step instructions and expert advice.
(Many of the links in this article redirect to a specific reviewed product. Your purchase of these products through affiliate links helps to generate commission for Storables.com, at no extra cost. Learn more)
Introduction
Welcome to our comprehensive guide on how to get wrinkles out of blackout curtains. Blackout curtains are a popular choice for homeowners who want to block out light and create a dark and cozy environment in their homes. However, like any fabric, blackout curtains can develop wrinkles over time, especially if they are not properly cared for. Wrinkles can not only detract from the aesthetic appeal of your curtains, but they can also affect their functionality by reducing their ability to block out light effectively.
In this article, we will explore the common causes of wrinkles in blackout curtains and provide you with practical methods to remove those wrinkles and restore your curtains to their smooth and pristine state. Additionally, we will share some helpful tips on how to prevent wrinkles from forming in the first place, ensuring that your blackout curtains remain attractive and functional for years to come.
So, if you’re ready to say goodbye to unsightly wrinkles and enjoy beautifully draped blackout curtains, let’s dive into the world of wrinkle removal and curtain care!
Key Takeaways:
- Say goodbye to wrinkles in blackout curtains by using steam ironing, clothes steamer, proper hanging, and wrinkle release spray. Follow care instructions and preventive tips for long-lasting elegance and functionality.
- Keep blackout curtains smooth and wrinkle-free with proper care, gentle handling, and regular maintenance. Use effective wrinkle removal methods and preventive measures to maintain their aesthetic appeal and functionality.
Read more: How To Get Wrinkles Out Of Sheer Curtains
Understanding Blackout Curtains
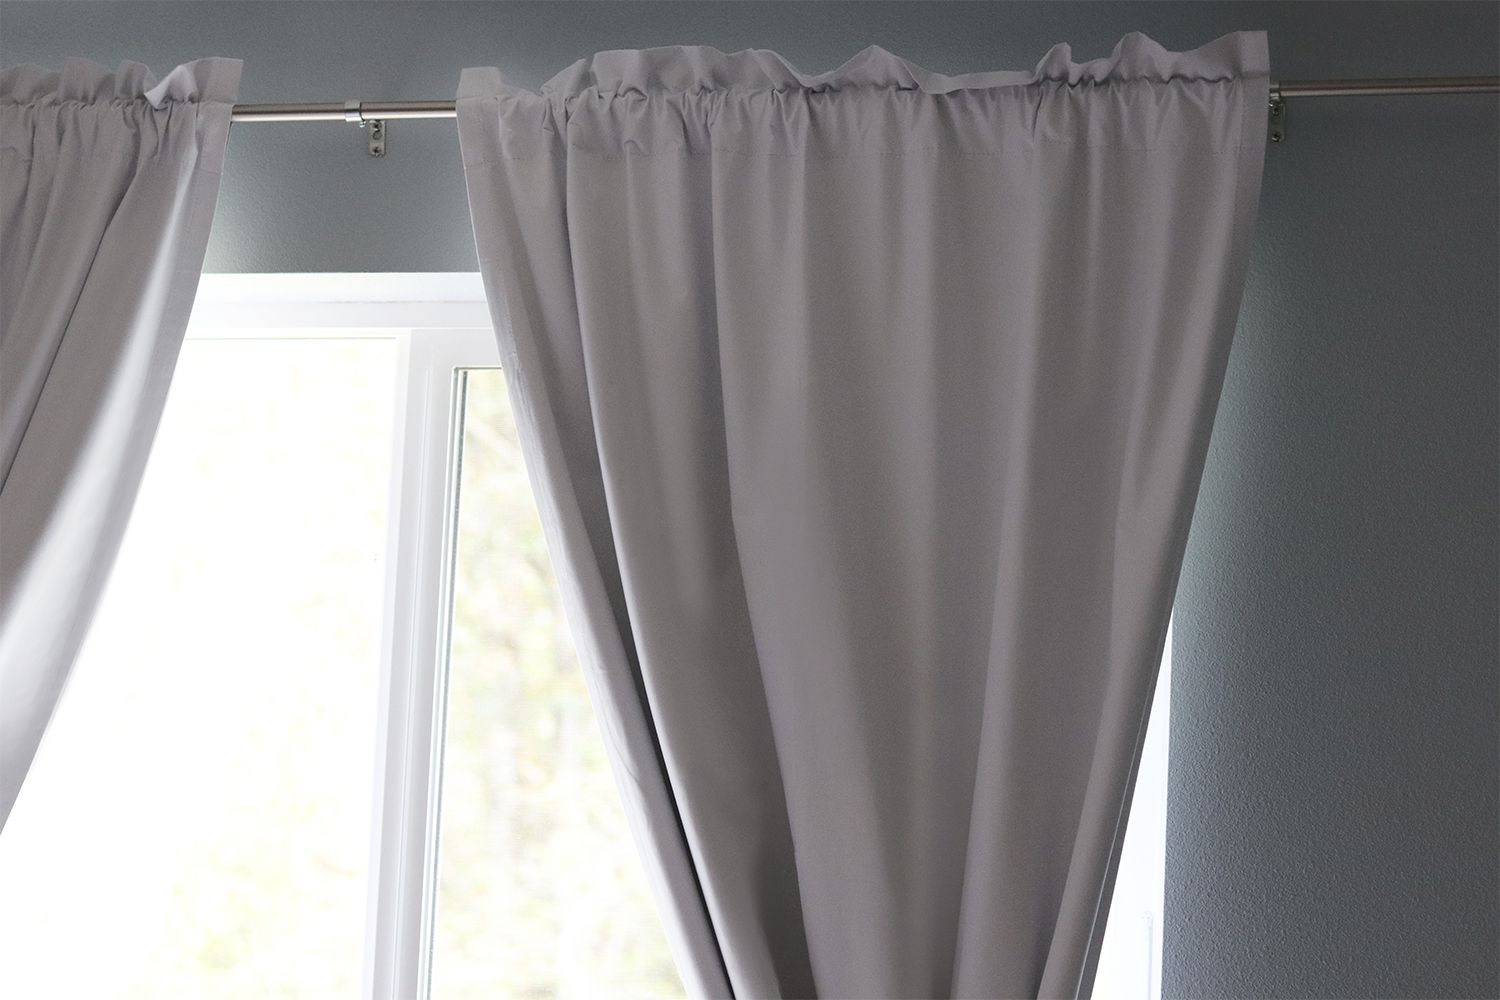
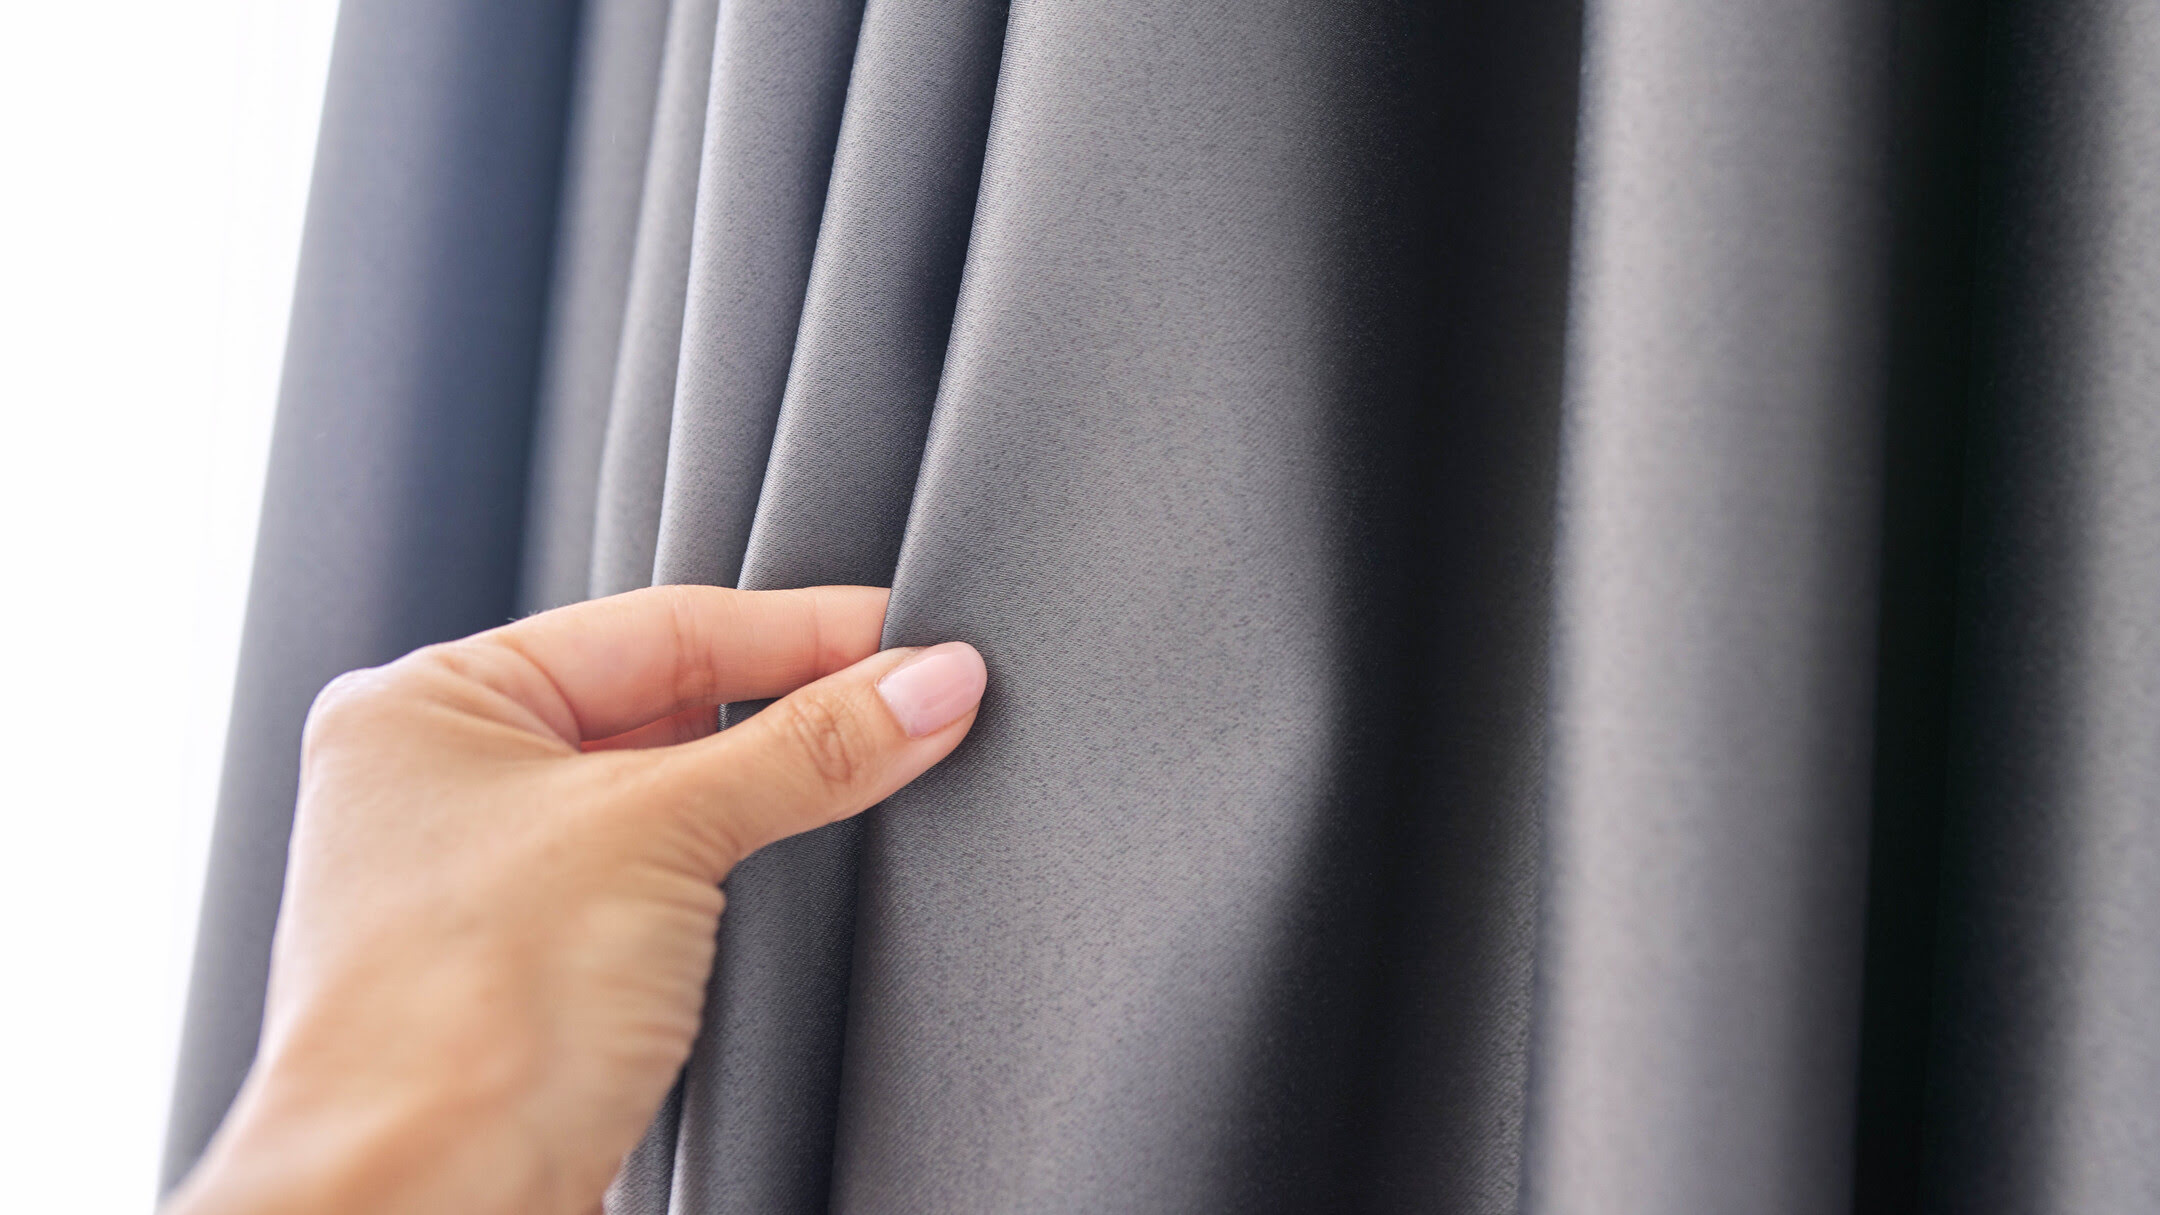
Blackout curtains are specially designed curtains or drapes that are made with a thick and dense fabric to block out sunlight and prevent it from entering a room. They are commonly used in bedrooms, home theaters, and nurseries to create a dark and private space, enhance sleep quality, and improve the viewing experience.
Blackout curtains work by utilizing a combination of dense fabric, lining, and multiple layers to prevent light penetration. The outer fabric is typically made from materials such as polyester, velvet, or microfiber, which have light-blocking properties. The inner lining is often made from a thick and tightly woven fabric, usually in a dark color, to enhance light-blocking effectiveness.
Aside from blocking out light, blackout curtains offer several other benefits. They can help reduce energy costs by insulating the room and preventing heat transfer, making them particularly beneficial during hot summers and cold winters. Blackout curtains can also provide sound insulation, reducing outside noise to create a quieter and more peaceful environment.
It’s important to note that while blackout curtains can significantly darken a room, they may not be 100% lightproof. Some light may still seep through gaps around the edges or through the fabric itself, especially if the curtains are old or improperly installed. However, when cared for and maintained properly, blackout curtains can effectively create a dark and comfortable space.
Now that we have a better understanding of what blackout curtains are and how they work, let’s turn our attention to the common causes of wrinkles in these curtains and explore ways to remove and prevent them.
Common Causes of Wrinkles in Blackout Curtains
Wrinkles can naturally occur in blackout curtains due to various factors. Understanding the common causes of wrinkles will help you prevent their formation and take appropriate measures to keep your curtains looking smooth and wrinkle-free. Here are some of the key causes:
- Packaging and Folding: Blackout curtains are often tightly folded and packaged for shipping and storage. These folds can create creases and wrinkles in the fabric, which can be challenging to remove. It’s essential to address these wrinkles before hanging the curtains to achieve a flawless drape.
- Improper Installation: Incorrect installation of blackout curtains can also contribute to wrinkling. If the curtains are hung unevenly or with excessive tension, it can cause unsightly wrinkles. Ensure that the curtain rod or hardware is properly aligned and that the curtains hang evenly to maintain a smooth appearance.
- Prolonged Storage: Storing blackout curtains for an extended period, such as during seasonal changes, can lead to wrinkles. When curtains are not hung or properly packed away, they may become wrinkled due to the folding and compression of fabric over time.
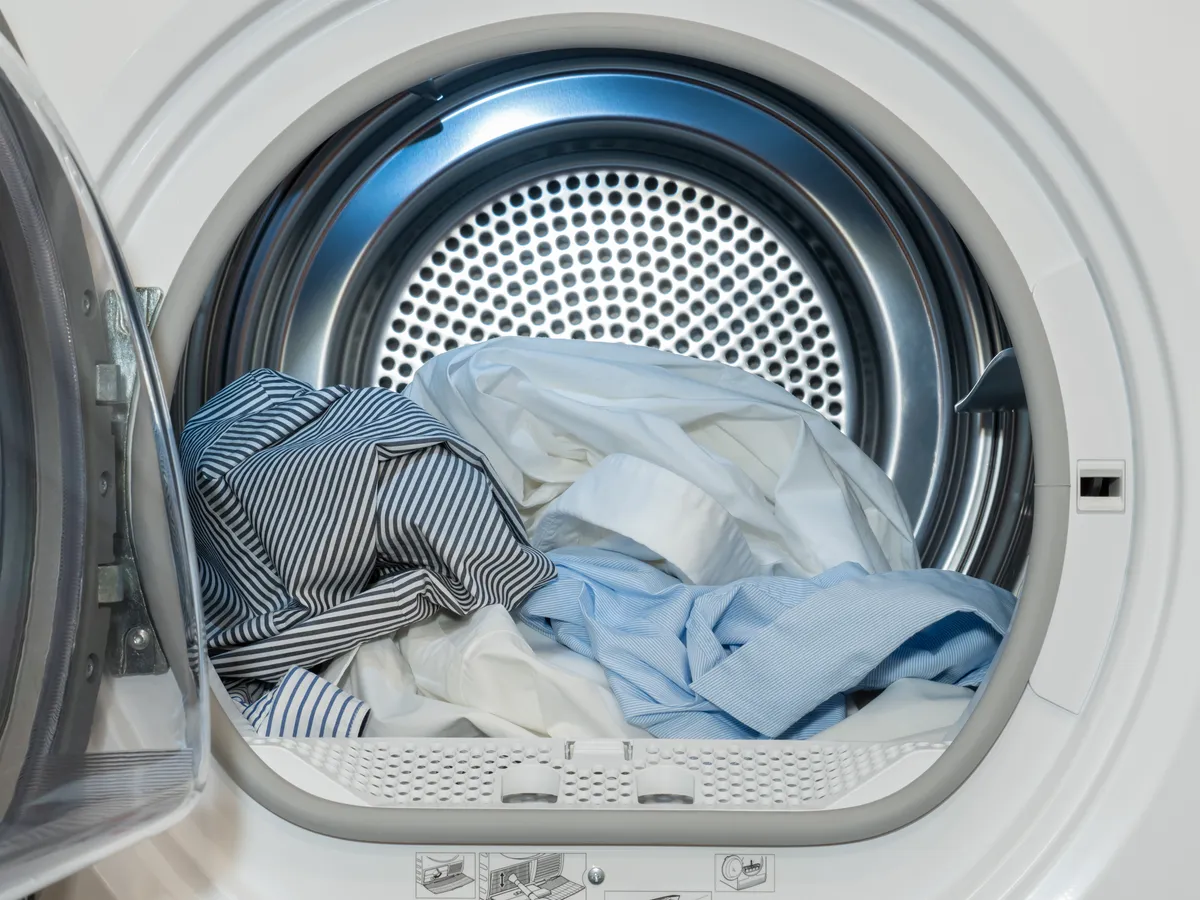
- Washing and Drying: Improper washing and drying methods can be another culprit behind wrinkles in blackout curtains. Machine washing on harsh cycles or using high heat in the dryer can cause the fabric to shrink and wrinkle. It’s crucial to refer to the manufacturer’s instructions for the proper care and maintenance of your blackout curtains.
- Wear and Tear: Over time, frequent usage and normal wear and tear can also contribute to wrinkles in blackout curtains. Handling the curtains roughly, pulling or tugging on them, can cause wrinkles to form. It’s important to treat your curtains with care to minimize the occurrence of wrinkles.
Now that we’ve identified the common causes of wrinkles in blackout curtains, let’s move on to the next section, where we will discuss how to prepare the curtains for wrinkle removal.
Preparing the Curtains for Wrinkle Removal
Before delving into the various methods of removing wrinkles from your blackout curtains, it’s crucial to prepare them adequately. By following these steps, you can ensure that the curtains are in the optimal condition for wrinkle removal:
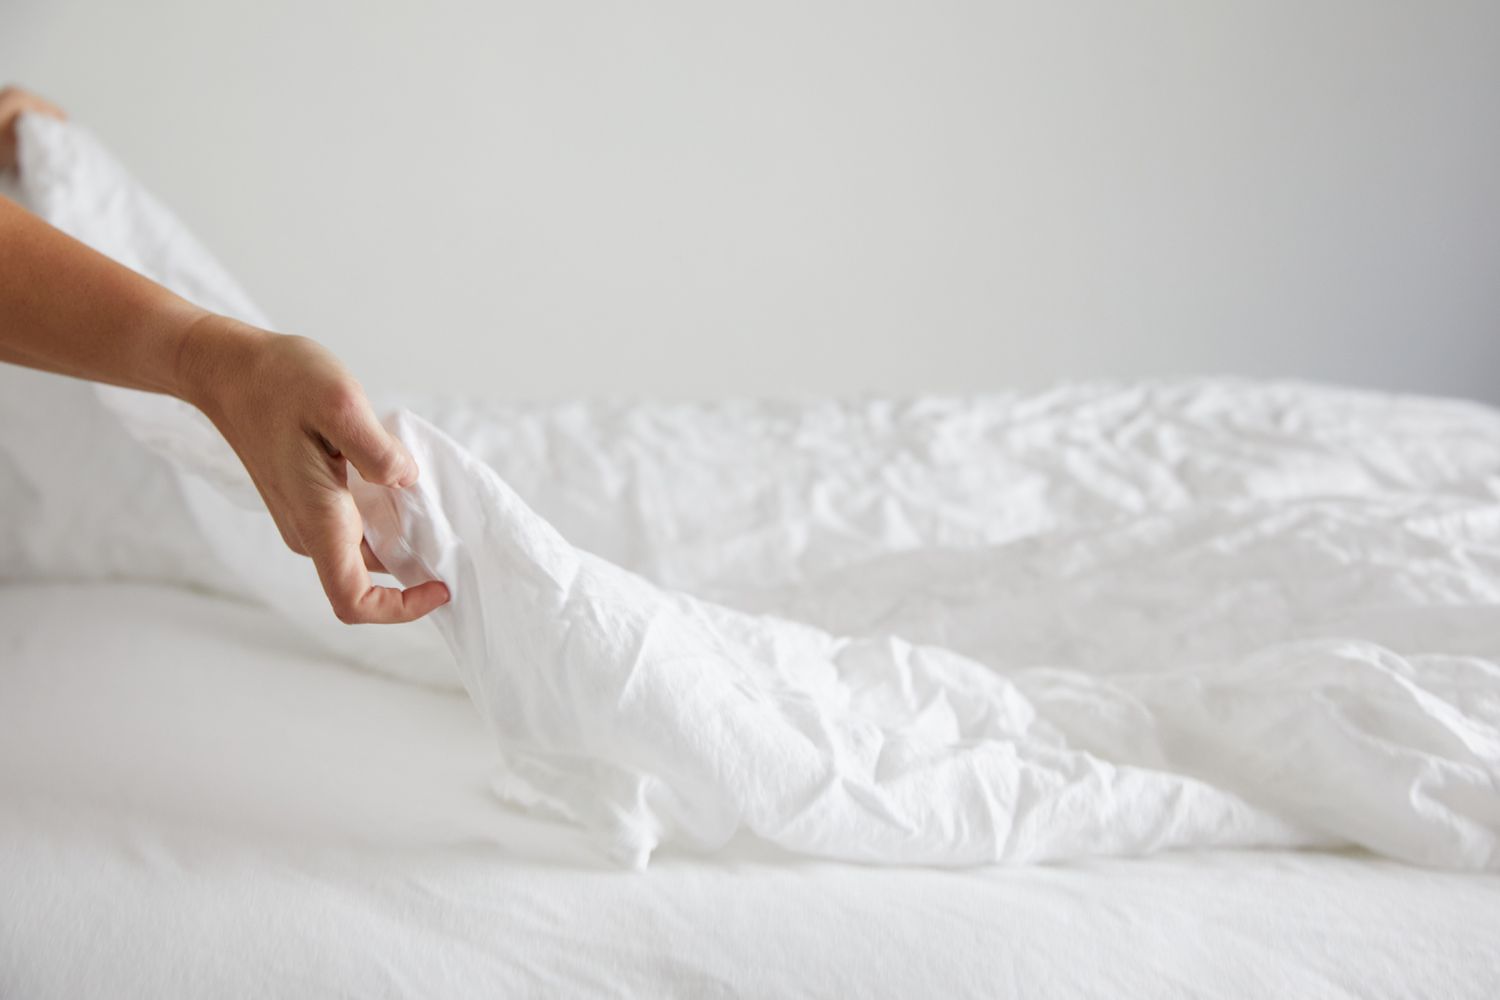
- Remove the Curtains: Start by taking down the blackout curtains from the curtain rod or hooks. Lay them flat on a clean and smooth surface, such as a bed or a table.
- Inspect the Fabric: Carefully examine the curtains for any stains, dirt, or debris. Spot clean the affected areas using a mild detergent or fabric cleaner, following the manufacturer’s instructions. It’s crucial to remove any dirt or stains before attempting to remove wrinkles.
- Check for Damaged Areas: Check the curtains for any tears, loose threads, or damaged areas. Repair any minor damages before proceeding with wrinkle removal. If there are significant damages that cannot be repaired, consider consulting a professional or replacing the curtains.
- Read the Care Label: Pay attention to the care label attached to the curtains. The label will provide specific instructions on how to wash, dry, and iron the curtains, ensuring that you don’t accidentally damage the fabric during the wrinkle removal process.
- Prepare the Iron or Steamer: Depending on the method you plan to use for wrinkle removal, prepare either a steam iron or a clothes steamer. Make sure the iron or steamer is clean and in good working condition.
- Set the Iron or Steamer: Adjust the settings on your iron or steamer according to the fabric’s requirements. Some blackout curtains may require low heat, while others can tolerate higher temperatures. Following the manufacturer’s instructions will help prevent any mishaps during the wrinkle removal process.
- Test on a Small Area: Before applying heat to the entire curtain, it’s always a good idea to test the iron or steamer on a small, inconspicuous area of the fabric. This will ensure that the heat setting is appropriate and will not cause any damage or discoloration to the curtains.
Once you have completed these steps, you are now ready to begin the process of removing wrinkles from your blackout curtains. In the next section, we will explore various methods, including steam ironing, using a clothes steamer, hanging the curtains properly, and using a wrinkle release spray.
Method 1: Steam Ironing
Steam ironing is an effective method to remove wrinkles from blackout curtains. It involves using a steam iron to relax the fabric and smooth out any creases. Here’s a step-by-step guide on how to steam iron your blackout curtains:
- Set Up the Ironing Board: Start by setting up the ironing board in a well-ventilated area. Make sure the ironing board is clean and free of any debris that could transfer onto the curtains.
- Fill the Iron with Water: Fill the water reservoir of the steam iron with clean water. Refer to the manufacturer’s instructions for the appropriate amount of water to use.
- Preheat the Iron: Plug in the steam iron and set it to the appropriate heat setting for your curtains. Synthetic fabrics like polyester typically require a lower heat setting, while natural fabrics like cotton may tolerate higher heat. Allow the iron to preheat according to the manufacturer’s instructions.
- Hang the Curtains: Hang one panel of the blackout curtains on the ironing board, ensuring that the fabric is spread out evenly. You may need to fold or roll the curtains to fit them onto the ironing board.
- Steam the Curtains: Hold the steam iron slightly above the fabric, allowing the steam to penetrate the curtains. Move the iron gently and slowly across the fabric, directing the steam towards the wrinkles. Take care not to apply too much pressure or let the iron come into direct contact with the curtains, as this could damage the fabric.
- Smooth Out the Wrinkles: As you steam the curtains, use your free hand to gently pull the fabric taut and smooth out any wrinkles. This will help the steam iron penetrate deeper into the fabric and remove the wrinkles more effectively.
- Repeat as Needed: Continue steaming and smoothing out wrinkles section by section until the entire panel of curtains is wrinkle-free. If necessary, refill the water reservoir as needed and adjust the heat setting as recommended for different sections of the curtains.
- Repeat for Other Panels: Repeat the process for each panel of the blackout curtains until all of them are steamed and wrinkle-free.
- Allow the Curtains to Dry: After steam ironing, allow the curtains to dry completely before rehanging them. Make sure they are fully dry to prevent any potential moisture-related issues.
Steam ironing can be a highly effective method for removing wrinkles from blackout curtains. However, it’s essential to be cautious and follow the manufacturer’s instructions to avoid damaging the curtains. In the next section, we will explore another method of wrinkle removal using a clothes steamer.
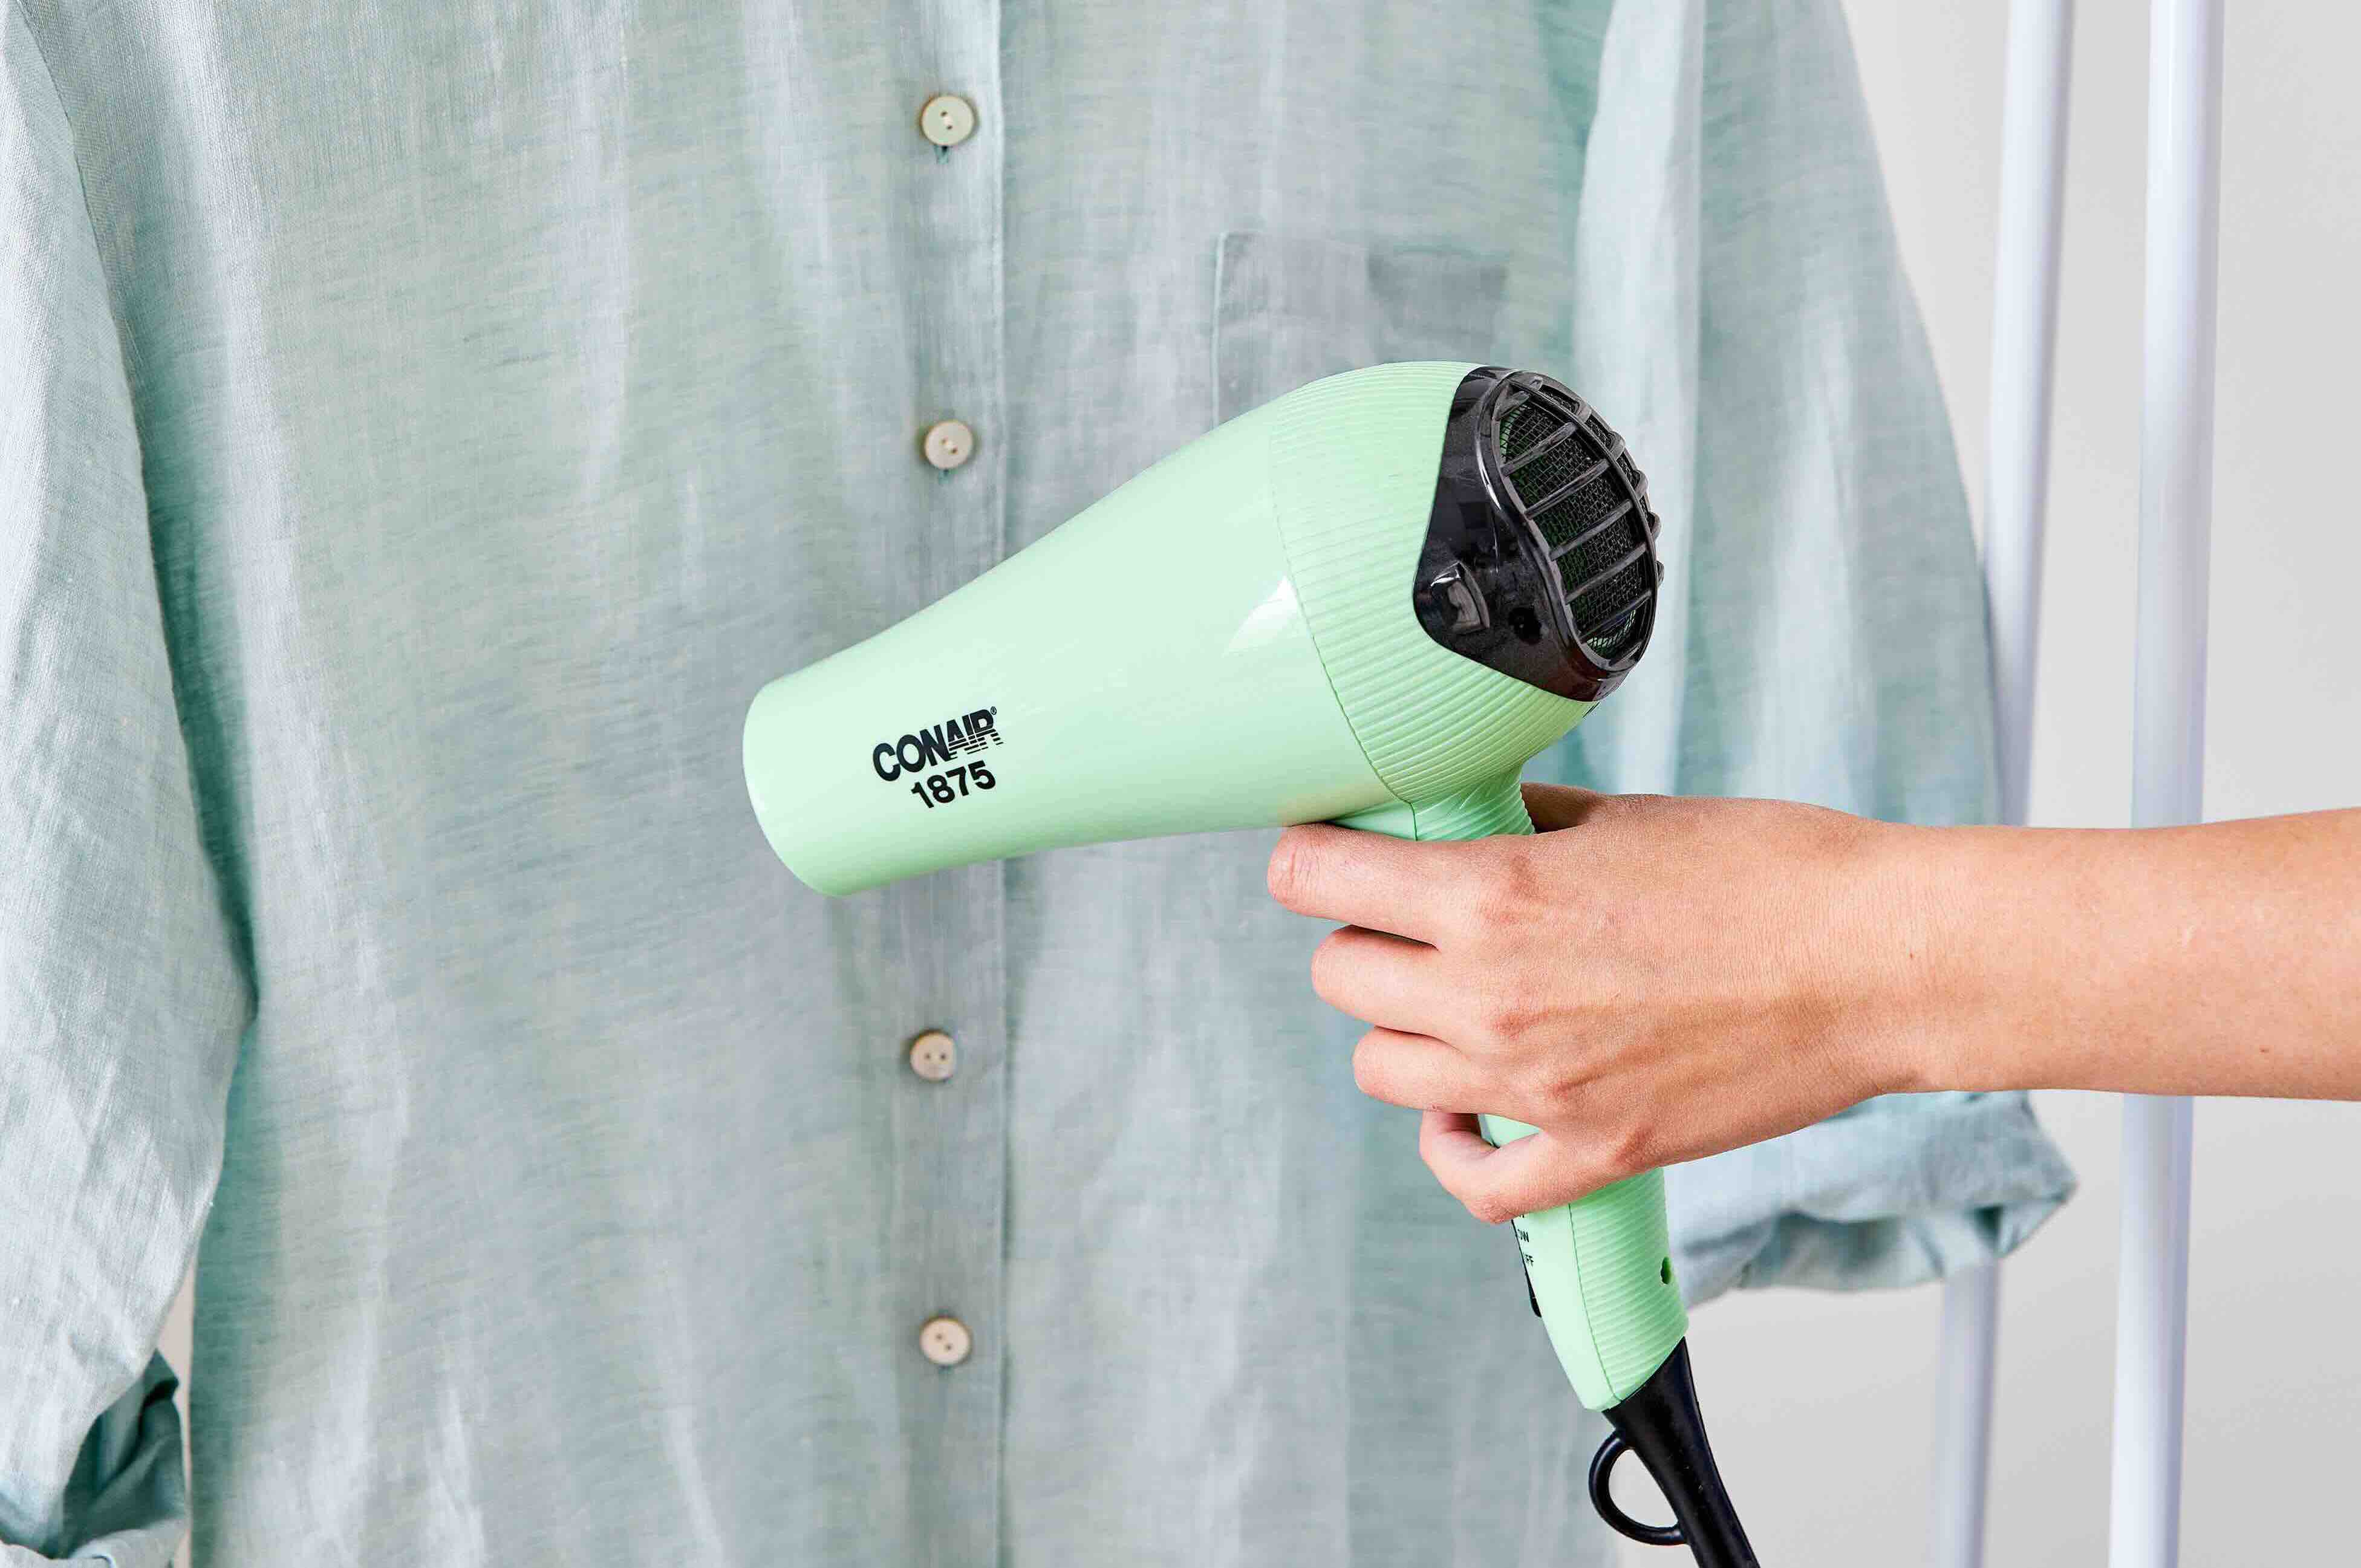
To get wrinkles out of blackout curtains, try using a handheld steamer. Simply hold the steamer a few inches away from the fabric and move it in a sweeping motion to release the wrinkles. Be sure to follow the manufacturer’s instructions for the best results.
Method 2: Using a Clothes Steamer
Using a clothes steamer is another effective way to remove wrinkles from blackout curtains. Clothes steamers produce hot steam that helps relax the fabric and smooth out creases without direct contact with the curtains. Here’s a step-by-step guide on how to use a clothes steamer to remove wrinkles:
- Set Up the Clothes Steamer: Begin by filling the water reservoir of the clothes steamer with clean water. Refer to the manufacturer’s instructions for the appropriate amount of water to use. Ensure that the steamer is in good working condition.
- Preheat the Steamer: Plug in the clothes steamer and allow it to heat up according to the manufacturer’s instructions. It typically takes a few minutes for the steamer to produce sufficient steam.
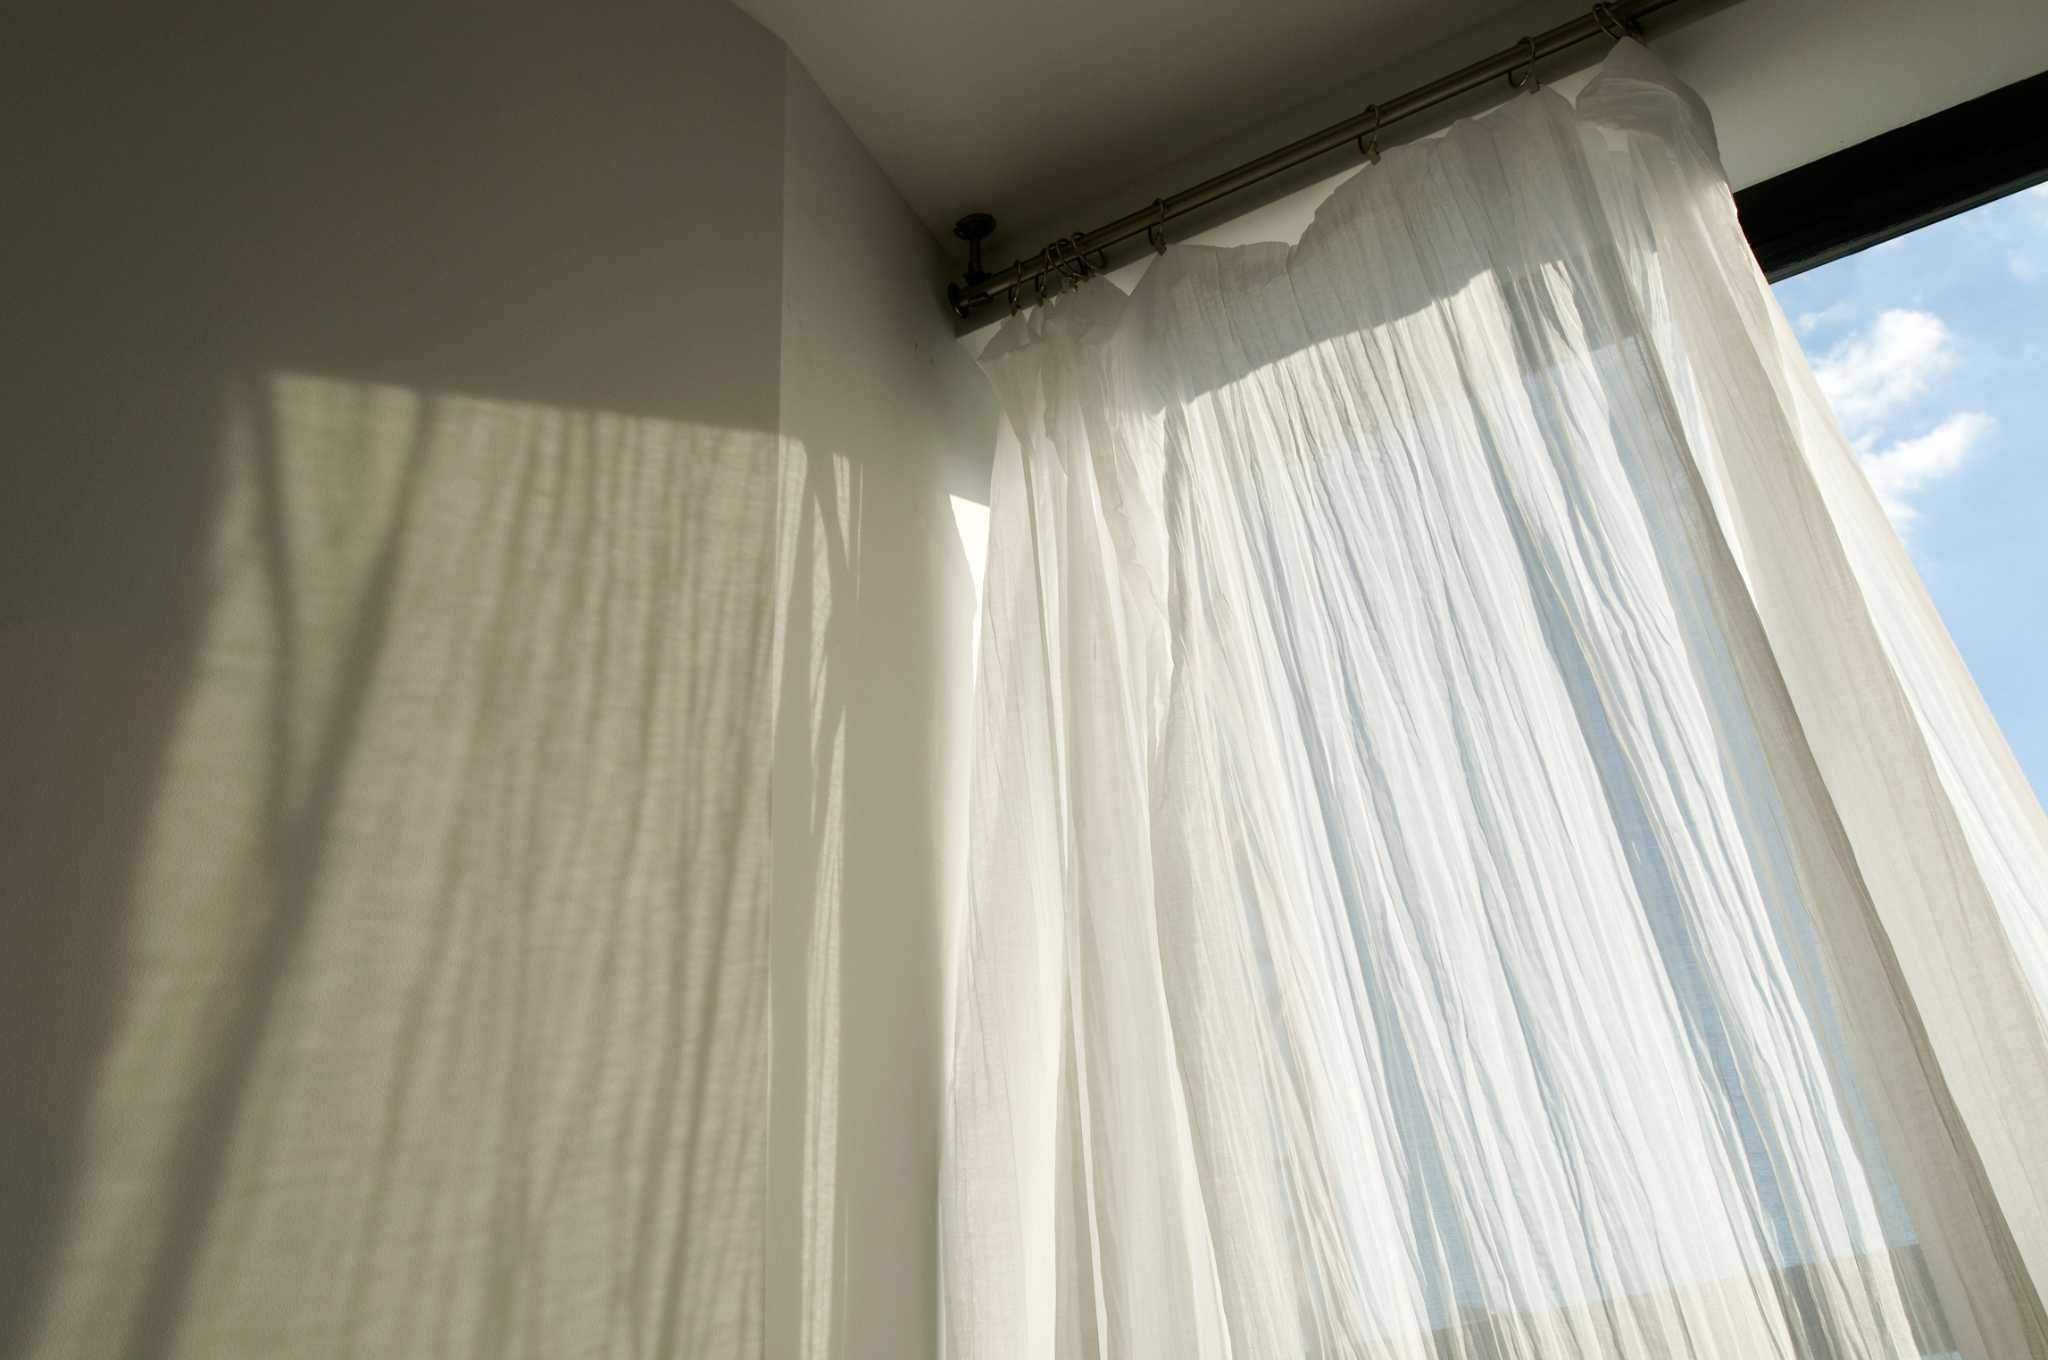
- Hang the Curtains: Hang one panel of the blackout curtains on a curtain rod or hooks, ensuring that the fabric is spread out evenly. Leave enough space between the curtains and the floor to facilitate steam circulation.
- Steam the Curtains: Hold the steam head of the clothes steamer a few inches away from the fabric and direct the steam towards the wrinkles. Move the steamer gently and slowly across the fabric, allowing the hot steam to penetrate the curtains.
- Smooth Out the Wrinkles: As you steam the curtains, use your hands to lightly smooth out the fabric and tug gently on any visible wrinkles. The combination of steam and gentle tension will help relax the fabric and remove the wrinkles.
- Repeat as Needed: Continue steaming and smoothing out wrinkles section by section until the entire panel of curtains is wrinkle-free. Refill the water reservoir as necessary and adjust the steam intensity based on the fabric’s needs.
- Repeat for Other Panels: Repeat the process for each panel of the blackout curtains until all of them are steamed and wrinkle-free.
- Allow the Curtains to Dry: After steaming, leave the curtains hanging for a few hours to air dry. Make sure they are completely dry before rehanging to prevent any potential dampness or moisture-related issues.
Using a clothes steamer can be a convenient and effective method for removing wrinkles from blackout curtains. It allows you to treat the fabric with steam without the need for direct contact, minimizing the risk of accidental damage. In the next section, we will discuss the importance of hanging the curtains properly to prevent wrinkles from forming.
Method 3: Hanging the Curtains Properly
Hanging your blackout curtains properly is an essential step in preventing wrinkles and ensuring a smooth and clean appearance. Proper installation and arrangement of the curtains can help minimize the formation of new wrinkles and maintain the curtains’ overall aesthetic appeal. Here’s a step-by-step guide on how to hang your curtains properly:
- Prepare the Curtain Rod or Hooks: Ensure that the curtain rod or hooks are securely installed and properly aligned. Use a level to make sure the rod is level and adjust it if necessary. If you’re using hooks, make sure they are evenly spaced along the rod.
- Inspect the Curtains: Before hanging the curtains, give them a quick inspection. Check for any remaining wrinkles or creases and smooth them out with your hand or a fabric steamer if needed.
- Divide and Align the Curtain Panels: If your blackout curtains come in multiple panels, divide them evenly based on the width of the window or the desired fullness of the curtains. Align the panels to ensure a seamless and uniform appearance when the curtains are closed.
- Attach the Curtain Rings or Hooks: If using curtain rings, insert them onto the curtain rod and evenly distribute them along the rod. If using hooks, insert them into the curtain heading or eyelets on the curtains. Ensure that the rings or hooks are securely attached and that the curtains hang evenly.
- Hang the Curtains: Carefully place each panel of the curtains onto the rod or hooks, making sure they are evenly spaced and hang straight. Double-check the alignment and adjust if necessary.
- Arrange the Curtains: Once the curtains are hung, gently arrange and smooth out the fabric with your hands. Pull the curtains lightly to create gentle folds and ensure that they fall evenly to the desired length.
- Adjust the Fullness: If you prefer a fuller look, adjust the curtains by slightly gathering and spacing out the fabric along the rod. This will create additional volume and help minimize the appearance of wrinkles.
- Regularly Maintain and Adjust: Periodically check on the curtains and adjust them as needed. Smooth out any wrinkles that may have formed due to regular use or movement over time.
By following these steps and ensuring proper installation and arrangement, you can help prevent wrinkles and maintain the overall appearance of your blackout curtains. In the next section, we will explore the use of a wrinkle release spray as another method to remove wrinkles from your curtains.
Method 4: Using a Wrinkle Release Spray
A wrinkle release spray is a quick and convenient solution for removing wrinkles from blackout curtains. It is a liquid formula that helps relax the fabric and eliminate wrinkles without the need for heat or steam. Here’s a step-by-step guide on how to use a wrinkle release spray:
- Prepare the Spray: Begin by selecting a high-quality wrinkle release spray that is suitable for use on fabric. Read the instructions on the bottle for any specific guidelines or precautions.
- Hang the Curtains: Hang the blackout curtains on a curtain rod or hooks, ensuring they are evenly spread out and hanging straight.
- Test on a Small Area: Before applying the wrinkle release spray to the entire curtain, test it on a small, inconspicuous area of the fabric. This will ensure that the spray does not cause any discoloration or damage to the curtains.
- Apply the Spray: Hold the wrinkle release spray bottle approximately six to eight inches away from the curtains. Spray a fine mist evenly over the fabric, focusing on the areas with visible wrinkles. Be careful not to saturate the curtains with excessive amounts of the spray.
- Smooth Out the Wrinkles: After applying the spray, use your hands to gently smooth out the fabric and tug lightly on any visible wrinkles. The wrinkle release spray will help relax the fabric, making it easier to smooth out the wrinkles.
- Let the Spray Work: Allow the wrinkle release spray to work on the fabric for a few minutes. This will give the solution time to penetrate the fibers and help release the wrinkles.
- Smooth Again if Needed: If there are still some stubborn wrinkles remaining, gently smooth out the fabric again with your hands to encourage the release of wrinkles.
- Allow the Curtains to Dry: After using the wrinkle release spray, leave the curtains hanging for a short period to air dry. The spray typically dries quickly, but it’s essential to ensure that the curtains are completely dry before touching or moving them.
- Reposition and Repeat as Necessary: If there are any persistent wrinkles, you may need to reposition the curtains slightly or repeat the process. Be careful not to overspray or make the fabric too damp, as this can result in other issues, such as water spots or changes in texture.
A wrinkle release spray can be a useful tool in maintaining wrinkle-free blackout curtains. It offers convenience and ease of use, making it a go-to option for quick touch-ups. However, it’s essential to use a high-quality spray and follow the instructions to ensure optimal results. In the next section, we will provide some tips for preventing wrinkles in blackout curtains.
Tips for Preventing Wrinkles in Blackout Curtains
Prevention is always better than cure, and this applies to keeping your blackout curtains free from wrinkles. By following these tips, you can minimize the formation of wrinkles and ensure that your curtains maintain their smooth and elegant appearance:
- Proper Storage: When not in use, store your blackout curtains by hanging them on a sturdy hanger or rolling them loosely. Avoid folding them tightly or cramming them into a small space, as this can create creases and wrinkles.
- Gentle Handling: Treat your blackout curtains with care. When opening or closing them, avoid tugging or pulling excessively, as this can cause wrinkles to form. Instead, handle them gently and evenly distribute the fabric along the curtain rod.
- Regular Maintenance: Regularly inspect and maintain your curtains. Remove any dust or debris by gently shaking them or using a soft brush or vacuum with fabric attachment. This not only keeps them clean but also helps prevent the build-up of particles that can contribute to wrinkling.
- Proper Washing and Drying: Follow the manufacturer’s instructions for washing and drying your blackout curtains. Use a gentle cycle and cold or lukewarm water to prevent shrinkage and damage to the fabric. Avoid using high heat in the dryer and opt for a lower heat setting or air-drying to reduce the risk of wrinkles.
- Remove Promptly: Promptly remove your curtains from the dryer or washing machine to prevent wrinkles from setting in. If you are air-drying them, smooth out any visible wrinkles before hanging them up to dry.
- Iron or Steam Lightly: If you notice minor wrinkles or creases after washing or storing your curtains, you can lightly iron or steam them to smooth out the fabric. Use a low or medium heat setting and apply gentle pressure while avoiding direct contact between the iron or steamer and the curtains.
- Proper Hanging: Ensure that your blackout curtains are hung properly to minimize wrinkles. Use curtain rods or hooks that are securely installed and evenly spaced. Make sure the curtains hang straight and have enough space between them and the floor for proper air circulation.
- Avoid Excessive Sun Exposure: Direct and prolonged exposure to sunlight can fade and age your blackout curtains, leading to the formation of wrinkles. Use window treatments such as blinds or sheer curtains in conjunction with the blackout curtains to minimize direct sunlight exposure.
- Regularly Adjust and Smooth: Periodically adjust and smooth out your blackout curtains to prevent wrinkles from setting in. Gently pull and straighten the fabric to maintain a smooth appearance.
By implementing these tips, you can significantly reduce the occurrence of wrinkles in your blackout curtains and keep them looking fresh and wrinkle-free for a long time. Now, let’s conclude our guide on how to get wrinkles out of blackout curtains.
Read more: How To Get Wrinkles Out Of A Shower Curtain
Conclusion
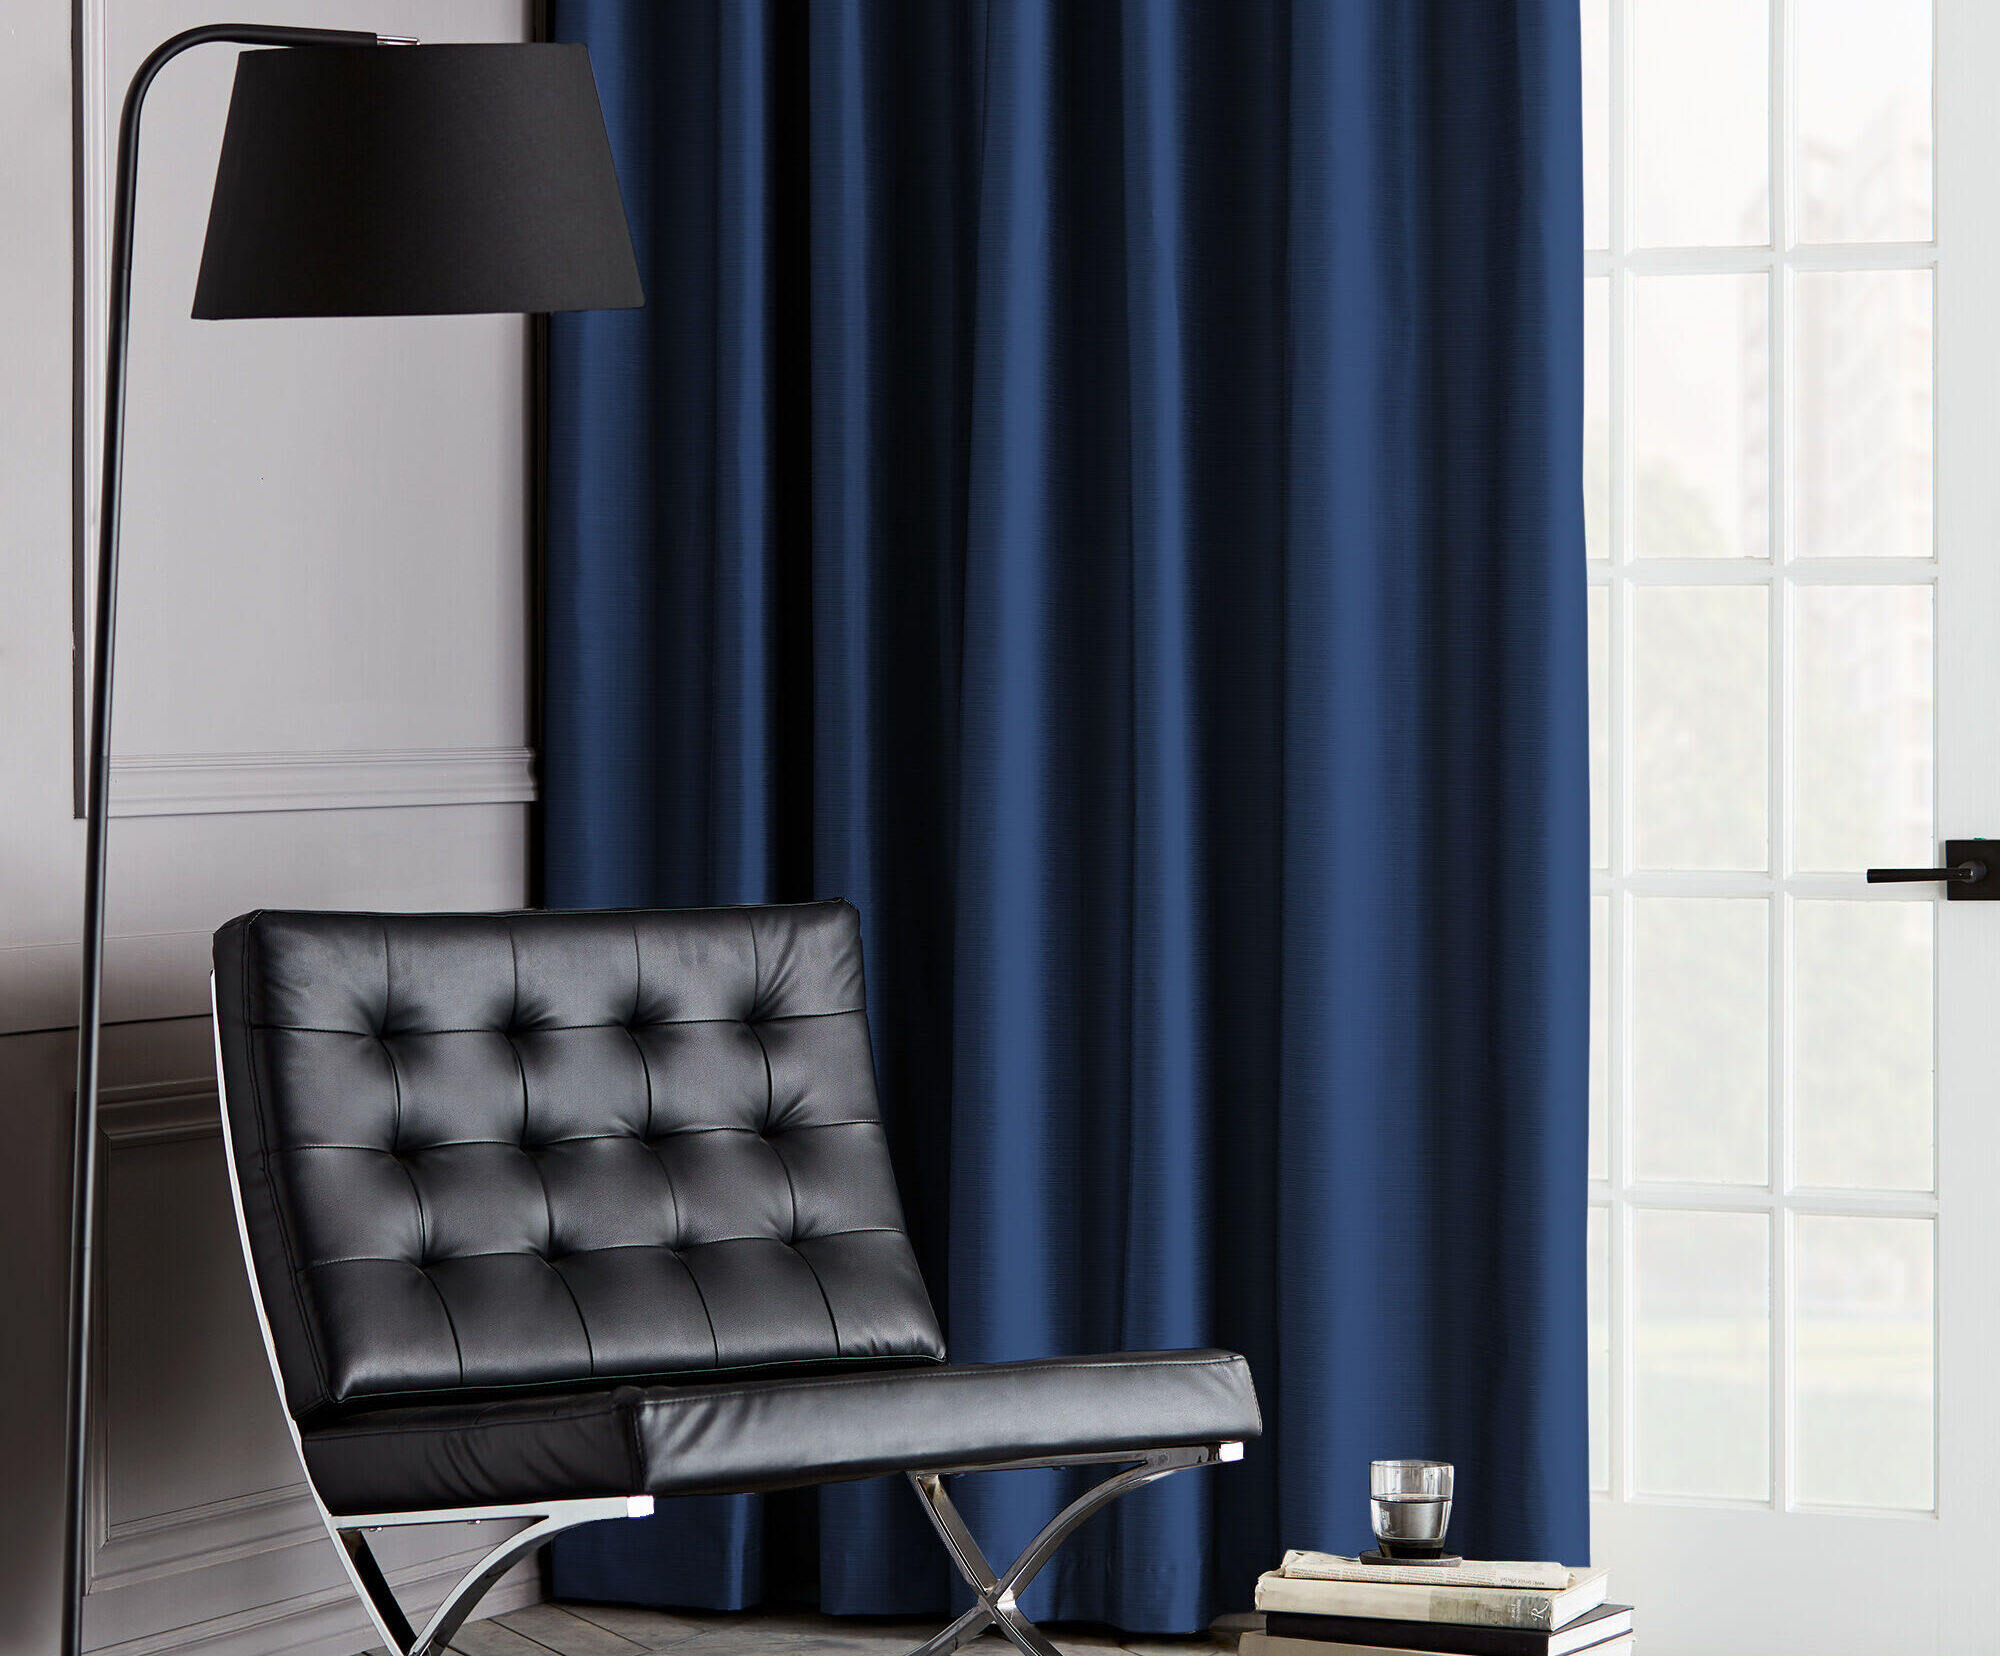
Blackout curtains not only provide privacy and block out light, but they also add a touch of elegance to any room. However, wrinkles can detract from their beauty and functionality. By following the methods and tips outlined in this comprehensive guide, you can effectively remove wrinkles from blackout curtains and prevent them from forming in the future.
We explored four different methods for removing wrinkles: steam ironing, using a clothes steamer, hanging the curtains properly, and using a wrinkle release spray. Each method offers its own advantages and can help you achieve smooth and wrinkle-free curtains.
Remember to properly prepare the curtains before wrinkle removal, inspecting them for any stains or damages, and familiarizing yourself with the manufacturer’s care instructions. Additionally, take the time to hang the curtains properly, evenly distributing the fabric and ensuring that they are aligned and straight.
Regular maintenance, gentle handling, and proper storage are also key to preventing wrinkles in blackout curtains. Regularly inspect and clean the curtains, and handle them with care when opening and closing. And when it comes to storage, hang or roll the curtains loosely to avoid creating creases.
By incorporating these preventive measures and implementing the appropriate wrinkle removal methods when needed, you can keep your blackout curtains in pristine condition, maintaining their aesthetic appeal and functionality for years to come.
So, say goodbye to unsightly wrinkles and enjoy the beautiful drape of your blackout curtains. With a little care and attention, you can create a relaxing and stylish space in your home. Now, go ahead and remove those wrinkles, and enjoy the elegance and functionality of your blackout curtains!
Now that you've mastered removing wrinkles from blackout curtains, why not ensure your whole home remains in tip-top shape? Dive into our guide on regular home upkeep, where you’ll uncover simple, practical strategies for maintaining every nook and cranny. Keeping your living space well-maintained not only enhances its charm but also prevents costly repairs down the road. Don’t miss out on our essential insights that will keep your sanctuary looking its best year-round!
Frequently Asked Questions about How To Get Wrinkles Out Of Blackout Curtains
Was this page helpful?
At Storables.com, we guarantee accurate and reliable information. Our content, validated by Expert Board Contributors, is crafted following stringent Editorial Policies. We're committed to providing you with well-researched, expert-backed insights for all your informational needs.


0 thoughts on “How To Get Wrinkles Out Of Blackout Curtains”