Articles
How To Get Wrinkles Out Of New Drapes
Modified: August 28, 2024
Learn how to remove wrinkles from new drapes with our helpful articles. Get expert tips and tricks for achieving a perfectly smooth look.
(Many of the links in this article redirect to a specific reviewed product. Your purchase of these products through affiliate links helps to generate commission for Storables.com, at no extra cost. Learn more)
Introduction
Welcome to the world of drapes! When you hang a new set of drapes in your home, you want them to look their absolute best. However, wrinkles can often be an unwelcome surprise that comes with new drapes. Don’t worry though, because in this article, we will guide you on how to get those pesky wrinkles out of your new drapes and have them looking flawless in no time!
Preparing your drapes properly before attempting to remove the wrinkles is crucial. Be sure to refer to the care instructions provided by the manufacturer to ensure you don’t damage the fabric. Once you have taken the necessary precautions, you can proceed with the methods we will discuss here: the steaming method and using an iron.
So, let’s dive in and discover the best ways to say goodbye to those wrinkles and hello to beautifully draped windows!
Key Takeaways:
- Say goodbye to pesky wrinkles by preparing, steaming, and ironing your new drapes. Follow care instructions and enjoy beautifully draped windows with these effective methods.
- Properly hang your wrinkle-free drapes to enhance your space. Enjoy the cozy atmosphere and benefits of privacy, light control, and insulation. Care for your drapes to preserve their longevity.
Read more: How To Get Wrinkles Out Of Blackout Curtains
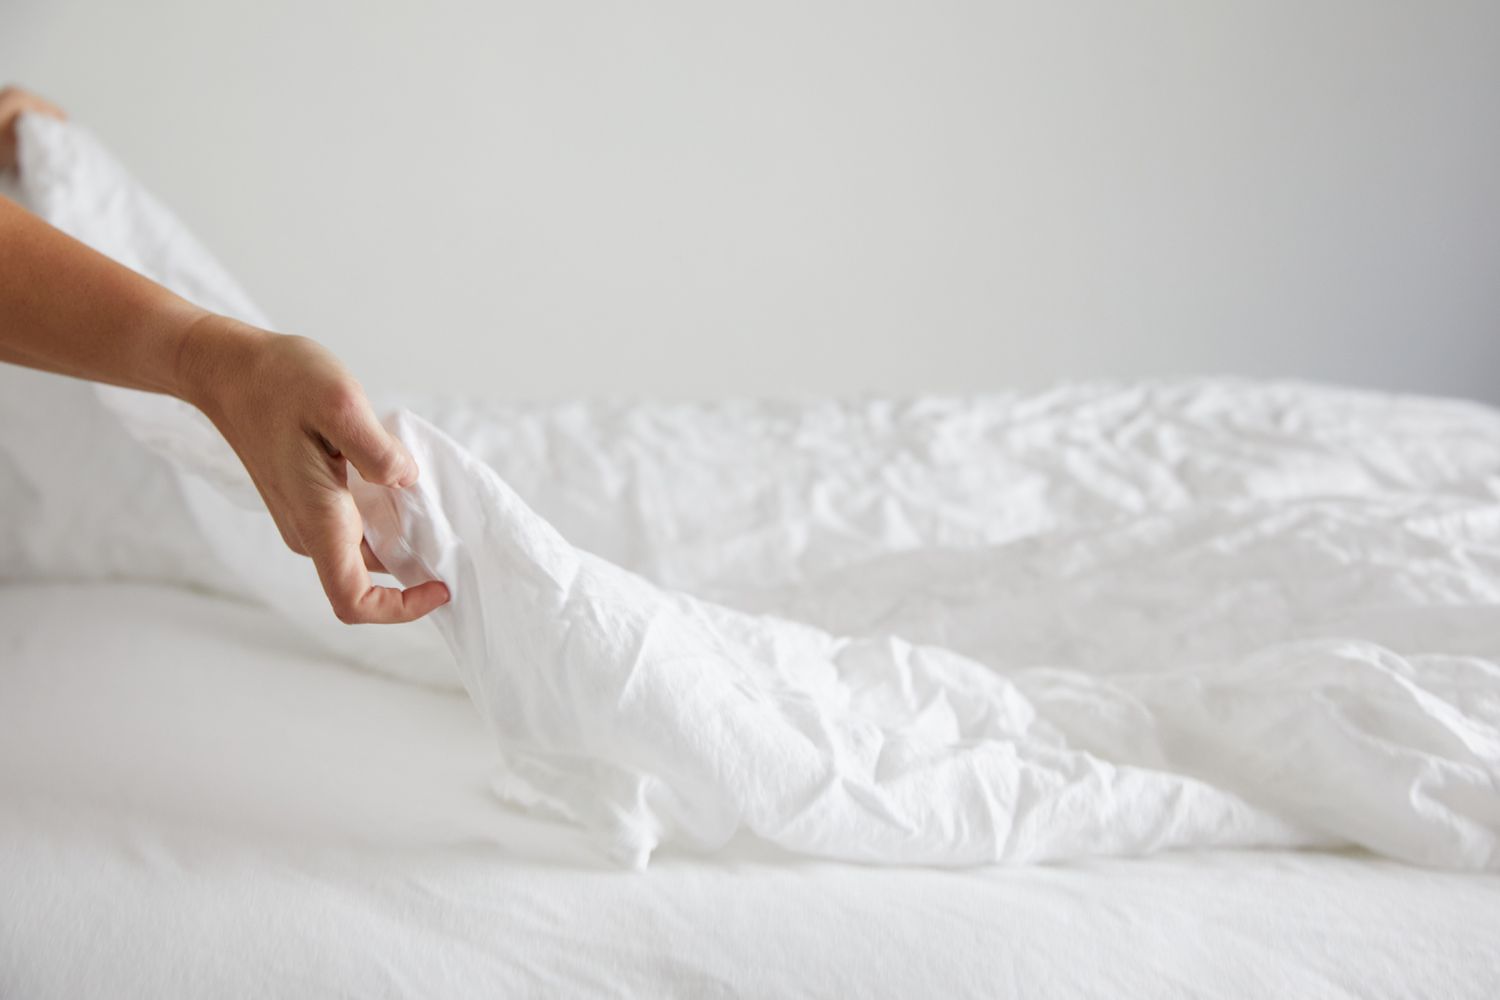
Preparing the Drapes
Before you begin the wrinkle removal process, it’s important to prepare your drapes properly. This step will help ensure that you achieve the best possible results and avoid any potential damage.
1. Unpack and Unfold: Start by carefully unpacking your drapes and unfolding them gently. Take your time to allow the fabric to relax from its folded state. This will make the wrinkles easier to remove.
2. Check the Care Instructions: Pay close attention to the care instructions provided by the manufacturer. Different fabrics require different methods of wrinkle removal. Some may tolerate heat better, while others may need gentler techniques. Following the care instructions will help prevent any accidental damage.
3. Spot Test: If you are unsure about how the fabric will react to a particular method, it’s always a good idea to perform a spot test on a small, inconspicuous area of the drape. This will allow you to ensure that the method you choose does not harm the fabric or cause discoloration.
4. Remove Hardware and Accessories: If your drapes have any hardware or accessories attached, remove them before proceeding. This will make it easier to work with the fabric and prevent any damage to the hardware itself.
By taking the time to properly prepare your drapes, you set yourself up for success in removing the wrinkles effectively and safely. Once you have completed these steps, you can move on to one of the two methods we will discuss: the steaming method or using an iron.
Steaming Method
Steaming is a safe and effective method for removing wrinkles from your drapes. It is particularly suitable for delicate fabrics or those that cannot withstand direct heat from an iron. Here are the steps to follow when using the steaming method:
- Prepare the Steamer: Fill the steamer with distilled water and ensure that it is properly heated and ready for use. Refer to the manufacturer’s instructions for the specific steamer you are using.
- Hang the Drapes: Hang the drapes on a sturdy rod or hanger, making sure they are fully extended and not overlapping.
- Steam from Top to Bottom: Starting from the top section of the drape, hold the steamer about 6-8 inches away from the fabric. Move the steamer in a downward motion, following the natural flow of the fabric. Avoid holding the steamer too close or keeping it in one spot for too long, as this can cause damage or create water spots.
- Smooth Out Wrinkles: As you steam, use your free hand to gently smooth out any wrinkles or creases in the fabric. This will help the steam penetrate deeper and release the wrinkles more effectively.
- Repeat if Needed: If there are stubborn wrinkles that have not fully disappeared, repeat the steaming process until you achieve the desired result. Be patient and take your time to ensure thorough steaming.
- Allow to Dry: After steaming, allow the drapes to fully dry before rehanging them. This will prevent any moisture from causing additional wrinkles or damage to the fabric.
Using the steaming method is a gentle and reliable way to remove wrinkles from your drapes without subjecting them to direct heat. The steam helps relax the fabric fibers, allowing the wrinkles to naturally smooth out. However, sometimes an iron may be necessary for stubborn wrinkles or certain types of fabrics.
To get wrinkles out of new drapes, try hanging them in a steamy bathroom or using a handheld steamer. The steam will help relax the fabric and release the wrinkles.
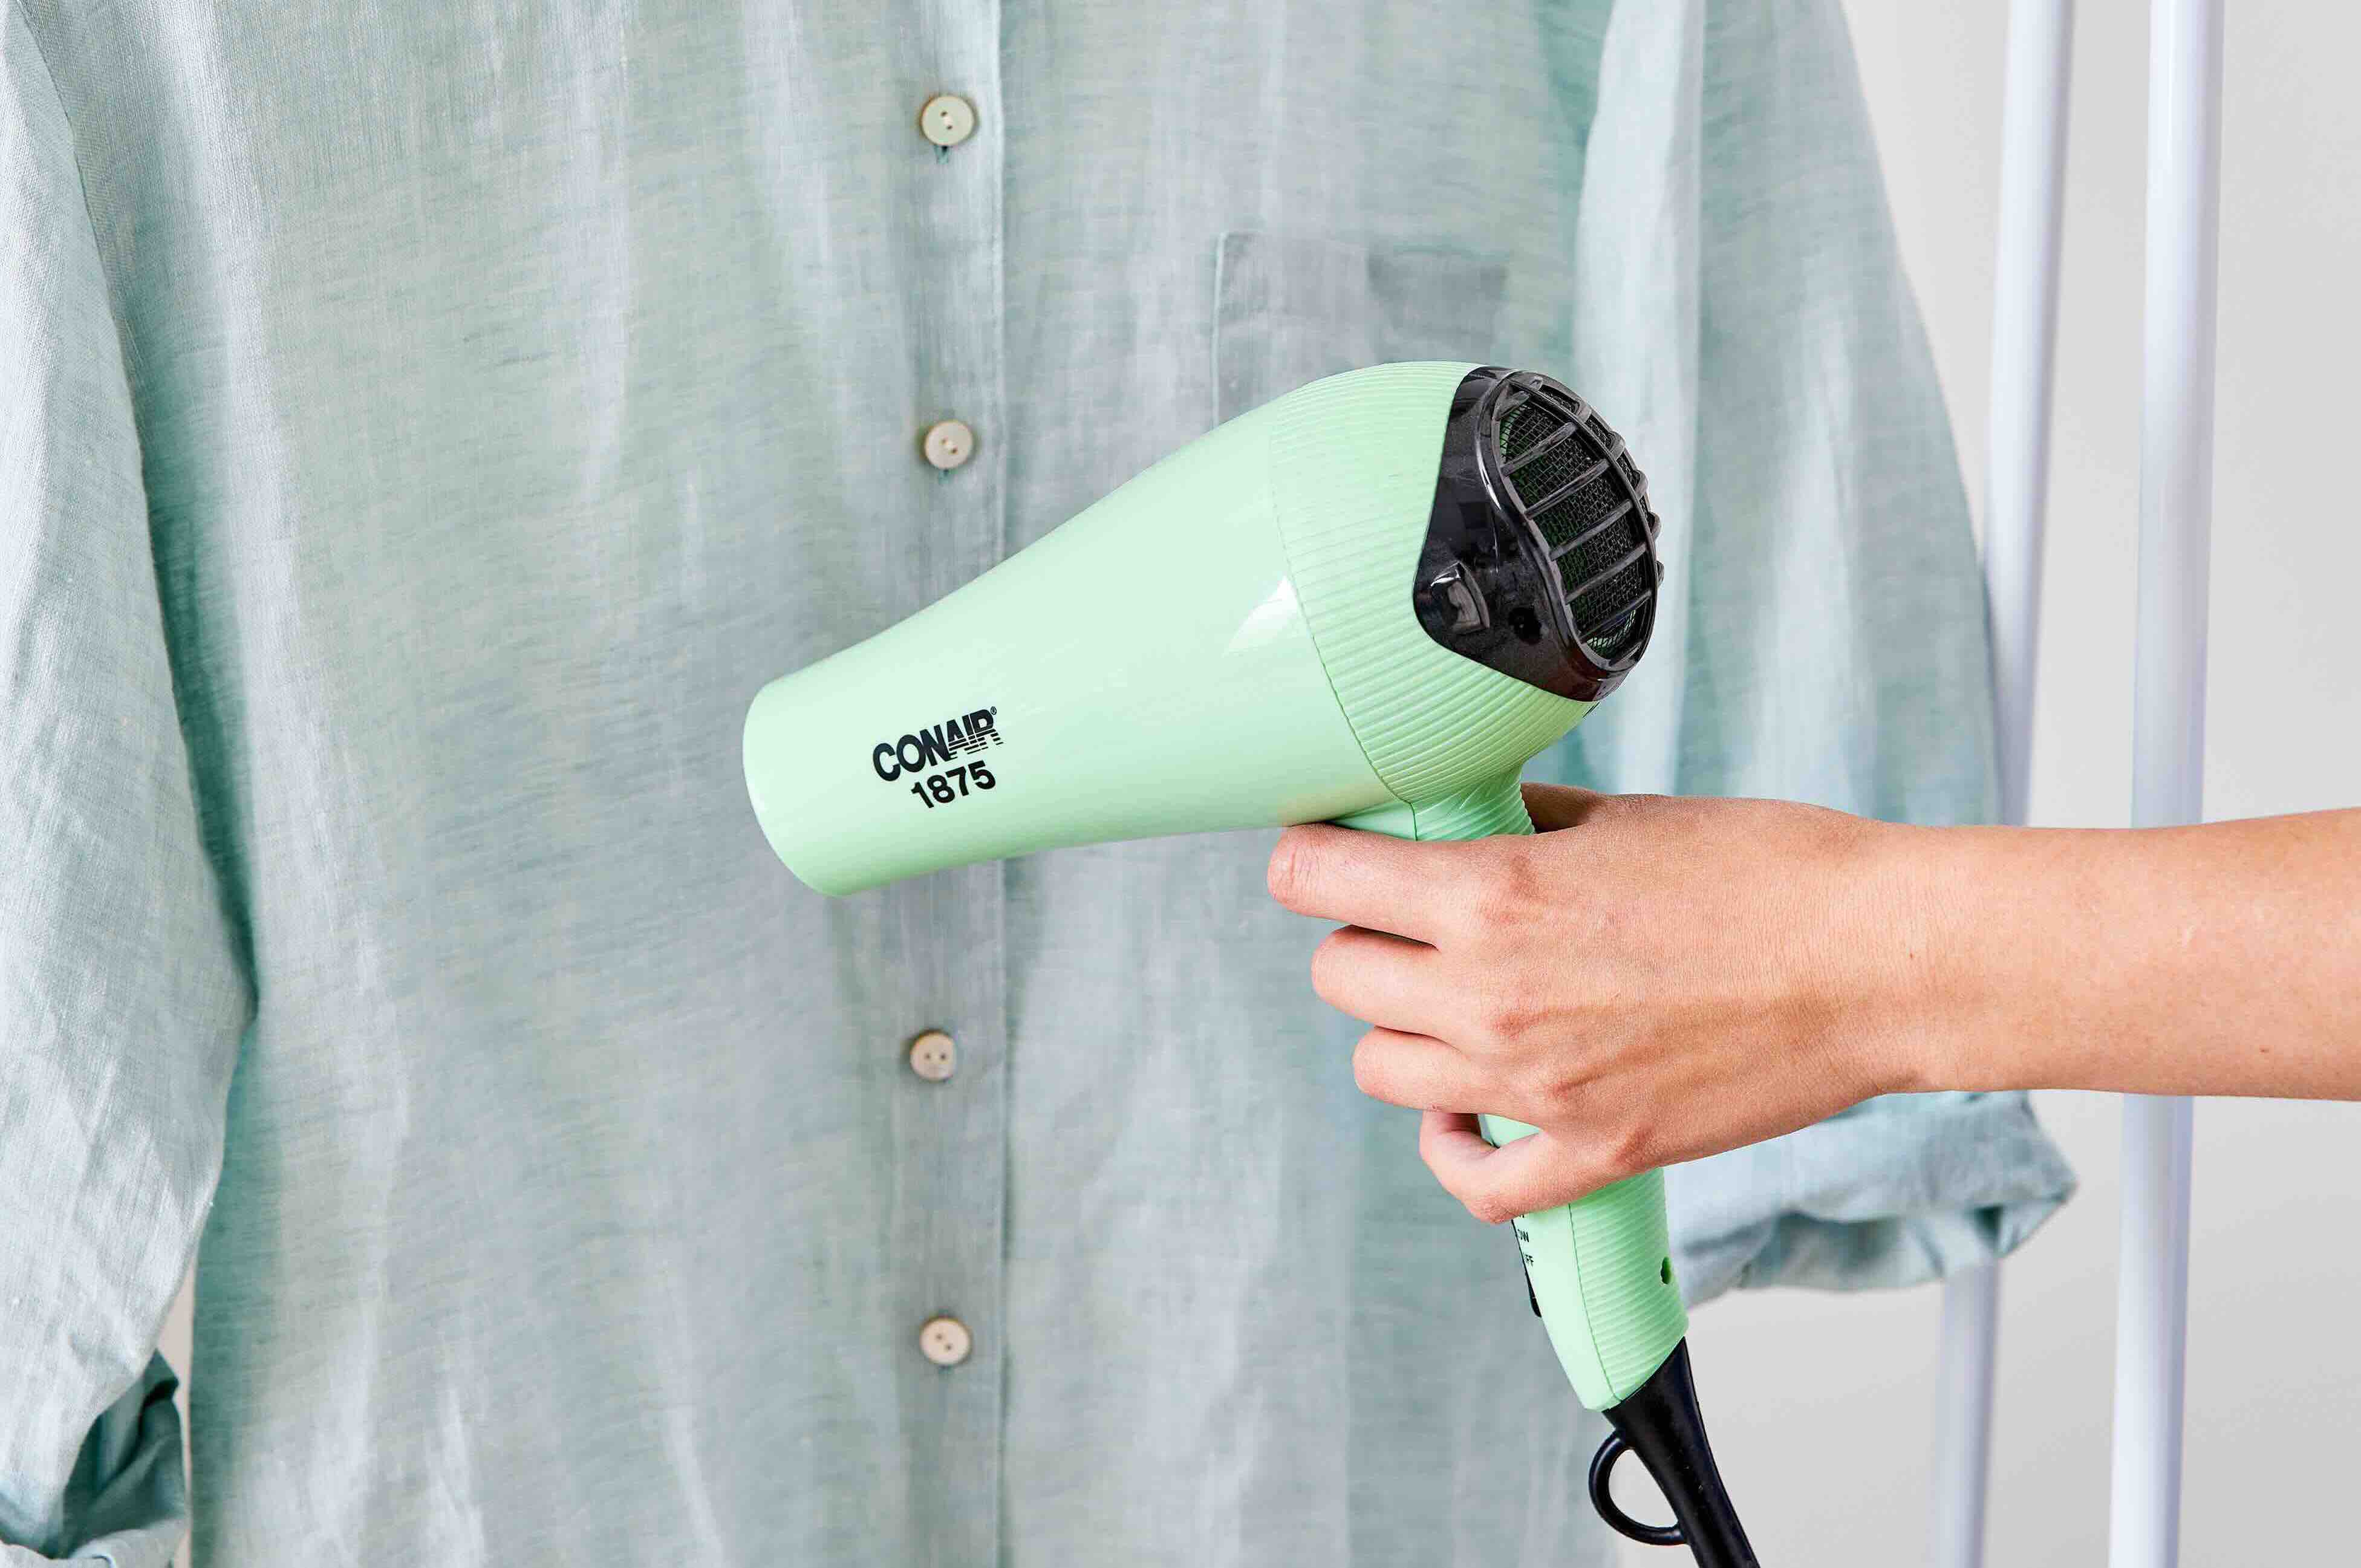
Using an Iron
If the steaming method didn’t completely remove the wrinkles from your drapes, or if you prefer a more intense approach, using an iron can be an effective solution. However, it’s crucial to follow the proper techniques to prevent any damage to the fabric. Here’s how you can use an iron to remove wrinkles from your drapes:
- Set the Iron Temperature: Check the care instructions for your drapes to determine the appropriate heat setting for ironing. Different fabrics require different temperature settings. Set the iron to the recommended heat level to avoid scorching or melting the fabric.
- Prepare the Ironing Surface: Place a clean, heat-resistant ironing board or a thick towel on a flat surface. This will provide a smooth and padded surface for ironing your drapes.
- Lay the Drape Flat: Lay the drape flat on the ironing surface, making sure it is evenly spread out and free of any folds or overlapping sections. Smooth out the fabric with your hands to prepare it for ironing.
- Test a Small Section: Before ironing the entire drape, test a small, inconspicuous area to ensure that the iron temperature and technique are appropriate for the fabric. This will prevent any accidental damage or discoloration.
- Iron in Sections: Start ironing from the top section of the drape and work your way down. Use slow and even strokes, applying light pressure to smooth out the wrinkles. Always keep the iron moving to avoid overheating or burning the fabric.
- Avoid Direct Contact: To protect the fabric and prevent any potential scorching, place a thin, clean cloth between the iron and the drape. This additional layer acts as a barrier and helps distribute the heat evenly.
- Pay Attention to Details: Pay close attention to pleats, hems, and any intricate details on your drapes. Use the pointy end of the iron or a handheld steamer to target those areas and remove any stubborn wrinkles.
- Cool and Hang: Once you have finished ironing, allow the drapes to cool down completely before hanging them. This prevents any moisture or heat from causing new wrinkles during the hanging process.
Remember to be cautious when using an iron on delicate fabrics and always refer to the care instructions provided by the manufacturer. With the proper techniques and care, using an iron can effectively eliminate wrinkles from your new drapes and give them a crisp, polished look.
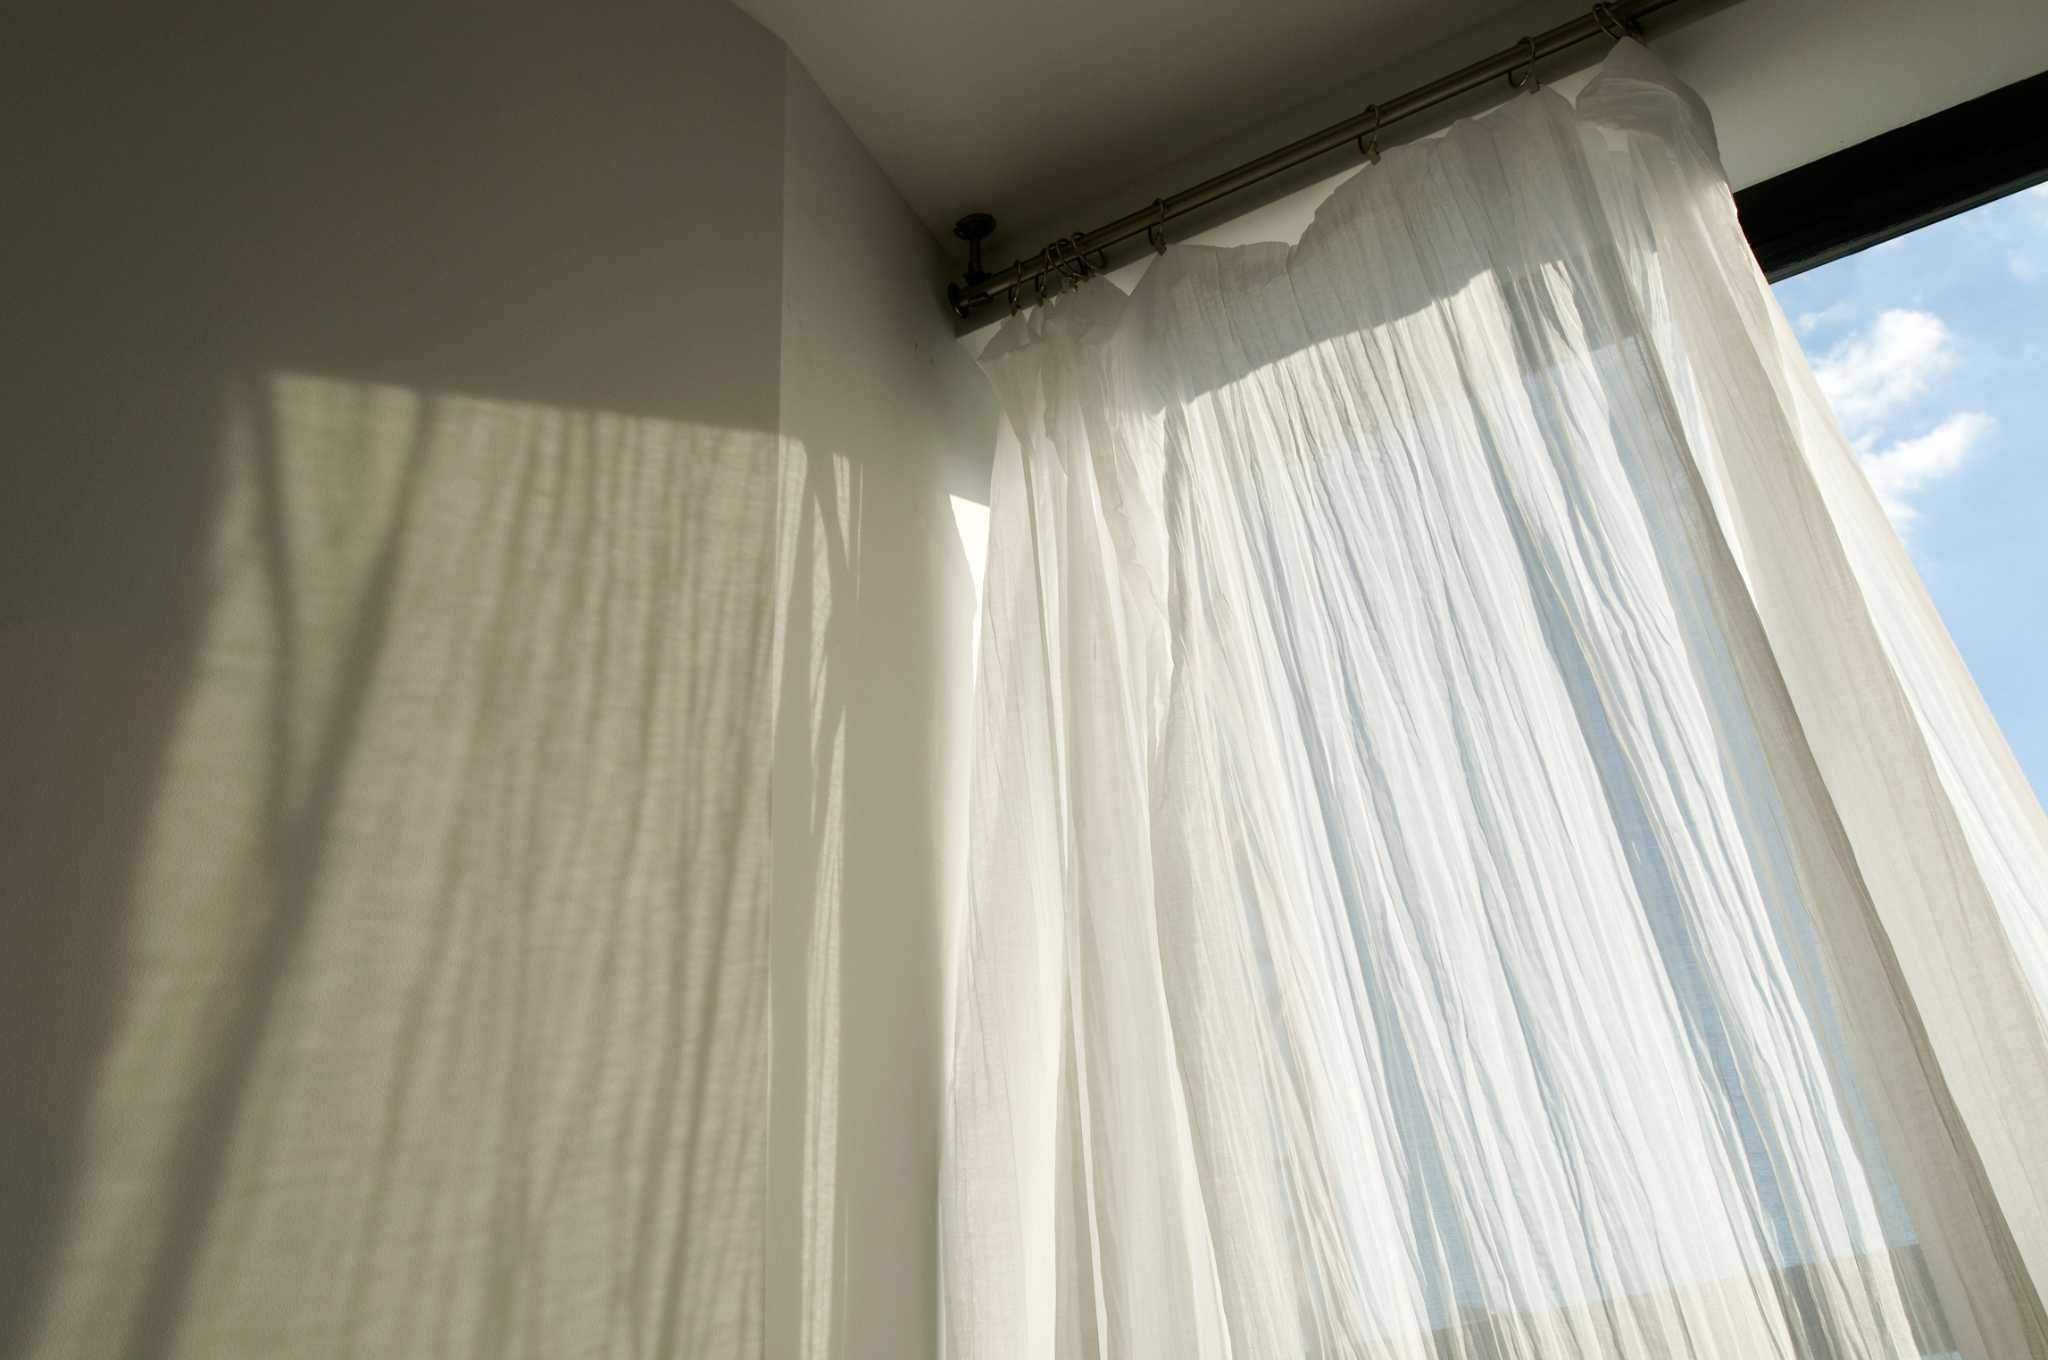
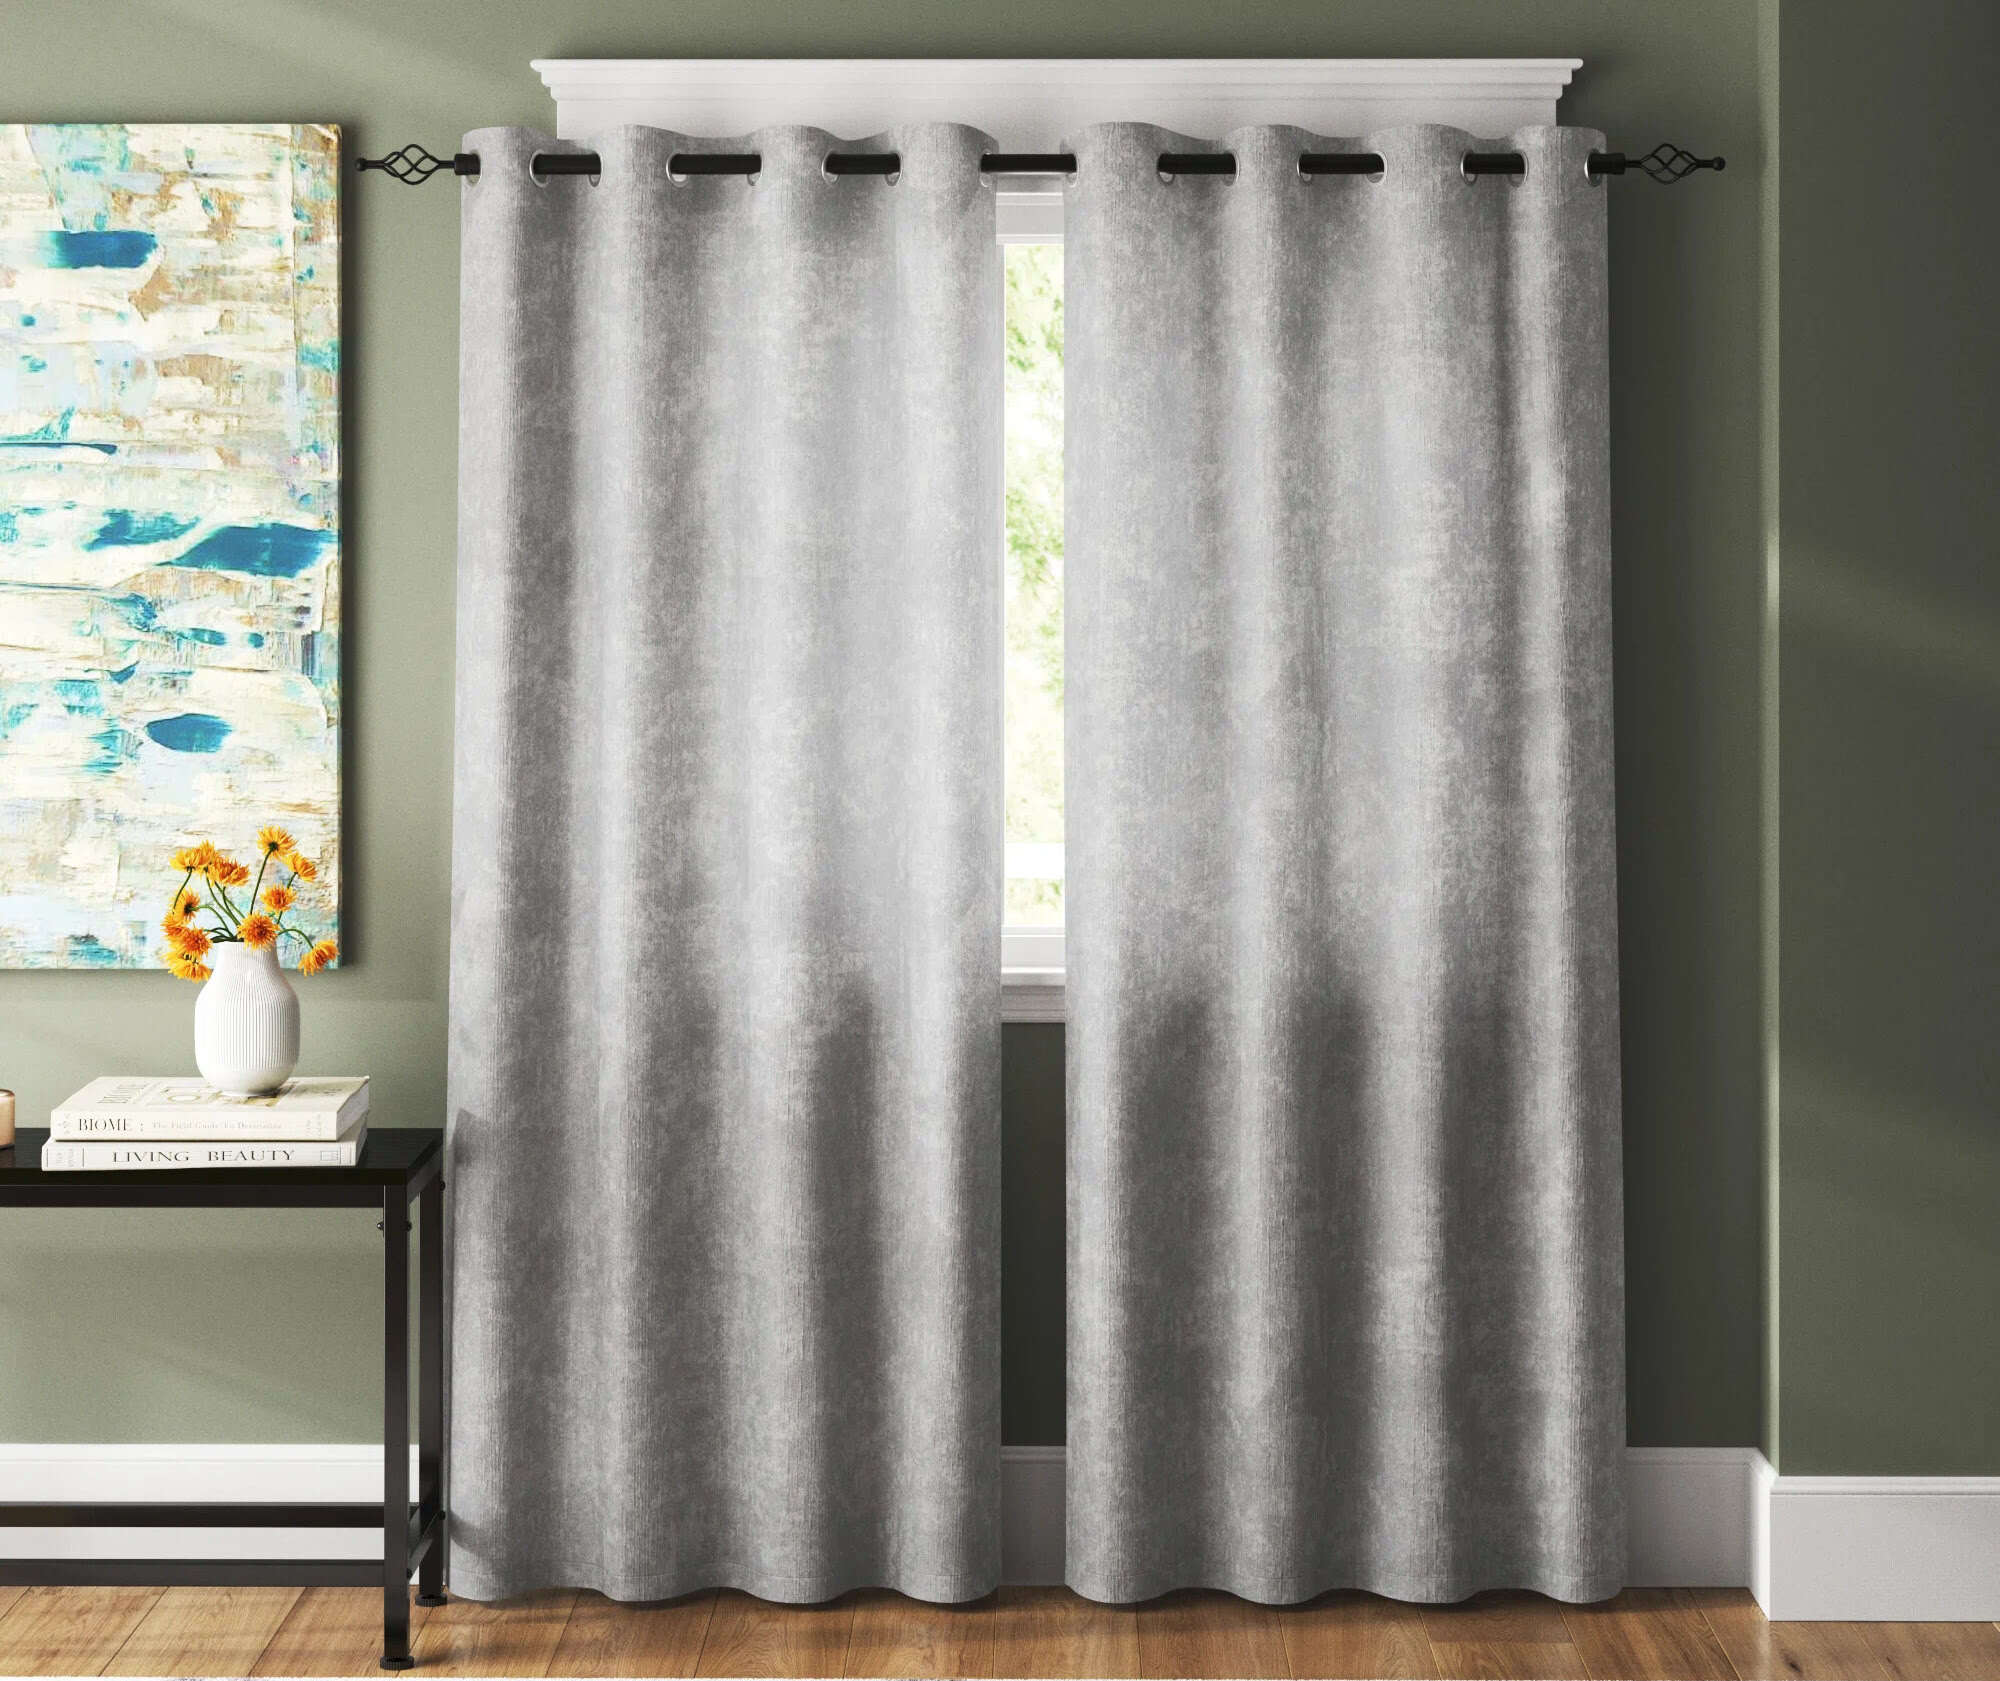
Hanging the Drapes
Once you have successfully removed the wrinkles from your drapes, it’s time to hang them and enjoy the beautiful transformation they bring to your space. Here are some tips for properly hanging your drapes:
- Prepare the Window Area: Clean the window area thoroughly, removing any dust, debris, or old hardware. This will ensure a clean and fresh backdrop for your newly wrinkle-free drapes.
- Install the Hardware: Depending on the type of drapes and hardware you have, install the rods, brackets, and any other necessary components. Follow the manufacturer’s instructions on proper installation to ensure a secure and stable hanging.
- Gather the Drapes: Gather the drapes together, making sure they are even and symmetrical. If you have multiple panels, check that they are aligned properly and hang evenly on the rod.
- Adjust the Length: If the drapes are too long, use appropriate clips or pins to temporarily adjust the length. This will prevent the drapes from dragging on the floor and potentially getting dirty or damaged.
- Hang the Drapes: Carefully place the drapes onto the rod, ensuring they are evenly distributed. Double-check that the pleats, if any, are facing the right direction and hanging uniformly. Take your time to achieve a balanced and visually appealing arrangement.
- Arrange the Folds: Once the drapes are hung, gently arrange the folds and pleats to create a neat and tailored appearance. Use your hands to adjust and arrange the fabric until you achieve the desired look.
- Finishing Touches: Finally, step back and inspect your window treatment. Make any necessary adjustments to the drapes or hardware to ensure everything is in its proper place. Admire your beautifully hung, wrinkle-free drapes!
By following these steps, you can ensure that your freshly steam-ironed drapes are hanging perfectly and enhancing the overall aesthetic of your space. Take the time to arrange them with care and precision, and enjoy the cozy and polished atmosphere they provide.
Read more: How To Get Wrinkles Out Of Couch Cushions
Conclusion
Congratulations! You have successfully tackled the task of removing wrinkles from your new drapes and now have beautifully hanging window treatments. By following the methods outlined in this article, you have learned how to prepare your drapes, use the steaming method, and iron them effectively. Additionally, we discussed the importance of proper hanging techniques to showcase your drapes in their full glory.
Remember, it is crucial to always refer to the care instructions provided by the manufacturer to ensure that you are using the appropriate methods for your specific fabric. This will help prevent any damage or discoloration during the wrinkle removal process.
Now that you have mastered the art of wrinkle removal, you can enjoy the endless benefits of perfectly draped windows. Not only do wrinkle-free drapes enhance the aesthetics of your space, but they also provide privacy, light control, and insulation against the elements.
By taking the time to properly care for your drapes, you are preserving their longevity and ensuring that they continue to be a beautiful and functional addition to your home. Regular maintenance, such as dusting and gentle cleaning, will help keep your drapes looking fresh and crisp for years to come.
So, go ahead and take a step back to admire the transformation you have achieved. Your drapes are now free from wrinkles, adding elegance and style to your living space. Sit back, relax, and enjoy the beauty and functionality of your newly treated and perfectly hung drapes!
Thank you for reading, and happy draping!
Frequently Asked Questions about How To Get Wrinkles Out Of New Drapes
Was this page helpful?
At Storables.com, we guarantee accurate and reliable information. Our content, validated by Expert Board Contributors, is crafted following stringent Editorial Policies. We're committed to providing you with well-researched, expert-backed insights for all your informational needs.


0 thoughts on “How To Get Wrinkles Out Of New Drapes”