Articles
How To Hang Blackout Curtains
Modified: October 18, 2024
Discover the best way to hang blackout curtains with our informative articles. Learn tips and tricks for achieving the perfect blackout effect in your home.
(Many of the links in this article redirect to a specific reviewed product. Your purchase of these products through affiliate links helps to generate commission for Storables.com, at no extra cost. Learn more)
Introduction
Blackout curtains are a popular choice for many homeowners and apartment dwellers looking to block out unwanted light and create a darkened and peaceful environment. Whether you need to sleep during the day, work night shifts, or simply enjoy a little extra privacy, blackout curtains can be a game-changer in your space.
In this article, we will explore the different types of blackout curtains available, discuss the importance of choosing the right curtain rod, provide guidance on measuring and preparing the space, and walk you through the step-by-step process of hanging blackout curtains. Additionally, we will share some additional tips and considerations to ensure that your blackout curtains are installed properly and effectively.
Before we dive into the nitty-gritty details, let’s take a closer look at the benefits of blackout curtains. Not only do they block outside light, but they also help to reduce noise levels, improve energy efficiency, and protect your furniture and upholstery from fading due to sun exposure. They are a practical and stylish addition to any room, providing both functionality and aesthetic appeal.
Now, let’s explore the different types of blackout curtains that you can choose from:
Key Takeaways:
- Transform your space into a peaceful retreat with blackout curtains, providing privacy, light control, and a cozy ambiance. Follow the step-by-step instructions and additional tips for optimal installation and maintenance.
- Choose from various types of blackout curtains and the right curtain rod to create a dark and cozy sanctuary. Consider additional tips such as using a steamer, experimenting with curtain length, and investing in quality curtains for long-term benefits.
Types of Blackout Curtains
When it comes to blackout curtains, there are several types to choose from, each offering its own set of features and benefits. Understanding the different options available can help you make an informed decision based on your specific needs and preferences. Let’s take a closer look at the most common types of blackout curtains:
- Thermal Insulated Curtains: These blackout curtains are designed with multiple layers of fabric and foam to provide excellent insulation. They not only block out light but also help to regulate the temperature in your space, keeping it cooler in the summer and warmer in the winter. Thermal insulated curtains are a great choice if you’re looking to improve energy efficiency and reduce your utility bills.
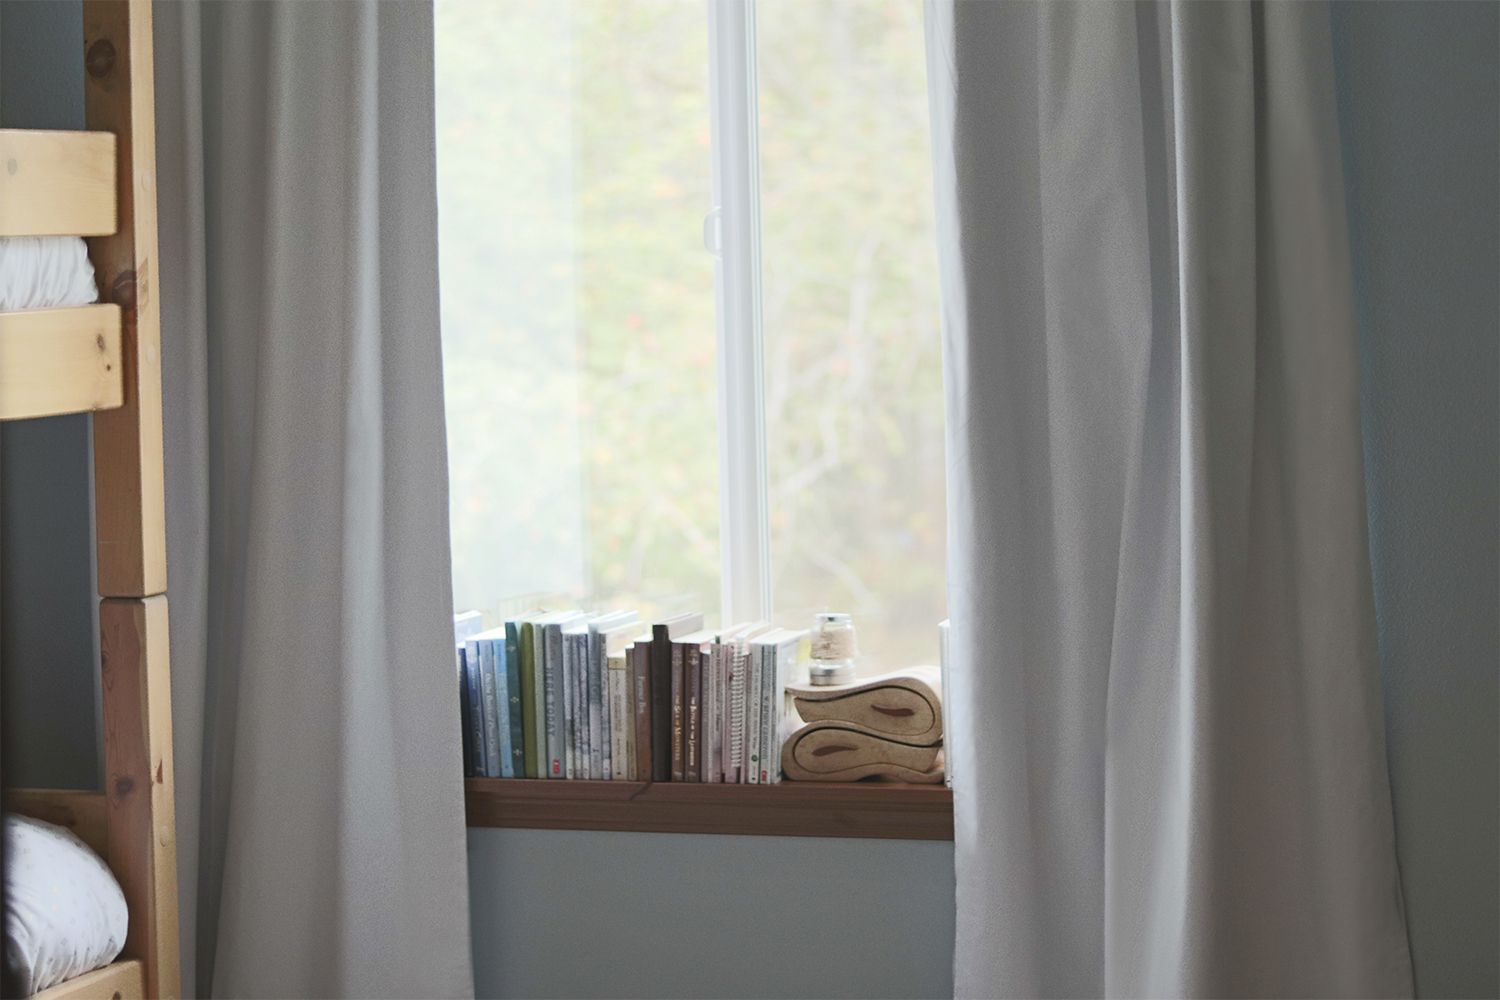
- Room-Darkening Curtains: Room-darkening curtains are made of a tightly-woven fabric that obstructs light from entering the room. While they are not 100% blackout, they still provide a significant reduction in light, making them ideal for bedrooms, nurseries, or any space where you want to create a cozy atmosphere without complete darkness. Room-darkening curtains are available in a wide range of colors and patterns, allowing you to enhance the aesthetic of your room.
- Blackout Liners: If you already have curtains that you love but they don’t provide enough light-blocking capabilities, blackout liners can be a great solution. These liners attach to your existing curtains using hooks or clips and effectively block out light. They are a cost-effective option for transforming regular curtains into blackout curtains.
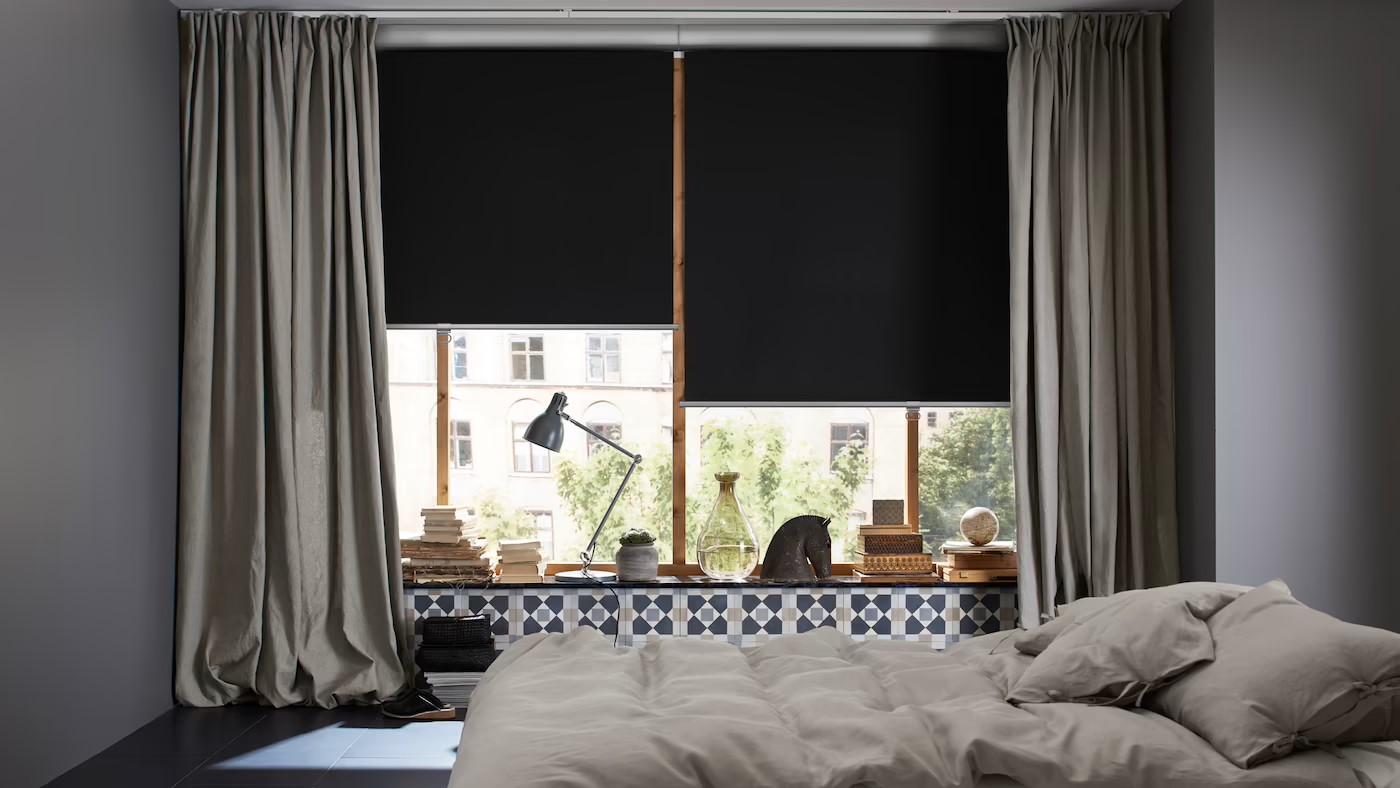
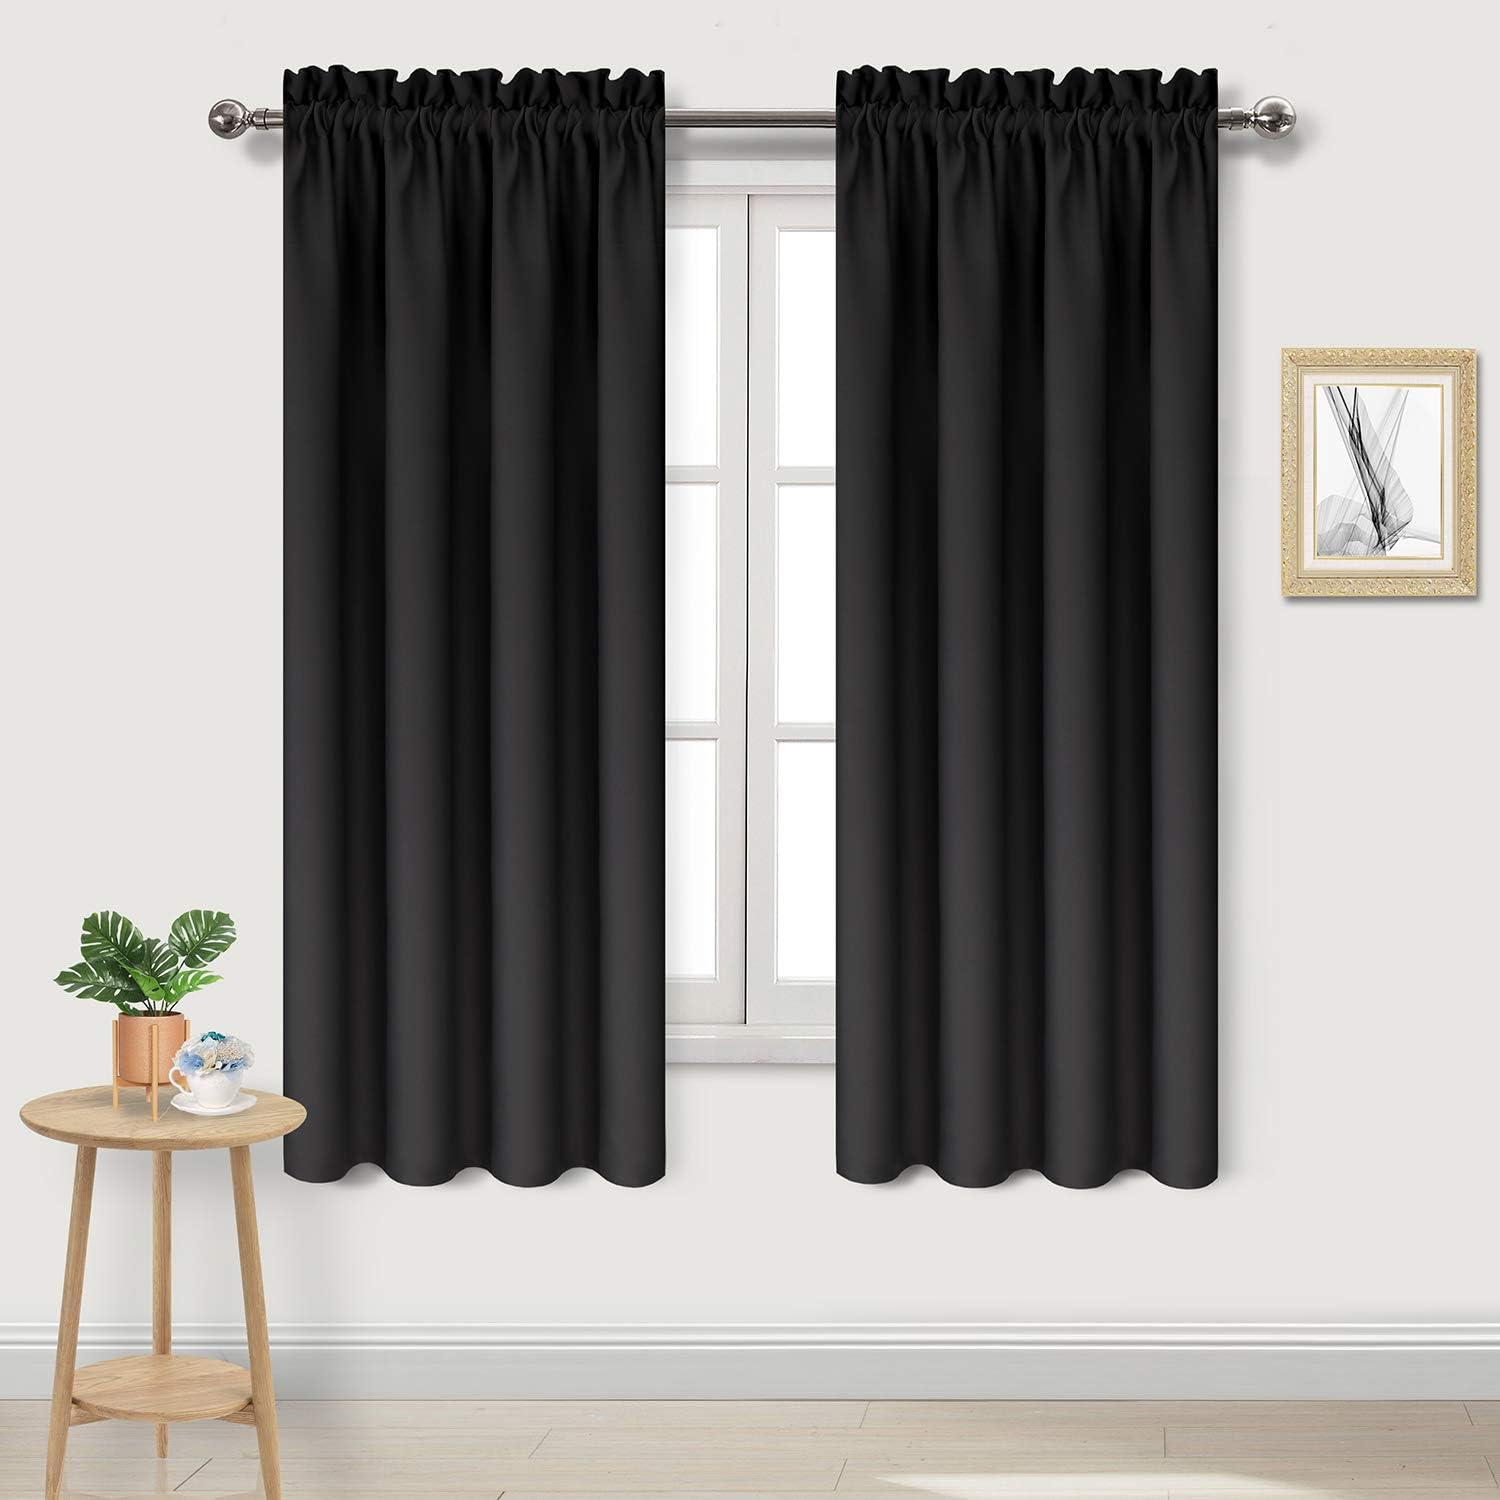
- Ceiling-to-Floor Blackout Curtains: For maximum light blocking, consider ceiling-to-floor blackout curtains. These curtains are typically made of heavy and thick fabric, extending from the ceiling to the floor. They create a dramatic and luxurious look while effectively blocking out all external light sources. Ceiling-to-floor blackout curtains work well in bedrooms, movie rooms, and any space where complete darkness is desired.
- Soundproof Blackout Curtains: If noise reduction is a priority, consider soundproof blackout curtains. These curtains are specially designed with additional layers of material and sound-absorbing properties, effectively reducing external noise from entering your space. They are an excellent choice for bedrooms, nurseries, or any area where noise pollution is a concern.
Now that you’re familiar with the different types of blackout curtains available, it’s time to move on to the next step: choosing the right curtain rod.
Choosing the Right Curtain Rod
When it comes to hanging blackout curtains, choosing the right curtain rod is just as important as selecting the curtains themselves. The type of rod you choose will not only impact the overall look of your curtains but also determine how securely they are installed. Here are a few factors to consider when selecting a curtain rod for your blackout curtains:
- Type of Rod: There are several types of curtain rods available, including tension rods, traverse rods, and decorative rods. Tension rods are a popular choice for lightweight curtains and are easy to install without the need for drilling. Traverse rods are ideal for heavyweight curtains and provide smooth opening and closing functionality. Decorative rods offer a stylish touch and often come in different finishes and designs. Consider the weight and style of your blackout curtains when choosing the type of rod.
- Length and Diameter: When measuring for your curtain rod, ensure that it extends beyond the width of your window frame by a few inches on each side. This will create a fuller and more dramatic look when the curtains are closed. In terms of diameter, a larger rod is recommended for heavier blackout curtains to provide better support and prevent sagging.
- Installation Method: Consider how you want to install the curtain rod. Some rods require drilling and mounting brackets, while others can be easily installed with adhesive or tension. Take into account the type of wall surface and your preference for permanent or temporary installation.
- Additional Features: Depending on your specific needs, you may want to consider curtain rods with additional features such as double rods for layering curtains, adjustable lengths, or curved rods for bay windows. These features can enhance the functionality and versatility of your blackout curtains.
Once you have chosen the perfect curtain rod for your blackout curtains, it’s time to measure and prepare the space for installation.
Measuring and Preparing the Space
Before you start hanging your blackout curtains, it’s crucial to accurately measure the space and prepare it for installation. Proper measurements ensure that your curtains fit perfectly and hang evenly. Here are the steps to measure and prepare the space:
- Measure the Window: Start by measuring the width and height of your window. Measure both the inside of the window frame and the outside if you prefer a wider coverage. Make sure to measure from the top of the window frame to where you want the curtains to end.
- Account for Overlap: To prevent light leakage, add an extra 4-6 inches to the width of your measurements. This ensures that the blackout curtains can fully cover the window and block out any unwanted light.
- Consider Floor Length: If you want your curtains to hang all the way to the floor, measure from the top of the window frame to the floor. If you prefer your curtains to be shorter, measure to your desired length.
- Clear the Area: Remove any furniture, decorations, or obstacles near the window to create a clear space for installation. This will make the hanging process easier and ensure that your curtains hang properly without any obstructions.
- Gather the Necessary Tools: Before you begin, gather all the tools you’ll need for installation. This typically includes a drill, screws, anchors (if needed), a level, a measuring tape, and a pencil. Having everything on hand will help streamline the process.
- Protect Your Floors: Lay down a drop cloth or old sheet to protect your floors from any potential dust, debris, or accidental drips from the installation process.
By taking the time to accurately measure and prepare the space, you’ll ensure a smooth and successful installation of your blackout curtains. Now, let’s move on to the step-by-step process of hanging blackout curtains.
When hanging blackout curtains, make sure to use a sturdy curtain rod that can support the weight of the fabric. Also, consider installing the curtains close to the wall to minimize light leakage.
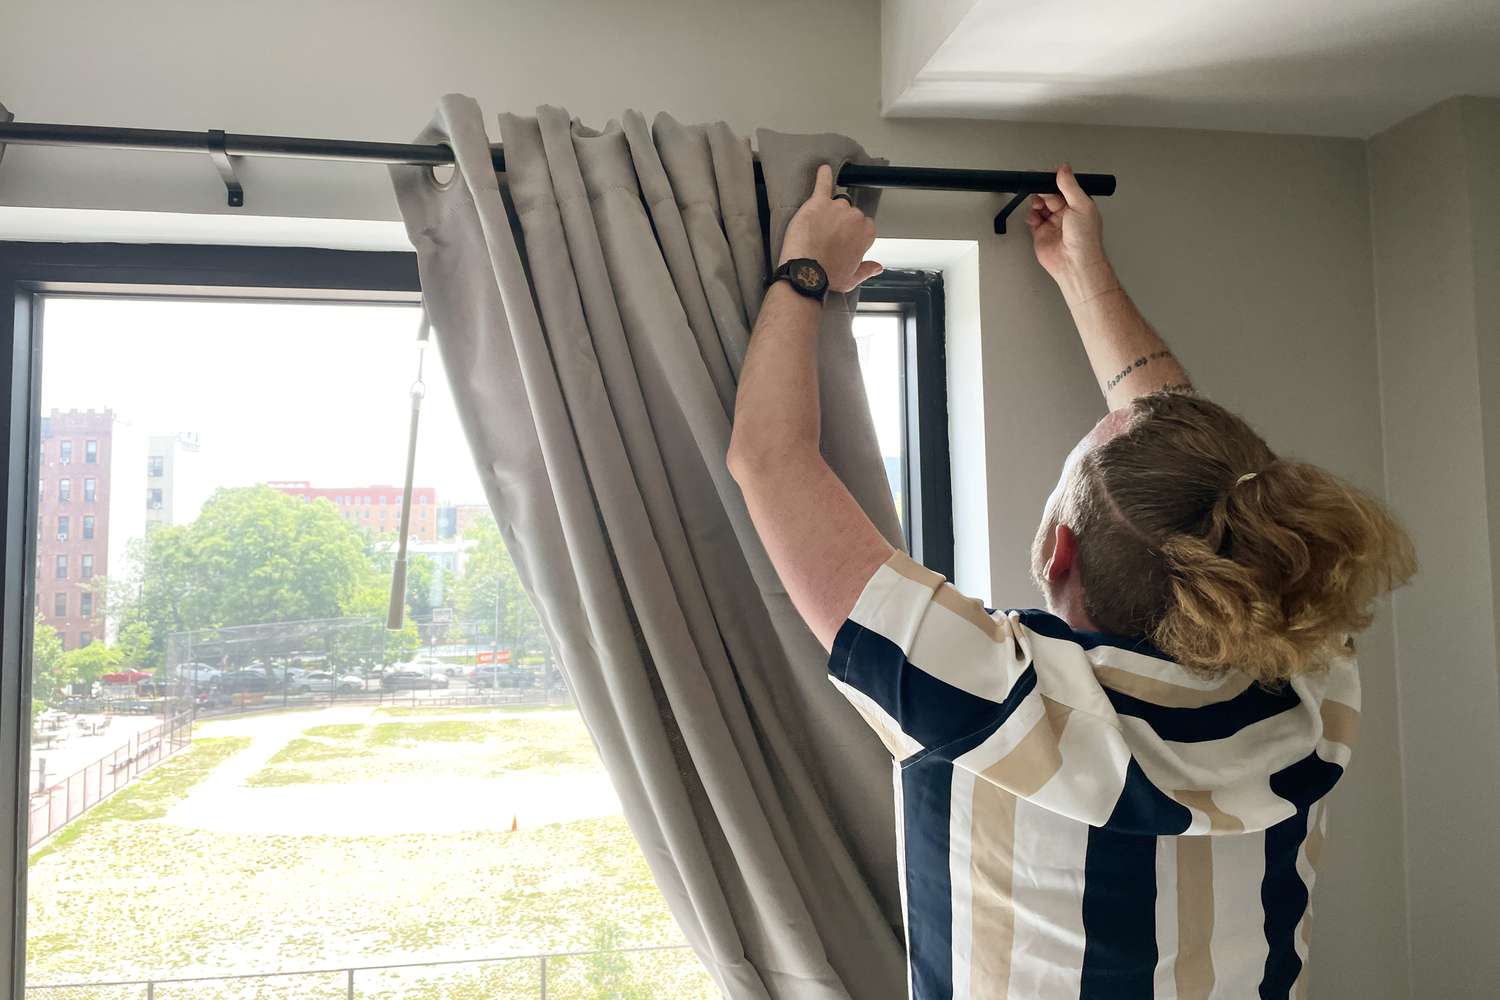
Steps to Hang Blackout Curtains
Now that you’ve measured and prepared the space, it’s time to hang your blackout curtains. Follow these step-by-step instructions to ensure a seamless installation:
- Assemble the Curtain Rod: If your curtain rod comes in multiple pieces, follow the manufacturer’s instructions to assemble it. Make sure all the necessary brackets, screws, and hardware are included.
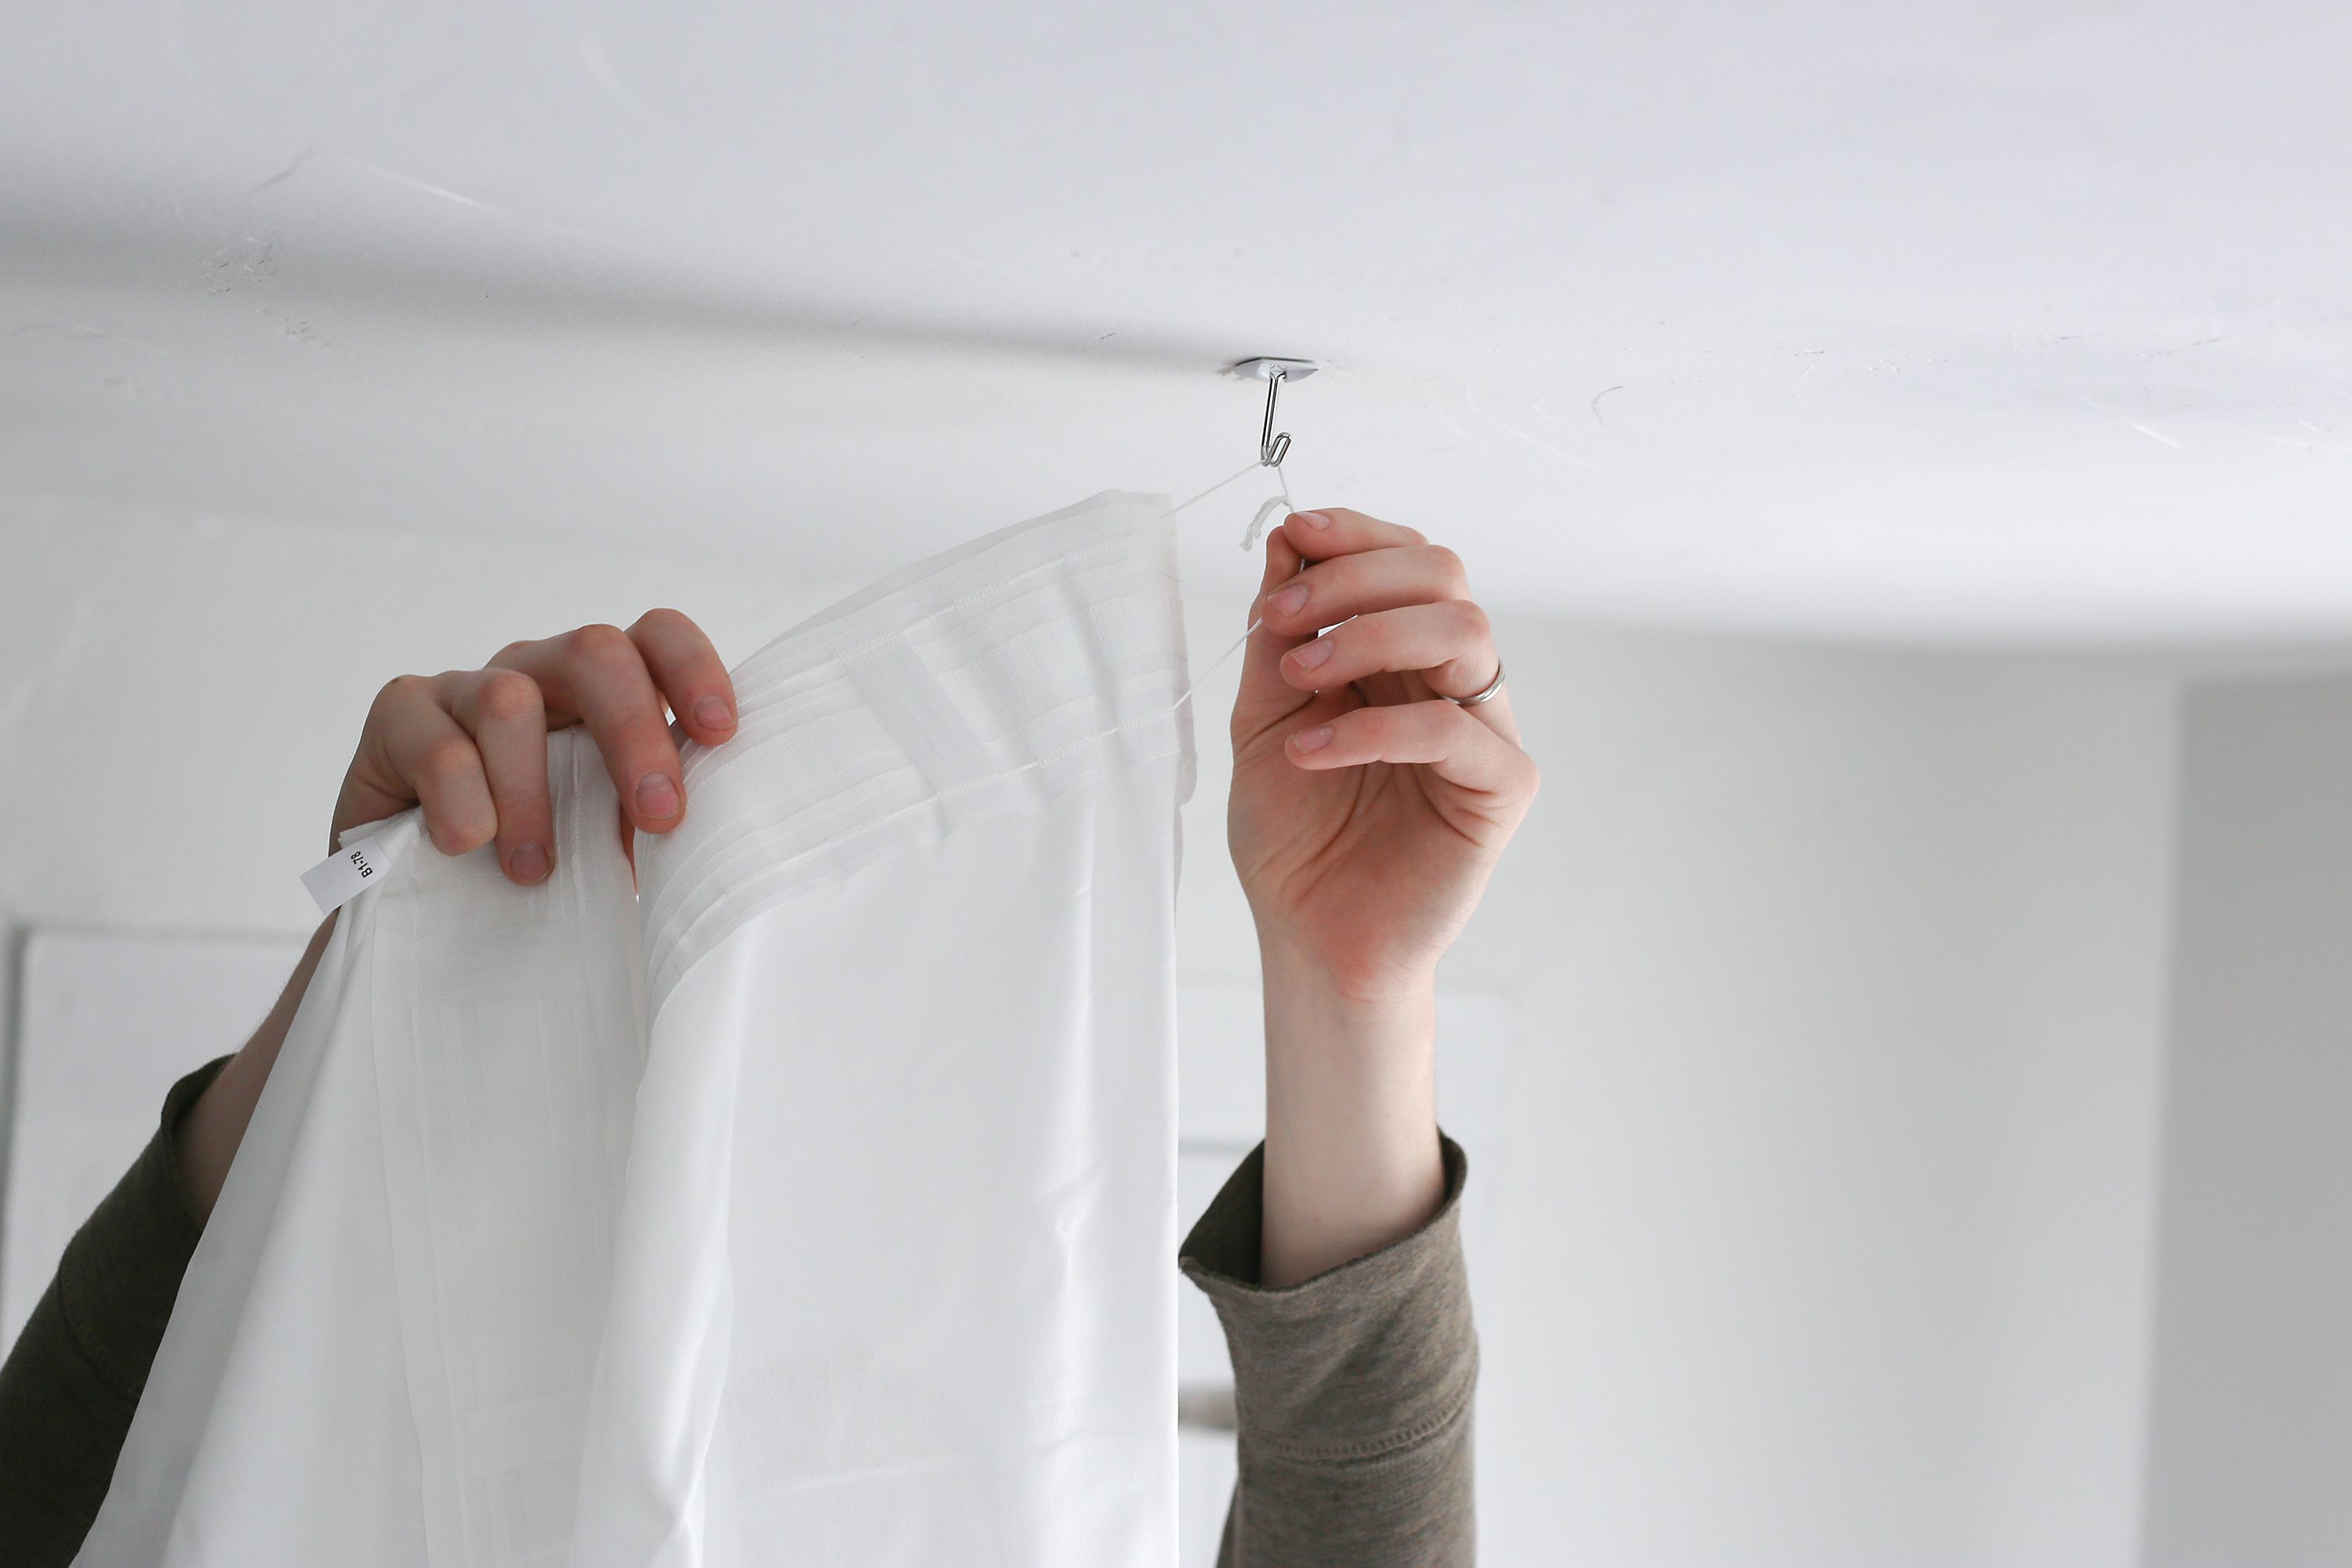
- Mark the Bracket Placement: Hold the curtain rod up to the wall or window frame at the desired height. Use a pencil to mark the placement of the brackets on the wall. Make sure the rod is level before marking the bracket positions.
- Install the Brackets: Using a drill and screws, install the brackets onto the marked positions. If necessary, use anchors to secure the brackets firmly to the wall. Ensure that the brackets are level and securely attached.
- Attach the Rod: Slide the curtain rod into the brackets and double-check that it is level. Secure the rod by tightening any screws or fastening mechanisms on the brackets.
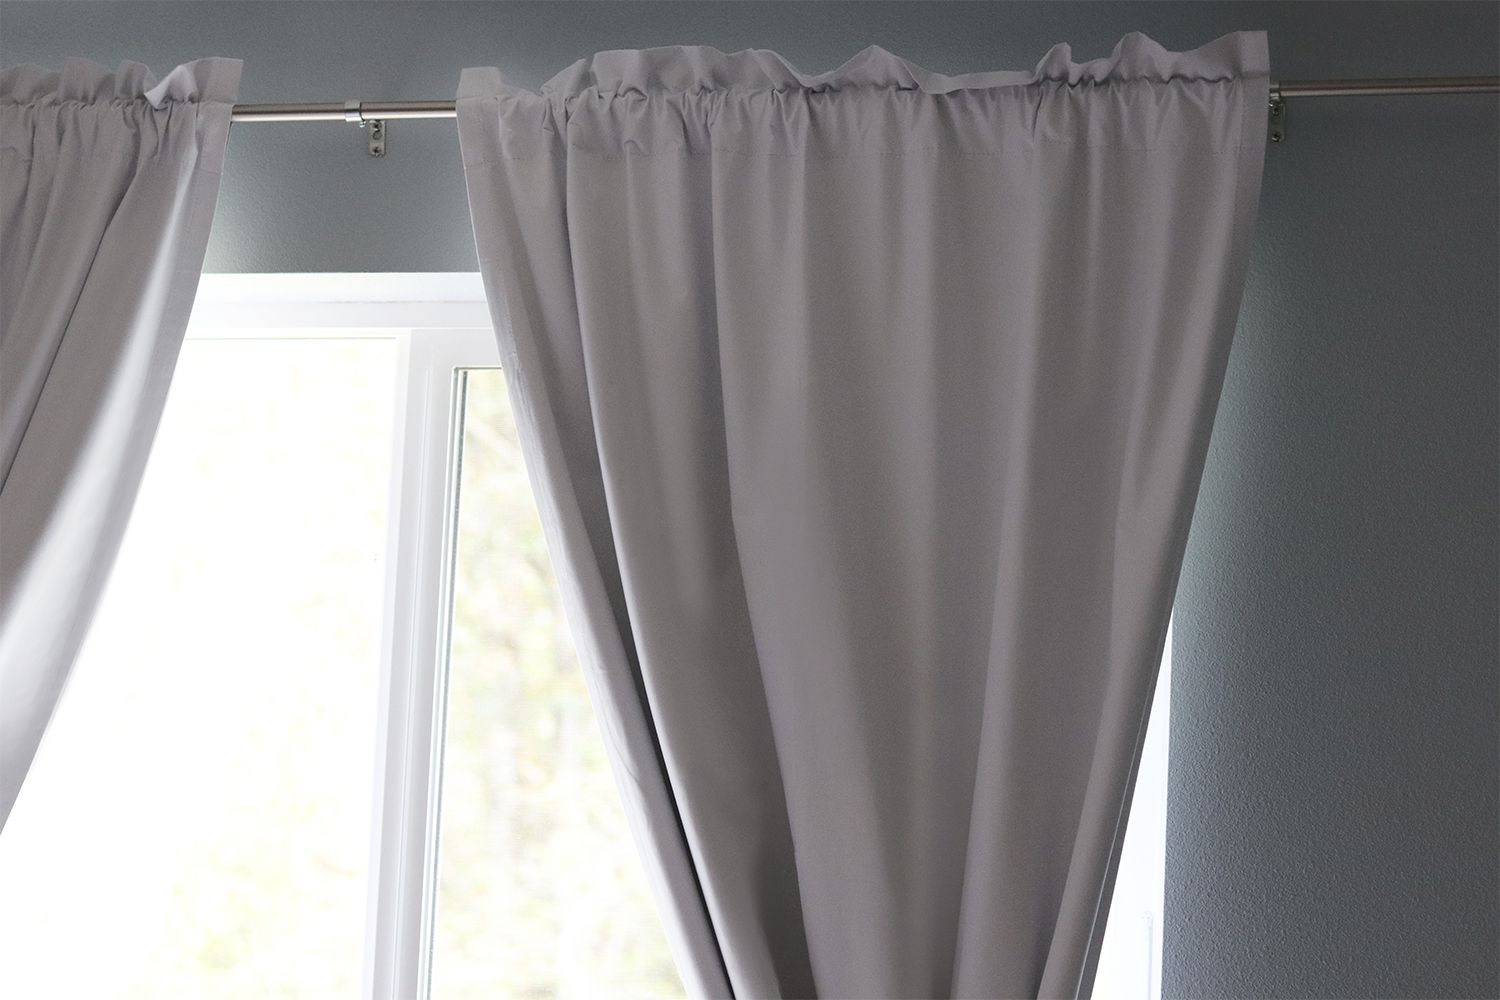
- Hang the Curtains: Slide the blackout curtains onto the curtain rod. Make sure they are evenly distributed along the rod, with the pleats or folds falling naturally. Adjust the curtains as needed to achieve your desired look.
- Finishing Touches: Once the curtains are in place, adjust the length to your desired height. If necessary, use curtain rings, clips, or hooks to hold the curtains in place and create a more polished appearance.
- Test the Coverage: Stand back and assess the coverage and effectiveness of your blackout curtains. Close them and check for any gaps or areas where light may be seeping through. Make adjustments as needed.
Following these step-by-step instructions will help you hang your blackout curtains securely and create the desired effect in your space. But before we conclude, here are a few additional tips and considerations to keep in mind.
Read more: What Are Blackout Curtains
Additional Tips and Considerations
When it comes to hanging blackout curtains, there are a few additional tips and considerations that can help you achieve the best results. Take note of the following:
- Use a Steamer or Iron: To remove any wrinkles or creases in your blackout curtains, consider using a steamer or iron before hanging them. This will ensure a smooth and polished appearance.
- Consider Curtain Tie-Backs: If you want the option to let in natural light during the day, consider using curtain tie-backs. They allow you to hold the curtains to the sides, creating an elegant and functional look.
- Regular Maintenance: To keep your blackout curtains in optimal condition, regularly vacuum or dust them to prevent the buildup of dirt and allergens. If necessary, check the manufacturer’s instructions for cleaning recommendations.
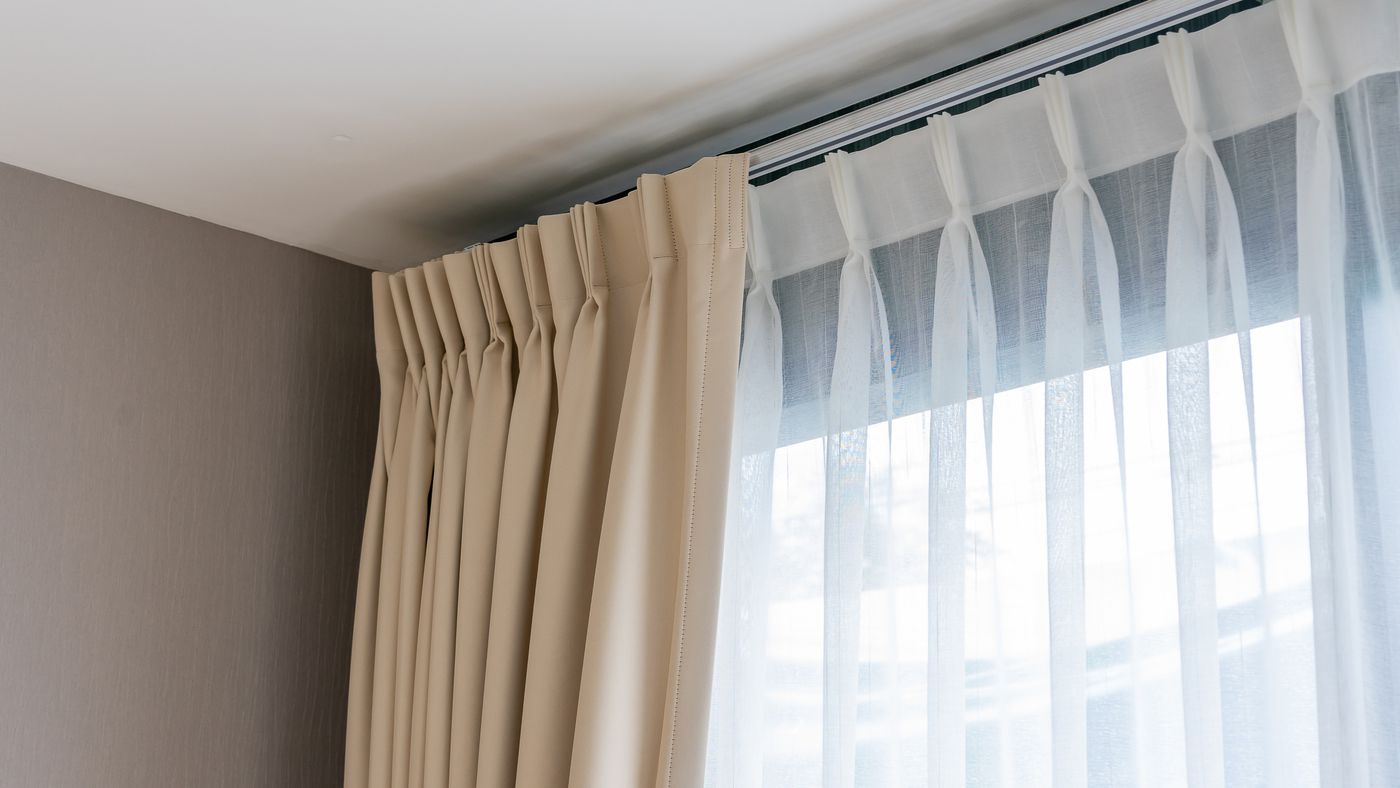
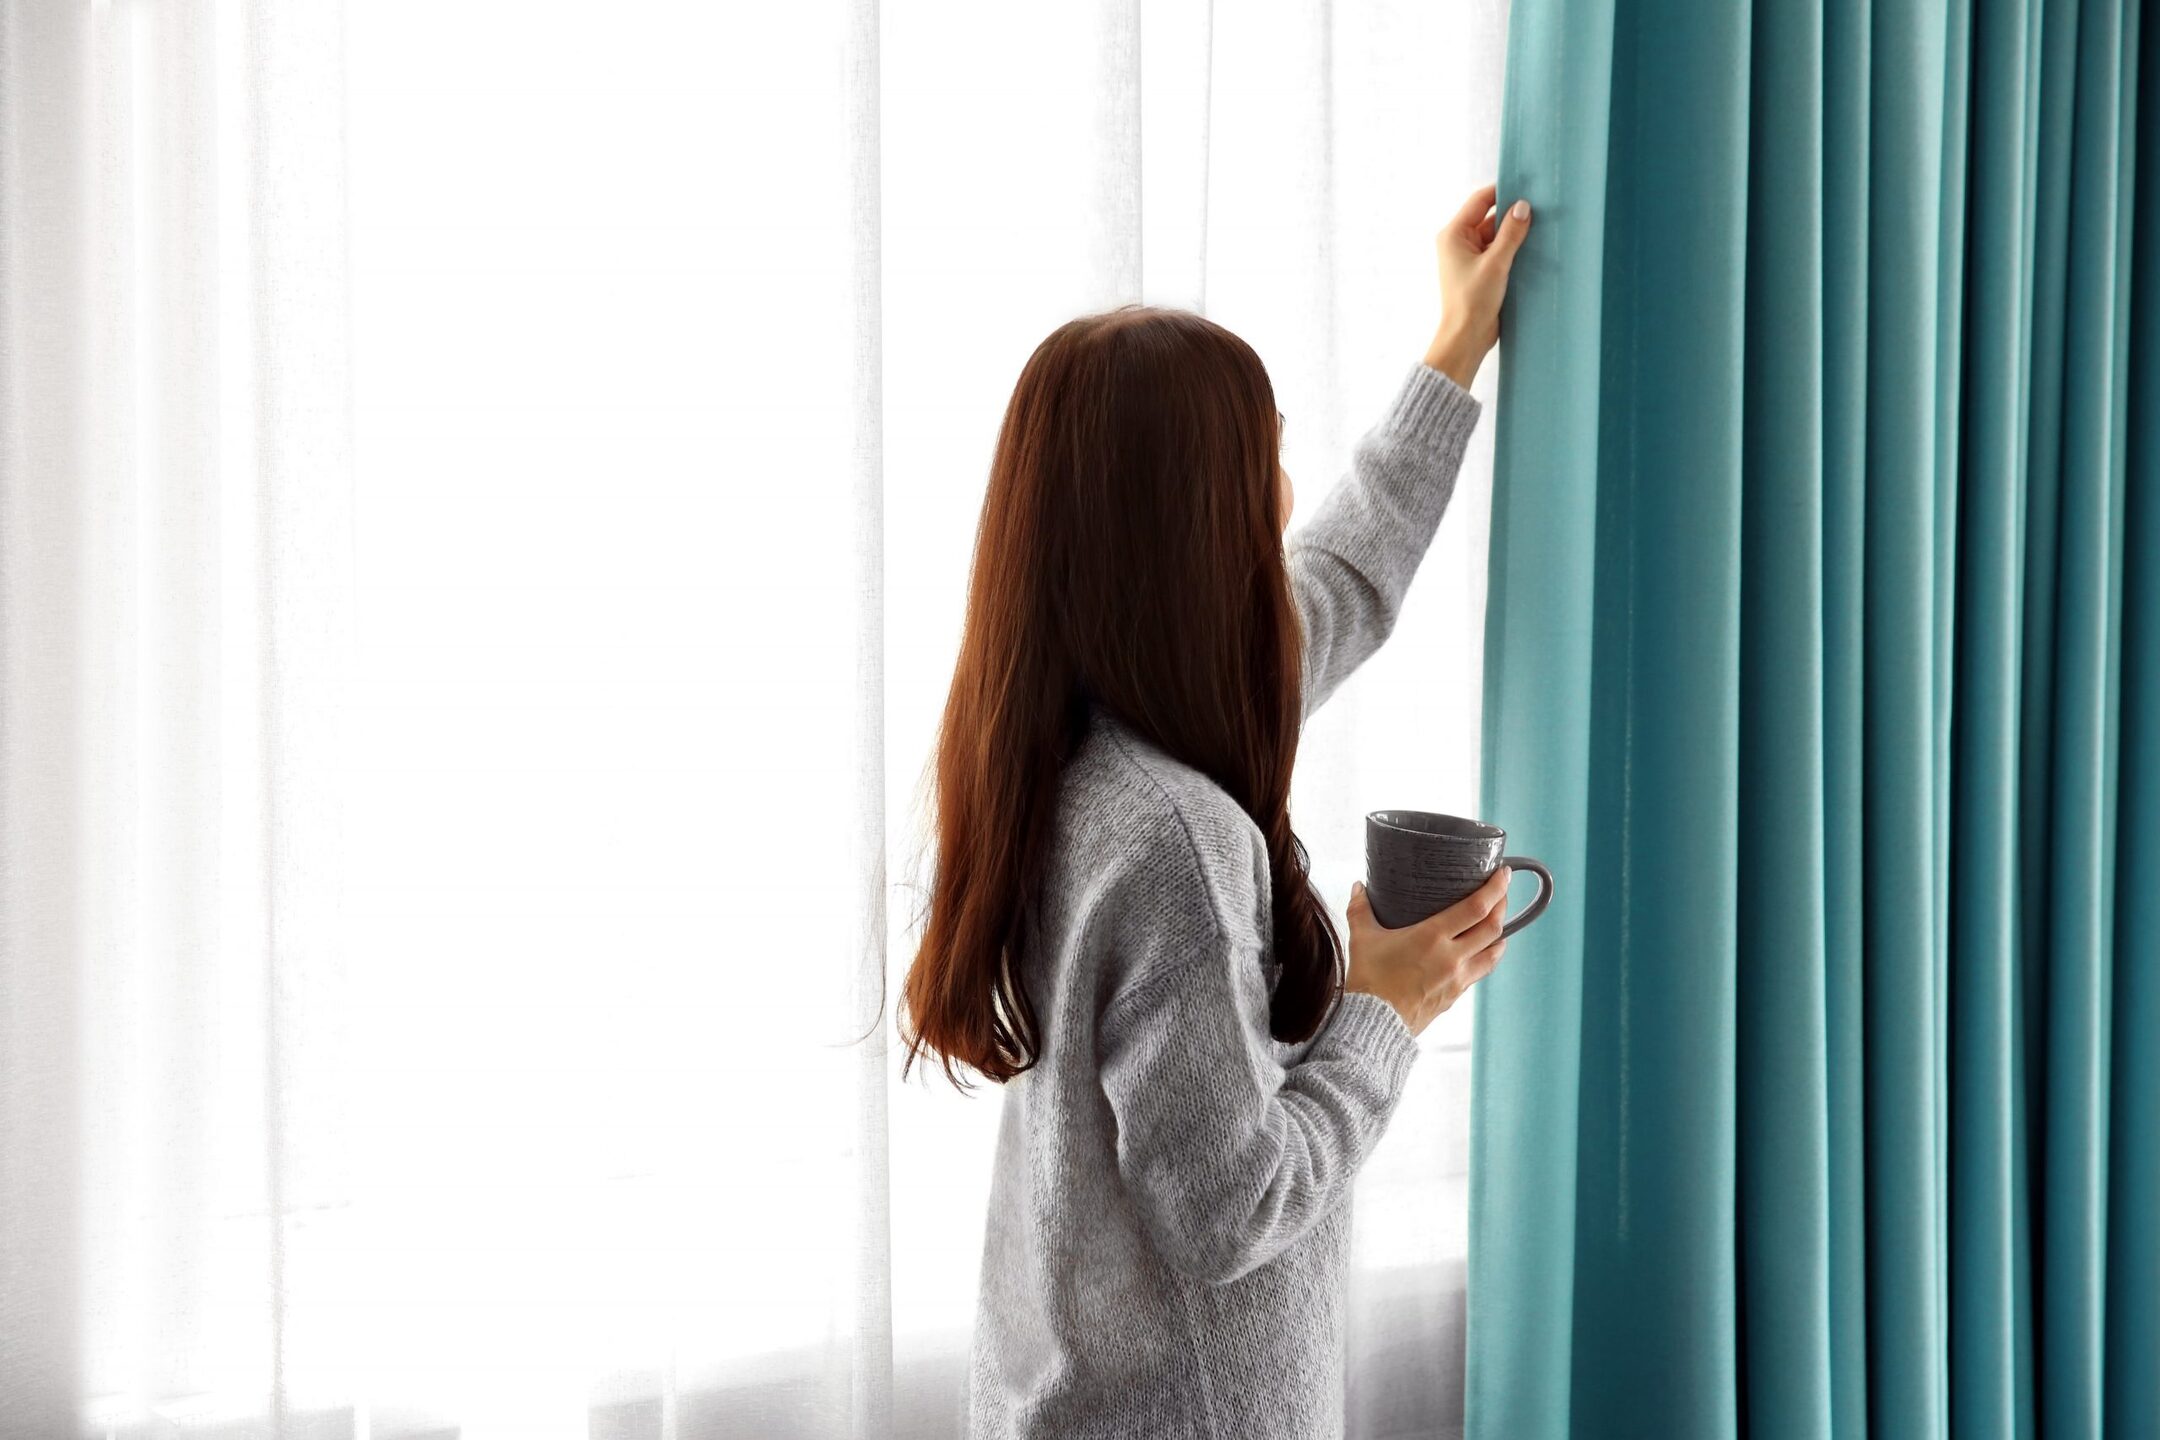
- Pair with Sheer Curtains: For a layered and versatile look, consider pairing your blackout curtains with sheer curtains. This allows you to have privacy and light control during the day while still benefiting from the light-blocking abilities of the blackout curtains at night.
- Ensure Proper Ventilation: While blackout curtains are great for blocking out light, make sure you have proper ventilation in your space to ensure fresh air circulation. This is particularly important in bedrooms and other areas where you spend a significant amount of time.
- Experiment with Curtain Length: Don’t be afraid to play around with the length of your blackout curtains. Some people prefer their curtains to just touch the floor, while others prefer a slight break or even pooling effect. Choose a length that suits your style and complements the overall aesthetic of the room.
- Invest in Quality Curtains: Quality blackout curtains are worth the investment. They typically provide better light-blocking capabilities, durability, and overall performance. Look for curtains made from thick and tightly-woven fabric for maximum effectiveness.
Remember, blackout curtains serve a functional purpose, but they can also enhance the look and feel of your space. By considering these additional tips and taking proper care of your curtains, you’ll enjoy their benefits for years to come.
Now that you have a comprehensive understanding of how to hang blackout curtains, you are ready to transform your space into a dark and cozy sanctuary. Follow the steps outlined in this article, and don’t be afraid to get creative with your curtain selection and styling. Say goodbye to unwanted light and hello to peaceful and restful nights!
Conclusion
Blackout curtains are a fantastic addition to any space, providing privacy, light control, and a cozy ambiance. By understanding the different types of blackout curtains available, choosing the right curtain rod, and properly measuring and preparing the space, you can ensure a successful installation. Following the step-by-step instructions for hanging blackout curtains will allow you to enjoy the benefits they offer.
Remember to consider additional tips and considerations such as using a steamer or iron to remove wrinkles, considering curtain tie-backs for versatility, and regularly maintaining your curtains for optimal performance. Pairing blackout curtains with sheer curtains and experimenting with curtain lengths can also elevate the overall look and functionality of your space.
Investing in quality blackout curtains and following the proper installation and care procedures will ensure that you enjoy the benefits of these curtains for years to come. Block out unwanted light, reduce noise, regulate temperature, and enhance privacy in your home or office with blackout curtains.
So, what are you waiting for? It’s time to transform your space into a peaceful retreat with the installation of blackout curtains. Whether you’re looking to achieve a completely dark room or simply want to enhance your sleep environment, blackout curtains are the perfect solution. Follow the guidelines provided in this article, get creative with your curtain selection, and enjoy the many benefits of blackout curtains in your space.
Say goodbye to harsh sunlight, noisy distractions, and unnecessary exposure to the outside world. With blackout curtains, you can create a haven of tranquility and relaxation in any room.
Frequently Asked Questions about How To Hang Blackout Curtains
Was this page helpful?
At Storables.com, we guarantee accurate and reliable information. Our content, validated by Expert Board Contributors, is crafted following stringent Editorial Policies. We're committed to providing you with well-researched, expert-backed insights for all your informational needs.


0 thoughts on “How To Hang Blackout Curtains”