Articles
How To Use An Iron Steamer
Modified: August 19, 2024
Discover the best tips and techniques for using an iron steamer in our informative articles. Make your clothes wrinkle-free with expert advice and step-by-step instructions.
(Many of the links in this article redirect to a specific reviewed product. Your purchase of these products through affiliate links helps to generate commission for Storables.com, at no extra cost. Learn more)
Introduction
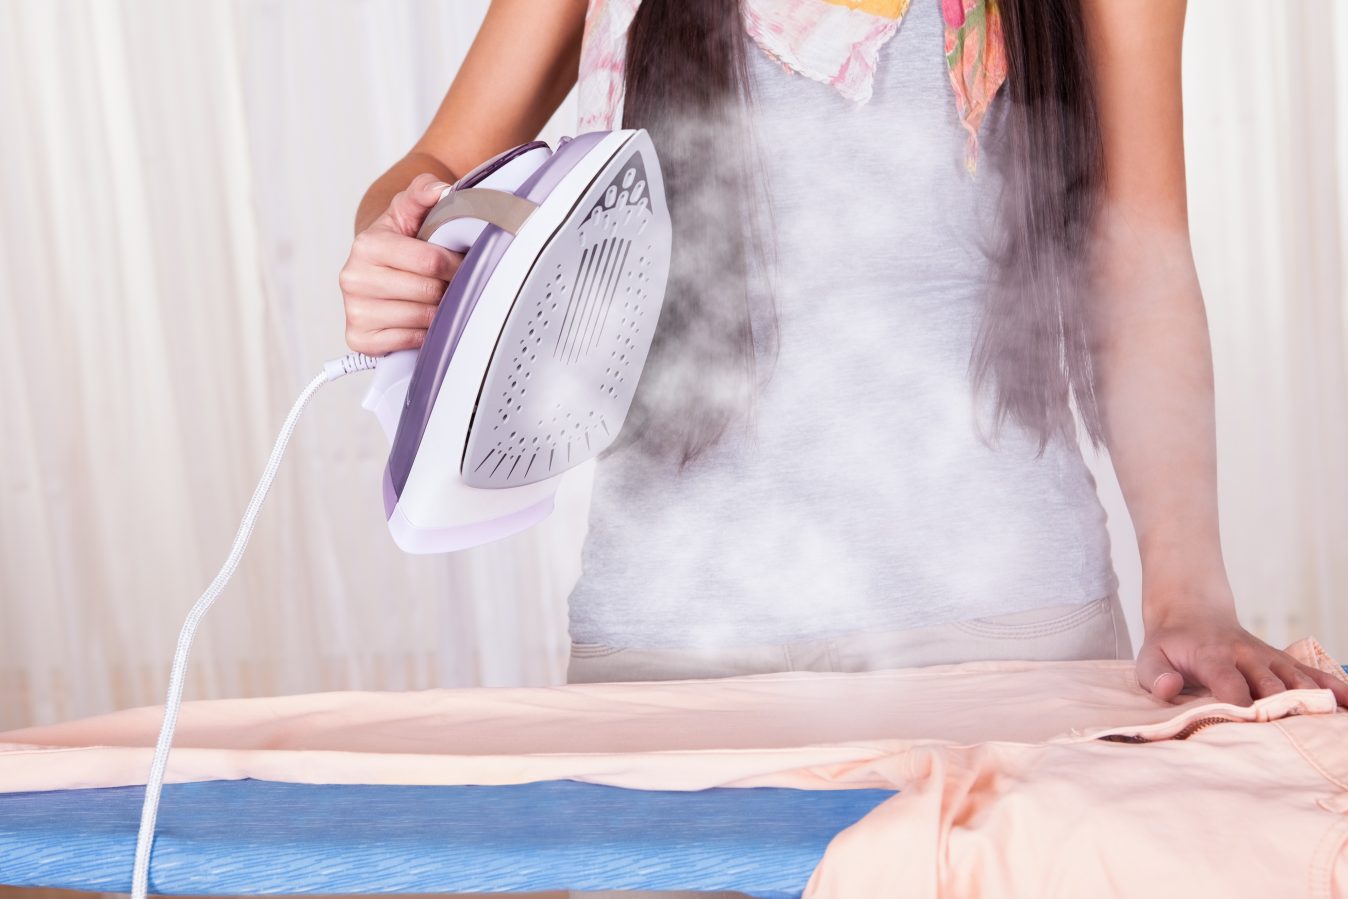
Welcome to the world of convenient and efficient garment care with an iron steamer. Iron steamers are an excellent alternative to traditional irons, offering a quick and easy way to remove wrinkles and freshen up your clothes. Whether you’re a professional or a busy individual on the go, learning how to properly use an iron steamer can save you time and effort in maintaining a wrinkle-free wardrobe.
In this article, we will guide you through the process of using an iron steamer effectively. We’ll cover everything from selecting the right steamer to maintaining its optimal performance over time. So let’s dive in and discover how to make the most of this fantastic garment care tool!
Key Takeaways:
- Choosing the right iron steamer is crucial for efficient garment care. Consider factors like size, water tank capacity, and steam output to find the perfect steamer for your needs.
- Properly preparing your garment, filling the water tank, and using the steamer with care are essential for achieving wrinkle-free clothes. Follow these steps to make the most of your iron steamer and enjoy professional-quality results.
Read more: Which Is Better Iron Or Steamer
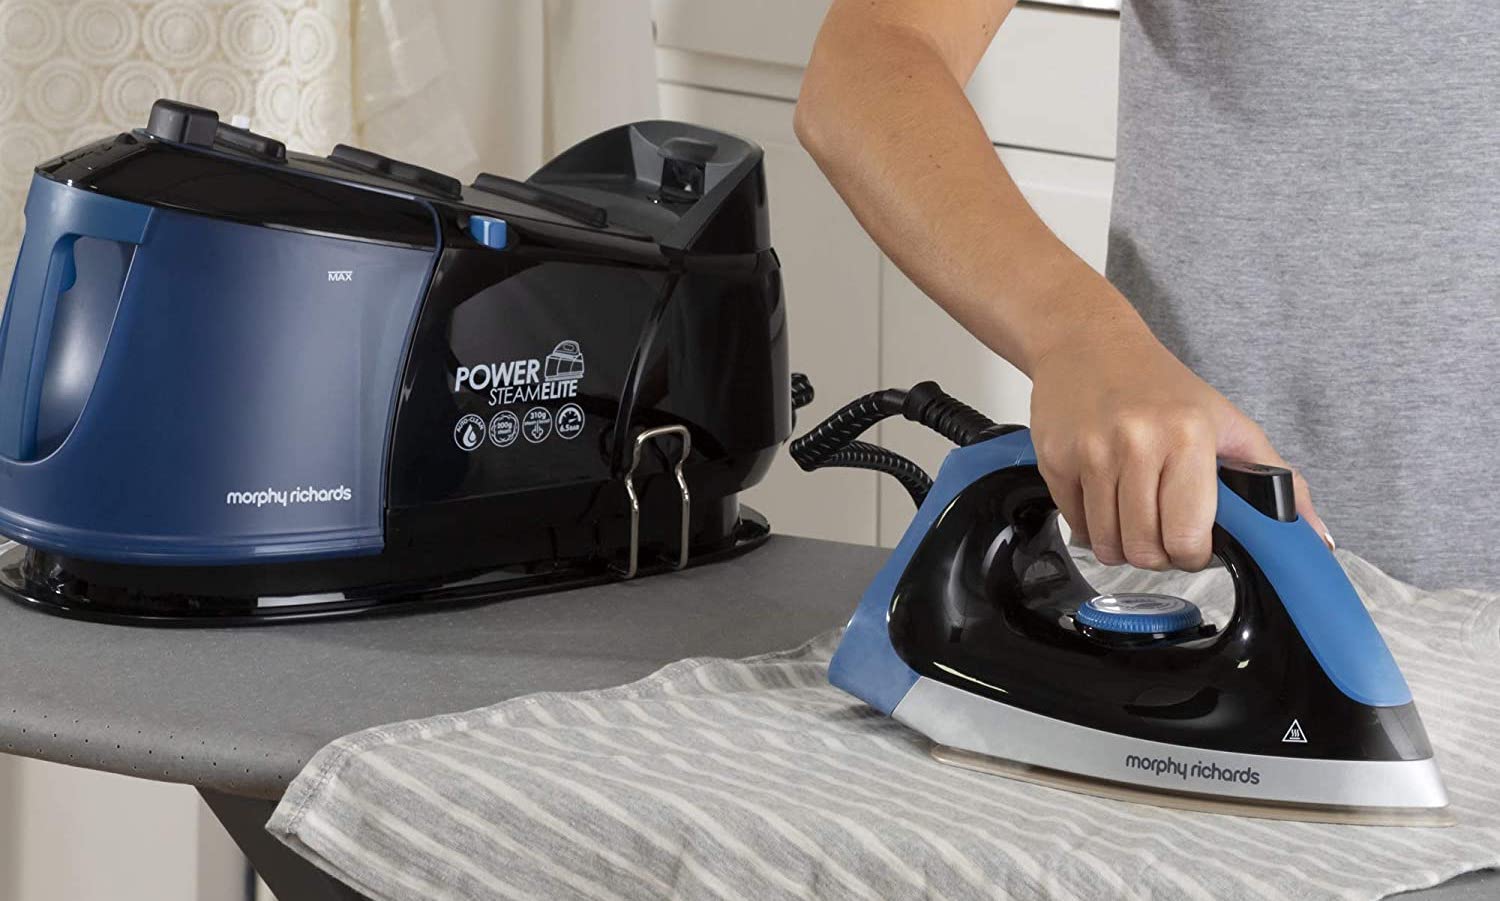
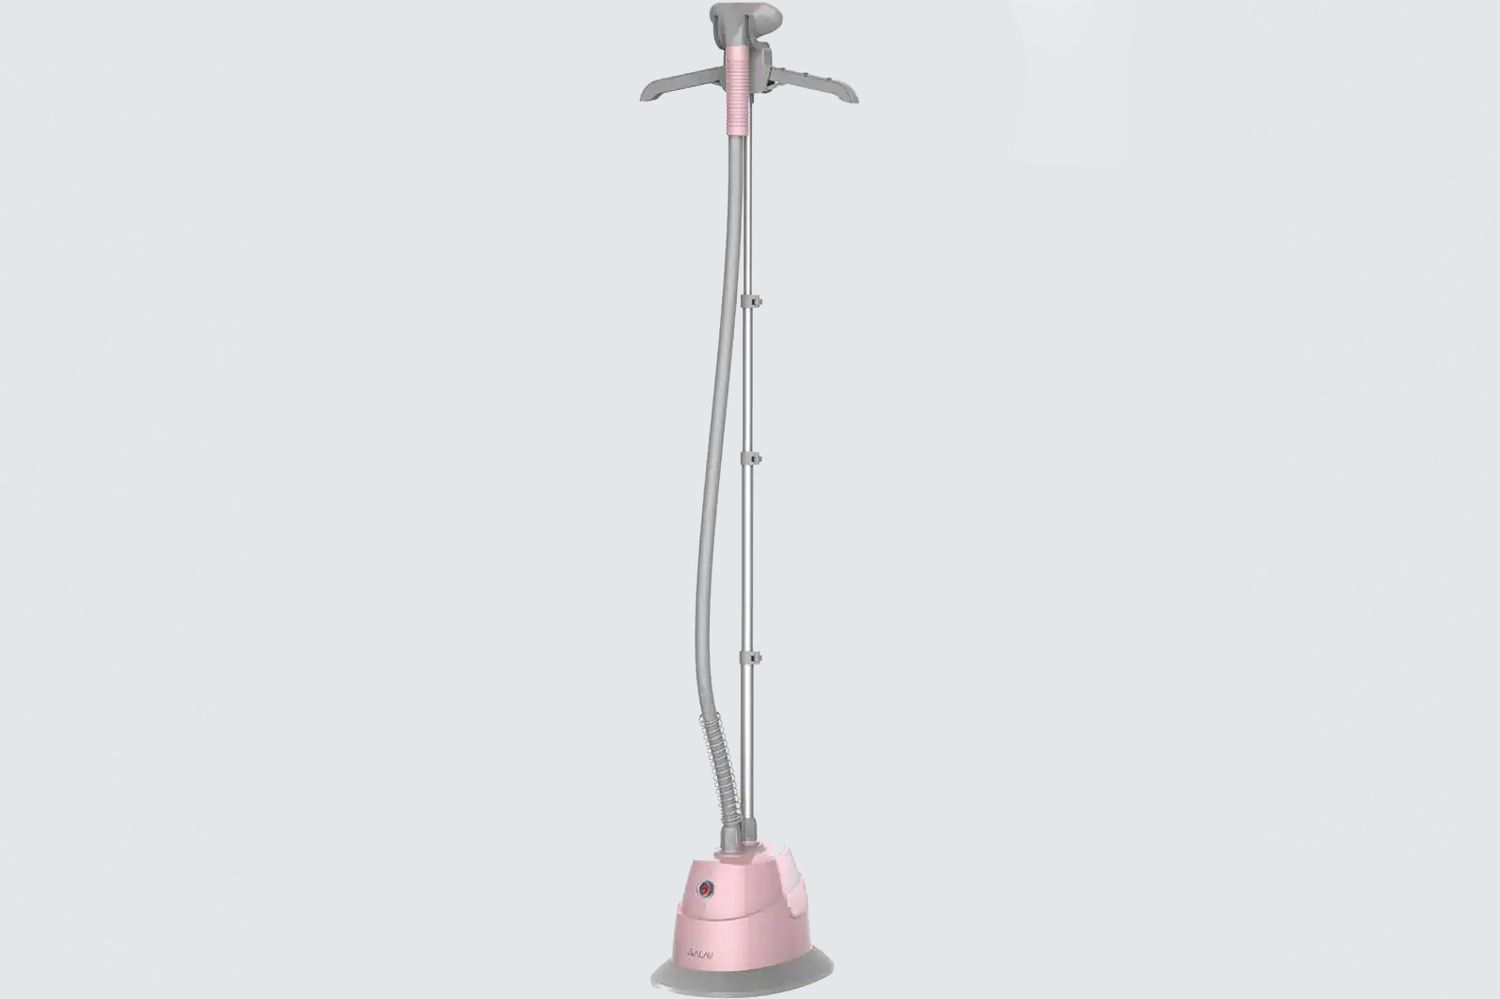
Choosing the Right Iron Steamer
When it comes to choosing an iron steamer, there are a few factors to consider to ensure you find the right one to suit your needs.
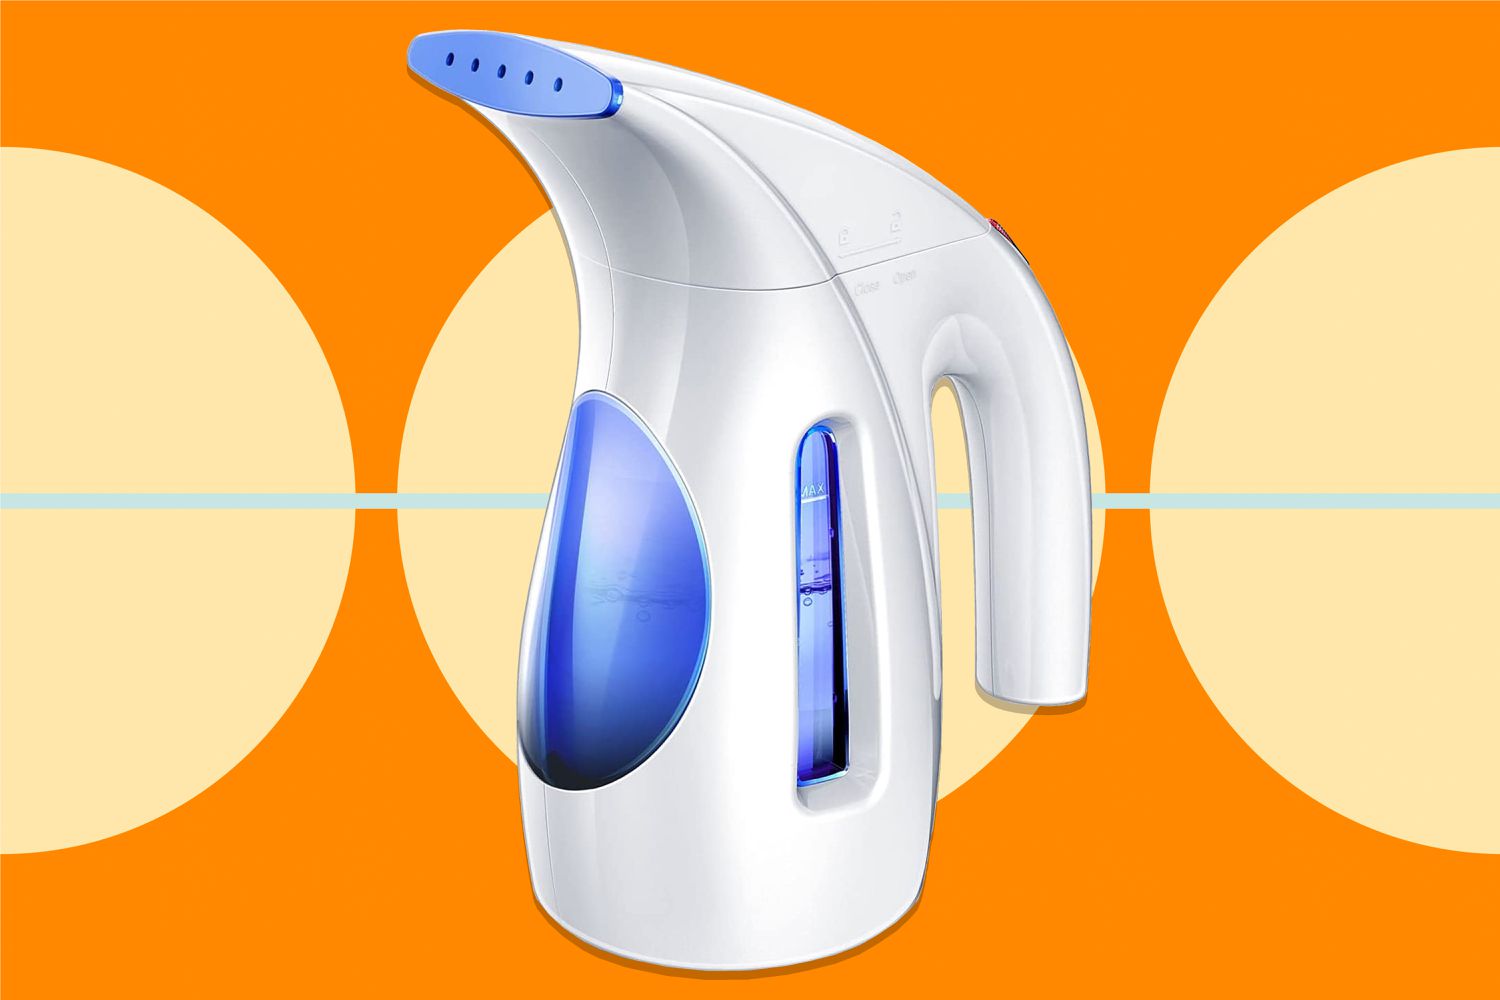
1. Size and Portability: Consider the size and weight of the steamer. If you travel frequently or have limited storage space, a compact and lightweight model might be your best bet. Look for a steamer that is easy to handle and transport.
2. Water Tank Capacity: The water tank capacity determines how long the steamer can operate before needing a refill. If you often steam larger items or have many garments to iron, opt for a steamer with a larger water tank capacity to avoid frequent refills.
3. Heating Time: Look for a steamer with a quick heating time. Some models heat up within seconds, while others may take a few minutes. If you’re always in a rush, a steamer with a shorter heating time will be more convenient.
4. Steam Output: Consider the steam output of the iron steamer. A higher steam output means more powerful and effective wrinkle removal. Look for a steamer with adjustable steam settings to cater to different fabric types and ironing needs.
5. Additional Features: Some steamers come with additional features like built-in hangers, garment clips, and steam control buttons. These features can enhance the steaming experience and make ironing more convenient.
6. Customer Reviews: Don’t forget to read customer reviews and ratings before making a purchase. This can give you valuable insights into the performance, durability, and overall satisfaction of the steamer.
By considering these factors, you can find an iron steamer that meets your specific requirements and makes your garment care routine easier and more efficient. Now that you have chosen the right iron steamer, let’s move on to preparing your garment before steaming.
Preparing Your Garment
Before you begin using your iron steamer, it’s important to properly prepare your garment for the steaming process. Here are some steps to follow:
1. Check the Fabric: Different fabrics require different care. Check the fabric label on your garment to ensure it is safe to steam. Most fabrics like cotton, linen, and polyester are steamer-friendly, but delicate fabrics like silk and wool may require special attention or lower steam settings.
2. Remove Excess Debris: Brush off any visible debris or lint from your garment before steaming. This will prevent them from getting trapped and potentially causing damage to the fabric.
3. Hang the Garment: Hang your garment on a clothing rack or hanger to provide easy access and ensure it is suspended freely. This will allow steam to circulate around the fabric, effectively treating wrinkles and refreshing the garment.
4. Button and Zip Up: If your garment has buttons or zippers, make sure to fasten them before steaming. This will help maintain the shape and prevent any accidental steam burns.
5. Spot Test: If you’re using a steamer for the first time on a particular garment or fabric, it’s a good idea to do a spot test on a discreet area first to check for any adverse reactions. Apply the steam for a few seconds and observe the fabric’s response before proceeding with the rest of the garment.
By following these preparation steps, you’ll ensure that your garment is ready to be steamed effectively and safely. Next, let’s move on to filling the water tank of your iron steamer.
Filling the Water Tank
Once you have prepared your garment, the next step is to fill the water tank of your iron steamer. Here’s how you can do it:
1. Check the Manufacturer’s Instructions: Before filling the water tank, it’s essential to refer to the manufacturer’s instructions for your specific steamer model. Different steamers may have different guidelines or precautions regarding filling the water tank.
2. Use Distilled or Filtered Water: To prevent mineral build-up and prolong the lifespan of your iron steamer, it’s recommended to use distilled or filtered water. These types of water reduce the chance of mineral deposits, which can clog the steamer’s nozzle and affect its performance.
3. Open the Water Tank Cap: Locate the water tank cap on your iron steamer and open it. This is usually located on the top or side of the steamer, depending on the model. Make sure to handle the cap gently to avoid any damage.
4. Fill Water into the Tank: Slowly pour the distilled or filtered water into the water tank. Be mindful not to overfill it, as this can cause leakage or spillage when using the steamer. Fill the tank up to the indicated maximum level, as specified by the manufacturer.
5. Close the Water Tank Cap: Once you have filled the water tank, securely close the water tank cap. This will prevent any water from leaking during the steaming process.
6. Let the Water Settle: Give the water a few moments to settle inside the tank before turning on the steamer. This allows the water to reach the desired temperature for efficient steaming.
By following these steps, you will have successfully filled the water tank of your iron steamer. Next, let’s move on to turning on the steamer and getting ready to use it on your garment.
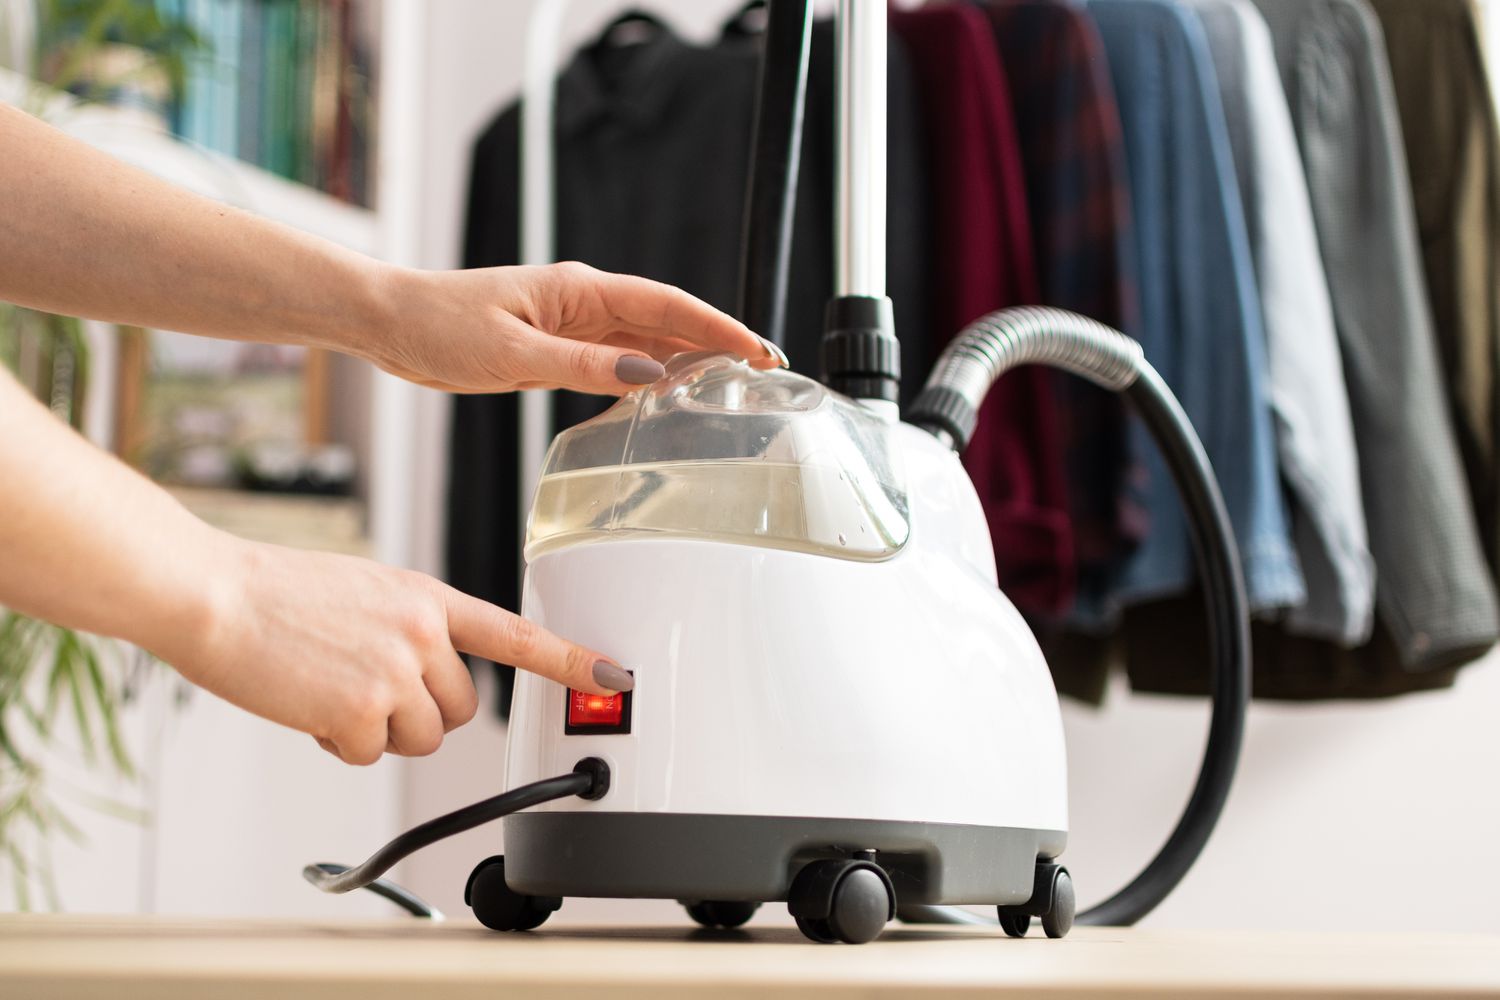
Turning on the Iron Steamer
Once you have filled the water tank of your iron steamer, it’s time to turn it on and get it ready for use. Follow these steps:
1. Ensure Safety Precautions: Before plugging in and turning on the iron steamer, ensure that the power cord is in good condition and free from any damage. Also, make sure the steamer is placed on a stable surface away from any flammable objects or materials.
2. Plug it In: Locate the power cord of your iron steamer and plug it into a suitable electrical outlet. Make sure the outlet is within reach and that it has the appropriate voltage for your steamer.
3. Power Switch: Look for the power switch on your steamer. It is usually located on the handle or the main body of the device. Toggle the switch to the “On” position to start the steamer.
4. Heating Indicator: Many steamers have a heating indicator light that illuminates when the steamer is heating up. This light will typically turn off or change color once the steamer has reached the desired temperature. Keep an eye on this indicator as you wait for the steamer to heat up.
5. Wait for the Steamer to Heat Up: Give the iron steamer a few moments to heat up. The heating time varies depending on the model, but it generally takes a minute or two. Refer to the manufacturer’s instructions for the recommended heating time for your specific steamer.
6. Check Steam Output: Once the steamer is heated, check the steam output by pressing the steam button or trigger. This will help ensure that the steam is flowing smoothly and there are no blockages or issues with the steamer.
By following these steps, you will have successfully turned on your iron steamer and ensured its readiness for use. Now let’s move on to the exciting part – using the steamer to remove wrinkles from your garment!
When using an iron steamer, always hold the steamer in an upright position and keep it moving to prevent water from dripping onto the fabric. This will help you achieve a smooth and wrinkle-free finish.
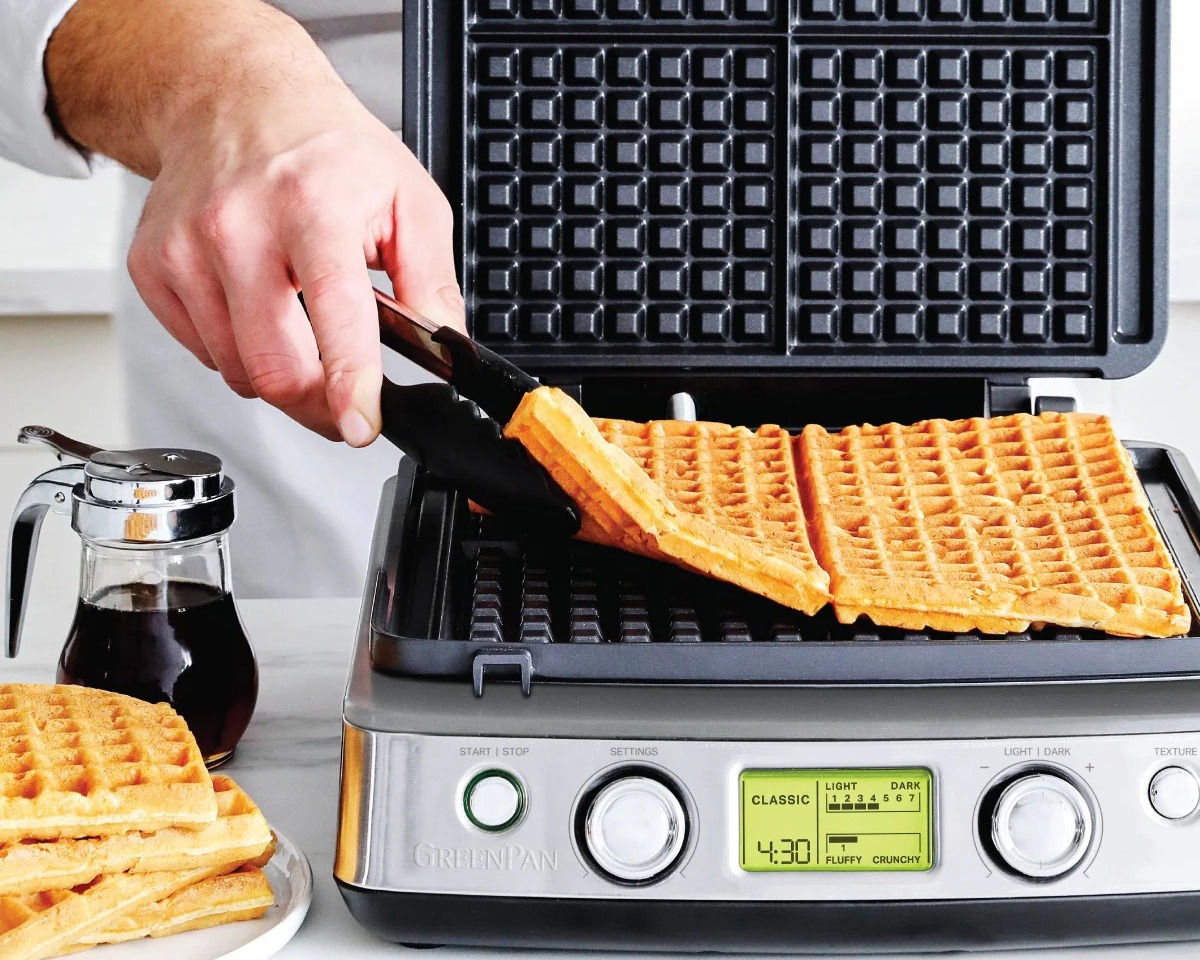
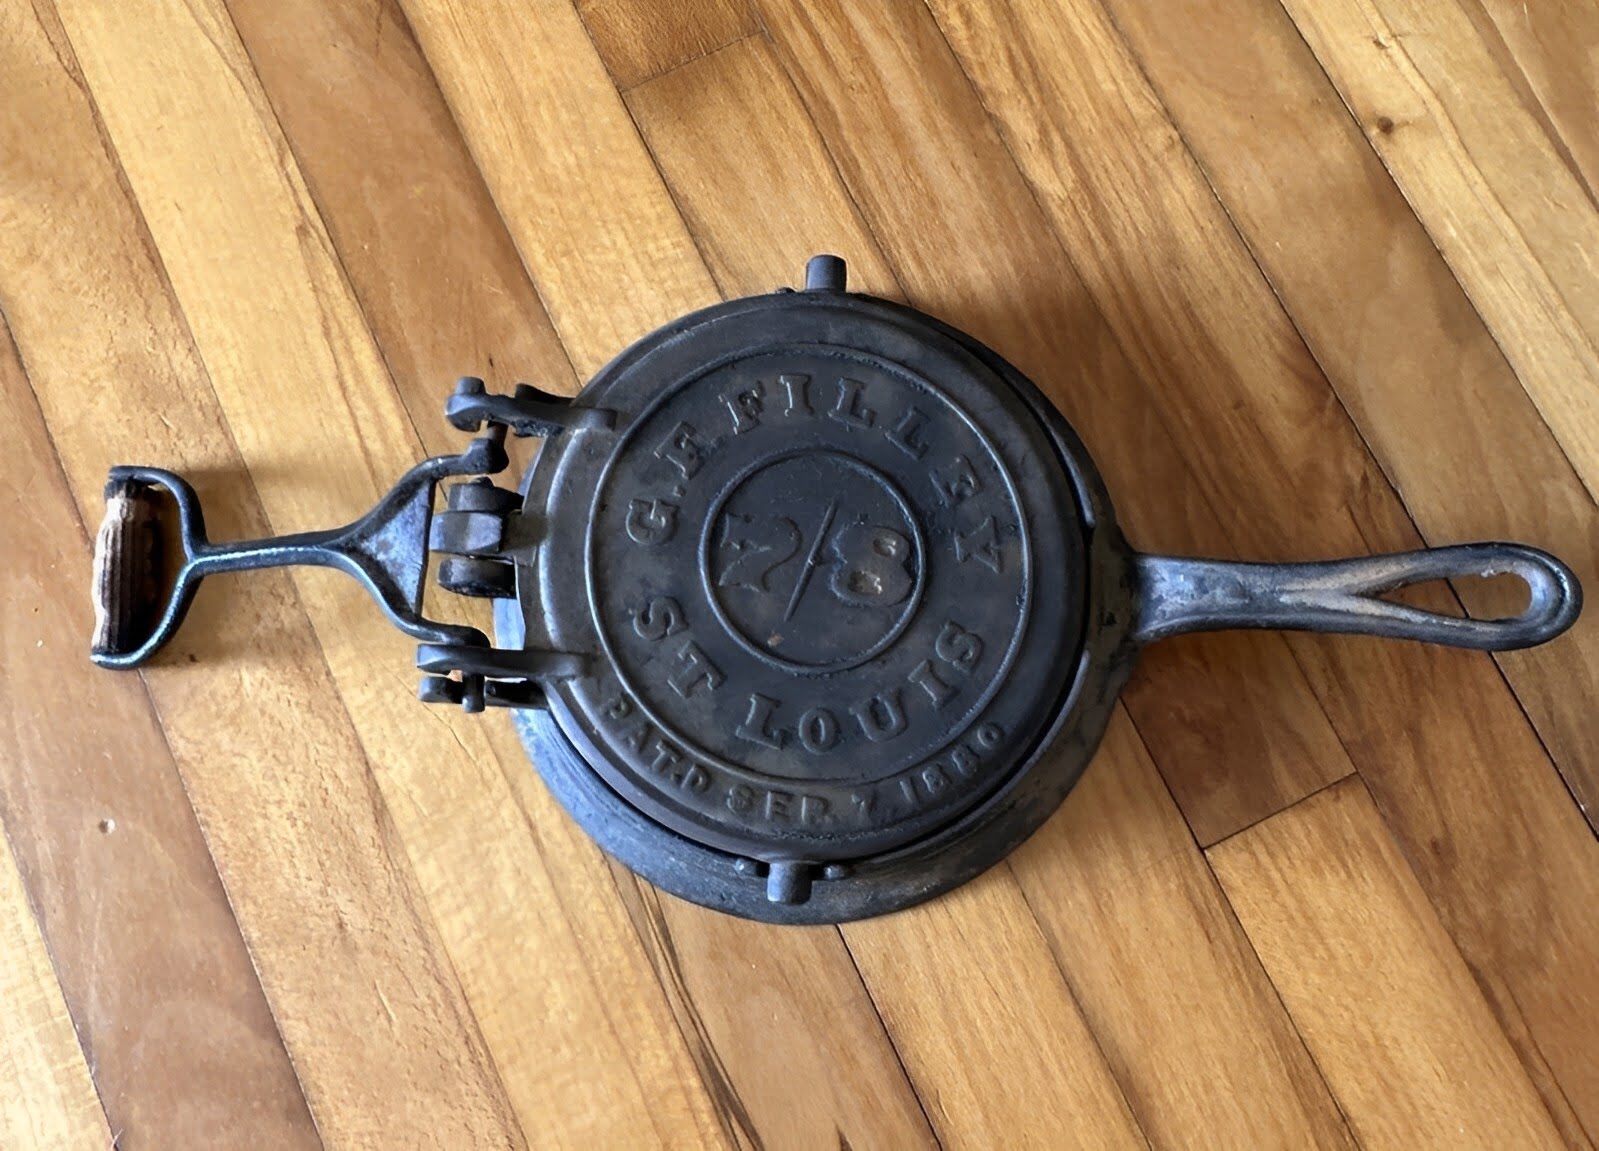
Read more: How To Use A Cast Iron Waffle Iron
Using the Iron Steamer on Your Garment
Now that your iron steamer is heated and ready to go, it’s time to start steaming your garment. Follow these steps to effectively remove wrinkles and freshen up your clothes:
1. Begin at the Top: Start steaming your garment from the top, whether it’s a collar, shoulder, or sleeve. This ensures that any condensed water droplets will fall on the lower sections of the garment that are yet to be steamed.
2. Hold the Steamer Properly: Hold the steamer in an upright position, parallel to the fabric of the garment. Keep a firm grip on the handle to maintain control and precision while steaming.
3. Steam in Vertical Strokes: Move the steamer in a vertical motion, from top to bottom. The steam should penetrate the fabric gently, relaxing the fibers and removing wrinkles as you go along. Take your time, especially for tougher wrinkles or thicker fabrics.
4. Use Steamer in Short Bursts: Instead of continuously steaming one spot, use the steamer in short bursts. This prevents the fabric from becoming too damp and allows the steam to work its magic effectively. Keep the steamer about an inch or two away from the fabric.
5. Smooth Out the Wrinkles: Use your free hand to smooth out the fabric as you steam. This helps to ease the wrinkles and allows steam to reach every crease and fold in the garment. Pay extra attention to areas with stubborn wrinkles, such as collar corners or pocket edges.
6. Work on Both Sides: Depending on the type of garment, you may need to steam both sides for optimal wrinkle removal. Flip the garment over and repeat the steaming process on the other side to ensure a thorough treatment.
7. Steam Delicate Areas with Caution: When steaming delicate areas like silk or lace, exercise caution. Use a lower steam setting and hold the steamer farther away from the fabric to avoid any potential damage. Always refer to the fabric’s care instructions and adjust the steaming technique accordingly.
By following these steps, you can effectively use your iron steamer to remove wrinkles and give your garment a refreshed look. Now, let’s move on to some tips for removing wrinkles more efficiently!
Removing Wrinkles Effectively
To achieve the best results when using an iron steamer, here are some additional tips and techniques for removing wrinkles effectively:
1. Steam from the Inside: For thick or stubborn wrinkles, consider steaming the fabric from the inside of the garment. This allows the steam to reach the deepest creases and help release the wrinkles more effectively.
2. Steam Wrinkled Areas Horizontally: For specific areas with deep wrinkles, such as trouser creases or shirt cuffs, steam them horizontally. Hold the steamer perpendicular to the fabric and move it horizontally across the wrinkles. This targeted approach can help smooth out stubborn creases more efficiently.
3. Stretch and Tug: For fabrics like cotton or linen, give them a gentle stretch or tug while steaming. This will help loosen the tensions in the fabric and aid in wrinkle removal. Be careful not to pull or stretch the fabric too forcefully, as it may cause distortion or damage.
4. Hang the Steamed Garment: Once you finish steaming a section of the garment, hang it up immediately to allow the fabric to cool down and set in its wrinkle-free state. This helps prevent new wrinkles from forming and maintains the freshly steamed appearance.
5. Use a Steamer Brush Attachment: Some iron steamers come with a brush attachment. This attachment can be used to gently brush the fabric while steaming, further aiding in wrinkle removal. It also helps to align the fibers and give the garment a polished look.
6. Avoid Over-Steaming: Be mindful not to over-steam the fabric, especially delicate materials. Excessive steam can dampen the fabric excessively or even damage certain fabrics. Pay attention to any signs of discoloration or moisture saturation, and adjust the steaming accordingly.
7. Allow the Garment to Dry: After steaming, allow the garment to air dry for a few minutes before wearing or storing it. This ensures that any moisture from the steaming process evaporates, leaving the fabric dry and ready to wear.
By employing these effective techniques, you can achieve wrinkle-free garments with the help of your iron steamer. Now, let’s move on to steam cleaning delicate fabrics.
Steam Cleaning Delicate Fabrics
Steam cleaning delicate fabrics requires extra care and attention to prevent any damage or distortion. Here are some tips to safely steam clean delicate fabrics:
1. Adjust the Steam Setting: Most iron steamers have adjustable steam settings. When working with delicate fabrics like silk, chiffon, or lace, lower the steam setting to a gentle or low level. This helps prevent excessive moisture or heat that can affect the fabric.
2. Maintain a Safe Distance: Hold the steamer at a greater distance from the fabric when steaming delicate materials. Keep the steamer nozzle about 3-6 inches away to ensure the steam is less concentrated and reduce the risk of causing any damage.
3. Use a Pressing Cloth: Place a thin, clean, and light-colored pressing cloth over the delicate fabric before steaming. The pressing cloth acts as a protective barrier, reducing direct exposure to the steam and preventing any potential discoloration or fabric marks.
4. Test in a Hidden Area: Before steaming a delicate fabric item, it’s advisable to perform a spot test in an inconspicuous area. Apply steam to a small, hidden part of the fabric and observe the results. If there are no adverse effects, proceed with caution.
5. Steam from a Distance: Instead of steaming directly on delicate fabrics, steam from a distance. Allow the steam to diffuse and settle on the fabric, gently relaxing the wrinkles. Move the steamer back and forth across the fabric without making direct contact.
6. Be Gentle: Remember to use a delicate touch when steaming delicate fabrics. Avoid pressing or applying too much force on the steamer nozzle, as this can potentially damage or misshape the fabric. Let the steam do the work, and guide the steamer gently across the fabric.
7. Hang or Lay Flat to Dry: After steam cleaning delicate fabrics, let them air dry naturally by hanging or laying them flat on a clean surface. Avoid using heat or mechanical dryers, as they may cause shrinkage or damage to the fabric.
By following these precautions and techniques, you can effectively steam clean delicate fabrics without compromising their integrity or appearance. Now, let’s move on to maintaining and cleaning your iron steamer for optimal performance.
Maintaining and Cleaning Your Iron Steamer
To ensure the longevity and optimal performance of your iron steamer, regular maintenance and cleaning are essential. Here are some tips on how to maintain and clean your steamer:
1. Empty the Water Tank: After each use, empty the remaining water from the tank. This prevents any water from sitting in the tank for an extended period, reducing the risk of mineral build-up or mold formation.
2. Descale the Steamer: Over time, mineral deposits can accumulate inside the steamer, affecting its functionality. Descale the steamer periodically by using a descaling solution or a mixture of water and vinegar. Follow the manufacturer’s instructions for the specific descaling process for your steamer model.
3. Clean the Steam Nozzle: The steam nozzle is a vital part of the iron steamer that can easily get clogged with mineral deposits or fabric fibers. Clean the nozzle regularly with a soft brush or cotton swab to ensure a constant and smooth steam flow.
4. Use Distilled or Filtered Water: To minimize mineral build-up, always use distilled or filtered water in your iron steamer. This helps prevent clogging and ensures the longevity of the steamer.
5. Store Properly: When not in use, store your iron steamer in a cool and dry place. Make sure it is completely dry before storing to avoid any mold or mildew growth. It’s also a good idea to keep the steamer in an upright position to prevent any water leakage.
6. Check the Power Cord: Regularly check the power cord of your iron steamer for any signs of damage or wear. If you notice any fraying or exposed wires, it’s important to replace the cord to avoid any safety hazards.
7. Follow the Manufacturer’s Instructions: Always refer to the manufacturer’s instructions for specific maintenance and cleaning guidelines. Each steamer may have unique requirements, so it’s important to understand and follow the recommended practices.
By properly maintaining and cleaning your iron steamer, you can ensure its longevity and optimal performance. Now that you have learned how to maintain your steamer, let’s wrap up this article.
Read more: How To Use A Steamer
Conclusion
Using an iron steamer can revolutionize your garment care routine, providing a quick and efficient way to remove wrinkles and refresh your clothes. By following the steps outlined in this article, you can make the most of your iron steamer and achieve professional-quality results.
Start by choosing the right iron steamer that suits your needs, considering factors like size, water tank capacity, heating time, and additional features. Properly prepare your garments by checking the fabric, removing debris, and hanging them up for easy access.
When filling the water tank, follow the manufacturer’s instructions and use distilled or filtered water to prevent mineral build-up. Turn on the steamer and wait for it to heat up, ensuring you have the appropriate steam output for the fabric you’re working with.
While steaming, remember to work from the top down, use vertical strokes, and smooth out wrinkles with your free hand. For tougher wrinkles, consider steaming from the inside or using horizontal strokes. Take extra care when steaming delicate fabrics, adjusting the steam settings and maintaining a safe distance.
To maintain your iron steamer’s performance, regularly empty the water tank, descale the steamer, and clean the steam nozzle. Store the steamer properly in a cool and dry place, and check the power cord for any damage. Always refer to the manufacturer’s instructions for specific maintenance guidelines.
By following these tips and techniques, you can enjoy wrinkle-free garments without the hassle of traditional ironing. Incorporate the use of an iron steamer into your garment care routine and experience the convenience and efficiency it brings.
Remember, practice makes perfect. With time and experience, you’ll become more proficient in using your iron steamer and achieving flawless results. So go ahead, make iron steaming a part of your daily routine, and enjoy crisp, wrinkle-free clothes every day!
Frequently Asked Questions about How To Use An Iron Steamer
Was this page helpful?
At Storables.com, we guarantee accurate and reliable information. Our content, validated by Expert Board Contributors, is crafted following stringent Editorial Policies. We're committed to providing you with well-researched, expert-backed insights for all your informational needs.


0 thoughts on “How To Use An Iron Steamer”