
Articles
How To Grind Coffee Beans In A Food Processor
Modified: August 19, 2024
Discover the secret to grinding coffee beans to perfection using a food processor with this informative article. Unleash the rich flavors and aroma of freshly ground coffee at home.
(Many of the links in this article redirect to a specific reviewed product. Your purchase of these products through affiliate links helps to generate commission for Storables.com, at no extra cost. Learn more)
Introduction
Welcome to the world of coffee aficionados! If you’re passionate about coffee, you know that nothing beats the fresh aroma and rich flavor of grinding your own beans. While many people opt for a traditional coffee grinder, did you know that you can also achieve a perfect grind using a food processor? Yes, that versatile kitchen appliance sitting on your countertop can double as a coffee bean grinder.
In this article, we will guide you through the process of grinding coffee beans in a food processor. We will discuss choosing the right coffee beans, preparing the food processor, adjusting the grinding time for different coffee types, and how to store your freshly ground coffee. So, grab a cup of your favorite brew and let’s dive in!
Key Takeaways:
- Choose high-quality, fresh coffee beans that match your flavor preferences and brewing method. Experiment with different origins, roast levels, and flavor profiles to find your perfect cup of coffee.
- Prepare your food processor by cleaning it thoroughly and assembling it properly. Adjust the grinding time based on your brewing method, and store your freshly ground coffee in an airtight container for maximum freshness and flavor.
Read more: How To Grind Coffee Beans With A Blender
Choosing the Right Coffee Beans
When it comes to coffee beans, the options are seemingly endless. The first step in achieving a great cup of coffee is selecting high-quality beans. Here are some factors to consider when choosing the right coffee beans for your taste:
- Origin: Coffee beans are grown in various regions around the world, and each region produces beans with distinct flavors. Whether you prefer the earthy notes of South American beans or the bright acidity of African beans, it’s important to know the origin.
- Roast Level: Coffee beans are available in a range of roast levels, from light to dark. Lighter roasts have more acidity and fruity flavors, while darker roasts tend to be richer and smoother. Choose a roast level that complements your taste preferences.
- Freshness: Look for coffee beans that have been recently roasted. Freshly roasted beans retain their flavor and aroma better than those that have been sitting on store shelves for too long.
- Grind Size: Consider the brewing method you’ll be using. Different brewing methods require different grind sizes, from coarse for French press to fine for espresso. Choose beans that match the grind size you need.
- Flavor Profile: Coffee beans can have a wide range of flavor profiles, from nutty and chocolatey to fruity and floral. Experiment with different flavor profiles to find your favorite.
Remember, your preference for coffee beans may vary from others, so don’t be afraid to explore and try different varieties. The key is to choose beans that align with your taste preferences and brewing method.
Preparing the Food Processor
Before grinding your coffee beans in a food processor, it’s important to ensure that your appliance is clean and set up correctly. Follow these steps to prepare your food processor for grinding coffee:
- Clean the food processor: Start by washing the food processor bowl, lid, and blades with warm soapy water. Rinse them thoroughly and allow them to dry completely before using.
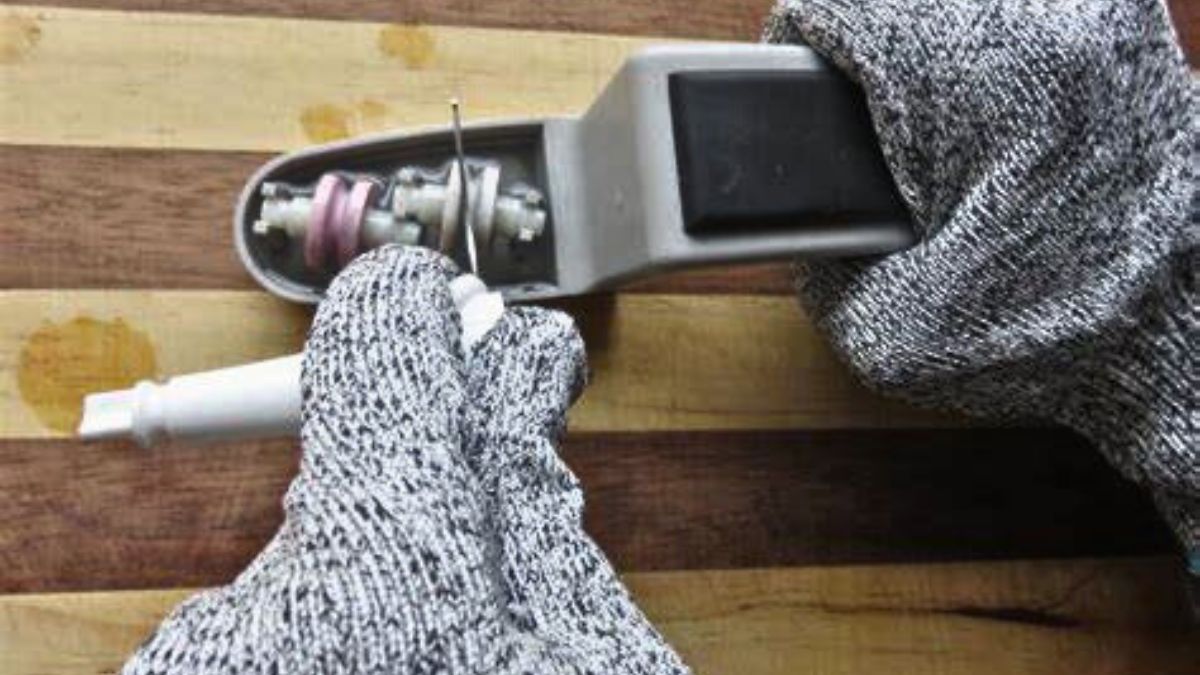
- Check the blades: Make sure that the blades are sharp and in good condition. Dull or damaged blades may not grind the beans effectively.
- Remove any residual odors: If your food processor has any lingering odors from previous use, you can eliminate them by running a cycle with a mixture of baking soda and water. Simply fill the bowl with water, add a tablespoon of baking soda, and run the food processor for a minute.
- Assemble the food processor: Once your food processor is clean, reassemble all the components: attach the blades to the bowl, and secure the lid tightly.
- Ensure stable placement: Place the food processor on a stable surface to prevent any accidents during the grinding process. Make sure it’s plugged in and ready to go.
By following these steps, you’ll have a clean and well-prepared food processor ready for grinding your coffee beans. Now, let’s move on to the actual process of grinding the beans.
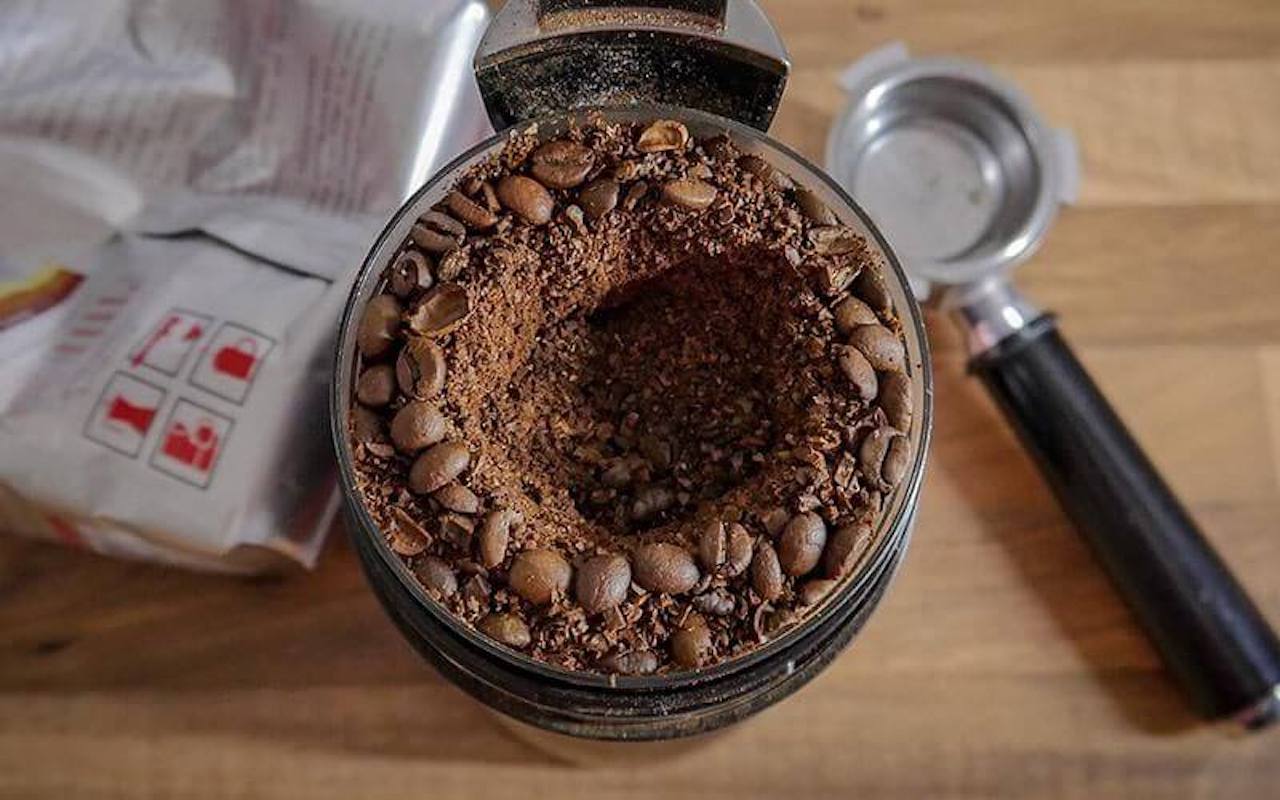
When grinding coffee beans in a food processor, pulse the beans in short bursts to achieve a consistent grind. Avoid over-processing to prevent the beans from becoming too fine.
Grinding Coffee Beans
Now that your food processor is prepared, it’s time to start grinding those coffee beans. Follow these steps to achieve the perfect grind:
- Measure the beans: Start by measuring the desired amount of coffee beans. It’s recommended to use a kitchen scale to ensure accuracy, but if you don’t have one, a tablespoon can be used as a rough measurement.
- Add the beans to the food processor: Open the lid of your food processor and pour the measured coffee beans into the bowl. Avoid overfilling, as this may hinder the grinding process.
- Secure the lid: Close the lid of the food processor securely, ensuring that it is tightly in place.
- Pulse the food processor: Start the food processor and pulse it for short intervals. The pulsing action allows for more control over the grind size and helps prevent overheating. Pulse the beans for a few seconds at a time, shaking the food processor in between pulses to ensure even grinding.
- Check for desired consistency: After pulsing for a few seconds, check the grind size. If you prefer a coarser grind, continue pulsing for a few more seconds. For a finer grind, pulse for a shorter duration or increase the number of pulses.
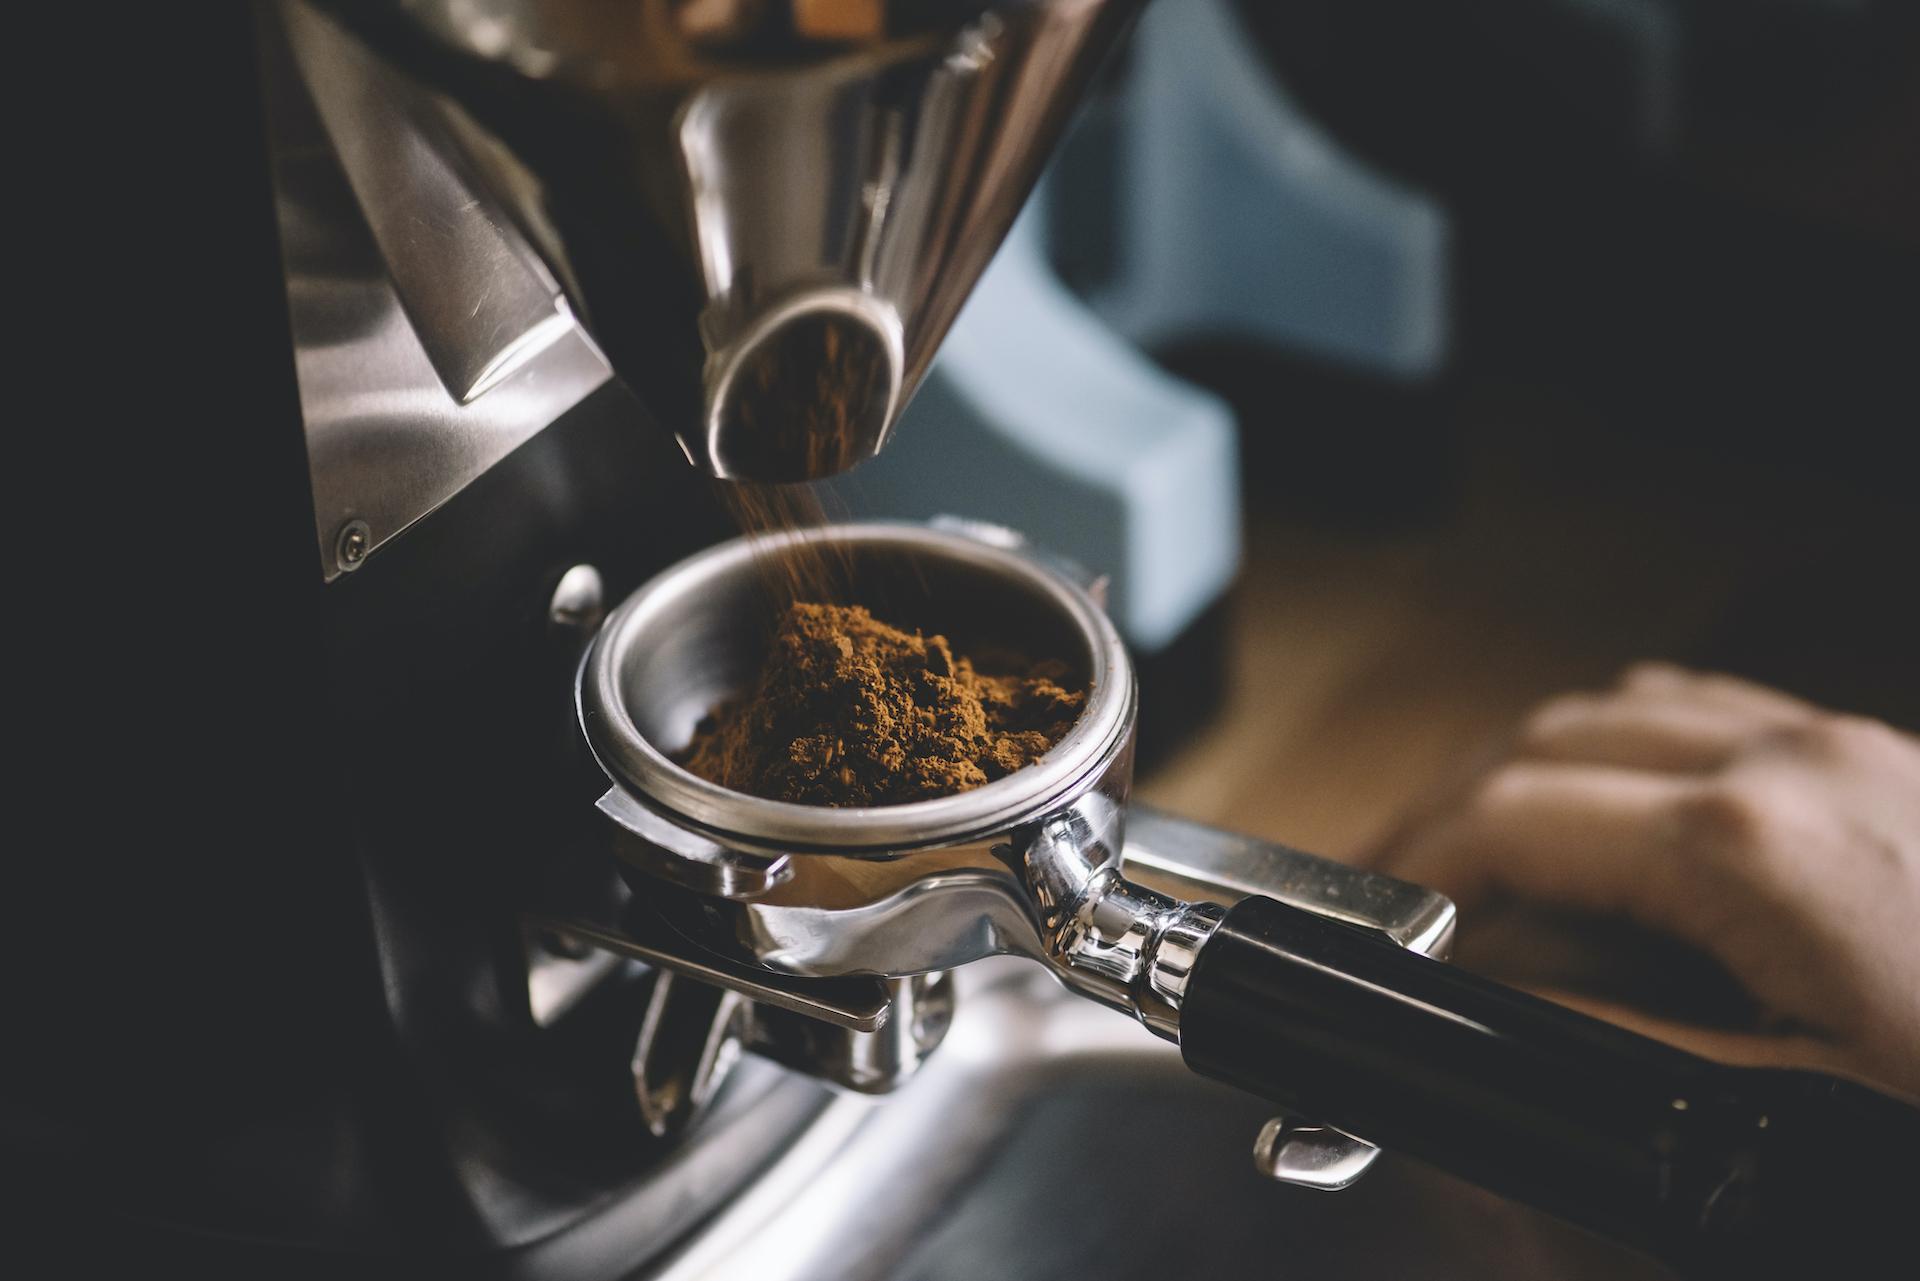
It’s important to note that the grind size will vary depending on your brewing method. For a French press, a coarser grind is ideal, while an espresso machine requires a fine grind. Adjust the grinding time and number of pulses accordingly to achieve the desired consistency.
Once the coffee beans are ground to your liking, you’re ready to move on to the next step: adjusting the grinding time for different coffee types.
Adjusting the Grinding Time
When grinding coffee beans in a food processor, the grinding time plays a crucial role in determining the final flavor and strength of your coffee. Here are some guidelines for adjusting the grinding time based on different coffee types:
- Coarse Grind: If you’re brewing coffee using a French press or a cold brew method, you’ll need a coarse grind. For a coarse grind, pulse the food processor for about 10 to 15 seconds. This will result in larger coffee particles, allowing for a longer extraction time.
- Medium Grind: For a drip coffee machine or pour-over coffee, a medium grind is recommended. Pulse the food processor for about 8 to 10 seconds to achieve a medium grind size. This will balance the extraction time and yield a well-balanced cup of coffee.
- Fine Grind: If you’re using an espresso machine or a Moka pot, a fine grind is essential. Pulse the food processor for about 5 to 7 seconds to achieve a fine grind size. The finer particles will allow for a quicker extraction, resulting in a stronger and more concentrated coffee.
Remember, the grinding time mentioned above is just a general guideline. You can adjust it according to your preferences and taste preferences. It’s always recommended to experiment and make small adjustments until you achieve the desired flavor and strength.
Now that you know how to adjust the grinding time, let’s move on to the final step: storing the ground coffee.
Read more: How To Grind Oats Without A Food Processor
Storing Ground Coffee
After grinding your coffee beans to perfection in the food processor, it’s crucial to store the ground coffee properly to preserve its freshness and flavor. Here are some tips for storing ground coffee:
- Use an airtight container: Transfer the ground coffee into an airtight container to protect it from exposure to air. Oxygen is one of the main factors that can degrade the flavor of coffee over time.
- Store in a cool, dark place: Heat, light, and moisture can also impact the quality of ground coffee. Choose a cool, dark spot in your kitchen cabinet or pantry for storage.
- Avoid frequent exposure to air: Try to scoop out the desired amount of ground coffee without constantly opening and closing the container. The less exposure to air, the longer it will retain its freshness.
- Don’t store in the freezer: Contrary to popular belief, it’s best to avoid storing ground coffee in the freezer. The moisture in the freezer can cause the coffee to deteriorate and absorb undesirable flavors.
- Use within two weeks: Ground coffee is at its peak flavor within the first two weeks of grinding. Aim to consume it within this time frame for the best tasting cup of coffee.
By following these storage tips, you can ensure that your freshly ground coffee retains its aroma and flavor for a longer period, resulting in a more enjoyable coffee experience.
Now that you know how to grind coffee beans in a food processor, choose your favorite coffee beans, prepare your food processor, adjust the grinding time, and store your ground coffee properly. Enjoy the satisfaction of brewing a cup of coffee with freshly ground beans, complimented by the enticing aroma and rich flavors.
Frequently Asked Questions about How To Grind Coffee Beans In A Food Processor
Was this page helpful?
At Storables.com, we guarantee accurate and reliable information. Our content, validated by Expert Board Contributors, is crafted following stringent Editorial Policies. We're committed to providing you with well-researched, expert-backed insights for all your informational needs.


0 thoughts on “How To Grind Coffee Beans In A Food Processor”