Articles
How To Make Dough In Ninja Food Processor
Modified: October 27, 2024
Learn how to make dough easily using the Ninja Food Processor with our informative articles. Master the art of dough making in no time!
(Many of the links in this article redirect to a specific reviewed product. Your purchase of these products through affiliate links helps to generate commission for Storables.com, at no extra cost. Learn more)
Introduction
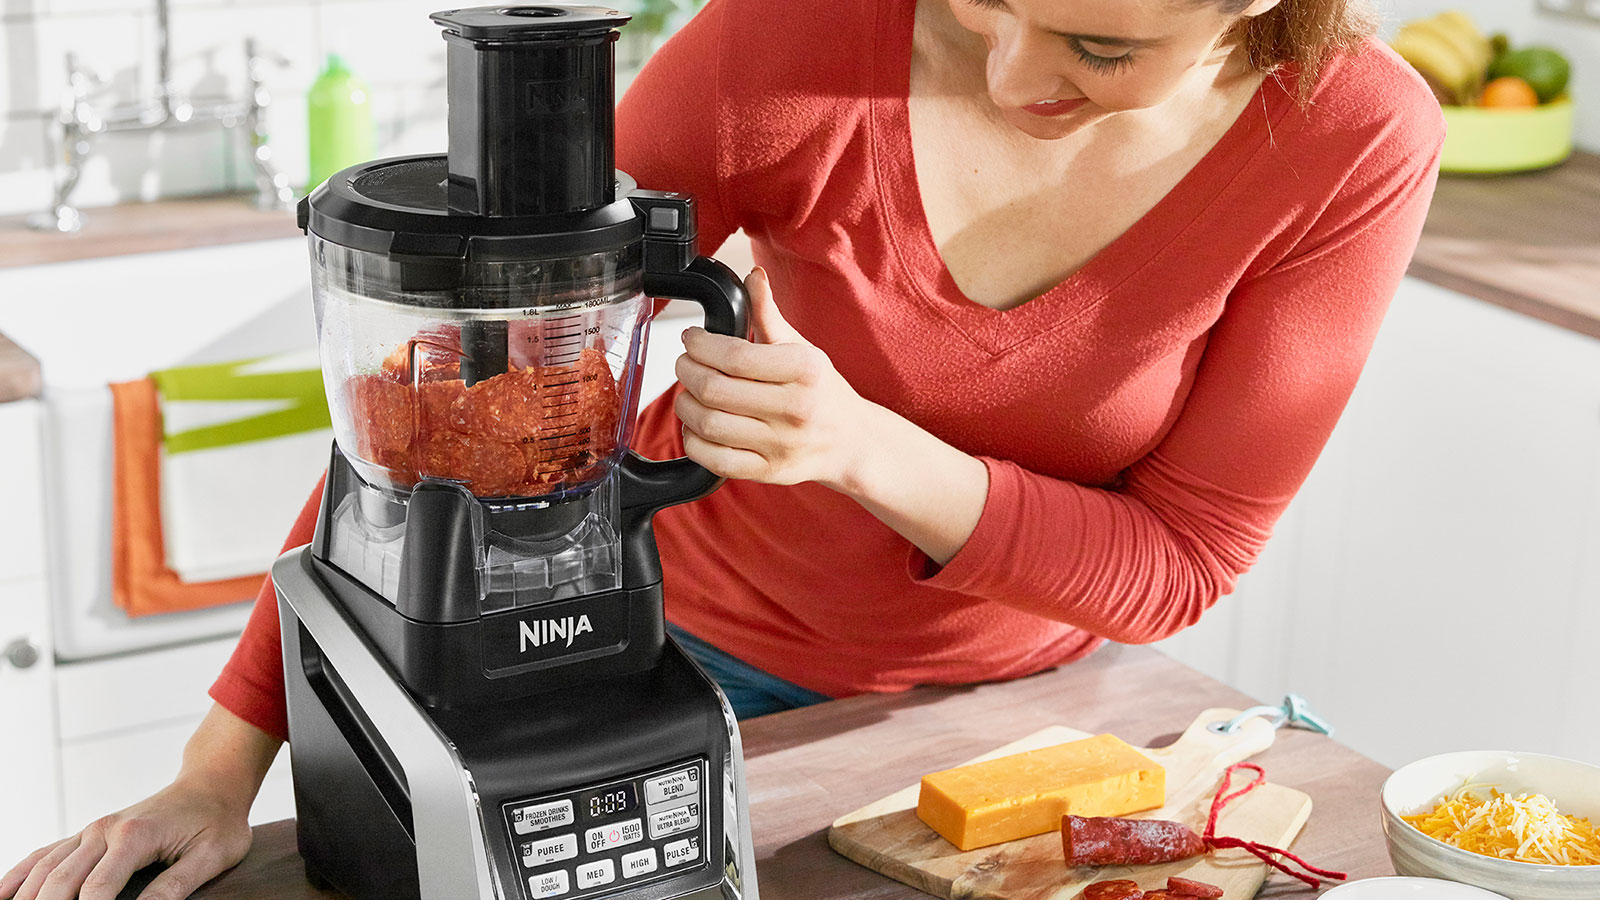
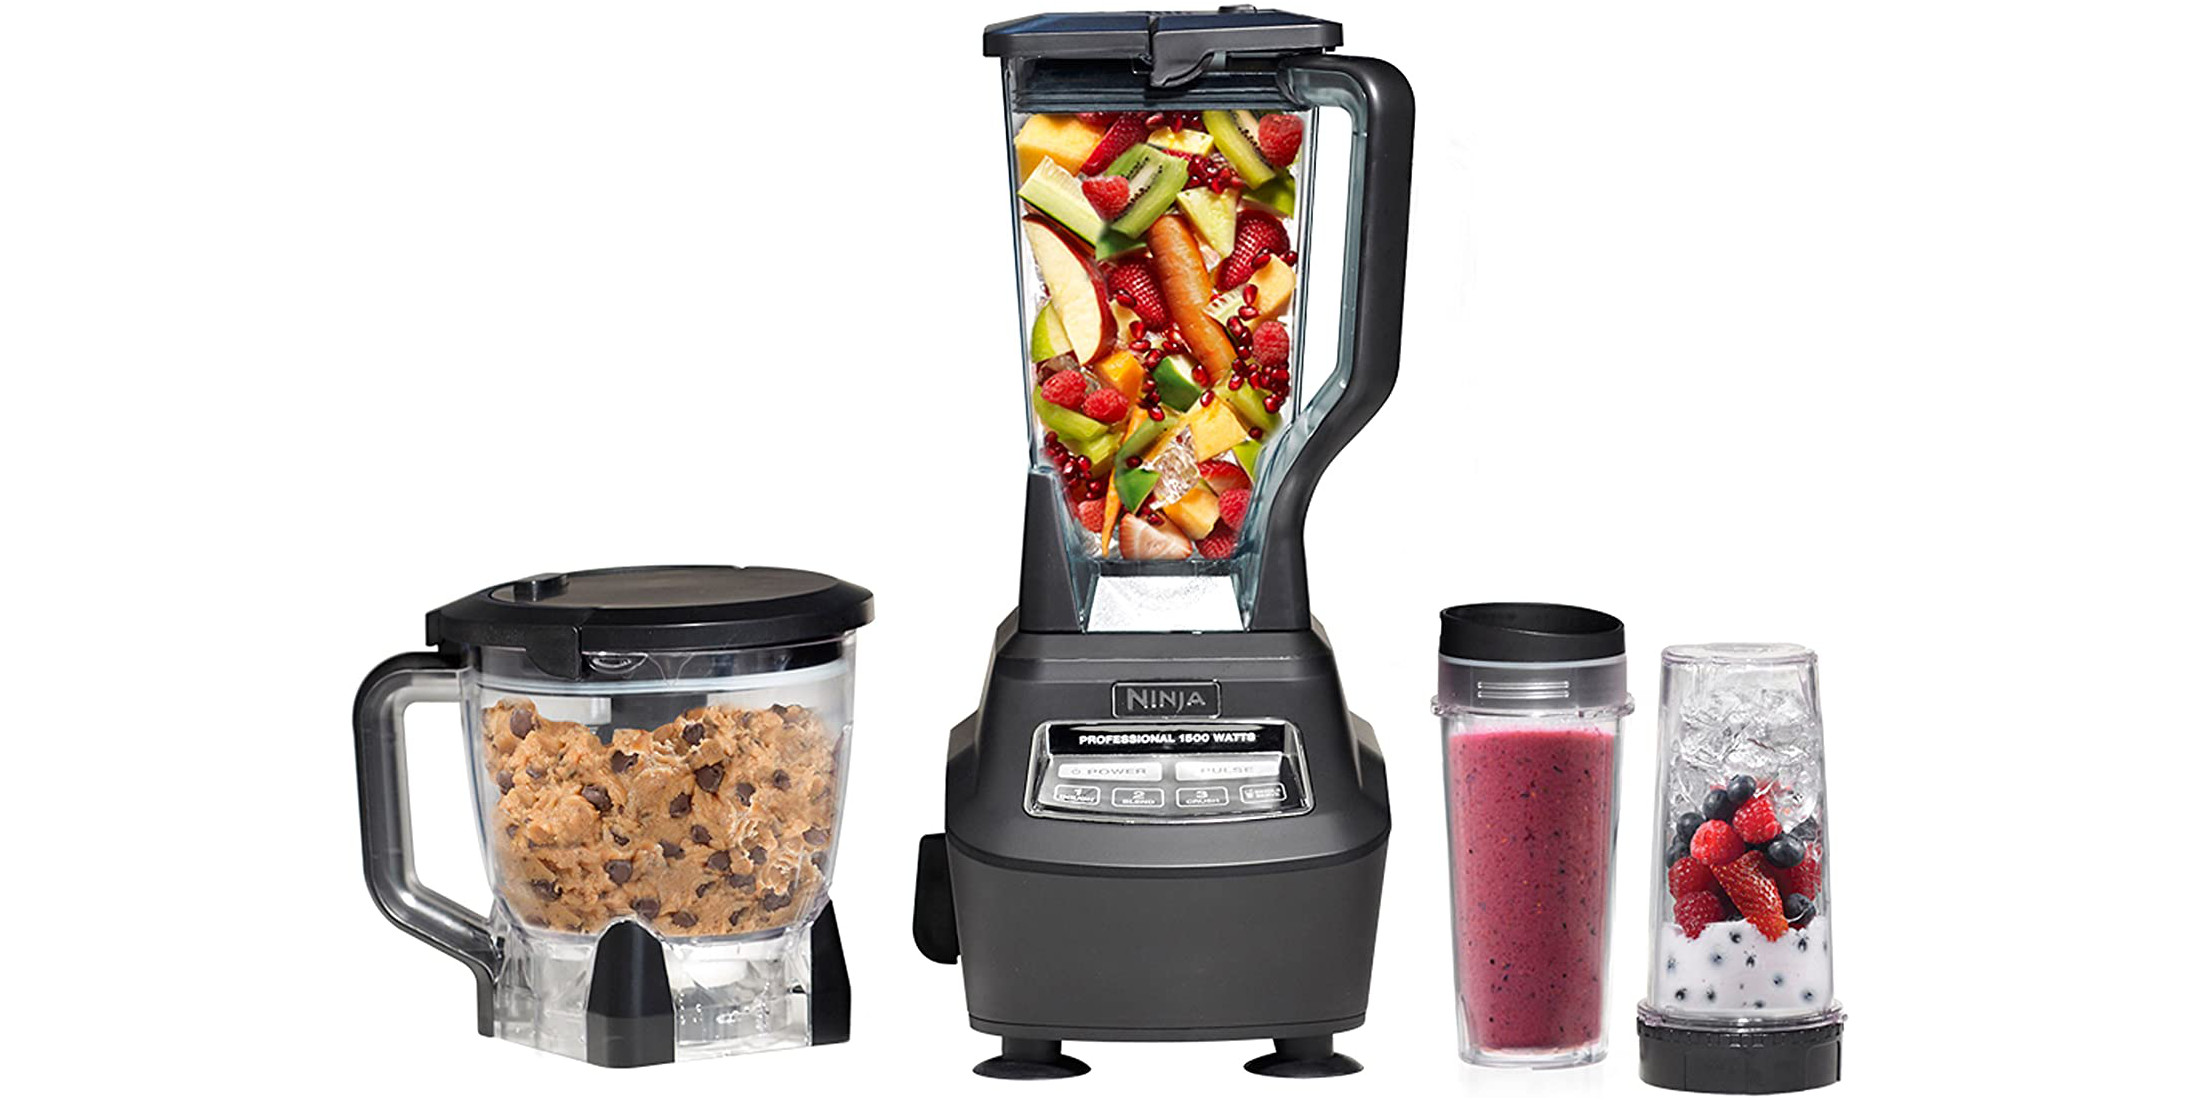
Are you tired of buying store-bought dough and craving the satisfaction of making your own from scratch? Look no further than your trusty Ninja Food Processor! With its powerful motor and versatile blade attachments, the Ninja Food Processor is the perfect tool for making dough at home. Whether you want to whip up a batch of pizza dough, bread dough, or pastry dough, the Ninja Food Processor can do it all.
In this article, we will walk you through the step-by-step process of making dough using a Ninja Food Processor. We will cover everything from gathering your ingredients to shaping and using the dough. So, put on your apron, roll up your sleeves, and let’s get started on our dough-making adventure!
Key Takeaways:
- Master the art of dough-making with your Ninja Food Processor and enjoy the satisfaction of creating fresh, flavorful dough from scratch in the comfort of your own kitchen.
- Embrace the versatility of your Ninja Food Processor to effortlessly knead, mix, and shape dough, allowing you to unleash your creativity and indulge in delicious homemade baked goods.
Read more: How To Make Chapati Dough In Food Processor
Step 1: Gather Your Ingredients
The first step in making dough is to gather all the necessary ingredients. Depending on the type of dough you want to make, the ingredients may vary. However, there are a few basic ingredients that are common in most dough recipes:
- All-purpose flour: This is the main ingredient in most dough recipes. It provides structure and texture to the dough. Measure out the required amount of flour according to your recipe.
- Yeast: If you’re making bread or pizza dough, you’ll need yeast to help the dough rise and develop flavor. Make sure to check the expiration date on your yeast to ensure it’s still active.
- Water or other liquid: Dough requires some form of liquid to bind the ingredients together. Water is the most common choice, but you can also use milk, buttermilk, or other liquids depending on your recipe.
- Salt: Salt enhances the flavor of the dough and helps control yeast activity. Add the required amount of salt to your dough recipe.
- Sugar: Sugar is optional, but it can add sweetness and assist with yeast activation. You may need to add sugar depending on your recipe and personal preference.
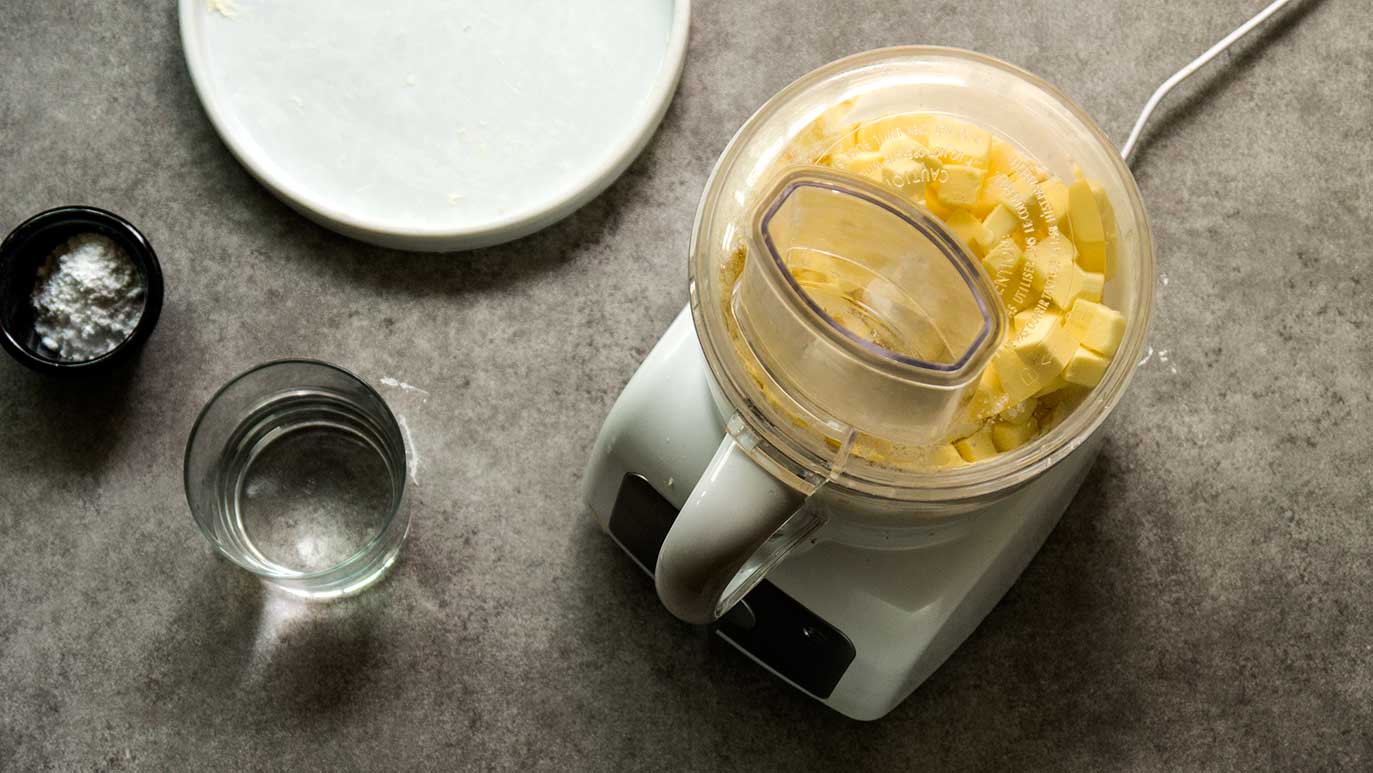
- Fat: Some dough recipes call for the addition of fat, such as butter, oil, or shortening. Fat adds moisture to the dough and gives it a softer texture.
Once you have gathered all your ingredients, make sure to measure them accurately using measuring cups and spoons. Consistency is key in dough-making, so precise measurements are crucial for successful results.
Step 2: Assemble Your Ninja Food Processor
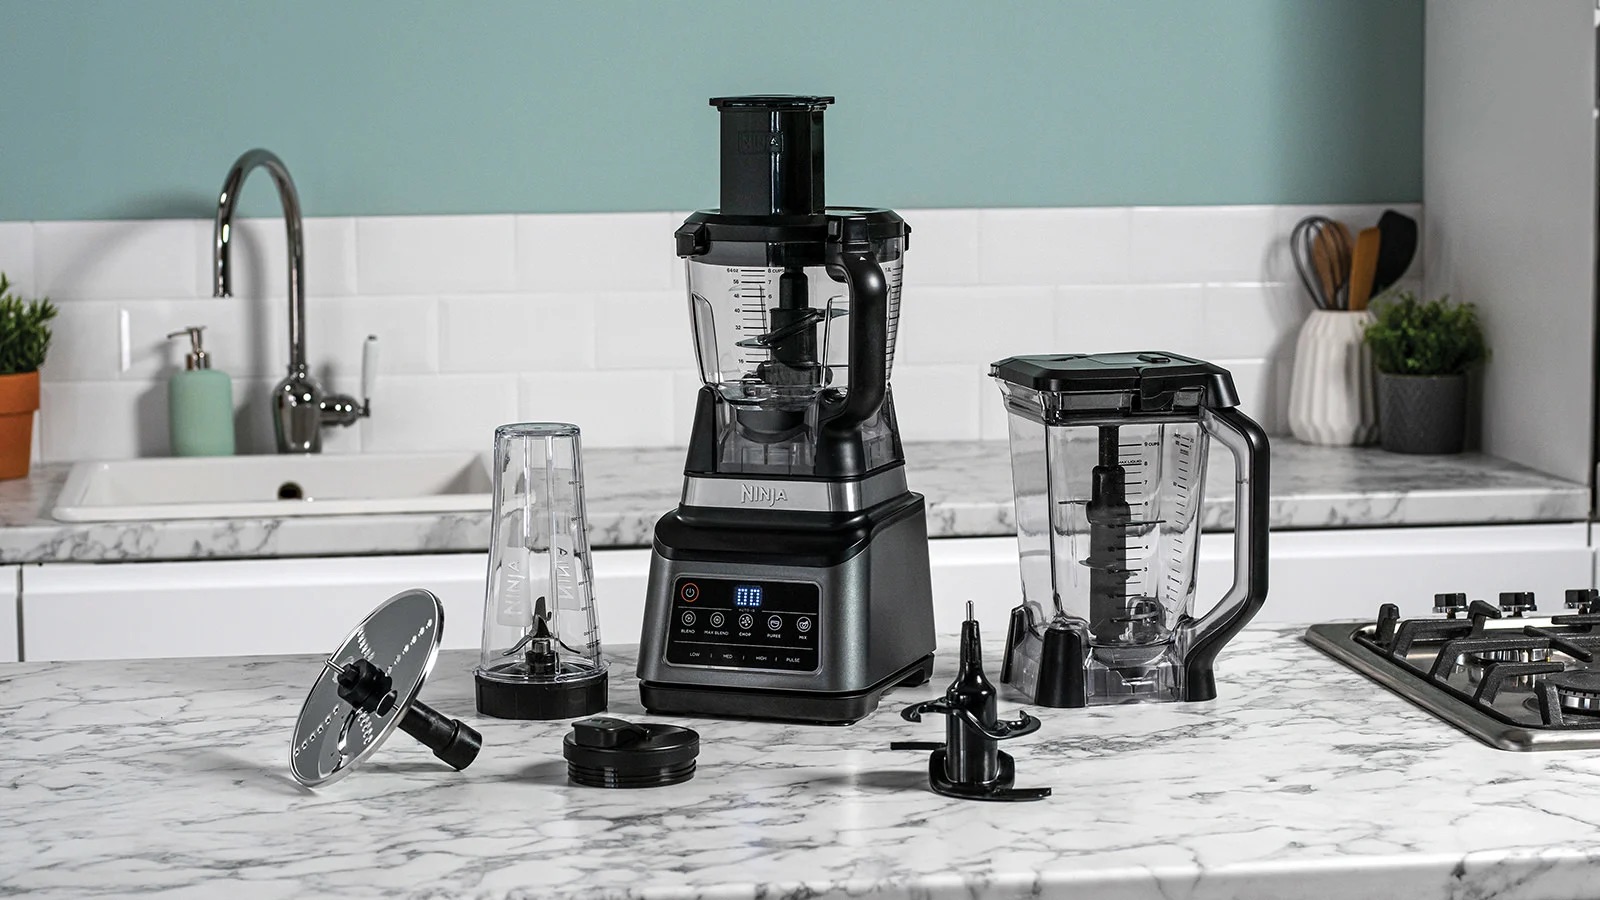
Before you can start making dough in your Ninja Food Processor, you need to ensure that it is properly assembled and ready to use. Here’s how to assemble your Ninja Food Processor:
- Detachable Parts: Begin by ensuring that all the detachable parts of your Ninja Food Processor are clean and dry. This includes the bowl, lid, and blade attachments. Wash them thoroughly with warm soapy water and dry them completely before assembling.
- Bowl Placement: Place the bowl on the base of the food processor and make sure it is securely locked into place. This is important to prevent any accidents or spills while processing the dough.
- Lid Attachment: Attach the lid to the bowl by aligning the arrow marks on both the lid and the bowl. Twist the lid clockwise until it is firmly in place.
- Blade Attachment: Depending on the type of dough you are making, select the appropriate blade attachment for your Ninja Food Processor. For most dough recipes, the standard S-shaped blade works well. Insert the blade into the center of the bowl and twist it clockwise until it clicks into place.
- Power Connection: Check the power cord of your Ninja Food Processor and make sure it is properly connected to an electrical outlet. Ensure that the power switch is off before plugging it in.
Once you have assembled your Ninja Food Processor correctly, you are now ready to move on to the next step of making dough.
Note: Always refer to the instruction manual provided with your specific model of Ninja Food Processor for any additional assembly details or precautions.
Step 3: Measure and Add Flour
Now that your Ninja Food Processor is properly assembled, it’s time to measure and add the flour to the bowl. The amount of flour required will vary depending on the recipe you are following, so make sure to refer to your specific dough recipe for accurate measurements.
Here’s how to measure and add flour to your Ninja Food Processor:
- Measuring: Use a measuring cup or a kitchen scale to measure the required amount of flour. Spoon the flour into the measuring cup or weigh it, depending on your preferred method. Level off the flour with a straight-edged utensil to ensure accurate measurement.
- Adding to the Bowl: With the blade attachment in place and the lid securely locked, remove the pusher from the lid or open the feed tube to access the bowl. Carefully pour the measured flour into the bowl of the Ninja Food Processor.
- Secure the Lid: Once the flour is added, make sure to secure the lid of the food processor tightly. This will prevent any flour from escaping and ensure proper processing.
It’s important to note that when adding flour, it’s best to start with a smaller amount and gradually add more as needed. This allows you to control the consistency of the dough and prevent it from becoming too dry.
Now that the flour is added, it’s time to move on to the next step and add the liquid ingredients to the dough mixture.
Step 4: Add Liquid Ingredients
With the flour in the bowl of your Ninja Food Processor, it’s time to add the liquid ingredients to create a cohesive dough. The type and amount of liquid required will depend on the specific dough recipe you are following.
Here’s how to add liquid ingredients to your dough in the Ninja Food Processor:
- Check the Recipe: Review your dough recipe to determine the type of liquid needed. It may call for water, milk, buttermilk, or other liquids. Measure out the required amount of liquid as specified in the recipe.
- Add Gradually: With the lid securely locked and the blade attachment in place, slowly pour the liquid ingredient into the feed tube or opening on the lid while the food processor is running. This will allow the liquid to be evenly incorporated into the dough.
- Keep an Eye on Consistency: As you add the liquid, keep an eye on the consistency of the dough. You may need to adjust the amount of liquid based on how the dough is coming together. If the dough appears too dry and crumbly, add a little more liquid. If it seems too wet and sticky, add a little more flour.
Remember that the goal is to achieve a dough that holds together and isn’t too dry or too sticky. Adding the liquid gradually allows you to control the consistency and achieve the desired texture.
Once the liquid ingredients are added and the dough is starting to come together, it’s time to move on to the next step and process the dough in the Ninja Food Processor.
Read more: How To Clean Ninja Food Processor
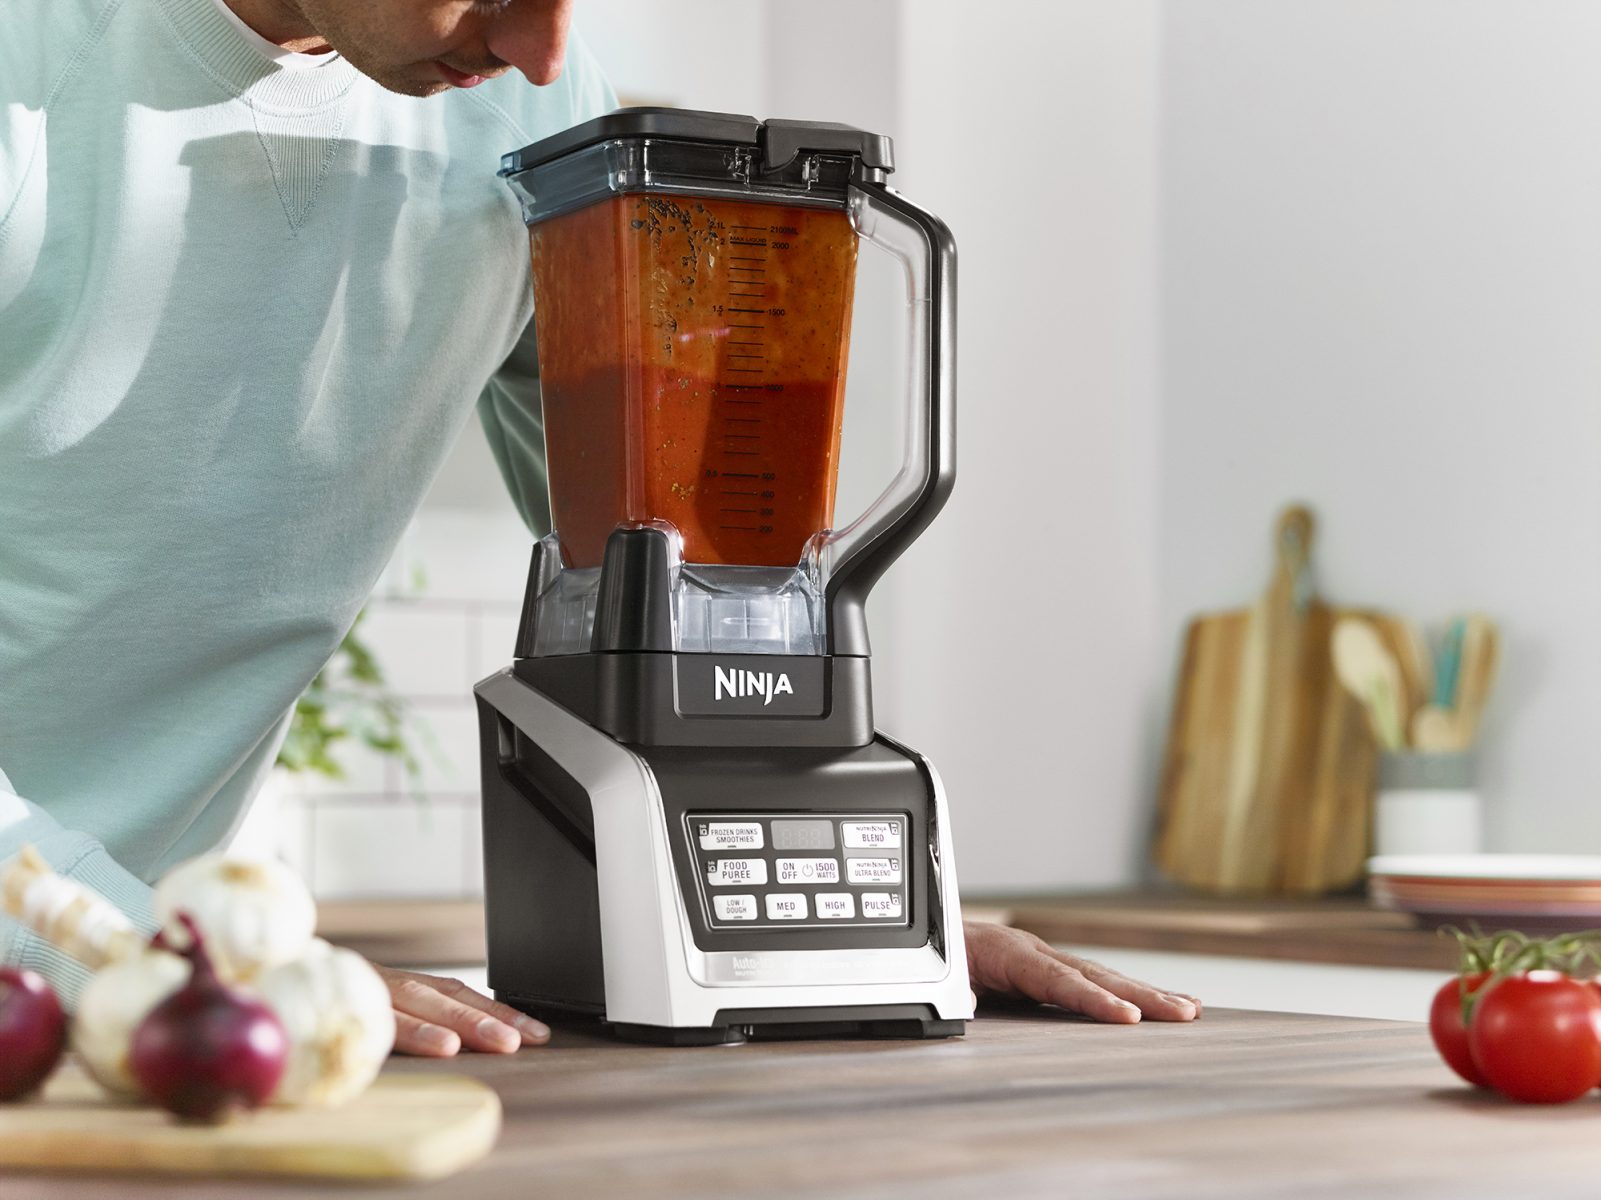
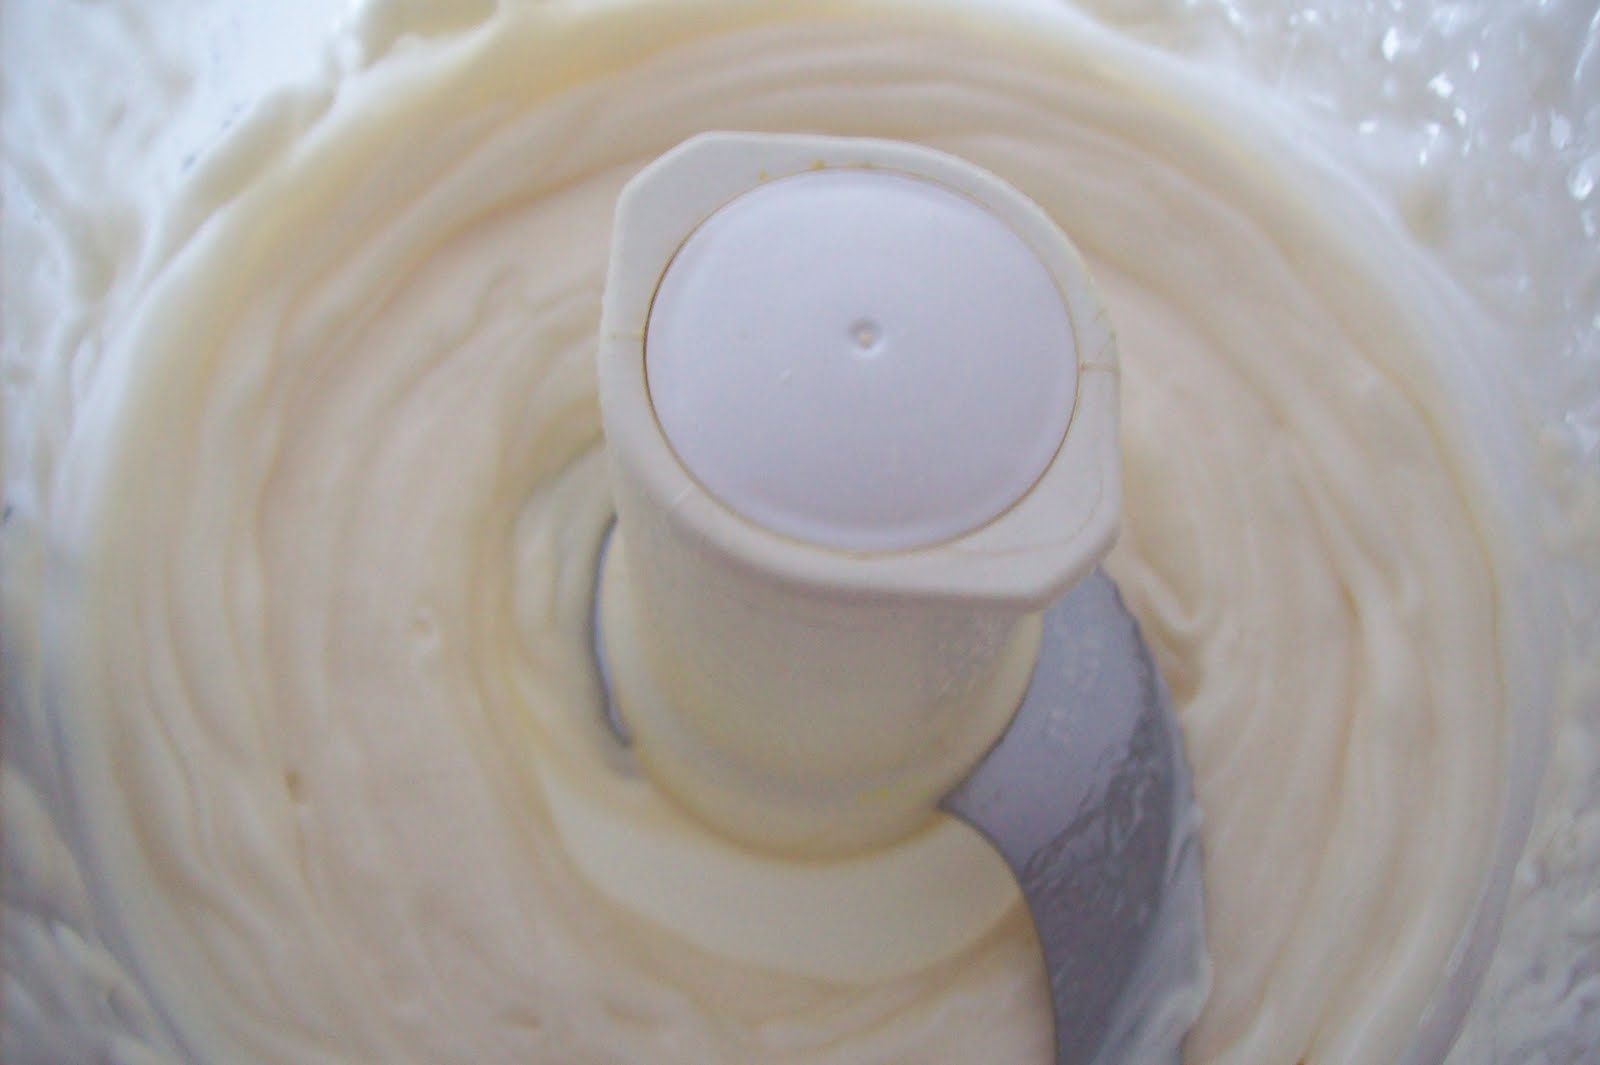
Step 5: Process the Dough
Now that the flour and liquid ingredients are combined in the bowl of your Ninja Food Processor, it’s time to process the dough. Processing will help the ingredients come together and create a cohesive dough. Here’s how to process the dough using your Ninja Food Processor:
- Secure the Lid: Before you start processing the dough, ensure that the lid of your Ninja Food Processor is securely locked in place. This will prevent any mishaps or spills during the process.
- Pulse Function: Start by using the pulse function on your Ninja Food Processor. This function allows you to control the power and speed of the processing. Begin pulsing in short bursts of power, gradually increasing the duration of each pulse.
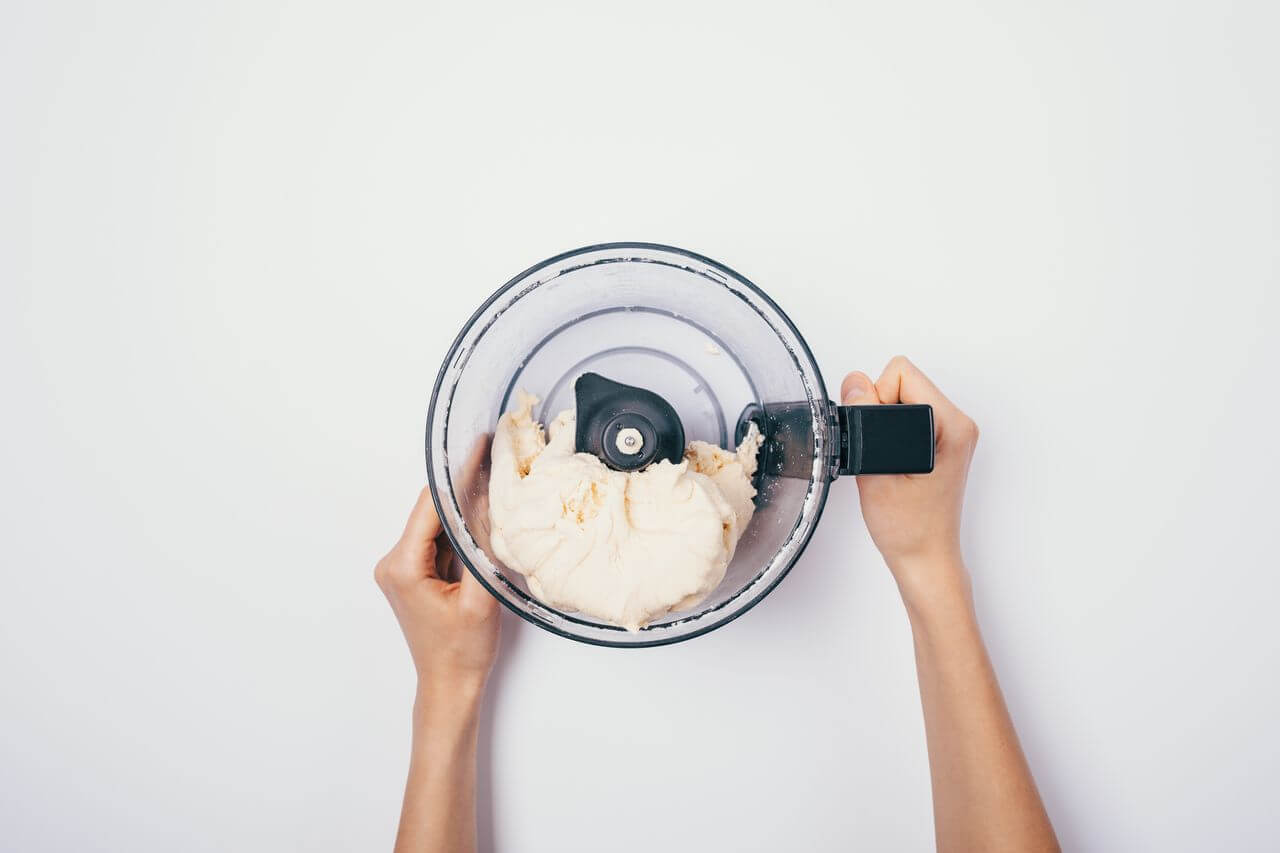
- Observe the Dough: As you pulse the dough, observe its texture and consistency. You should notice the ingredients coming together and forming a ball-like shape. The dough will begin to pull away from the sides of the bowl.
- Scrape the Sides: If necessary, stop the food processor and scrape down the sides of the bowl using a spatula. This will ensure that all the ingredients are evenly incorporated into the dough.
- Continue Processing: Resume pulsing the dough until it reaches the desired consistency. Depending on the recipe, this can take anywhere from 1 to 3 minutes. Be careful not to over-process the dough, as this can result in a tough texture.
Processing the dough in the Ninja Food Processor helps to evenly distribute the ingredients and develop gluten strands, which gives the dough structure and elasticity. It is important to pay attention to the texture of the dough during the processing stage and adjust the water or flour if needed.
Now that the dough is processed, it’s time to move on to the next step and check the consistency.
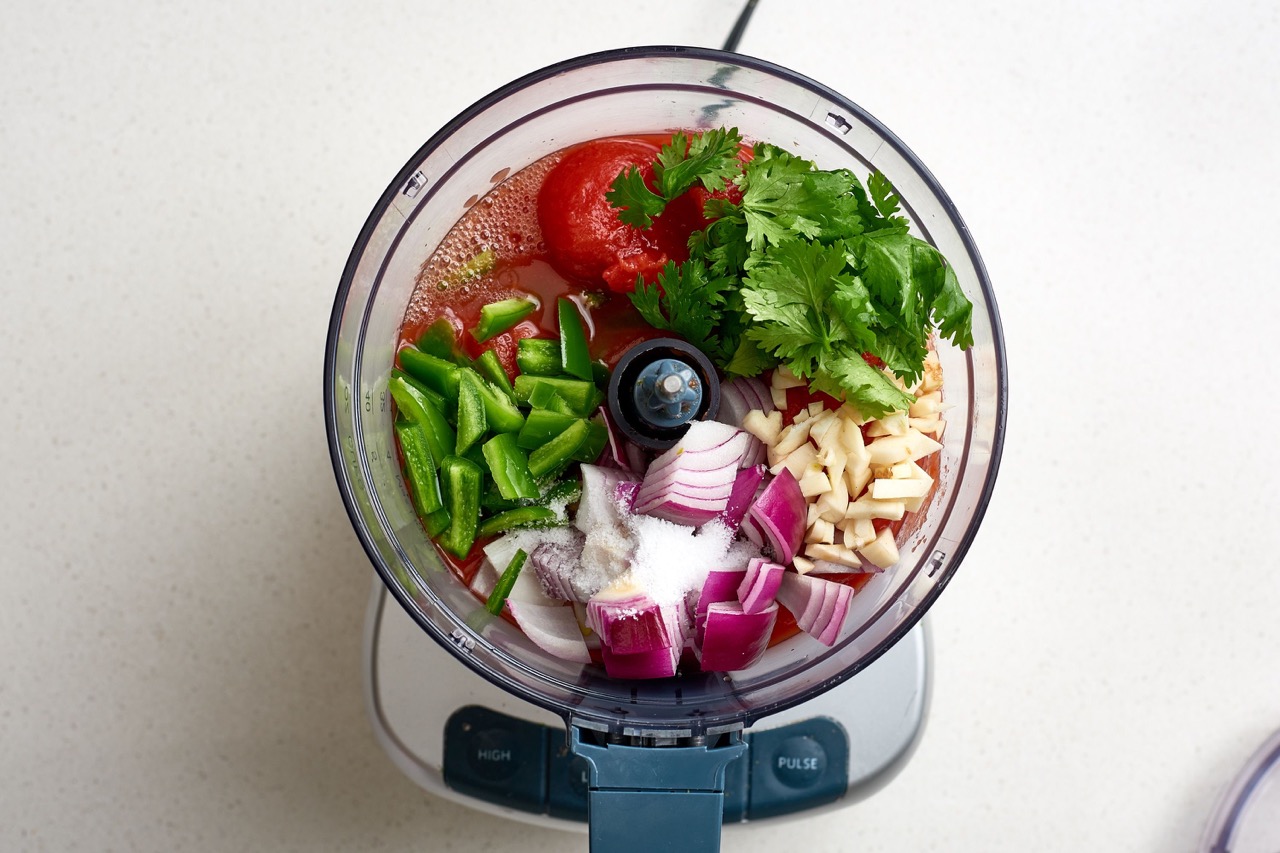
When making dough in a Ninja Food Processor, start by pulsing the dry ingredients together, then slowly add the wet ingredients while pulsing until a dough forms. Be careful not to overmix.
Step 6: Check the Consistency
Checking the consistency of the dough is an essential step to ensure that it is neither too dry nor too sticky. The desired consistency will vary depending on the type of dough you are making. Here’s how to check the consistency of your dough:
- Stop the Processor: Once the dough has been processed in the Ninja Food Processor, stop the machine and remove the lid.
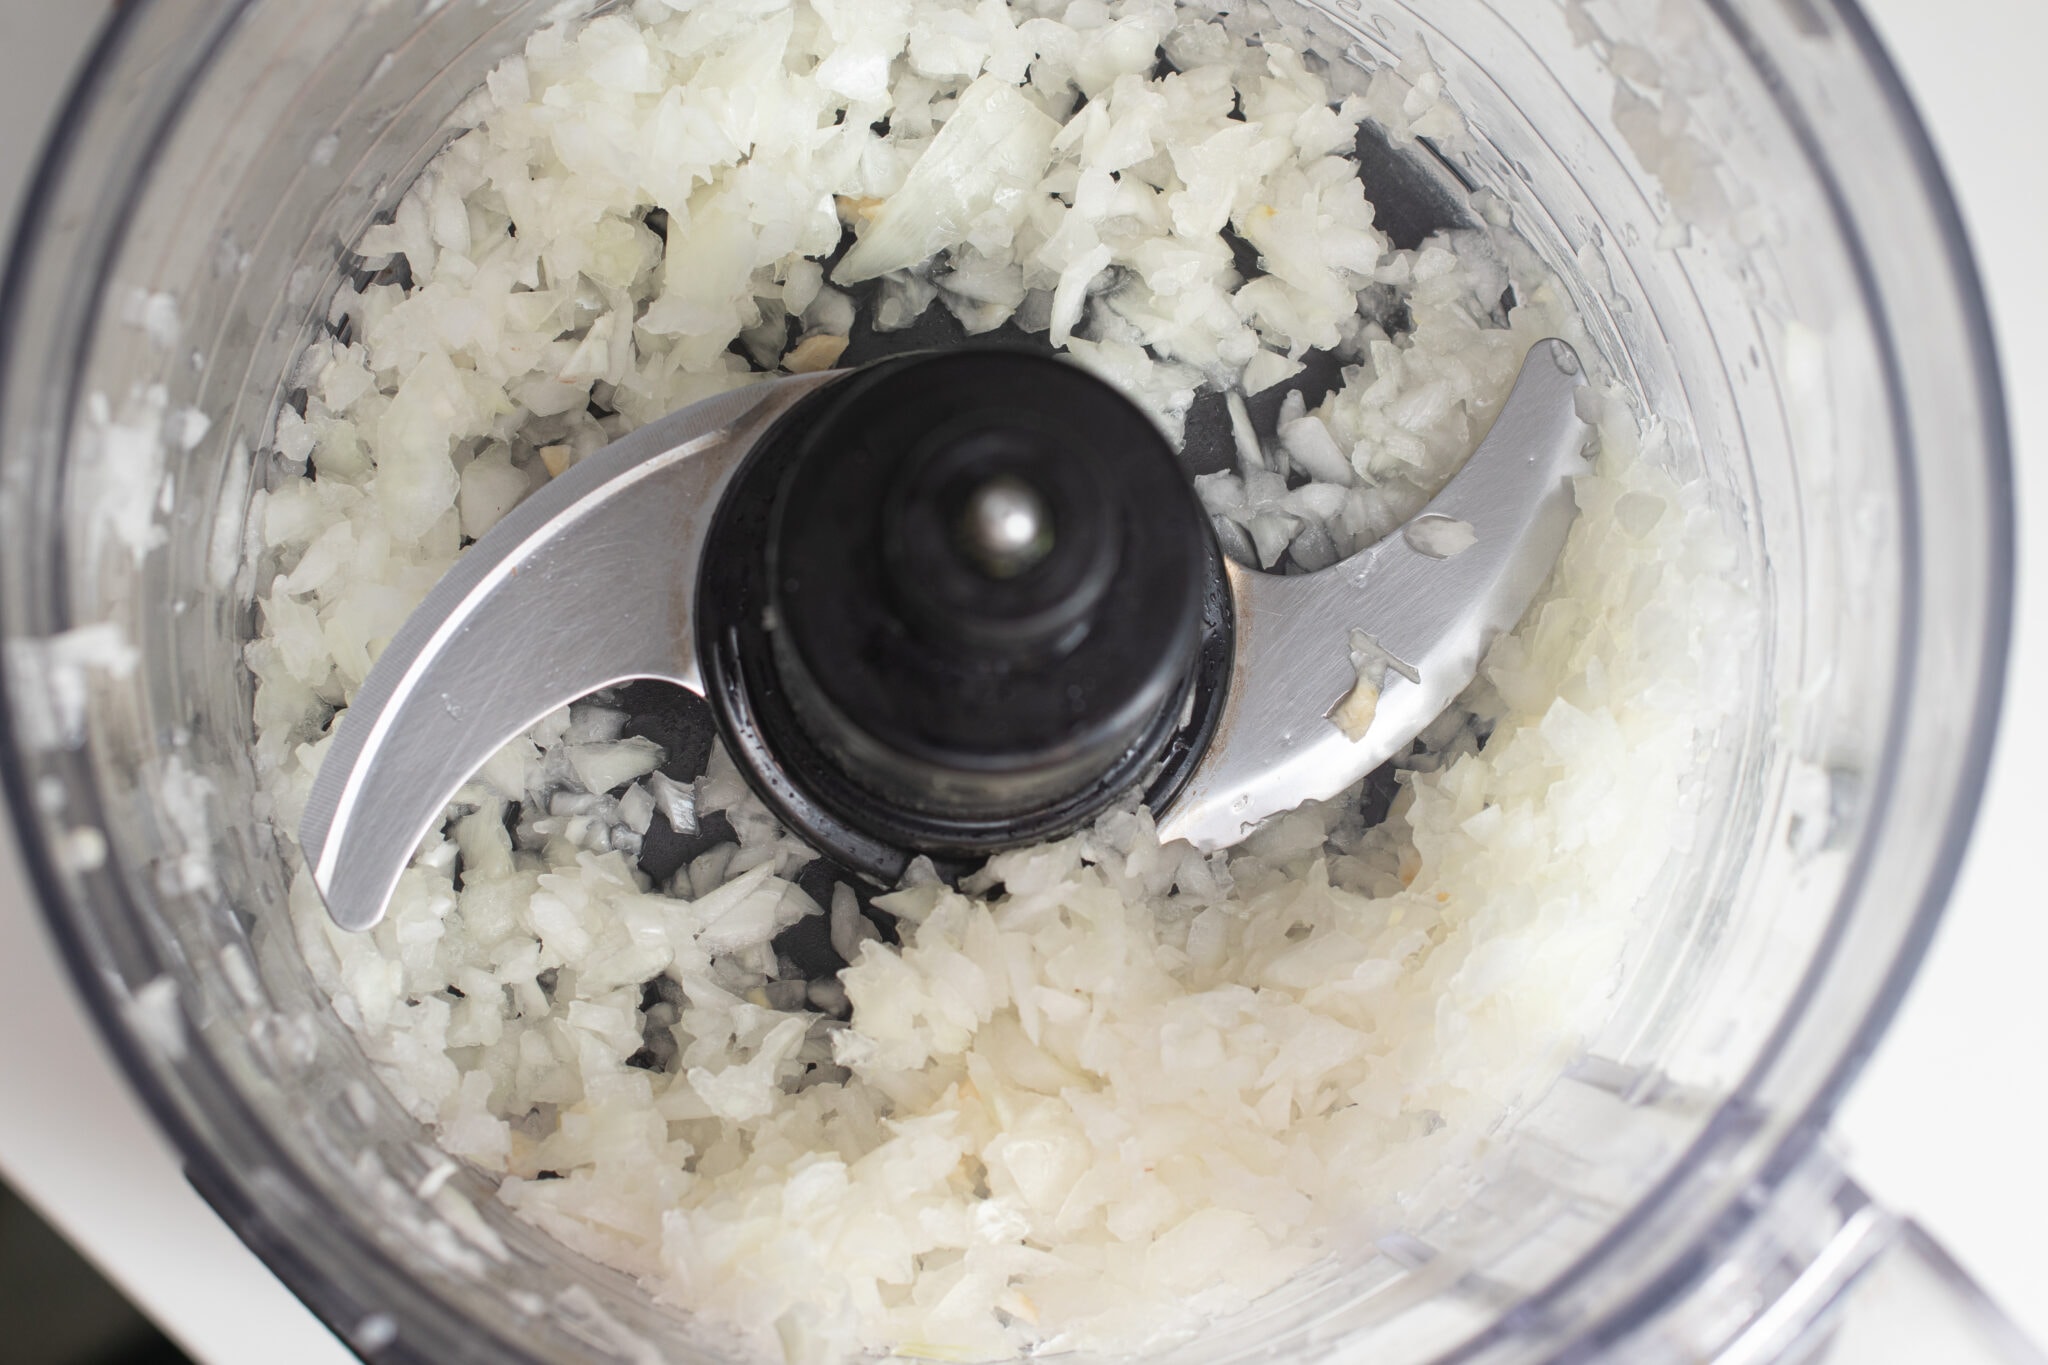
- Observe the Texture: Take a close look at the dough and assess its texture. It should be smooth and pliable, without any large dry patches or excess moisture. The dough should hold together when pressed between your fingers without being too crumbly or too sticky.
- Make Adjustments: If the dough is too dry, meaning it crumbles easily and doesn’t hold together, you may need to add a small amount of liquid. Gradually add a teaspoon of water or liquid at a time, processing in short bursts, until the desired consistency is reached. On the other hand, if the dough is too sticky, you can add a sprinkle of flour and pulse briefly to incorporate.
Remember, achieving the right consistency is crucial for successful dough. It’s better to make small adjustments gradually rather than adding too much liquid or flour all at once, as it can significantly affect the final outcome of your dough.
Once you are satisfied with the consistency of the dough, it’s time to move on to the next step and knead the dough.
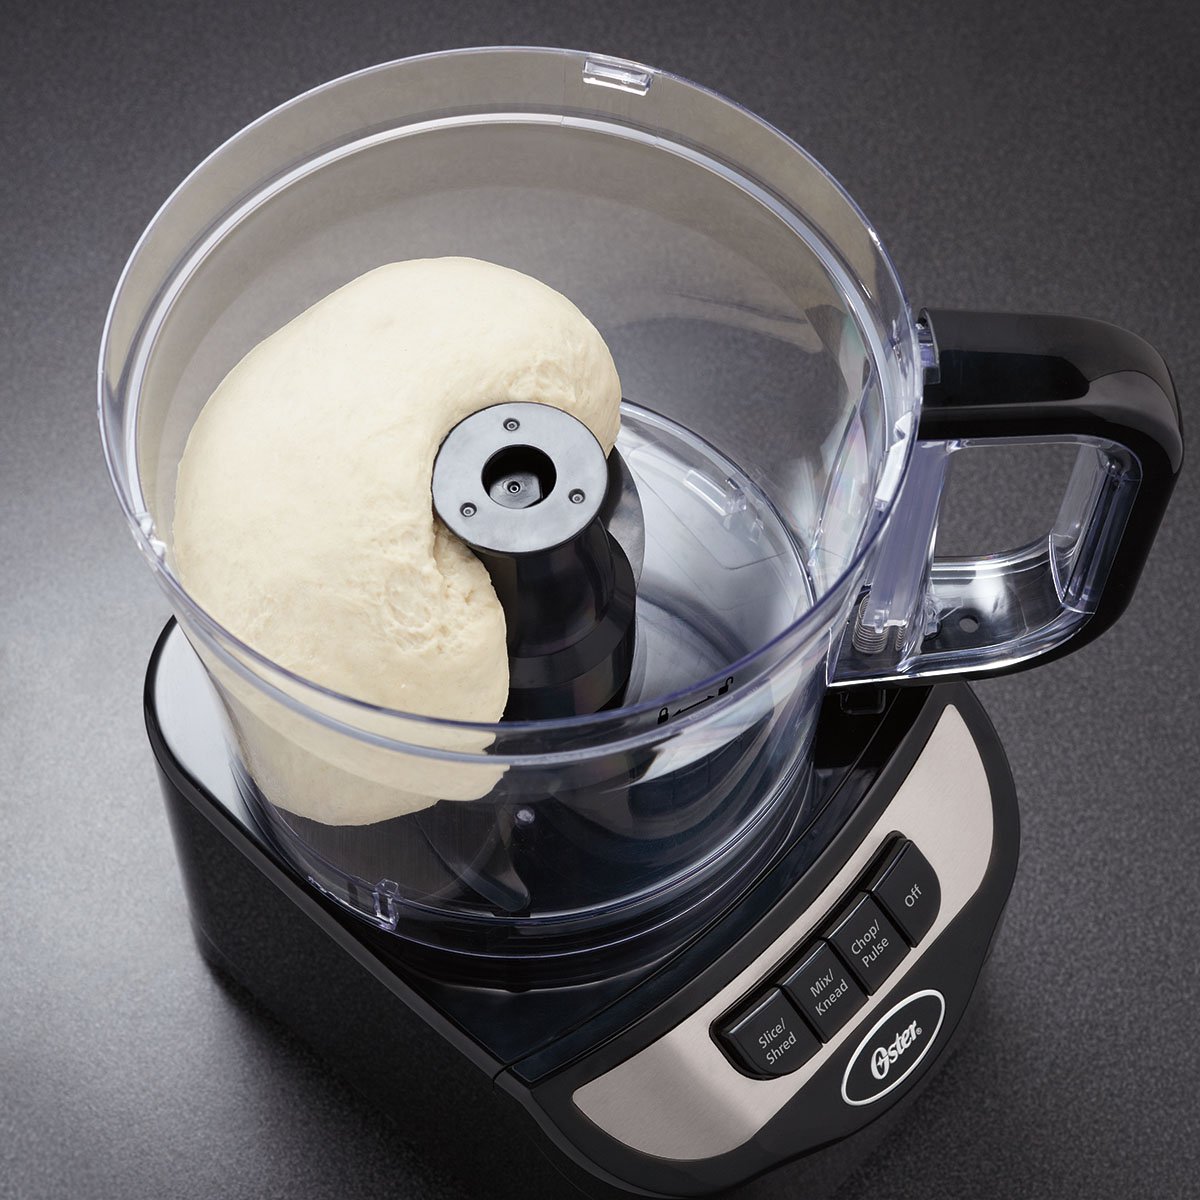
Step 7: Knead the Dough
After checking the consistency of the dough, it’s time to knead it. Kneading helps develop gluten, gives the dough elasticity, and ensures a uniform texture. You can knead the dough manually or continue using your Ninja Food Processor, depending on your preference and the recipe you are following. Here’s how to knead the dough:
- Prepare the Surface: Lightly flour a clean surface, such as a countertop or cutting board, to prevent the dough from sticking.
- Remove the Dough from the Processor: Carefully remove the dough from the bowl of your Ninja Food Processor and place it onto the floured surface.
- Knead by Hand: If you prefer to knead the dough manually, use the heels of your hands to gently push the dough away from you. Then fold it back in half and repeat the process. Continue kneading for about 5-10 minutes or until the dough becomes smooth and elastic.
- Continue Using the Food Processor: Alternatively, you can return the dough to the Ninja Food Processor fitted with the dough blade attachment. Process the dough for a few additional minutes until it becomes smooth and elastic.
- Shape the Dough: Once the dough is kneaded to the desired consistency, shape it into a ball or other appropriate shape according to your recipe. This will help it maintain its structure during the resting period.
Kneading the dough is an important step as it helps distribute the ingredients more evenly, activates the gluten, and improves the texture of the final product. Whether you choose to knead by hand or with the food processor, remember to monitor the dough’s texture and adjust as needed.
Now that the dough is kneaded, it’s time to let it rest before moving on to the next step.
Step 8: Let the Dough Rest
After kneading the dough, it’s important to let it rest. Allowing the dough to rest helps the gluten relax, making it easier to handle and shaping the dough. This resting period also allows the flavors to develop and enhances the texture of the final baked goods. Here’s how to let the dough rest:
- Preparing the Dough: Place the kneaded dough back into the bowl of your Ninja Food Processor or transfer it to a clean, lightly oiled bowl.
- Covering the Dough: Cover the bowl with a clean kitchen towel or plastic wrap to keep the dough moist and prevent it from drying out.
- Choosing the Resting Location: Find a warm and draft-free area in your kitchen where you can let the dough rest. Ideal locations include near a window with sunlight or on top of the refrigerator.
- Resting Time: The recommended resting time will depend on the specific dough recipe you are using. In general, most doughs benefit from a resting time of around 30 minutes to an hour. However, some recipes may require longer resting periods, up to several hours or even overnight.
During the resting period, the dough will rise slightly and become more pliable. This allows it to be shaped and manipulated easily. It also gives the yeast time to ferment and release carbon dioxide, resulting in a lighter and more flavorful end product.
While the dough is resting, take the opportunity to clean your Ninja Food Processor and prepare your workspace for the next steps of shaping and using the dough.
Once the resting time is complete, it’s time to move on to the final step and shape and use the dough for your desired recipe.
Read more: How To Use A Ninja Food Processor
Step 9: Shape and Use the Dough
After the dough has rested and developed its flavors, it’s time to shape and use it according to your recipe. The specific shaping techniques and uses will vary depending on the type of dough you have prepared. Here’s how to shape and use the dough:
- Dust the Surface: Sprinkle some flour on a clean surface to prevent the dough from sticking.
- Transfer the Dough: Gently remove the dough from the bowl or container where it was resting and place it onto the floured surface.
- Select the Shape: Depending on your recipe, decide whether you want to shape the dough into loaves, rolls, rounds, or any other desired shape. Follow the instructions provided in your specific recipe.
- Shape the Dough: Use your hands or specialized tools to shape the dough. This could involve folding, rolling, or twisting the dough to achieve the desired shape and texture.
- Place the Dough: Once the dough is shaped, transfer it to a baking dish, sheet pan, or any other appropriate container based on your recipe instructions.
- Final Proofing: Some doughs may require a final proofing stage where the shaped dough is allowed to rise again before baking. Follow the recipe instructions carefully to determine if this step is necessary.
- Baking the Dough: Preheat your oven according to the recipe instructions and then bake the dough until it is golden brown and cooked through. The baking time will vary depending on the type of dough and the desired doneness.
Remember to pay attention to the recipe instructions for specific shaping techniques, baking temperatures, and times. Additionally, be creative and have fun with the shaping process, as it can add a personal touch to your baked goods.
Once the dough is shaped and baked, allow it to cool before enjoying the delicious results of your homemade dough made with the Ninja Food Processor.
Congratulations! You have successfully made dough using your Ninja Food Processor. Now, it’s time to reap the rewards and indulge in your freshly baked creations.
Conclusion
Making dough from scratch using a Ninja Food Processor can be a rewarding and satisfying experience. With the right ingredients and techniques, you can create homemade dough that is fresh, flavorful, and precisely tailored to your liking. The versatility and power of the Ninja Food Processor make it a valuable tool in the dough-making process.
In this article, we walked you through the step-by-step process of making dough using a Ninja Food Processor. From gathering the ingredients to shaping and using the dough, each step was carefully explained to help you achieve the best results.
Remember to follow the instructions provided in your specific dough recipe, as certain doughs may require additional steps or variations. It’s also important to pay attention to the consistency of the dough, making adjustments with flour or liquid as needed to achieve the desired texture.
Whether you’re making pizza dough, bread dough, or pastry dough, the Ninja Food Processor can be your trusted partner in the kitchen. With its ability to knead, mix, and process ingredients, it makes the dough-making process efficient and enjoyable.
So, the next time you’re craving homemade baked goods or want to impress your friends and family with your culinary skills, don’t hesitate to use your Ninja Food Processor to make dough from scratch. With a little practice and experimentation, you’ll soon be creating delicious homemade dough that will rival any store-bought counterpart.
Now, go ahead and unleash your creativity in the kitchen. Embrace the art of dough-making with your Ninja Food Processor and enjoy the pleasure of savoring freshly baked goodies made with your own hands.
Excited to master dough making with your Ninja Food Processor? Don't stop there! Discover our detailed reviews on the latest Ninja Food Processor models, perfect for any kitchen task. Prefer a more hands-on approach? Learn valuable techniques for dough making without a stand mixer, ensuring you're never left without fresh homemade treats. Dive into these articles to expand your culinary prowess and make your kitchen adventures even more rewarding!
Frequently Asked Questions about How To Make Dough In Ninja Food Processor
Was this page helpful?
At Storables.com, we guarantee accurate and reliable information. Our content, validated by Expert Board Contributors, is crafted following stringent Editorial Policies. We're committed to providing you with well-researched, expert-backed insights for all your informational needs.

How many cups of flour or pounds of dough can the ninja food processor handle at one time?