Articles
How To Make Garlic Paste In Food Processor
Modified: August 17, 2024
Learn how to make garlic paste in a food processor with this easy-to-follow guide. Find more informative articles on various cooking techniques.
(Many of the links in this article redirect to a specific reviewed product. Your purchase of these products through affiliate links helps to generate commission for Storables.com, at no extra cost. Learn more)
Introduction
Making garlic paste is an essential skill for any home cook. Fresh garlic adds a delicious flavor to dishes, and having garlic paste on hand can save you time in the kitchen. While you can mince garlic by hand using a knife and cutting board, using a food processor can make the process much quicker and easier.
In this article, we will guide you through the steps of making garlic paste using a food processor. Not only will this method save you time, but it will also ensure that the garlic is evenly processed into a smooth and consistent paste.
Whether you’re preparing garlic paste for a specific recipe or want to have it readily available in your fridge for future use, this guide will provide you with all the information you need to create the perfect garlic paste.
So without further ado, let’s dive into the process of making garlic paste in a food processor!
Key Takeaways:
- Making garlic paste in a food processor is a simple and efficient way to enhance the flavors of your dishes. Properly preparing the garlic cloves and processing them into a smooth paste ensures maximum flavor extraction and convenience in the kitchen.
- Storing homemade garlic paste in a sealed container in the refrigerator keeps it fresh and ready to use in future recipes. Having garlic paste readily available elevates the flavors of various dishes, from marinades to sauces, adding a burst of delicious and robust flavor.
Read more: How To Make Garlic Paste Without Blender
Step 1: Gather the ingredients
Before you start making garlic paste, it’s important to gather all the necessary ingredients. Fortunately, making garlic paste requires very few ingredients, making it a simple and straightforward process.
For this recipe, you will need:
- Fresh garlic cloves – Use as many cloves as you prefer, depending on your taste preferences and the quantity of garlic paste you wish to make. The quality and freshness of the garlic cloves will greatly impact the flavor of the paste, so it’s best to choose firm cloves with no signs of sprouting or softness.
That’s it! You don’t need any additional ingredients or seasonings as the focus here is solely on creating a simple and pure garlic paste.
Once you have gathered your fresh garlic cloves, you can move on to the next step of preparing them for processing.
Step 2: Prepare the garlic cloves
Preparing the garlic cloves is an essential step in making garlic paste. Properly preparing the cloves ensures that they are ready for processing and results in a smooth and consistent paste.
Here’s how to prepare the garlic cloves:
- Separate the cloves: Start by separating the individual cloves from the garlic bulb. Gently twist and pull them apart, being careful not to damage the cloves.
- Remove the skin: Place a clove on a cutting board and gently crush it using the flat side of a knife. This will loosen the skin, making it easier to remove. Peel off the skin and discard it.
- Trim the ends: Using a sharp knife, trim off the woody end of each garlic clove. This will help ensure that your garlic paste is smooth and free from any tough or bitter bits.
Repeat these steps for each garlic clove until all of them are prepared and ready to be processed.
Preparing the garlic cloves may seem like a simple task, but taking the time to properly prepare them will vastly improve the quality of your garlic paste.
Once the garlic cloves are prepared, it’s time to move on to the next step of setting up the food processor.
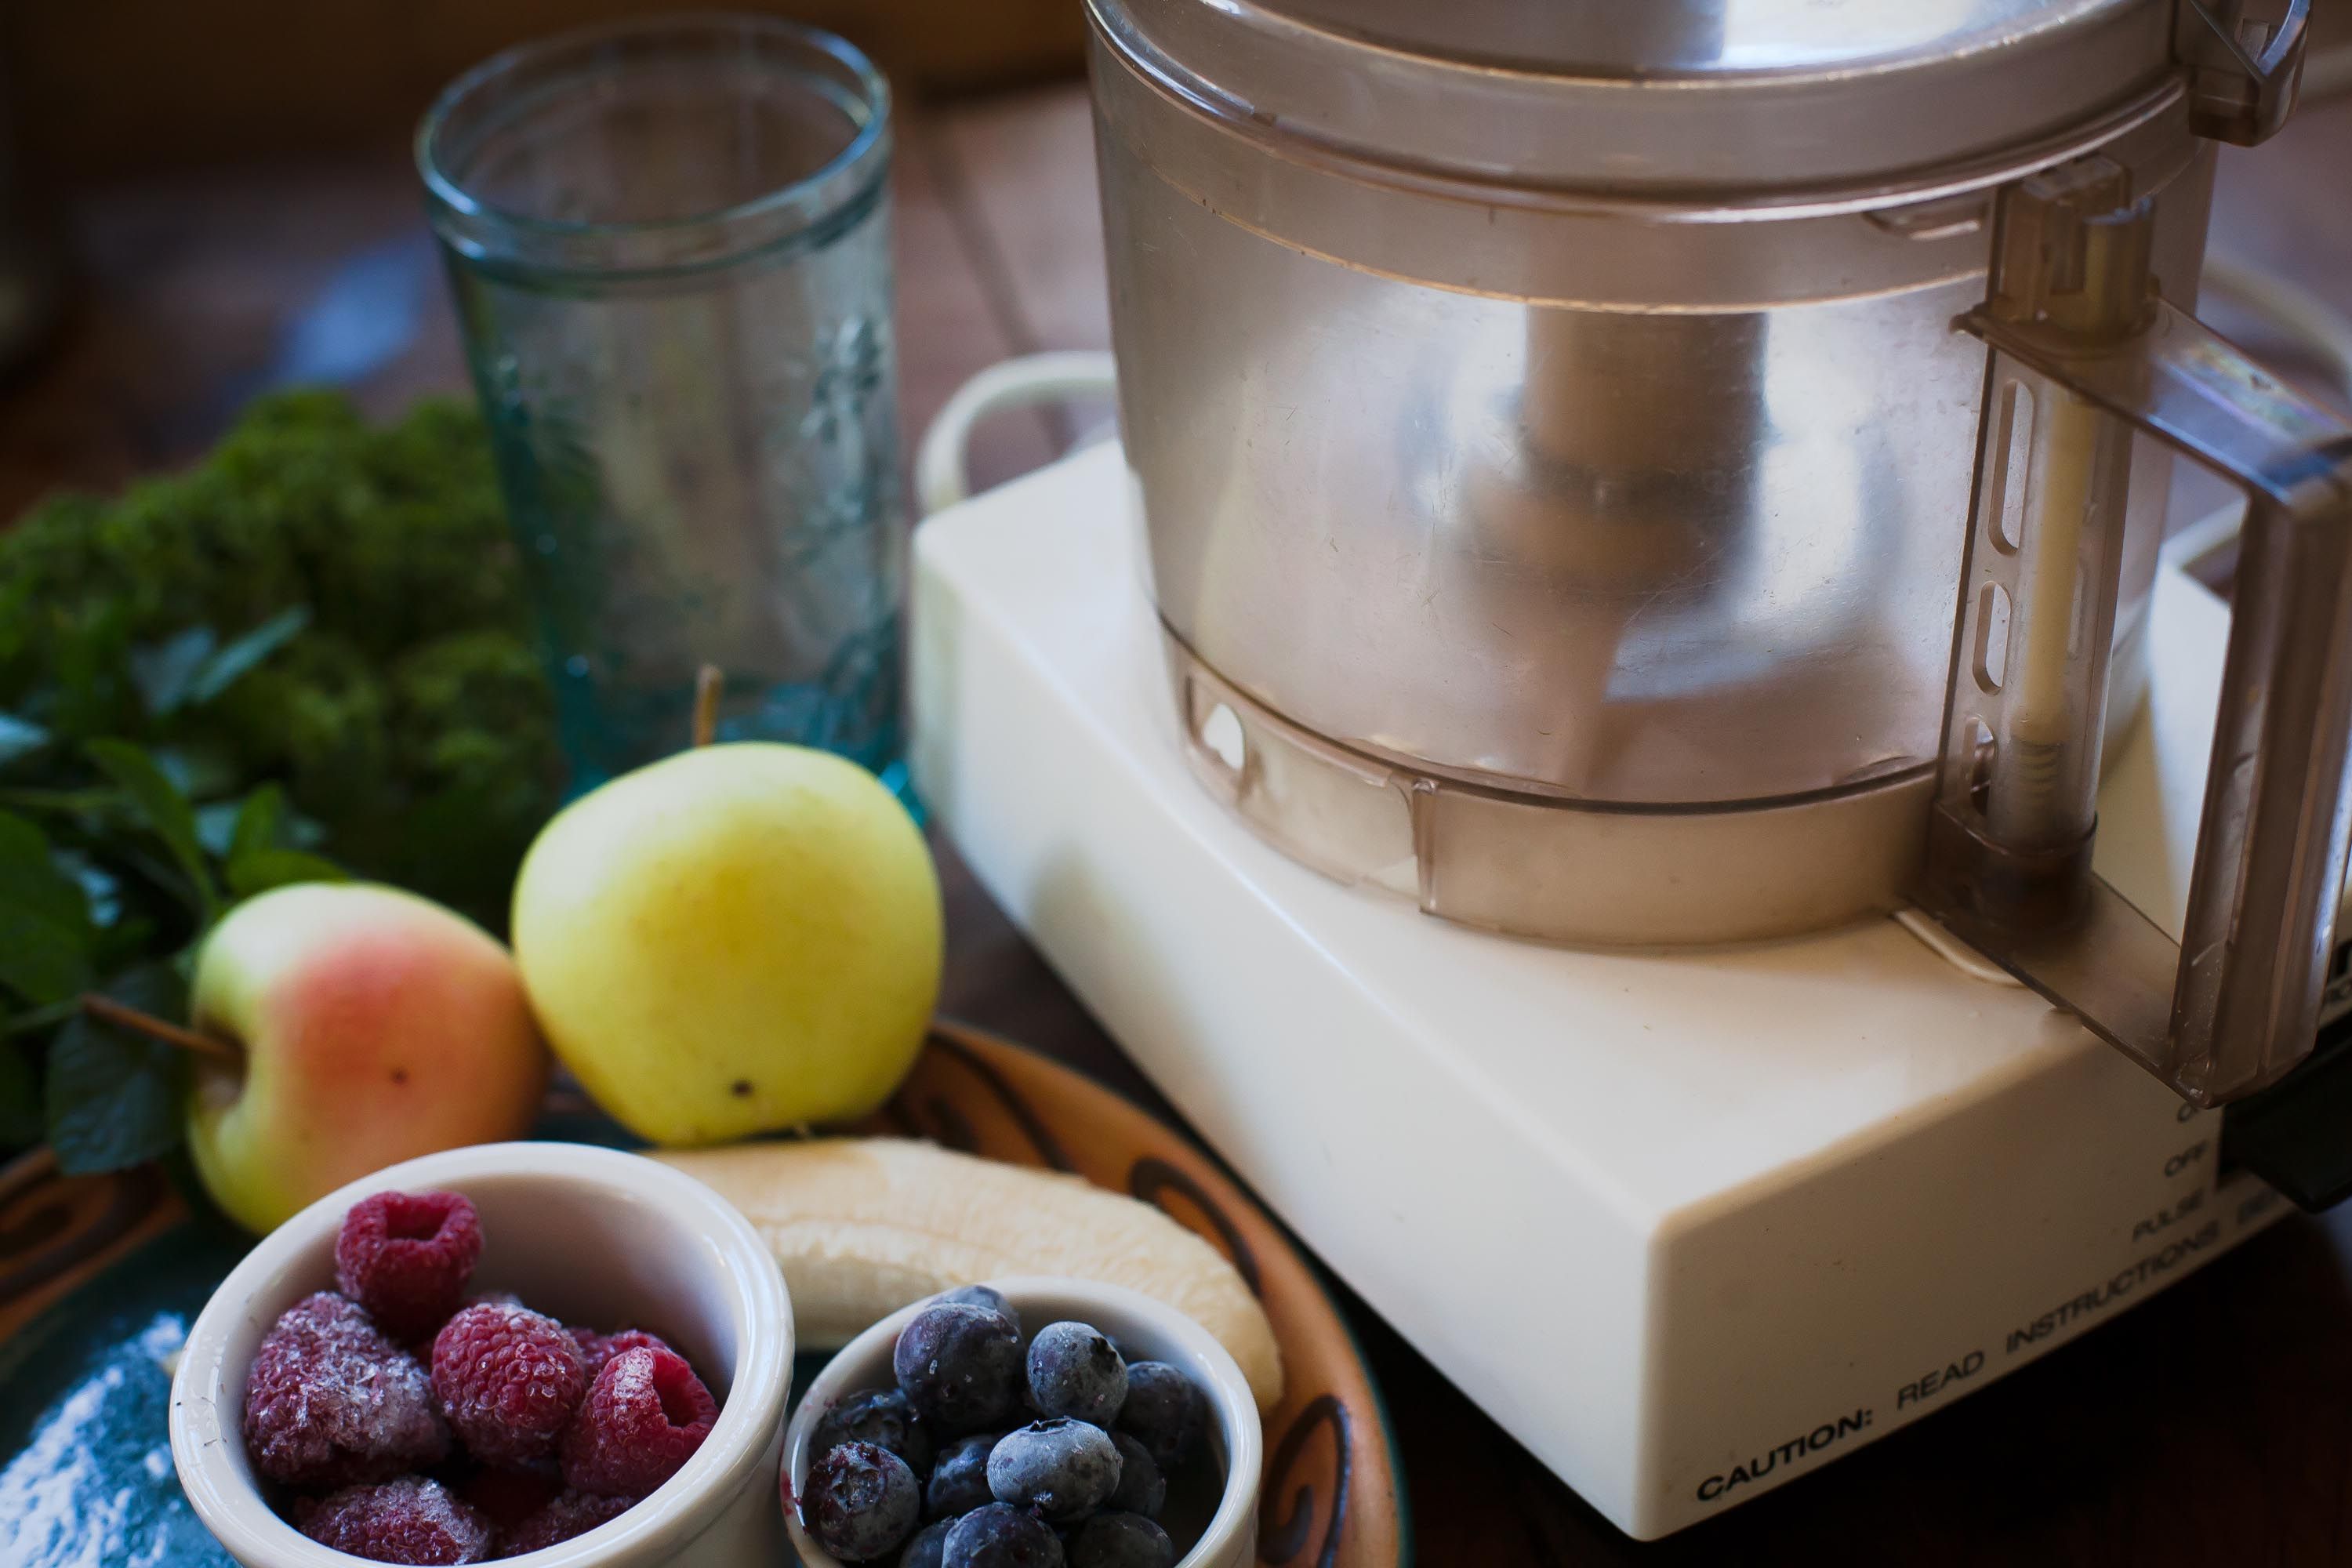
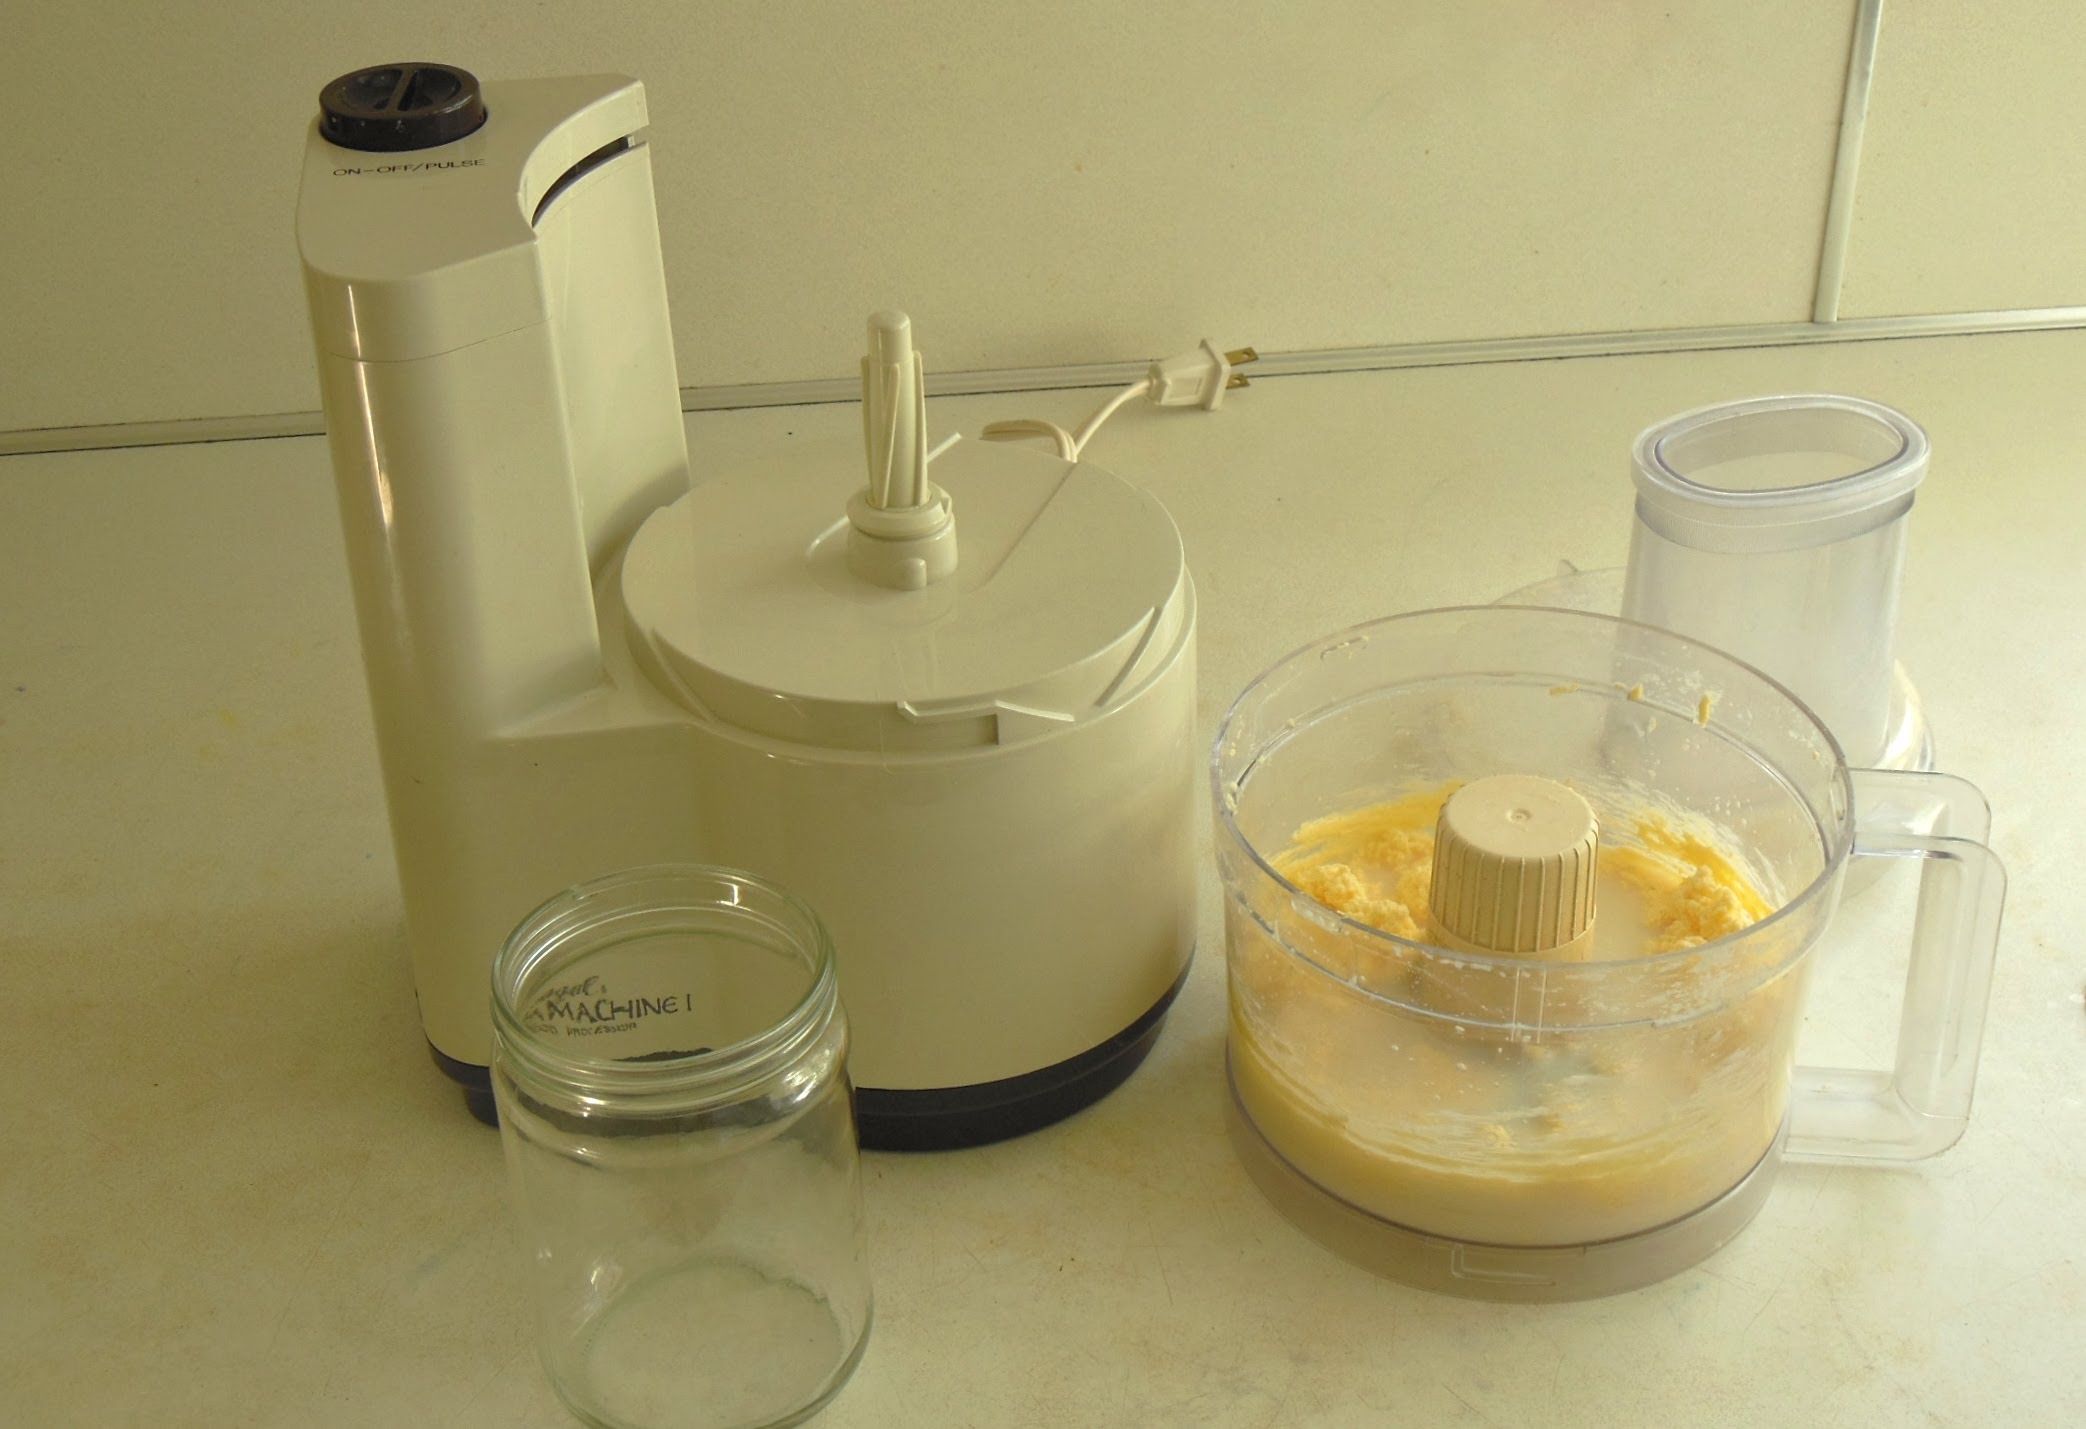
Step 3: Set up the food processor
Setting up your food processor properly is crucial for achieving the desired consistency and texture of the garlic paste. Follow these steps to ensure your food processor is ready to go:
- Clean the food processor: Make sure your food processor is clean and free from any residue or dirt. This will ensure that your garlic paste remains hygienic and uncontaminated.
- Assemble the food processor: If your food processor comes with interchangeable parts, make sure to assemble it according to the manufacturer’s instructions. This typically involves attaching the blade or grinding attachment to the base of the food processor.
- Secure the lid: Place the lid securely on top of the food processor. It’s important to ensure that it fits tightly and locks into place. This will prevent any accidents or splatters during the processing.
- Place the food processor on a stable surface: Select a stable surface in your kitchen, such as a countertop, and place the food processor on it. This will provide a sturdy base and prevent any unnecessary movement or vibration during the processing.
By properly setting up your food processor, you’ll create an ideal environment for processing the garlic cloves into a smooth paste.
Now that your food processor is ready, it’s time to move on to the exciting part – adding the garlic cloves!
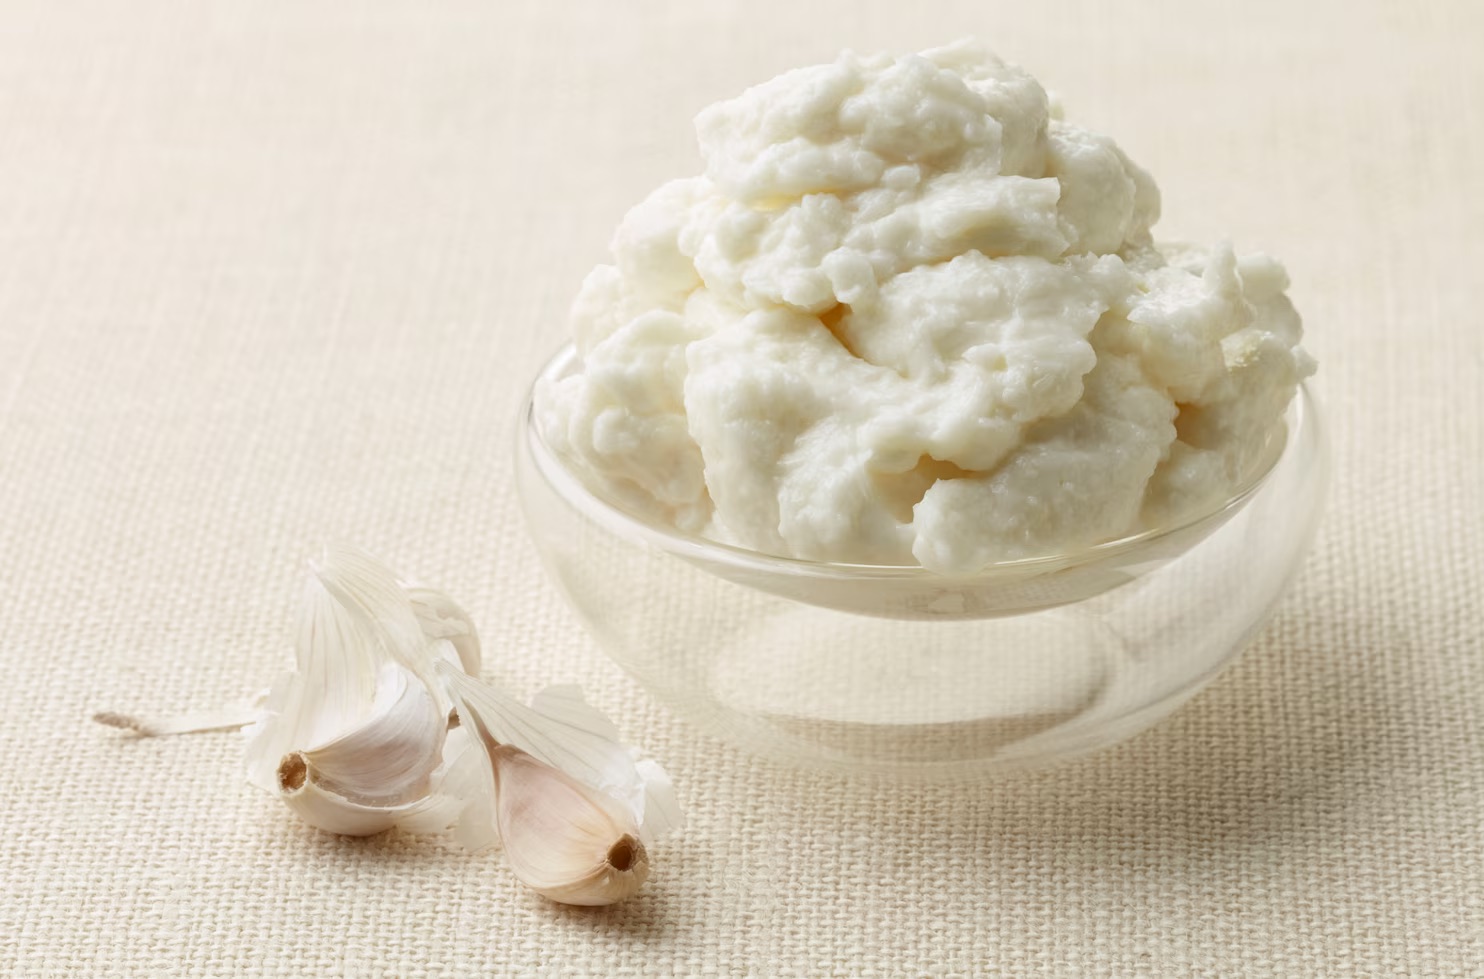
To make garlic paste in a food processor, peel the garlic cloves and add them to the processor with a pinch of salt. Pulse until finely chopped, then scrape down the sides and blend until a smooth paste forms.
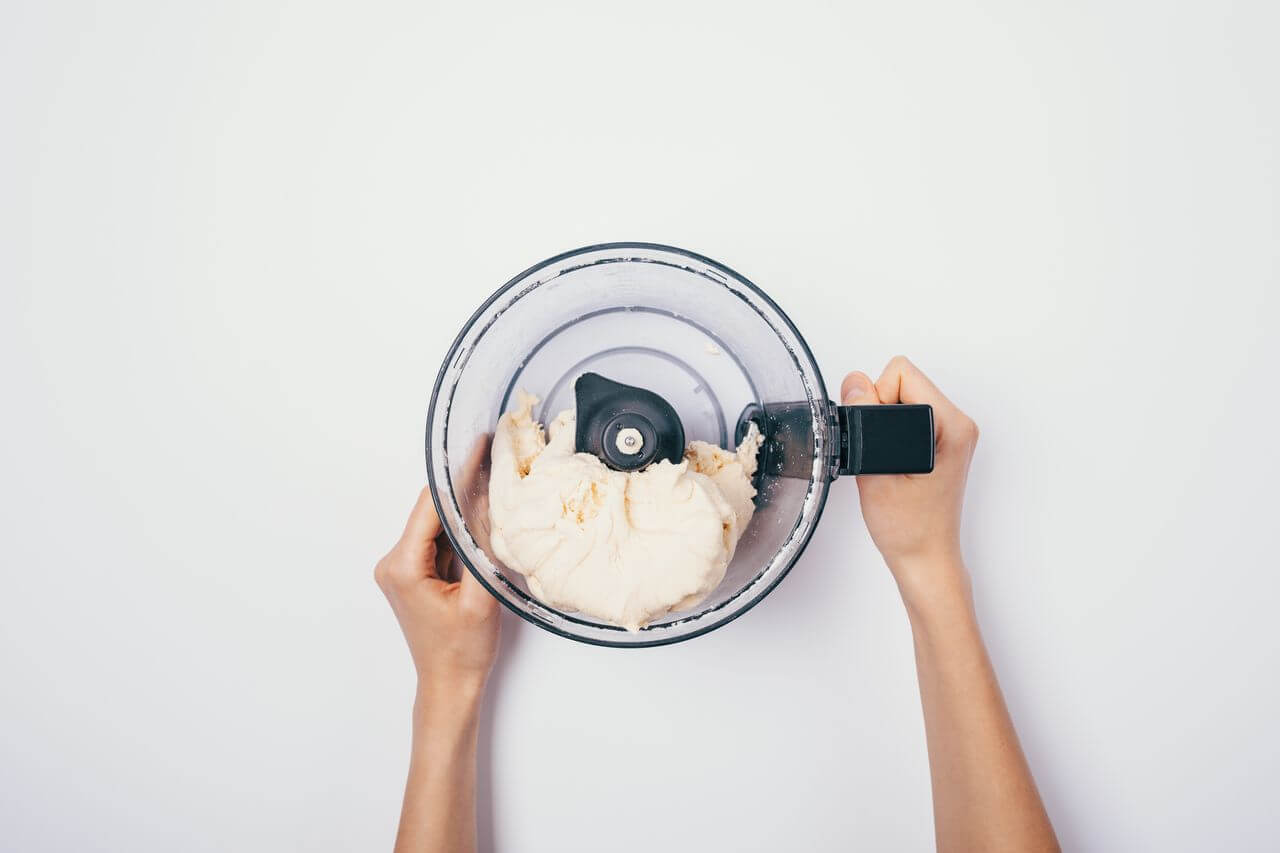
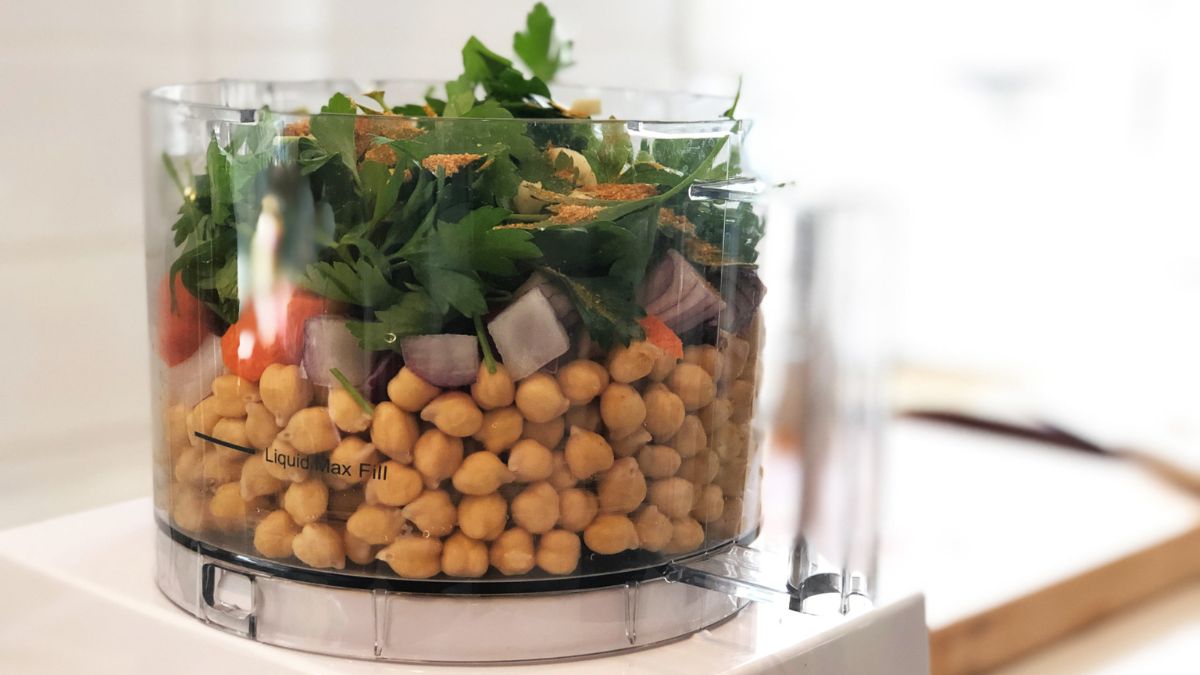
Step 4: Add the garlic cloves to the food processor
With your food processor set up and ready, it’s time to add the prepared garlic cloves for processing. Follow these steps to ensure your garlic cloves are added properly:
- Open the lid of the food processor: Carefully remove the lid of the food processor, making sure to do so safely and without spilling any contents.
- Add the garlic cloves: Place the prepared garlic cloves into the bowl of the food processor. Make sure to distribute them evenly within the bowl, spreading them out for more consistent processing.
Remember, you can adjust the quantity of garlic cloves based on your personal preference and the amount of garlic paste you wish to make. However, it’s always good to start with a moderate amount and taste the final result before deciding if you need to add more garlic cloves.
Once the garlic cloves are added, it’s time to move on to the next step of processing them into a smooth and flavorful paste.
Before you proceed, ensure that the lid of the food processor is securely closed, so you don’t encounter any issues during the processing.
Read more: How To Make Pesto Without A Food Processor
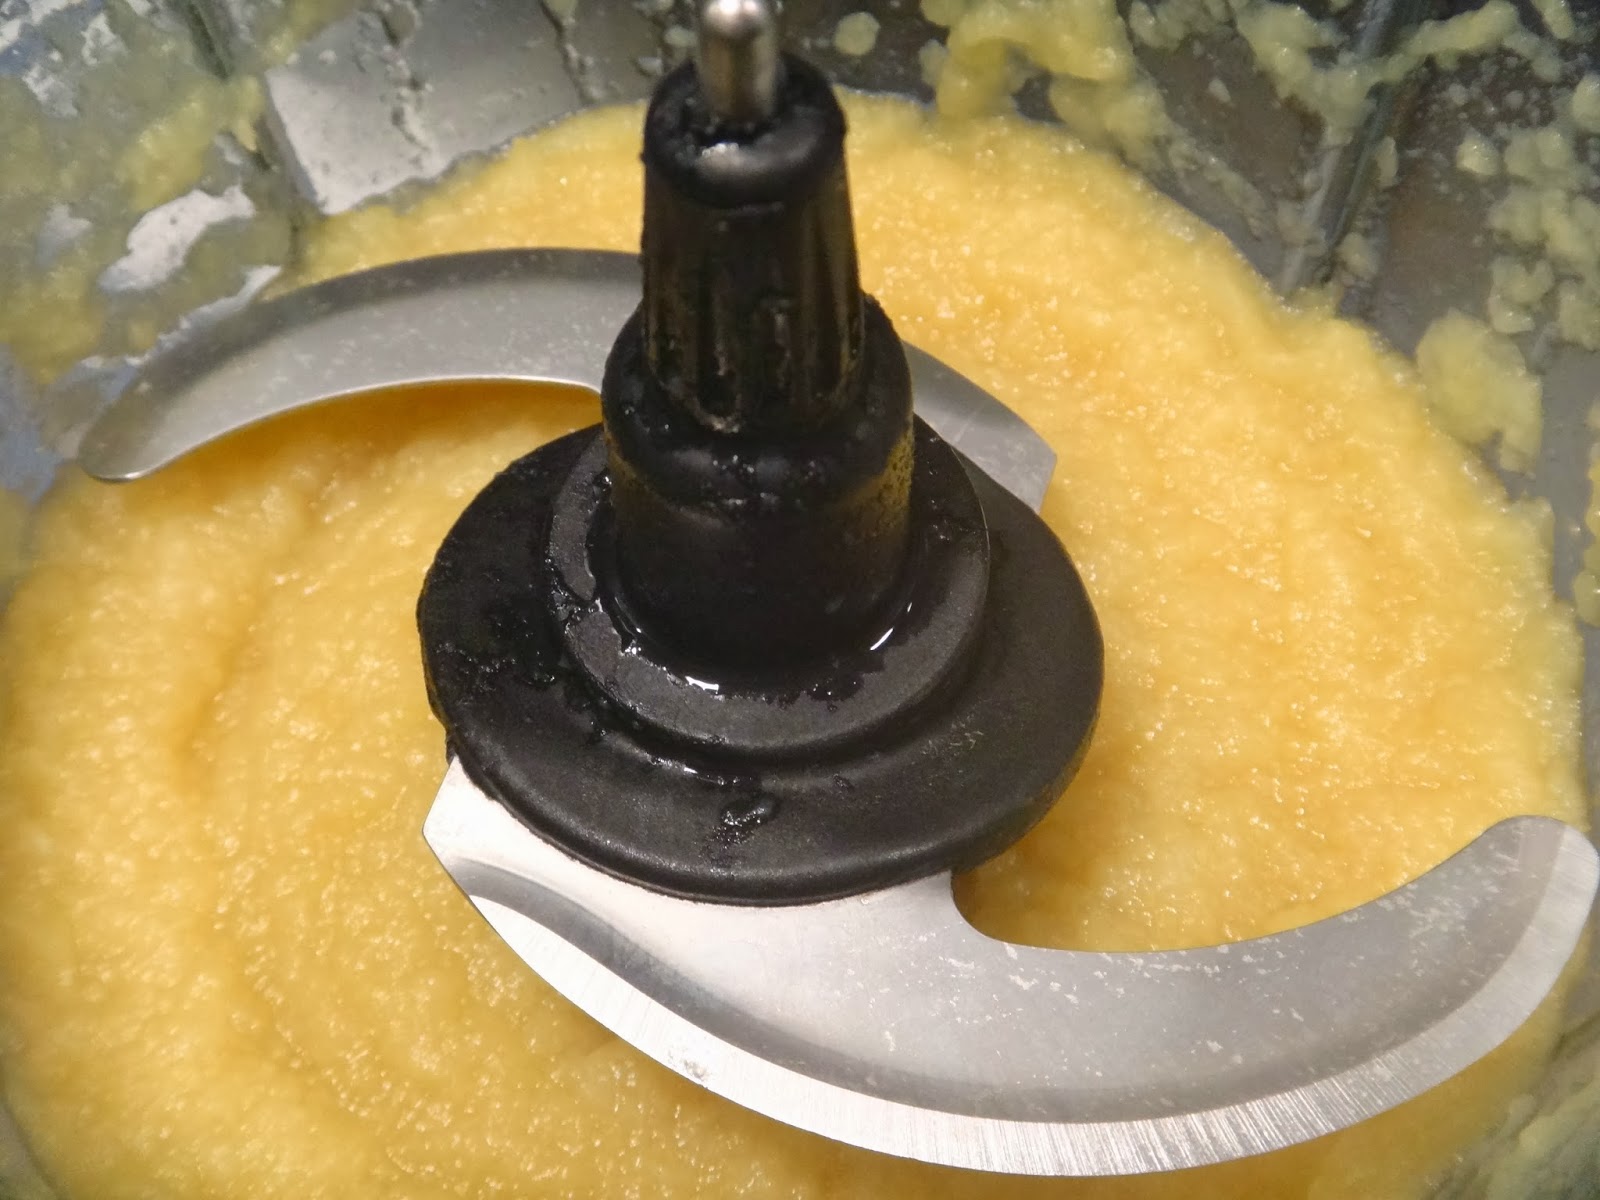
Step 5: Process the garlic cloves into a paste
Now that the garlic cloves are added to the food processor, it’s time to transform them into a smooth and flavorful garlic paste. Follow these steps to process the cloves:
- Close the lid of the food processor: Ensure that the lid of the food processor is tightly closed and securely in place. This will prevent any splatters or accidents during the processing.
- Start the food processor: Turn on the food processor and let it run for a few seconds to begin the processing. You’ll notice the garlic cloves being chopped and gradually transforming into a paste.
- Scrape down the sides: After a few seconds, stop the food processor and scrape down the sides of the bowl using a spatula. This will help ensure that all the garlic cloves are evenly processed.
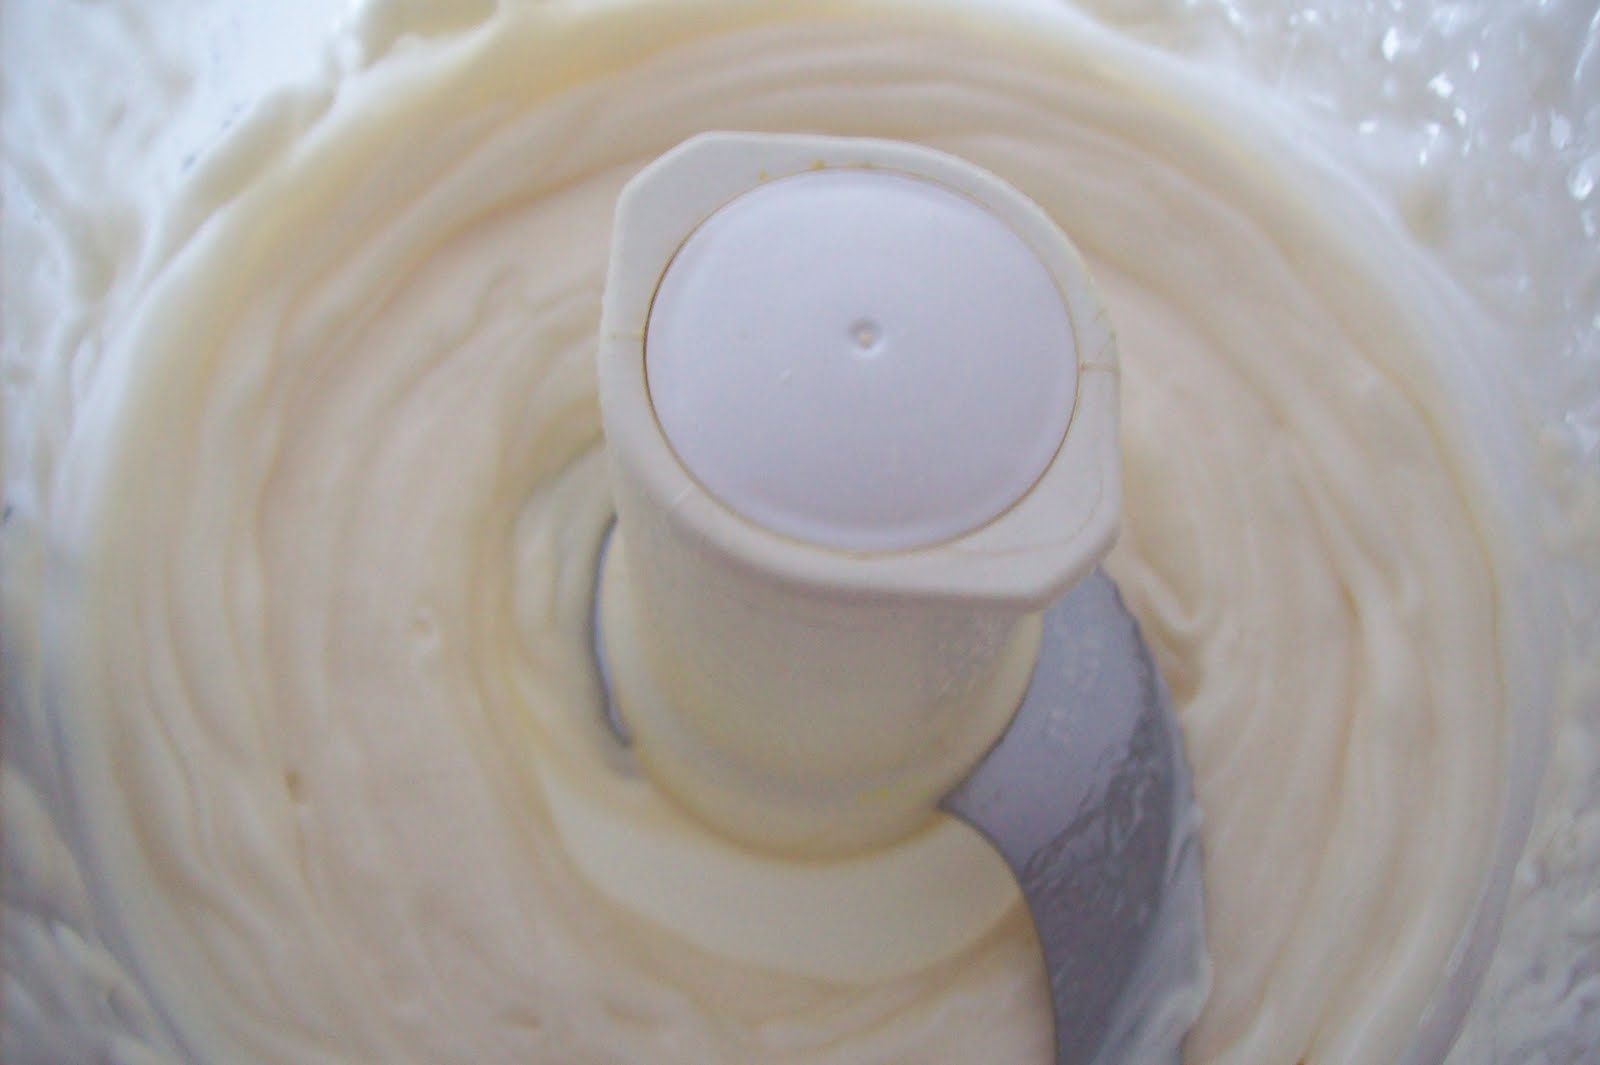
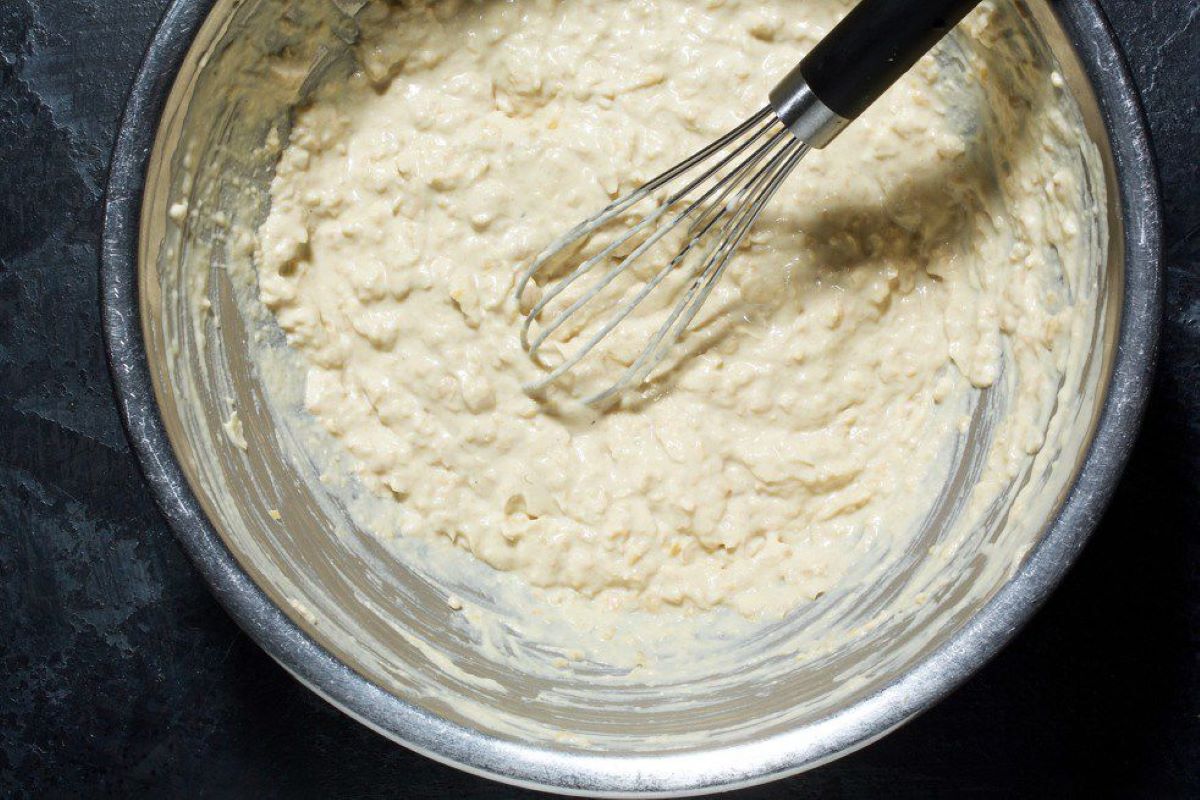
- Continue processing: Turn on the food processor again and let it run for an additional 20-30 seconds, or until the garlic cloves have been processed into a smooth and consistent paste. You can adjust the processing time based on your desired texture, whether you prefer a chunkier or smoother paste.
It’s important to note that processing times may vary depending on the power and efficiency of your food processor. Keep an eye on the consistency and texture of the garlic paste as you process it, making sure it reaches your desired level of smoothness.
Once the garlic cloves have been processed into a paste, your garlic paste is ready to be stored or used immediately in your favorite recipes.
Now, let’s move on to the final step of storing the garlic paste properly.
Step 6: Store the garlic paste
Now that you have successfully made garlic paste using your food processor, it’s time to store it properly for future use. Follow these steps to ensure your garlic paste stays fresh and flavorful:
- Transfer the garlic paste: Carefully remove the blade attachment from the food processor. Using a spatula, transfer the garlic paste from the food processor bowl into a clean and airtight container.
- Seal the container: Make sure the container is tightly sealed to prevent air and moisture from entering. This will help preserve the freshness and flavor of the garlic paste.
- Label and date the container: To keep track of the freshness of your garlic paste, label the container with the date of preparation. This will help you know when it’s time to use it or if it needs to be discarded.
- Store in the refrigerator: Place the container of garlic paste in the refrigerator. The cool temperature will extend the shelf life of the paste and prevent any potential spoilage.
Garlic paste can typically be stored in the refrigerator for up to two weeks. However, its flavor and potency may diminish over time, so it’s best to use it as soon as possible for the best results.
Having garlic paste readily available in your fridge can be incredibly convenient for adding flavor to various dishes. Whether you’re making marinades, sauces, or seasoning your favorite recipes, having homemade garlic paste on hand can elevate the flavor of your dishes.
So, congratulations on making your very own garlic paste! Now you can enjoy the convenience of having this flavorful ingredient at your fingertips whenever you need it.
Before we conclude, let’s summarize the steps once again:
- Gather the ingredients
- Prepare the garlic cloves
- Set up the food processor
- Add the garlic cloves to the food processor
- Process the garlic cloves into a paste
- Store the garlic paste
By following these simple steps, you can create delicious and homemade garlic paste that will enhance the flavors of your culinary creations.
Now, it’s time to get creative in the kitchen and enjoy the wonderful flavors of garlic!
Conclusion
Making garlic paste in a food processor is a simple and efficient way to incorporate the bold and aromatic flavors of garlic into your cooking. By following the steps outlined in this guide, you can easily create your own homemade garlic paste that will add a burst of flavor to your dishes.
Gathering fresh garlic cloves and properly preparing them is the first step in creating a smooth and flavorful garlic paste. Setting up your food processor correctly ensures that the processing is efficient and results in a consistent paste.
Adding the garlic cloves to the food processor and processing them until they form a smooth paste allows for maximum flavor extraction. Scrape down the sides of the bowl as needed to ensure all the cloves are evenly processed.
Storing the garlic paste in a sealed container in the refrigerator keeps it fresh and ready to use in future recipes. Be sure to label the container with the date of preparation to ensure proper usage.
Having garlic paste on hand not only saves you time in the kitchen, but it also elevates the flavors of your dishes. From marinades to sauces, stews to stir-fries, garlic paste adds a delicious and robust flavor that your taste buds will love.
So, don’t hesitate to whip up a batch of homemade garlic paste using your food processor. Once you taste the difference it makes in your dishes, you’ll never want to be without it again.
Now, it’s time for you to put your newfound knowledge to use and start creating delicious meals with the help of your homemade garlic paste. Enjoy the wonderful flavors and the culinary delights that await you!
Frequently Asked Questions about How To Make Garlic Paste In Food Processor
Was this page helpful?
At Storables.com, we guarantee accurate and reliable information. Our content, validated by Expert Board Contributors, is crafted following stringent Editorial Policies. We're committed to providing you with well-researched, expert-backed insights for all your informational needs.

0 thoughts on “How To Make Garlic Paste In Food Processor”