Home>Articles>How To Take Apart Cuisinart Food Processor Lid
Articles
How To Take Apart Cuisinart Food Processor Lid
Modified: August 23, 2024
Learn step-by-step instructions on how to dismantle your Cuisinart food processor lid with our informative articles. Find helpful tips and tricks for a smoother disassembly process.
(Many of the links in this article redirect to a specific reviewed product. Your purchase of these products through affiliate links helps to generate commission for Storables.com, at no extra cost. Learn more)
Introduction
Welcome to this step-by-step guide on how to take apart the lid of your Cuisinart food processor. Whether you need to clean the lid or replace a faulty component, knowing how to disassemble it properly is essential. By following these instructions, you’ll be able to remove the lid safely and efficiently.
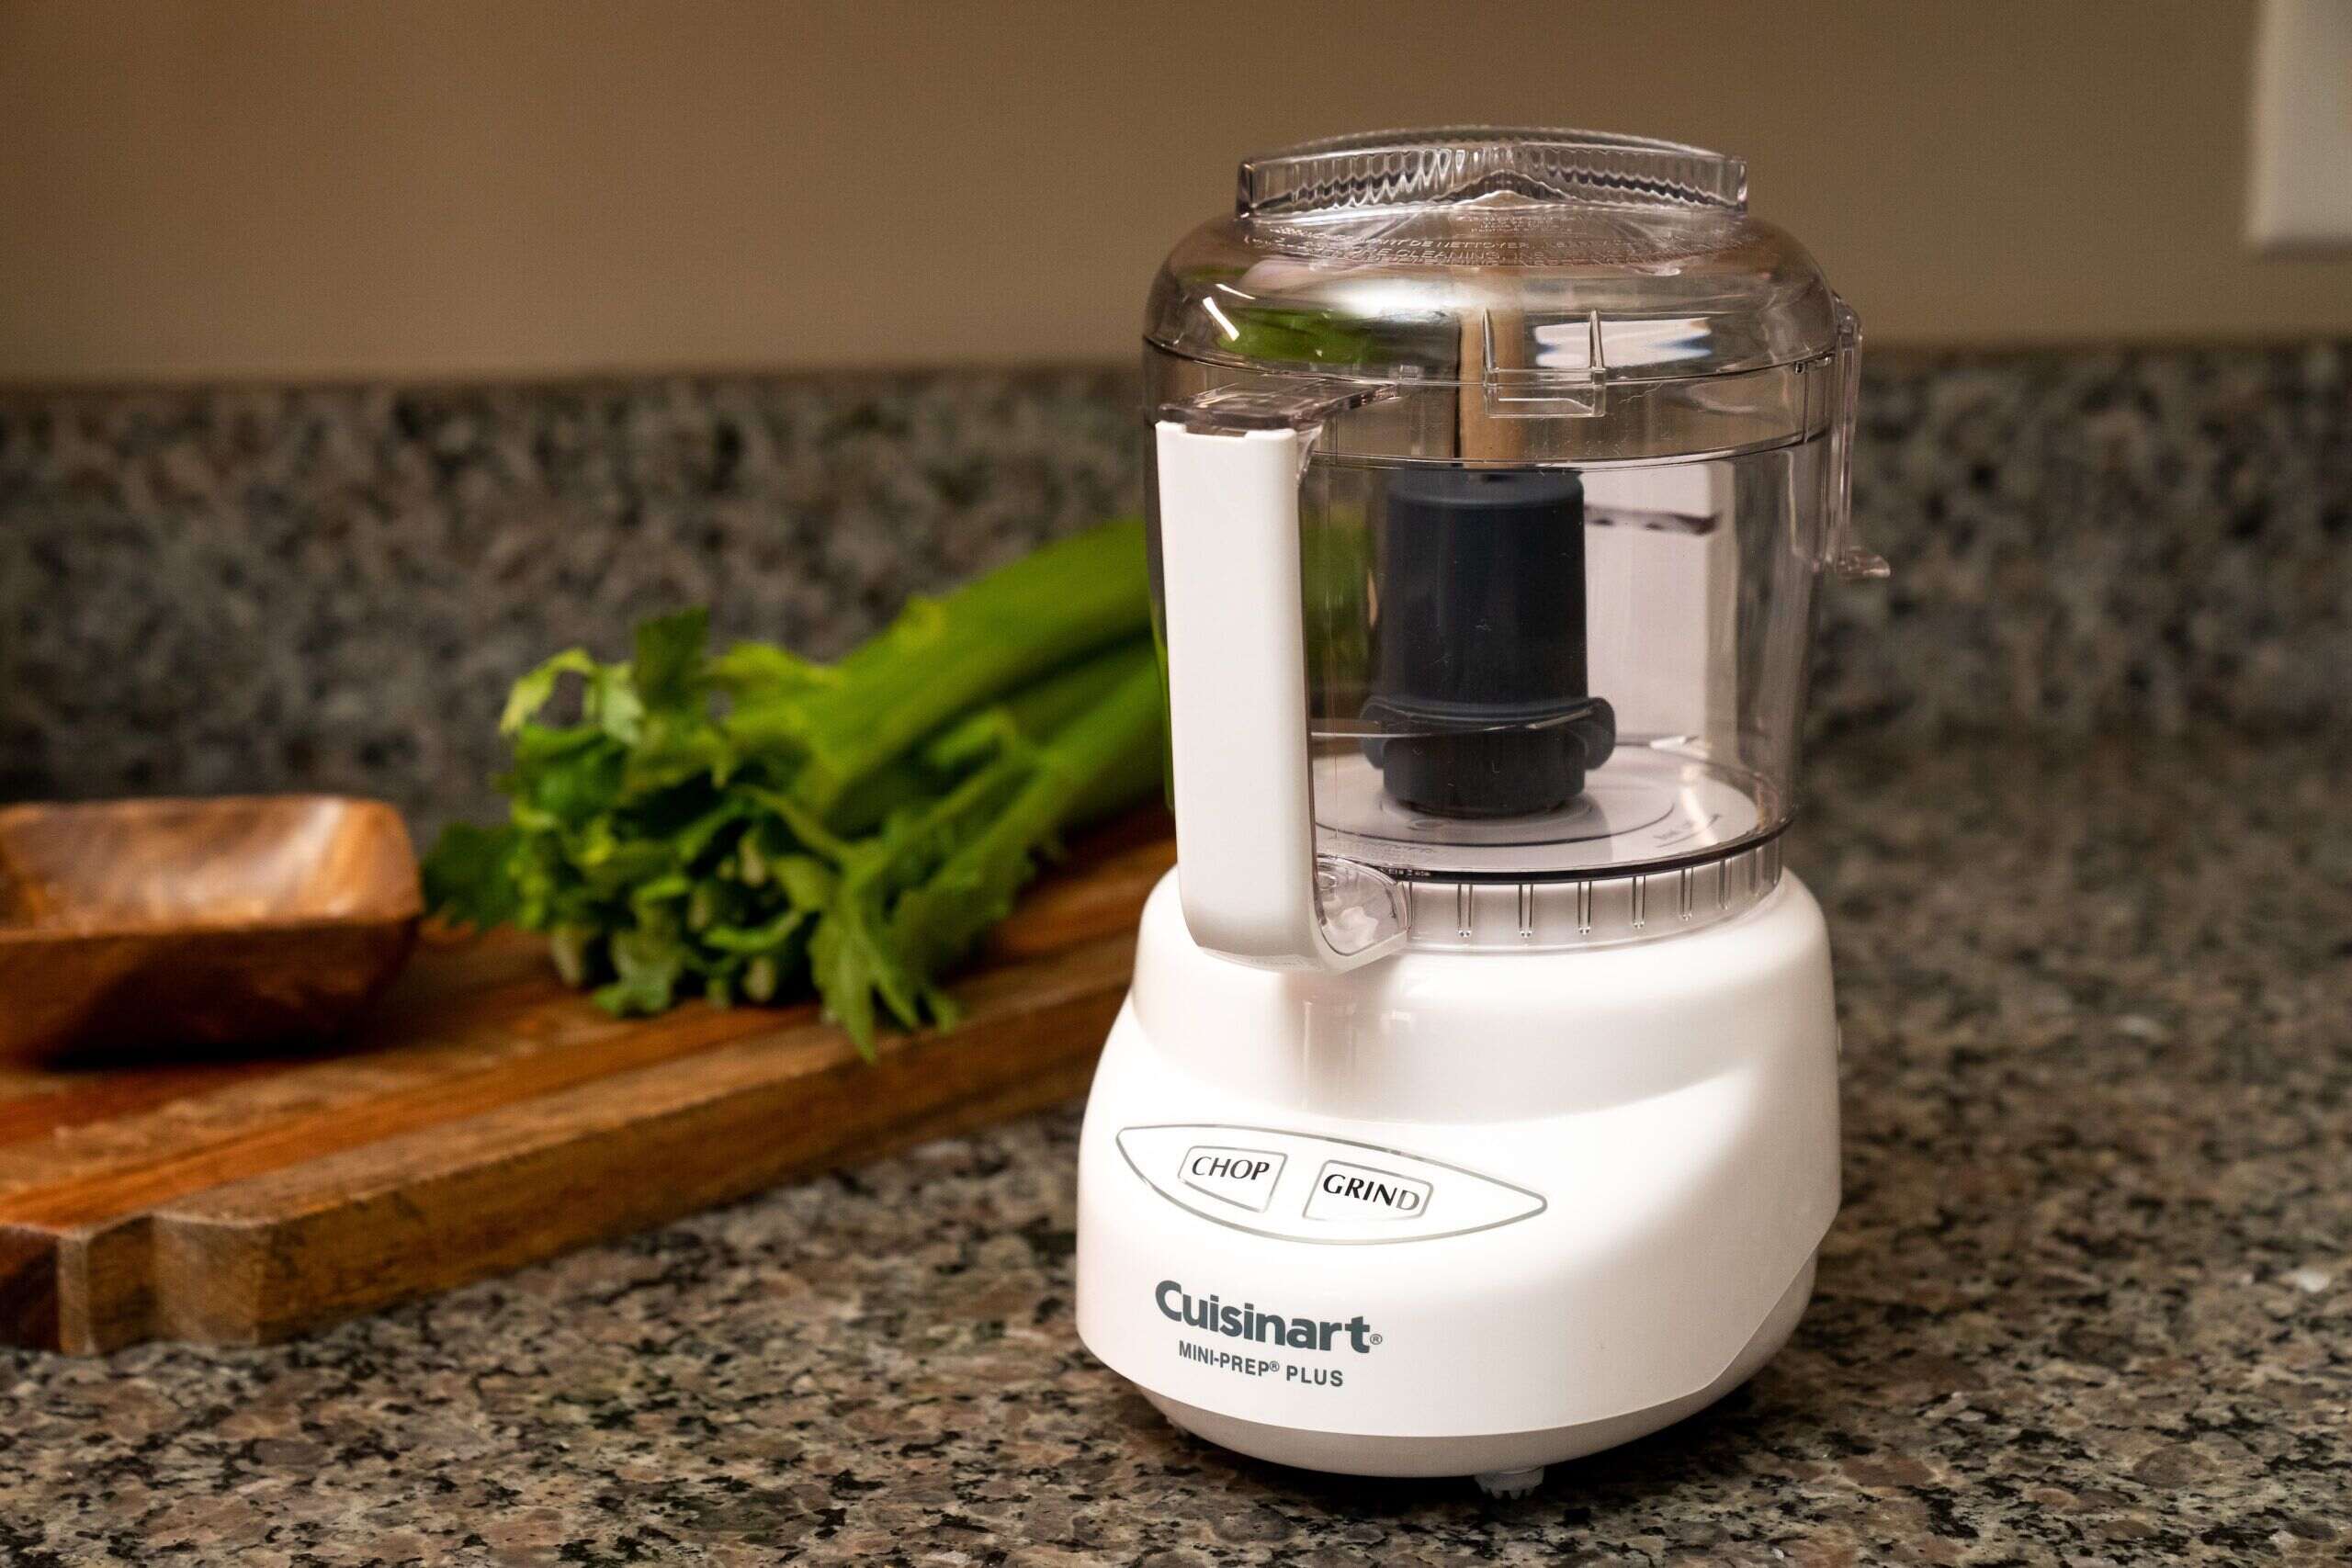
A Cuisinart food processor is a versatile appliance that can handle a variety of tasks in the kitchen, from chopping and slicing to shredding and mixing. The lid is an integral part of the food processor, providing a secure cover for the work bowl as well as housing the necessary components for operation.
Before you begin, it’s important to note that you should always unplug the food processor before attempting any maintenance or disassembly. Safety should always be a priority when working with electrical appliances.
In this guide, we’ll walk you through the step-by-step process of taking apart the Cuisinart food processor lid. We’ll also provide tips on cleaning the components and reassembling the lid so that you can get back to using your food processor in no time.
So, let’s gather the necessary tools and get started on disassembling the Cuisinart food processor lid!
Key Takeaways:
- Properly disassembling and cleaning the lid of your Cuisinart food processor is essential for maintaining a hygienic and efficient appliance. By following the step-by-step guide, you can confidently ensure a clean and properly functioning food processor for all your cooking needs.
- Prioritizing safety by unplugging the food processor and using the recommended tools for cleaning will help you effectively remove any food debris or residue that may have accumulated over time. Reassembling the lid components carefully and locking the lid is crucial for safe operation, ensuring the optimal functionality and longevity of your Cuisinart food processor.
Read more: How To Operate A Cuisinart Food Processor
Tools Required
Before you begin disassembling the Cuisinart food processor lid, gather the following tools:
- Flathead screwdriver
- Small cleaning brush or toothbrush
- Mild dish soap
- Warm water
- Soft cloth or sponge
The flathead screwdriver will be used to help unlock and remove certain components of the lid. Ensure that you have a screwdriver that fits securely and doesn’t damage the lid or any of its parts.
A small cleaning brush or toothbrush will come in handy when cleaning the hard-to-reach areas of the lid. It will help remove any stubborn food particles or residue that may have accumulated over time.
Mild dish soap and warm water will be used to clean the lid components. Avoid using harsh or abrasive cleaning agents, as they can damage the lid’s plastic parts. Stick to a gentle dish soap that won’t leave behind any strong smells or residue.
Lastly, a soft cloth or sponge is needed for wiping down the lid components after cleaning. Choose a non-abrasive cloth or sponge to prevent scratching the lid’s surface.
With these tools on hand, you’ll be well-prepared to tackle the disassembly and cleaning process of your Cuisinart food processor lid.
Step 1: Unplug the Food Processor
Before starting any work on your Cuisinart food processor lid, it’s crucial to ensure your safety by unplugging the appliance from the power source. This step will prevent any accidental activation of the food processor while you are handling the lid, reducing the risk of injury.
Locate the power cord at the back of the food processor base and disconnect it from the electrical outlet. Give the appliance a few minutes to cool down before proceeding with the disassembly process.
Once the food processor is unplugged, verify that the power switch is in the “Off” position. This will provide an extra layer of safety and prevent the lid from accidentally locking or releasing any moving parts while you are working on it.
By disconnecting the appliance from the power source, you can confidently focus on disassembling the lid without any concern for its operation.
Remember, safety should always be the top priority when working with electrical appliances. Take the extra precaution of unplugging the food processor to ensure a risk-free disassembly process.
Step 2: Remove the Pusher Assembly
Before you can begin to disassemble the lid of your Cuisinart food processor, you’ll need to remove the pusher assembly. The pusher assembly is the component that fits into the feed tube and helps guide the ingredients into the work bowl.
Start by locating the feed tube at the top of the lid. Depending on the model of your Cuisinart food processor, the feed tube may have a single or dual opening design.
If your food processor has a single feed tube opening, gently lift the pusher assembly straight up and out of the feed tube. In some models, the pusher assembly may have a locking mechanism that you need to release before removal. Refer to the user manual for your specific model if you encounter any difficulty removing the pusher assembly.
For food processors with a dual feed tube opening, there may be separate pusher assemblies for each side. Remove both pusher assemblies by lifting them up and out of the respective feed tube openings.
Once you have successfully removed the pusher assembly or assemblies, set them aside in a safe place. This will allow you to have better access to the lid components during the disassembly process.
Removing the pusher assembly is a crucial step that will make it easier to handle the lid and disassemble its components. With the pusher assembly out of the way, you can move on to the next step of unlocking the lid itself.
Step 3: Unlock the Lid
After removing the pusher assembly, it’s time to unlock the lid of your Cuisinart food processor. The lid is designed to lock securely onto the work bowl, ensuring safe and efficient operation of the appliance. Unlocking the lid will allow you to remove it from the work bowl and proceed with the disassembly process.
Start by locating the locking mechanism on the lid. This can vary depending on the specific model of your Cuisinart food processor. Common locking mechanisms include a twist-lock, slide-lock, or latch-lock design.
If your lid has a twist-lock mechanism, grip the lid firmly and rotate it counterclockwise to unlock it from the work bowl. Rotate the lid until it stops moving and remains in the unlocked position.
For lids with a slide-lock mechanism, look for a release button or lever on the side of the lid. Press the release button or slide the lever to the unlocked position. This will disengage the lock and allow you to remove the lid from the work bowl.
If your lid has a latch-lock mechanism, locate the latch or tab on the lid. Push or slide the latch or tab in the direction indicated to unlock the lid. Once the latch is released, you can lift the lid off the work bowl.
Once the lid is unlocked, gently lift it straight up and away from the work bowl. Take care not to apply excessive force or twist the lid, as this may damage the locking mechanism or the lid itself.
By unlocking the lid, you have gained access to the inner components of the lid for disassembly and cleaning. With the lid removed, you can proceed to the next step of removing the lid from the work bowl.
Step 4: Remove the Lid from the Work Bowl
Now that the lid of your Cuisinart food processor is unlocked, it’s time to remove it from the work bowl. The work bowl is the main container where you place the ingredients for processing.
To remove the lid from the work bowl, hold it firmly by the handle or the sides, and lift it straight up. The lid is designed to fit snugly onto the work bowl, so it may require a bit of gentle force to detach it.
As you lift the lid, be mindful of any attachments or accessories that may be attached to it, such as a disc or blade. These components should lift out of the work bowl along with the lid.
If you encounter any resistance while trying to remove the lid, check that the locking mechanism is fully disengaged. Ensure that you have followed the unlocking instructions from the previous step correctly.
Once the lid has been lifted off the work bowl, set it aside in a safe and clean area. Take note of any components or attachments that came off with the lid, as these will need to be disassembled and cleaned separately.
Removing the lid from the work bowl allows you to access the individual components of the lid for thorough cleaning and maintenance. With the lid removed, you can move on to the next step of disassembling the lid components.
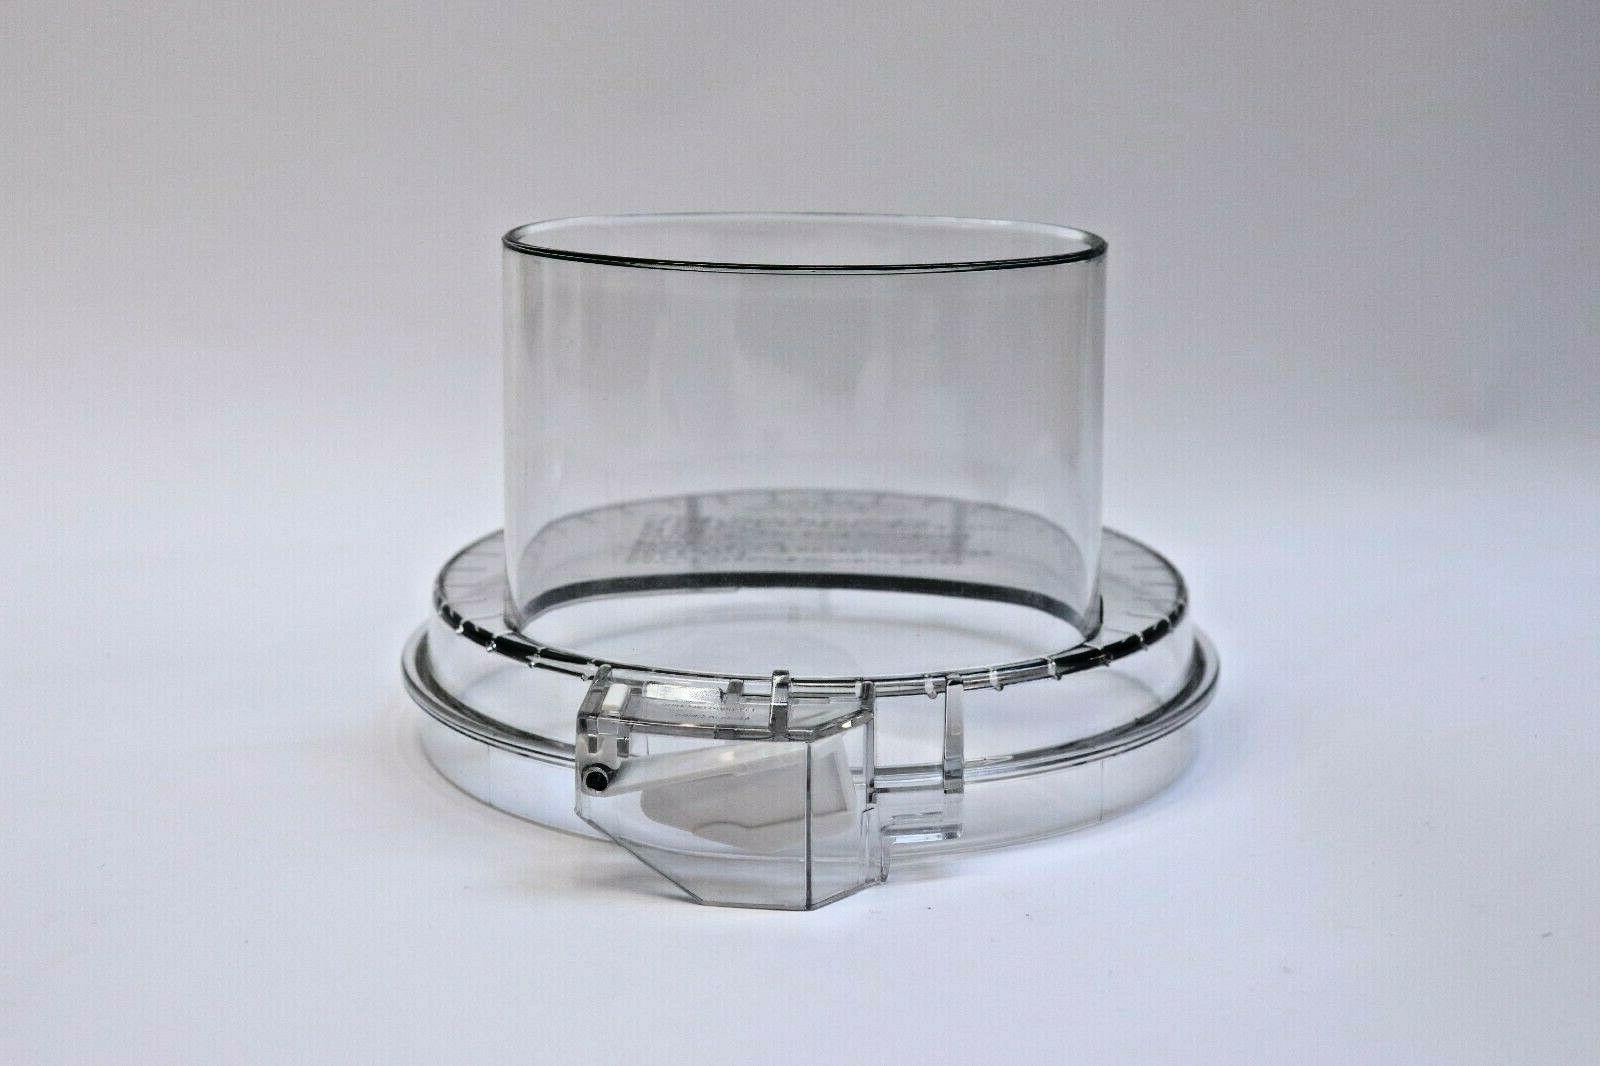
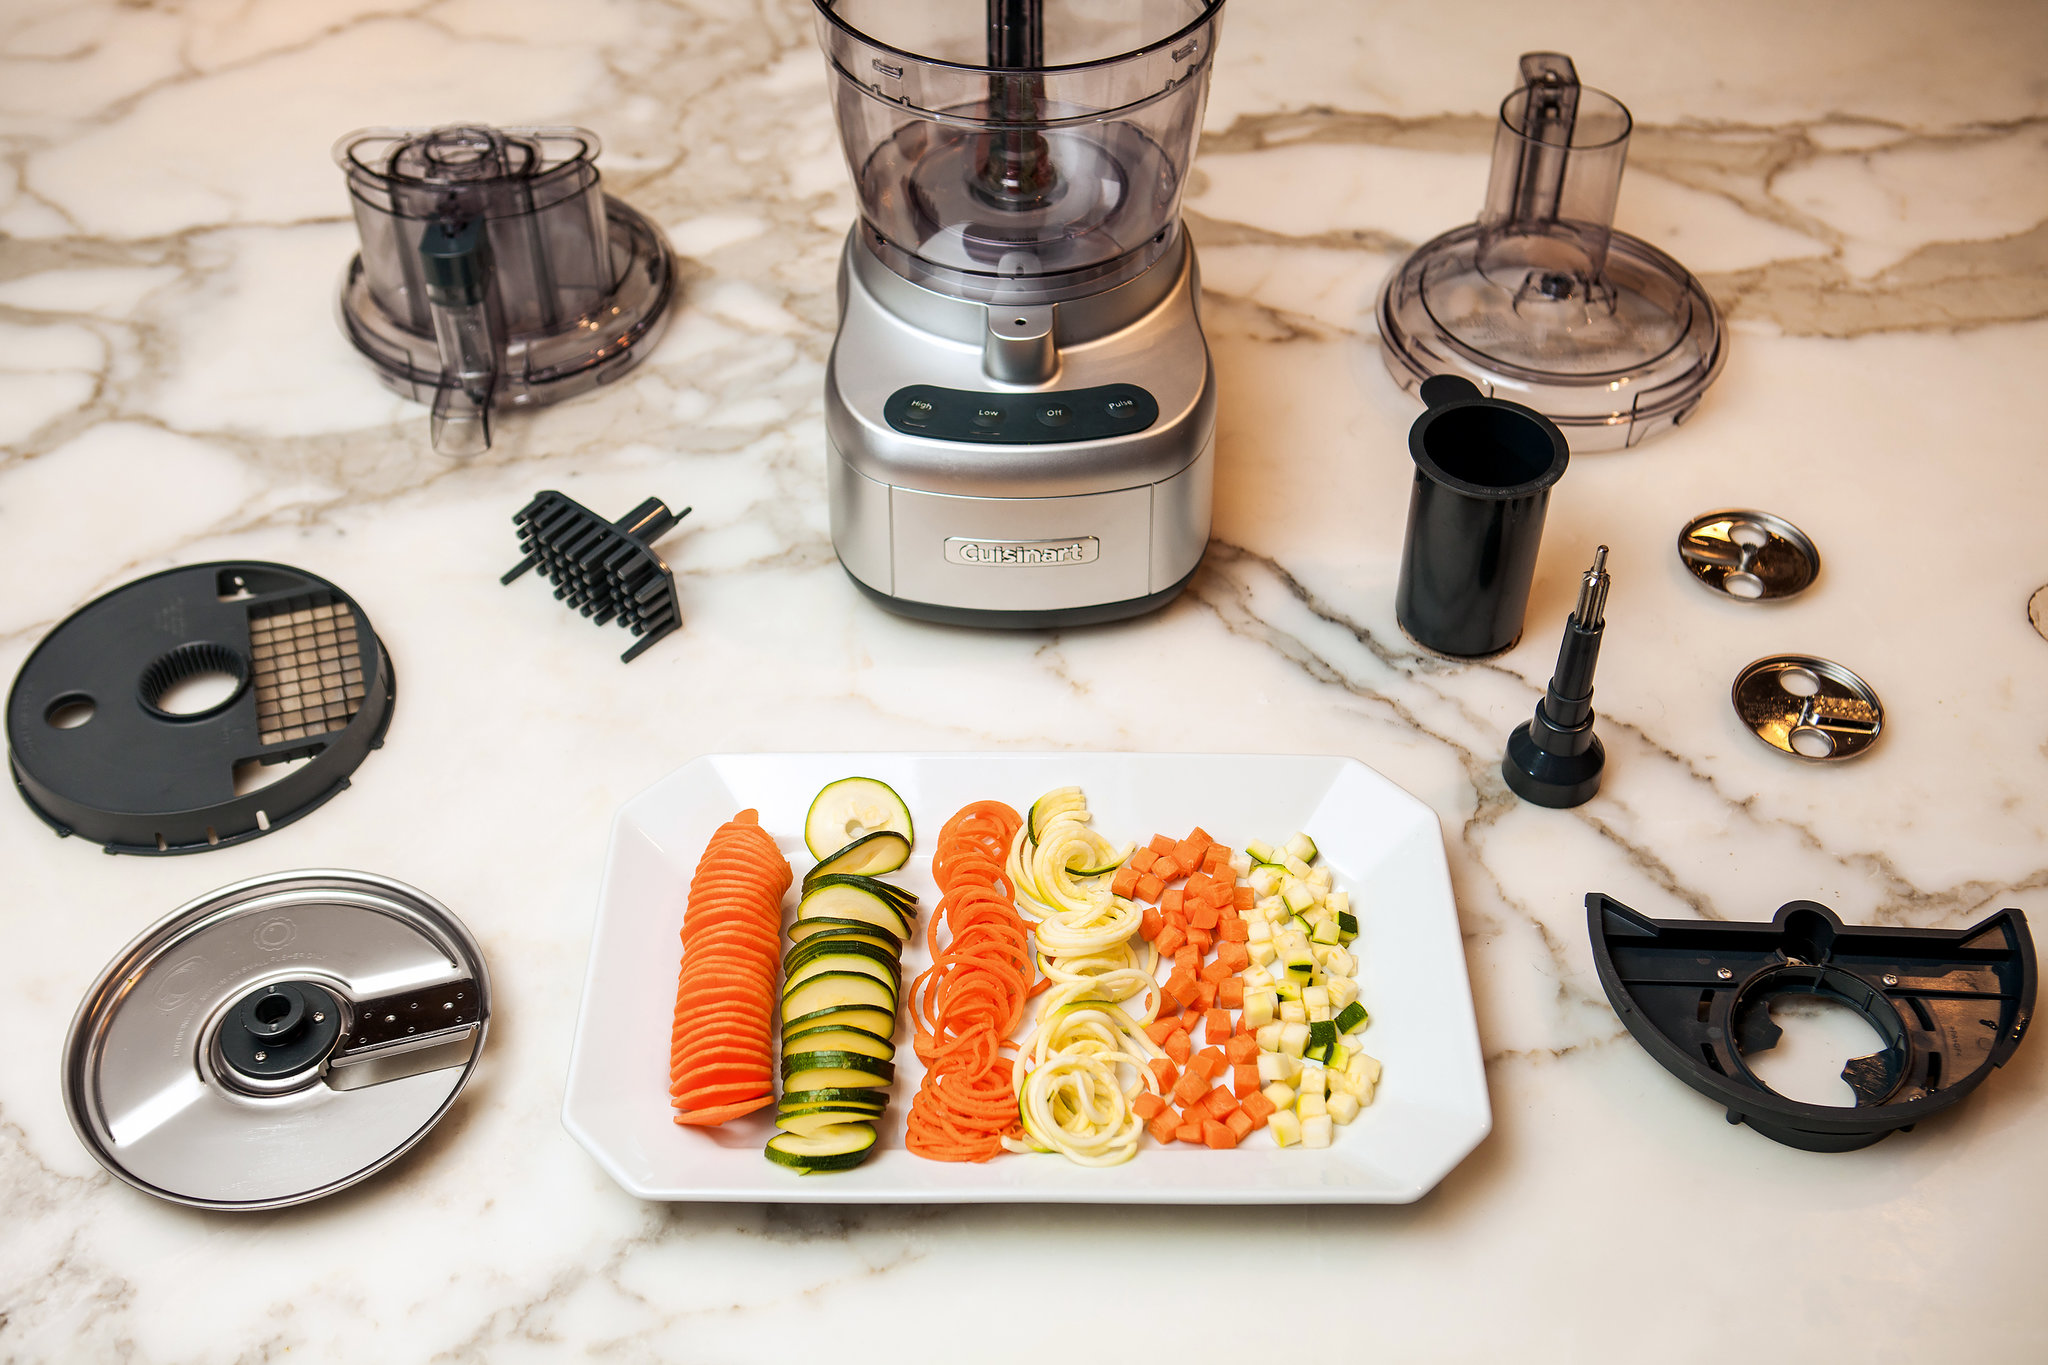
Step 5: Disassemble the Lid Components
With the lid of your Cuisinart food processor removed from the work bowl, it’s time to disassemble its components for a deep clean or troubleshooting. Disassembling the lid components will allow you to thoroughly clean each part and ensure they are free from any food debris or residue.
Start by examining the lid to identify the different components that need to be disassembled. The exact design of the lid can vary depending on the model of your Cuisinart food processor, but common components include the feed tube, pusher, and any attachments or accessories.
If your lid has a removable feed tube, carefully detach it from the lid. This can usually be done by twisting or pulling the feed tube until it separates from the lid. Set the feed tube aside for cleaning.
Next, remove the pusher if it is still attached to the lid. This can often be done by lifting it up and sliding it out of the designated slot or groove. Make sure to handle the pusher with care to avoid any potential accidents.
If your lid has any additional attachments or accessories, such as blades or discs, remove them according to the manufacturer’s instructions. Some attachments may require you to press a release button or twist them to unlock and remove them from the lid.
As you disassemble each lid component, place them in a sink filled with warm water and mild dish soap. This will facilitate easy cleaning and ensure thorough sanitation of each individual part.
By disassembling the lid components, you can clean each part more effectively and prevent any buildup of food particles or residue. With the lid components removed, you’re ready to move on to the next step – cleaning the individual parts of the lid.
To take apart a Cuisinart food processor lid, first locate the release button on the handle and press it to unlock the lid. Then, twist the lid counterclockwise to remove it from the bowl.
Step 6: Clean the Lid Components
Now that you have disassembled the components of the lid from your Cuisinart food processor, it’s time to clean each part thoroughly. Proper cleaning will remove any food debris, stains, or residue that may have accumulated during use.
Fill a sink or basin with warm water and add a small amount of mild dish soap. Stir the water to create a soapy solution.
Begin by submerging the lid components, such as the feed tube, pusher, and any attachments, into the soapy water. Use a soft cloth or sponge to gently scrub each part, making sure to reach all the crevices and hard-to-reach areas.
If there are any stubborn stains or residue, you can use a small cleaning brush or a toothbrush to scrub them away. Be especially thorough with areas around the openings or grooves where food particles can get trapped.
Rinse each component under running water to remove any soap residue. Inspect them to ensure they are clean and free from any remaining food particles or stains.
After rinsing, pat each component dry with a clean towel or allow them to air dry completely before reassembling the lid.
If there are any lingering odors, you can remove them by wiping the components with a cloth dampened with a mixture of water and lemon juice or vinegar.
Remember to wipe down the exterior of the lid as well, using a clean cloth dampened with the soapy water solution. Pay attention to any buttons, switches, or control panels on the lid, making sure they are also clean and free from residue.
By cleaning the lid components thoroughly, you are ensuring the hygiene and longevity of your Cuisinart food processor. With the components cleaned and dried, you can proceed to the next step – reassembling the lid.
Step 7: Reassemble the Lid
Now that you have cleaned all the components of the lid for your Cuisinart food processor, it’s time to reassemble them. Proper reassembly ensures that the lid functions correctly and securely for future use.
Begin by picking up the lid and identifying the different components that you disassembled earlier. Refer to the user manual or any documentation that came with your food processor for specific instructions on how to reassemble the lid.
If you removed a removable feed tube, insert it back into the designated slot on the lid. Make sure it fits securely and aligns properly with the feed tube opening.
Next, if applicable, reattach the pusher to the lid. Slide it back into the slot or groove provided, ensuring it is positioned correctly and moves smoothly.
If there are any additional attachments or accessories, such as blades or discs, follow the manufacturer’s instructions to reattach them. Pay close attention to any alignment markers or locking mechanisms to ensure proper positioning.
As you reassemble each component, make sure they fit snugly and securely onto the lid. Double-check that everything is correctly aligned and in its proper place.
With all the components properly reassembled, give the lid a gentle shake or wiggle to ensure everything is secure and in place.
Lastly, wipe down the exterior of the lid with a clean cloth to remove any fingerprints or residue from the reassembly process.
By reassembling the lid correctly, you can ensure that it functions properly and securely attaches to the work bowl of your Cuisinart food processor.
With the lid fully reassembled, you’re ready to move on to the next step – placing the lid back onto the work bowl.
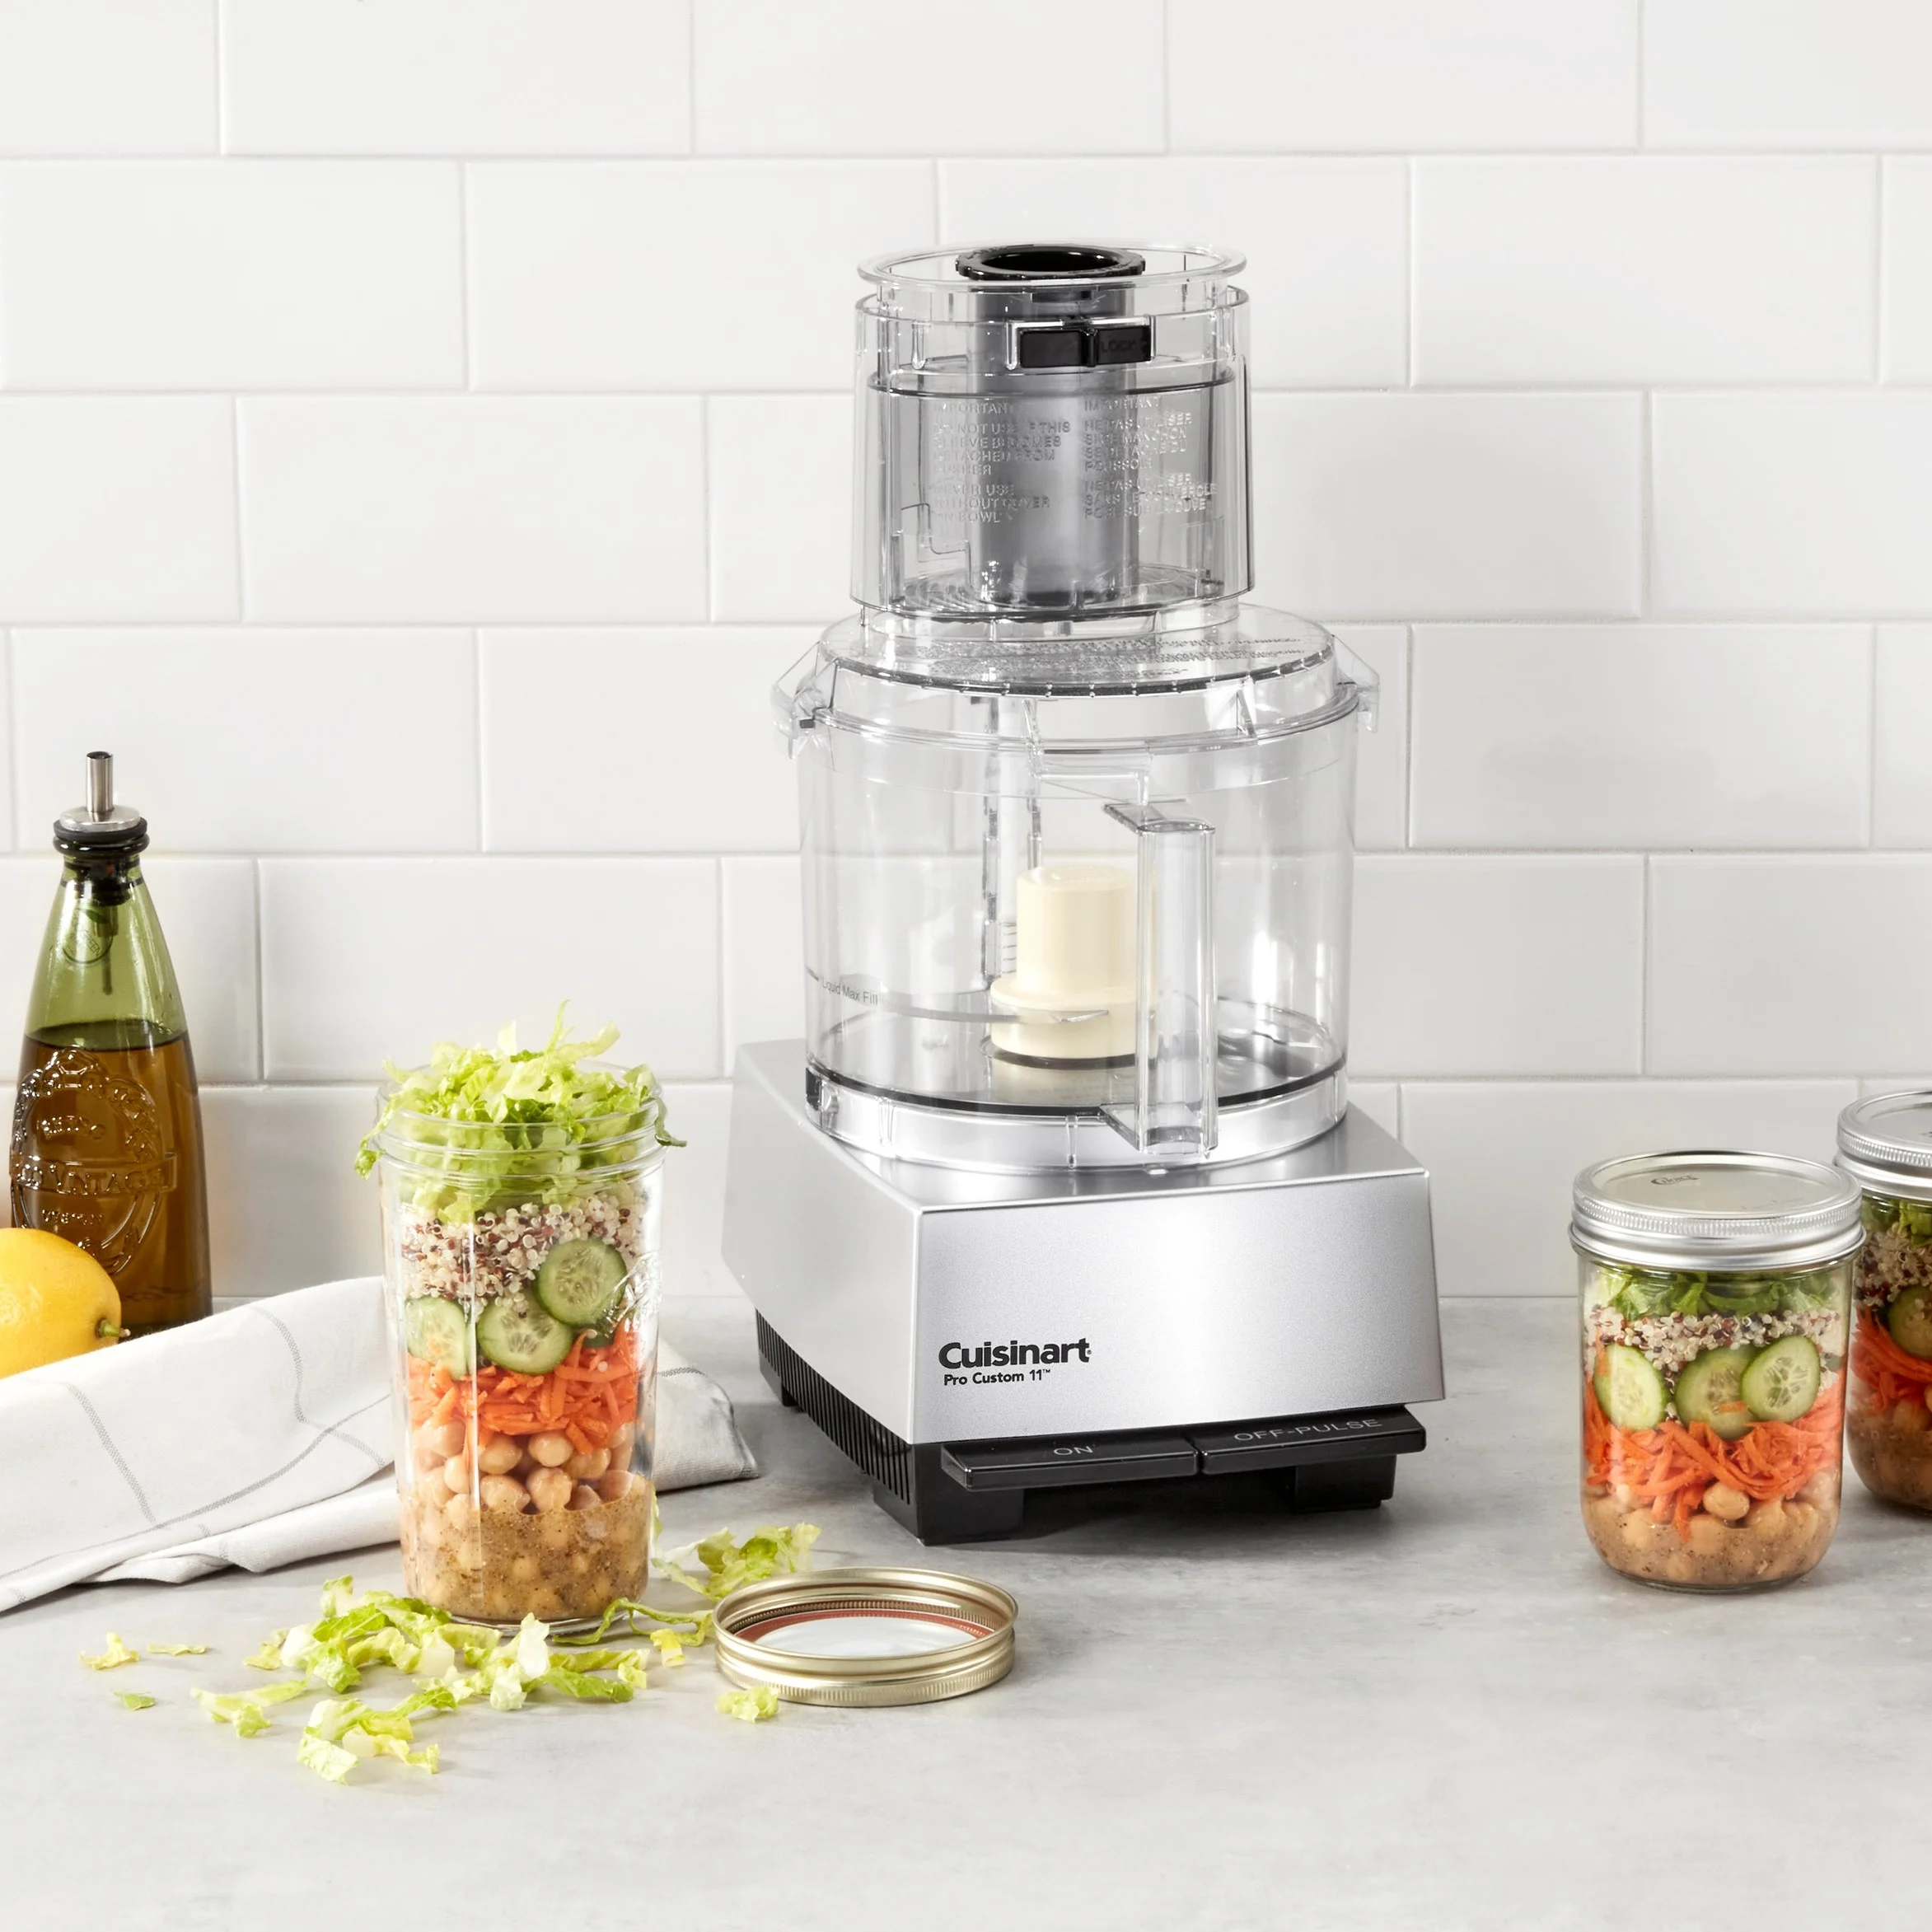
Step 8: Place the Lid Back onto the Work Bowl
Now that you have reassembled the lid of your Cuisinart food processor, it’s time to place it back onto the work bowl. Properly aligning and securing the lid ensures safe and efficient operation of the appliance.
Start by picking up the lid and positioning it above the work bowl. Look for the alignment markers or guides on both the lid and the work bowl to ensure they line up correctly.
Gently lower the lid onto the work bowl, making sure it sits evenly and securely. Apply slight pressure to the lid to ensure a proper seal between the lid and the work bowl.
Depending on the model of your food processor, there may be a locking mechanism that needs to be engaged to secure the lid in place. This can be a twist-lock, slide-lock, or latch-lock mechanism.
If your lid has a twist-lock mechanism, grip the lid firmly and rotate it clockwise until it locks into place on the work bowl. Rotate it until it stops moving and remains firmly secured.
For lids with a slide-lock mechanism, locate the release button or lever on the side of the lid. Slide it into the locked position to engage the lock and secure the lid to the work bowl.
If your lid has a latch-lock mechanism, locate the latch or tab on the lid. Push or slide the latch or tab in the direction indicated to secure the lid onto the work bowl.
Once the lid is securely locked onto the work bowl, give it a gentle tug to ensure proper attachment. The lid should not move or come loose when properly locked.
With the lid securely in place, you’re now ready to move on to the next step – locking the lid to ensure safe and stable operation of the Cuisinart food processor.
Step 9: Lock the Lid
Now that the lid of your Cuisinart food processor is securely in place on the work bowl, it’s important to lock it to ensure safe and stable operation. Locking the lid will prevent any accidental dislodging or movement during use, providing added security and peace of mind.
Start by identifying the locking mechanism on your specific model of food processor. This can vary, but common locking mechanisms include a twist-lock, slide-lock, or latch-lock design.
If your lid has a twist-lock mechanism, locate the locking arrow or symbol on both the lid and the base of the food processor. Align the two marks or symbols and rotate the lid clockwise until it locks into place on the base.
For lids with a slide-lock mechanism, look for the release button or lever on the side of the lid. Slide it into the locked position, usually indicated by a lock icon or symbol.
If your lid has a latch-lock mechanism, locate the latch or tab on the lid. Push or slide the latch or tab into the locked position, ensuring it clicks or snaps into place.
Once the lid is properly locked, give it a gentle tug to ensure it is securely in place. It should not move or come loose when locked.
Double-check that the locking mechanism is fully engaged and secure before using the food processor. This step is crucial for safe operation, as it prevents the lid from accidentally coming off during processing, which can cause injury or damage to the appliance.
With the lid securely locked, you’re now ready to move on to the final step – inserting the pusher assembly back into the feed tube.
Step 10: Insert the Pusher Assembly
Now that the lid of your Cuisinart food processor is securely locked, it’s time to insert the pusher assembly back into the feed tube. The pusher assembly helps guide the ingredients into the work bowl during processing.
Take the pusher assembly that you set aside earlier and align it with the feed tube opening on the lid. Make sure it is positioned correctly and slides smoothly into place.
Gently lower the pusher assembly into the feed tube, applying slight pressure as you insert it. The pusher assembly may have a locking mechanism or a notch that needs to fit into the designated slot on the lid. Ensure that it is properly aligned and secured.
Depending on the design of your food processor, the pusher assembly may have a dual or single function. If your food processor has a dual feed tube opening, make sure to insert the pusher assembly into the correct side that corresponds to the desired feed tube.
Once the pusher assembly is inserted, give it a gentle push to ensure it is securely in place. It should fit snugly and not move or come loose during operation.
With the pusher assembly properly inserted, your Cuisinart food processor is now ready to be used. You can begin processing your ingredients confidently and efficiently.
Remember, always follow the safety instructions provided in the user manual and handle the pusher assembly with care, taking care to avoid any contact with the blades or discs in the work bowl.
Congratulations! You have successfully completed the process of taking apart and reassembling the lid of your Cuisinart food processor. By following these steps, you can ensure a clean and properly functioning appliance for all your food processing needs.
Enjoy using your freshly cleaned Cuisinart food processor and happy cooking!
Conclusion
In conclusion, knowing how to disassemble and clean the lid of your Cuisinart food processor is essential for maintaining a hygienic and efficient appliance. By following the step-by-step guide outlined in this article, you can confidently take apart the lid, clean its components, and reassemble it properly for future use.
Throughout the process, it is important to prioritize safety by unplugging the food processor before beginning any maintenance or disassembly. Additionally, always refer to the user manual specific to your model for any model-specific instructions or guidelines.
By using the recommended tools, including a flathead screwdriver, small cleaning brush or toothbrush, mild dish soap, warm water, and a soft cloth or sponge, you can effectively clean the lid components and remove any food debris or residue that may have accumulated over time.
Remember to reassemble the lid components carefully, ensuring that each part fits securely and aligns properly. Locking the lid is crucial for safe operation, preventing accidental dislodging or movement during use.
Once the lid is reassembled and locked, don’t forget to insert the pusher assembly back into the feed tube. The pusher assembly plays an important role in guiding ingredients into the work bowl during processing.
Following these steps and maintaining your Cuisinart food processor lid’s cleanliness will not only ensure optimal functionality but also extend the lifespan of your appliance.
Thank you for reading this comprehensive guide on how to take apart and clean the lid of your Cuisinart food processor. With this knowledge, you can confidently keep your food processor in top condition and enjoy its versatile capabilities for many meals to come.
Now that you've mastered dismantling your Cuisinart food processor lid, why not ensure all your appliances shine? Our next guide offers thorough steps for sprucing up every gadget in your kitchen. Maintaining clean appliances not only boosts their efficiency but also extends their lifespan. So, if streaks on your blender or crumbs in your toaster bother you, we've got just the right techniques to help. Don't miss out on these effective cleaning methods that can make your appliances look as good as new.
Frequently Asked Questions about How To Take Apart Cuisinart Food Processor Lid
Was this page helpful?
At Storables.com, we guarantee accurate and reliable information. Our content, validated by Expert Board Contributors, is crafted following stringent Editorial Policies. We're committed to providing you with well-researched, expert-backed insights for all your informational needs.


0 thoughts on “How To Take Apart Cuisinart Food Processor Lid”