Articles
How To Make Protein Shake Without Blender
Modified: August 28, 2024
Learn how to make a delicious protein shake without using a blender. Check out our articles for creative and easy recipes.
(Many of the links in this article redirect to a specific reviewed product. Your purchase of these products through affiliate links helps to generate commission for Storables.com, at no extra cost. Learn more)
Introduction
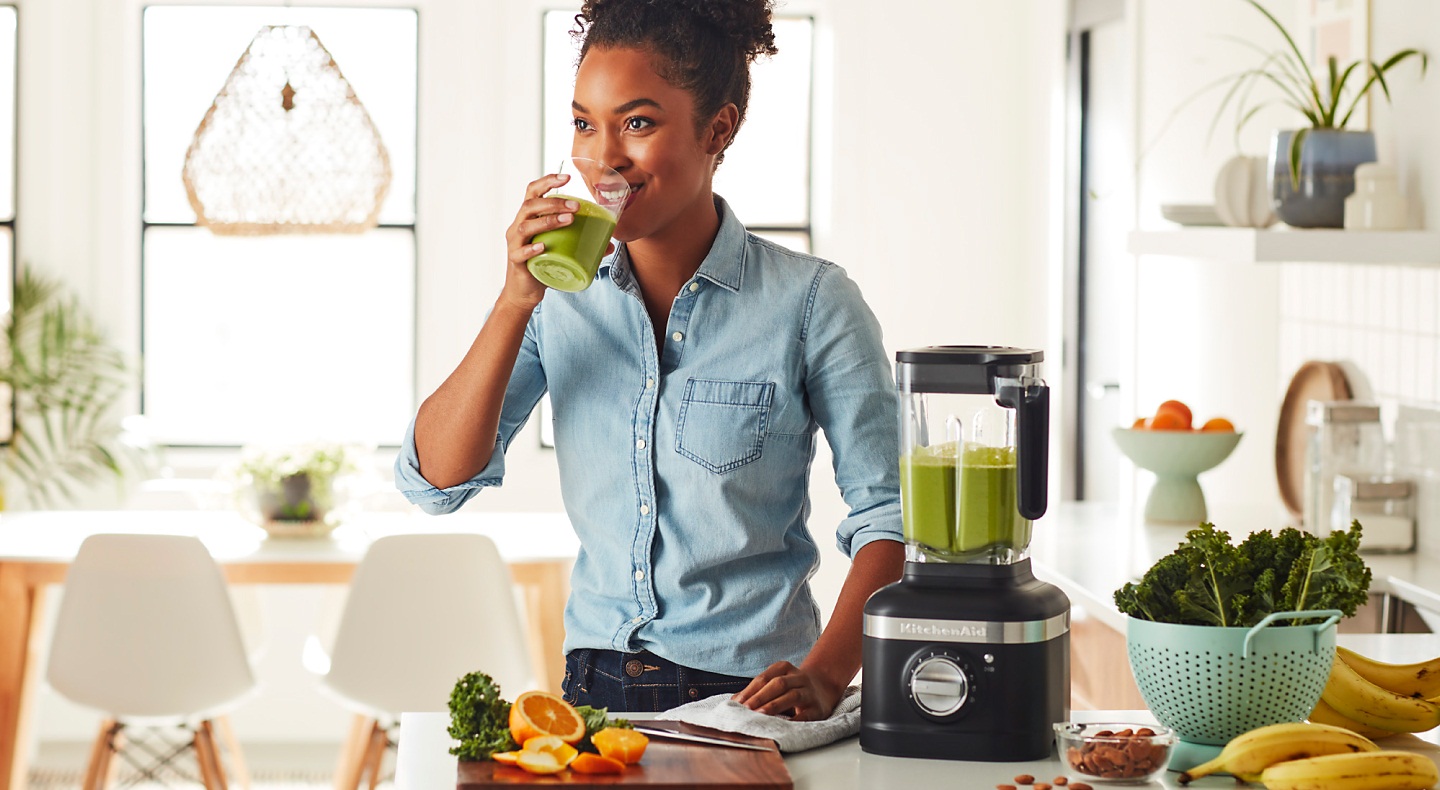
Protein shakes have gained immense popularity in recent years, thanks to their numerous health benefits and convenience. These delicious beverages are packed with essential nutrients and are an excellent way to fuel your body, promote muscle growth, and aid in post-workout recovery. However, many people assume that making a protein shake requires a fancy blender, making it impossible to enjoy this nutritious drink without one. The truth is, you can still enjoy a delicious protein shake even without a blender! In this article, we will explore different ways to make protein shakes without a blender, enabling you to satisfy your nutritional needs even on the go.
Before we dive into the recipes and techniques, let’s take a closer look at the benefits of protein shakes.
Key Takeaways:
- Enjoy delicious and nutritious protein shakes without a blender by using a shaker bottle. Experiment with different flavors and ingredients to create smooth and satisfying shakes that cater to your taste preferences and fitness goals.
- Choose the right protein powder, pre-mix ingredients when necessary, and shake vigorously to ensure a well-blended protein shake. With the versatility of a shaker bottle, you can create creamy, decadent, refreshing, and nutrient-packed protein shakes without the need for a blender.
Read more: How To Store Protein Shakes
Benefits of Protein Shakes
Protein shakes offer a range of benefits for individuals seeking to improve their overall health and fitness. Here are some key advantages of incorporating protein shakes into your diet:
- Muscle Growth and Repair: Protein is essential for muscle growth and repair. Consuming protein shakes after a workout provides your body with the necessary amino acids it needs to rebuild and recover.
- Weight Management: Protein shakes can be an effective tool for weight management. Protein is known to increase satiety, which can help reduce hunger and control food cravings, leading to better weight management.
- Nutrient Density: Protein shakes are a convenient and efficient way to pack in essential nutrients without consuming excess calories. They often contain vitamins, minerals, and other beneficial compounds that support overall health.
- Convenience: Protein shakes are quick and easy to prepare, making them an ideal option for busy individuals on the go. Whether you’re running late in the morning or need a post-workout boost, protein shakes can be ready in minutes.
- Improved Exercise Performance: Protein shakes can enhance exercise performance by providing the necessary fuel for your workouts. They can help prevent muscle breakdown during exercise and improve recovery, leading to better overall performance.
- Joint Health: Some protein powders, particularly those derived from collagen, can support joint health and reduce inflammation. If you suffer from joint pain or participate in intense physical activities, incorporating protein shakes with collagen can be beneficial.
Now that we understand the benefits of protein shakes, let’s explore how to choose the right protein powder for your needs.
Choosing the Right Protein Powder
When making protein shakes without a blender, it is crucial to choose the right protein powder that suits your needs and preferences. Here are a few factors to consider:
- Protein Source: Protein powders come from various sources, including whey, casein, soy, and plant-based sources like pea, hemp, and rice. Consider your dietary restrictions and preferences when selecting the protein source.
- Quality and Purity: Look for protein powders that are labeled as pure and containing minimal additives or fillers. Opting for high-quality brands ensures that you are consuming a clean and effective protein powder.
- Flavor: Protein powders come in a wide range of flavors, from classic vanilla and chocolate to more unique options like strawberry or cookies and cream. Consider your taste preferences and how the flavor will complement your chosen shake recipes.
- Texture: The texture of protein powders can vary. Some are fine and mix easily, while others may be thicker or have a grainy texture. Experiment with different brands and types to find one that blends well without a blender.
- Allergens: If you have any food allergies or sensitivities, check the ingredient list of the protein powder to ensure it does not contain any allergens that may affect you.
- Goals: Consider your fitness or health goals when choosing a protein powder. For muscle growth and recovery, select a powder with a high protein content. If weight loss is your goal, choose a protein powder that is lower in calories and carbohydrates.
By considering these factors, you can select a protein powder that suits your preferences and aligns with your health and fitness goals. Now, let’s explore the techniques for making protein shakes without a blender using a shaker bottle.
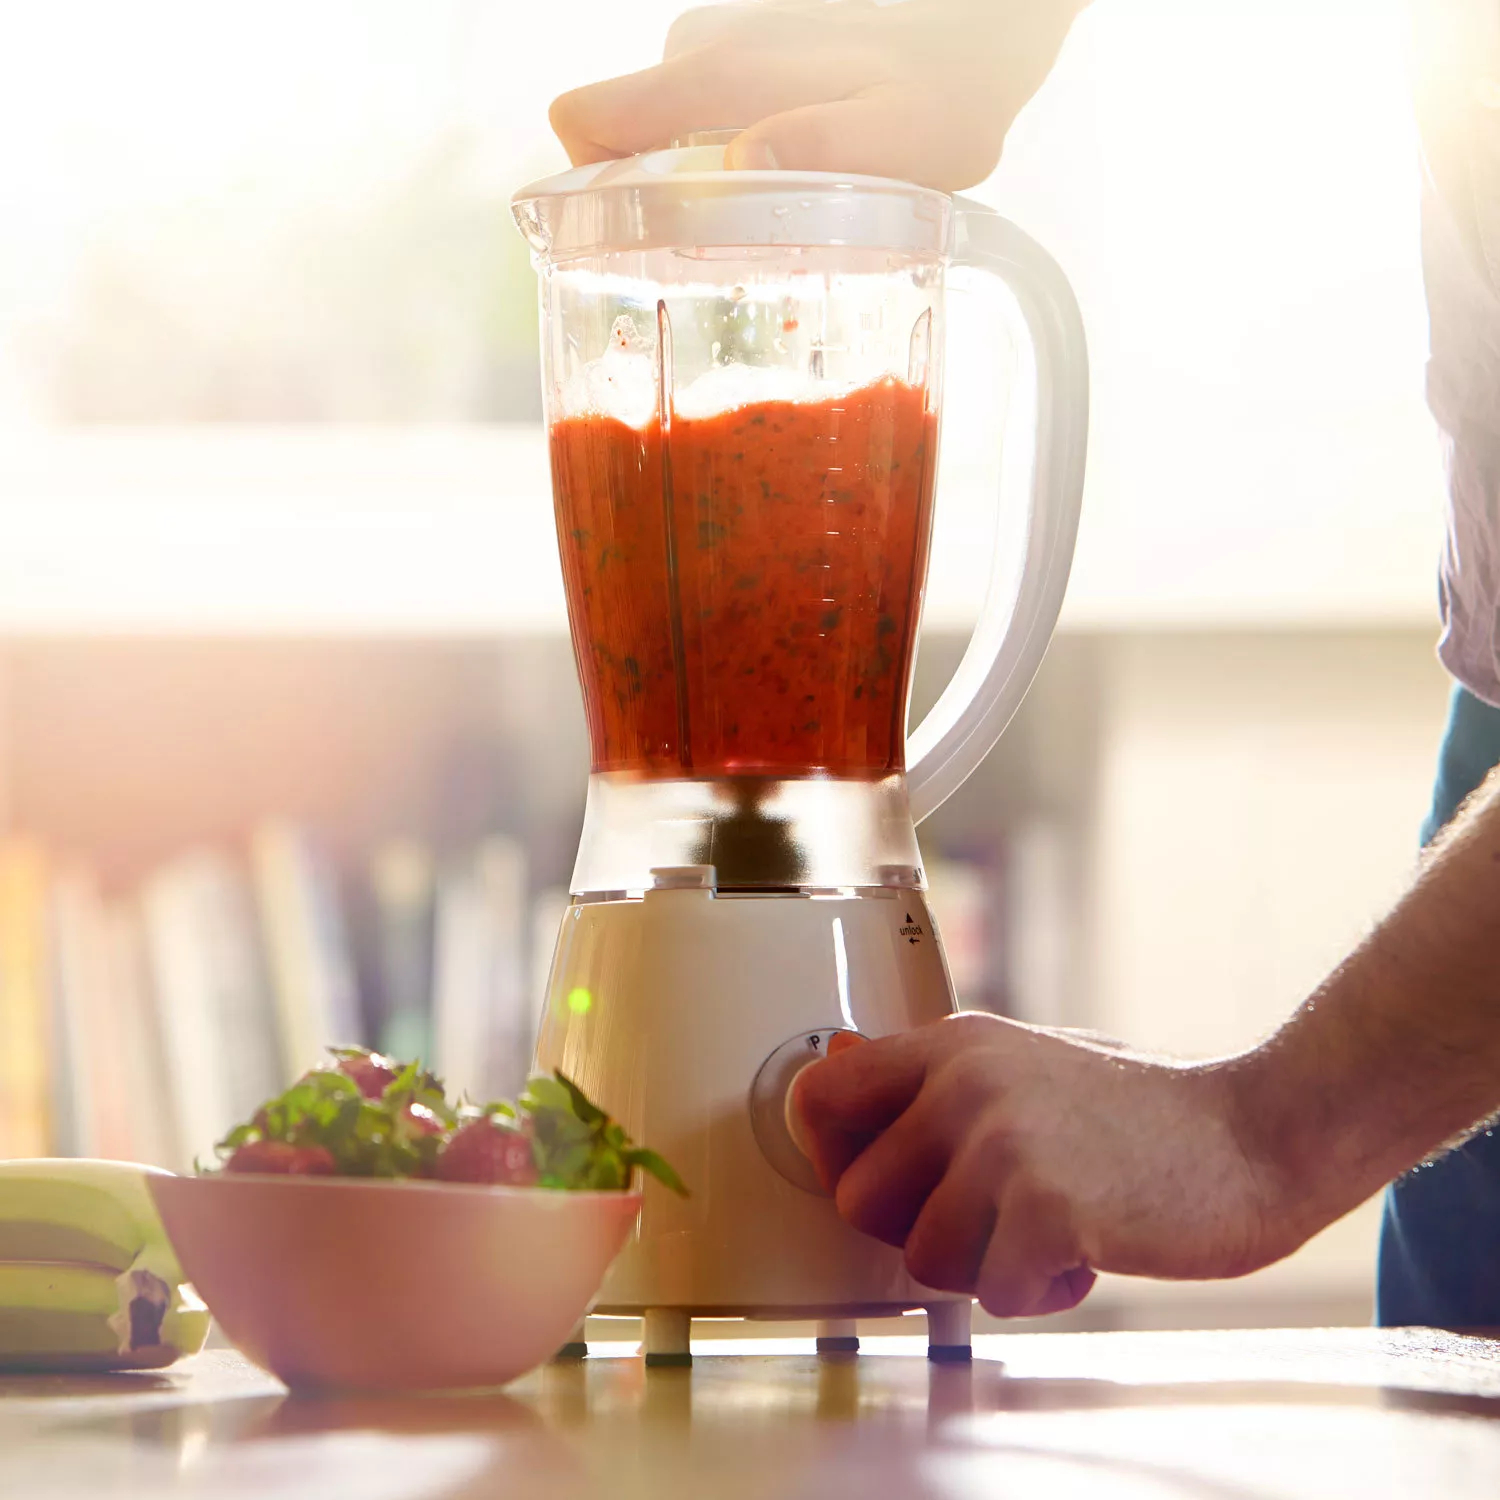
Using a Shaker Bottle for Protein Shakes
A shaker bottle is a convenient and effective tool for making protein shakes without the need for a blender. Here’s how you can use a shaker bottle to create a smooth and well-mixed protein shake:
- Add Liquid: Start by adding your liquid of choice to the shaker bottle. This can be water, milk (dairy or plant-based), or even fruit juice for added flavor. Adjust the amount based on your desired consistency.
- Add Protein Powder: Measure the recommended serving of protein powder and add it to the shaker bottle. Using a shaker ball or mesh insert can help break up any clumps and ensure a smoother blend.
- Optional Additions: If you want to enhance the flavor and nutritional content of your shake, you can add extra ingredients like fruits, nut butter, yogurt, or spices. Be mindful of the total volume to ensure it fits in the shaker bottle.
- Tighten the Lid: Secure the lid tightly to avoid any leaks while shaking the bottle.
- Shake Well: Hold the shaker bottle with both hands and shake vigorously for about 30 seconds. Ensure that the contents are well mixed, and there are no clumps remaining.
- Let it Settle: After shaking, let the protein shake settle for a few moments to allow the froth to dissipate and the flavors to blend.
- Enjoy: Open the lid and enjoy your freshly made protein shake directly from the shaker bottle. If desired, you can pour it into a glass or portable container to take with you on the go.
Using a shaker bottle is a quick and convenient method for making protein shakes without a blender. Now, let’s explore a few simple and delicious protein shake recipes that you can try using this method.
Recipes for Protein Shakes without a Blender
Making protein shakes without a blender doesn’t mean compromising on taste or variety. Here are a few tasty protein shake recipes that you can easily prepare using a shaker bottle:
Read more: How To Mix Protein Powder Without Blender
1. Vanilla Protein Shake
– 1 scoop of vanilla protein powder
– 1 cup of milk (dairy or plant-based)
– 1 tablespoon of almond butter
– 1 teaspoon of honey
– Optional: a sprinkle of cinnamon
Simply add all the ingredients to the shaker bottle, shake well, and enjoy the creamy and satisfying vanilla protein shake.
2. Chocolate Peanut Butter Protein Shake
– 1 scoop of chocolate protein powder
– 1 cup of milk (dairy or plant-based)
– 1 tablespoon of peanut butter
– 1 banana
– Optional: a handful of ice cubes
Add all the ingredients to the shaker bottle, shake until well-mixed, and indulge in this delightful and protein-rich chocolate peanut butter shake.
3. Berry Blast Protein Shake
– 1 scoop of berry-flavored protein powder
– 1 cup of mixed berries (strawberries, blueberries, raspberries)
– 1 cup of yogurt (Greek or dairy-free alternative)
– 1 cup of water or fruit juice
Mix all the ingredients in the shaker bottle, shake well to blend the flavors, and savor the fruity goodness of this refreshing berry blast protein shake.
4. Green Power Protein Shake
– 1 scoop of vanilla or unflavored protein powder
– 1 cup of spinach
– 1 ripe banana
– 1 cup of almond milk
– 1 tablespoon of chia seeds
– Optional: a drizzle of honey
Add all the ingredients to the shaker bottle, shake vigorously until the spinach is blended, and enjoy this nutrient-packed green power protein shake.
Feel free to modify these recipes by swapping ingredients or adding your favorite flavors to suit your taste preferences. Now, let’s explore some tips for making protein shakes without a blender.
Recipes for Protein Shakes without a Blender
– Vanilla Protein Shake
Looking for a classic and creamy protein shake? Try this simple vanilla protein shake recipe:
- 1 scoop of vanilla protein powder
- 1 cup of milk (dairy or plant-based)
- 1 tablespoon of almond butter
- 1 teaspoon of honey
- Optional: a sprinkle of cinnamon
To make this delicious vanilla protein shake without a blender, follow these steps:
- Pour 1 cup of milk into your shaker bottle.
- Add 1 scoop of vanilla protein powder to the shaker bottle.
- Add 1 tablespoon of almond butter and 1 teaspoon of honey for added flavor and sweetness.
- If desired, sprinkle a bit of cinnamon into the shaker bottle for a touch of warmth.
- Tightly secure the lid of the shaker bottle and give it a good shake for about 30 seconds, or until all the ingredients are well mixed.
- Allow the protein shake to settle for a moment before opening the lid.
- Once settled, open the lid and enjoy your creamy and satisfying vanilla protein shake!
This vanilla protein shake is not only delicious but also packed with the essential nutrients your body needs. It can serve as a nutritious meal replacement or a post-workout recovery drink.
Feel free to customize this recipe by adding a handful of ice cubes for a cooler and refreshing shake. You can also experiment with different toppings or mix-ins such as sliced bananas, a drizzle of chocolate syrup, or a sprinkle of granola for added texture and flavor.
Now that you’ve mastered the vanilla protein shake, let’s move on to other exciting protein shake recipes without the need for a blender.
Recipes for Protein Shakes without a Blender
– Chocolate Peanut Butter Protein Shake
If you’re a fan of the classic combination of chocolate and peanut butter, this protein shake recipe is for you:
- 1 scoop of chocolate protein powder
- 1 cup of milk (dairy or plant-based)
- 1 tablespoon of peanut butter
- 1 banana
- Optional: a handful of ice cubes
To make this delicious chocolate peanut butter protein shake without a blender, follow these simple steps:
- Pour 1 cup of milk into your shaker bottle.
- Add 1 scoop of chocolate protein powder to the shaker bottle.
- Add 1 tablespoon of peanut butter for that irresistible nutty flavor.
- Peel and slice a banana, then add it to the shaker bottle.
- If you prefer a chilled shake, add a handful of ice cubes to the shaker bottle.
- Tightly secure the lid of the shaker bottle and shake it vigorously for about 30 seconds, or until all the ingredients are well combined.
- Allow the protein shake to settle for a moment before opening the lid.
- Once settled, open the lid and indulge in the delightful and protein-rich chocolate peanut butter shake!
This protein shake is not only a treat for your taste buds, but it also provides a boost of energy and essential nutrients. The combination of protein powder, milk, peanut butter, and banana offers a great balance of protein, healthy fats, and carbohydrates.
Feel free to customize this recipe by adding a drizzle of honey or a sprinkle of cocoa powder for extra sweetness and chocolaty richness. You can also experiment with different types of nut butter, such as almond or cashew, to create delicious variations of this protein shake.
Now that you’ve made a delightful chocolate peanut butter protein shake, let’s explore more exciting protein shake recipes without a blender.
Recipes for Protein Shakes without a Blender
– Berry Blast Protein Shake
If you’re a fan of fruity flavors, this refreshing and nutritious berry blast protein shake is sure to delight your taste buds:
- 1 scoop of berry-flavored protein powder
- 1 cup of mixed berries (strawberries, blueberries, raspberries)
- 1 cup of yogurt (Greek or dairy-free alternative)
- 1 cup of water or fruit juice
To make this delicious berry blast protein shake without a blender, follow these step-by-step instructions:
- Begin by pouring 1 cup of yogurt into your shaker bottle.
- Add 1 scoop of berry-flavored protein powder to the shaker bottle.
- Add 1 cup of mixed berries, such as strawberries, blueberries, and raspberries. Feel free to use fresh or frozen berries.
- Pour in 1 cup of water or fruit juice of your choice. Adjust the amount to achieve your preferred consistency.
- Tightly secure the lid of the shaker bottle and shake it well for about 30 seconds, or until all the ingredients blend together smoothly.
- Allow the protein shake to settle for a brief moment before opening the lid.
- Once settled, open the lid and enjoy the refreshing and fruity goodness of this berry blast protein shake.
This protein shake is not only rich in protein but also packed with antioxidants and vitamins from the mixed berries. The combination of yogurt and berries provides a creamy texture and a burst of natural sweetness to the shake.
Feel free to customize this recipe by adding a handful of spinach or kale for an extra nutritional boost. You can also experiment with different flavors of protein powder or mix a variety of berries to create your own unique berry blast combination.
Now that you’ve made a delicious berry blast protein shake, let’s move on to more exciting protein shake recipes without the need for a blender.
Recipes for Protein Shakes without a Blender
– Green Power Protein Shake
If you’re looking for a nutritious and refreshing protein shake packed with greens, this green power protein shake is the perfect choice:
- 1 scoop of vanilla or unflavored protein powder
- 1 cup of spinach
- 1 ripe banana
- 1 cup of almond milk
- 1 tablespoon of chia seeds
- Optional: a drizzle of honey
To make this green power protein shake without a blender, follow these simple steps:
- Pour 1 cup of almond milk into your shaker bottle.
- Add 1 scoop of vanilla or unflavored protein powder to the shaker bottle.
- Add 1 cup of spinach for a boost of leafy green goodness.
- Peel and slice a ripe banana, then add it to the shaker bottle.
- Add 1 tablespoon of chia seeds for added texture and nutritional benefits.
- If desired, drizzle a bit of honey into the shaker bottle for some natural sweetness.
- Tightly secure the lid of the shaker bottle and shake it vigorously for about 30 seconds, or until all the ingredients are well blended.
- Allow the protein shake to settle for a moment before opening the lid.
- Once settled, open the lid and enjoy this nutrient-packed green power protein shake!
This protein shake is not only delicious but also provides a great source of protein, fiber, and essential vitamins and minerals. The combination of spinach, banana, and chia seeds offers a multitude of health benefits.
Feel free to customize this recipe by adding other greens such as kale or Swiss chard. You can also experiment with different types of milk or swap the banana for other fruits like mango or pineapple to create your own unique green power flavor.
Now that you have a refreshing green power protein shake recipe, you’re ready to try more protein shake recipes without the need for a blender.
Read also: 11 Best Shake Blender for 2025
Tips for Making Protein Shakes without a Blender
While making protein shakes without a blender may seem challenging, with the right tips and techniques, you can still achieve smooth and delicious results. Here are some helpful tips to keep in mind when making protein shakes without a blender:
- Choose the Right Protein Powder: Opt for a protein powder that is easily soluble and mixes well without a blender. Look for powders that have finer textures or are specifically labeled as suitable for shaker bottle use.
- Pre-Mix Protein Powder with Liquid: To ensure a smoother texture, especially if your protein powder tends to clump, pre-mix the protein powder with a small amount of liquid (such as water or milk) using a separate container or the shaker bottle itself before adding additional ingredients.
- Use a Shaker Ball or Mesh Insert: Shaker bottles often come with a built-in shaker ball or mesh insert that helps break up clumps and ensure a smoother blend. Make sure to use this feature when mixing your protein shake.
- Add Ingredients in the Right Order: To prevent stubborn clumps or powdery residue, add your protein powder and other dry ingredients first, followed by liquids and any additional mix-ins.
- Shake Vigorously: Shake the shaker bottle with enthusiasm and energy to ensure all ingredients are well mixed. A good rule of thumb is to shake the bottle for at least 30 seconds or until you no longer see any clumps.
- Let it Rest: After shaking, allow your protein shake to rest for a brief moment to allow any foam or bubbles to settle. This will improve the overall texture and appearance of the shake.
- Experiment with Liquid Ratios: Adjust the amount of liquid you use based on your personal preference for thickness and consistency. If you prefer a thicker shake, use less liquid, and for a thinner shake, add a bit more liquid.
- Consider Crushed Ice or Frozen Fruits: If you enjoy a frosty protein shake, consider adding crushed ice or frozen fruits to your shaker bottle. This will help achieve a chilled and refreshing beverage without needing a blender.
- Practice Ingredient Combos: Don’t be afraid to experiment with different ingredients and flavor combinations. Whether it’s adding fruits, nut butter, spices, or extracts, exploring various ingredient combinations can help you discover new favorite protein shake recipes.
- Clean the Shaker Bottle Promptly: After enjoying your protein shake, rinse your shaker bottle as soon as possible to prevent any buildup and odors. Clean it thoroughly with warm water and dish soap to ensure proper hygiene.
With these tips in mind, making protein shakes without a blender can become a seamless and enjoyable process. Remember to adapt the recipes and techniques to your own taste preferences and dietary needs. So, grab your shaker bottle and start blending up delicious protein shakes today!
Use a shaker bottle with a mixing ball to blend protein powder with liquid. Add the powder first, then the liquid, and shake vigorously for 30-60 seconds. Alternatively, use a mason jar and shake well.
Conclusion
In conclusion, not having a blender should not be a barrier to enjoying delicious and nutritious protein shakes. By using a simple and convenient shaker bottle, you can still create smooth and satisfying protein shakes that cater to your taste preferences and fitness goals. Remember to choose the right protein powder, pre-mix ingredients when necessary, and shake vigorously to ensure a well-blended shake.
We explored various protein shake recipes without a blender, including a creamy vanilla shake, a decadent chocolate peanut butter shake, a refreshing berry blast shake, and a nutrient-packed green power shake. These recipes showcased the versatility and endless possibilities of creating protein shakes using simple ingredients and the power of a shaker bottle.
Additionally, we provided tips and techniques to make your protein shake preparation even easier. Whether it’s using a shaker ball or mesh insert, adding ingredients in the right order, or experimenting with different liquid ratios, these tips can help you achieve a smooth texture and delicious flavor every time.
Remember, protein shakes offer numerous benefits, such as muscle growth and repair, weight management, convenience, and improved exercise performance. They are a versatile and effective way to fuel your body with essential nutrients.
So, grab your shaker bottle, select your favorite protein powder, and start creating your own protein shake masterpieces. Whether you enjoy them as a post-workout recovery drink, a convenient meal replacement, or a healthy snack, protein shakes without a blender are an excellent addition to your daily routine.
With a little creativity and the right techniques, you can enjoy the goodness of protein shakes anytime, anywhere. Cheers to your health and happy blending!
Frequently Asked Questions about How To Make Protein Shake Without Blender
Was this page helpful?
At Storables.com, we guarantee accurate and reliable information. Our content, validated by Expert Board Contributors, is crafted following stringent Editorial Policies. We're committed to providing you with well-researched, expert-backed insights for all your informational needs.

0 thoughts on “How To Make Protein Shake Without Blender”