Home>Interior Design>How To Make Milkshake In A Blender
Interior Design
How To Make Milkshake In A Blender
Modified: August 16, 2024
Learn how to make delicious milkshakes in a blender with our step-by-step guide. Perfect for any occasion and sure to impress.
(Many of the links in this article redirect to a specific reviewed product. Your purchase of these products through affiliate links helps to generate commission for Storables.com, at no extra cost. Learn more)
Introduction
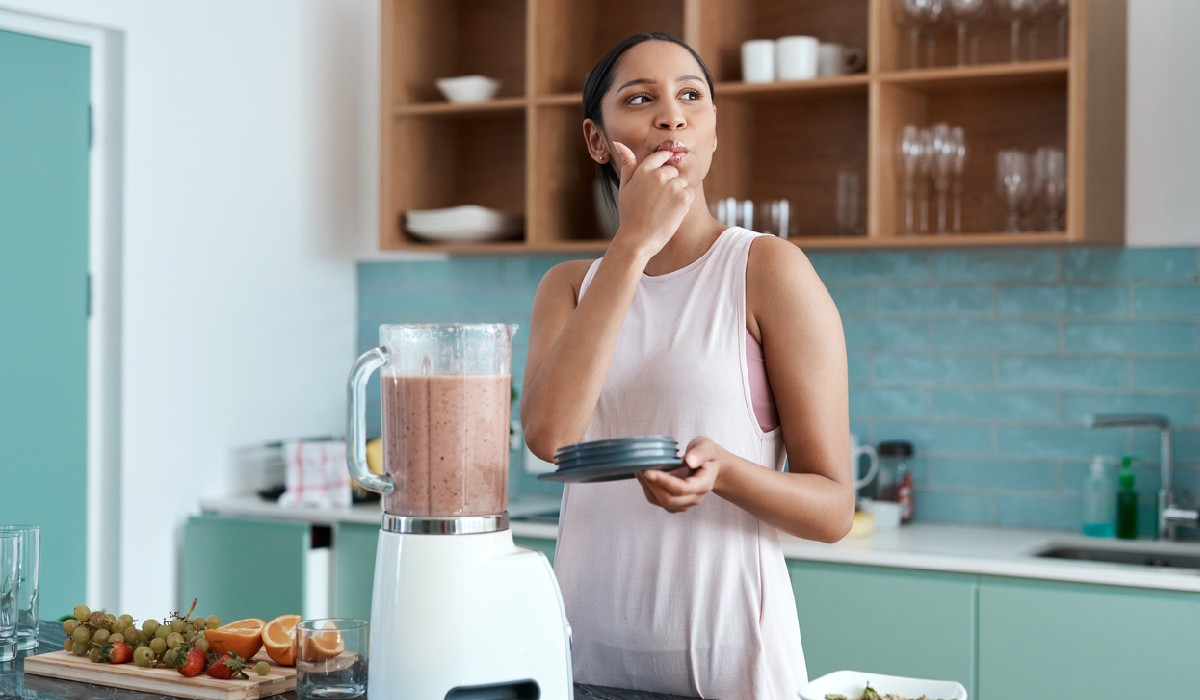
Who can resist a creamy, delicious milkshake? Whether you’re craving a classic vanilla or feeling adventurous with unique flavor combinations, making a milkshake in a blender is easier than you might think. With just a few simple ingredients and a trusty blender, you can whip up your own delectable milkshake in no time.
Not only are homemade milkshakes incredibly satisfying, but they also allow you to control the ingredients and customize the flavors to suit your taste preferences. Whether you prefer a traditional milkshake made with ice cream and milk or a healthier version using frozen fruits and yogurt, the possibilities are endless.
So, grab your blender and get ready to indulge in a velvety, refreshing treat. In this article, we will guide you through the step-by-step process of making a milkshake in a blender, and we’ll also give you some ideas for creative flavor combinations and additional toppings.
Are you ready to blend your way to milkshake perfection? Let’s get started!
Key Takeaways:
- Indulge in the joy of creating your own creamy milkshake in a blender, from classic flavors to unique combinations. Let your imagination run wild and savor the delightful experience of customizing your treat.
- Elevate your milkshake game with creative flavor variations and tantalizing toppings. Experiment, have fun, and treat yourself to a personalized, velvety-smooth delight that reflects your unique taste preferences.
Read more: How To Make A Milkshake In A Blender
Ingredients
Before we dive into the process of making a milkshake in a blender, let’s gather all the necessary ingredients. The great thing about milkshakes is that they can be customized to your liking, so feel free to adjust the quantities to suit your taste.
Here are the basic ingredients you’ll need:
- Ice cream: Choose your favorite flavor of ice cream as the base of your milkshake. Whether it’s classic vanilla, rich chocolate, or indulgent cookie dough, the choice is yours.
- Milk: This is essential for achieving the perfect creamy texture. Whole milk or any milk alternative like almond milk or soy milk will work just fine.
- Flavoring: To add extra flavor to your milkshake, you can use extracts like vanilla or almond extract, flavored syrups, or even fresh fruits.
- Sweetener: Depending on your preference, you may want to sweeten your milkshake with sugar, honey, maple syrup, or any other sweetener of your choice.
Optional ingredients:
- Add-ins: Get creative and add in extra ingredients to enhance the flavor and texture of your milkshake. This can include chocolate chips, crushed cookies, nuts, or even a dollop of peanut butter.
- Toppings: Once your milkshake is ready, you can take it to the next level by adding toppings. Think whipped cream, chocolate sauce, caramel drizzle, sprinkles, or even a cherry on top.
Now that we have all our ingredients ready, let’s move on to the step-by-step process of making a milkshake in a blender. Get ready for a smooth and creamy delight!
Step 1: Choose your base
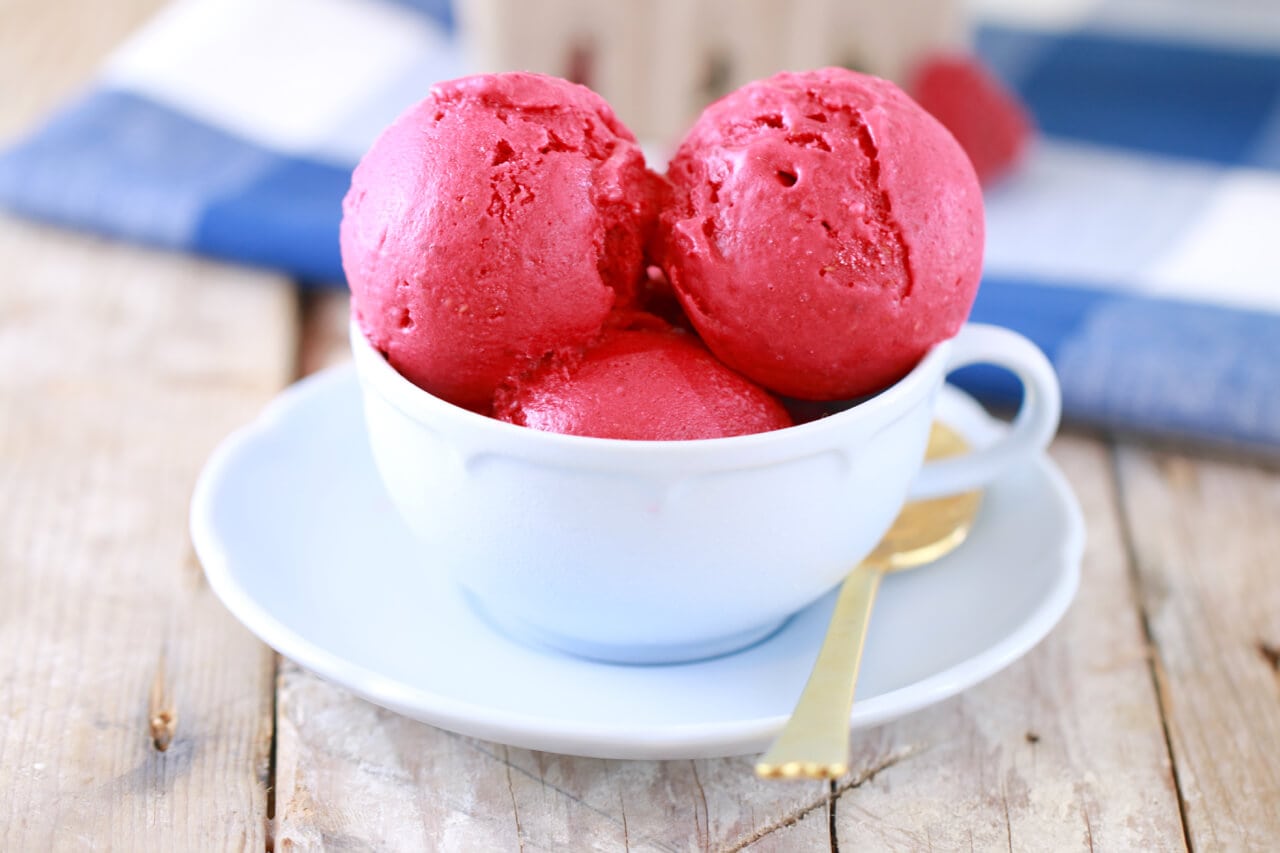
The base of your milkshake is the most crucial component as it sets the foundation for the flavors and overall texture. An ice cream of your choice will serve as the primary ingredient. Select a flavor that complements your desired milkshake experience. Classic options like vanilla, chocolate, or strawberry are always a safe bet, but don’t be afraid to get creative with flavors like mint chocolate chip, cookies and cream, or salted caramel.
Take note of the quantity required to achieve the desired thickness. Generally, 2-3 large scoops of ice cream per serving will give you a rich and creamy consistency. You can adjust this based on personal preference and the size of your serving.
If you’re looking for a healthier alternative, you can use frozen fruits, such as bananas or berries, as the base. This option provides a refreshing and nutritious twist to your milkshake. Simply freeze the fruits ahead of time and use them in place of ice cream.
Remember, the base ingredient will significantly impact the final taste and texture of your milkshake. So, choose wisely and let your taste buds guide you in creating a satisfying flavor profile.
Now that you’ve chosen your base, let’s move on to the next step: adding flavorful ingredients to create a delicious and unique milkshake.
Step 2: Add flavoring
Now that you have your base ingredient ready, it’s time to add some flavor to your milkshake. This is where you can get creative and experiment with different ingredients to customize your milkshake according to your taste preferences. Here are some options to consider:
- Extracts: Add a teaspoon or two of vanilla extract, almond extract, or any other extract of your choice to enhance the flavor of your milkshake. These extracts can add a subtle yet delightful twist to the overall taste.
- Flavored syrups: If you’re a fan of specific flavors like chocolate, caramel, or strawberry, consider adding a drizzle of flavored syrup into your milkshake. This will infuse a burst of sweetness and flavor into every sip.
- Fresh fruits: For a more natural and refreshing taste, you can incorporate fresh fruits into your milkshake. Whether it’s ripe bananas, juicy strawberries, or tangy mangoes, blending them along with the base ingredient will result in a fruity explosion of flavors.
- Spices: To add a hint of warmth and depth to your milkshake, consider using spices like cinnamon, nutmeg, or even a dash of chili powder. These spices can add a unique twist and make your milkshake more exciting.
Remember to start with small amounts of flavoring ingredients and adjust according to your taste preferences. You can always add more if needed, but it’s difficult to remove excess flavoring once it’s blended into the milkshake.
Now that you’ve added delightful flavor to your milkshake, let’s move on to the next step: sweetening it up!
Step 3: Sweeten it up
After adding the desired flavorings to your milkshake, it’s time to sweeten it up to achieve the perfect level of sweetness. The amount of sweetener needed will depend on your personal preference and the sweetness of your chosen ingredients. Here are some ways to sweeten your milkshake:
- Sugar: The most common sweetener is granulated sugar. Start with a tablespoon of sugar and gradually add more if desired. You can also use brown sugar or powdered sugar for a different flavor profile.
- Honey: For a natural and slightly floral sweetness, try using honey as your sweetener. Begin with a small drizzle and adjust based on your taste preference. Keep in mind that honey can overpower other flavors, so use it sparingly.
- Maple syrup: Another delicious alternative sweetener is maple syrup. It adds a rich and distinctive sweetness to your milkshake. Start with a tablespoon and adjust as needed.
- Agave nectar: This sweetener, derived from the agave plant, is a popular choice for those looking for a low glycemic index option. Use it in the same way as other liquid sweeteners.
Be sure to blend the sweetener with the rest of the ingredients to ensure even distribution throughout the milkshake mixture. Taste as you go and add more sweetener as desired, keeping in mind that you can always adjust the sweetness level later.
Now that your milkshake is sweetened to perfection, let’s move on to the exciting part: blending it all together!
Read more: How To Make Milkshake In Ninja Blender
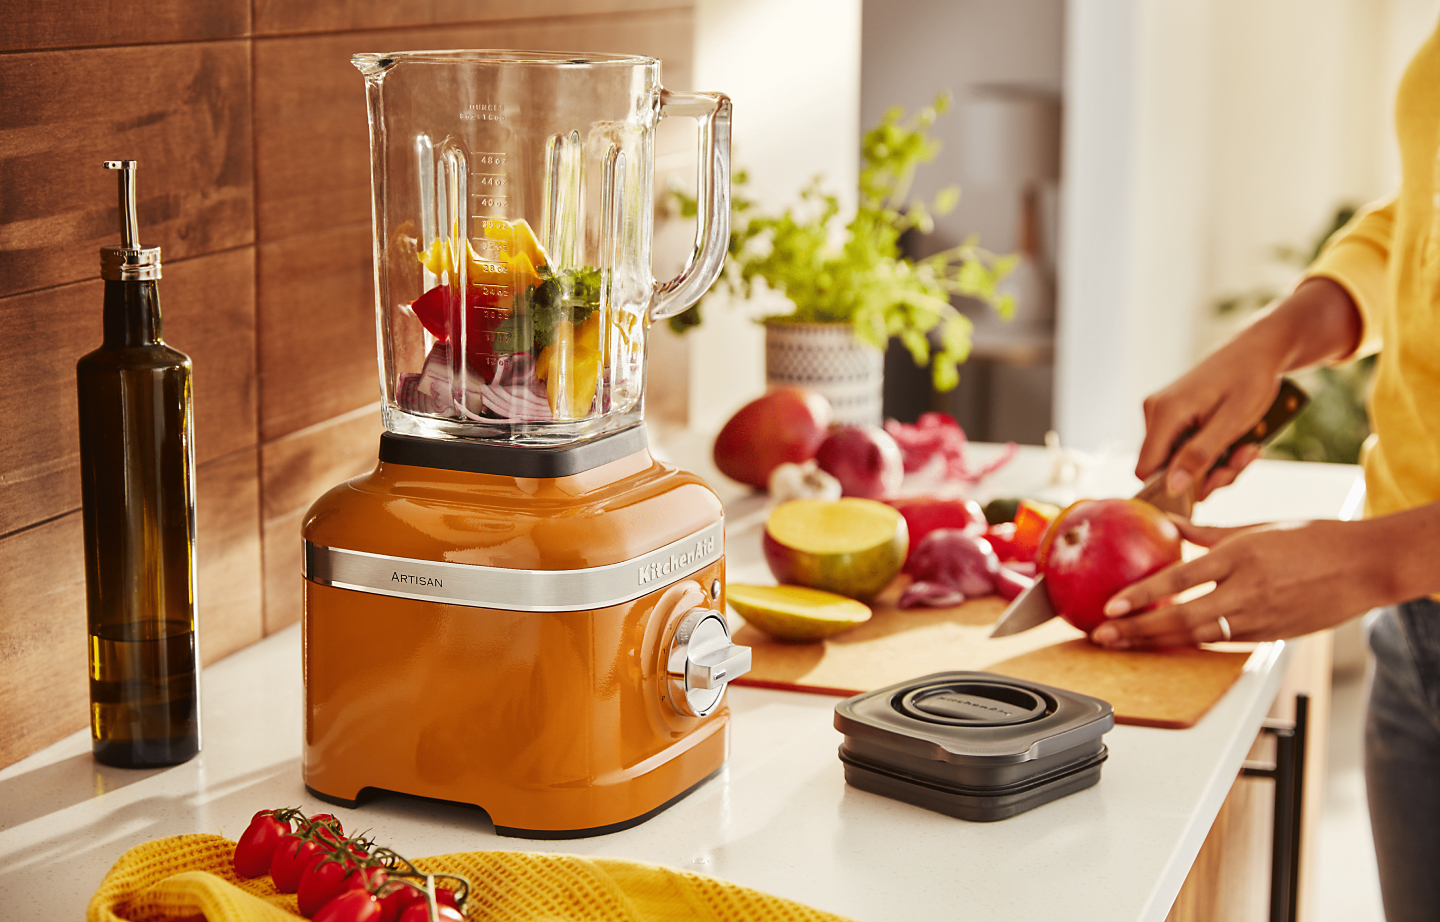
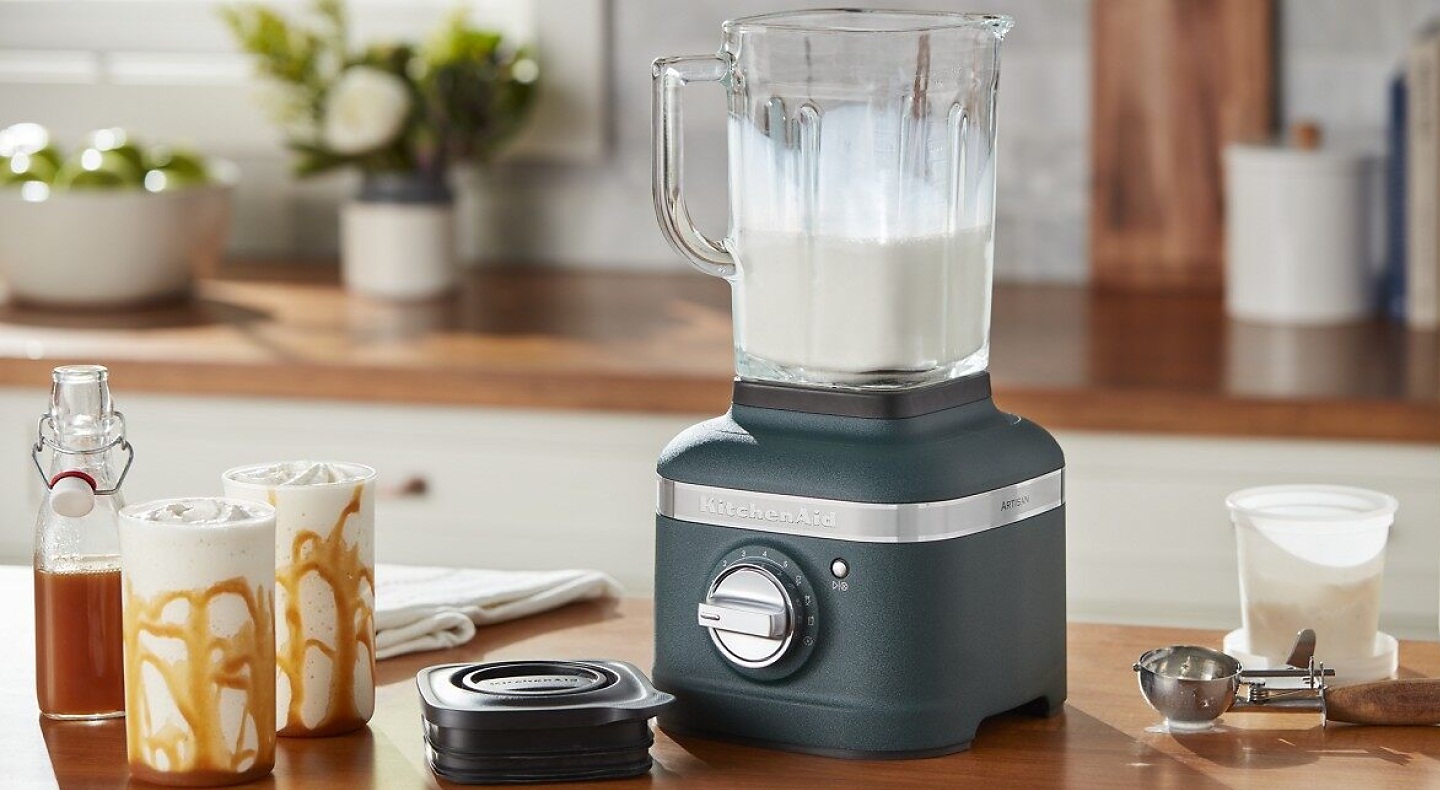
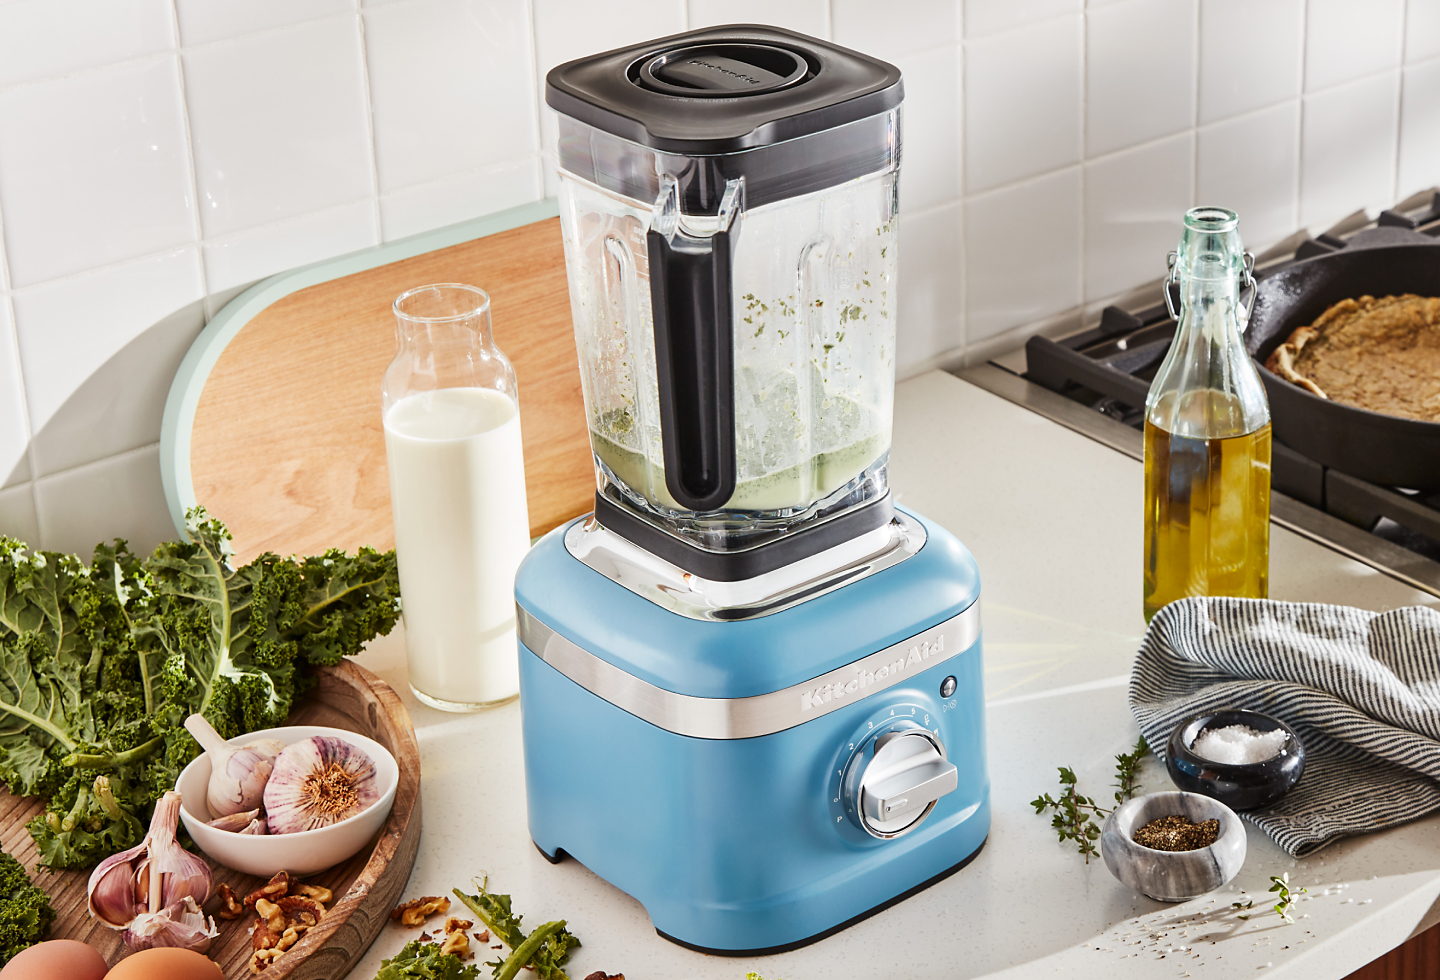
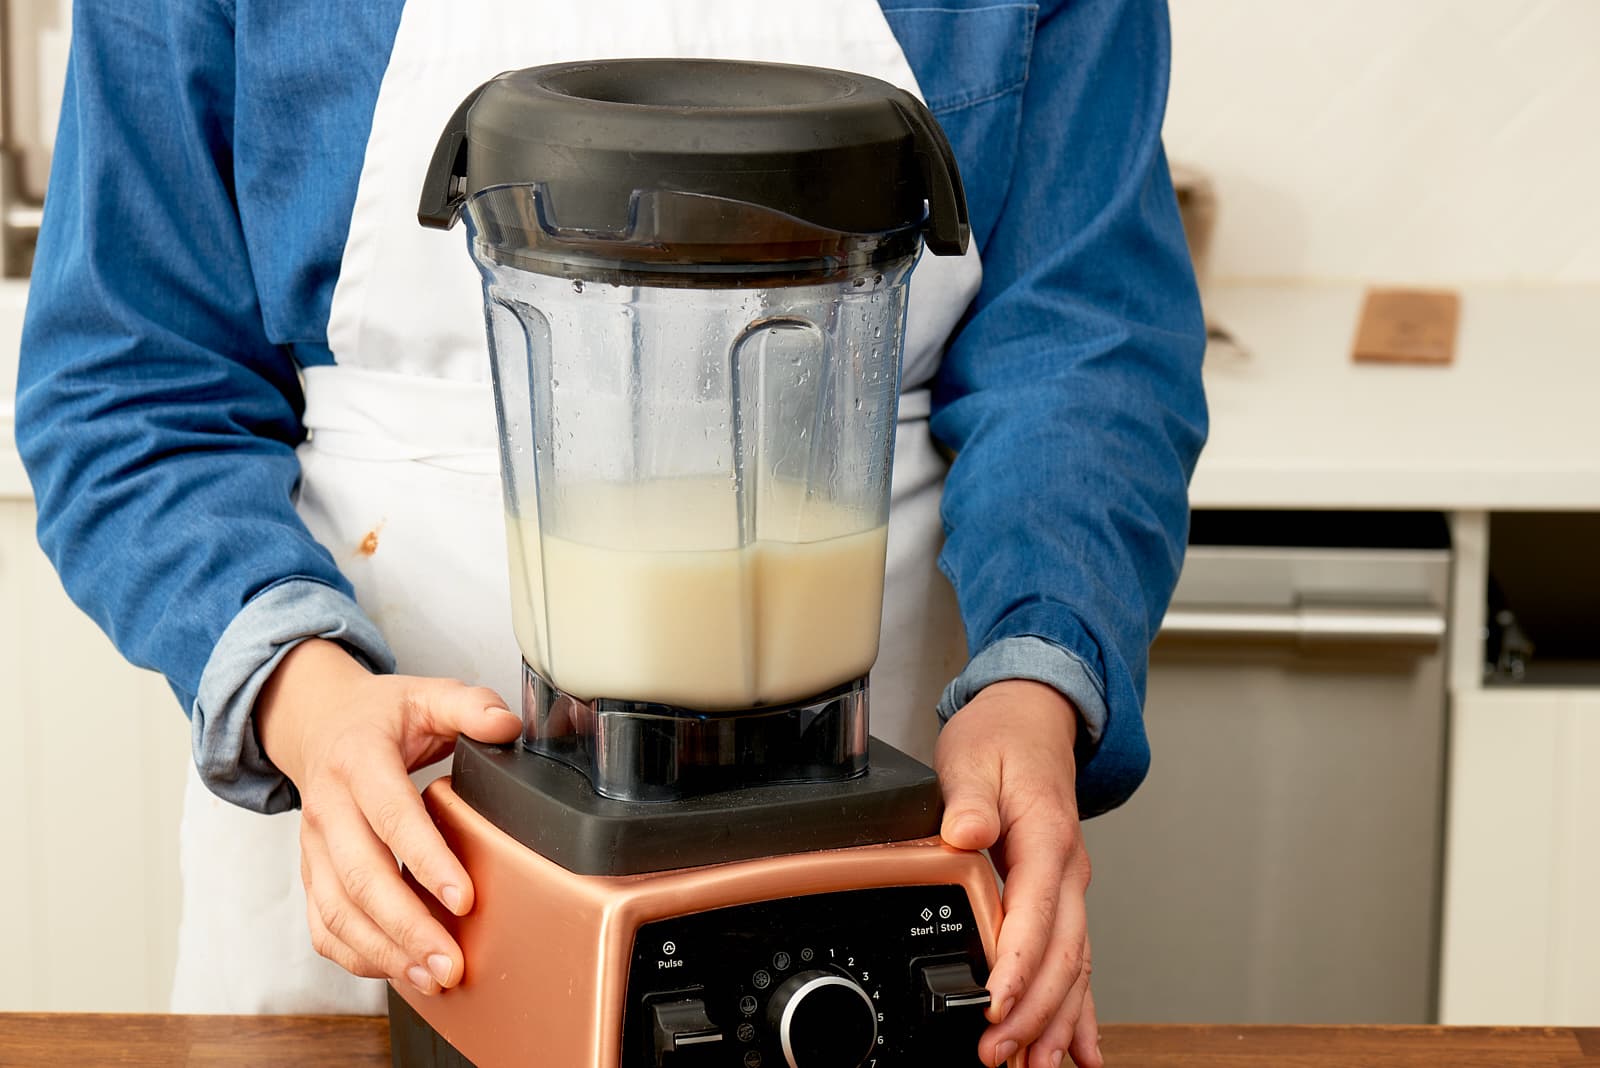
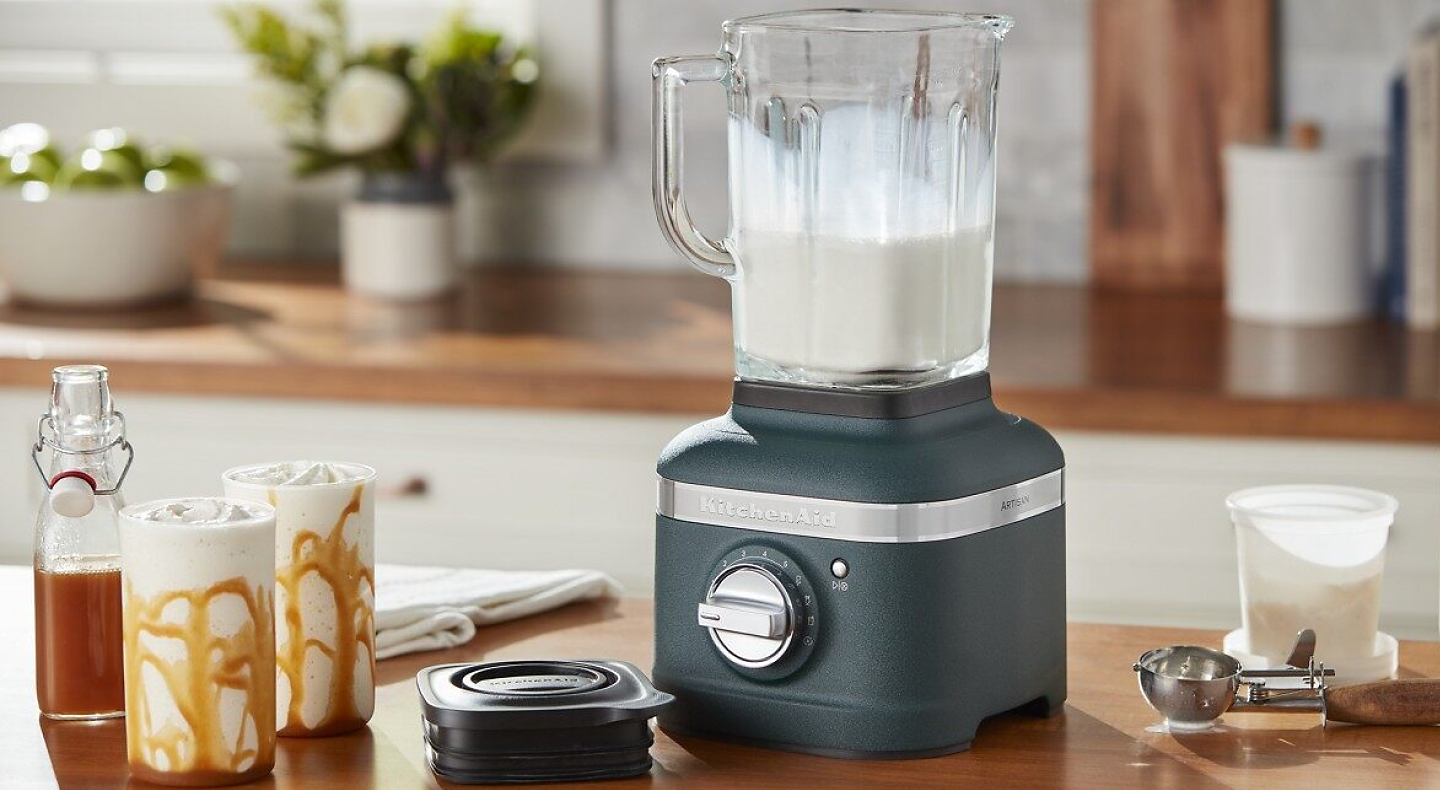
Step 4: Blend it all together
With your base, flavorings, and sweetener ready, it’s time to bring everything together by blending it to a smooth and creamy consistency. Here’s how to do it:
- Prepare your blender: Ensure that your blender is clean and in good working condition. Plug it in and make sure the lid is securely in place.
- Add the ingredients: Start by adding your chosen base ingredient, whether it’s ice cream or frozen fruits, into the blender. Then, add the flavorings and sweeteners you have prepared.
- Blend on low speed: Begin blending your milkshake on low speed to break down the ingredients and combine them evenly.
- Increase the speed: Gradually increase the blender’s speed to a higher setting. This will help create a smooth and creamy texture. Blend until all the ingredients are well incorporated and the milkshake reaches your desired consistency.
It’s important to note that blending for too long can cause the milkshake to become runny. Therefore, keep an eye on the consistency and stop blending once it reaches the desired thickness.
Once your milkshake is blended to perfection, it’s time to pour it into a glass and serve it up!
In the next step, we’ll discuss how to present and enjoy your milkshake.
To make a milkshake in a blender, start by adding 2 cups of ice cream, 1 cup of milk, and any desired flavorings (such as chocolate syrup or fruit) to the blender. Blend until smooth and creamy, then pour into a glass and enjoy!
Step 5: Pour and serve
Congratulations! You’ve successfully blended your milkshake to perfection. Now, it’s time to pour it into a glass and get ready to enjoy the fruits of your labor. Here’s how to complete the final step:
- Select the right glass: Choose a tall and sturdy glass that can hold your milkshake comfortably. This will prevent any overflow and allow space for toppings.
- Pour with precision: Slowly pour the milkshake into the glass, tilting it slightly to create a smooth and steady flow. Fill the glass to your desired level. If you have multiple servings, repeat this step for each glass.
- Add the finishing touches: Now comes the fun part – adding any additional toppings you desire. Whether it’s a generous dollop of whipped cream, a drizzle of chocolate sauce, or a sprinkle of colorful sprinkles, let your creativity shine. Feel free to experiment and customize your milkshake with various toppings.
- Insert a straw or spoon: Depending on how thick or creamy your milkshake is, you can either insert a straw or serve it with a spoon. Using a straw allows you to savor every sip, while a spoon lets you scoop up the creamy goodness.
Now that your milkshake is beautifully presented and ready to be enjoyed, take a moment to appreciate your creation. Indulge in the velvety smoothness, savor the flavors, and enjoy the cooling sensation as you sip or spoon your way through the delicious treat.
Remember, milkshakes are best enjoyed immediately after blending. They tend to melt quickly, so be sure to serve and consume them promptly for the most indulgent experience.
Feel free to experiment with different flavor combinations, toppings, and presentation styles to make your milkshake truly unique and personalized.
Now, raise your glass and enjoy the tantalizing blend of flavors and textures that you’ve created with your very own milkshake!
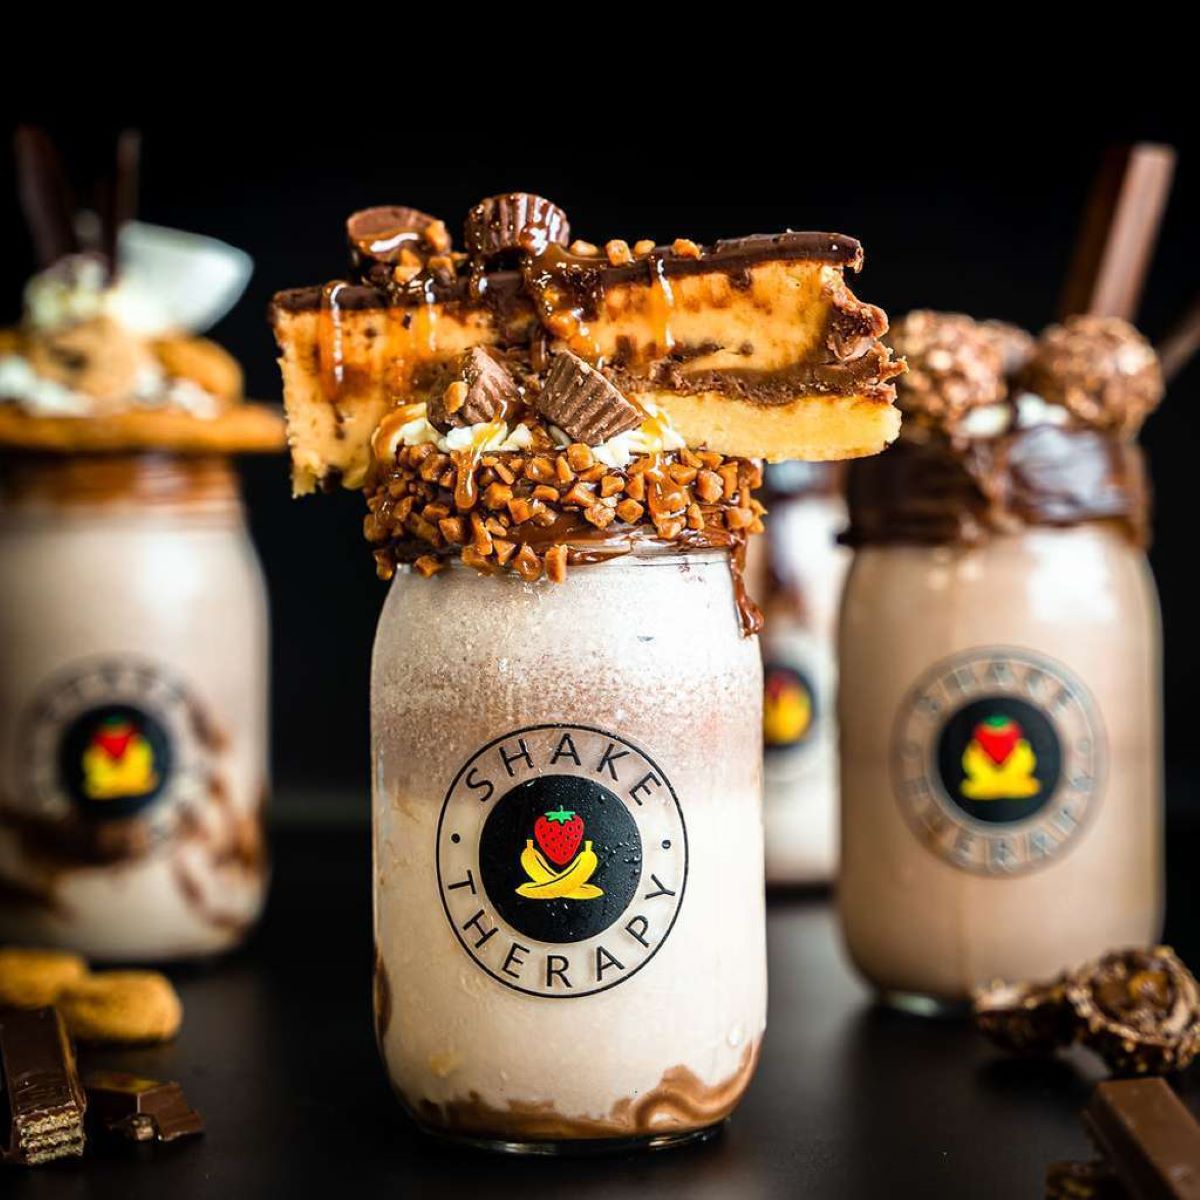
Variations and Additional Toppings
While a classic milkshake is undoubtedly delicious, there are endless possibilities for variations and additional toppings to elevate your milkshake experience. Here are some creative ideas to inspire you:
Flavor Variations:
- Chocolate Lovers: Add a tablespoon of cocoa powder or a chocolate-flavored syrup to your base for a rich, chocolaty indulgence.
- Fruit Medley: Blend together a combination of your favorite fruits like strawberries, bananas, and blueberries for a refreshing and vibrant milkshake.
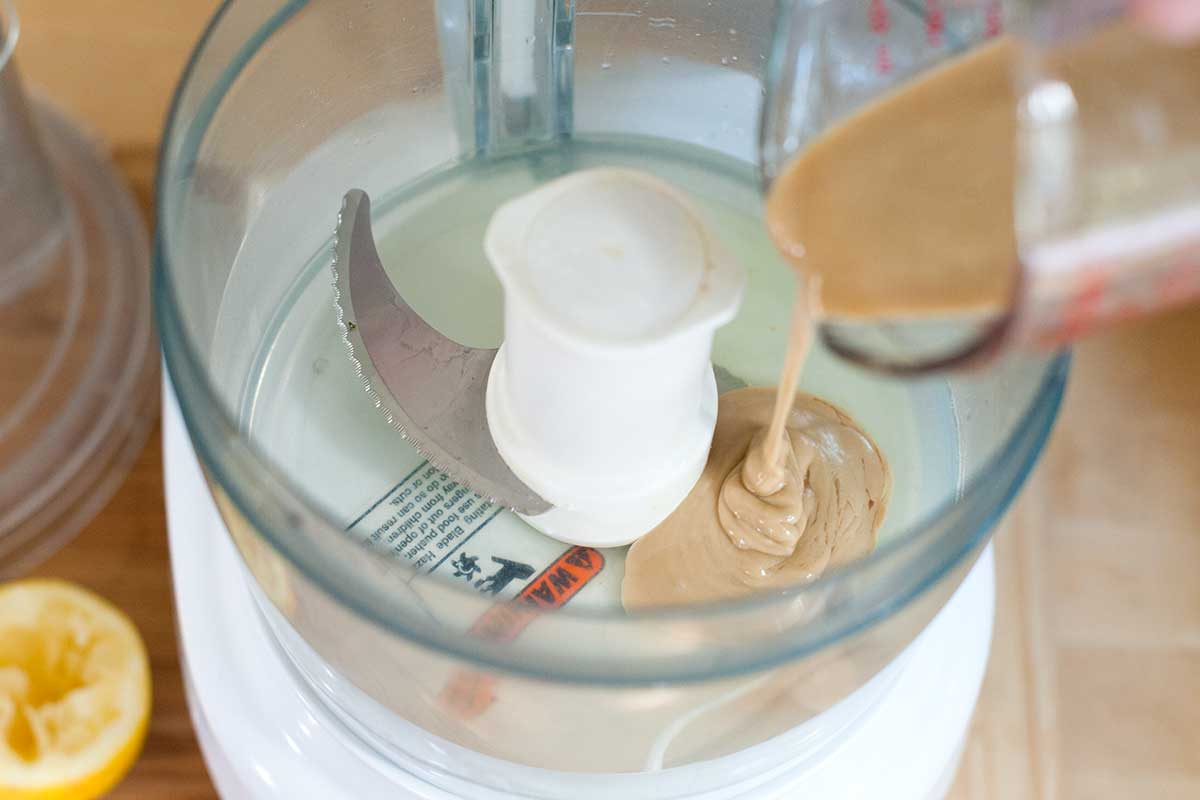
- Nutty Delight: Incorporate a spoonful of peanut butter or almond butter into your milkshake for a creamy and nutty twist.
- Minty Fresh: Add a few drops of peppermint extract and some chocolate chips to your base for a refreshing mint chocolate chip milkshake.
- Caramel Dream: Drizzle caramel sauce into your milkshake mixture and top it off with some whipped cream and a sprinkle of sea salt for a decadent caramel-infused delight.
Additional Toppings:
- Whipped Cream: No milkshake is complete without a generous dollop of whipped cream on top. You can use store-bought whipped cream or make your own for an extra special touch.
- Chocolate Sauce: Drizzle some chocolate sauce over your milkshake to enhance the chocolatey goodness. You can use a pre-made chocolate syrup or melt down your favorite chocolate bar for a homemade sauce.
- Candies and Cookies: Crushed cookies like Oreos or chocolate chip cookies, as well as colorful candies like M&M’s or sprinkles, make for delightful toppings that add texture and visual appeal.
- Fruit Slices: Garnish your milkshake with fresh fruit slices that complement your chosen flavors. This not only adds a pop of color but also introduces an extra layer of freshness.
- Nuts: Sprinkle some crushed nuts, such as almonds, peanuts, or pecans, on top of your milkshake for added crunch and flavor.
The sky’s the limit when it comes to variations and additional toppings for your milkshake. Don’t hesitate to get creative and try out different combinations that appeal to your taste buds and bring you joy.
Remember to have fun and enjoy the process of creating and customizing your own unique milkshake masterpiece!
Conclusion
Making a milkshake in a blender is a delightful and rewarding experience that allows you to indulge in a creamy and flavorful treat from the comfort of your own home. By following these simple steps and exploring the various flavor variations and additional toppings, you can create a milkshake that satisfies your cravings and showcases your personal taste.
From selecting the perfect base ingredient to adding flavorings, sweetening it up, and blending it all together, each step in the process contributes to the overall deliciousness of your milkshake. Don’t be afraid to get creative and experiment with different flavors, textures, and combinations to discover new favorites.
Remember, a milkshake is not just about the taste, but also about the experience. Take the time to present your milkshake in an attractive glass and add a touch of whimsy with colorful toppings and garnishes. The visual appeal of your milkshake only adds to the anticipation and enjoyment of every sip or spoonful.
So, whether you’re craving a classic vanilla shake, a fruity medley, or a decadent chocolate delight, grab your blender, gather your ingredients, and let your imagination run wild. The possibilities are endless, and the joy of creating your own customized milkshake is unmatched.
Now, go on and treat yourself to a homemade milkshake that will satisfy your taste buds and bring a smile to your face. Enjoy the creamy goodness, experiment with flavors, and have fun on your milkshake-making adventure!
Frequently Asked Questions about How To Make Milkshake In A Blender
Was this page helpful?
At Storables.com, we guarantee accurate and reliable information. Our content, validated by Expert Board Contributors, is crafted following stringent Editorial Policies. We're committed to providing you with well-researched, expert-backed insights for all your informational needs.

0 thoughts on “How To Make Milkshake In A Blender”