Articles
How To Make Sorbet In A Blender
Modified: August 16, 2024
Learn how to make sorbet in a blender with these easy-to-follow articles. Discover delicious recipes and step-by-step instructions to satisfy your sweet tooth.
(Many of the links in this article redirect to a specific reviewed product. Your purchase of these products through affiliate links helps to generate commission for Storables.com, at no extra cost. Learn more)
Introduction
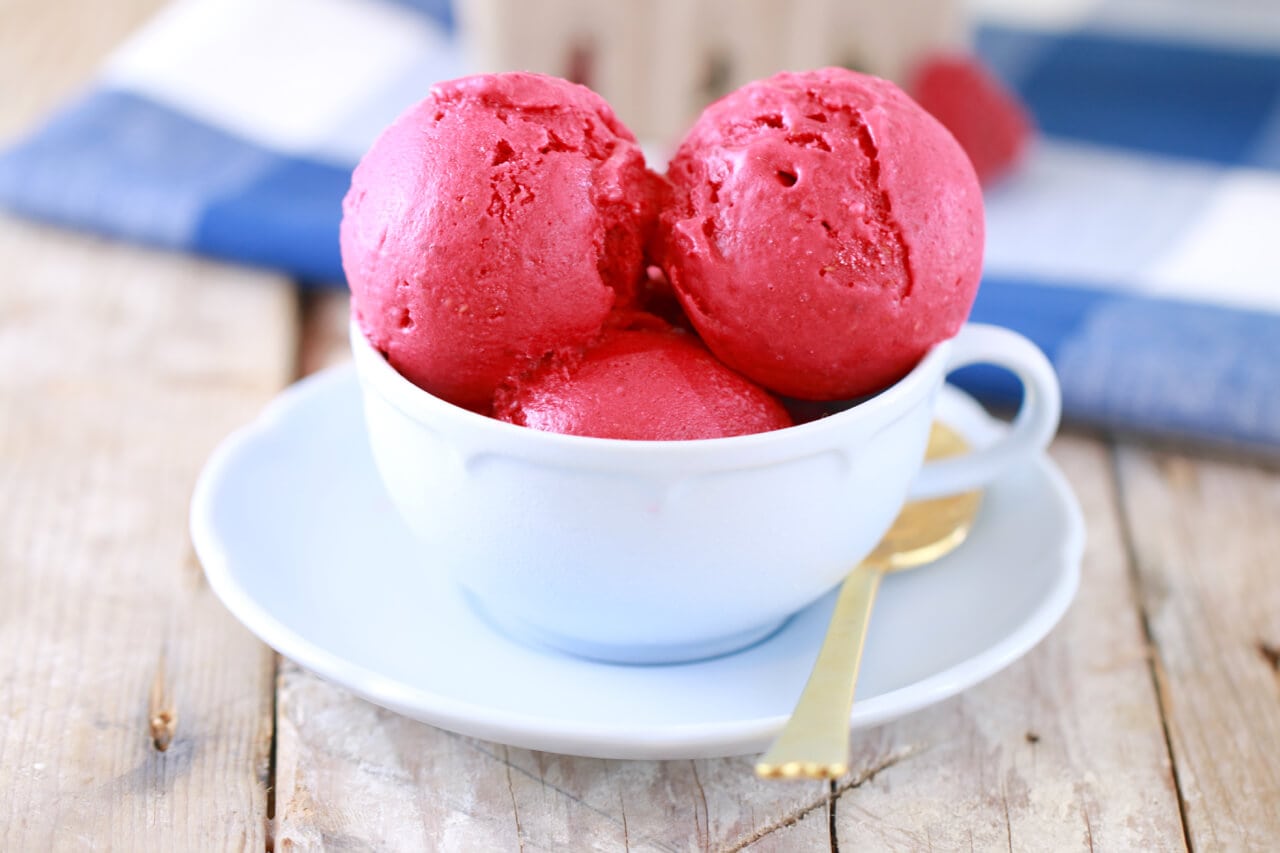
Are you looking for a refreshing and delicious treat to beat the summer heat? Look no further than homemade sorbet made right in your blender! Sorbet is a frozen dessert that is made from fruit puree, making it a healthier alternative to ice cream. By using fresh and seasonal fruits, you can create a variety of sorbet flavors that are both satisfying and guilt-free.
Creating sorbet in a blender is quick and easy, allowing you to enjoy a batch of delicious homemade treats in no time. Whether you’re hosting a backyard barbecue, planning a picnic, or simply craving a sweet treat, making sorbet in a blender is the perfect way to impress your guests or indulge in a cooling dessert for yourself.
In this article, we will guide you through the process of making sorbet in a blender. We will cover everything from choosing the right ingredients to serving and storing your homemade sorbet.
So, let’s get started and learn how to whip up some mouthwatering sorbet using your trusty blender!
Key Takeaways:
- Beat the summer heat with homemade sorbet made in a blender using fresh, ripe fruits, sweeteners, and additional flavorings. Experiment with unique combinations and textures to create your signature sorbet recipes.
- Freeze your sorbet mixture without the need for an ice cream maker, and serve it with creative garnishes. Store leftovers in the freezer for up to a month, and explore endless variations to customize your sorbet creations.
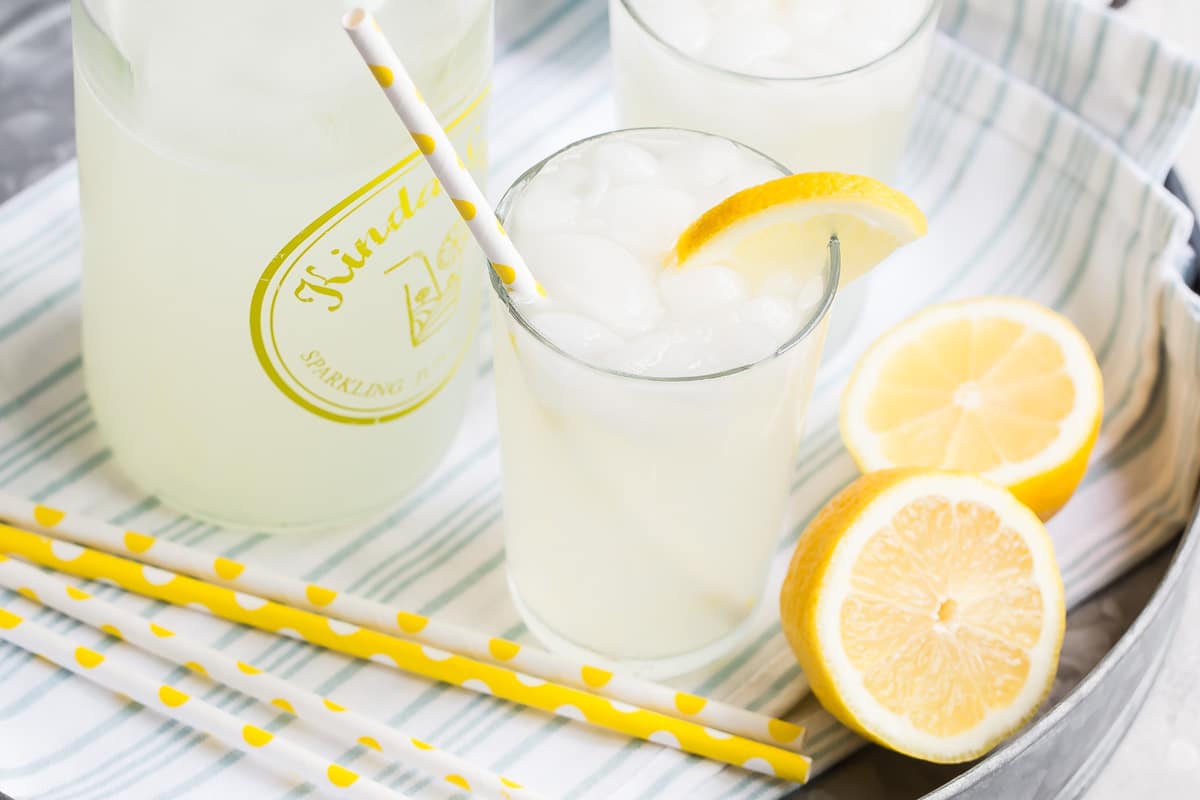
Read more: How To Make Lemon Sorbet In A Blender
Choosing the Right Ingredients
The key to making delicious sorbet lies in selecting the right ingredients. Since sorbet is primarily made from fruit, it’s important to choose ripe and flavorful options. Here are a few things to consider when selecting your ingredients:
- Fruit: Opt for fresh, ripe fruits that are in season. Ripe fruits not only offer the best flavor but also make it easier to blend into a smooth puree. Some popular fruit choices for sorbet include strawberries, mangoes, peaches, and raspberries.
- Sweeteners: Depending on your preference and the natural sweetness of the fruit you’re using, you may need to add some sweeteners. Common options include granulated sugar, honey, or agave syrup. Experiment with the amount of sweetener to achieve your desired level of sweetness.
- Liquid: Adding a liquid component to the sorbet mixture helps with the blending process and enhances the texture. You can use water, fruit juice, or even a splash of citrus juice like lemon or lime to brighten the flavors.
- Additional Flavorings: To take your sorbet to the next level, consider adding additional flavorings like vanilla extract, mint leaves, or a sprinkle of spices such as cinnamon or cardamom. These extra touches can add complexity and depth to your homemade sorbet.
Remember to be creative and have fun with your ingredient choices. Don’t be afraid to try out different fruit combinations or experiment with unique flavors to create your signature sorbet recipes. The possibilities are endless!
Preparing the Fruit
Before you can blend the fruit into a smooth and creamy sorbet, it’s important to properly prepare the fruit. Here are the steps to follow:
- Wash the Fruit: Start by washing the fruit under cold running water to remove any dirt or impurities. Pat dry with a clean towel.
- Peel and Remove Seeds: Depending on the type of fruit, you may need to peel it and remove any seeds or pits. For example, with mangoes, you’ll want to peel off the skin and remove the pit. With berries, on the other hand, you can leave them whole.
- Cut into Small Pieces: To ensure easy blending, cut the fruit into small pieces. This will make it easier for the blender to break down the fruit and create a smooth puree. If you’re working with larger fruits like melons or pineapples, make sure to remove the skin and cut them into manageable chunks.
Once the fruit is prepared, you’re ready to move on to the next step: blending the sorbet mixture. Having your fruit properly prepared ensures a smooth blending process and helps to maintain the desired texture of the sorbet.
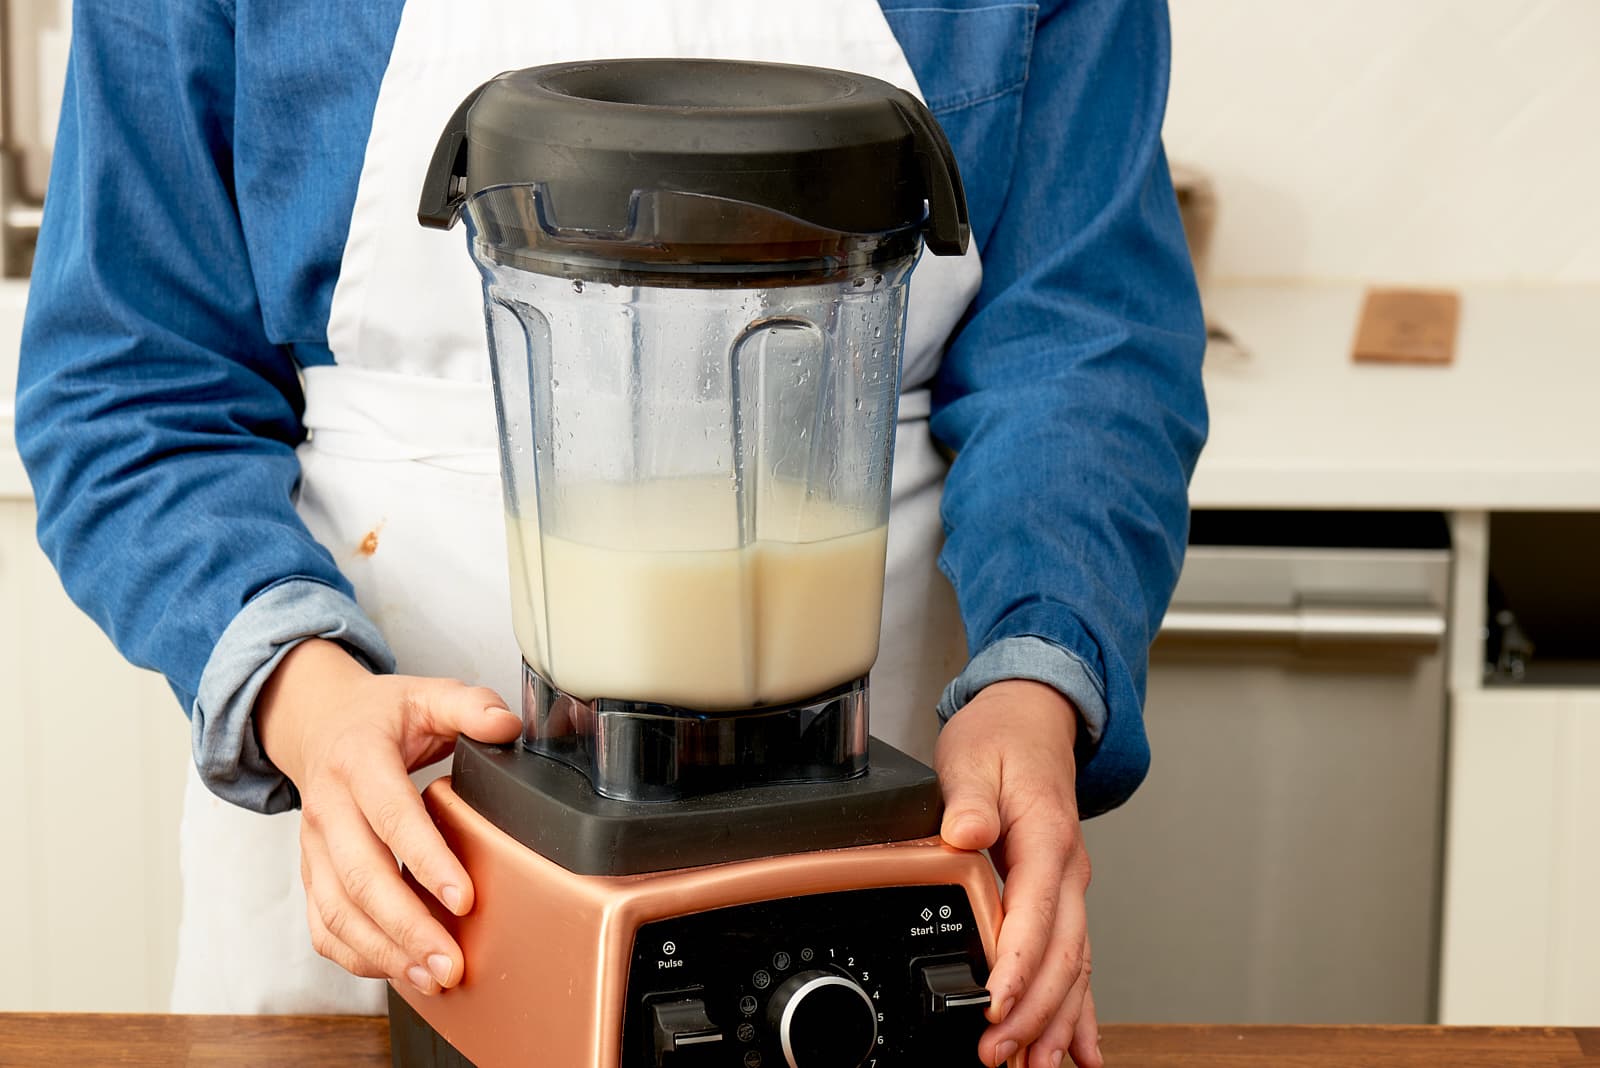
Blending the Sorbet Mixture
Now that your fruit is prepared, it’s time to blend it into a smooth and creamy sorbet mixture. Here’s how you can do it:
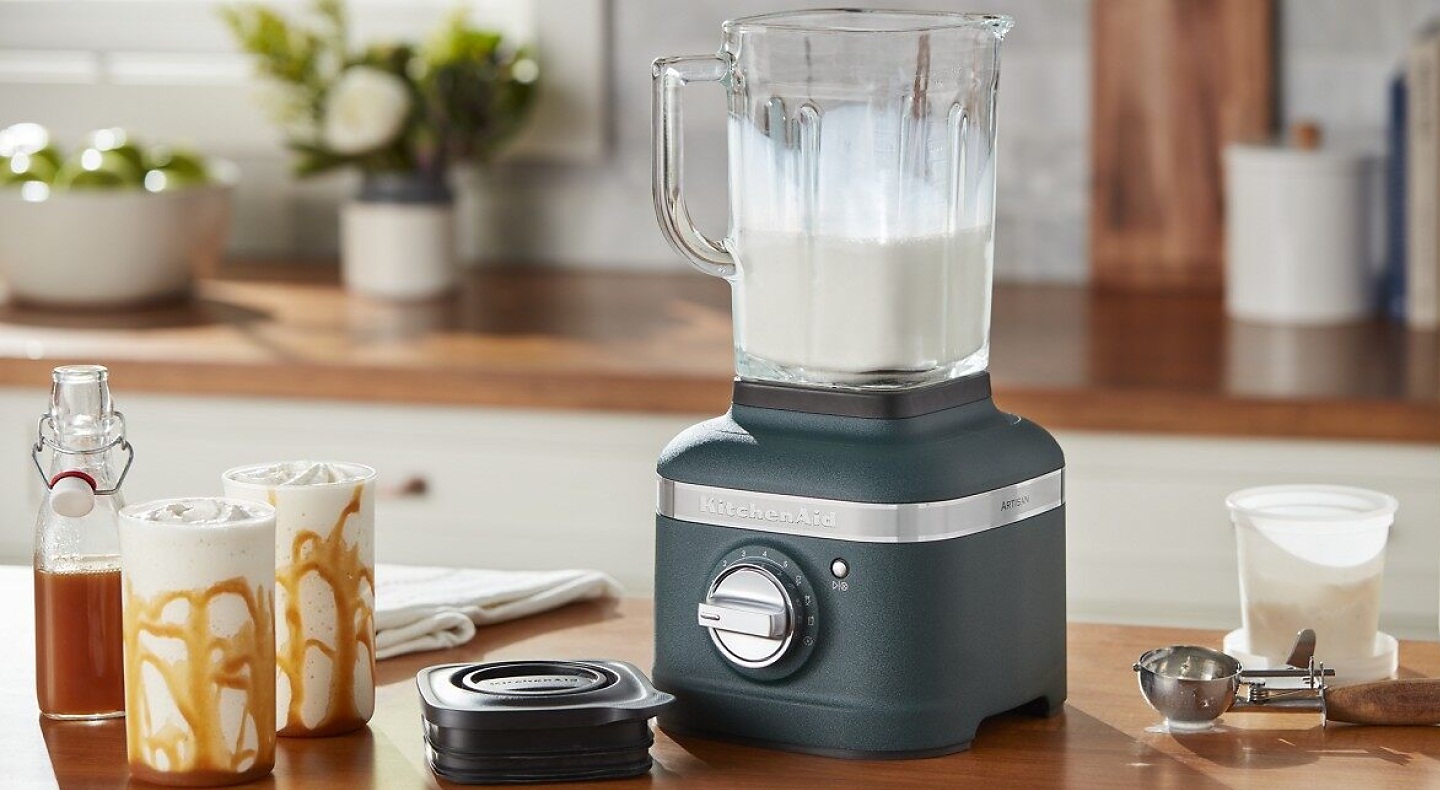
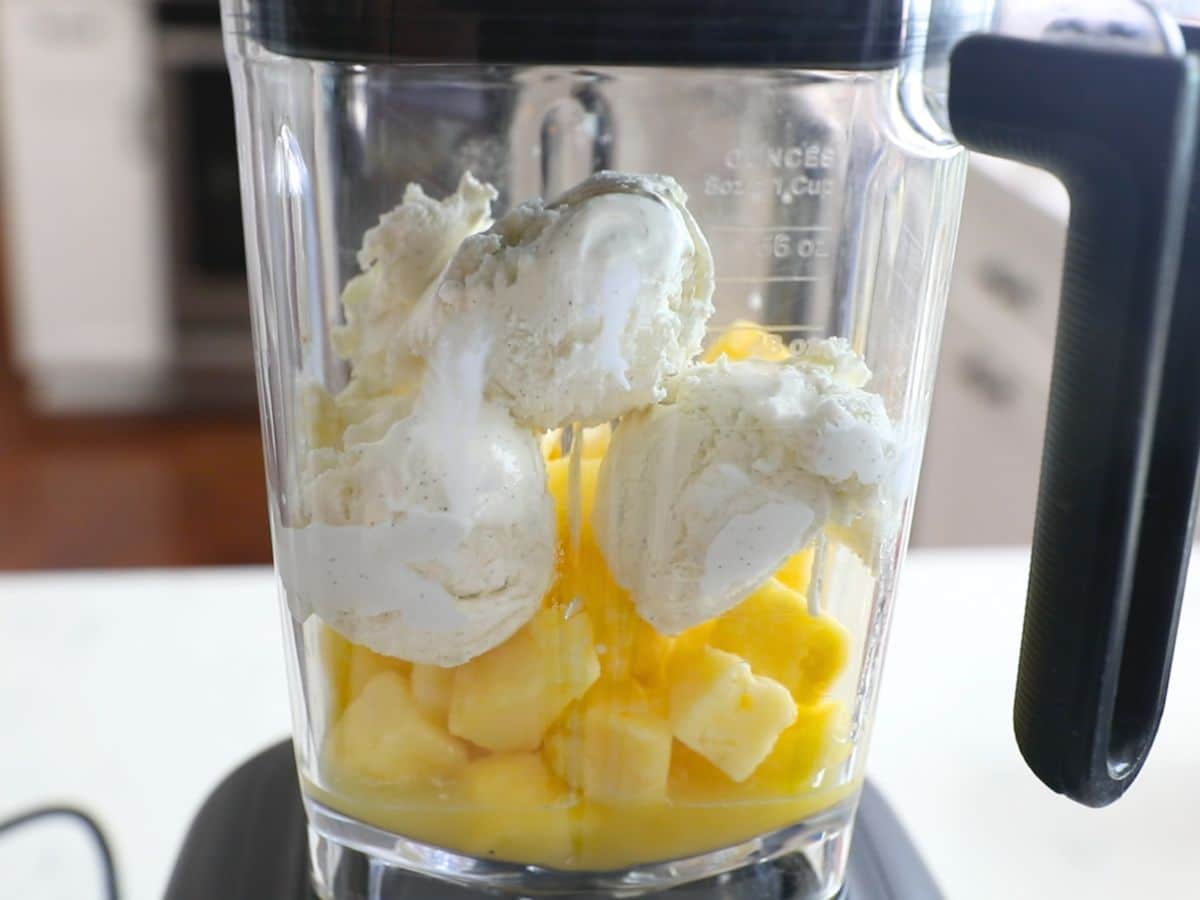
- Add the Fruit to the Blender: Place the prepared fruit into the blender jug. Make sure not to overcrowd the blender as this may hinder the blending process. If necessary, blend the fruit in batches.
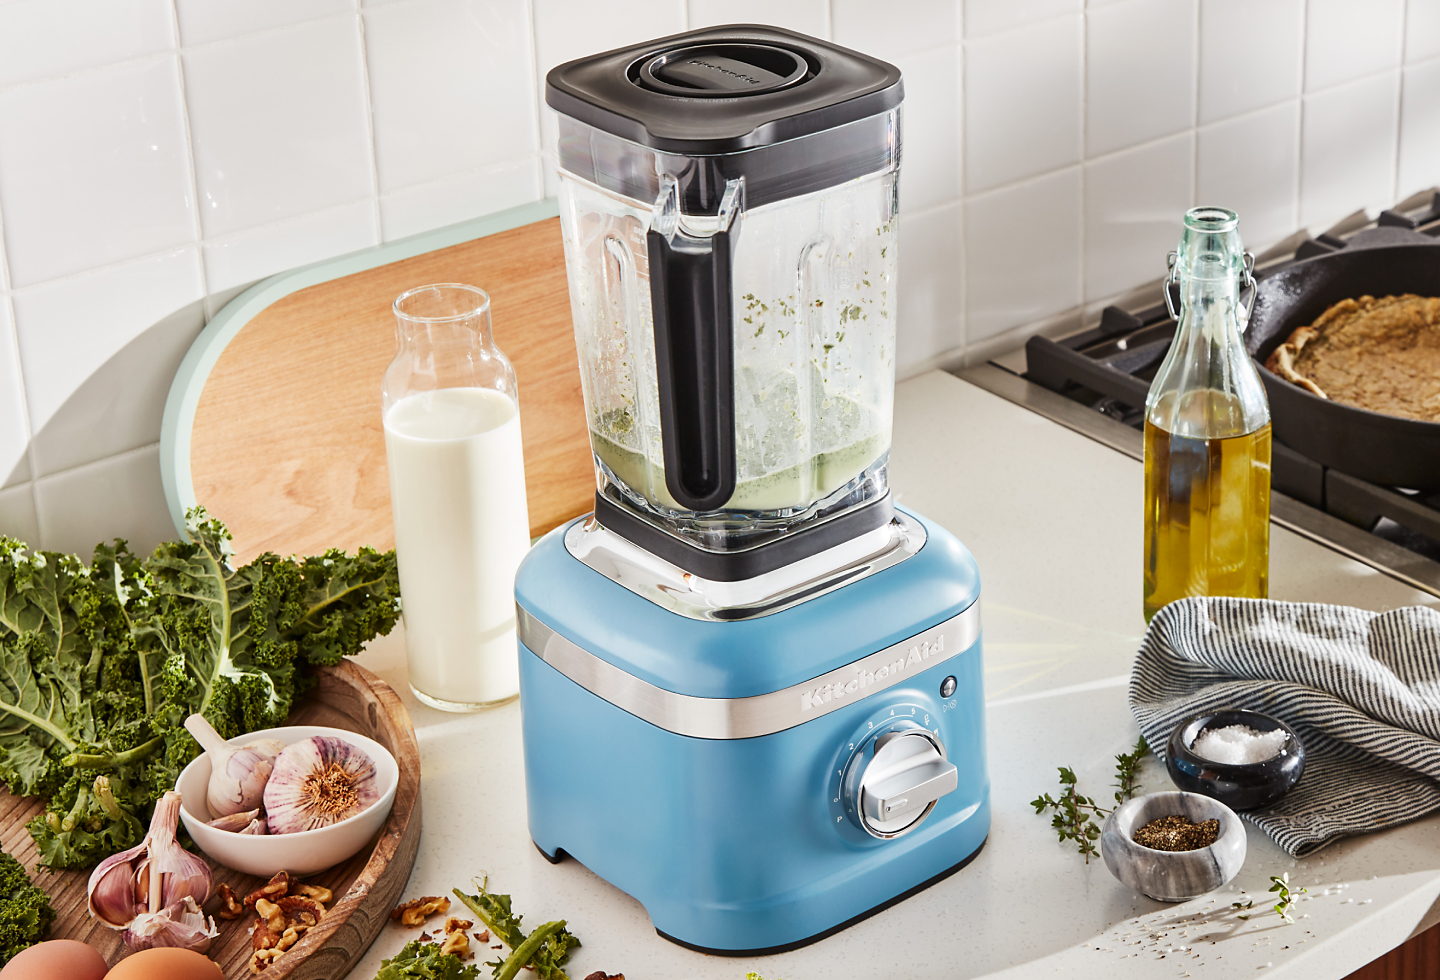
- Add Liquid: Depending on the recipe and the consistency of your fruit, you may need to add some liquid to help with the blending process. This can be water, fruit juice, or even a splash of citrus juice like lemon or lime. Start with a small amount and gradually add more as needed to achieve a smooth puree.
- Blend Until Smooth: Secure the blender lid and blend the mixture on high speed until the fruit is completely pureed and the mixture is smooth. This may take a few minutes, so be patient and monitor the consistency. If necessary, you can stop the blender and scrape down the sides to ensure even blending.
The key to achieving a silky-smooth sorbet mixture is to blend it until there are no lumps or chunks of fruit remaining. The high speed of the blender will help break down the fruit fibers, resulting in a creamy texture that is perfect for sorbet.
Once the sorbet mixture is blended to perfection, it’s time to move on to the next step: adding sweeteners and flavors to enhance the taste of your homemade sorbet.
When making sorbet in a blender, make sure to use frozen fruit to achieve a smooth and creamy texture. Adding a small amount of liquid, such as juice or simple syrup, can also help the blending process.
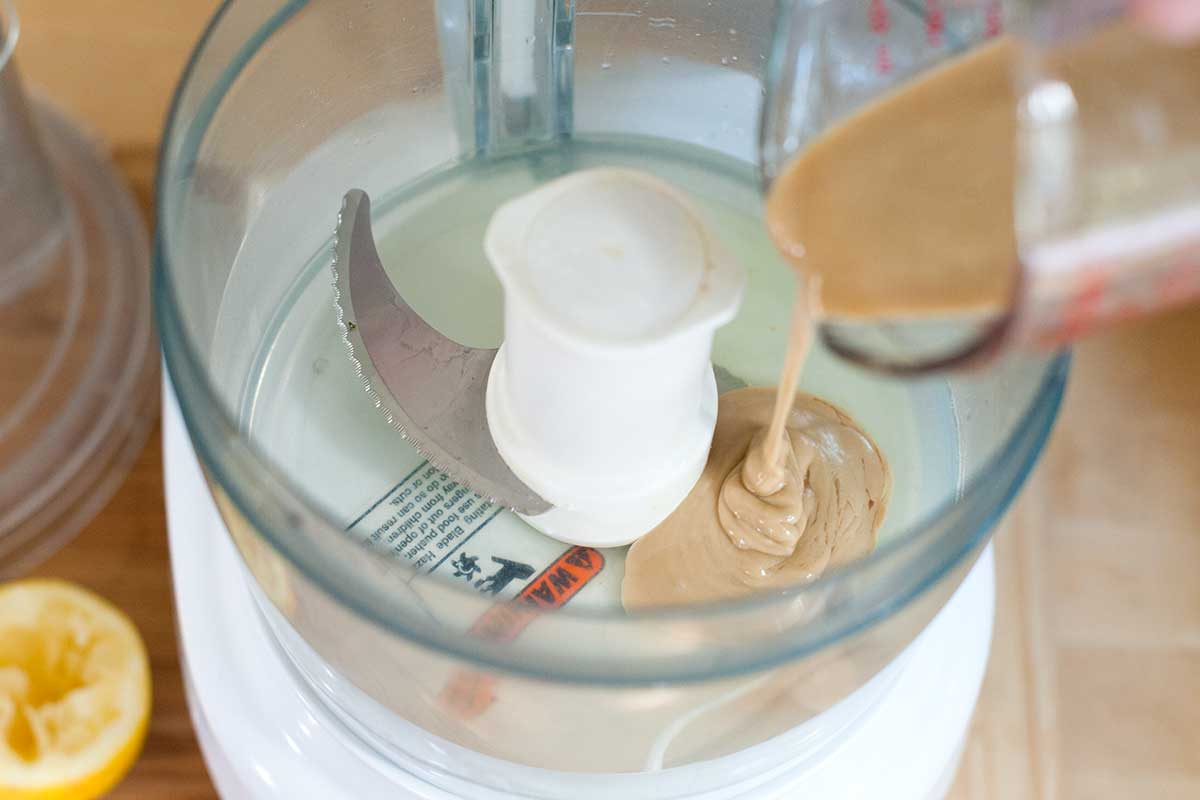
Adding Sweeteners and Flavors
While the natural sweetness of the fruit is often enough to satisfy your sweet tooth, adding a touch of sweeteners and additional flavors can take your homemade sorbet to the next level. Here’s what you need to know about adding sweeteners and flavors:
- Sweeteners: Depending on the sweetness of the fruit you’re using and your personal preference, you may need to add some sweeteners. This can be granulated sugar, honey, agave syrup, or any other sweetener of your choice. Start with a small amount and gradually add more while blending, tasting along the way to achieve the desired level of sweetness. Keep in mind that the sorbet mixture will taste slightly less sweet once frozen, so adjust accordingly.
- Additional Flavorings: Adding extra flavorings can elevate the taste of your sorbet. Consider adding a splash of vanilla extract, a handful of fresh mint leaves, a sprinkle of cinnamon, or a squeeze of citrus juice for a burst of freshness. These flavorings can complement the natural fruit flavors and add depth to your sorbet.
When adding sweeteners and flavorings, it’s essential to taste the sorbet mixture as you go. This way, you can customize the sweetness and flavors to your liking, ensuring a perfectly balanced sorbet. Remember, you can always add more sweeteners or flavors, but it’s challenging to remove them once they’re added.
Once you’re satisfied with the sweetness and flavors of your sorbet mixture, it’s time to move on to the next step: freezing the sorbet.
Read more: How To Make Soup In Blender
Freezing the Sorbet
After you have prepared and flavored your sorbet mixture, the next step is to freeze it to achieve the perfect icy texture. Here’s how you can freeze your sorbet:
- Chill the Mixture: Before freezing, it’s recommended to let the sorbet mixture chill in the refrigerator for at least an hour. This helps the flavors to blend and improves the texture of the final sorbet.
- Transfer to a Freezer-safe Container: Once the sorbet mixture has chilled, transfer it to a freezer-safe container. A shallow and wide container is ideal as it allows for faster freezing and easier scooping later on. Make sure to leave some space at the top as the sorbet will expand as it freezes.
- Cover and Freeze: Cover the container with a lid or plastic wrap to prevent ice crystals from forming on the surface. Place the container in the freezer and let it freeze for at least 4-6 hours or until it is firm throughout. For the best results, it is recommended to freeze the sorbet overnight.
It’s important to note that sorbet does not require an ice cream maker to freeze properly. The natural fruit sugars and the blending process help to prevent the formation of big ice crystals, resulting in a smooth and creamy sorbet texture.
Once the sorbet is fully frozen, it is ready to be served and enjoyed. But first, let’s learn how to properly serve and store your homemade sorbet.
Serving and Storing the Sorbet
Now that your homemade sorbet is frozen and ready to be savored, it’s time to serve and enjoy this delightful treat. Here’s how to serve and store your sorbet:
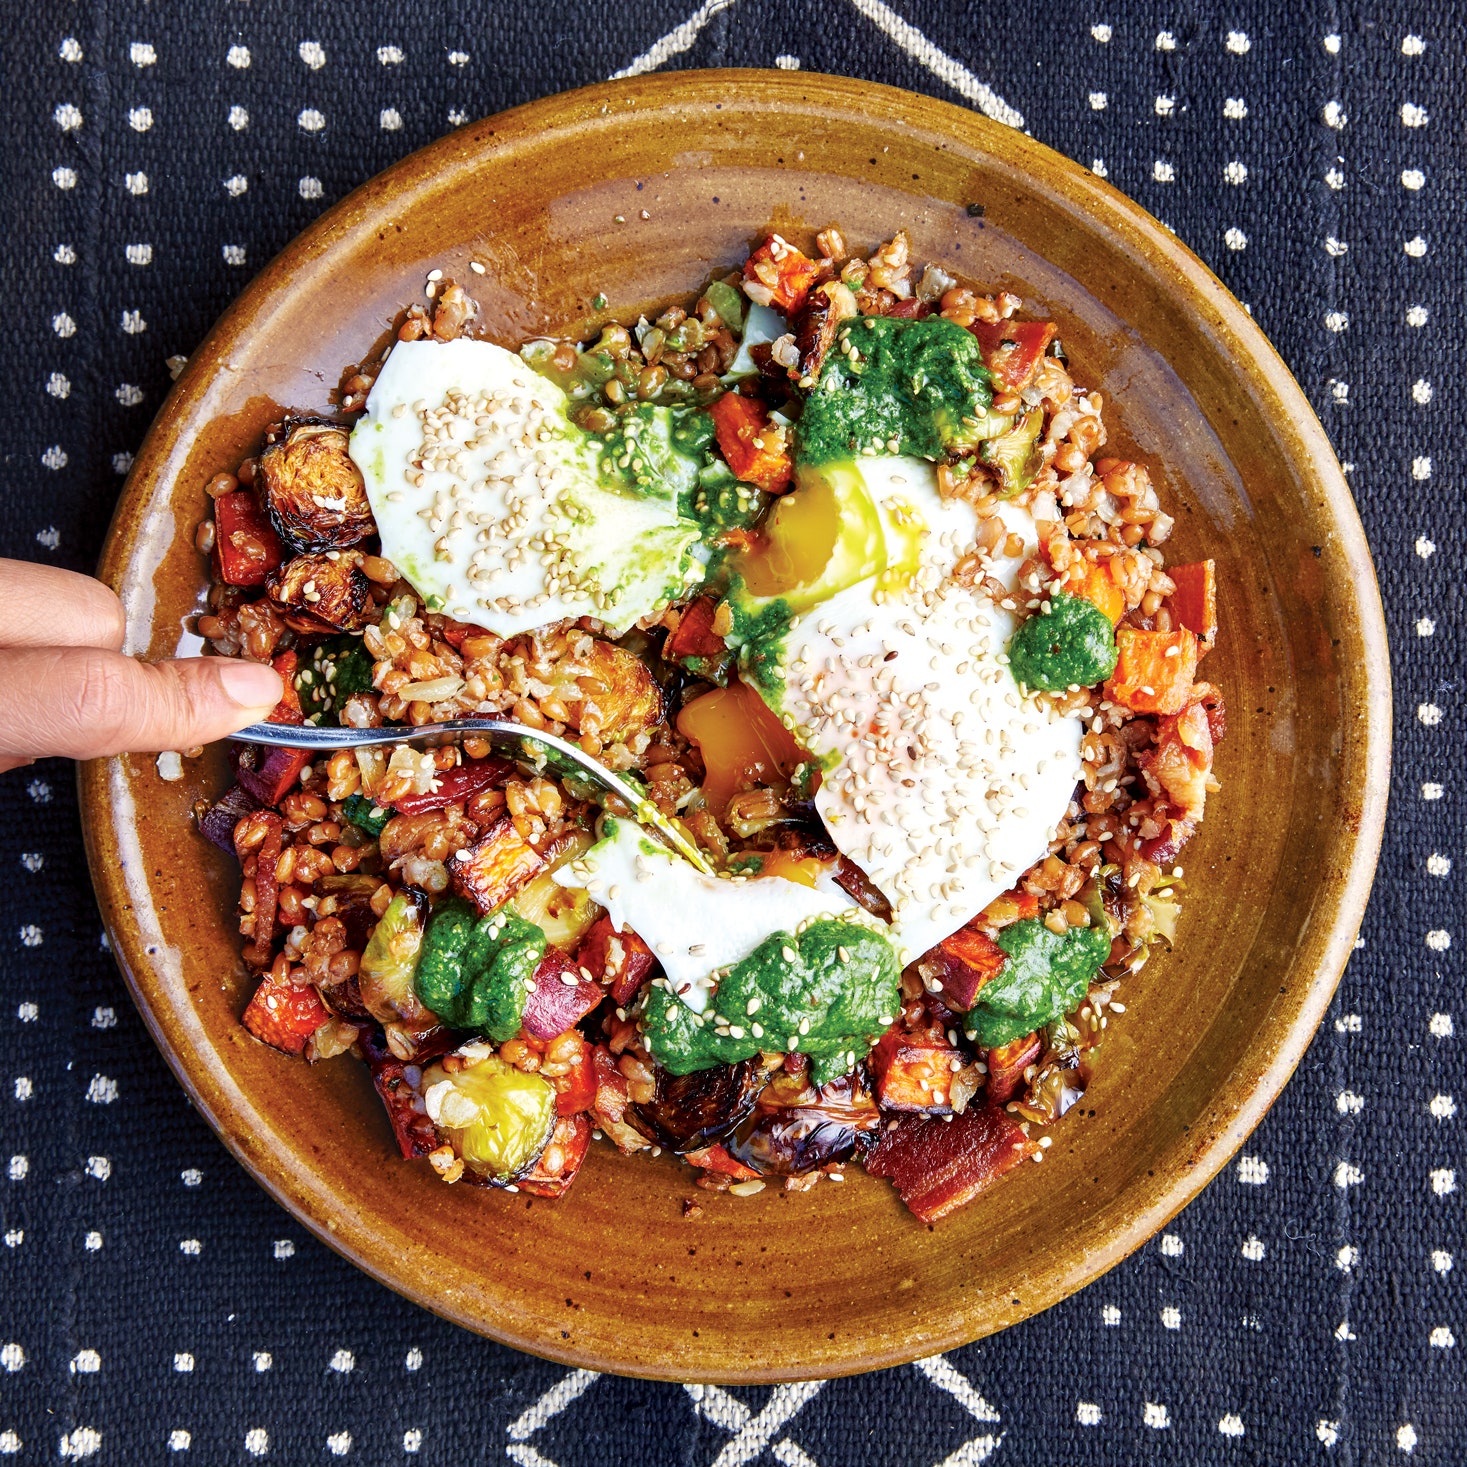
- Serving: Remove the sorbet from the freezer and let it sit at room temperature for a few minutes to soften slightly. This will make it easier to scoop. Use an ice cream scoop or a spoon to portion out the sorbet into bowls or cones.
- Garnish: To enhance the presentation and flavor of your sorbet, consider garnishing it with fresh fruit slices, sprigs of mint, or a dusting of powdered sugar. These simple touches can add visual appeal and a burst of additional flavor to your dessert.
- Storing: If you have leftovers or if you want to make sorbet in advance, you can store it in a freezer-safe container with an airtight lid. Make sure to press a layer of plastic wrap directly against the surface of the sorbet to prevent ice crystals from forming. Stored in this manner, the sorbet can last for up to a month in the freezer.
Remember that sorbet has a lower fat content than ice cream, which can cause it to melt faster. So, it’s best to serve and eat sorbet immediately after scooping it, especially on hot summer days.
Now that you know the steps to make and serve your own homemade sorbet, it’s time to get creative and experiment with different fruit combinations and flavor profiles. Whether you enjoy it on its own or as a delightful addition to desserts and cocktails, homemade sorbet is sure to impress your family and friends with its refreshing and vibrant flavors.
So, grab your blender and start making your own homemade sorbet today!
Tips and Variations
There are endless possibilities when it comes to making sorbet in a blender. Here are a few tips and variations to help you take your sorbet-making skills to the next level:
- Experiment with Fruit Combinations: Don’t be afraid to mix different fruits together to create unique flavor combinations. For example, try blending strawberries and watermelon or pineapple and coconut for a tropical twist.
- Add Texture: If you prefer a sorbet with some texture, consider adding small chunks of fruit or some crushed nuts or chocolate into the mixture after blending. This will add a delightful crunch to your sorbet.
- Use Frozen Fruit: If you want to skip the chilling and freezing step, you can use frozen fruit instead of fresh fruit. This will result in a sorbet with a slushier texture.
- Use Citrus Zest: To add a burst of bright and zesty flavor, consider adding some citrus zest to your sorbet mixture. Grate the zest of lemons, oranges, or limes and blend it in for an extra kick of freshness.
- Add a Splash of Alcohol: If you’re aiming to create adult-friendly sorbet, try adding a splash of your favorite alcohol, such as vodka or rum, to the sorbet mixture. This not only adds flavor but also helps to create a softer texture.
- Don’t Overblend: Be careful not to overblend the sorbet mixture as it can result in melting and a loss of the desired texture. Blend just until smooth, and if needed, give it a few extra pulses to combine any remaining chunks.
- Customize the Sweetness: Remember that the sweetness of sorbet is subjective. Adjust the amount of sweetener to suit your taste preferences. You can also use natural sweeteners like maple syrup or stevia as alternatives.
With these tips and variations, you can truly make your sorbet creations unique and tailored to your liking. So, get creative, have fun, and enjoy the refreshing goodness of homemade sorbet!
Frequently Asked Questions about How To Make Sorbet In A Blender
Was this page helpful?
At Storables.com, we guarantee accurate and reliable information. Our content, validated by Expert Board Contributors, is crafted following stringent Editorial Policies. We're committed to providing you with well-researched, expert-backed insights for all your informational needs.


0 thoughts on “How To Make Sorbet In A Blender”