
Articles
How To Make Hummus In A Blender
Modified: August 25, 2024
Learn how to make delicious hummus in a blender with this easy-to-follow step-by-step guide. Perfect for those who love quick and healthy recipes.
(Many of the links in this article redirect to a specific reviewed product. Your purchase of these products through affiliate links helps to generate commission for Storables.com, at no extra cost. Learn more)
Introduction
Are you a fan of hummus but don’t have a food processor? Don’t worry; you can still enjoy your favorite dip by making it in a blender! Hummus is a delicious and healthy spread made from chickpeas, tahini, and a blend of flavors. While the traditional method involves using a food processor, a blender can work just as well if you follow the right steps.
In this article, we will guide you through the process of making hummus in a blender. We’ll cover everything from gathering the ingredients to adjusting the consistency and serving it up for a crowd-pleasing treat. So, let’s dive in and create homemade hummus that’s worthy of any snack or appetizer platter.
Key Takeaways:
- Homemade hummus can be easily made in a blender, offering a smooth and creamy texture without the need for a food processor. It’s a versatile and crowd-pleasing dip perfect for any occasion.
- Experiment with different variations of hummus by adding roasted red peppers, sun-dried tomatoes, or fresh herbs. Get creative with toppings and serving options to cater to your personal taste and impress your guests.
Read more: How To Make Hummus Without A Food Processor
Step 1: Gather Your Ingredients
Before you start making hummus in a blender, it’s important to make sure you have all the necessary ingredients on hand. Here’s what you’ll need:
- 1 can (15 ounces) of chickpeas, drained and rinsed
- 3 tablespoons of tahini
- 2 tablespoons of fresh lemon juice
- 2 cloves of garlic, minced
- 1/2 teaspoon of salt (adjust to taste)
- 1/2 teaspoon of ground cumin
- 2 tablespoons of extra-virgin olive oil (plus more for drizzling)
- Optional garnishes: paprika, chopped fresh parsley, or toasted sesame seeds
These ingredients will give your hummus its classic flavors and creamy texture. You can also get creative and add other ingredients like roasted red peppers, sun-dried tomatoes, or fresh herbs to customize your hummus.
Once you’ve gathered all the ingredients, make sure to have your blender, measuring cups, and utensils ready. Having everything prepared before you start will make the process much smoother.
Step 2: Prepare Your Blender
Now that you have all your ingredients ready, it’s time to prepare your blender for making the hummus. Follow these steps:
- Ensure that your blender is clean and dry. Any residue or moisture can affect the taste and texture of your hummus.
- Remove the blender lid and set it aside, as you’ll need to add ingredients as you go.
- If your blender has multiple speed settings, start at a low speed to avoid splattering the ingredients.
- If your blender has a pulse function, that can also be useful in achieving the desired consistency for your hummus.
By taking a few moments to prepare your blender, you’ll be ready to move smoothly through the process of making your hummus.
Step 3: Add Chickpeas and Tahini
With your blender ready, it’s time to start adding the key ingredients for your hummus: chickpeas and tahini.
- Open a can of chickpeas, drain the liquid, and give them a good rinse under running water. This helps remove any excess sodium and gives your hummus a smoother texture.
- Add the drained and rinsed chickpeas to the blender.
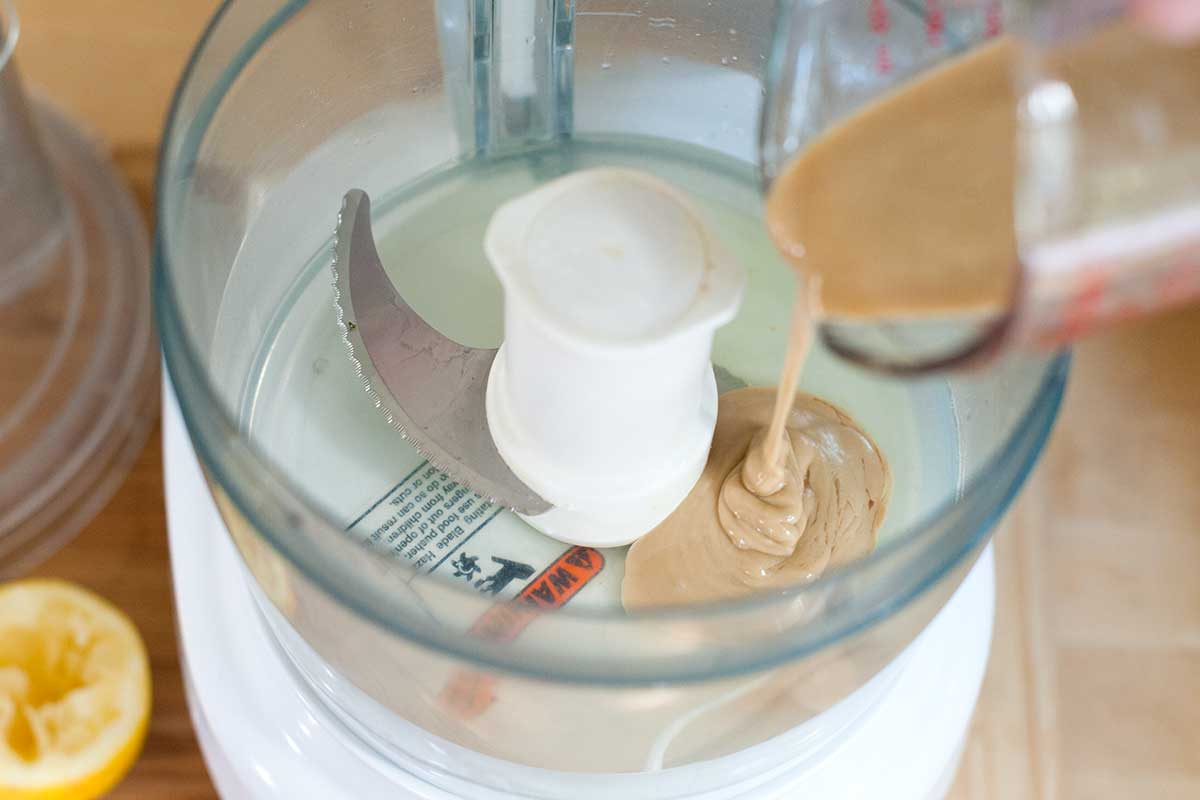
- Measure out 3 tablespoons of tahini, a creamy paste made from ground sesame seeds. Tahini adds depth of flavor and a rich, smooth consistency to the hummus. Add the tahini to the blender with the chickpeas.
Remember to scrape down the sides of the blender if any of the ingredients get stuck on the walls. This ensures that everything is evenly mixed as you continue to blend.
Once you’ve added the chickpeas and tahini, you’re ready to move on to the next step in creating your delicious homemade hummus.
Step 4: Add Lemon Juice and Garlic
Now that you have the chickpeas and tahini in the blender, it’s time to add some tanginess and flavor to your hummus by incorporating fresh lemon juice and garlic.
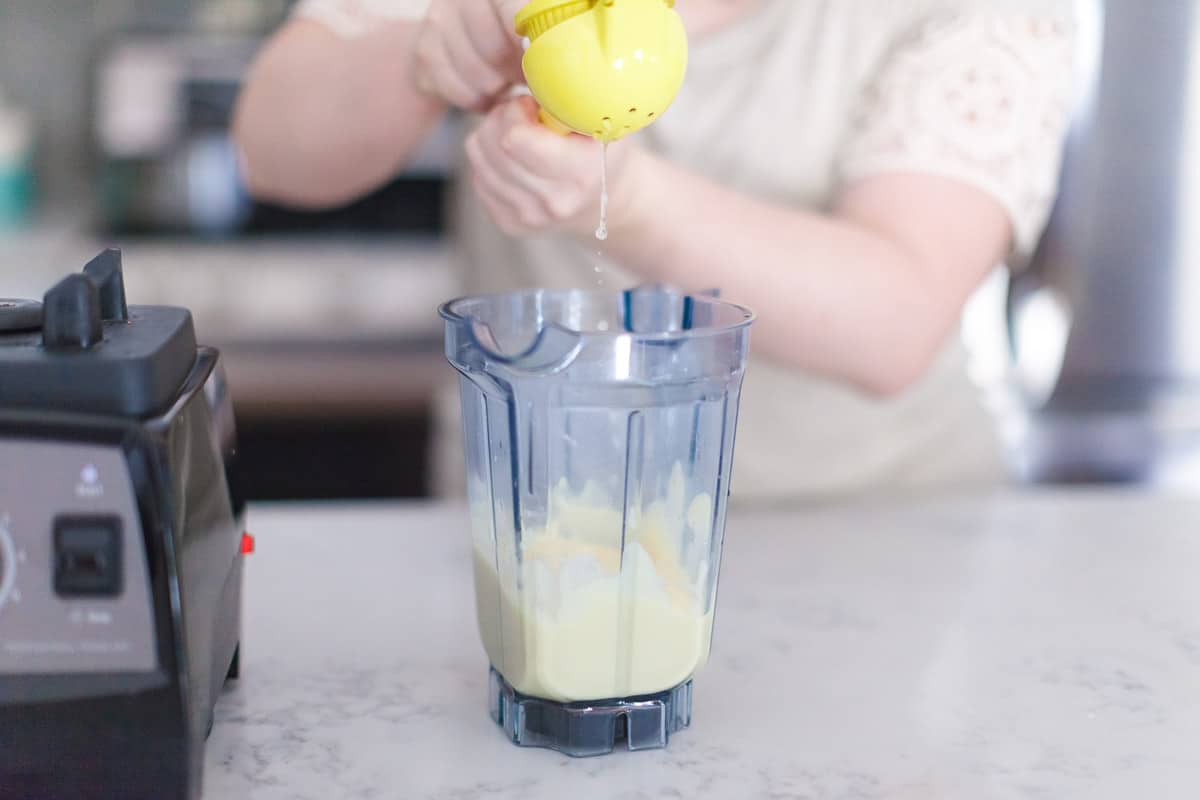
- Squeeze 2 tablespoons of fresh lemon juice and add it to the blender. The lemon juice not only adds a refreshing taste but also helps to balance the flavors of the hummus.
- Take 2 cloves of garlic, peel them, and mince them finely. Garlic gives the hummus a savory kick and adds depth to the overall flavor profile. Add the minced garlic to the blender.
Make sure to blend the ingredients well, ensuring that the garlic and lemon juice are evenly distributed throughout the mixture. You may need to pause and scrape down the sides of the blender to incorporate any garlic or lemon juice that may have clung to the walls.
Once you’ve added the lemon juice and garlic, you’re ready to move on to the next step and add some seasoning to your hummus.
When making hummus in a blender, start by blending the tahini and lemon juice first to create a smooth base before adding the other ingredients. This will help achieve a creamy texture.
Read more: How To Store Homemade Hummus
Step 5: Season with Salt and Cumin
Now that your hummus base is coming together with the chickpeas, tahini, lemon juice, and garlic, it’s time to add some delicious seasonings to enhance the flavor even more. For this step, you’ll be using salt and cumin.
- Add in half a teaspoon of salt, or adjust the amount to suit your taste preferences. Salt not only enhances the flavors but also helps to balance the other ingredients in the hummus.
- Sprinkle in half a teaspoon of ground cumin. Cumin adds a warm and slightly nutty flavor to the hummus, complementing the other ingredients perfectly.
As always, give the ingredients a good mix and blend until they are well incorporated. The seasonings will evenly distribute throughout the hummus, giving it a well-rounded and flavorful profile.
Be sure to taste the hummus from time to time and adjust the seasonings as needed until you achieve the desired flavor.
With the salt and cumin added, your hummus is taking shape and is now ready to be blended to a smooth and creamy consistency.
Step 6: Blend Until Smooth
Now comes the exciting part: blending all the ingredients together to create a smooth and creamy hummus texture. Follow these steps to achieve the perfect consistency:
- Place the lid securely on the blender.
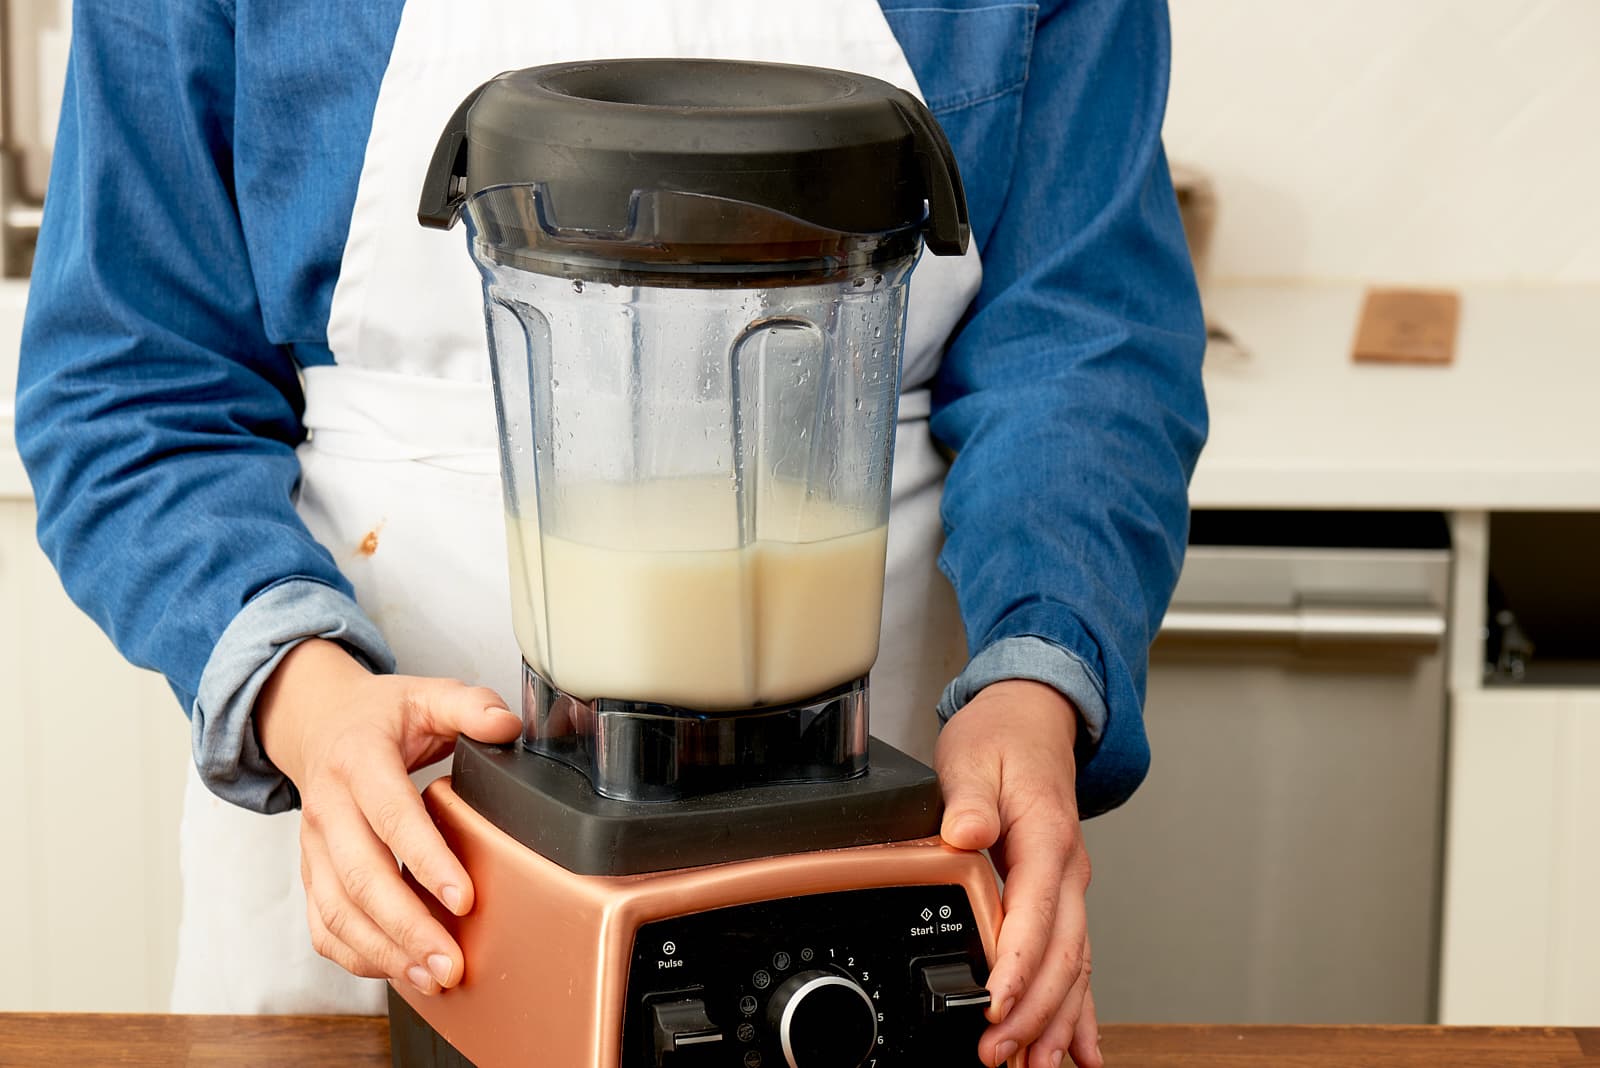
- Start blending on a low speed, gradually increasing the speed as the ingredients begin to break down.
- Continue blending until the mixture becomes smooth and creamy. This may take a few minutes, depending on the power of your blender.
- If needed, pause the blender and scrape down the sides to ensure all the ingredients are fully incorporated. This will help to achieve an even texture.
- If the mixture appears too thick, you can add a tablespoon or two of water to help thin it out. Blend again until you reach the desired consistency. Repeat this step as necessary, adding small amounts of water at a time to avoid making the hummus too runny.
The key here is to be patient and blend to a smooth and creamy consistency. The hummus should be free of any lumps or graininess, resulting in a velvety texture.
Once you’ve achieved the perfect texture, you’re ready to move on to the next step and adjust the hummus’s consistency if necessary.
Step 7: Adjust Consistency If Needed
After blending the hummus until it reaches a smooth and creamy texture, it’s time to assess the consistency. Depending on your preference, you may want a thicker or thinner hummus. Here are some steps to adjust the consistency:
- If you find that your hummus is too thick, you can add a little more liquid to achieve a smoother texture. You have a few options for this:
- If you prefer to maintain the flavors of the hummus, add a small amount of water, one tablespoon at a time, and blend again. Continue this process until you reach the desired consistency.
- If you wish to add some extra flavor, you can incorporate more lemon juice or olive oil. Start with small increments and blend well after each addition until the desired consistency is achieved.
- If, on the other hand, you find that the hummus is too thin, you can thicken it by adding more chickpeas. Take a handful of extra chickpeas (drained and rinsed) and add them to the blender. Blend again until the hummus thickens up.
Remember that the consistency of hummus is a personal preference, so feel free to experiment and adjust according to your taste. With the consistency finely tuned, your homemade hummus is almost ready to be enjoyed!
Step 8: Serve and Enjoy
Congratulations! Your homemade hummus is now perfectly blended and ready to be served. Here are some suggestions for serving and enjoying your delicious creation:
- Transfer the hummus from the blender to a serving bowl or plate. Smooth out the surface with a spoon or spatula, creating a visually appealing presentation.
- Drizzle a little extra olive oil over the top of the hummus as a finishing touch. This adds a beautiful sheen and additional flavor.
- You can garnish the hummus with a sprinkle of paprika, chopped fresh parsley, or toasted sesame seeds for added texture and visual appeal.
- Pair your hummus with an array of dippers and accompaniments. Classic choices include pita bread, pita chips, sliced vegetables like carrots and cucumbers, or even tortilla chips. Get creative and offer a variety of options to cater to different tastes.
- Serve the hummus as an appetizer or snack at parties or gatherings. It’s also a great addition to a mezze platter or as a spread in sandwiches or wraps.
- Leftovers can be stored in an airtight container in the refrigerator. Hummus can usually stay fresh for up to a week, although it’s so tasty that it’s unlikely to last that long!
Now, grab a pita chip, dip it into the creamy, flavorful hummus, and savor the fruits of your labor. Enjoy every bite and take pride in knowing that you’ve made a homemade hummus that rivals any store-bought version.
So go ahead, indulge in the homemade goodness of your own hummus and impress your friends and family with your culinary skills!
Read more: How To Make Soup In Blender
Conclusion
Making hummus in a blender is an excellent alternative for those who don’t have access to a food processor. With just a few simple steps and the right ingredients, you can create a smooth, creamy, and flavorful hummus that will rival any store-bought version.
In this article, we’ve covered the step-by-step process of making hummus in a blender. From gathering your ingredients to adjusting the consistency, each step is vital in ensuring that your hummus turns out perfectly. Remember to be patient and blend the ingredients thoroughly to achieve that velvety texture.
Experiment with different variations of hummus by adding roasted red peppers, sun-dried tomatoes, or fresh herbs. Get creative with the toppings and serving options to cater to your personal taste and impress your guests.
By making your hummus at home, not only do you have control over the ingredients, but you can also customize the flavors to your liking. You can adjust the amount of seasoning, add more or less tahini, and even play around with various spices to create a truly unique hummus experience.
So, the next time you’re craving a delicious and healthy snack, grab your blender and get ready to whip up some homemade hummus. It’s a versatile and crowd-pleasing dip that’s perfect for any occasion.
Now, go ahead and enjoy the fruits of your labor – a delectable bowl of homemade hummus that will have your taste buds dancing with delight!
Frequently Asked Questions about How To Make Hummus In A Blender
Was this page helpful?
At Storables.com, we guarantee accurate and reliable information. Our content, validated by Expert Board Contributors, is crafted following stringent Editorial Policies. We're committed to providing you with well-researched, expert-backed insights for all your informational needs.








0 thoughts on “How To Make Hummus In A Blender”