Articles
How To Make Nut Butter In A Blender
Modified: April 22, 2024
Learn how to make delicious nut butter at home using just a blender. Browse through our collection of informative articles and get started today!
(Many of the links in this article redirect to a specific reviewed product. Your purchase of these products through affiliate links helps to generate commission for Storables.com, at no extra cost. Learn more)
Introduction
Are you a fan of delicious and nutritious nut butter? Have you ever wondered if you could make it at home using just a blender? Well, you’re in luck! In this article, we’ll explore the process of making homemade nut butter using a blender. Not only is it cost-effective, but it also allows you to customize the flavor and texture to your liking.
Nut butters, such as almond butter and peanut butter, are not only a tasty treat but also a great source of healthy fats, protein, and essential nutrients. By making your own nut butter, you have control over the quality of ingredients and can avoid any unnecessary additives or preservatives often found in store-bought options. Plus, the homemade version always tastes fresher and more vibrant.
The key to making nut butter in a blender is choosing the right nuts, roasting them, and properly blending them to achieve that smooth and creamy consistency. But don’t worry, it’s relatively easy and doesn’t require any fancy equipment. So, let’s get started and explore the process step by step.
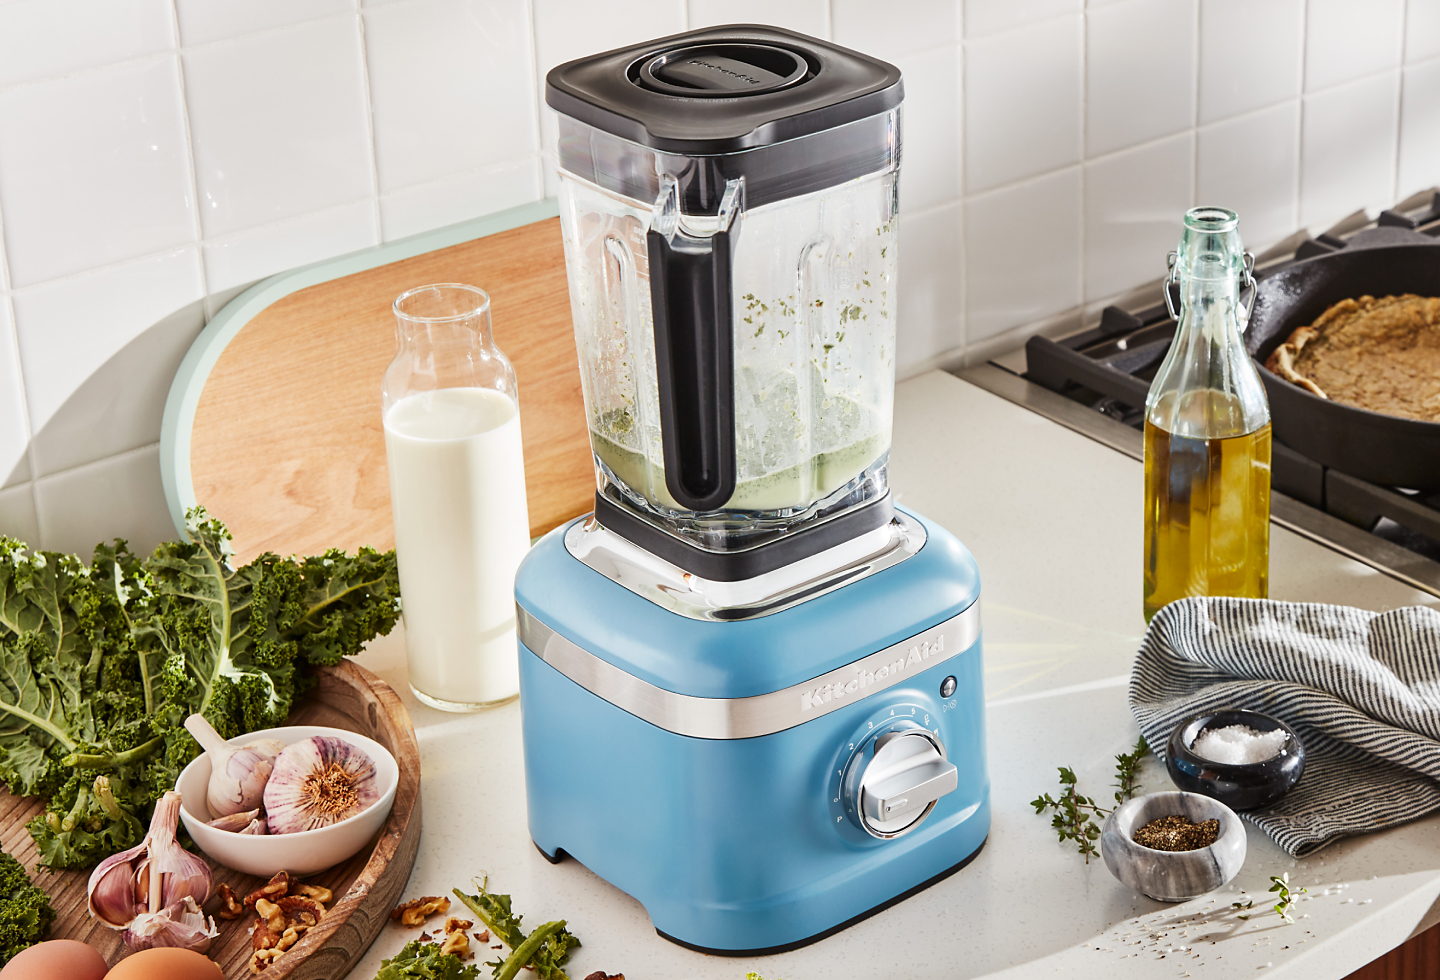
Before we dive into the details, be sure to have your blender ready. While a high-powered blender like a Vitamix or Blendtec is ideal for making nut butter, you can also use a regular blender with a strong motor. Just keep in mind that it might take a bit longer.
Now that we have everything set, let’s move on to the first step, which is choosing the right nuts for your homemade nut butter.
Key Takeaways:
- Create delicious and nutritious homemade nut butter using a blender to customize flavor and texture, avoid additives, and enjoy the freshness of natural ingredients.
- Experiment with roasting nuts, blending to perfection, and adding optional flavors to elevate your homemade nut butter, then store and enjoy it in a variety of creative ways.
Read more: How To Make Butter In Blender
Choosing the Right Nuts
When it comes to making nut butter, the type of nuts you choose will greatly impact the flavor and texture of the final product. While there are countless options to choose from, some of the most popular choices include almonds, peanuts, cashews, walnuts, and hazelnuts. Each variety of nut will bring its unique taste and nutritional benefits to the table.
Here are a few factors to consider when selecting nuts for your homemade nut butter:
- Taste: Think about the flavor profile you desire. Almonds have a mild and slightly sweet taste, while peanuts deliver a rich and earthy flavor. Cashews offer a creamy and buttery taste, while walnuts have a deep, slightly bitter flavor. Hazelnuts provide a slightly sweet and nutty taste, perfect for making homemade Nutella.
- Texture: Consider the texture you prefer. Almonds and peanuts are known for their smooth and creamy texture when blended, making them perfect for silky nut butter. Cashews can yield a very creamy and velvety texture, while walnuts and hazelnuts will result in a slightly grainier texture.
- Allergies: Take into account any food allergies or intolerances you or your loved ones may have. For those with tree nut allergies, peanuts may be the best option, as they are a legume rather than a nut. Always ensure that the nuts you choose are safe for consumption.
- Freshness: Opt for fresh nuts whenever possible. Fresh nuts tend to have better flavor and will yield a creamier butter. Avoid using stale or rancid nuts, as they can negatively impact the taste and quality of your nut butter.
Feel free to experiment with different combinations of nuts to create your own unique blends. For example, a combination of almonds and cashews can result in a creamier texture with a subtle sweetness.
Now that you’ve chosen your nuts, the next step is to roast them to enhance their flavor and make them easier to blend. Join us in the next section as we delve into the process of roasting the nuts.
Roasting the Nuts
Roasting the nuts is an essential step in making homemade nut butter. Not only does it enhance the flavor of the nuts, but it also helps loosen the oils, making them easier to blend and achieving a smoother consistency. Roasting also gives the nut butter a beautiful golden color.
Here’s how to roast the nuts:
- Preheat your oven: Start by preheating your oven to 350°F (175°C).
- Spread the nuts: Spread the nuts evenly on a baking sheet in a single layer. This allows for even roasting.
- Roasting time: The roasting time can vary depending on the type of nuts and your desired level of roast. Generally, it takes about 10-15 minutes, but keep a close eye on them to prevent burning. Stir the nuts halfway through the roasting process to ensure even cooking.
- Check for readiness: You’ll know the nuts are ready when they become fragrant and slightly golden brown. Avoid over-roasting, as it can lead to a bitter taste.
- Cooling: Once roasted, transfer the nuts to a cooling rack and let them cool completely. This will prevent them from releasing excess oil and becoming too greasy when blended.
Roasting the nuts not only adds depth to their flavor but also contributes to a smoother and creamier texture in the nut butter.
Now that your nuts are roasted and cooled, it’s time to move on to the exciting part: the blending process. Join us in the next section as we explore how to transform those roasted nuts into a delectable homemade nut butter using a blender.
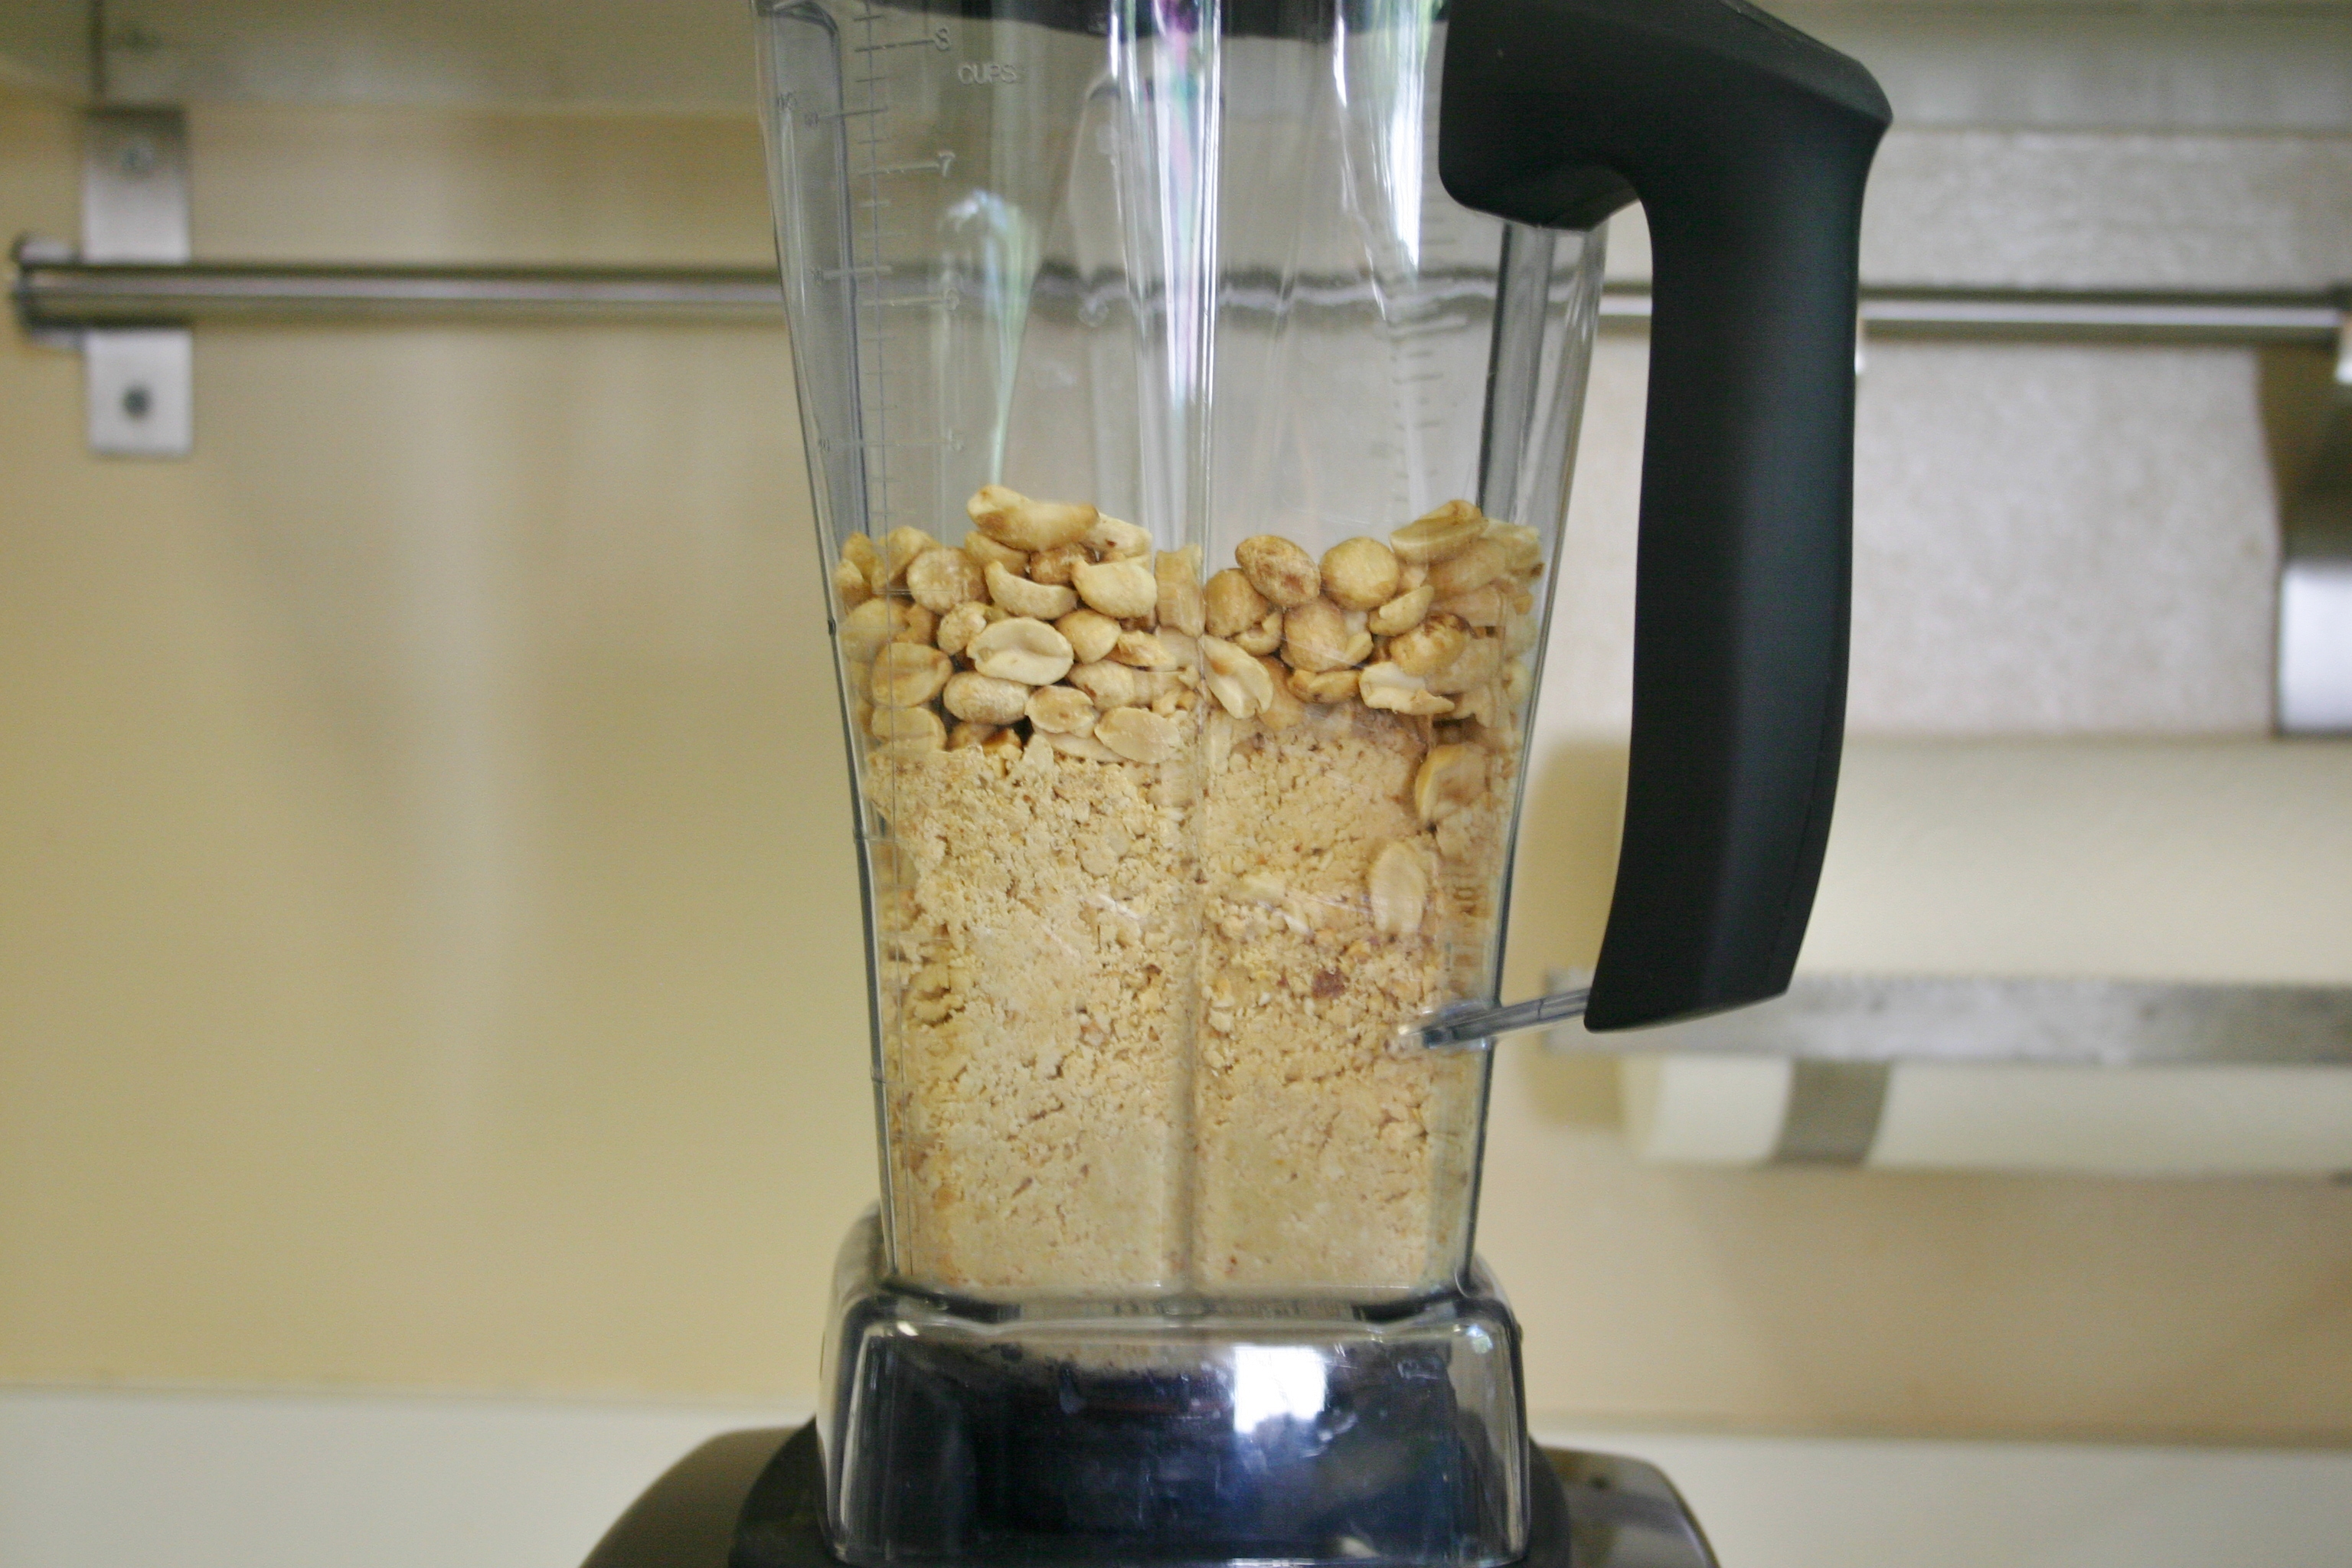
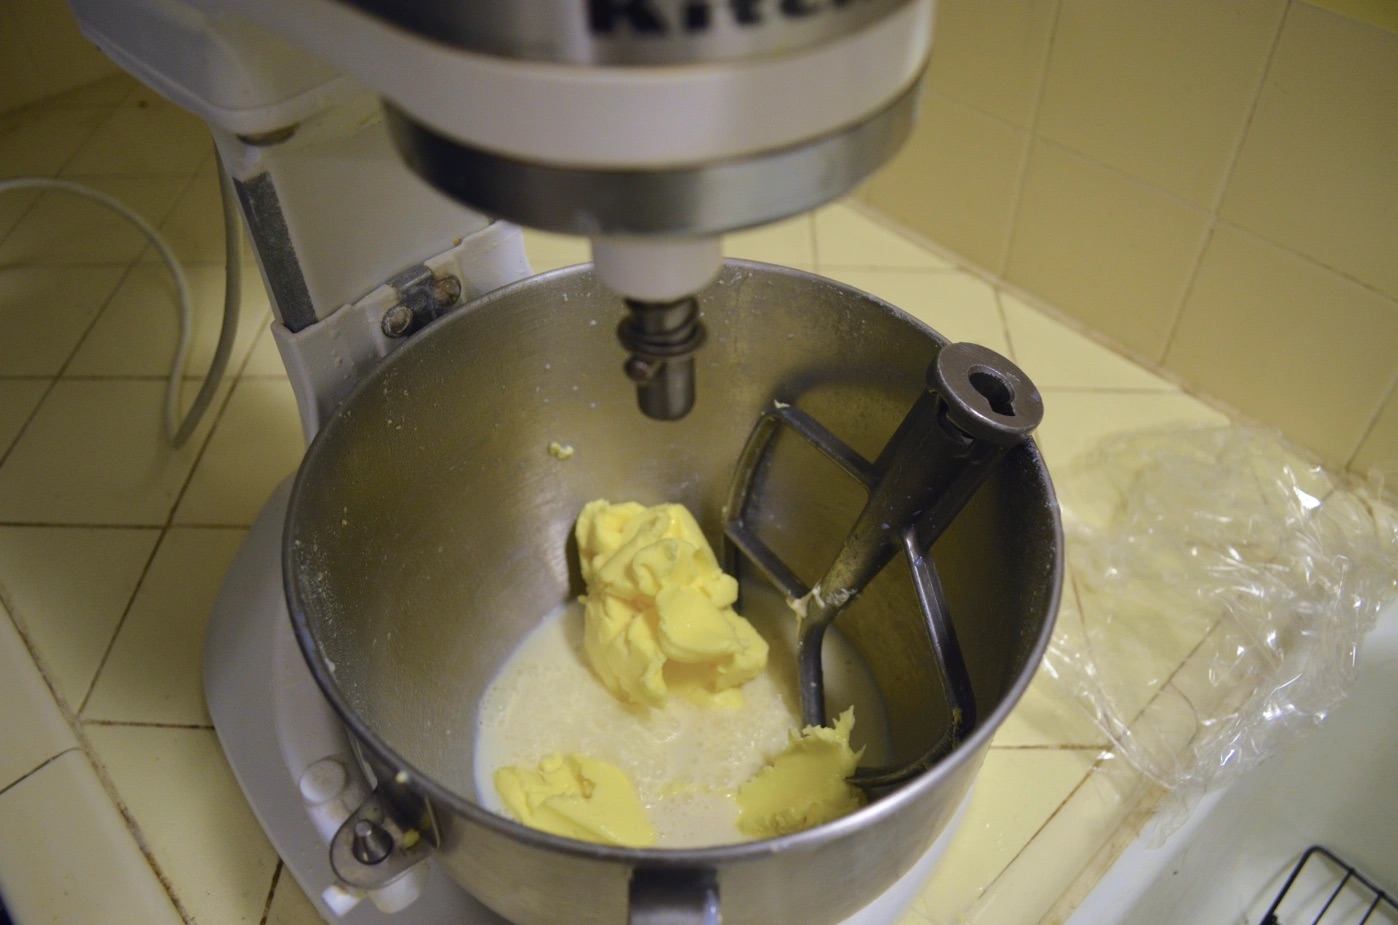
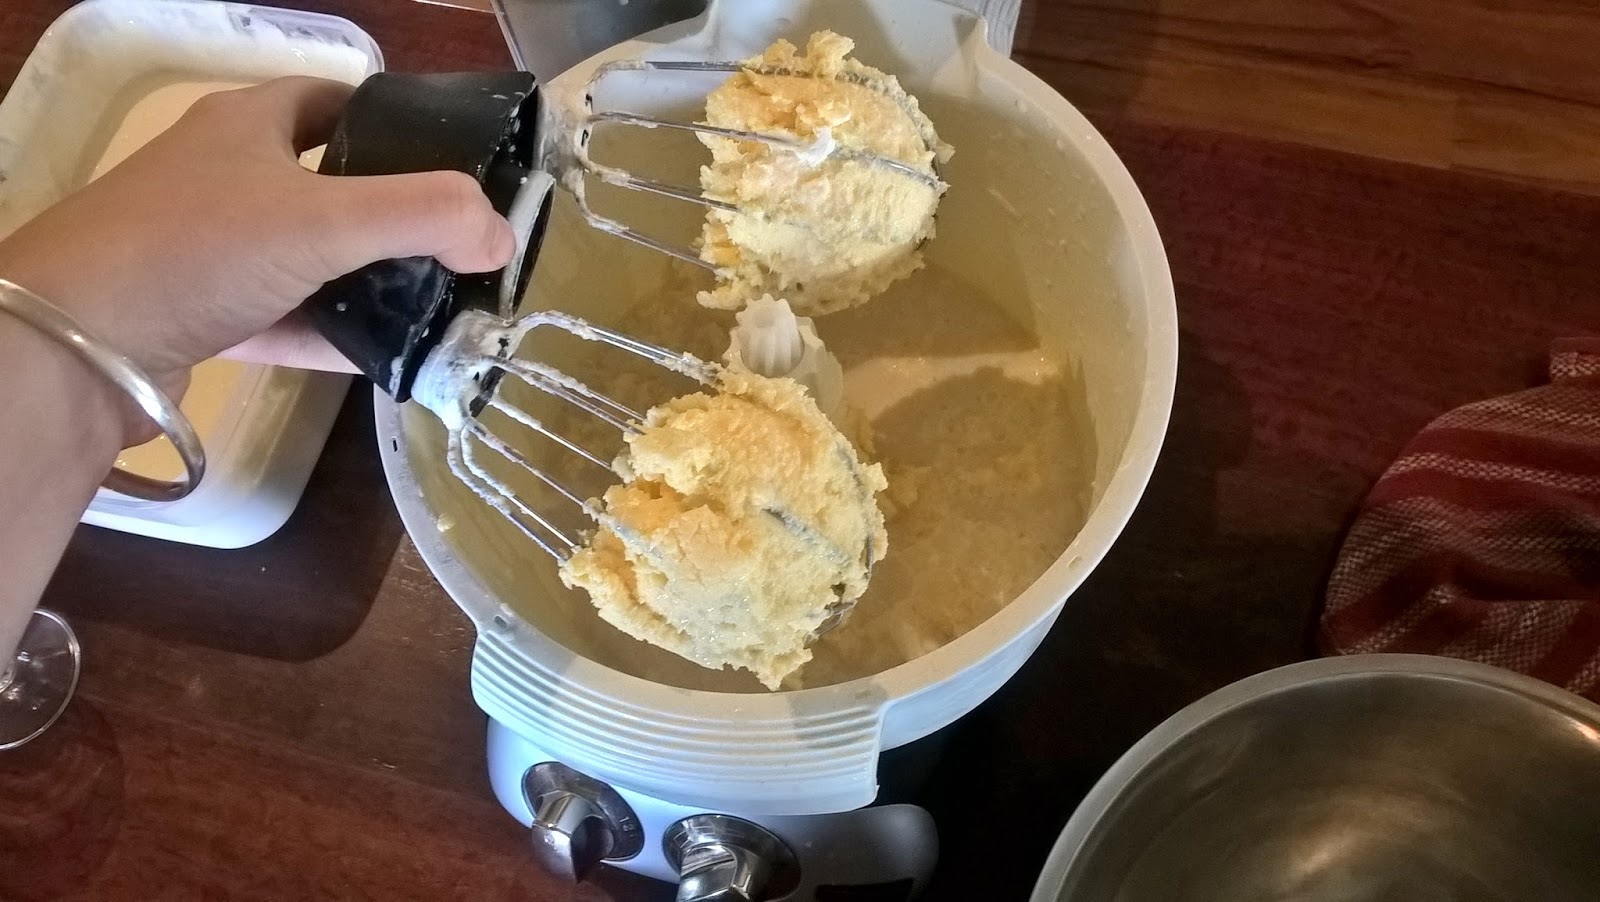
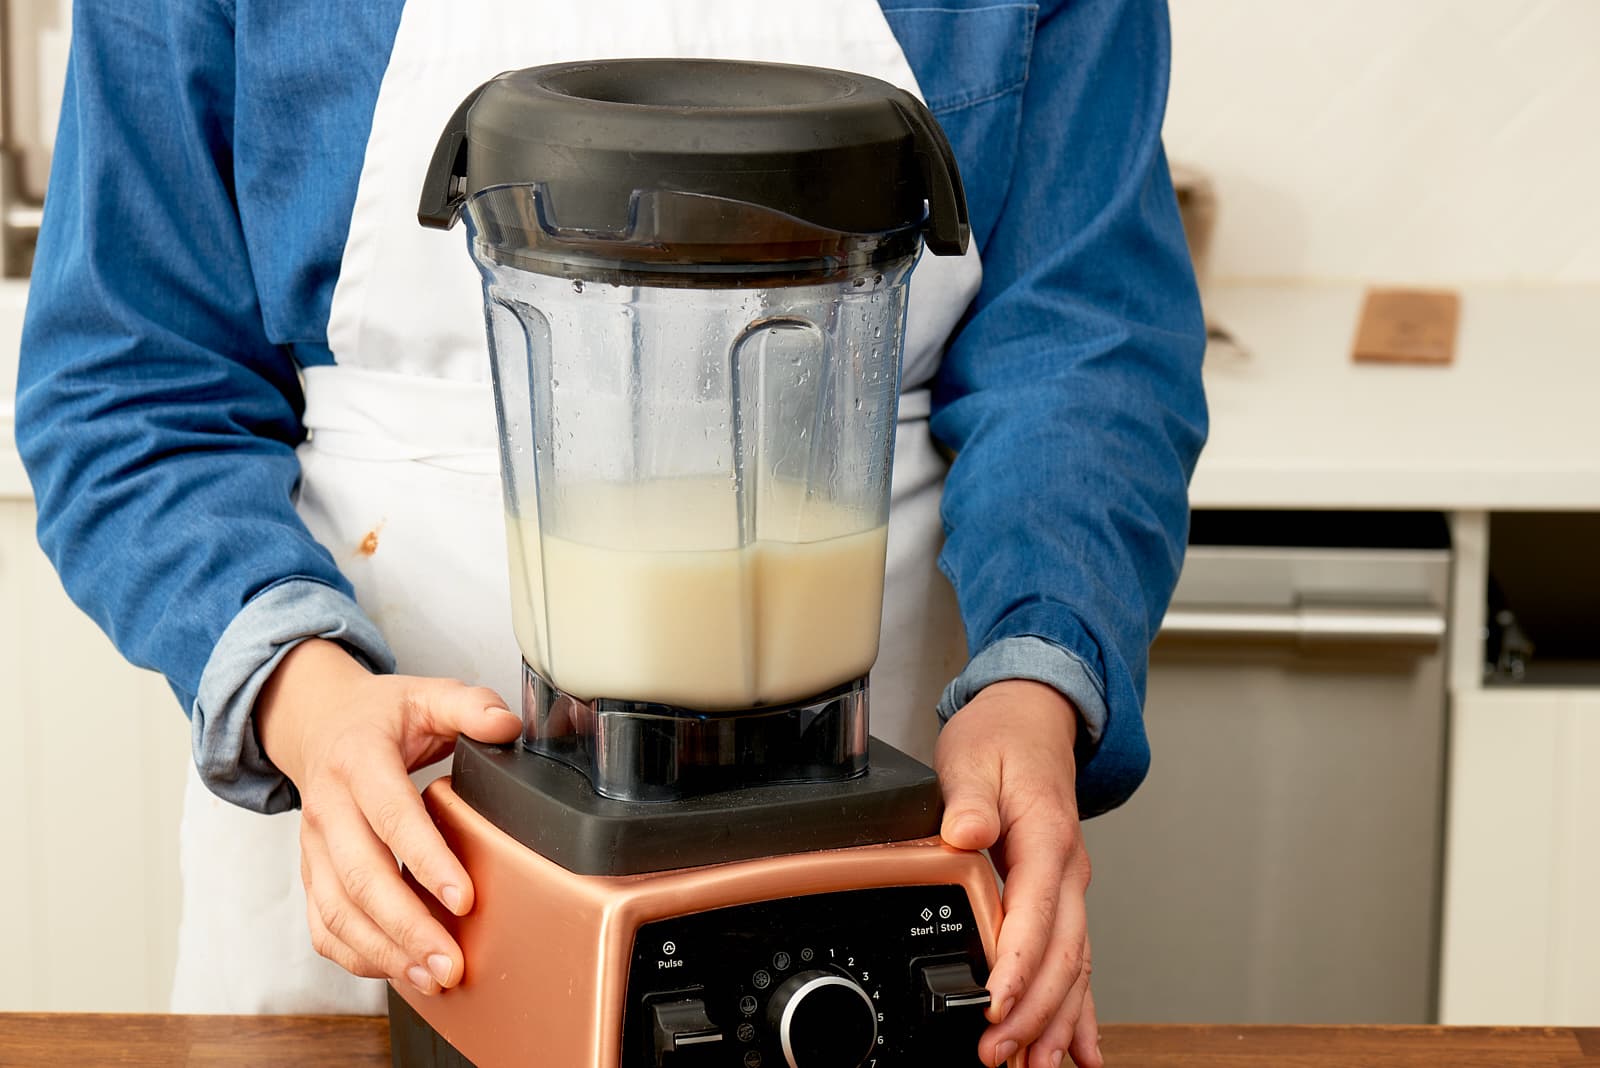
Blending Process
Now that you have your roasted and cooled nuts, it’s time to start the blending process. A powerful blender is essential for achieving a smooth and creamy nut butter. However, even if you don’t have a high-powered blender, you can still make delicious nut butter with a little more patience and blending time.
Follow these steps to blend your nuts into creamy nut butter:
- Add the roasted nuts: Place the roasted nuts into your blender. Start with a smaller amount if you’re using a regular blender and gradually add more as it starts to blend smoothly.
- Blend on low speed: Begin blending on low speed. Allow the nuts to break down and start to release their oils. You may need to stop and scrape down the sides of the blender occasionally to ensure even blending.
- Gradually increase the speed: Once the nuts have started to break down and become smoother, increase the blending speed to medium or high. This will help achieve that creamy consistency.
- Patience is key: The blending process can take anywhere from 5 to 15 minutes, depending on the type of nuts and the power of your blender. Be patient and let the blender do its job. If your blender starts to overheat, give it a break and let it cool down before continuing.
- Optional: Add oil if needed: If you find that your nut butter isn’t getting as smooth as you’d like or if your blender is struggling, you can add a small amount of oil to help with the blending process. Options include neutral-flavored oils like avocado oil or grapeseed oil. Avoid using oil if you prefer a more natural and oil-free nut butter.
- Adjust consistency: Depending on your preference, you can blend the nuts until they reach a smooth and creamy consistency or leave some texture for a chunkier nut butter. Feel free to experiment and find the texture that you enjoy the most.
Once you’ve achieved your desired consistency, your homemade nut butter is ready to be enjoyed. But why stop there? Let’s explore some optional additions to take your nut butter to the next level of flavor.
To make nut butter in a blender, start with roasted nuts, add a pinch of salt for flavor, and blend on high speed until smooth, scraping down the sides as needed.
Optional Additions
While homemade nut butter is delicious on its own, you can enhance its flavor and add interesting twists by incorporating some optional additions. These additions can take your nut butter from ordinary to extraordinary and allow you to personalize it based on your taste preferences. Here are a few ideas to get you started:
- Sweeteners: If you prefer a sweeter nut butter, you can add a touch of sweetness with natural sweeteners like honey, maple syrup, or agave syrup. Start with a small amount and adjust to taste.
- Flavorings: Experiment with different flavorings to give your nut butter a unique twist. Consider adding a dash of vanilla extract, cinnamon, or cocoa powder for a delightful flavor boost.
- Spices: Spice up your nut butter by adding some warm and aromatic spices like nutmeg, cardamom, or even a pinch of cayenne pepper for a hint of heat.
- Sea Salt: A pinch of sea salt can help elevate the flavors and bring out the natural sweetness of the nuts. Add it sparingly and adjust according to your taste preferences.
- Texture enhancers: If you prefer a crunchy nut butter, you can stir in some chopped nuts or seeds, such as chia seeds or flaxseeds, at the end of the blending process. This will add some texture and crunch to your nut butter.
- Other nut varieties: Don’t limit yourself to a single type of nut. You can experiment with mixing different nuts together to create unique flavor combinations. Try blending almonds and pecans or cashews and macadamia nuts for a delightful nut butter medley.
Remember to taste and adjust the flavors as you go. The beauty of making homemade nut butter is that you have the freedom to customize it to your liking.
Once you’ve added your optional ingredients, blend them in briefly until well incorporated. Then, transfer your nut butter to a clean, airtight container for storage.
Speaking of storage, let’s dive into how to store and use your homemade nut butter to keep it fresh and delicious.
Read more: How To Make Peanut Butter In A Blender
Storing and Using Nut Butter
Proper storage is essential to keep your homemade nut butter fresh and flavorful. Follow these guidelines to store your nut butter and enjoy it for weeks to come:
- Container: Transfer your nut butter to a clean, airtight container. Glass jars or food-grade plastic containers with tight-fitting lids work well. Make sure the container is completely dry to prevent moisture buildup.
- Refrigeration: Nut butter can be stored in the refrigerator to extend its shelf life. This is especially important if you live in a warm climate or if you’ve added ingredients like honey or maple syrup that can cause the nut butter to spoil more quickly. Storing in the refrigerator can help prevent the oil from separating and keeps the nut butter fresh for several weeks.
- Room temperature storage: If you prefer a softer, spreadable consistency, you can store your nut butter at room temperature for easy access. However, be aware that it may spoil more quickly, especially in warm and humid conditions. Avoid exposing the nut butter to direct sunlight or heat sources.
- Oil separation: It is natural for oil to separate from the nut butter over time. Before using, give the container a good stir to incorporate the oil back into the nut butter. This will help achieve a consistent texture.
Now that you have your homemade nut butter stored, it’s time to explore the many ways you can enjoy this versatile spread:
- Spread it on toast: One of the classic ways to enjoy nut butter is on a slice of toasted bread. Top it off with some sliced bananas or a drizzle of honey for an extra treat.
- Dip for fruits and veggies: Nut butter makes a delicious and healthy dip for apple slices, carrot sticks, and celery. It adds a satisfying nutty flavor and a boost of protein.
- Blend it into smoothies: Add a spoonful of nut butter to your favorite smoothie for added creaminess and flavor. It pairs well with fruits like banana, strawberry, and blueberry.
- Bake with it: Nut butter can be used as a creamy and nutritious ingredient in baking. From cookies and muffins to energy bars and brownies, the possibilities are endless.
- Enhance sauces and dressings: Add a dollop of nut butter to sauces and dressings to give them a nutty richness. It can add depth of flavor to savory dishes like stir-fries and salads.
Get creative and experiment with different ways to incorporate your homemade nut butter into your favorite recipes. You’ll be surprised at how versatile and delicious it can be.
Now that you have all the information you need, it’s time to embark on your homemade nut butter adventure. Gather your nuts, fire up the blender, and get ready to enjoy the deliciousness of freshly made nut butter right in the comfort of your own home.
Happy blending!
Conclusion
Congratulations! You’ve learned how to make homemade nut butter using a blender. By following a few simple steps, you can create a delicious and nutritious spread that surpasses any store-bought option. Making your own nut butter allows you to choose the nuts, control the ingredients, and customize the flavor and texture to suit your preferences.
From choosing the right nuts to roasting them for optimal flavor, blending them to creamy perfection, and exploring optional additions for a unique twist, you now have the knowledge to create your own homemade nut butter masterpiece. Don’t forget to experiment with different nut combinations and flavor enhancements to truly make it your own.
Remember to store your nut butter properly in airtight containers, either in the refrigerator for longer shelf life or at room temperature for easy spreading. And don’t worry if you notice some separation of oil over time – simply give it a good stir before enjoying.
Now that you have a jar of homemade nut butter, the possibilities are endless. Enjoy it on toast, use it as a dip for fruits and veggies, add it to smoothies, bake with it, or even mix it into sauces and dressings. Let your creativity shine as you explore the countless ways to incorporate this versatile and nutritious spread into your favorite dishes.
Making nut butter at home is not only cost-effective but also allows you to take control of your health and wellness. You can avoid any unnecessary additives or preservatives found in store-bought varieties and enjoy the goodness of natural, wholesome ingredients.
So, why wait? Start gathering your favorite nuts, fire up that blender, and embark on your homemade nut butter journey. With a little bit of time and effort, you’ll be rewarded with a pantry staple that will tantalize your taste buds and nourish your body.
Get ready to indulge in the rich, creamy goodness of homemade nut butter. Happy blending!
Frequently Asked Questions about How To Make Nut Butter In A Blender
Was this page helpful?
At Storables.com, we guarantee accurate and reliable information. Our content, validated by Expert Board Contributors, is crafted following stringent Editorial Policies. We're committed to providing you with well-researched, expert-backed insights for all your informational needs.


0 thoughts on “How To Make Nut Butter In A Blender”