Articles
How To Make Iced Coffee With A Coffee Machine
Modified: August 16, 2024
Learn how to make delicious iced coffee with a coffee machine in this informative article. Perfect for coffee lovers looking for a refreshing and easy-to-make beverage.
(Many of the links in this article redirect to a specific reviewed product. Your purchase of these products through affiliate links helps to generate commission for Storables.com, at no extra cost. Learn more)
Introduction
When the summer heat kicks in, there’s nothing more refreshing than a tall glass of iced coffee. Instead of relying on expensive coffee shops to satisfy your iced coffee cravings, why not make it right at home with the help of your trusty coffee machine? Crafting the perfect glass of iced coffee starts with understanding the proper techniques and ingredients. In this article, we’ll guide you through the step-by-step process of making delicious iced coffee using a coffee machine.
Whether you have a drip coffee maker, a French press, or an espresso machine, you can still enjoy a refreshing cup of iced coffee that rivals any coffee shop creation. The secret lies in the brewing method and the right combination of flavors. By following our simple instructions, you’ll be able to create your own customized iced coffee that suits your taste preferences.
So, gather your favorite coffee beans, a few additional ingredients, and let’s dive into the wonderful world of homemade iced coffee!
Key Takeaways:
- Master the art of crafting refreshing iced coffee at home using your coffee machine. Customize flavors, textures, and toppings to create your perfect homemade beverage.
- Embrace the satisfaction of becoming a skilled barista in your own kitchen. Experiment with different brewing techniques and share your delightful homemade iced coffee creations with friends and family.
Step 1: Gather your ingredients and supplies
Before you begin making your iced coffee, it’s important to gather all the necessary ingredients and supplies. Here’s what you’ll need:
- Freshly roasted coffee beans: Choose your favorite type of coffee beans for a rich and flavorful iced coffee. Opt for a medium to dark roast for a bolder taste.
- Filtered water: Good quality water is crucial for brewing a delicious cup of coffee. Ensure that you’re using filtered or bottled water to avoid any impurities.
- Ice cubes: You’ll need a generous amount of ice cubes to cool down your coffee and give it that refreshing chill.
- Sweeteners and flavorings (optional): If you prefer your iced coffee sweetened, gather your choice of sweeteners like sugar, honey, or flavored syrups. You can also consider adding a splash of vanilla extract or chocolate syrup for an extra hint of flavor.
- Milk or cream (optional): If you enjoy your coffee with a creamy touch, have some milk or cream ready. You can use dairy or non-dairy alternatives like almond milk, soy milk, or oat milk.
- Coffee grinder: If you have whole coffee beans, you’ll need a coffee grinder to grind them into the desired coarseness. This step is essential for extracting the best flavors from the beans.
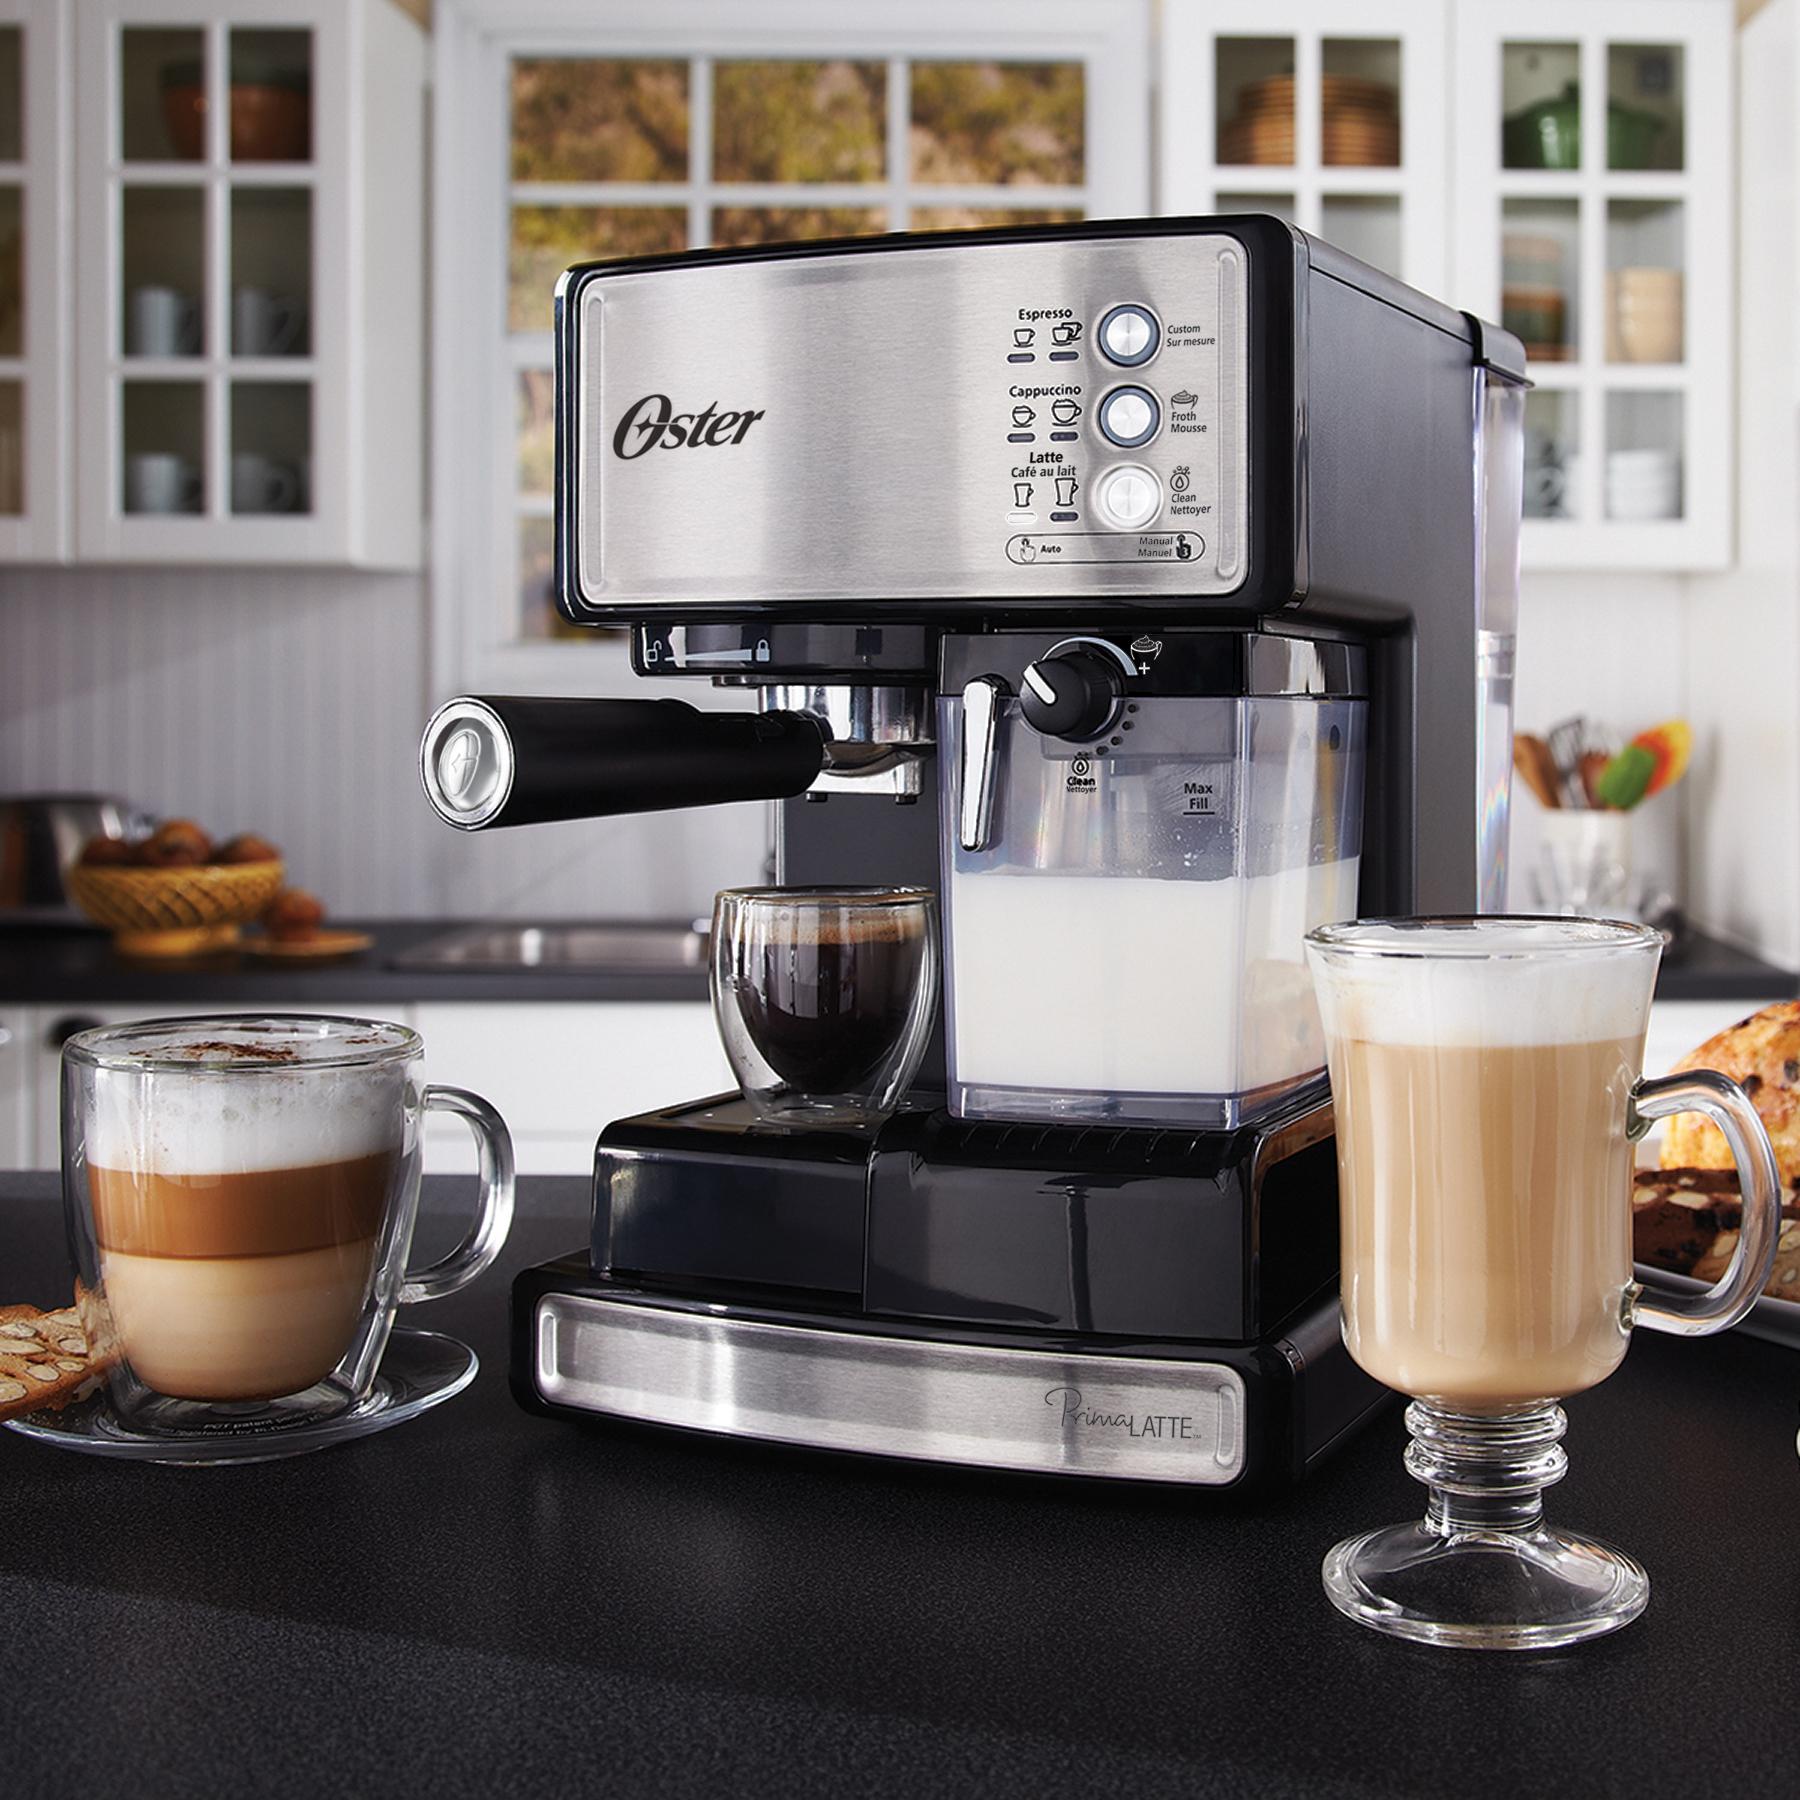
- Coffee machine: Depending on the type of coffee machine you have, make sure it’s clean and in good working condition. This will ensure optimal brewing and extraction of flavors.
- Coffee mug or glass: Choose a stylish and sturdy mug or glass to serve your iced coffee. A larger size is preferable to accommodate the ice cubes.
- Stirrer or long spoon: To mix your iced coffee and incorporate any added flavors or sweeteners, have a stirrer or long spoon handy.
By gathering all the necessary ingredients and supplies, you’ll be well-prepared to proceed to the next steps of making your refreshing iced coffee. Let’s move on to prepping your coffee machine in step 2!
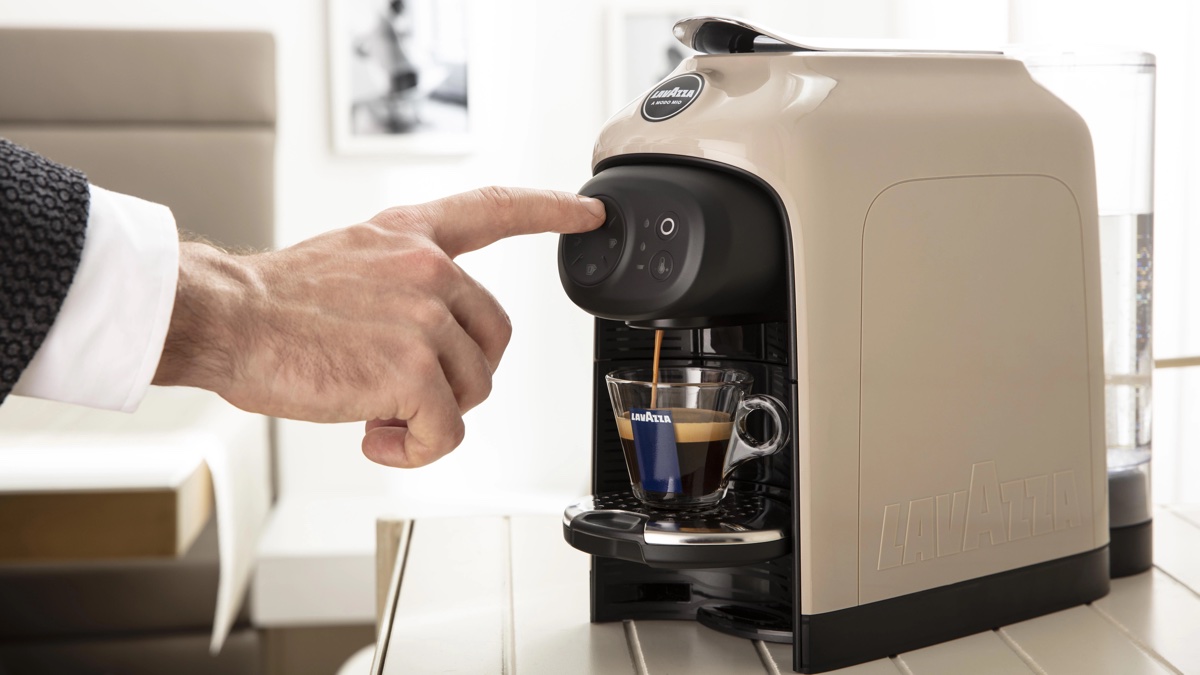
Step 2: Prep your coffee machine
Before you start brewing your iced coffee, it’s important to properly prepare your coffee machine. Follow these steps to ensure your machine is ready:
- Clean your coffee machine: If you haven’t cleaned your coffee machine recently, now is the time to do so. A clean machine will not only produce better-tasting coffee but also prolong the lifespan of your equipment. Refer to your coffee machine’s manual for specific cleaning instructions.
- Fill the water reservoir: Depending on the capacity of your coffee machine, fill the water reservoir with the appropriate amount of filtered water. This will ensure you have enough water for brewing your coffee.
- Turn on the machine: Plug in your coffee machine and turn it on to warm up. Allow the machine to heat up for a few minutes to reach the optimal brewing temperature.
- Preheat the carafe or serving vessel: If your coffee machine comes with a carafe, it’s a good idea to preheat it before brewing. This will help keep your coffee hot longer. Simply pour hot water into the carafe and let it sit for a minute before emptying it.
- Check the coffee filters: Ensure that you have the appropriate coffee filters for your machine. If you’re using paper filters, make sure they are properly placed in the filter basket. If you have a permanent filter, clean it if needed.
By prepping your coffee machine in advance, you’ll ensure that it’s clean, heated, and ready to brew your perfect cup of iced coffee. With your coffee machine prepped and ready, let’s move on to the next step: measuring and grinding your coffee beans in step 3!
Step 3: Measure and grind your coffee beans
Now that your coffee machine is ready, it’s time to measure and grind your coffee beans. Follow these steps to ensure the perfect coffee-to-water ratio and a flavorful iced coffee:
- Measure the coffee beans: Depending on your personal taste preferences and the strength of iced coffee you desire, measure out the appropriate amount of coffee beans. As a general guideline, use a ratio of 1 tablespoon of coffee beans for every 6 ounces of water. Adjust this ratio according to your taste.
- Grind the coffee beans: Using a coffee grinder, grind your coffee beans to a medium-coarse consistency. This coarseness allows for optimal extraction of flavors without resulting in a bitter or overpowering taste. The exact duration of grinding will depend on the type of coffee grinder you have. Refer to the grinder’s instructions for the recommended duration.
- Transfer the ground coffee to the coffee machine: Once your coffee beans are ground, transfer the coffee grounds to the coffee machine’s filter basket. Ensure that the grounds are evenly distributed and leveled in the basket for even extraction.
- Tamp down the coffee grounds (if applicable): If you have an espresso machine or a machine with a tamper, lightly tamp down the coffee grounds in the filter basket. This will create a more consistent extraction and prevent water from flowing through too quickly.
By measuring and grinding your coffee beans correctly, you’ll achieve a well-balanced and flavorful cup of iced coffee. The grind size and coffee-to-water ratio play a crucial role in extracting the right flavors without any bitterness. With your coffee beans measured and ground, let’s move on to preparing the ice in step 4!
Step 4: Prepare the ice
Ice is a key component in making iced coffee, as it cools down the hot brewed coffee and adds a refreshing touch to the final drink. Here’s how you can properly prepare the ice for your iced coffee:
- Use filtered water: To ensure your ice cubes are of good quality, it’s best to use filtered water. This will eliminate any impurities and ensure a cleaner taste.
- Ice tray or ice maker: Depending on your preference and availability, you can use an ice tray to freeze water into ice cubes or use an ice maker if you have one. Aim to make enough ice cubes to fill your glass or mug, as well as to keep the coffee cold.
- Consider alternative ice options: If you prefer, you can also use crushed ice or even coffee ice cubes. Coffee ice cubes, made with leftover brewed coffee, will not dilute your iced coffee as they melt.
- Place the ice in a clean container: Once your ice is ready, transfer it to a clean container or ice bucket so it’s easily accessible when you’re ready to assemble your iced coffee.
Properly preparing the ice ensures that your iced coffee stays chilled and maintains its desired strength and flavor. With your ice ready to go, let’s move on to brewing your coffee in step 5!
Read more: How To Make Coffee With Coffee Machine
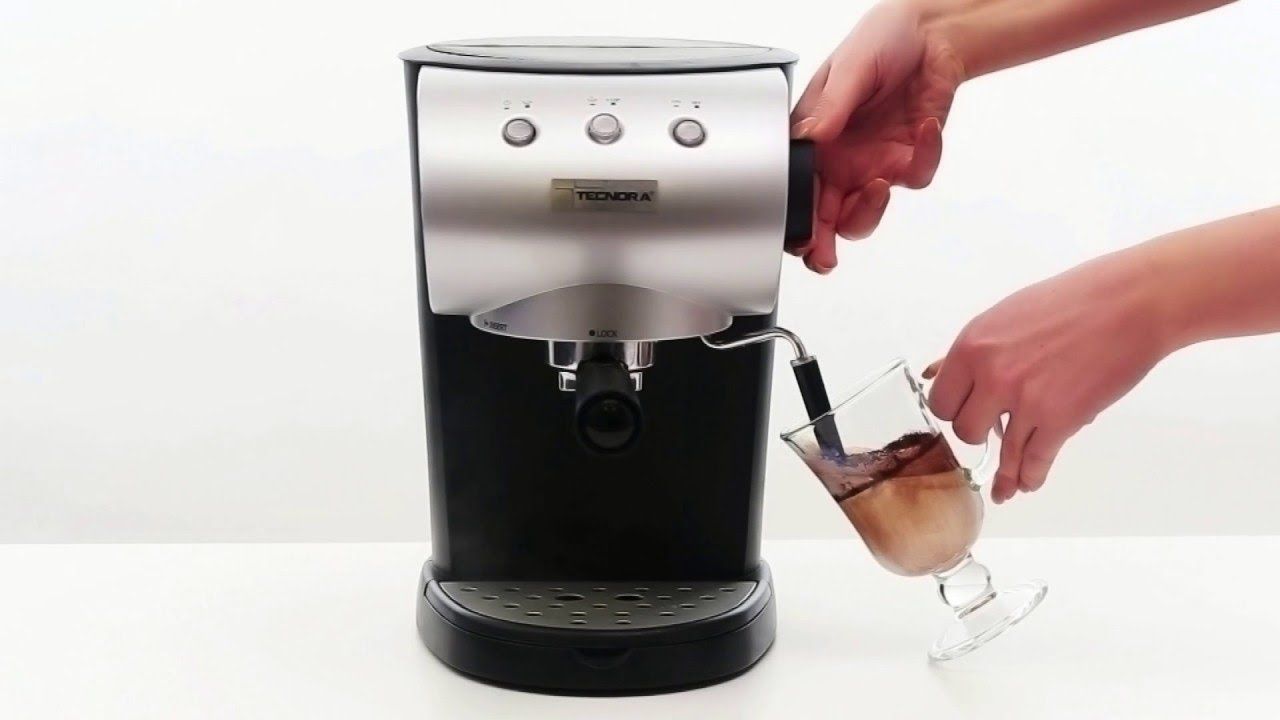
Step 5: Brew your coffee
Now that everything is prepped, it’s time to brew your coffee using your coffee machine. Follow these steps to ensure a flavorful and aromatic brew:
- Insert the filter and coffee grounds: Place the filter with the coffee grounds securely in the coffee machine’s filter basket.
- Select the appropriate brew setting: Depending on your coffee machine, select the desired brew strength or setting. If you have a drip coffee maker, you may have options like regular or bold. For an espresso machine, follow the specific instructions to extract the perfect shot of espresso.
- Start the brewing process: Once you’ve selected the desired brew setting, start the brewing process by activating your coffee machine. The hot water will pass through the coffee grounds, extracting the flavors and aromas.
- Monitor the brewing time: Keep an eye on the brewing time to ensure that the coffee is not under or over-extracted. Follow the recommended brewing time for your specific machine.
- Collect the brewed coffee: As the coffee machine completes the brewing process, ensure you have a coffee pot or carafe ready to collect the freshly brewed coffee. This will prevent any drips or spills.
By brewing your coffee with care, you’ll be rewarded with a rich and flavorful base for your iced coffee. The brew setting and brewing time will determine the strength and taste of the final product. With your coffee brewed and the aroma filling the air, it’s time to let it cool down in the next step!
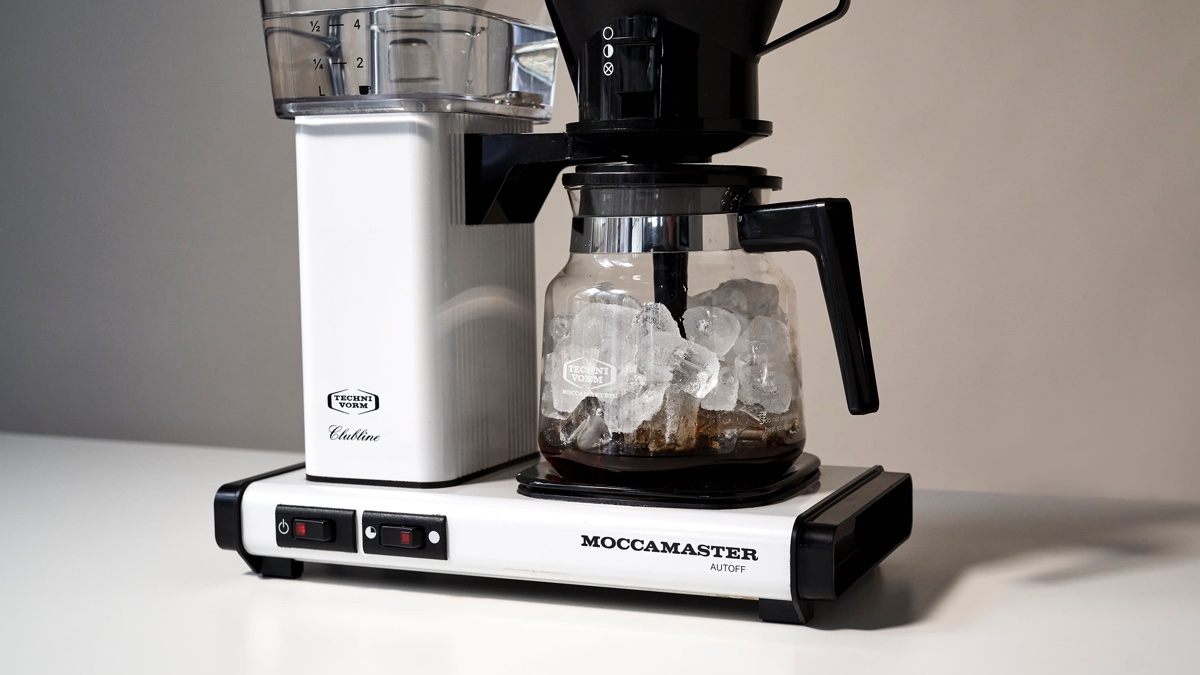
To make iced coffee with a coffee machine, brew a double-strength pot of coffee, let it cool, then pour it over ice. Add milk or flavorings as desired.
Step 6: Let the coffee cool
After brewing your coffee, it’s important to allow it to cool down before proceeding with the next steps. This step is crucial to prevent the melting of the ice cubes and to avoid diluting your iced coffee. Follow these guidelines to ensure optimal cooling:
- Transfer the brewed coffee: Carefully pour the freshly brewed coffee into a heat-resistant container or pitcher. This will allow the coffee to cool down more quickly and evenly.
- Leave it at room temperature: Place the container with the brewed coffee on the countertop or a heat-safe surface and allow it to cool down to room temperature. This typically takes around 30 minutes to an hour, but the exact time will depend on various factors like the room temperature and the volume of coffee.
- Avoid refrigerating the coffee: While refrigerating the coffee may seem like a quicker way to cool it down, it can result in a loss of flavor and aroma. Refrigeration can also cause the coffee to become cloudy. So, it’s best to let it cool naturally at room temperature.
By patiently allowing the coffee to cool down, you’ll maintain its true flavors and ensure a better balance when combined with the ice and other ingredients. As your coffee cools, the anticipation for that perfect glass of homemade iced coffee grows. Once it has reached room temperature, you’re ready to move on to step 7 and assemble your refreshing drink!
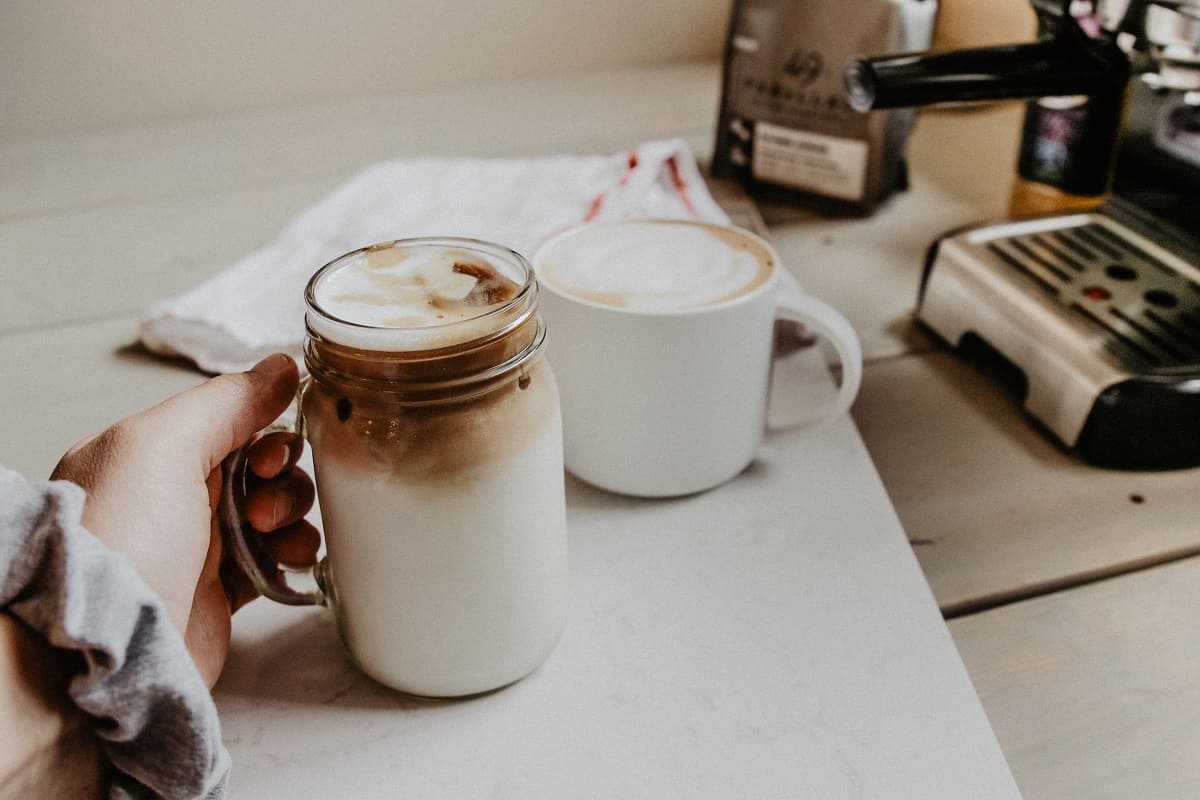
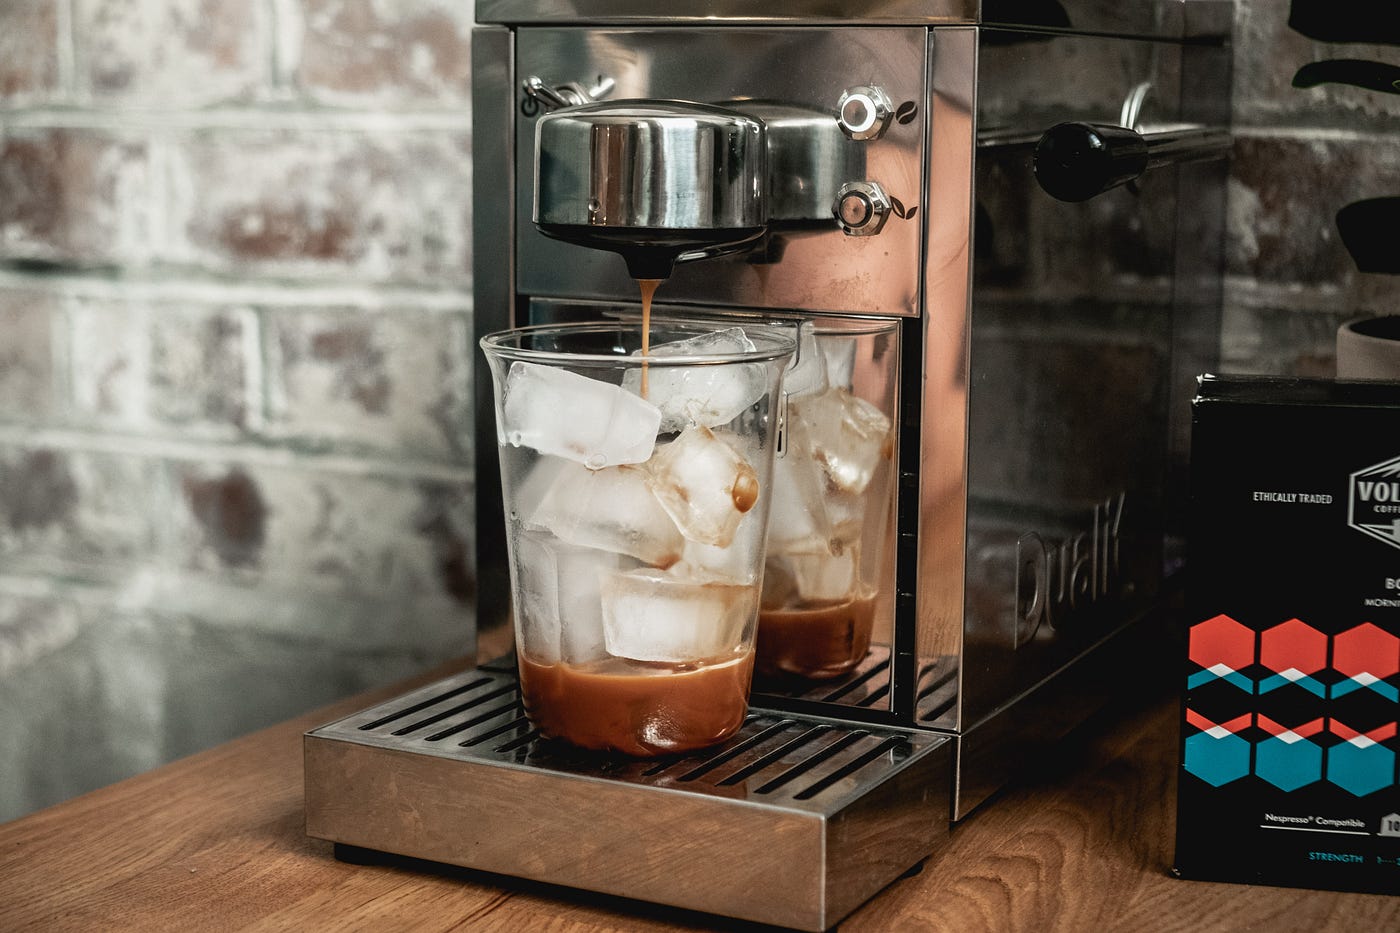
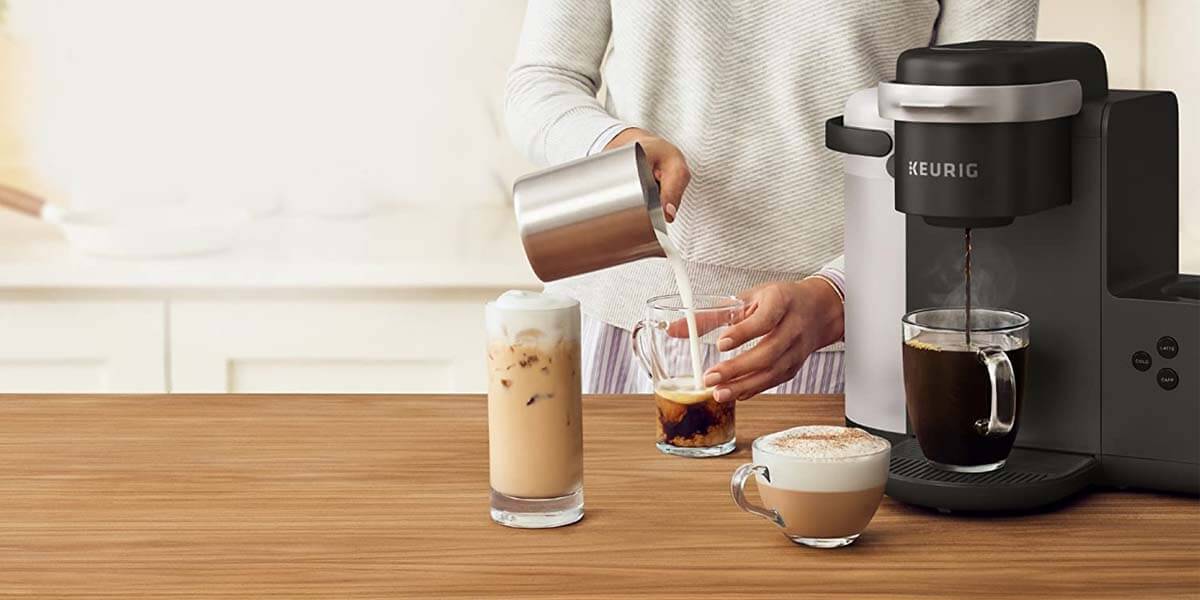
Step 7: Assemble your iced coffee
With the cooled coffee at the ready, it’s time to assemble your delicious glass of iced coffee. Follow these steps to create a refreshing and visually appealing drink:
- Fill your glass or mug with ice: Take your chosen glass or mug and fill it about three-quarters full with ice cubes. The amount of ice will depend on your personal preference and the size of your glass.
- Pour the coffee over the ice: Slowly pour the cooled coffee over the ice in your glass. The ice will start to melt, cooling down the coffee even further. Leave some space at the top of the glass for additional flavors and ingredients.
- Stir gently: Take a stirrer or long spoon and give the coffee and ice a gentle stir to combine them. This will ensure that the coffee is evenly chilled and mixed with the melting ice.
At this point, you have a basic iced coffee ready to enjoy. However, if you’re looking to add some extra flavor or customize your drink further, proceed to the next step for some creative options.
Please note that if you prefer your iced coffee sweetened, it is best to add the sweetener while the coffee is still warm to allow it to dissolve easily. If you didn’t sweeten the coffee beforehand, you can also add your preferred sweetener at this stage and stir it in before moving on to additional flavors or toppings.
Now that you have your base iced coffee assembled, let’s explore some possibilities to take it up a notch in step 8 and add additional flavors or toppings!
Step 8: Customize with additional flavors or toppings
Now that you have your basic iced coffee assembled, it’s time to get creative and add some extra flavors or toppings to take your drink to the next level. Here are some ideas to customize your iced coffee:
- Sweeteners: If you prefer your coffee on the sweeter side, consider adding a sweetener like sugar, honey, or flavored syrups. Stir in your preferred amount and adjust to taste.
- Milk or cream: For a creamy touch, add a splash of milk, cream, or non-dairy alternatives like almond milk, soy milk, or oat milk. This will give your iced coffee a smooth and velvety texture.
- Flavored syrups: Experiment with different flavored syrups like vanilla, caramel, hazelnut, or cinnamon. Just a pump or two can add a delightful burst of flavor to your iced coffee.
- Spices: Sprinkle a pinch of spices like cinnamon, nutmeg, or cardamom over your iced coffee for a hint of warmth and added complexity.
- Whipped cream: For an indulgent treat, top your iced coffee with a dollop of whipped cream. You can also drizzle some chocolate syrup or sprinkle cocoa powder on top for an extra touch of decadence.
- Ice cream or gelato: Take your iced coffee to dessert level by adding a scoop of your favorite ice cream or gelato. The creamy goodness will melt into the coffee, creating a delightful fusion of flavors.
Feel free to mix and match these additional flavors and toppings to suit your taste preferences. Don’t be afraid to get creative and try new combinations to discover your perfect iced coffee creation.
Once you’ve customized your iced coffee to your liking, it’s time to sip, savor, and enjoy the fruits of your labor. Let’s move on to the final step, where you can finally sit back and relish in the satisfaction of your homemade iced coffee!
Read more: How To Make Coffee With Mr Coffee Machine
Step 9: Enjoy your homemade iced coffee
Congratulations, you’ve reached the final step – it’s time to sit back, relax, and enjoy the fruits of your labor. Here’s how to fully savor your homemade iced coffee:
- Take a moment to appreciate the aroma: Before you take your first sip, pause to inhale the wonderful aroma of your iced coffee. Let the enticing scent stimulate your senses and heighten your anticipation.
- Sip and savor: Take a sip of your homemade iced coffee and allow the flavors to dance on your taste buds. Notice the balance between the coffee, any added flavors, and the creamy or sweet elements. Pay attention to the temperature, the texture, and the overall experience.
- Adjust to taste: If you feel that your iced coffee needs any additional tweaking or customization, now is the time to make those adjustments. Add more sweetener, cream, or any other desired flavors to achieve your perfect taste.
- Relish the moment: Find a comfortable spot to enjoy your iced coffee, whether it’s on a sunny patio, in a cozy corner of your home, or on the go. Take your time and savor each sip, appreciating the effort you put into making this delightful treat.
Remember, homemade iced coffee allows you to experiment and personalize your drink exactly to your liking. Enjoy the satisfaction of creating a refreshing and delicious beverage without having to leave the comfort of your own home.
Don’t be afraid to share your newfound homemade iced coffee skills with family and friends. Host a brunch or invite loved ones over for a relaxing coffee date. You can even take it up a notch by experimenting with different brewing techniques, coffee bean blends, or flavors to further explore the vast world of iced coffee.
So, kick back, enjoy your homemade iced coffee, and take pride in becoming a skilled barista in the comfort of your own kitchen. Cheers to a refreshing and satisfying beverage!
Note: Remember to always drink responsibly and be mindful of your caffeine intake.
Conclusion
Congratulations on mastering the art of making iced coffee with your coffee machine! You can now indulge in a refreshing and customized cup of iced coffee whenever the craving strikes. By following the steps outlined in this guide, you’ve learned how to gather the necessary ingredients and supplies, prep your coffee machine, measure and grind your coffee beans, prepare the ice, brew your coffee, let it cool, assemble your iced coffee, customize with additional flavors or toppings, and, finally, savor and enjoy your homemade creation.
Creating your own iced coffee at home not only allows you to save money but also gives you the freedom to experiment with different flavors and adjust the strength and sweetness to your preference. You have the flexibility to choose your favorite coffee beans, play with various syrups, and even add a touch of creativity with whipped cream or ice cream. The possibilities are endless!
Remember to take your time and enjoy the process. Making iced coffee with a coffee machine is all about finding your perfect balance of flavors, textures, and temperatures. Whether you’re sipping your creation on a sunny patio or cozying up indoors, the satisfaction of creating a delicious and refreshing drink is unmatched.
So, why not invite friends over for a coffee date or surprise your loved ones with your newfound barista skills? Share the joy of homemade iced coffee and let them taste the love and dedication you put into each cup.
Now that you’ve mastered the art of making iced coffee with your coffee machine, go forth and explore new combinations, experiment with different brewing techniques, and make your iced coffee creations uniquely yours. Let your creativity soar as you continue to refine and perfect your homemade iced coffee recipes.
So, what are you waiting for? It’s time to unleash your inner barista and treat yourself to a refreshing and delightful glass of homemade iced coffee!
Frequently Asked Questions about How To Make Iced Coffee With A Coffee Machine
Was this page helpful?
At Storables.com, we guarantee accurate and reliable information. Our content, validated by Expert Board Contributors, is crafted following stringent Editorial Policies. We're committed to providing you with well-researched, expert-backed insights for all your informational needs.


0 thoughts on “How To Make Iced Coffee With A Coffee Machine”