Home>Home Appliances>Kitchen Appliances>How To Make Coffee In An Espresso Machine
Kitchen Appliances
How To Make Coffee In An Espresso Machine
Modified: August 16, 2024
Learn how to make the perfect cup of coffee using an espresso machine with our step-by-step guide. Explore the best techniques for brewing coffee at home. Perfect for kitchen-appliances enthusiasts.
(Many of the links in this article redirect to a specific reviewed product. Your purchase of these products through affiliate links helps to generate commission for Storables.com, at no extra cost. Learn more)
Introduction
Welcome to the world of espresso! If you're a coffee enthusiast, you're in for a treat. Making coffee with an espresso machine is an art form that allows you to savor the rich and robust flavors of freshly brewed espresso. Whether you're a novice or an experienced barista, mastering the art of making espresso at home can be a rewarding and enjoyable experience.
In this comprehensive guide, we'll take you through the step-by-step process of crafting the perfect cup of espresso using an espresso machine. From selecting the finest coffee beans to frothing the milk and pouring the perfect shot, we'll cover every aspect of the espresso-making journey. By the end of this guide, you'll be equipped with the knowledge and skills to create a delightful espresso experience in the comfort of your own kitchen.
So, grab your favorite mug and get ready to embark on a flavorful adventure. Whether you prefer a classic espresso shot, a velvety latte, or a creamy cappuccino, this guide will empower you to unleash your inner barista and elevate your coffee-making prowess. Let's dive into the world of espresso and discover the secrets of crafting the perfect cup of liquid gold.
Key Takeaways:
- Choosing the right coffee beans, grinding them finely, and mastering the art of tamping are crucial for creating a flavorful and aromatic espresso experience at home.
- Frothing milk and perfecting the art of pouring and serving espresso-based beverages add a touch of elegance and luxury, elevating the coffee experience to new heights.
Choosing the Right Coffee Beans
When it comes to making exceptional espresso, the foundation lies in the quality of the coffee beans. Selecting the right coffee beans is crucial in determining the flavor, aroma, and overall character of your espresso. Here are some key factors to consider when choosing the perfect coffee beans for your espresso:
- Bean Variety: Opt for high-quality Arabica or a blend of Arabica and Robusta beans. Arabica beans are renowned for their nuanced flavors and aromatic profiles, while Robusta beans contribute to a rich crema and a hint of bitterness, adding depth to the espresso.
- Roast Level: For espresso, a medium to dark roast is typically preferred. The roasting process significantly impacts the flavor profile, with darker roasts offering a bold, smoky, and caramelized taste, while medium roasts retain a balance between acidity and body.
- Freshness: Always prioritize freshly roasted coffee beans. Look for the roast date on the packaging, and aim to use the beans within two to four weeks of the roast date to capture the peak of their flavor.
- Origin: Consider the origin of the beans. Single-origin beans showcase the distinct characteristics of a specific region, while blends offer a harmonious balance of flavors from different origins.
- Grind Size: Espresso requires a fine and consistent grind to extract the optimal flavors. If possible, purchase whole beans and grind them just before brewing to preserve the freshness and integrity of the coffee.
By paying attention to these factors, you can ensure that your espresso journey begins with the finest foundation – the coffee beans. The careful selection of beans sets the stage for a delightful espresso experience, allowing you to savor the complexities and nuances of each carefully crafted cup.
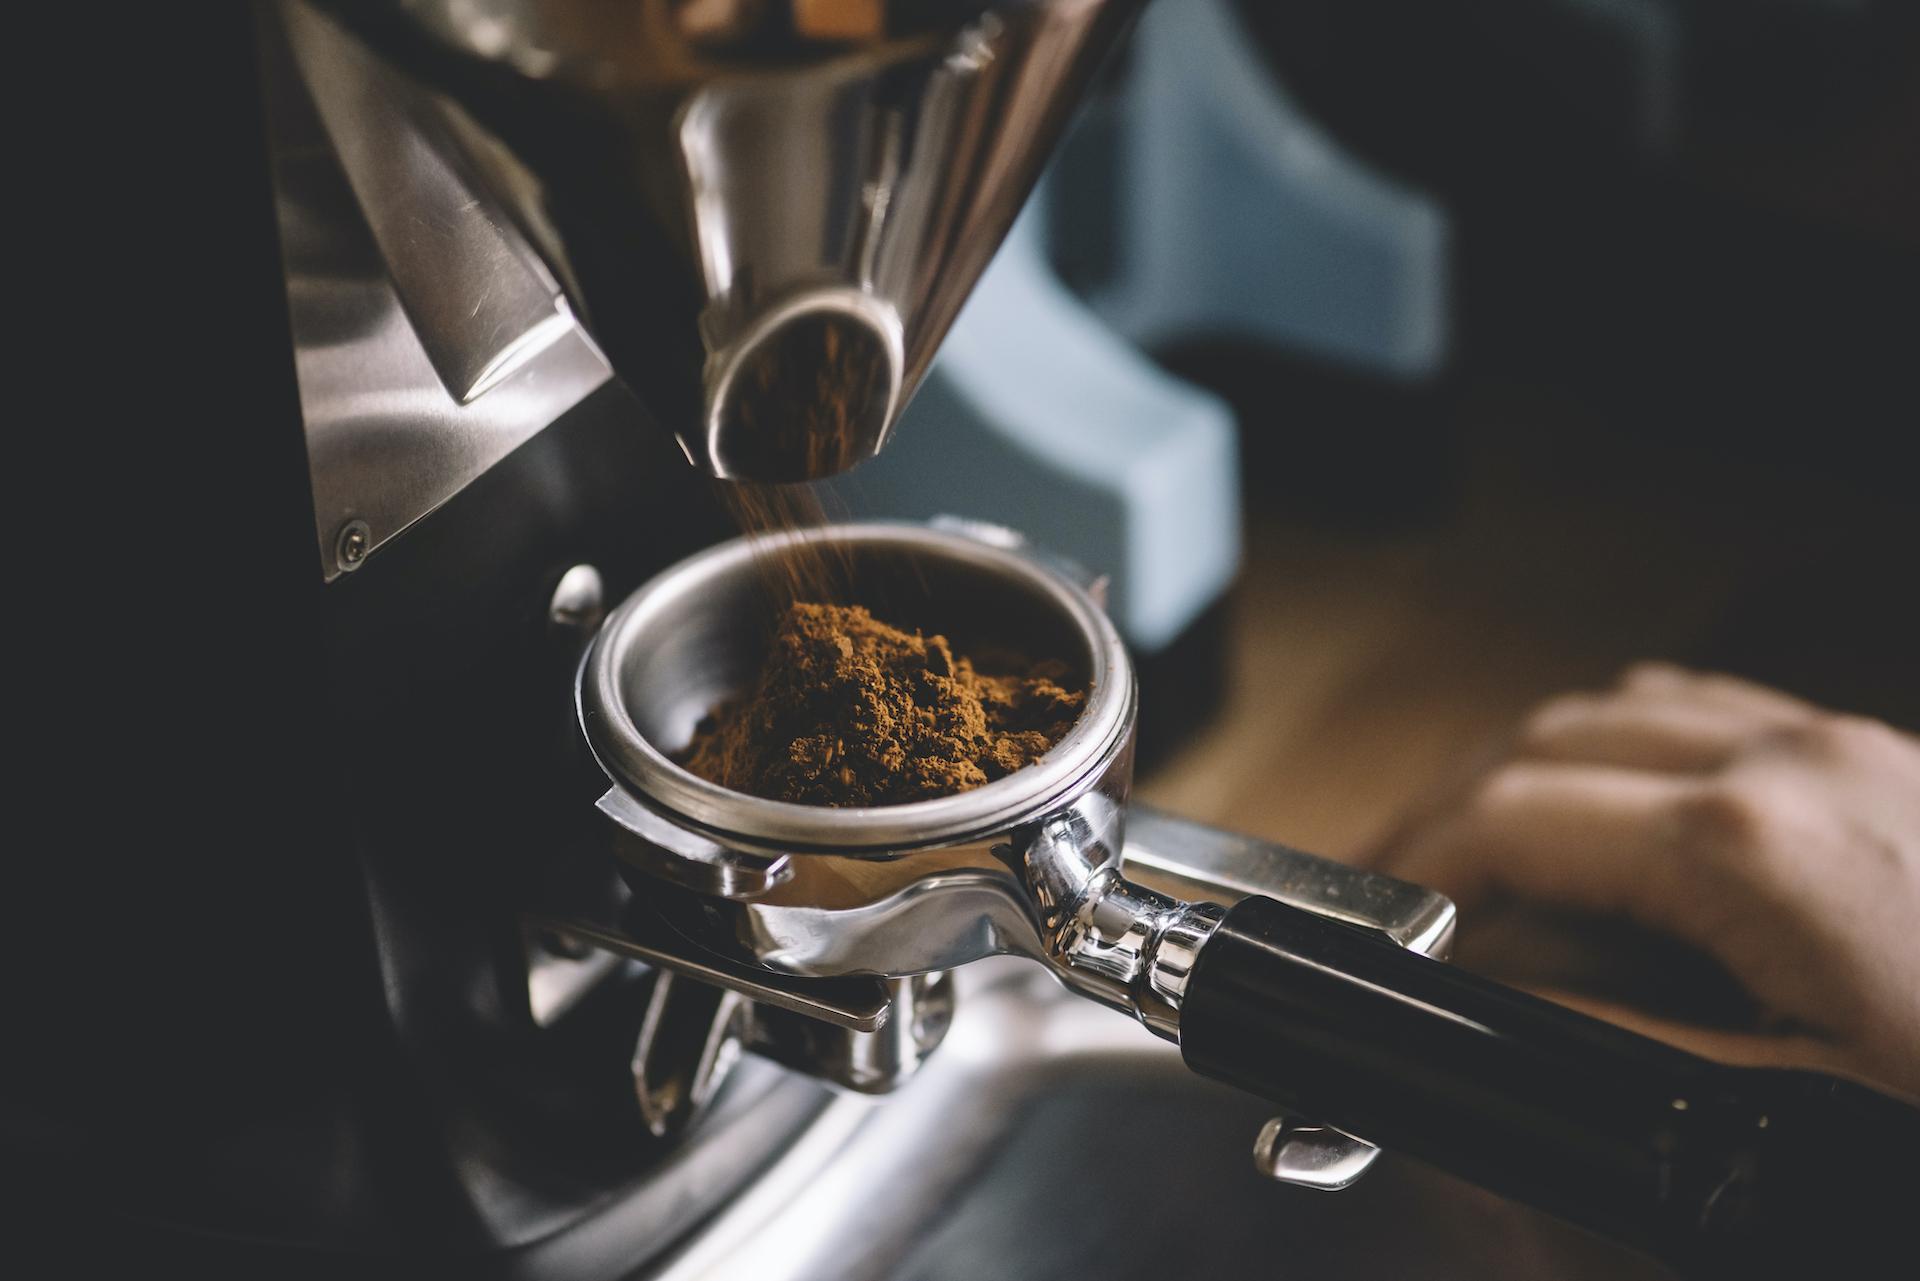
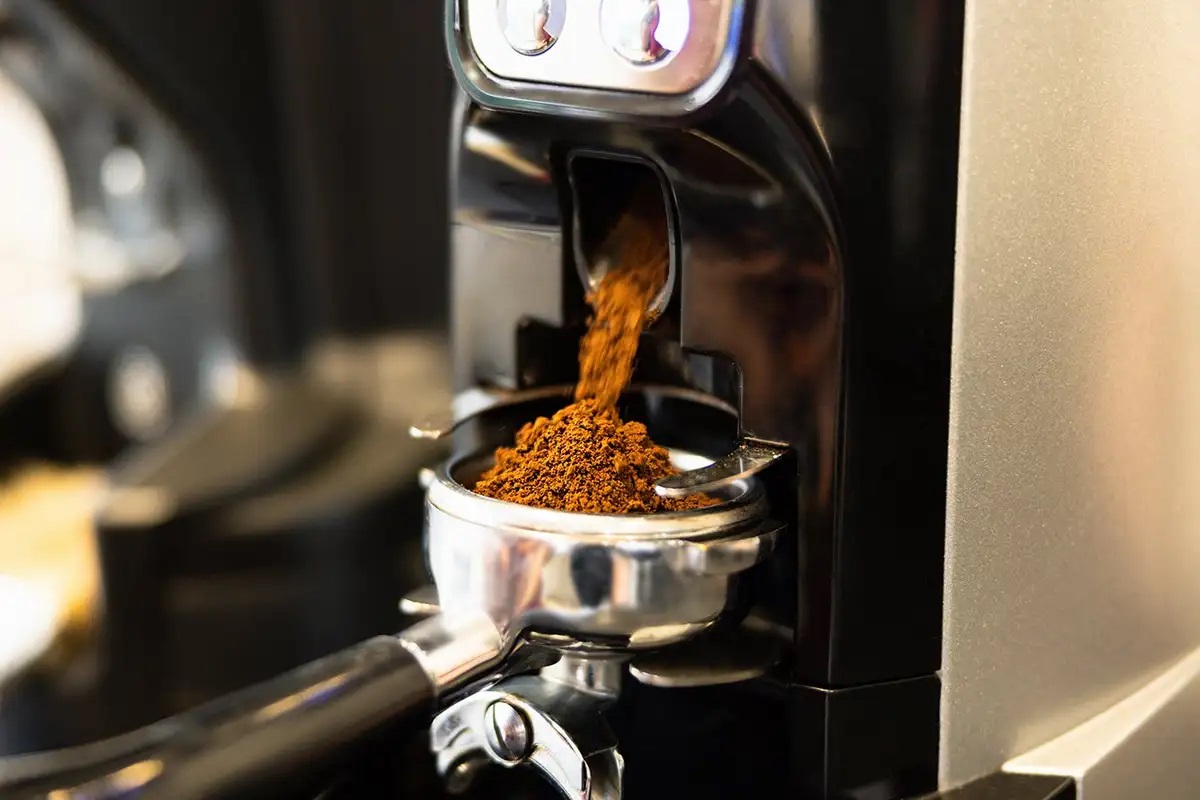
Grinding the Coffee
Once you’ve secured the perfect coffee beans, the next crucial step in the espresso-making process is grinding the beans to the ideal consistency. The grind size plays a pivotal role in determining the extraction rate and flavor profile of the espresso. Here’s a detailed look at the grinding process:
For espresso preparation, a fine and uniform grind is essential to achieve the optimal extraction. The consistency of the grind ensures that the water can permeate the coffee evenly, extracting the flavors and aromas to create a harmonious and well-balanced espresso shot. To achieve the perfect grind, consider the following factors:
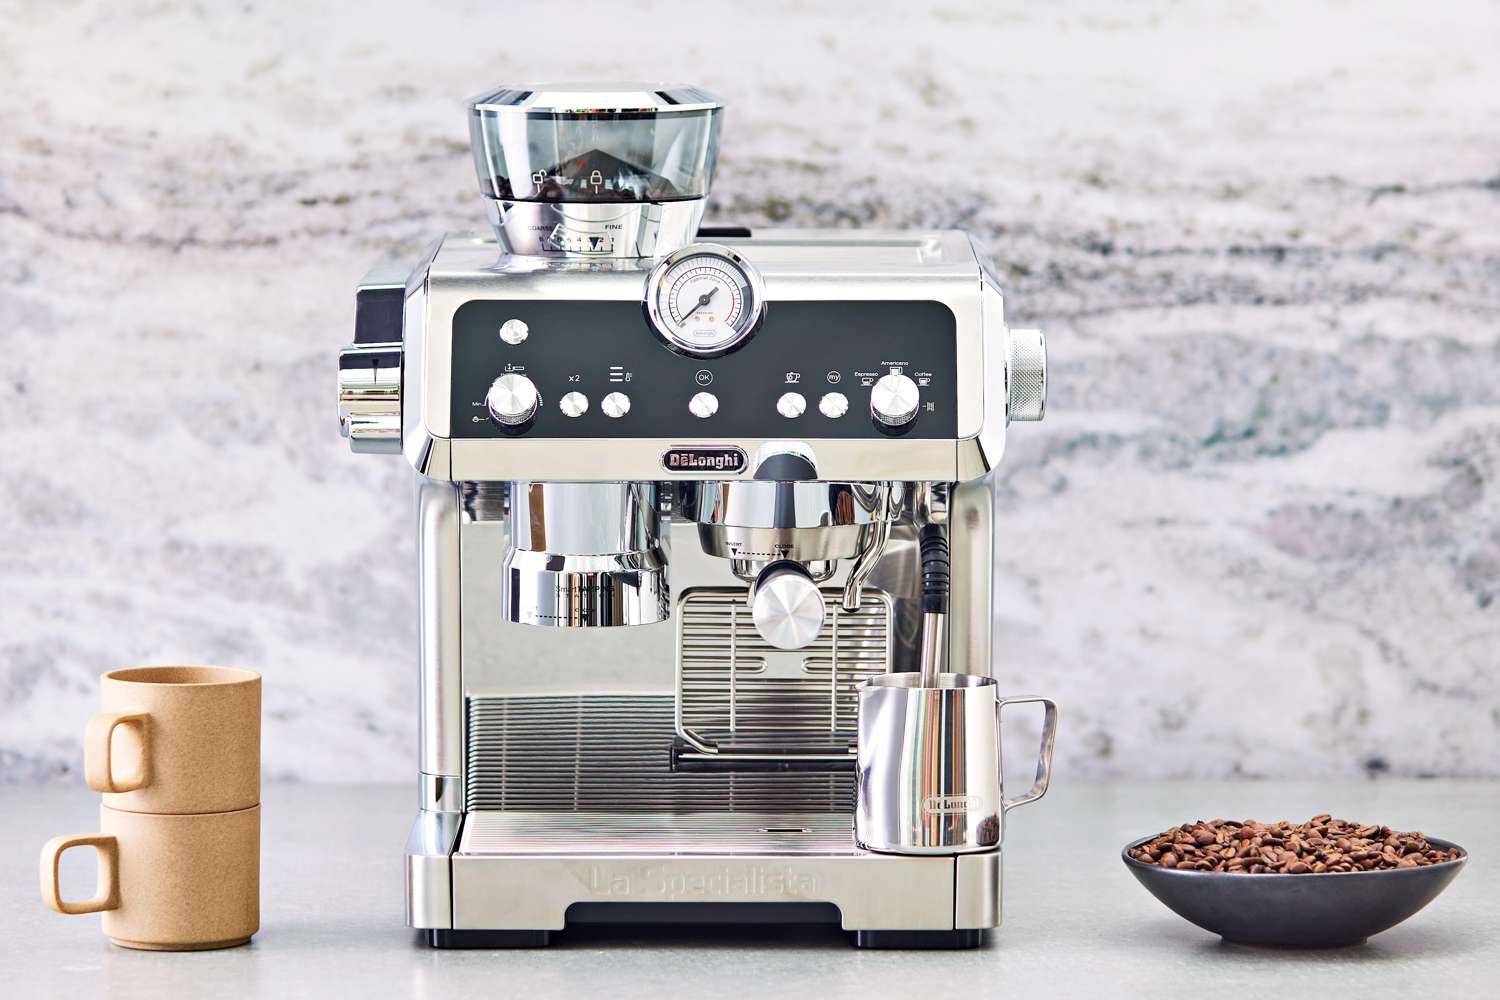
- Grinder Selection: Invest in a high-quality burr grinder specifically designed for espresso. Burr grinders offer precise control over the grind size and produce uniform particles, which is essential for extracting the full spectrum of flavors from the coffee.
- Grind Size Adjustment: Most burr grinders feature adjustable settings to fine-tune the grind size. For espresso, aim for a fine, powdery consistency resembling table salt or powdered sugar. Experiment with different grind settings to find the ideal fineness for your preferred espresso style.
- Grinding Quantity: Measure the appropriate amount of coffee beans based on the desired shot size. Typically, a standard espresso shot requires approximately 18-20 grams of coffee, but adjustments can be made according to personal taste preferences.
- Grinding Technique: Operate the grinder with a steady and consistent motion to ensure an even grind. Avoid rapid or uneven grinding, as it can result in an inconsistent extraction and affect the overall flavor of the espresso.
- Immediate Use: Aim to grind the coffee beans immediately before brewing to preserve the freshness and volatile aromatics. Freshly ground coffee is essential for capturing the nuanced flavors and achieving a vibrant, aromatic espresso.
By mastering the art of grinding coffee to the perfect consistency, you can unlock the full potential of your chosen beans and set the stage for a remarkable espresso experience. The precision and care invested in the grinding process directly contribute to the richness and complexity of the final espresso shot, allowing you to savor every sip to the fullest.
Tamping the Coffee
After grinding the coffee to the desired fineness, the next critical step in the espresso-making process is tamping the coffee grounds. Tamping is a fundamental technique that involves compacting the coffee grounds into a uniform puck within the portafilter. This step is essential for ensuring proper water flow and achieving an even extraction. Here’s a detailed exploration of the tamping process:
1. Portafilter Preparation: Begin by placing the portafilter on a stable surface. Ensure that the portafilter is clean and dry, and insert it securely into the group head of the espresso machine. The portafilter should be warm to the touch, as this helps maintain the temperature of the coffee during the brewing process.
2. Filling the Portafilter: Transfer the freshly ground coffee into the portafilter basket. Distribute the coffee grounds evenly and level them off using a finger or a leveling tool to create a flat, uniform surface. This step sets the foundation for an even and consistent tamp.
3. Tamping Technique: Using a tamper with a flat, level base, press down on the coffee grounds with steady and even pressure. The goal is to achieve a uniformly compressed puck without any unevenness or gaps. Apply approximately 30 pounds of pressure, ensuring that the tamper is perpendicular to the portafilter to create a level surface.
4. Visual Check: After tamping, visually inspect the puck to ensure that it appears level and uniform. The surface should be smooth and free of any irregularities, as this promotes consistent water flow during the brewing process.
5. Consistency and Precision: Practice tamping consistently to achieve uniform results with each espresso shot. Developing a steady and measured tamping technique is essential for optimizing the extraction process and producing consistently flavorful espresso.
By mastering the art of tamping, you can exert precise control over the extraction process, resulting in a well-balanced and flavorful espresso shot. Tamping serves as a crucial step in the quest for the perfect cup of espresso, allowing you to harness the full potential of the freshly ground coffee and unlock its rich, aromatic essence.
Always use freshly ground coffee beans for the best flavor. Grind the beans to a fine consistency and tamp them down firmly in the portafilter before brewing.
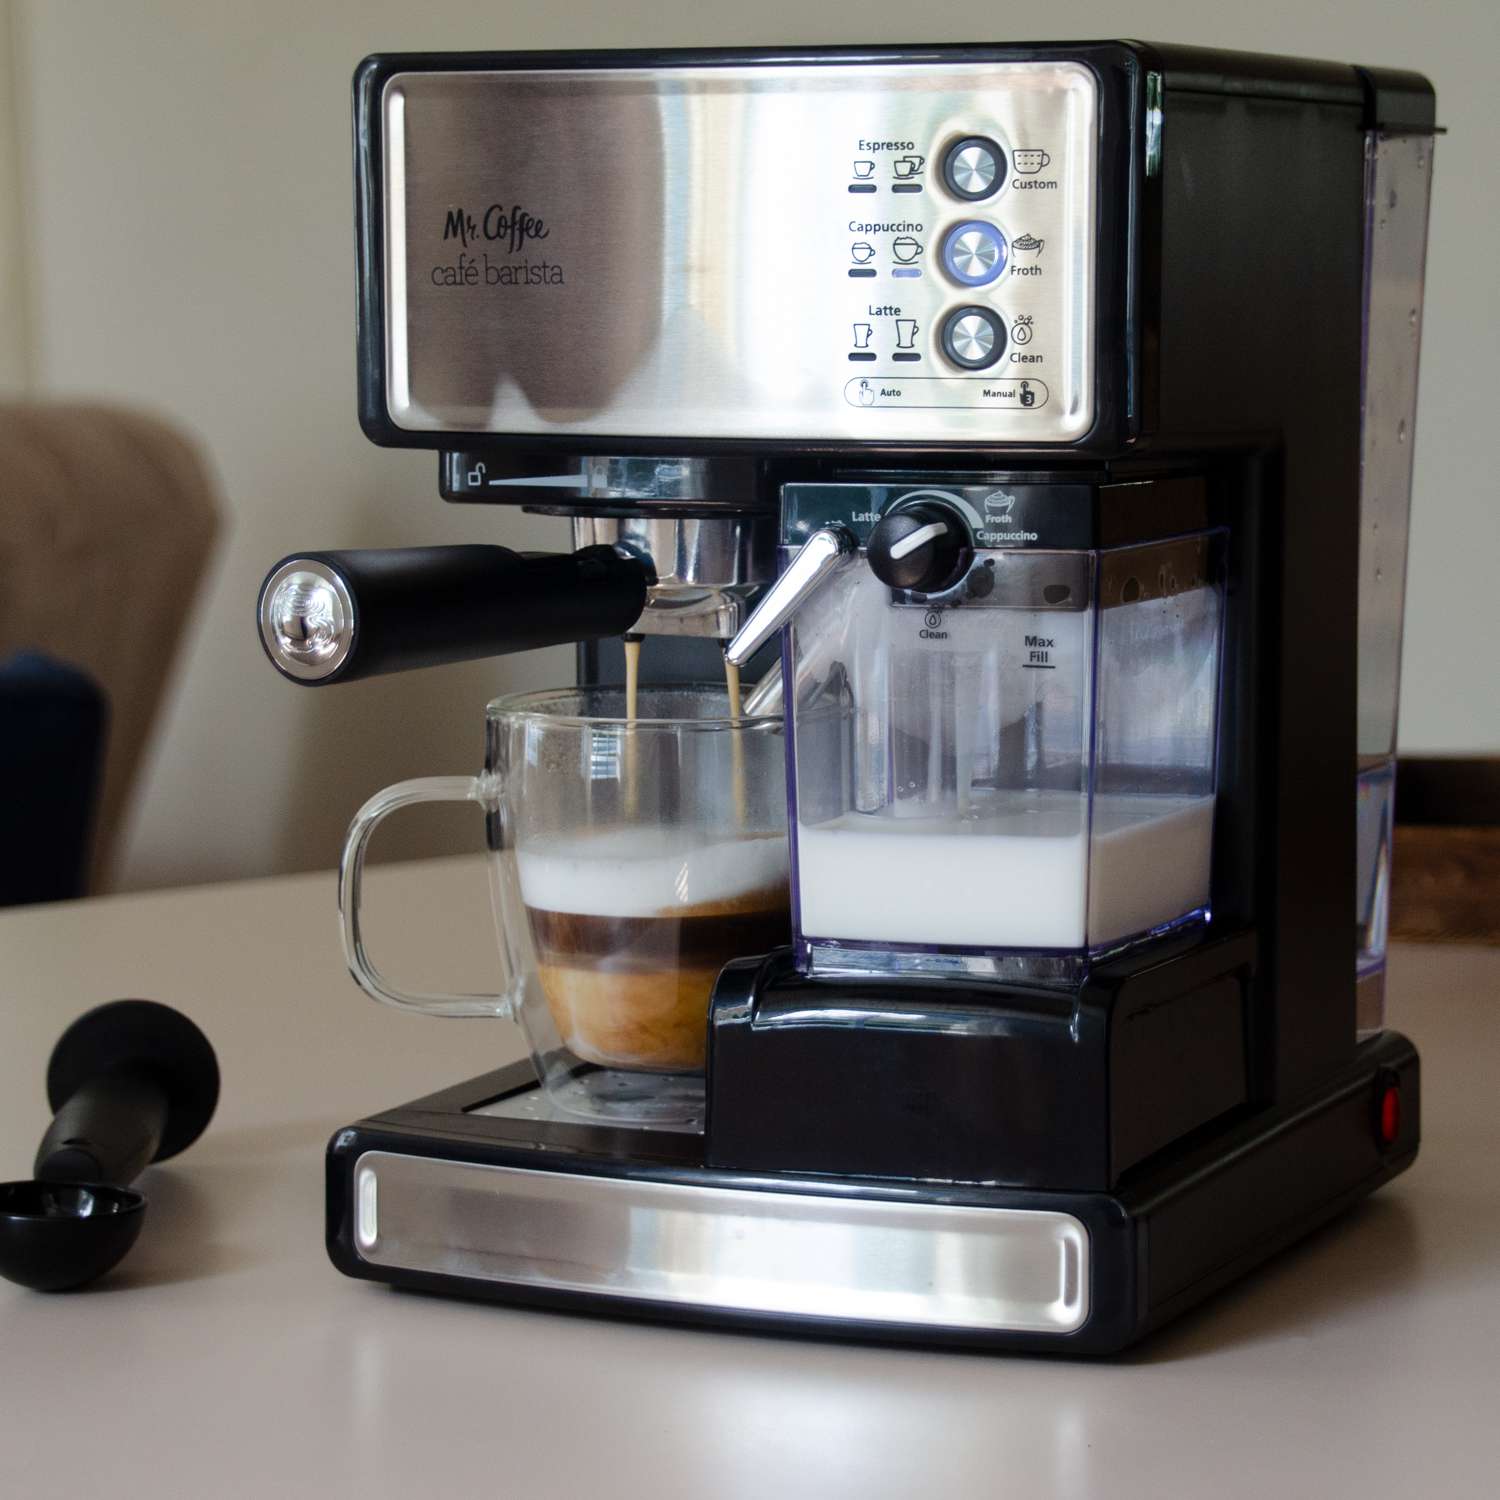
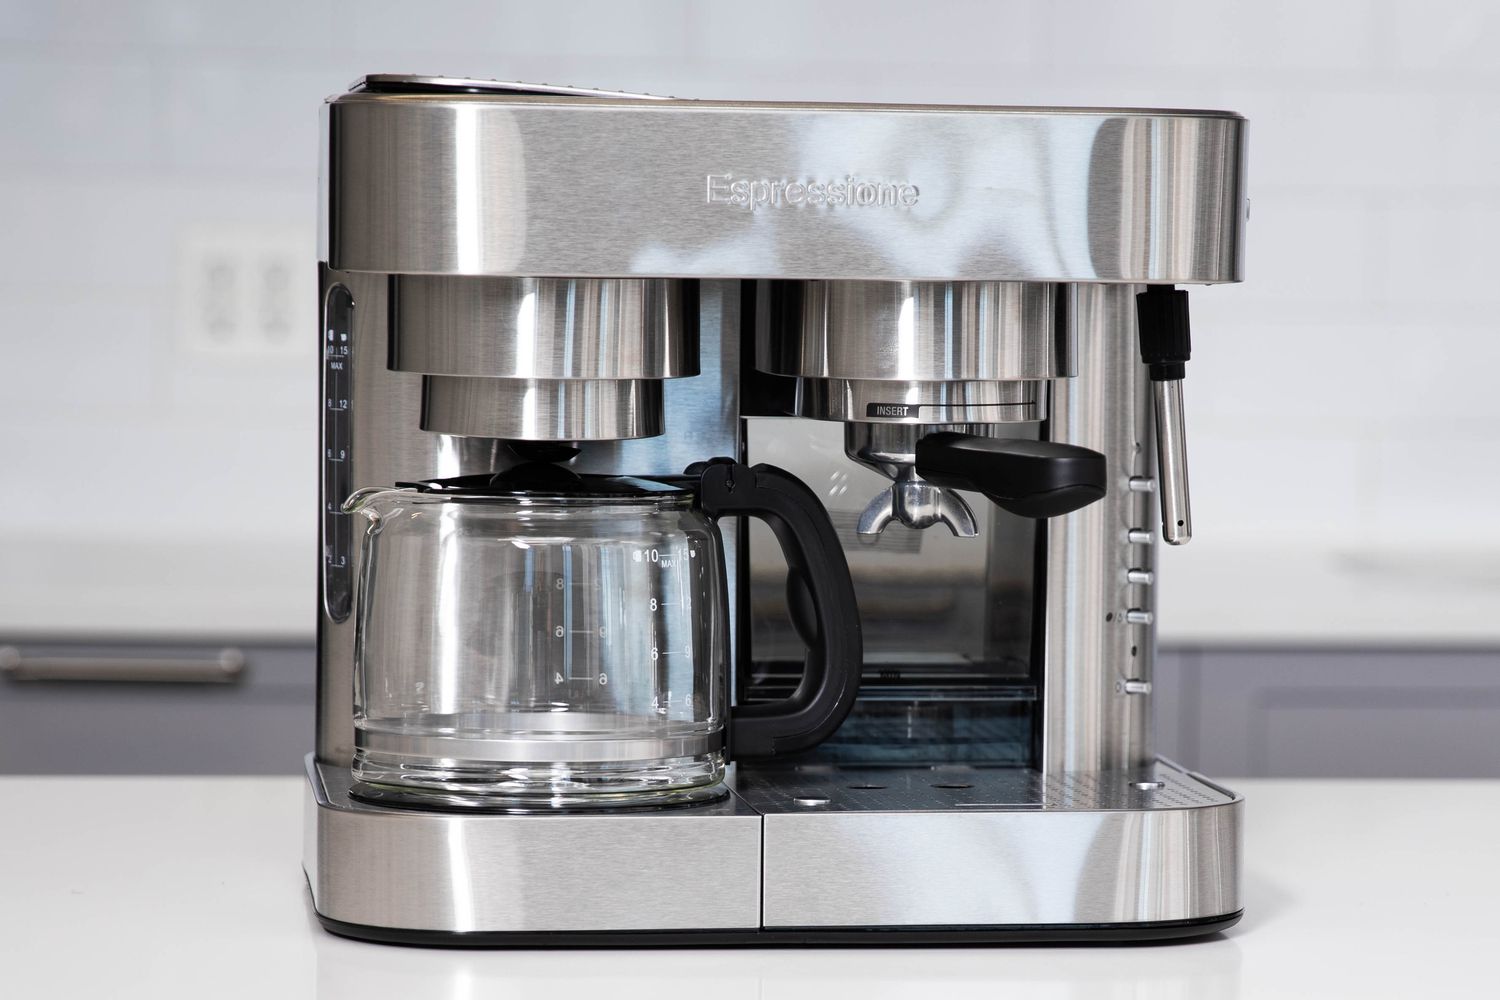
Brewing the Espresso
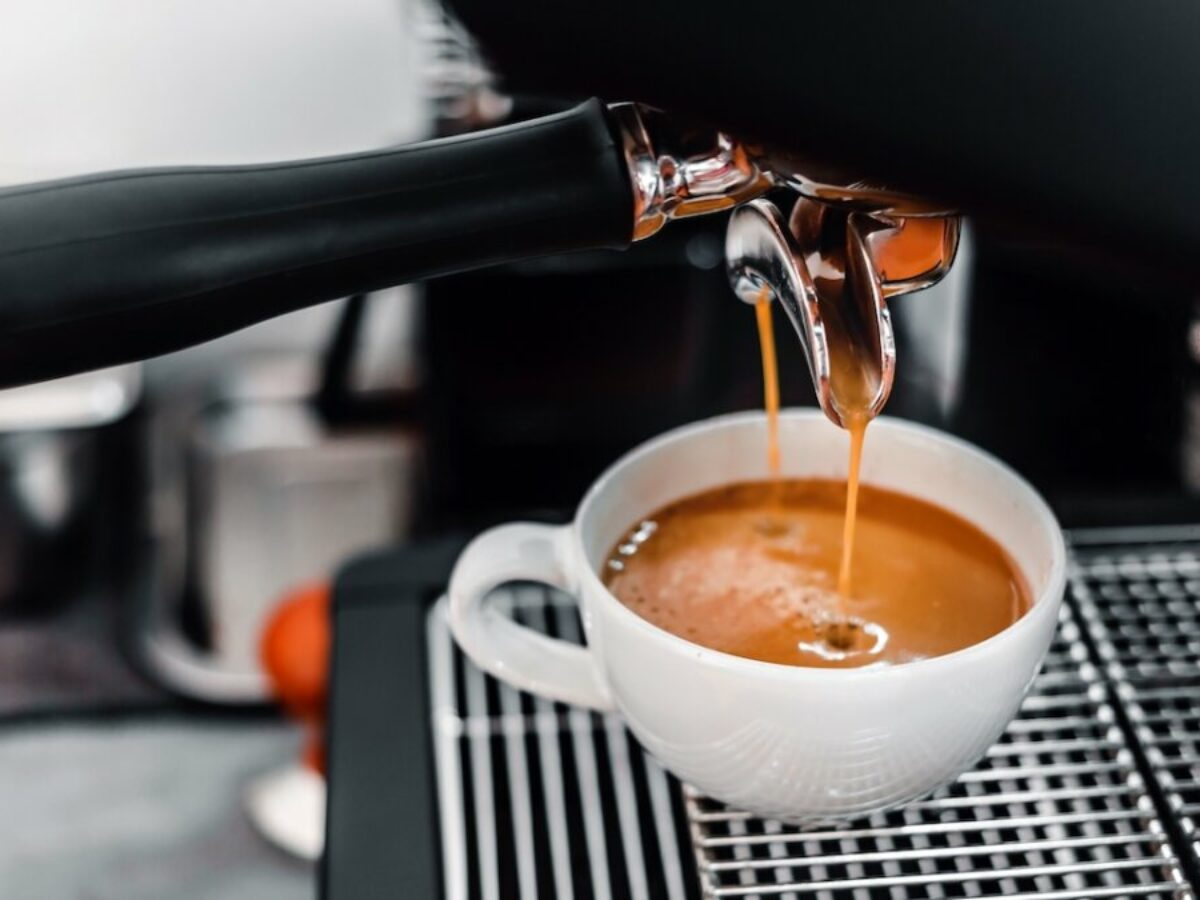
With the coffee beans carefully selected, ground to perfection, and expertly tamped, the stage is set for the exhilarating brewing process. Brewing espresso is a captivating blend of art and science, where precise parameters and keen observation converge to yield a delightful shot of liquid gold. Let’s delve into the intricacies of the brewing process and explore the key elements that contribute to the creation of a remarkable espresso:
1. Preheating: Before initiating the brewing process, it’s essential to preheat the espresso machine and the components, including the portafilter and the demitasse cups. Preheating ensures a stable and consistent temperature, which is crucial for achieving optimal extraction and preserving the aromatic nuances of the coffee.
2. Extraction Time: The ideal extraction time for a standard espresso shot ranges from 20 to 30 seconds. This timeframe allows for the extraction of the desirable flavors and aromas while preventing over-extraction, which can lead to a bitter and astringent taste. Monitoring the extraction time with precision is fundamental in crafting a well-balanced and flavorful espresso shot.
3. Water Temperature: The water temperature plays a pivotal role in the brewing process. The optimal water temperature for brewing espresso falls within the range of 195 to 205 degrees Fahrenheit (90 to 96 degrees Celsius). This temperature range facilitates the extraction of the coffee’s oils and soluble compounds, contributing to a rich and nuanced flavor profile.
4. Pressure and Flow Rate: Espresso machines are designed to deliver water at a consistent pressure and flow rate. The standard pressure for brewing espresso ranges from 8 to 9 bars, ensuring the proper emulsification of the coffee oils and the formation of a luscious crema atop the espresso shot.
5. Observation and Adjustment: Throughout the brewing process, keen observation is essential. Monitor the extraction closely, assessing the color, texture, and flow of the espresso as it fills the demitasse cup. Adjust the variables, such as grind size and tamping pressure, as needed to achieve the desired flavor profile and crema consistency.
By embracing the nuanced art of brewing espresso, you can orchestrate a symphony of flavors and aromas, culminating in a captivating sensory experience. The brewing process is a testament to the meticulous craftsmanship and dedication required to transform humble coffee beans into a transcendent elixir, worthy of admiration and delight.
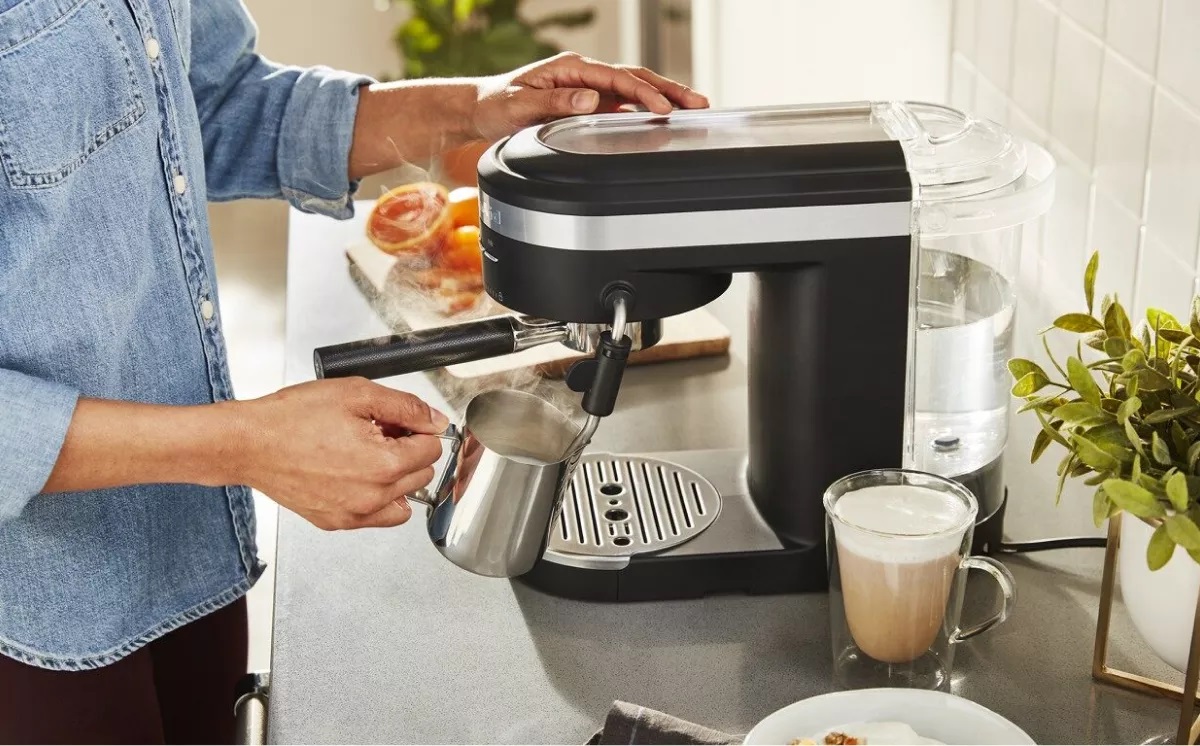
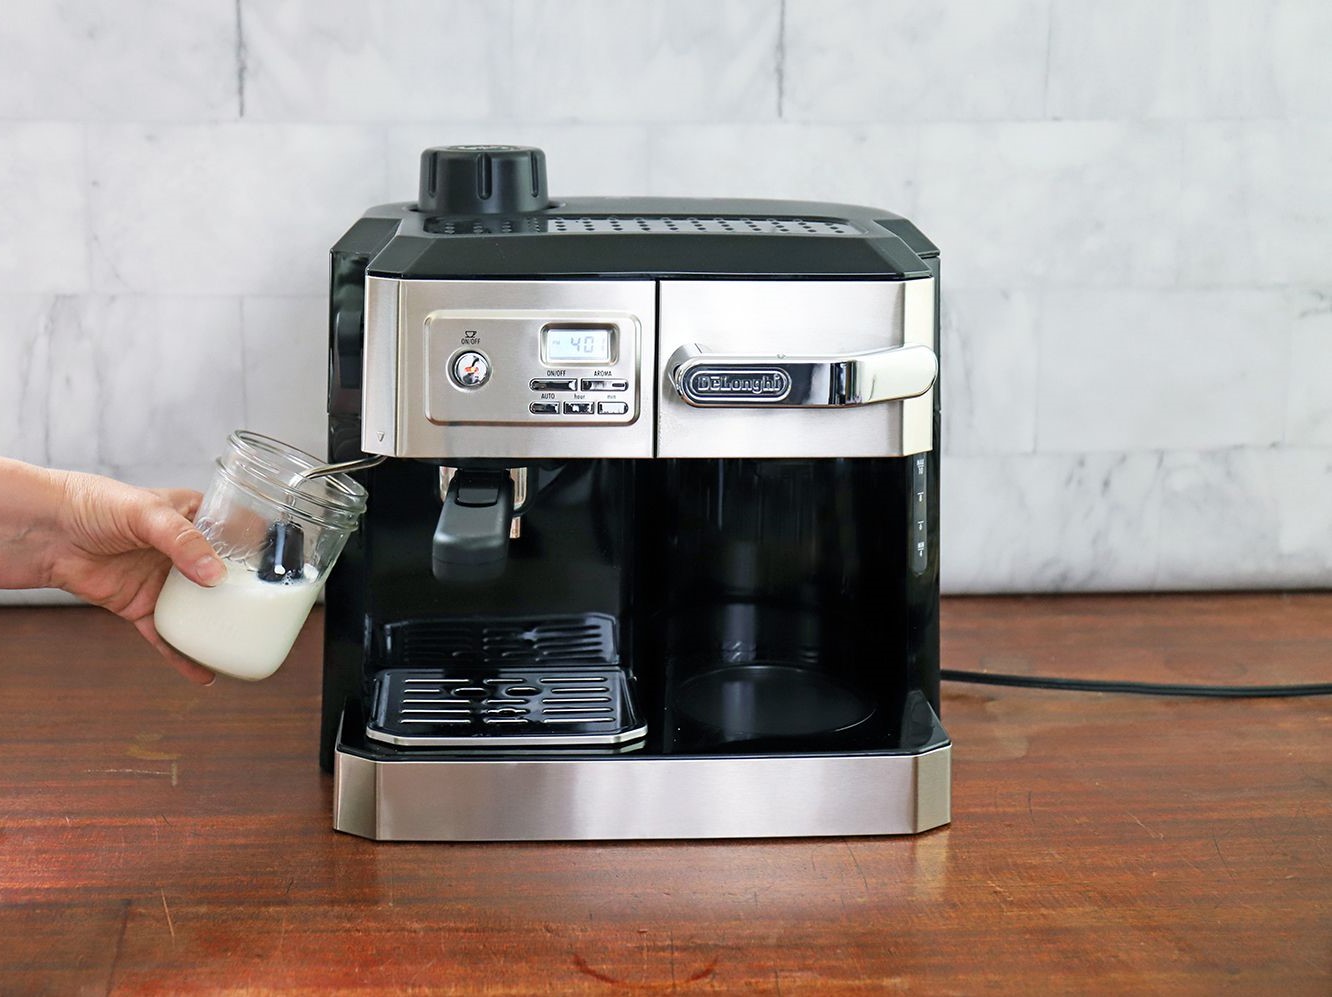
Frothing Milk
Embarking on the journey of crafting exquisite espresso-based beverages involves mastering the art of frothing milk—a transformative process that elevates the coffee experience to new heights. Whether you aspire to create a velvety latte, a luxurious cappuccino, or a decadent macchiato, frothing milk with precision and finesse is essential. Let’s explore the intricacies of frothing milk and uncover the key techniques for achieving luscious, creamy microfoam:
1. Milk Selection: Begin by selecting high-quality, cold, and fresh milk for frothing. Whole milk, 2% milk, or dairy alternatives such as oat milk and almond milk are popular choices, each offering distinct flavor profiles and textures when frothed.
2. Frothing Pitcher: Utilize a stainless steel frothing pitcher with a narrow spout, ideally designed for creating microfoam. The pitcher’s design facilitates precise control over the milk’s movement and aids in achieving a velvety, well-textured foam.
3. Steam Wand Positioning: Position the steam wand of the espresso machine just below the surface of the milk, ensuring that it creates a whirlpool motion within the pitcher. This technique promotes even heating and aeration, resulting in a uniform and creamy microfoam.
4. Steam Wand Technique: Submerge the steam wand into the milk and initiate the steam flow. Position the steam wand at a slight angle to create a vortex, allowing the milk to circulate and incorporate air, leading to the formation of microfoam. Monitor the milk’s temperature, aiming to achieve a range of 150 to 155 degrees Fahrenheit (65 to 68 degrees Celsius) for optimal frothing results.
5. Texture Assessment: As the milk froths, pay close attention to its texture and consistency. The desired outcome is a smooth, glossy microfoam with fine bubbles, reminiscent of wet paint. Avoid creating large bubbles or a dry, airy foam, as these can detract from the creamy mouthfeel and luscious texture of the frothed milk.
By mastering the art of frothing milk, you can infuse your espresso creations with a touch of elegance and luxury, elevating them to a realm of indulgence and sensory delight. The velvety microfoam, delicately enveloping the rich espresso, harmonizes the flavors and textures, resulting in a symphony of taste and visual allure that captivates the senses.
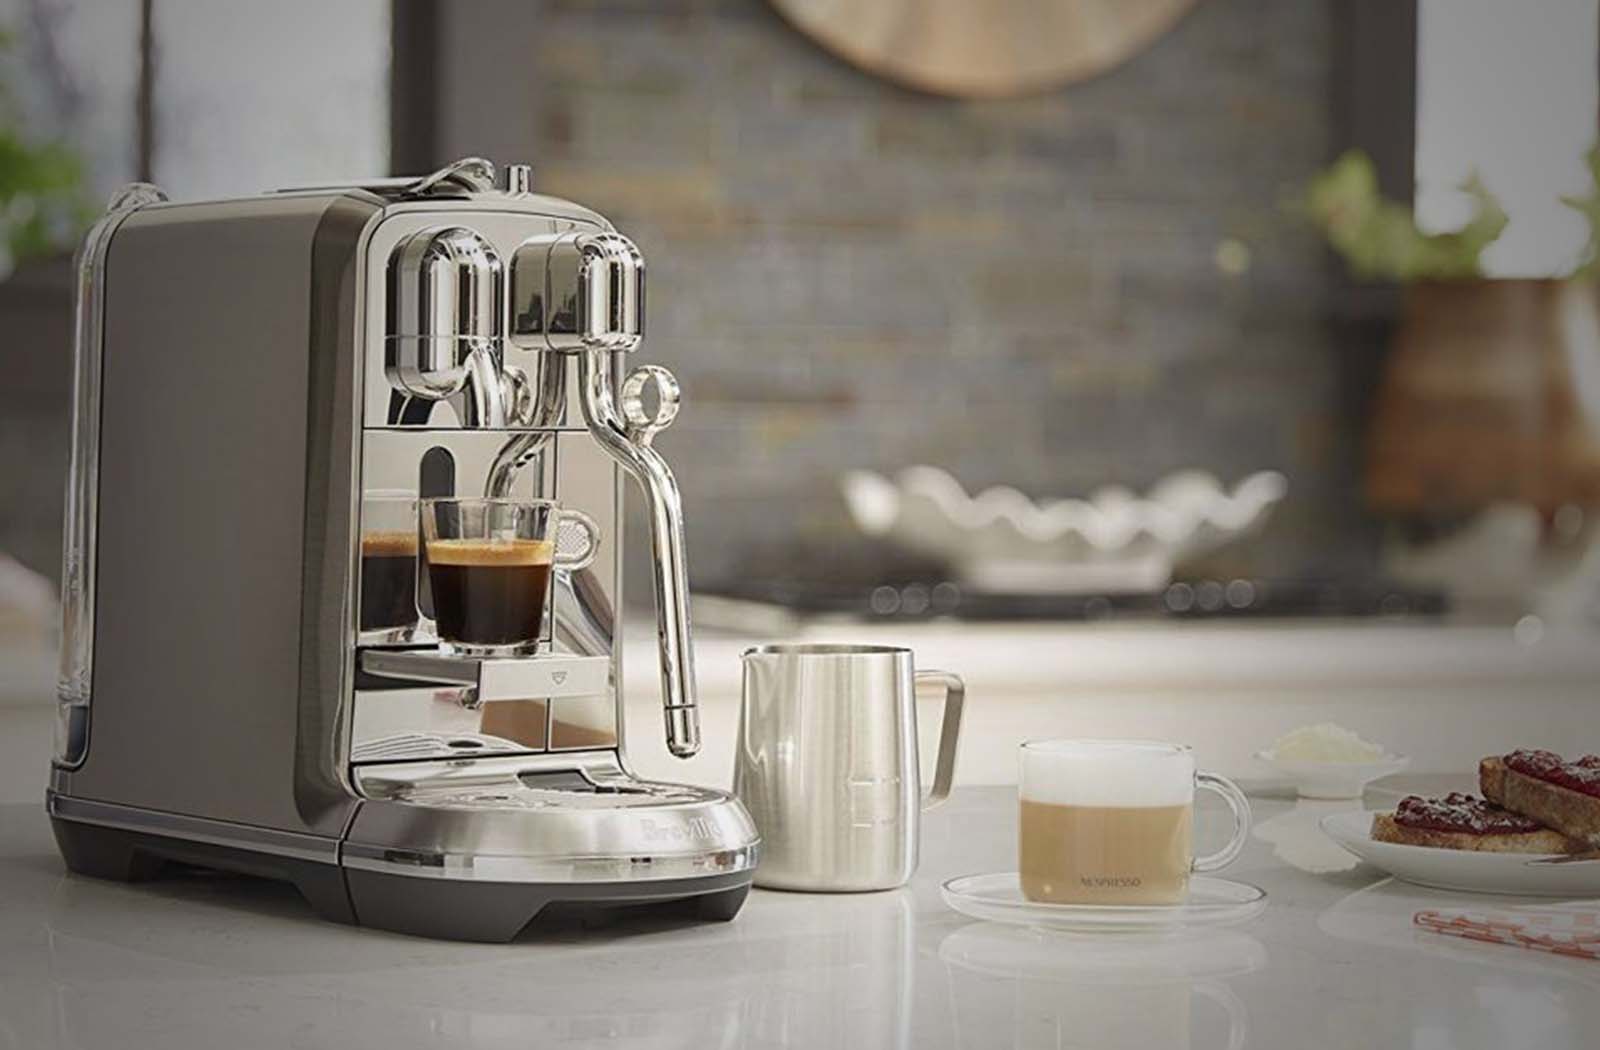
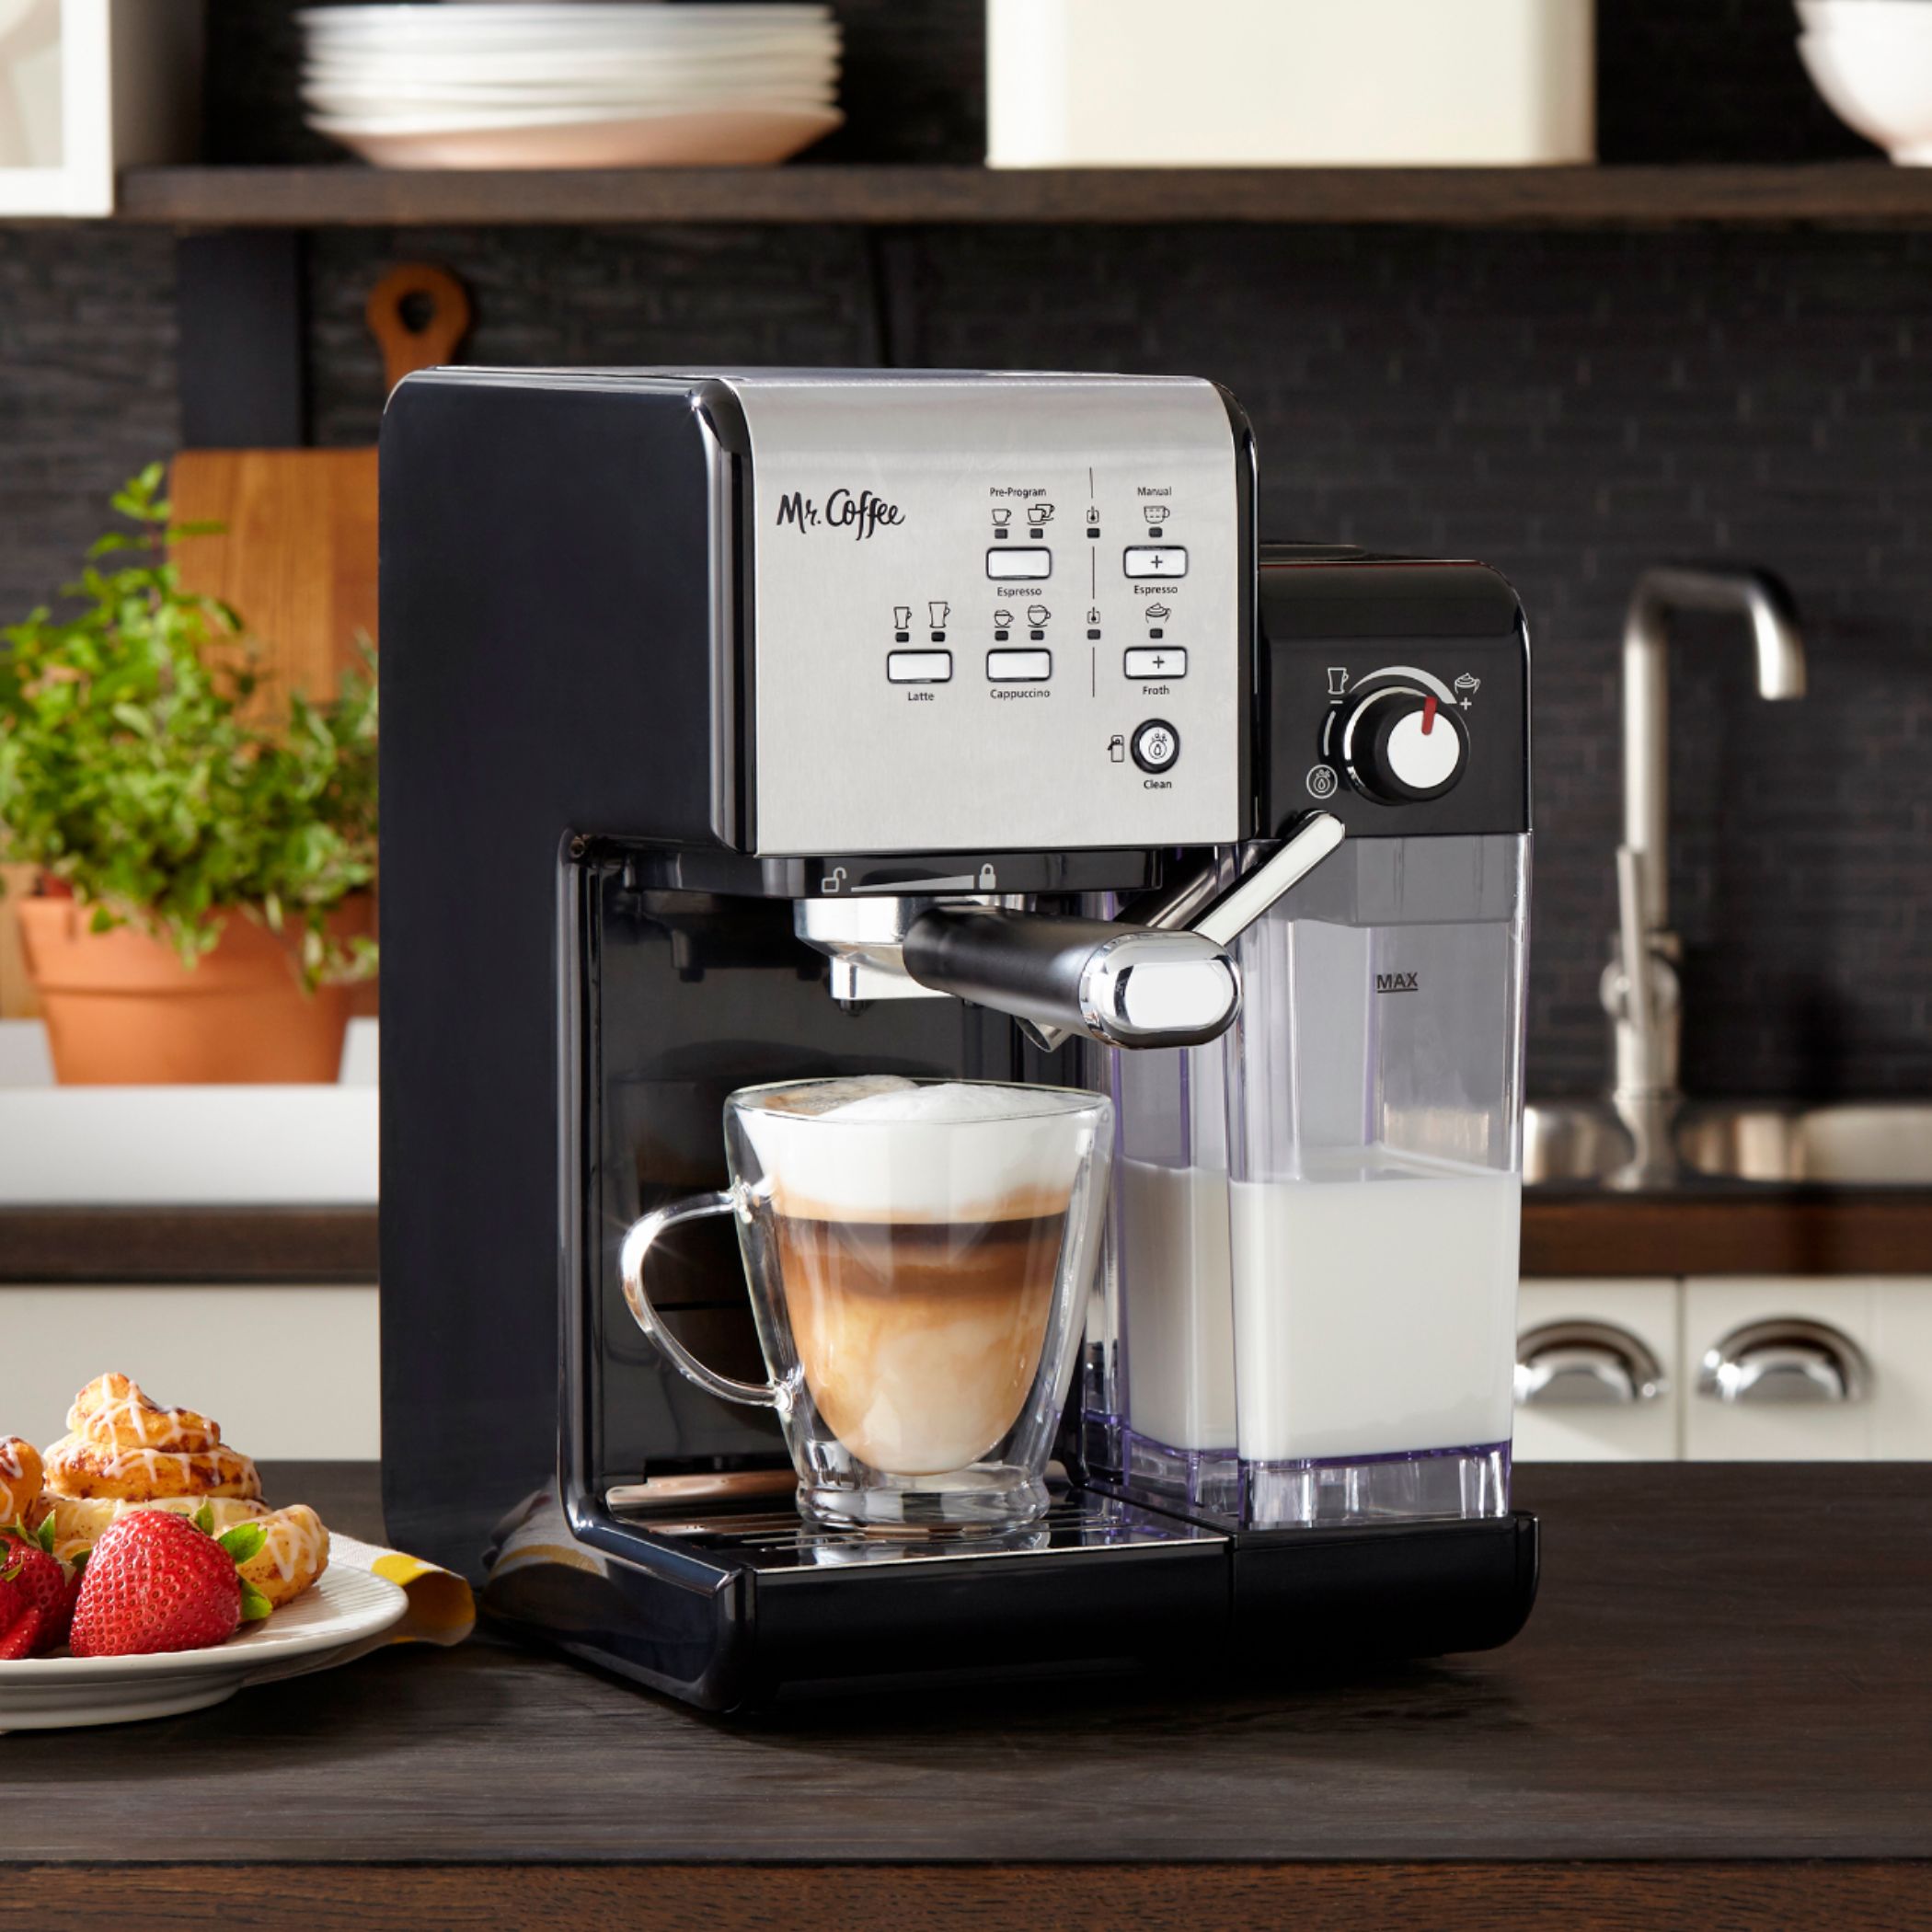
Pouring and Serving
The final act in the espresso-making symphony involves the art of pouring and serving, where the culmination of meticulous preparation and craftsmanship gives rise to a sensory experience that delights both the palate and the soul. Whether you’re crafting a classic espresso shot, a decadent cappuccino, or a soothing latte, the technique of pouring and serving plays a pivotal role in presenting the coffee creation with finesse and elegance. Let’s explore the nuances of this captivating ritual and delve into the key elements of pouring and serving espresso-based beverages:
1. Shot Presentation: For a classic espresso shot, the presentation is a testament to simplicity and elegance. The rich, golden-brown crema crowning the espresso serves as a visual delight, offering a glimpse of the coffee’s aromatic essence. Serve the espresso in a pre-warmed demitasse cup, allowing the recipient to savor the espresso’s bold flavors and nuanced aromas in a concentrated form.
2. Latte Art: When crafting lattes or cappuccinos, the addition of steamed milk and microfoam provides an opportunity for artistic expression. Mastering the technique of pouring the milk into the espresso allows for the creation of captivating latte art, ranging from delicate rosettas to intricate hearts and ferns. The visual allure of latte art enhances the overall coffee experience, adding a touch of beauty to the indulgence of sipping a perfectly crafted beverage.
3. Temperature and Timing: Serve espresso-based beverages promptly after preparation to ensure optimal temperature and flavor. The ideal serving temperature for espresso falls within the range of 160 to 165 degrees Fahrenheit (71 to 74 degrees Celsius), allowing the recipient to enjoy the beverage at its peak warmth and flavor intensity.
4. Personalization and Customization: Embrace the opportunity to personalize the coffee experience based on individual preferences. Whether it’s adjusting the milk-to-espresso ratio, incorporating flavored syrups, or offering alternative milk options, catering to diverse tastes enhances the inclusivity and enjoyment of the coffee-serving ritual.
By honing the art of pouring and serving espresso-based beverages, you transform the act of coffee consumption into a captivating sensory journey. The presentation, temperature, and personalized touches converge to create an experience that transcends mere consumption, inviting the recipient to savor each sip and revel in the harmonious interplay of flavors, textures, and visual allure. Pouring and serving espresso is an invitation to indulge in a moment of pure delight, where the artistry of coffee-making converges with the joy of sipping a meticulously crafted creation.
Conclusion
Congratulations on embarking on a captivating journey through the art of crafting espresso-based beverages. From selecting the finest coffee beans to mastering the intricacies of frothing milk and pouring the perfect shot, you’ve delved into the realm of coffee craftsmanship with passion and dedication. As you conclude this immersive exploration, it’s essential to reflect on the profound impact of this journey and the enduring allure of the espresso-making process.
The art of making espresso transcends mere preparation; it embodies a harmonious fusion of precision, creativity, and sensory delight. With each step, from grinding the coffee to frothing the milk, you’ve woven a narrative of craftsmanship and artistry, infusing every element with intention and care. The result is not merely a cup of coffee, but a testament to the dedication and expertise that converge to create a symphony of flavors and aromas.
As you savor the fruits of your labor, whether in the form of a velvety latte, a robust espresso shot, or a frothy cappuccino adorned with captivating latte art, you partake in a ritual that transcends the ordinary. The act of serving and savoring espresso-based beverages becomes a celebration of indulgence, inviting you to immerse yourself in a moment of pure sensory delight.
Moreover, the journey of mastering espresso-making is an ongoing odyssey, ripe with opportunities for exploration and refinement. Embrace the nuances of flavor profiles, experiment with different brewing techniques, and allow your creativity to flourish as you continue to hone your skills as a coffee artisan. Each cup of espresso presents a canvas for expression, inviting you to infuse it with your unique touch and share the joy of coffee craftsmanship with others.
As you conclude this chapter of your espresso-making odyssey, remember that the true essence of this art lies not only in the final creation but in the journey itself. The moments spent meticulously grinding the coffee, the anticipation as the espresso brews, and the satisfaction of presenting a lovingly crafted beverage—all these elements intertwine to form a tapestry of experiences that enrich your relationship with coffee and elevate the everyday into the extraordinary.
So, raise your cup, savor the aromas, and revel in the symphony of flavors. The world of espresso-making beckons, inviting you to embark on an ever-unfolding adventure of creativity, indulgence, and sensory bliss. Cheers to the art of espresso-making, where each sip is a testament to the passion and artistry that infuse every cup with magic.
Frequently Asked Questions about How To Make Coffee In An Espresso Machine
Was this page helpful?
At Storables.com, we guarantee accurate and reliable information. Our content, validated by Expert Board Contributors, is crafted following stringent Editorial Policies. We're committed to providing you with well-researched, expert-backed insights for all your informational needs.


0 thoughts on “How To Make Coffee In An Espresso Machine”