
Articles
How To Measure A Living Room
Modified: December 7, 2023
Learn how to measure your living room accurately with our informative articles. Discover tips and tricks for creating the perfect layout and maximizing your space.
(Many of the links in this article redirect to a specific reviewed product. Your purchase of these products through affiliate links helps to generate commission for Storables.com, at no extra cost. Learn more)
Introduction
When it comes to designing and furnishing a living room, accurate measurements are essential. Whether you’re planning a complete remodel or simply rearranging furniture, knowing the exact dimensions of your living room plays a crucial role in ensuring everything fits harmoniously.
Measuring a living room may sound like a simple task, but there are various factors to consider, including the length, width, and height of the room, as well as any additional features such as windows, doors, or architectural details. By following a few simple steps and using the right tools, you can easily measure your living room and have accurate dimensions to guide your design decisions.
In this article, we will guide you through the process of measuring a living room effectively. By the end, you’ll have the knowledge and confidence to tackle any living room project, armed with accurate measurements to make the most of your space.
Key Takeaways:
- Accurate measurements are crucial for a well-designed living room. Follow the steps outlined to gather precise dimensions, enabling you to plan furniture layout, lighting, and renovations effectively.
- Measuring your living room properly saves time, money, and frustration. With precise dimensions, you can personalize the space to reflect your style, ensuring a harmonious and functional design.
Read more: What Blinds Are Best For The Living Room
Step 1: Gather the necessary tools
Before you begin measuring your living room, gather the following tools to ensure accurate measurements:
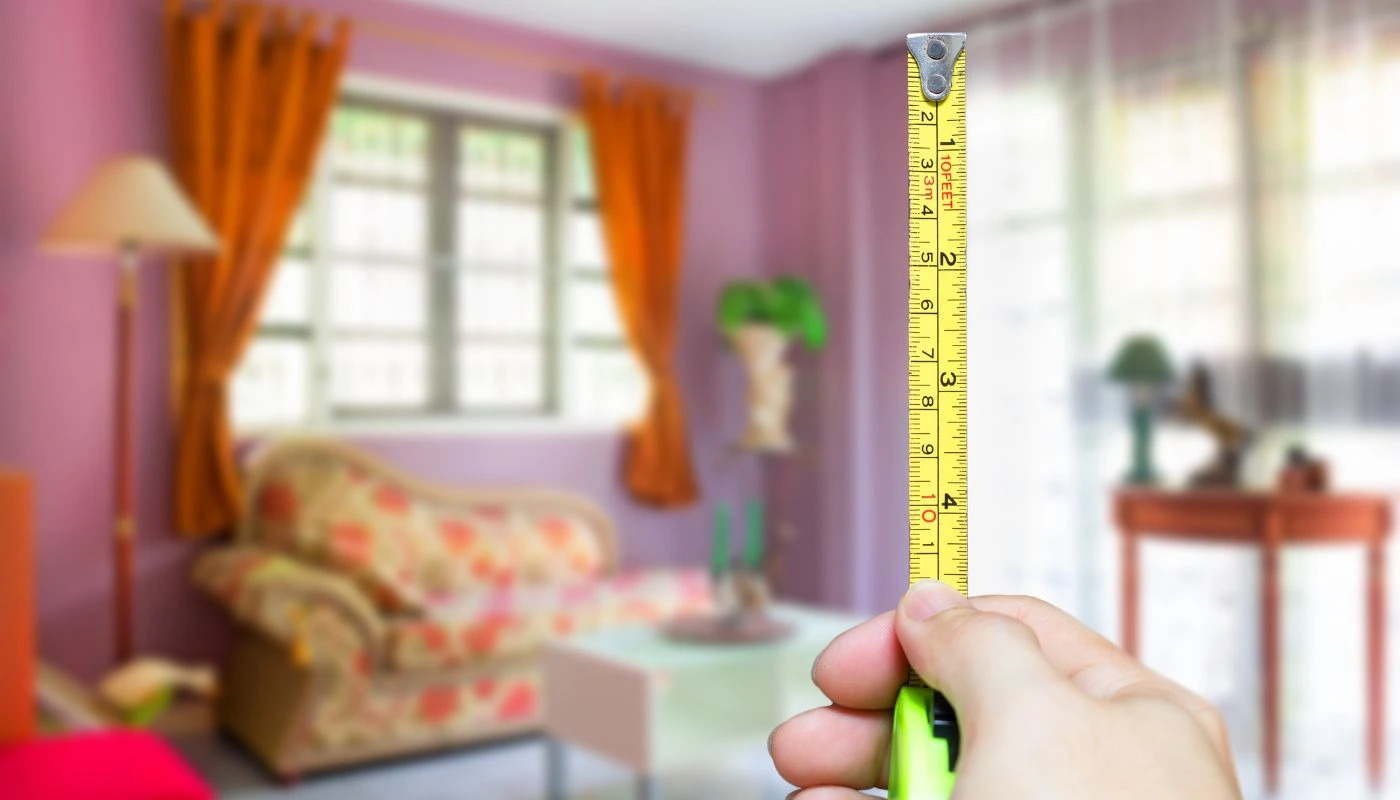
- Measuring tape: A retractable measuring tape is essential for measuring distances accurately. Choose a tape that has both imperial and metric measurements for convenience.
- Pencil and paper: These tools will allow you to record your measurements as you go along, keeping track of the numbers and preventing any confusion.
- Calculator: A calculator will come in handy for calculating square footage and volume if needed.
- Laser level: While not essential, a laser level can help ensure accuracy when measuring the height or aligning furniture.
Having these tools on hand will make the measuring process much smoother and more efficient. Now that you’re equipped, let’s move on to measuring the length of the room.
Step 2: Measure the length of the room
Measuring the length of your living room is the first step in determining its dimensions. Follow these steps to measure the length accurately:
- Clear the space: Remove any obstructions, such as furniture or decor, that may impede your measurements.
- Start at one end: Choose a starting point at one end of the room.
- Extend the measuring tape: Extend the measuring tape along the baseboard or wall, making sure it is straight and fully extended.
- Read the measurement: Take note of the measurement where the tape aligns with the opposite wall or endpoint.
- Record the measurement: Write down the measurement, including the unit of measurement (inches, feet, or meters).
Repeat this process for any additional segments of the room that may have different lengths, such as alcoves or bay windows. It’s important to be as precise as possible when measuring the length to ensure accuracy in the overall dimensions of the room.
This step is crucial as it serves as the foundation for the rest of the measuring process. Once you have measured the length, you can move on to measuring the width of the room.
Step 3: Measure the width of the room
After measuring the length of the room, it’s time to determine the width. Follow these steps to measure the width accurately:
- Clear the space: Remove any furniture or objects that may obstruct your measuring tape.
- Choose a starting point: Select a starting point at one end of the room.
- Extend the measuring tape: Extend the measuring tape across the width of the room, ensuring it is straight and fully extended.
- Read the measurement: Take note of the measurement where the tape aligns with the opposite wall or endpoint.
- Record the measurement: Write down the measurement, along with the unit of measurement.
Like measuring the length, repeat these steps for any additional segments of the room that might have different widths. It’s important to be accurate and double-check your measurements to avoid any inconsistencies.
By now, you have determined both the length and width of your living room. Next, we will calculate the square footage to determine the overall size of the room.
Step 4: Calculate the square footage
Calculating the square footage of your living room is an important step in determining the overall size of the space. To calculate the square footage, follow these steps:
- Start with the measurements: Take the length and width measurements you obtained in the previous steps.
- Multiply length by width: Multiply the length and width measurements together. For example, if the length is 12 feet and the width is 10 feet, the calculation would be 12 feet x 10 feet = 120 square feet.
- Round the result: Round the calculated square footage to the nearest whole number.
It’s important to note that square footage is typically measured in square feet, but you can also use other units of measurement such as square meters or square inches, depending on your preference.
Calculating the square footage allows you to have a clear understanding of the size of your living room, which is crucial when it comes to planning and arranging furniture, choosing appropriate lighting, and determining the overall flow of the space.
Now that you have the square footage, let’s move on to measuring the height of the room.
When measuring a living room, be sure to measure the length and width of the room, as well as any alcoves or recesses. It’s also important to measure the height of the room to ensure accurate space planning for furniture and decor.
Read more: Why Is A Living Room Called A Living Room
Step 5: Measure the height of the room
Measuring the height of your living room is important, as it gives you a complete understanding of the dimensions of the space. Follow these steps to measure the height accurately:
- Clear the area: Remove any furniture or objects that may obstruct your view of the wall.
- Select a starting point: Choose a starting point near one of the corners of the room.
- Extend the measuring tape: Extend the measuring tape from the floor to the ceiling, ensuring it is straight and fully extended.
- Read the measurement: Take note of the measurement indicated at the highest point of the ceiling you can reach.
- Record the measurement: Write down the measurement, along with the unit of measurement (inches, feet, or meters).
It’s important to measure the height at multiple spots throughout the room, especially if there are any variations in the ceiling height. By taking multiple height measurements, you can determine an average height for the room.
Measuring the height of the living room is crucial when it comes to choosing appropriate lighting fixtures, determining the scale of artwork or decorations, and ensuring that any hanging fixtures or shelves are at the right height.
Now that you have measured the height, let’s move on to calculating the volume of the room.
Step 6: Determine the volume of the room
Calculating the volume of your living room is beneficial for various reasons, such as determining the amount of paint needed for painting the walls or understanding the overall spaciousness of the room. To determine the volume, follow these steps:
- Start with the measurements: Use the length, width, and height measurements you obtained in the previous steps.
- Multiply length by width by height: Multiply the length, width, and height measurements together. For example, if the length is 12 feet, the width is 10 feet, and the height is 8 feet, the calculation would be 12 feet x 10 feet x 8 feet = 960 cubic feet.
- Convert units if necessary: If you’re working with different units of measurement, such as meters or inches, convert them to a consistent unit before performing the calculation.
By determining the volume of your living room, you can make informed decisions regarding furniture placement, ensuring that there is enough space and optimizing the overall layout of the room. It also helps with planning any renovations or additions that may impact the overall volume of the space.
Now that you have calculated the volume, let’s move on to measuring any additional features of the room.
Step 7: Measure additional features
In addition to the main dimensions of your living room, it’s important to measure any additional features that may impact the overall layout and design. Here are some common features to consider measuring:
- Windows: Measure the height and width of each window, noting if they have any trim or framing that extends beyond the actual window pane.
- Doors: Measure the height and width of each door, including any trim or molding surrounding the doorframe.
- Architectural details: If your living room has any unique architectural features, such as built-in shelves, pillars, or alcoves, measure their dimensions to incorporate them into your space planning.
- Fireplace: If you have a fireplace in your living room, measure its dimensions, including the mantel and hearth.
- Electrical outlets and switches: Note the placement and height of electrical outlets and switches, as they can impact furniture arrangement and the location of lighting fixtures.
By measuring these additional features, you can ensure that your furniture and decor choices are well-suited to the space and that any renovations or modifications take into account the existing elements in the room.
Now that you have measured all the necessary dimensions and additional features of your living room, it’s time to summarize your final measurements.
Step 8: Summary and final measurements
Now that you have completed the measuring process, it’s important to summarize and record your final measurements. This will serve as a reference point for any future design or furnishing decisions. Here’s how to summarize your final measurements:
- Length: Record the length of the room, taking into account any variations due to alcoves or bay windows.
- Width: Document the width of the room, accounting for any changes in width caused by architectural features.
- Square footage: Calculate the square footage of the living room by multiplying the length and width measurements.
- Height: Record the height of the room, considering any variations in ceiling height.
- Volume: Determine the volume of the room by multiplying the length, width, and height measurements.
- Additional features: Note down the dimensions of any additional features in the living room, such as windows, doors, or architectural details.
By having these final measurements handy, you can confidently plan your living room design, select furniture that fits well, and ensure a cohesive and functional layout.
Remember to keep a copy of your measurements in a safe place for future reference. These measurements will be valuable when purchasing new furniture, consulting with contractors, or making any changes to the living room in the future.
Congratulations! You have successfully measured your living room and obtained all the necessary dimensions. Now you can move forward with confidence and create a space that truly reflects your personal style and meets your functional needs.
Read more: How To Darken A Room With Blinds
Conclusion
Measuring your living room accurately is an essential step in creating a well-designed and functional space. By following the steps outlined in this guide, you can gather the necessary measurements and have a clear understanding of the dimensions of your living room.
Accurate measurements enable you to plan the layout and arrangement of furniture, choose appropriate lighting fixtures, and ensure that everything fits harmoniously within the space. Knowing the square footage and volume of the room also helps with determining the amount of paint needed, calculating lighting requirements, and making informed decisions about renovations or additions.
Throughout the measuring process, it’s important to remain attentive and meticulous. Double-check your measurements to avoid any inaccuracies and record everything accurately for future reference. Having precise measurements will save you time, money, and frustration in the long run.
Remember, your living room is a place where you relax, entertain, and create memories. By taking the time to measure it properly, you can personalize it to suit your lifestyle and design preferences, ensuring that every element complements each other.
So go ahead and confidently tackle your living room project armed with accurate measurements. With your newfound knowledge, you can transform your living room into a space that truly reflects your style and provides comfort and functionality for years to come.
Frequently Asked Questions about How To Measure A Living Room
Was this page helpful?
At Storables.com, we guarantee accurate and reliable information. Our content, validated by Expert Board Contributors, is crafted following stringent Editorial Policies. We're committed to providing you with well-researched, expert-backed insights for all your informational needs.

0 thoughts on “How To Measure A Living Room”