Articles
How To Darken A Room With Blinds
Modified: October 28, 2024
Learn how to darken a room with blinds and create a cozy atmosphere. Our articles provide tips and tricks for achieving the perfect level of darkness.
(Many of the links in this article redirect to a specific reviewed product. Your purchase of these products through affiliate links helps to generate commission for Storables.com, at no extra cost. Learn more)
Introduction
Creating a dark and cozy ambiance in a room can be essential for various reasons. Whether you’re a night owl who prefers a pitch-black environment for uninterrupted sleep during the daytime, or you simply want to enhance your home theater experience by eliminating glare, darkening a room can make a significant difference. And when it comes to achieving the perfect level of darkness, blinds can be a game-changer.
In this article, we will guide you through the process of darkening a room with blinds. We will explore the different factors to consider when assessing your needs, the types of blinds suitable for darkening, the steps involved in measuring and installing blinds, tips for adjusting and controlling light, and how to maintain and clean your blinds for long-lasting performance. So, let’s dive in!
Key Takeaways:
- Transform your living space with the perfect level of darkness using blinds. Consider your specific needs, choose the right type of blinds, and follow the installation steps for a cozy and inviting ambiance.
- Achieve optimal light control and privacy by adjusting and maintaining your blinds. Explore additional tips, such as color choices and safety measures, to enhance your experience and satisfaction.
Read also: 11 Incredible Room Darkening Blinds for 2025
Assessing the Need for Darkening a Room
Before diving into the process of installing blinds, it’s important to assess why you need to darken a room. Understanding your specific requirements will help you make more informed decisions when choosing the right type of blinds and determining the level of darkness needed.
One common reason for darkening a room is to create optimal sleeping conditions. If you work night shifts or have irregular sleep patterns, having a dark room during the day can be crucial for getting quality rest. Additionally, if you have young children or infants, darkening the room can help establish a peaceful sleep environment.
Another reason to consider darkening a room is to enhance your home theater or entertainment setup. Glare from sunlight can wash out the colors on your television or projection screen, diminishing the overall viewing experience. By darkening the room, you can eliminate glare and create a cinematic atmosphere.
Furthermore, darkening a room can be beneficial for those who work from home and require a distraction-free environment. Blocking out external light can help you concentrate better and improve productivity, especially if your workspace is near windows.
Lastly, some individuals may simply prefer a cozy and intimate ambiance in certain rooms, such as bedrooms, home offices, or relaxation areas. A darker room can create a sense of privacy and tranquility.
By understanding your specific needs and motivations for darkening a room, you can move on to selecting the most suitable type of blinds to achieve your desired level of darkness.
Choosing the Right Type of Blinds
When it comes to darkening a room, selecting the right type of blinds is crucial. There are various options available, each with their own advantages and features. Here are some popular types of blinds to consider:
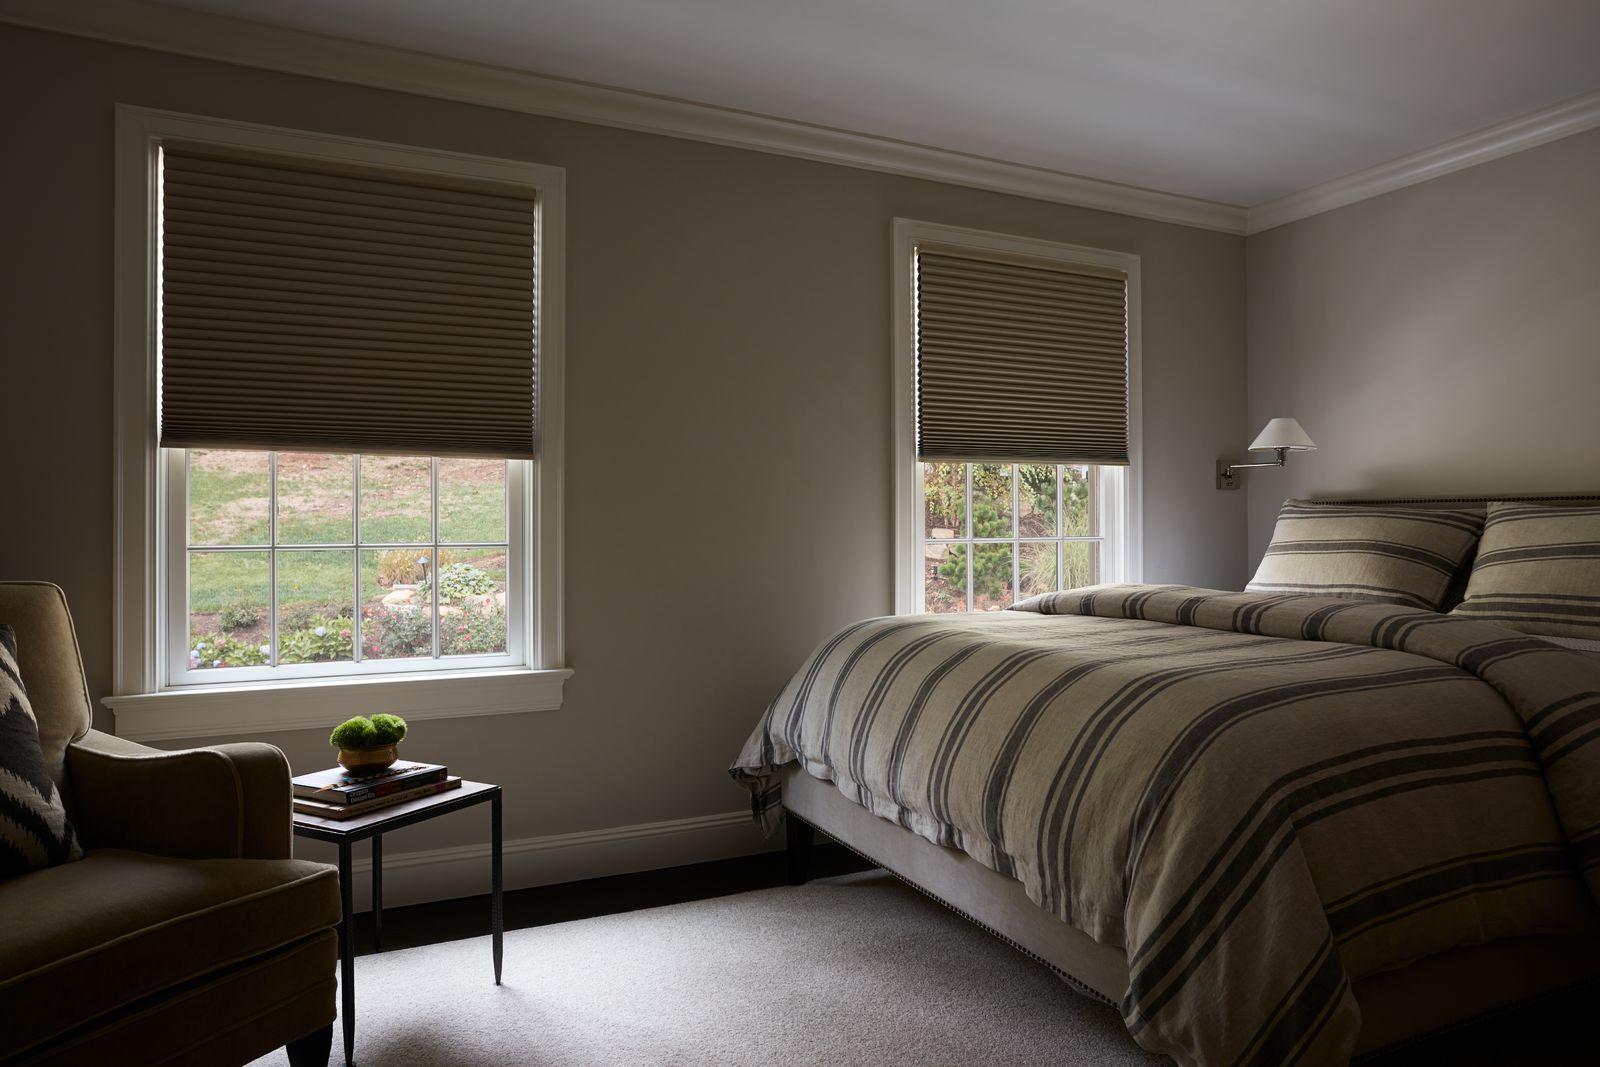
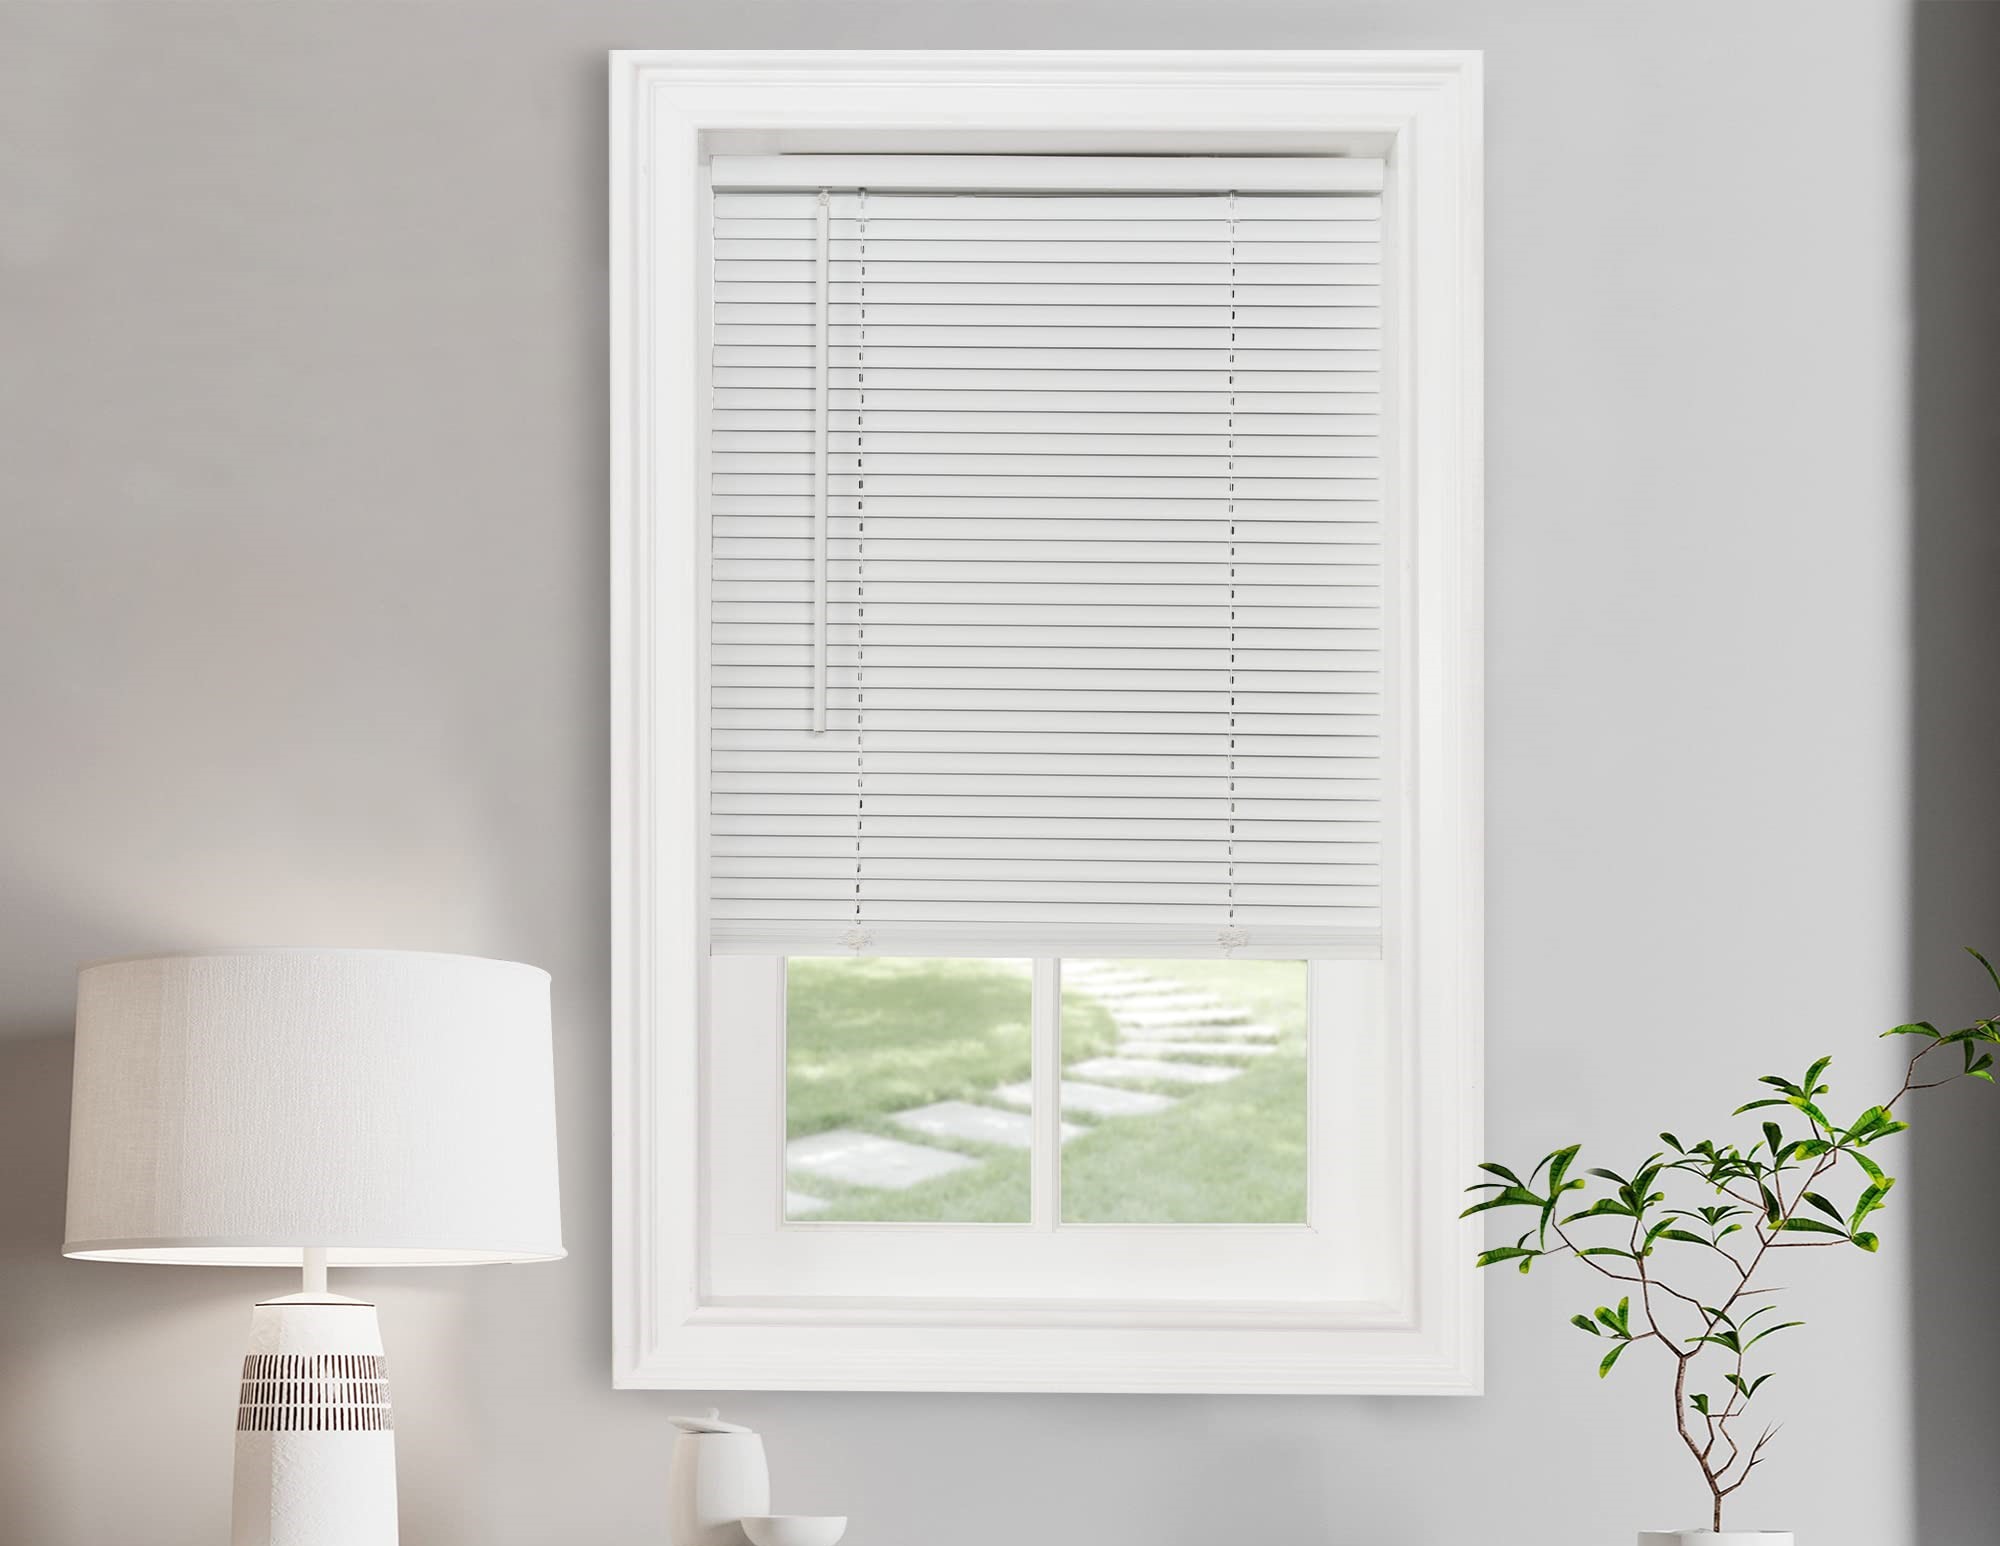
- Blackout blinds: As the name suggests, blackout blinds are designed specifically to block out light and provide maximum darkness. They are typically made with thick, opaque materials that prevent any light from entering the room. These blinds are an excellent choice for bedrooms and home theaters.
- Room darkening blinds: Room darkening blinds are a step below blackout blinds in terms of light-blocking capabilities. They are made from materials that reduce but don’t completely eliminate light. These blinds are a good option if you want to create a dimmer environment without complete darkness, such as in living rooms or home offices.
- Cellular shades: Cellular shades, also known as honeycomb blinds, feature a unique cellular structure that traps air. Apart from their energy-efficient properties, certain cellular shades come with blackout or room darkening options. They are versatile and can be installed in any room.
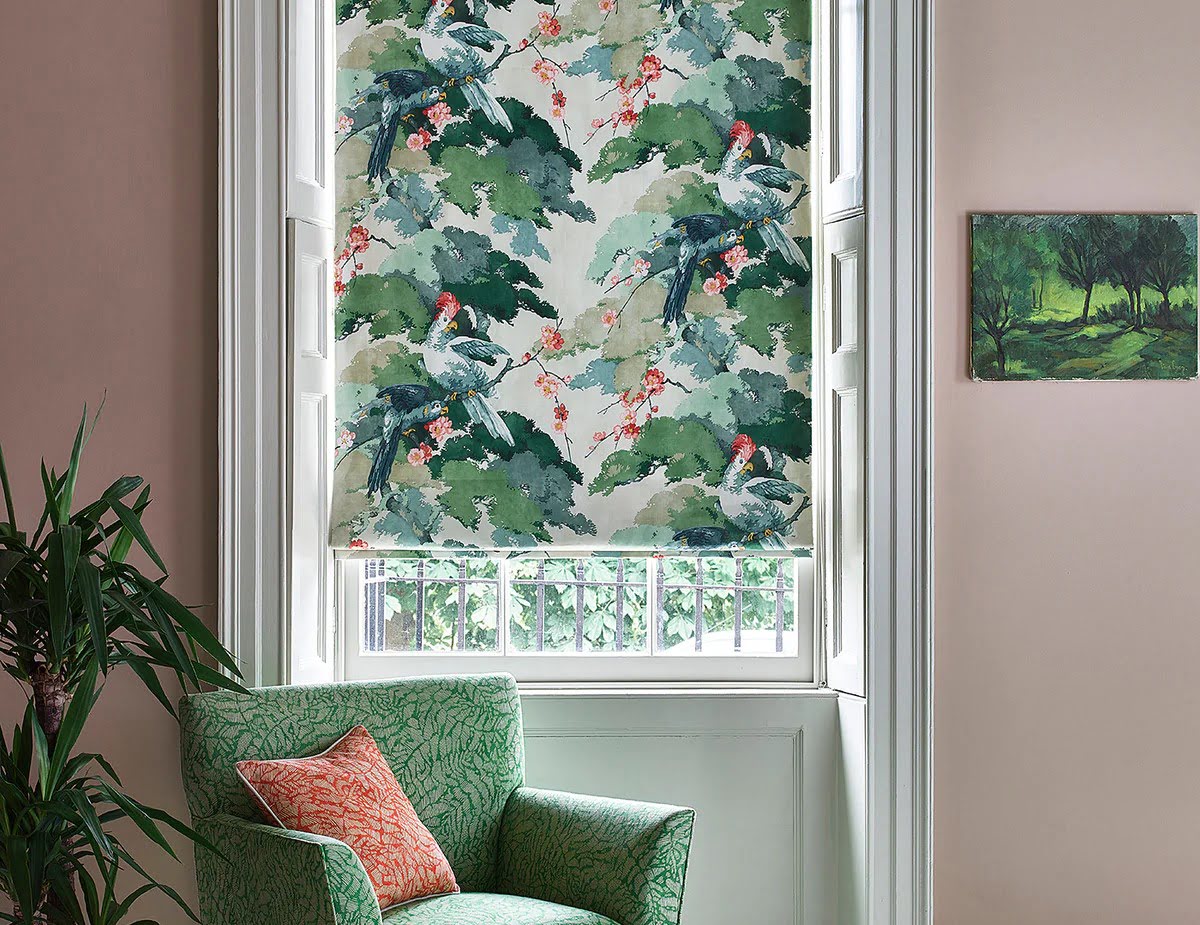
- Roman blinds: Roman blinds are fabric blinds that fold up neatly when raised. They offer a sleek and stylish look while providing varying degrees of light control. Depending on the fabric chosen, they can provide good room darkening capabilities.
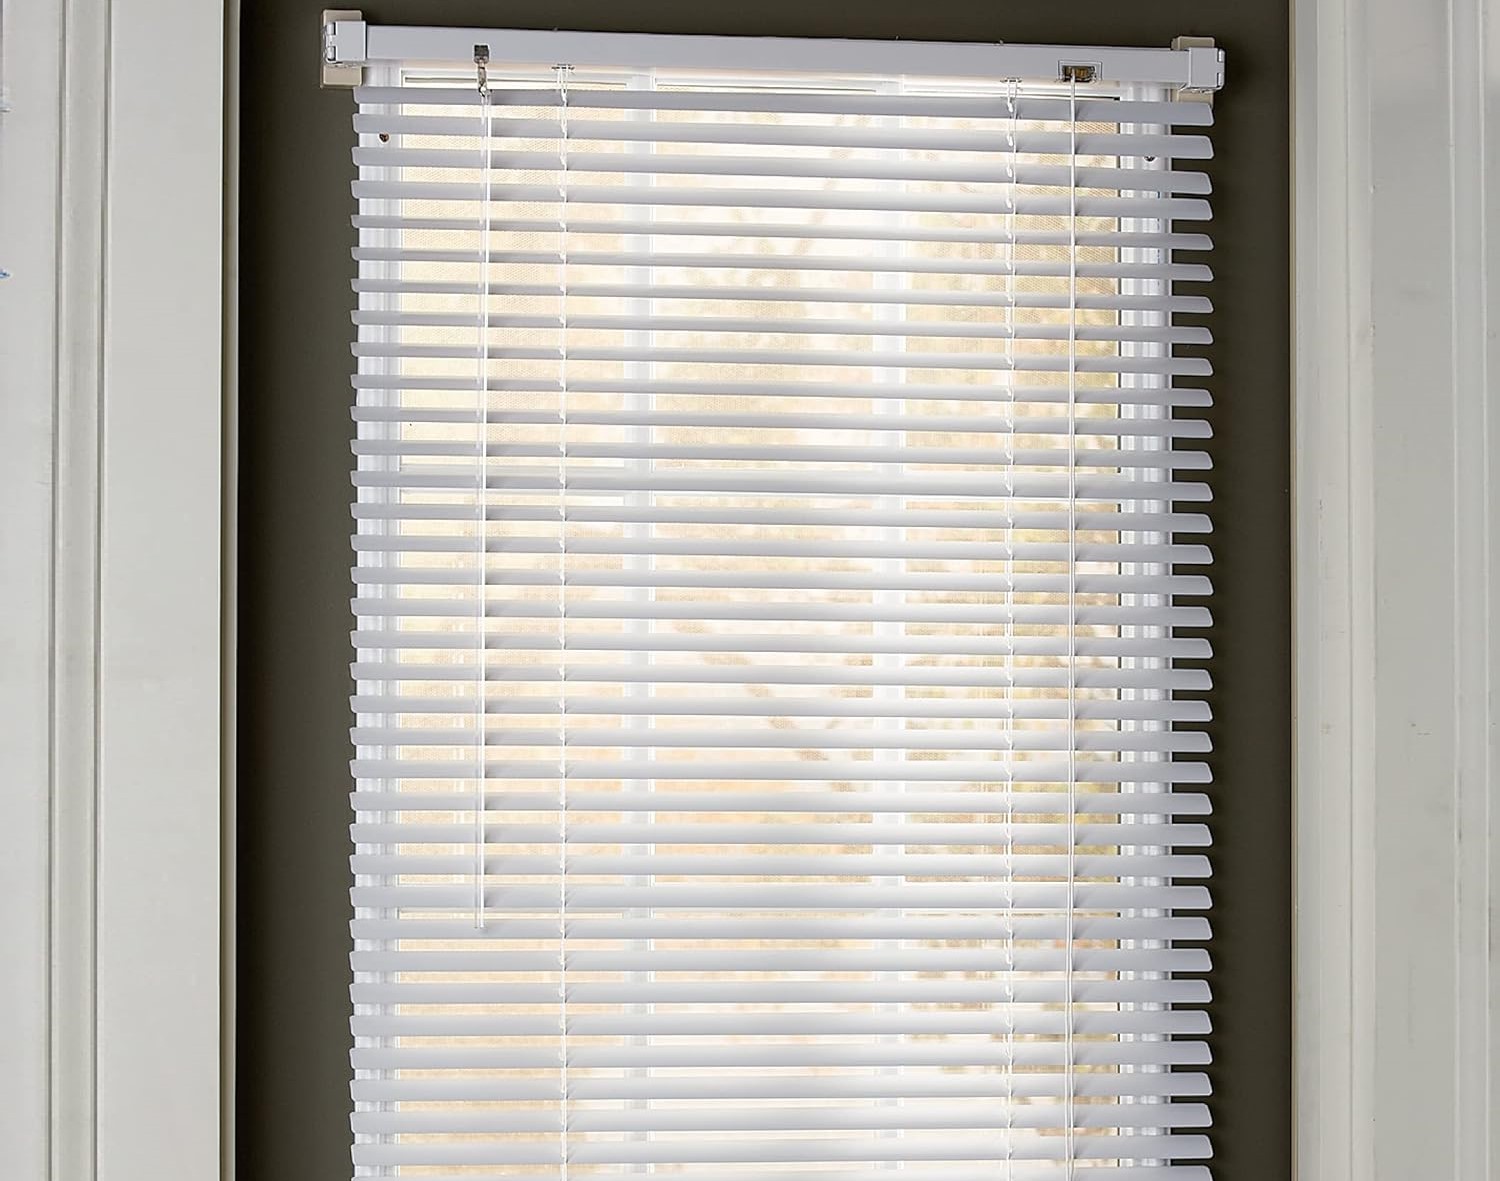
- Vertical blinds: Vertical blinds consist of vertical slats that can be tilted and rotated to control light. While they may not provide complete darkness, they can effectively reduce the amount of incoming light, making them suitable for large windows or sliding glass doors.
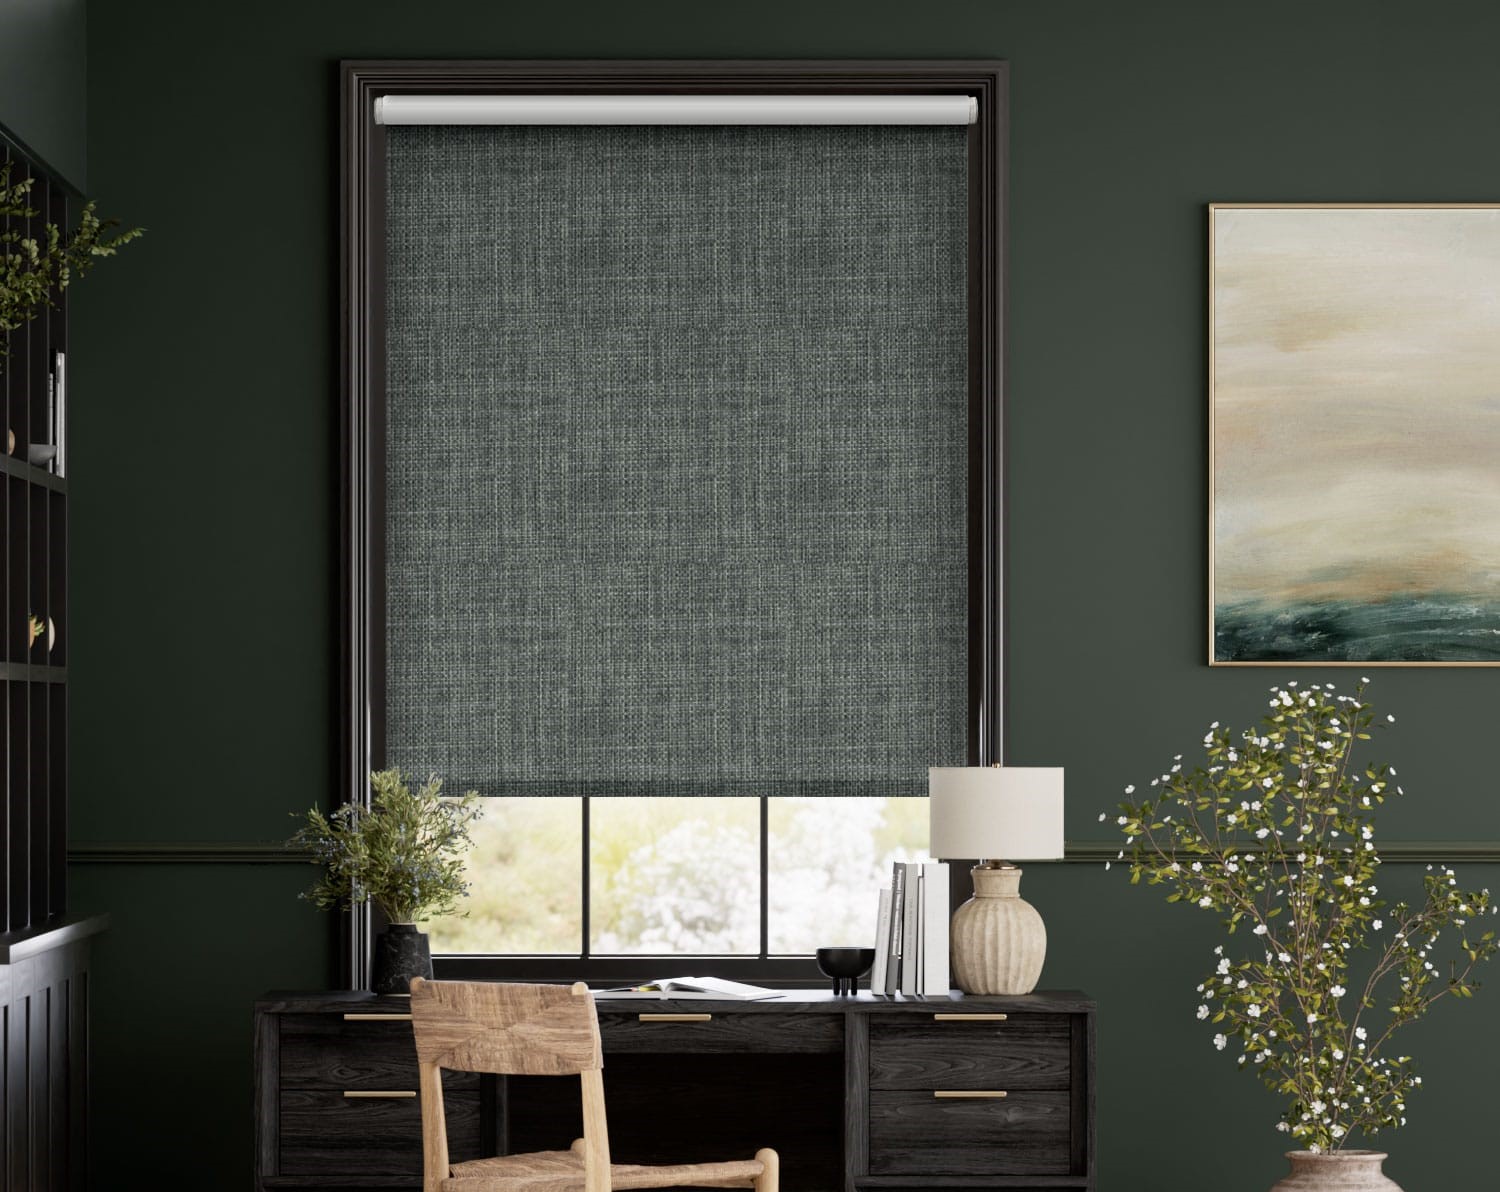
- Roller blinds: Roller blinds are a popular choice due to their simplicity and functionality. They are made of a single piece of fabric that can be rolled up or down to control light. Look for roller blinds specifically designed for light blocking if you require more darkness in the room.
Consider the functionality, style, and light-blocking capabilities of each type of blind before making your decision. Additionally, take into account factors such as the size and shape of your windows, as well as your budget. It’s also a good idea to check customer reviews and ratings to ensure the blinds you choose meet your expectations.
Once you have chosen the appropriate blinds, it’s time to move on to the next step: measuring the window and gathering the necessary supplies for installation.
Measuring the Window and Gathering Supplies
Before you can install your chosen blinds, it’s essential to accurately measure your window to ensure a proper fit. Here’s a step-by-step guide to measuring your window:
- Use a metal tape measure for precise measurements. Start by measuring the width of your window from the inside of the frame. Measure at the top, middle, and bottom, and record the smallest measurement. This will ensure that your blinds do not interfere with any obstructions or handles.
- Next, measure the height of your window by taking measurements from the top to the bottom of the window frame on the left, middle, and right. Once again, record the smallest measurement.
- If you plan on mounting the blinds outside the window frame, measure the width and height of the entire window area instead. This will give you the dimensions for the blinds to cover the entire window region.
Once you have your accurate measurements, it’s time to gather the necessary supplies for the installation. Here are some of the common items you’ll likely need:
- Blinds: Purchase the blinds of your choice in the appropriate size based on your window measurements.
- Mounting brackets: Most blinds come with mounting brackets that attach to the top of the window frame or the wall. Ensure that the brackets are included with your blinds or purchase them separately.
- Screws and anchors: Depending on the type of mounting surface, you may need screws and anchors to securely attach the mounting brackets. Choose the appropriate size and type of screws and anchors for your specific installation needs.
- Hacksaw or blinds cutter: If your blinds are too wide for your window, you may need to trim them to the correct width using a hacksaw or blinds cutter. Follow the manufacturer’s instructions for safe and accurate cutting.
- Level and measuring tape: These tools will help you ensure that your blinds are installed straight and level.
- Drill or screwdriver: Depending on the mounting brackets and hardware, you may need a drill or screwdriver to attach the brackets to the window frame or wall.
- Step ladder: A step ladder or a sturdy stool will be useful if your window is out of reach.
Make sure you have all the necessary supplies and tools before proceeding with the installation process. With your window measurements and supplies ready, you’re now prepared to install the blinds and transform your room into a dark and cozy space.
Installing the Blinds
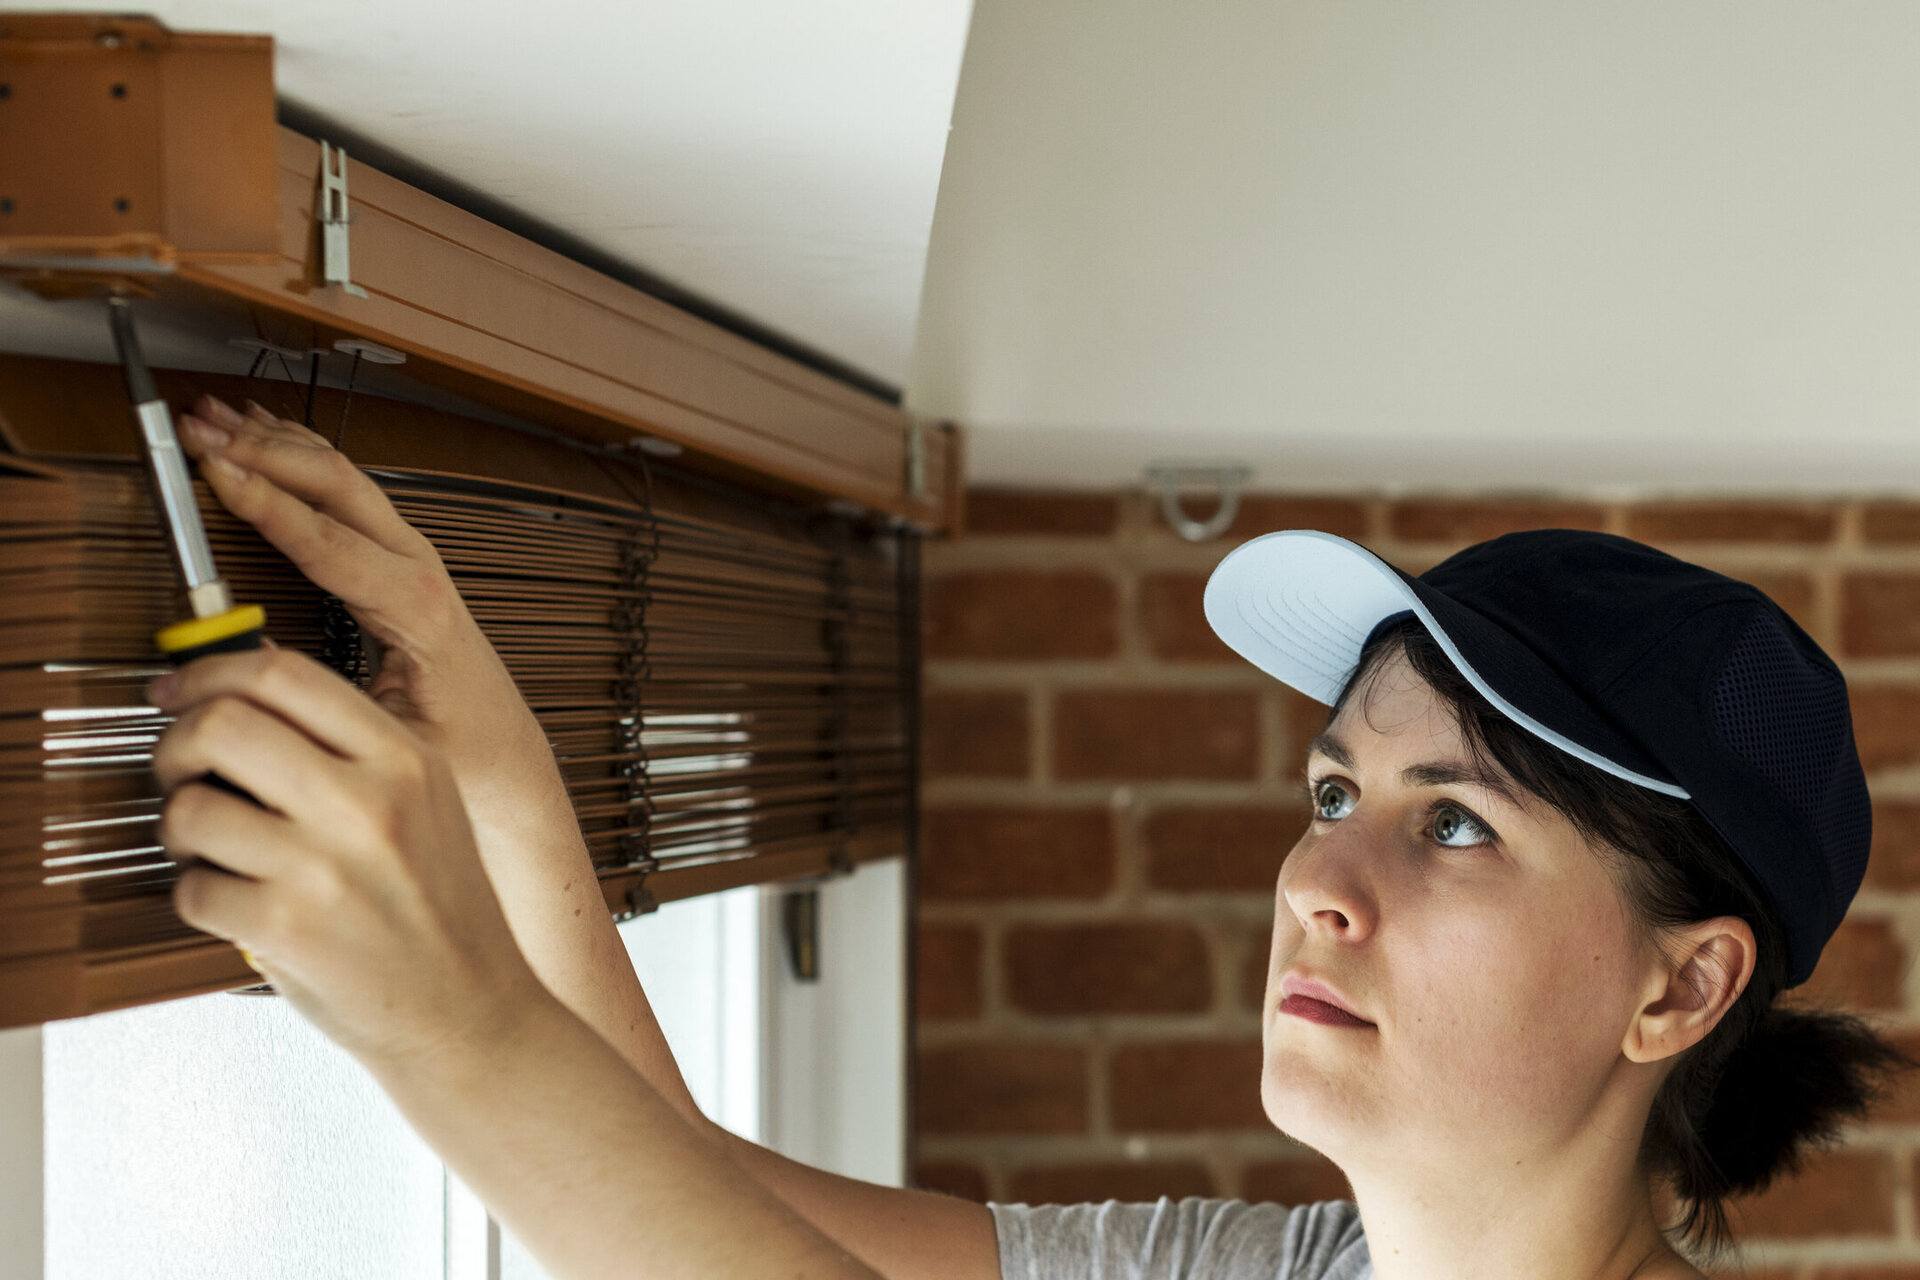
Now that you have measured your window and gathered the necessary supplies, it’s time to install your blinds. Follow these steps to ensure a successful installation:
- Start by positioning the brackets. If your blinds will be mounted inside the window frame, place the brackets at the top and center of the frame. If you’re mounting them outside the frame, position the brackets on the wall or window casing above the window. Use a level to ensure the brackets are straight and mark the screw hole positions.
- Once you have marked the screw hole positions, drill pilot holes for the screws or use a screwdriver to insert anchors if needed.
- Next, attach the mounting brackets to the window frame or wall using the provided screws or the appropriate screws for your mounting surface. Make sure the brackets are securely attached.
- If your blinds require valance clips, attach them to the headrail of the blinds. Valance clips help secure the valance, or decorative covering, in place.
- Now, insert the blinds into the brackets. The headrail of the blinds should fit snuggly into the brackets. Double-check that they are properly secured.
- If your blinds have a control mechanism, such as a cord or wand, make sure it is properly attached and functioning.
- Once the blinds are securely installed, test the operation of the blinds by opening and closing them to ensure they move smoothly.
- If your blinds are wider than the window frame, you may need to install hold-down brackets at the bottom of the window to prevent the blinds from swaying or moving in the wind.
- Finally, make any necessary adjustments to ensure that the blinds are level and hang evenly. Use a level to double-check their alignment.
It’s important to carefully follow the instructions provided by the blinds manufacturer throughout the installation process. Keep in mind that the installation steps may vary depending on the type and brand of blinds you have chosen.
Now that your blinds are successfully installed, it’s time to move on to the next step: adjusting and controlling the light in your room to achieve the desired darkness.
Consider installing blackout blinds, which are designed to block out light and darken a room. These blinds have a special lining that prevents light from passing through, making them an effective solution for darkening a room.
Adjusting and Controlling Light
Once your blinds are installed, you can begin to adjust and control the amount of light entering the room. Here are some tips to help you achieve the desired level of darkness:
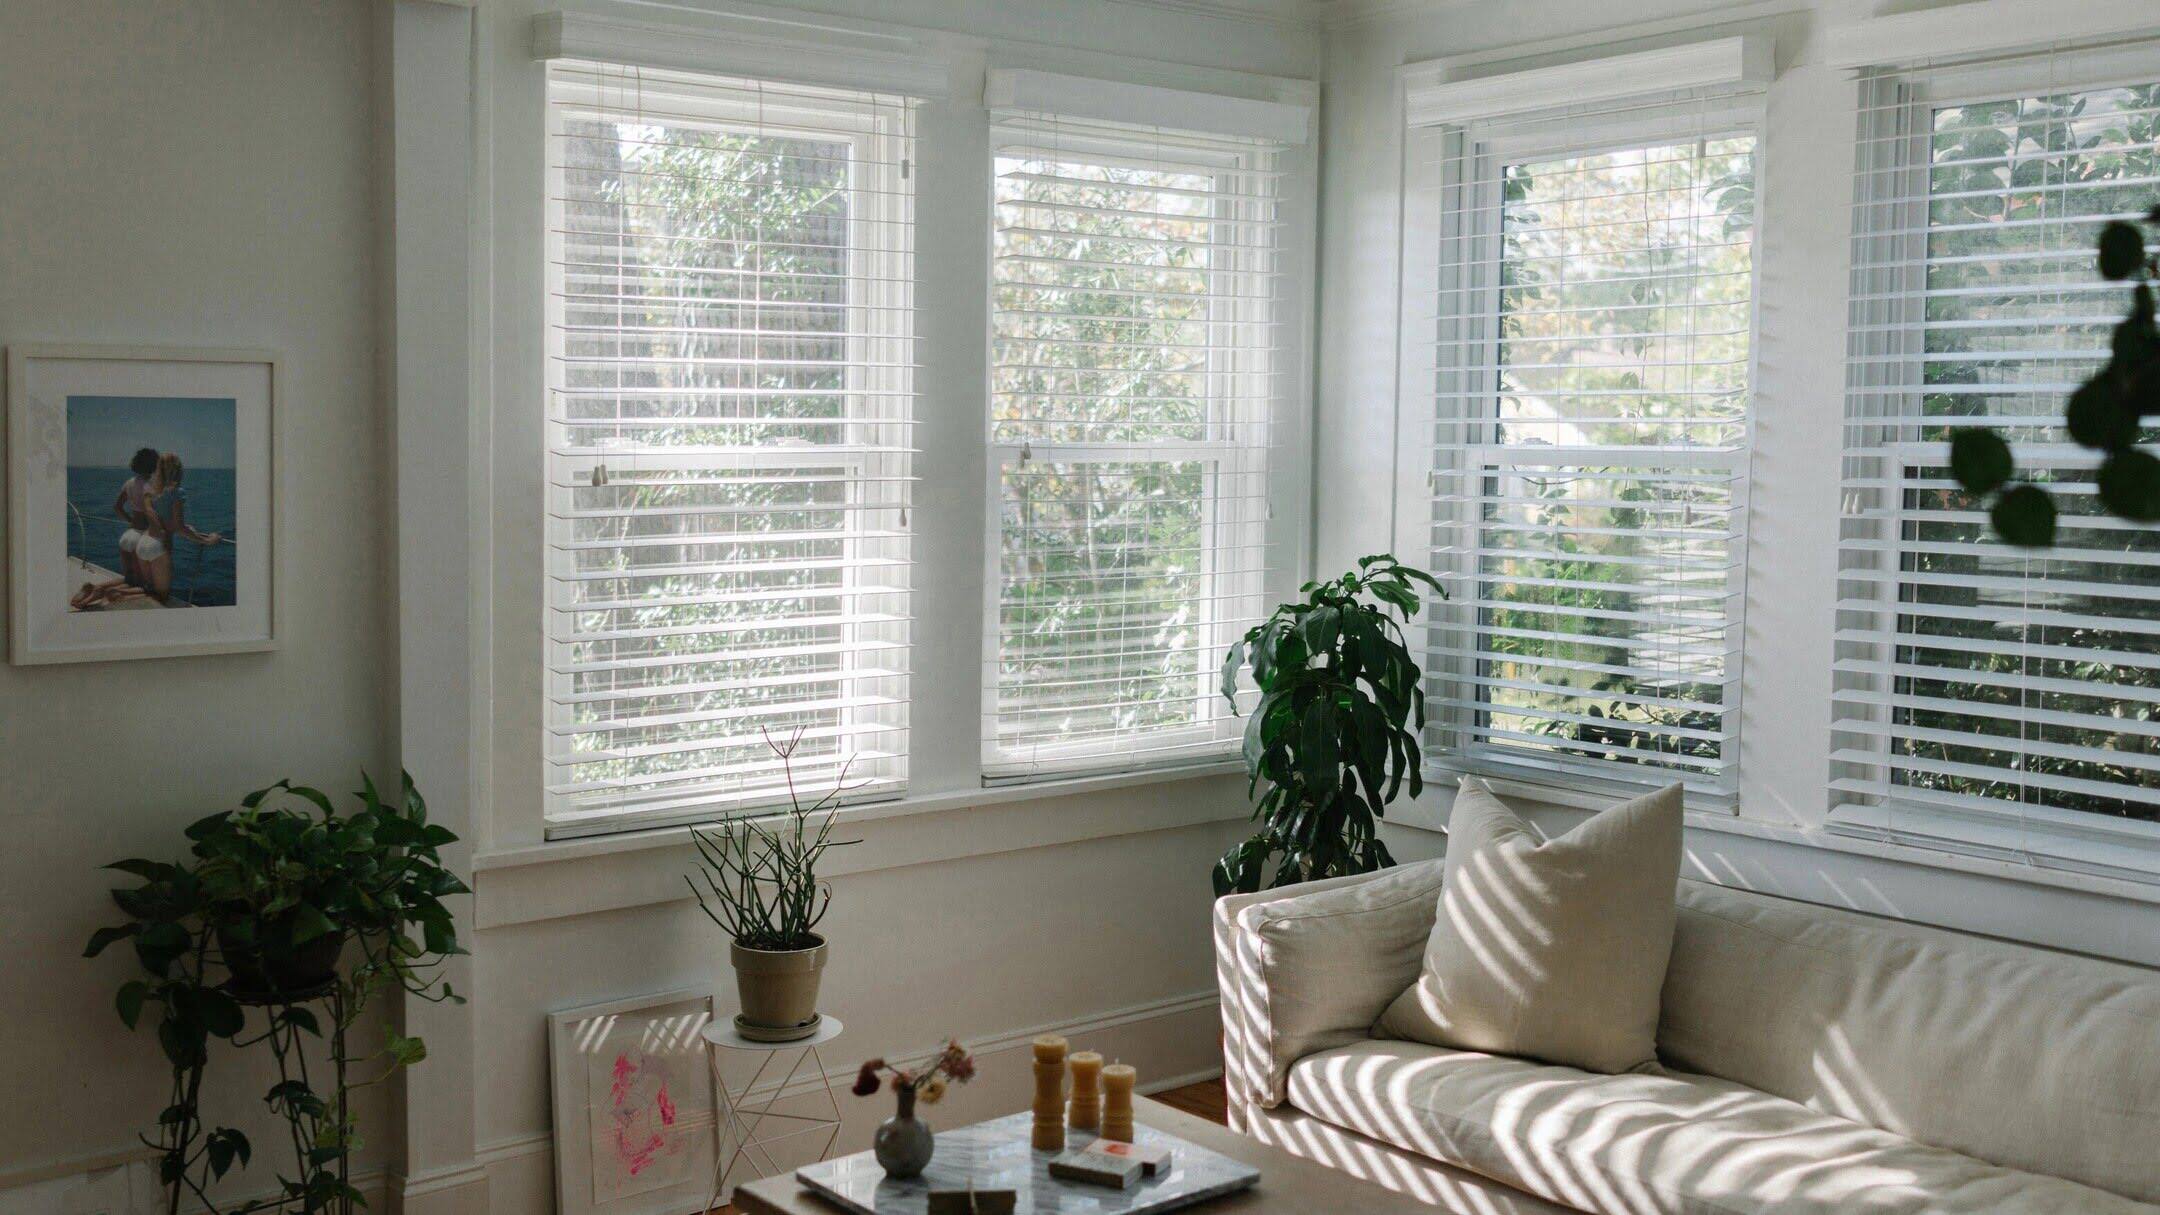
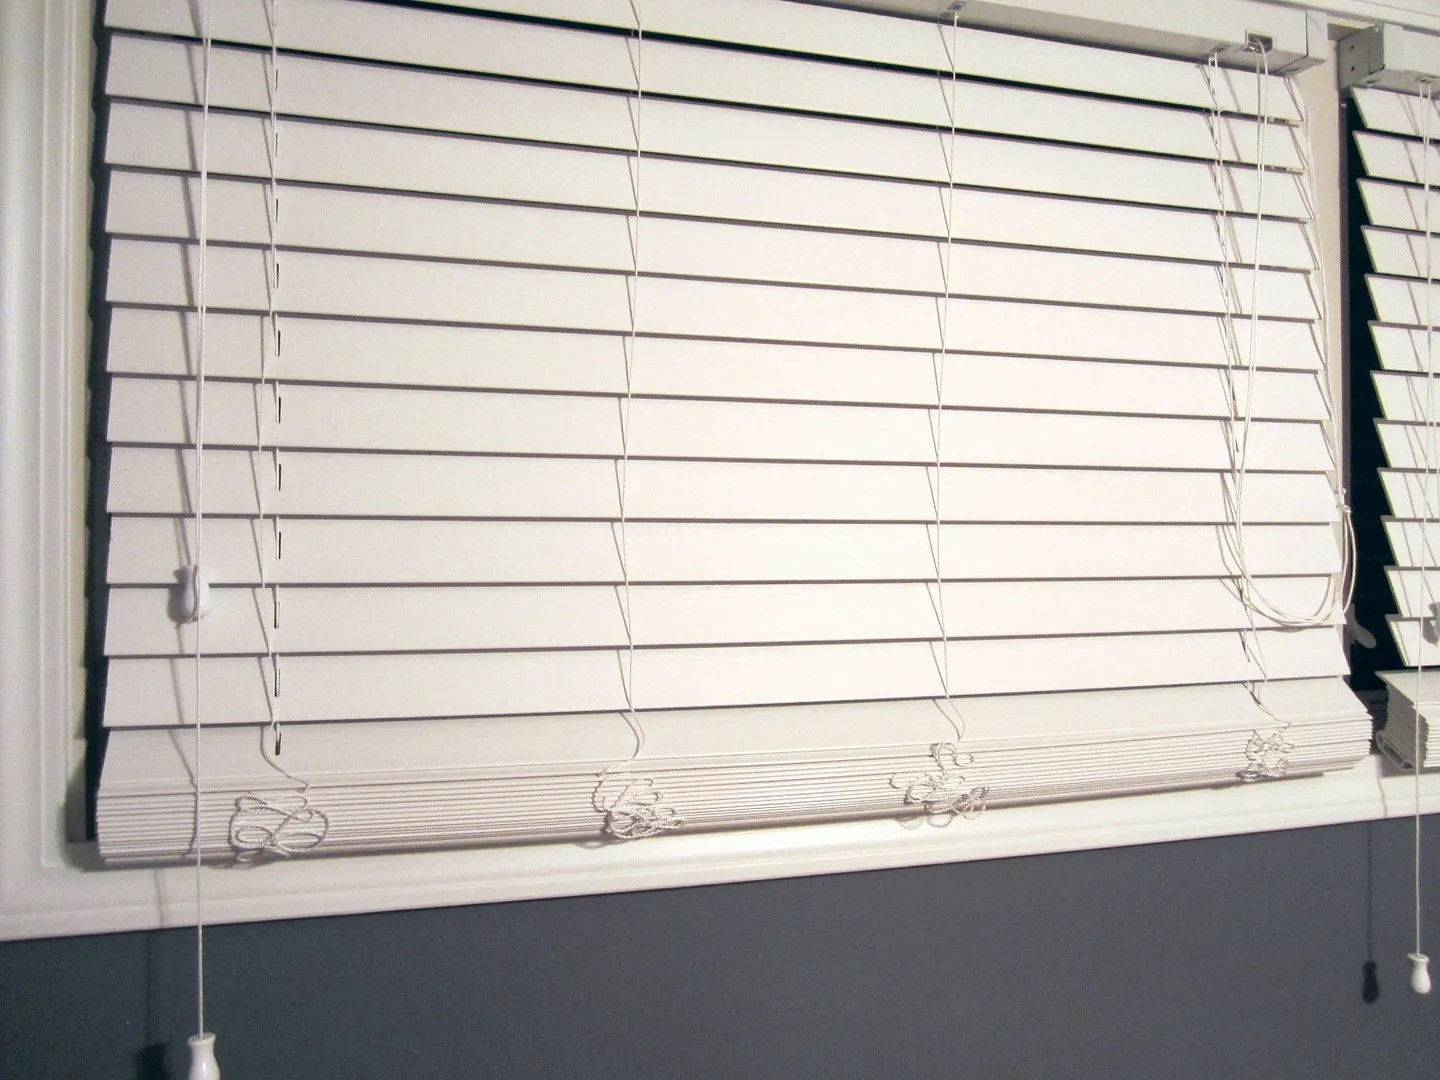
- Tilt the blinds: Many types of blinds, such as vertical blinds or Venetian blinds, allow you to tilt the slats to control the amount of light coming in. Angling the slats upwards will let in more light, while angling them downwards will block more light and provide more privacy.
- Lower the blinds: If your blinds are designed to be raised and lowered, lowering them completely will block most of the light. This is particularly effective if you have blackout blinds that are specifically designed to provide maximum light-blocking capabilities.
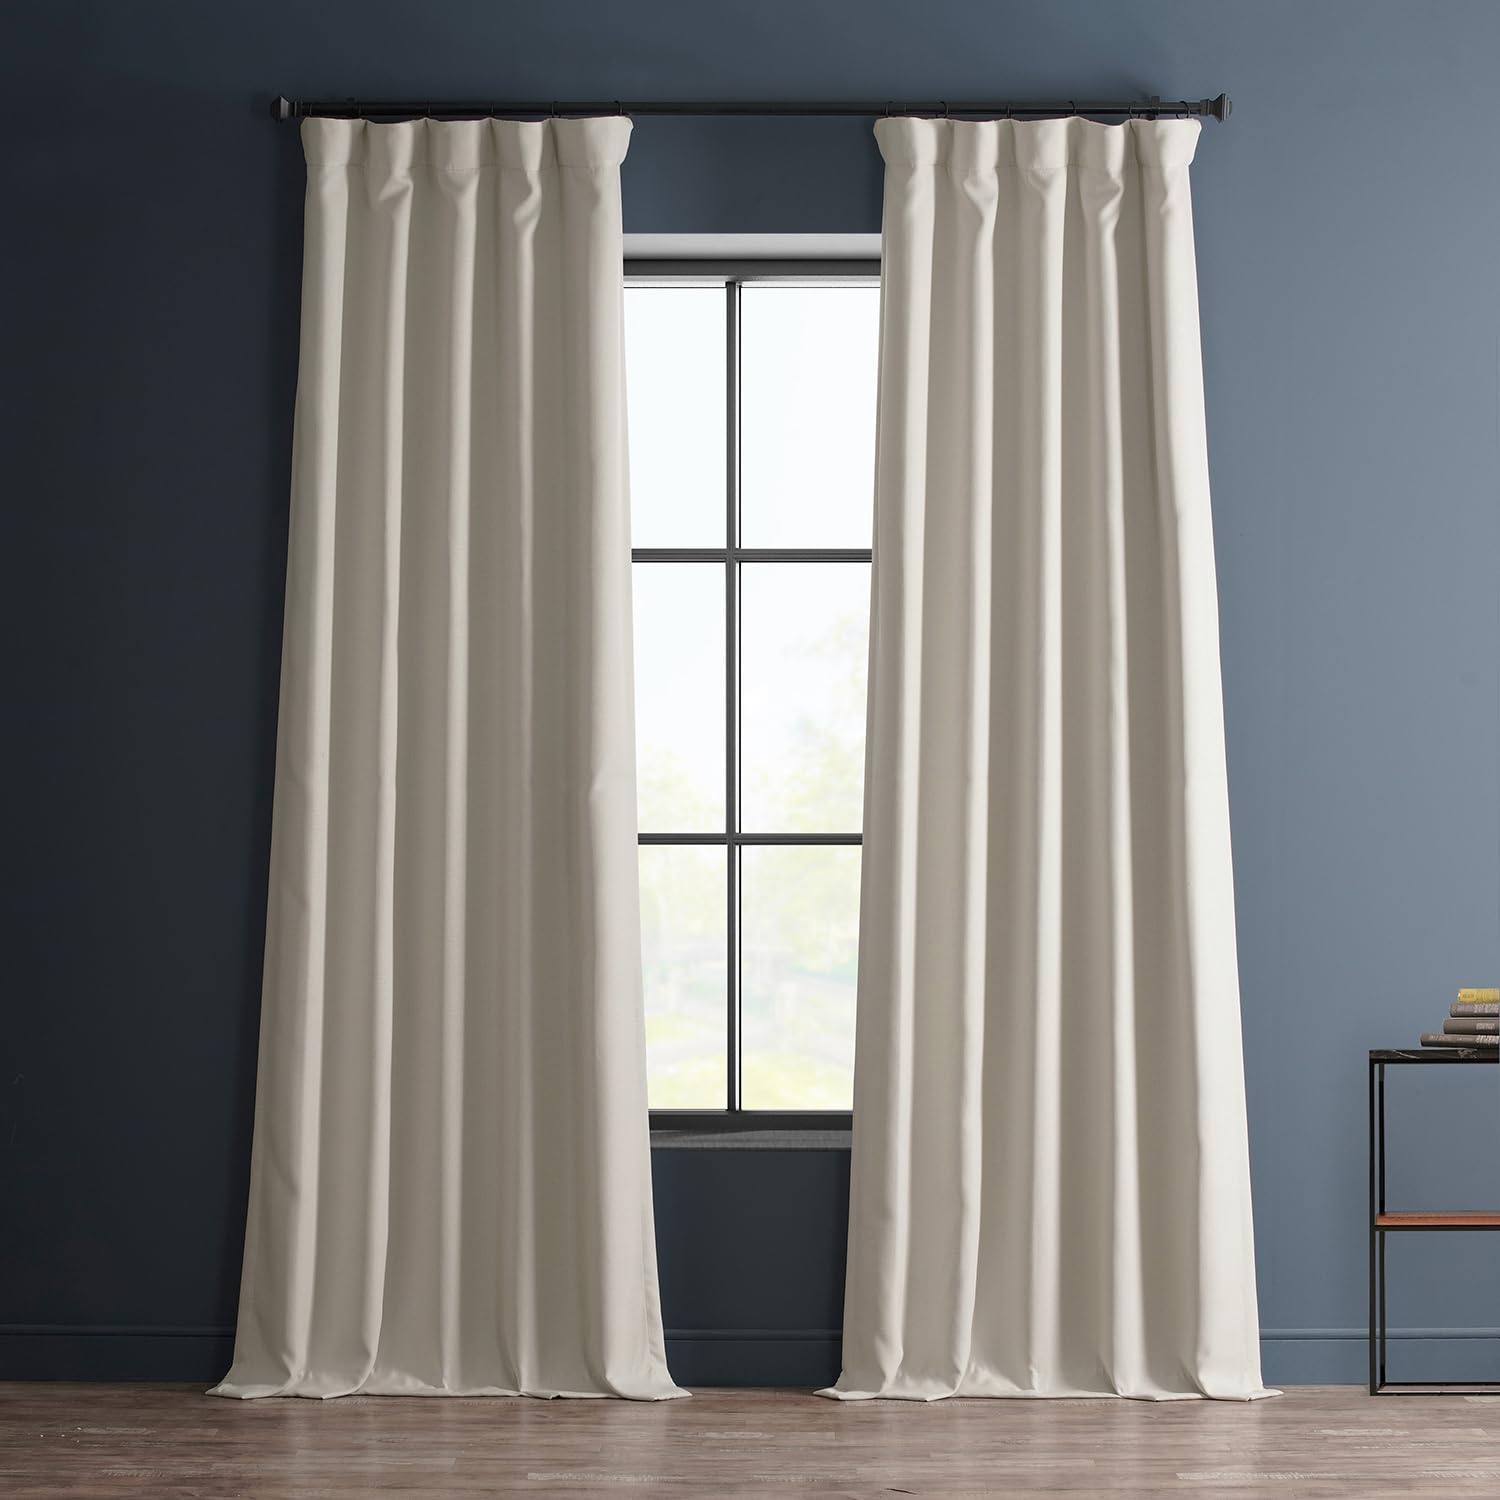
- Use additional window treatments: If you find that your blinds alone are not providing sufficient darkness, you can consider adding curtains, drapes, or blackout liners to further block out light. These additional window treatments can complement your blinds and enhance their light-blocking properties.
- Seal any gaps: Inspect your blinds to ensure there are no gaps or spaces where light can seep through. If you notice any gaps, consider using light-blocking materials or seals to cover them. This will help create a more effective light barrier.
- Consider window film: Another option for controlling light is applying window film. There are various types of window film available, including privacy film and blackout film, which can be applied to the inside of your windows to block out light and provide additional privacy.
- Install blinds with top-down, bottom-up functionality: Some blinds offer the option of top-down, bottom-up functionality, which allows you to lower the blinds from the top or raise them from the bottom. This feature gives you more control over how much light enters the room while maintaining privacy.
- Experiment with different settings: Don’t be afraid to experiment with different blind settings to find the perfect balance of light and darkness for your needs. Adjust the blinds throughout the day to accommodate changing sunlight conditions and to achieve the desired atmosphere in your room.
Remember that every room and individual preference may be different, so it’s important to find the adjustment methods that work best for you. By utilizing these tips, you can effectively control the light and achieve the desired level of darkness in your room.
Next, let’s explore some important tips for maintaining and cleaning your blinds for long-lasting performance.
Maintaining and Cleaning Blinds
To preserve the appearance and functionality of your blinds, regular maintenance and cleaning are essential. Here are some guidelines to help you keep your blinds in optimal condition:
- Dust regularly: Dust accumulation is inevitable, so it’s important to dust your blinds regularly. Use a feather duster, microfiber cloth, or a soft brush attachment on your vacuum cleaner to gently remove dust from the surface of the blinds. Start from the top and work your way down, being careful not to bend or damage the slats.
- Spot clean when necessary: If you notice stains or spots on your blinds, spot cleaning is the best approach. Use a mild detergent or cleaning solution mixed with water and a soft cloth to gently clean the affected areas. Avoid using abrasive cleaners or harsh chemicals that can damage the blinds.
- Deep clean periodically: Depending on the type of blinds, you may need to deep clean them periodically. Consult the manufacturer’s instructions for specific recommendations on cleaning methods. For fabric blinds, you may need to remove and hand wash or have them professionally cleaned. For PVC or aluminum blinds, you can wash them in a bathtub or outside using a mild soap and water solution.
- Be cautious with water: When cleaning blinds, it’s important to be cautious with water, especially for blinds made of materials that can warp or be damaged by moisture. If you’re unsure about the water resistance of your blinds, it’s best to use dry cleaning methods or consult a professional.
- Inspect for damage: Regularly inspect your blinds for any signs of damage, such as broken slats or malfunctioning components. Address any issues promptly to prevent further damage and ensure the blinds continue to function properly.
- Follow manufacturer’s recommendations: Always follow the manufacturer’s recommendations for cleaning and maintenance specific to your blinds. This will help prolong their lifespan and prevent any damage.
- Use caution with cords: If your blinds have cords, be cautious when operating them to avoid tangles or entanglement. Keep cords out of reach of children and pets by using cord cleats or tying them up properly.
- Protect blinds from excessive sunlight: Prolonged exposure to direct sunlight can cause fading and damage to your blinds. Consider using curtains or shades to provide an additional layer of protection against harmful UV rays.
By following these maintenance and cleaning tips, you can ensure that your blinds not only provide the desired darkness in your room but also remain in good condition for years to come. Regular care and attention will help your blinds maintain their functionality and appearance.
Lastly, let’s discuss some additional tips and considerations to keep in mind when darkening a room with blinds.
Additional Tips and Considerations
When it comes to darkening a room with blinds, here are some additional tips and considerations to keep in mind:
- Consider window size and shape: The size and shape of your windows may influence the type of blinds you choose. Larger windows may require wider blinds or multiple blinds to cover the entire area effectively.
- Choose neutral or dark-colored blinds: Opting for blinds in neutral or dark colors, such as black, navy, or dark brown, can enhance the light-blocking capabilities. Lighter-colored blinds may allow more light to pass through.
- Invest in quality blinds: Quality blinds are not only more durable but also provide better light control. Investing in well-made blinds will ensure long-term satisfaction and effectiveness in darkening your room.
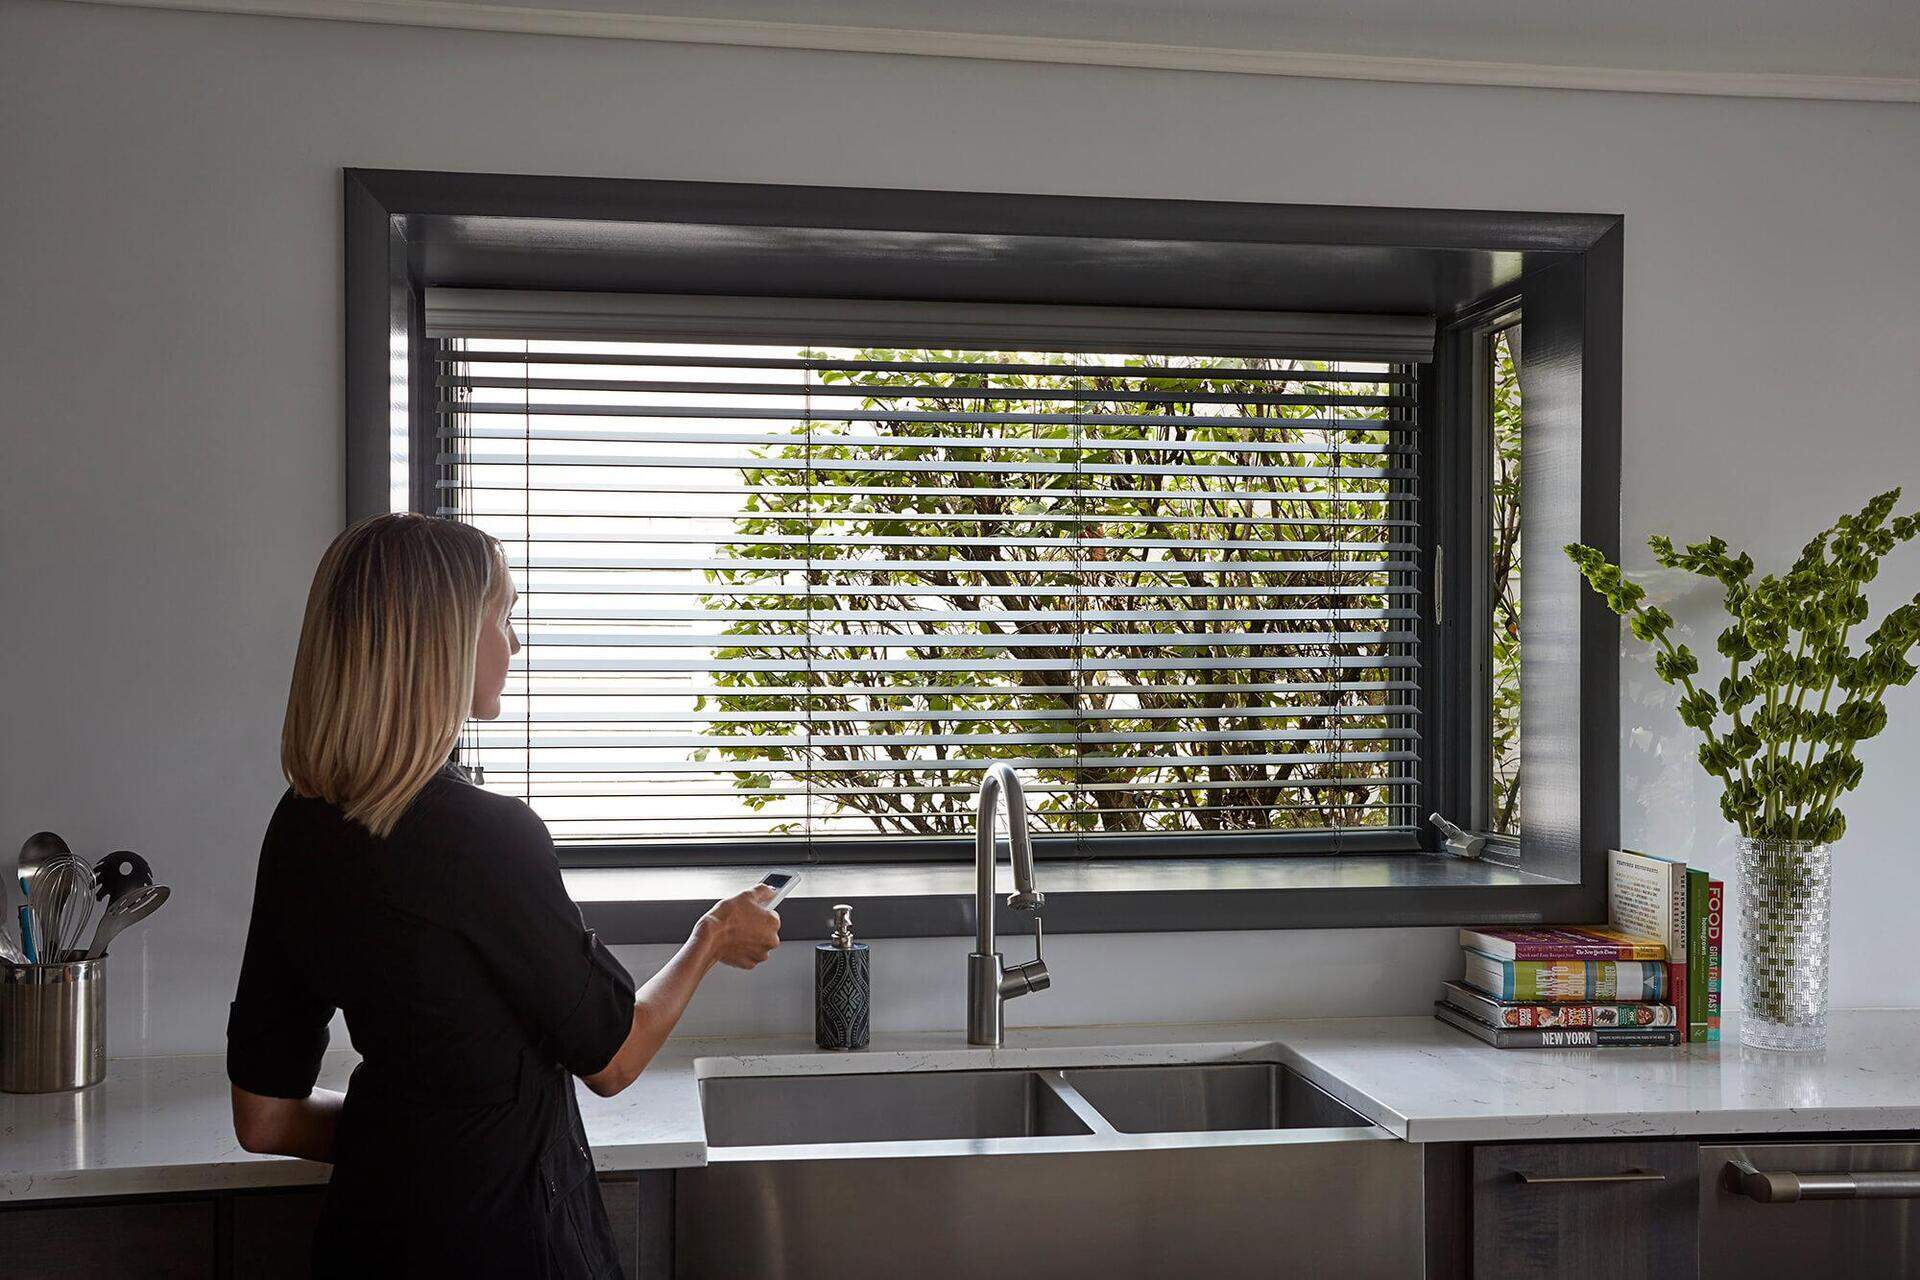
- Consider motorized or smart blinds: If convenience is a priority, motorized or smart blinds offer the ability to control your blinds with the touch of a button or even through voice commands. They can be set on timers or integrated with home automation systems for easy light control.
- Evaluate noise-blocking capabilities: In addition to blocking light, some blinds may also offer noise reduction properties. If noise control is important to you, consider blinds with added acoustic features.
- Be mindful of safety: Ensure that your blinds meet current safety standards, especially if you have young children or pets in your home. Consider cordless or wand-operated blinds to eliminate potential hazards.
- Seek professional help if needed: If you are unsure about measuring or installing blinds, it’s always a good idea to seek professional help. They can ensure a proper fit and safe installation.
- Regularly evaluate your needs: Over time, your needs for a darkened room may change. Regularly assess your requirements and adjust your blinds or window coverings accordingly.
Remember, darkening a room with blinds is not only about functionality; it can also enhance the overall aesthetics and ambiance of the space. Take the time to choose blinds that complement your room’s decor and style.
With these additional tips and considerations in mind, you are now equipped to successfully darken a room using blinds. Enjoy the comfort, privacy, and control over light that well-chosen and properly installed blinds can provide.
Best of luck with your project!
Conclusion
Darkening a room with blinds can transform the way you experience your living space, whether it’s for better sleep, enhanced home theater viewing, or creating a cozy ambiance. By carefully assessing your needs, choosing the right type of blinds, measuring your window accurately, and following the installation steps, you can successfully achieve the desired level of darkness and control over light in your room.
Remember to adjust and control the blinds to suit your preferences, whether it’s by tilting the slats, lowering the blinds, or using additional window treatments. Regular maintenance and cleaning of your blinds will help extend their lifespan and keep them looking their best. Moreover, considering additional tips such as window size and shape, color choices, safety measures, and professional assistance, if needed, can further enhance your experience and satisfaction.
Creating a dark and inviting space with blinds is an investment that can bring long-lasting benefits. It not only allows you to control the light but also enhances privacy and adds to the overall aesthetic appeal of the room. So, take the time to explore your options, select quality blinds, and create the perfect atmosphere that suits your needs and preferences.
Remember to regularly reevaluate your requirements and make any necessary adjustments to ensure your blinds continue to meet your needs over time. With a little effort and consideration, you can enjoy the benefits of a darkened room and create the ideal environment for relaxation, productivity, or entertainment.
We hope this guide has provided you with valuable insights and tips to successfully darken a room with blinds. Best of luck with your project, and may your newly darkened room bring you comfort, peace, and enjoyment!
Frequently Asked Questions about How To Darken A Room With Blinds
Was this page helpful?
At Storables.com, we guarantee accurate and reliable information. Our content, validated by Expert Board Contributors, is crafted following stringent Editorial Policies. We're committed to providing you with well-researched, expert-backed insights for all your informational needs.


0 thoughts on “How To Darken A Room With Blinds”